
Hello, everybody! I was watching a video about “Hercules beetles” (Dynastes hercules). They’re the largest of all the beetles, certainly a little monster. While many of use see beetles as little creatures this one certainly isn’t little at all, the carapace alone is huge and they can weigh more than some small mammals. Despite that, I find them cute because it’s fascinating to observe how the largest beetle species go about their lives. Today, I’m going to show you a little giant, it is certainly the largest of its kind and definitely the heaviest. Read this article to find out what this is.
Introduction:
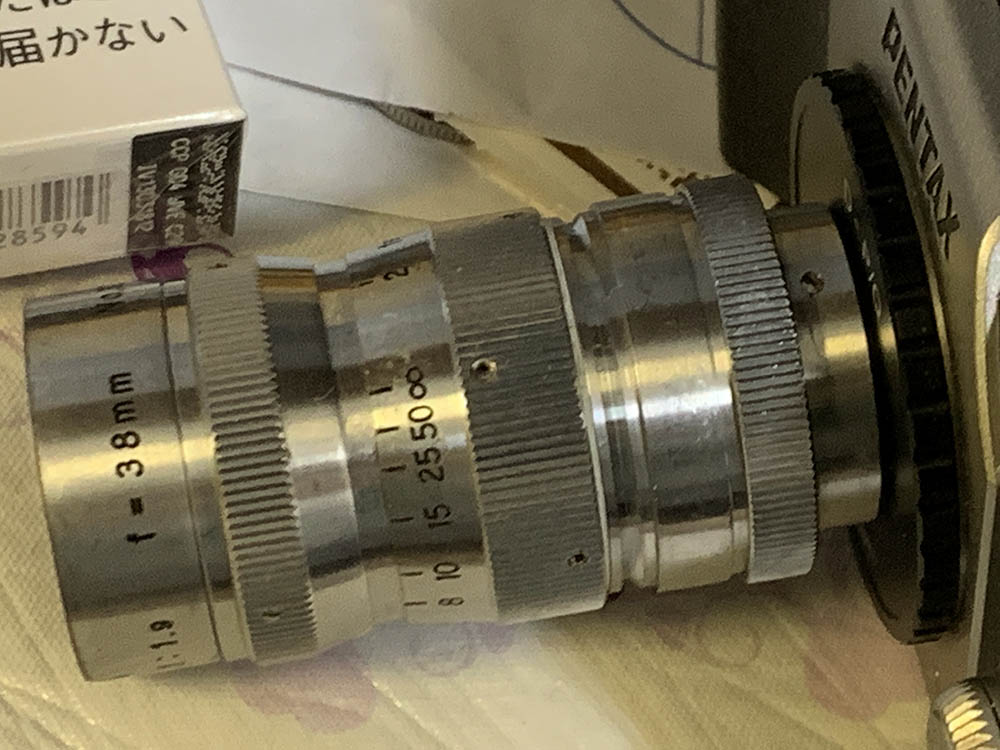
The Cine-Nikkor 38mm f/1.9 was sold around the mid-1950s, I do not know the exact dates but these were sold along with Uryu Seiki’s then-popular Cinemax-8 series of cameras which debuted around 1953. This is Nikon’s first telephoto D-mount lens, part of a trinity comprising the Cine-Nikkor 6.5 f/1.9 and the Cine-Nikkor 13mm f/1.9. Its field-of-view is the equivalent of a 210mm lens for the 35mm format and despite having a “fast” f/1.9 maximum aperture its effective speed is actually much slower which is as expected since it was made for standard 8mm, a very small format compared to 35mm. It was a popular lens so these aren’t rare at all but not really common these days since people found a new use for D-mount lenses with the advent of the Pentax Q series of miniature mirrorless cameras.

It has an impressive all-brass construction which makes this feel dense when held. You could focus quite close with this, about 2ft according to the scales. This allows you to take photos of small things which is quite handy.
It has a simple 4-elements-in-2-groups design which I think is the best in the classic D-mount Cine-Nikkor trinity. It has the best optical performance and utility. The glass is also the thickest amongst its peers which adds to its total weight. I think most, if not all of the glass-to-air surfaces were coated but despite that it fares poorly when shooting against any bright sources of light. What’s nice about this lens is it’s able to resolve details decently beyond its image-circle, you’re going to find that the extremities look horrible when shooting with a Pentax Q but the areas just before them look fine and this is as-expected since we’re looking at details that are beyond its intended projection-area which is a bit smaller compared to the Pentax Q’s sensor’s area.

This lens is actually part of the original Cine-Nikkor trinity for the D-mount. From left-to-right we have the Cine-Nikkor 38mm f/1.9, Cine-Nikkor 13mm f/1.9 and the Cine-Nikkor 6.5mm f/1.9. These were all made in the 1950s and they were sold with Japanese 8mm movie cameras such as the ones made by Uryu Seiki.

It’s easily the heaviest D-mount Cine-Nikkor around so it’s front-heavy when mounted on the Pentax Q10. Handling is quite good since it’s not really small.

The later black version is lighter since some of its parts were made from a lighter-type of alloy. It’s also a bit shorter, an interesting detail is that both lenses focus the opposite way when you turn the focusing-ring. Despite having identical optics the black one also has an iris that could stop-down to f/22. The closest-focusing-distance appears to be similar. I also need to mention that the later one has a larger accessory-ring size so you won’t be able to swap filters and other accessories between the 2 versions.

It adopts the styling of Nikon’s earlier telephoto lenses such as this Nikkor-Q.C 13.5cm f/3.5 for the L39 mount. You can think of this as a mini-version of it, it’s very cute.
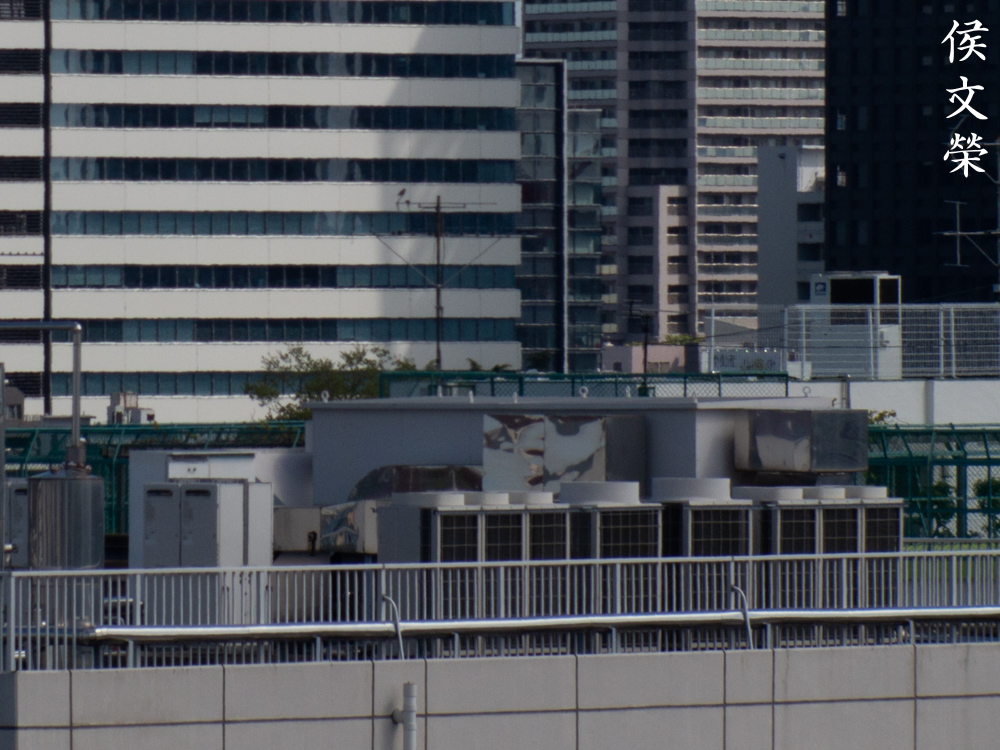
Learning how a lens performs is key to maximizing it. You’ll learn how to utilize its strengths and avoid its weaknesses. This knowledge helps in determining which lens to bring on an assignment. I shot these from f/1.9, f/2.8 and f/4 and f/5.6 since these are the most common apertures that people would want to use this and we’ll see the most changes happen within these values. These photos were shot with my Pentax Q10, some of the photos were cropped close to 1:1 magnification so we can see the details better. You’ll need to understand that the sensor’s usable area is actually a bit bigger compared to that of standard 8mm so the areas closer to the top and bottom edges look terrible since this lens is rendering beyond its intended image-circle.
You’ll get some distortion from this, I don’t think this will be a problem at all but it’s enough to be noticeable. I do not think you will be shooting lots of straight lines with a lens of this type so don’t worry about it.


(Click to enlarge)
Vignetting is heavy wide-open but it’s mostly beyond its intended image-circle. This isn’t going to be much of an issue when shooting with standard 8mm. Most of it is gone by f/2.8 and you won’t see any from f/4 and on. From this I could tell that this lens should be shot from at least f/2.8 for decent results and you will see that later.


(Click to enlarge)
It flares terribly and you’ll get large blobs. The rainbow-colored artifacts you see are reflections of the sensor itself. This looks trippy and I don’t like it, you won’t see this when you’re shooting with film.


(Click to enlarge)
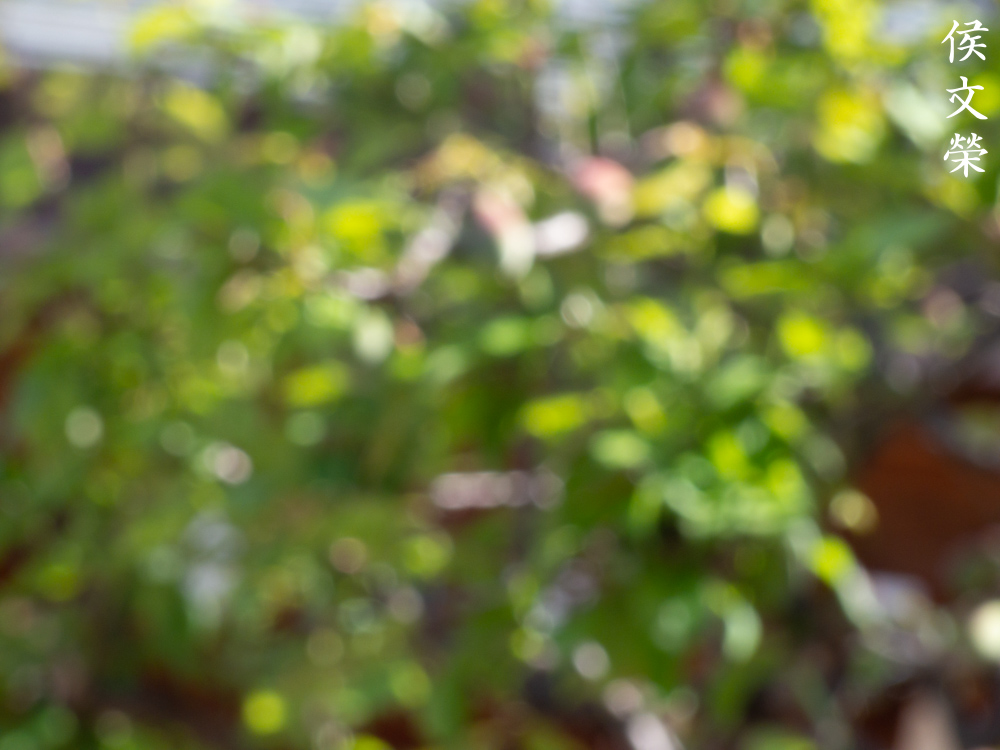
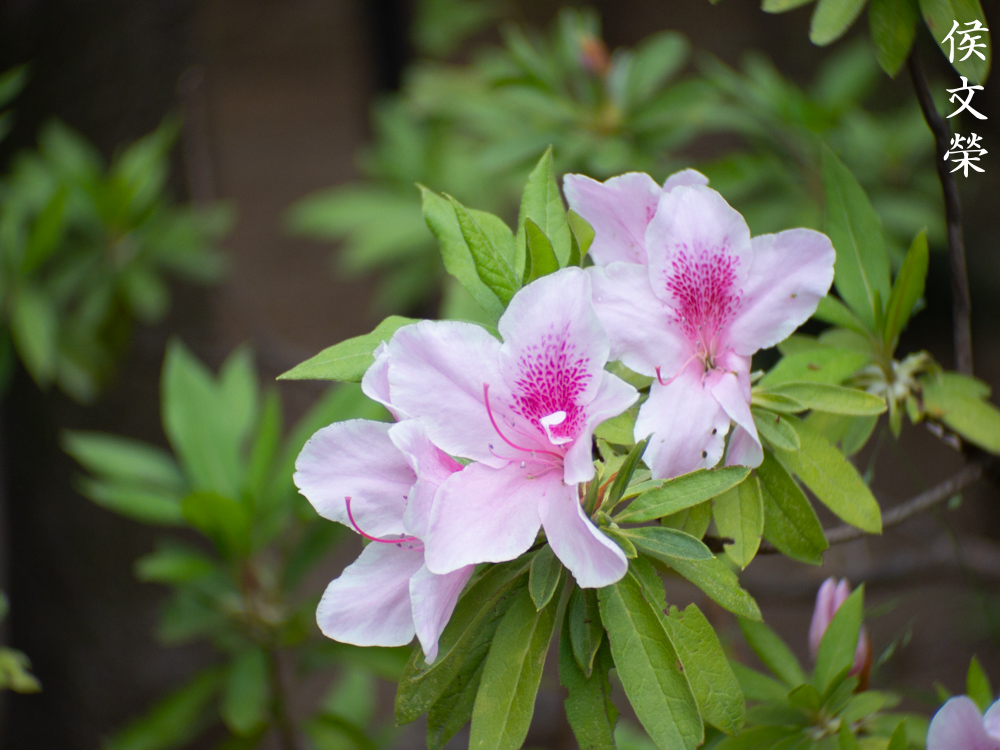
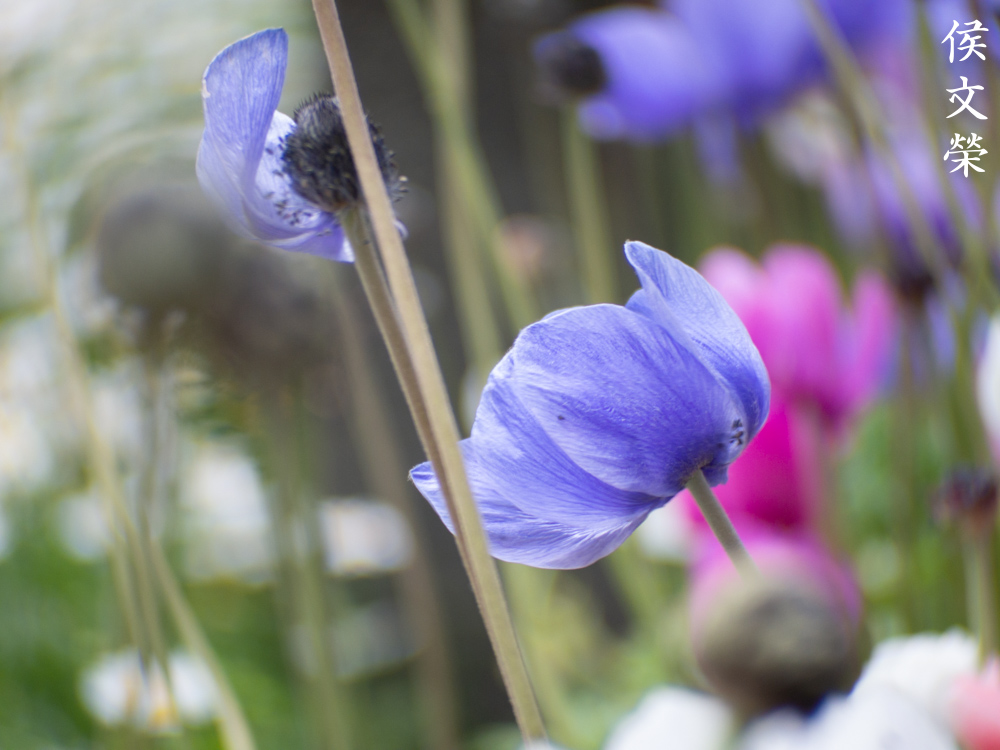
The character of the bokeh is decent at best but it could degenerate into an ugly, clumpy mess if you’re not careful. It’s important to think about what you have in the background and how far your subject is to you to prevent it from doing its worst when it comes to rendering blurs.


(Click to enlarge)
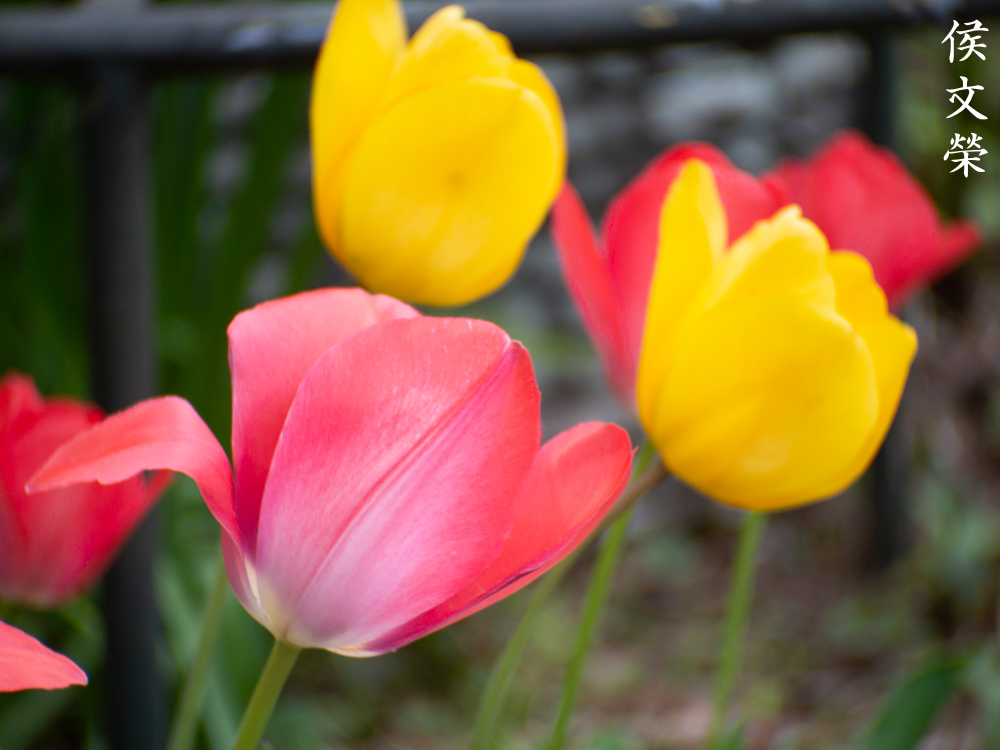
Chromatic aberration is severe wide-open even in manageable scenes. Stopping it down to f/2.8 helps a lot, most of it is eliminated but it’s still there in difficult cases. Spherical aberration remains which could be mistaken for flare since it resembles the blooming-parts of bright highlights. Chromatic aberration is not much of an issue by f/4, you’ll only see it in extreme scenarios. Spherical aberration is mostly-gone, too. It renders beautifully at f/5.6, the look is not “sterile”, I love how the residual aberrations complement the sharpness of the lens at this aperture.


(Click to enlarge)
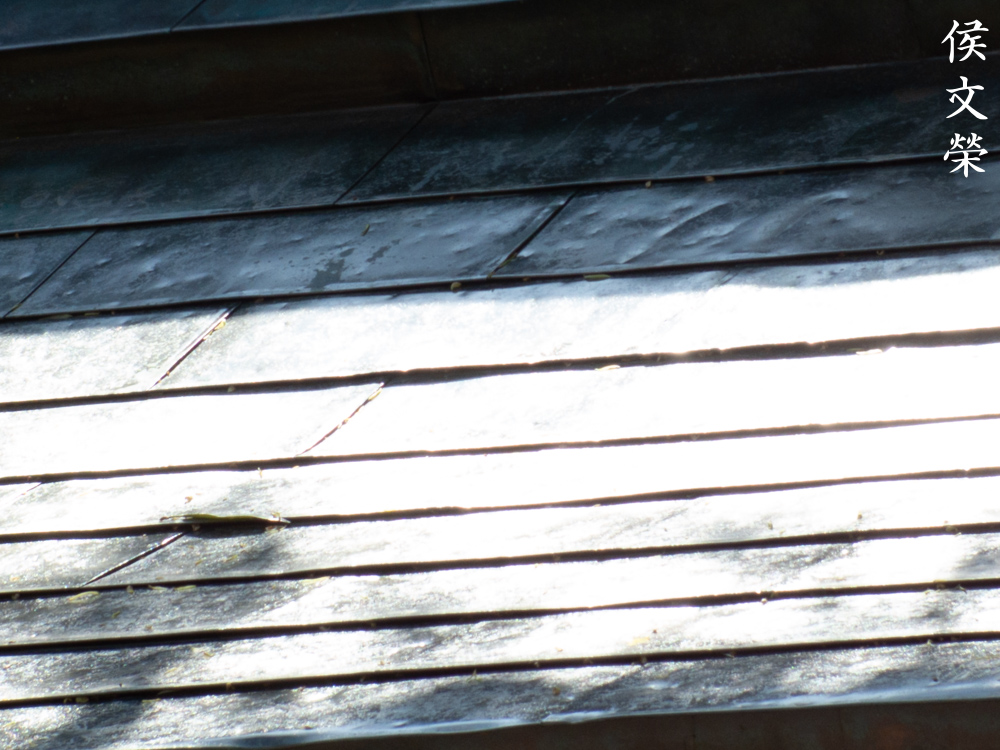
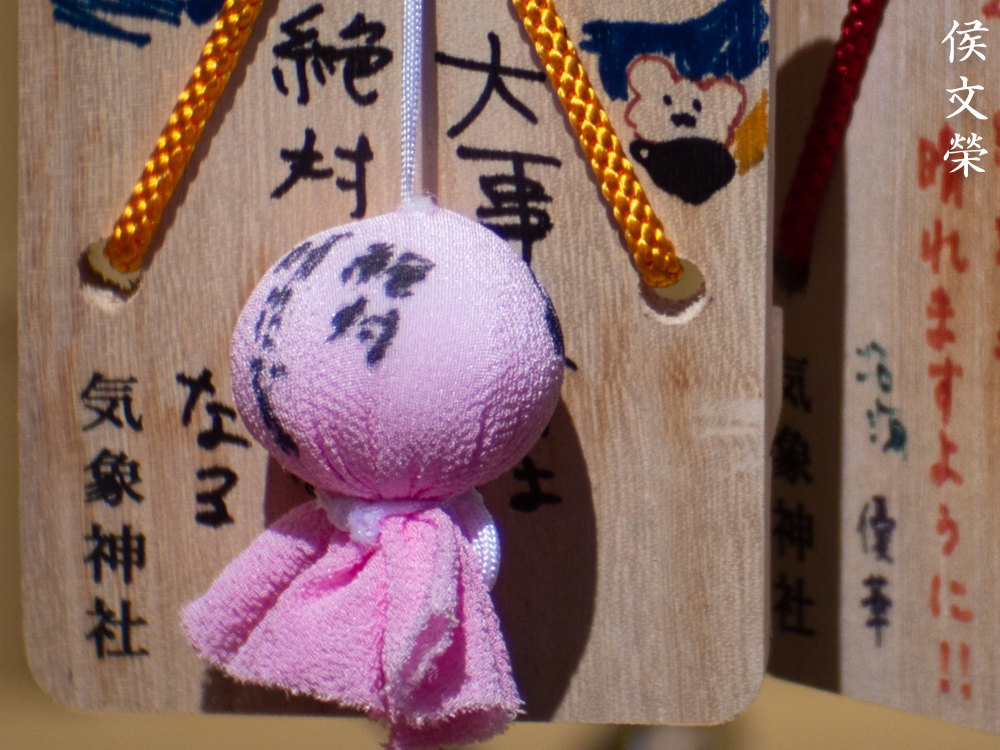
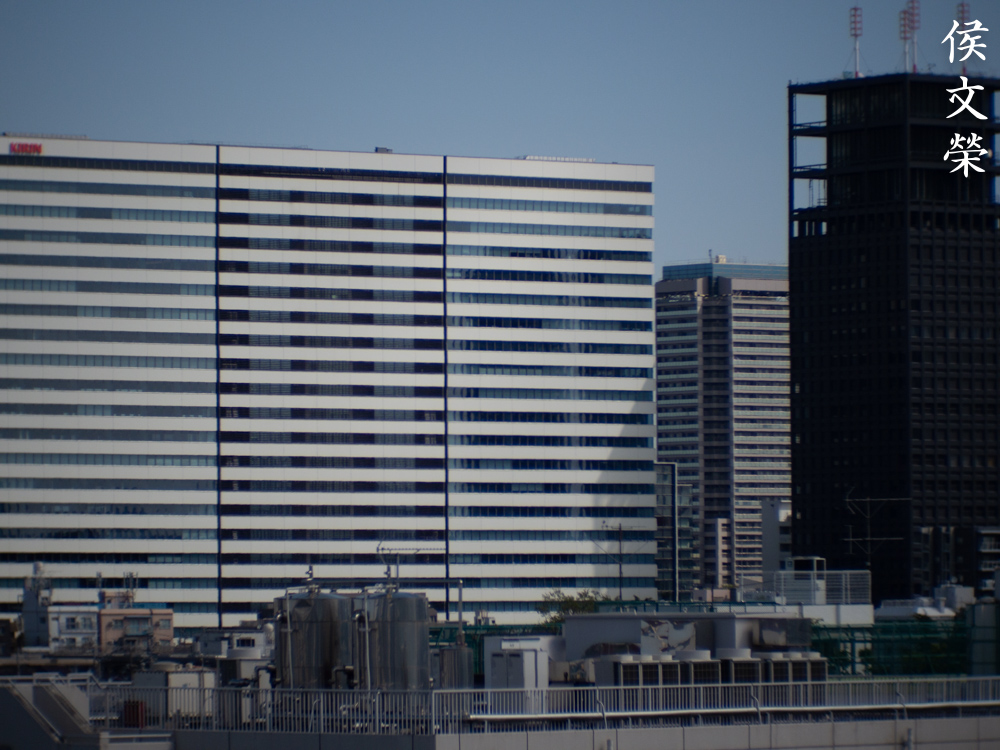
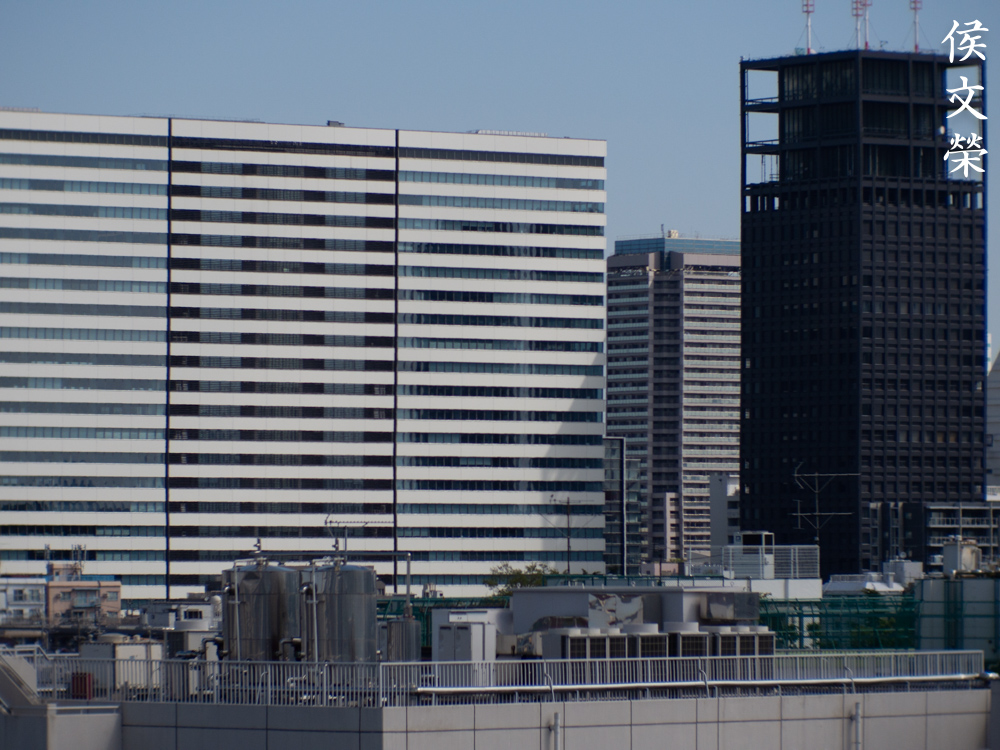
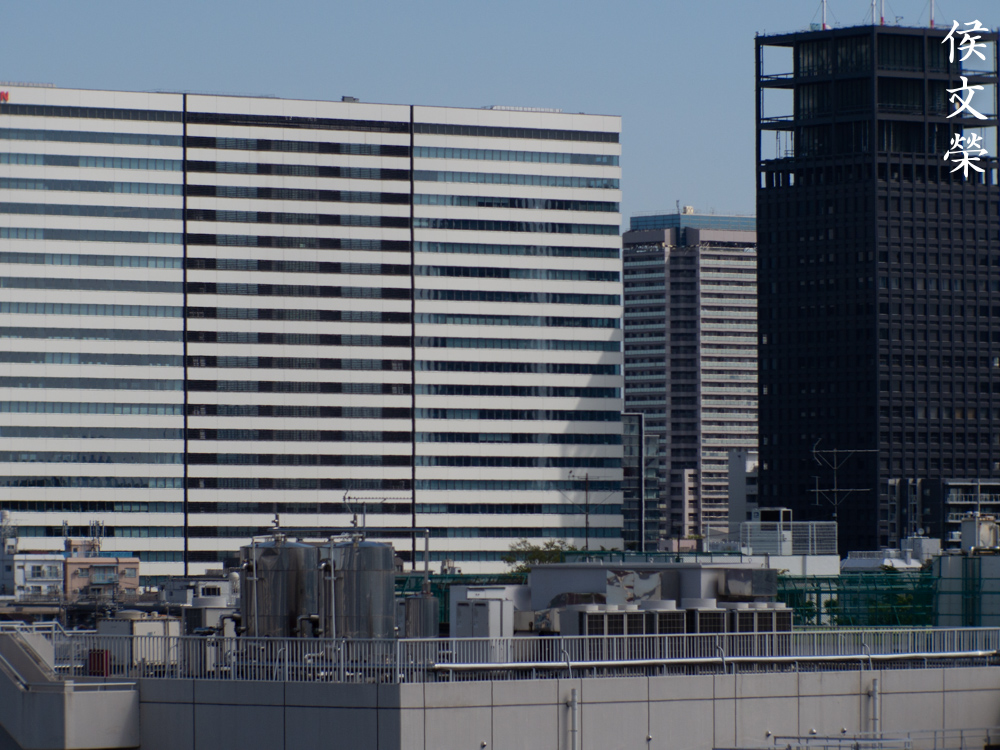
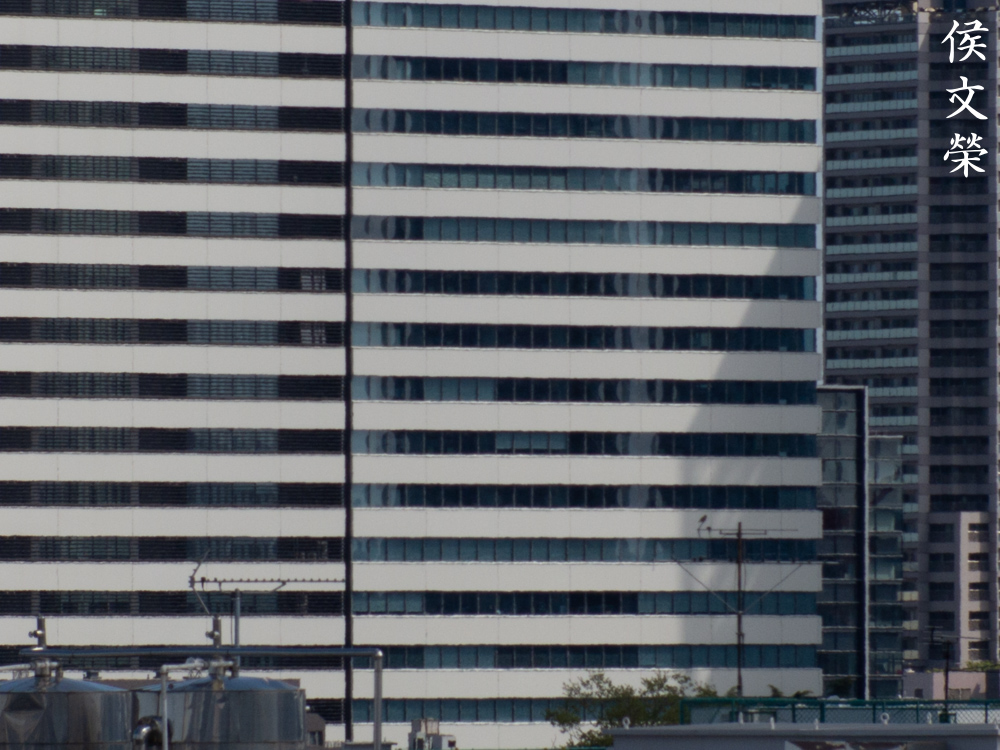
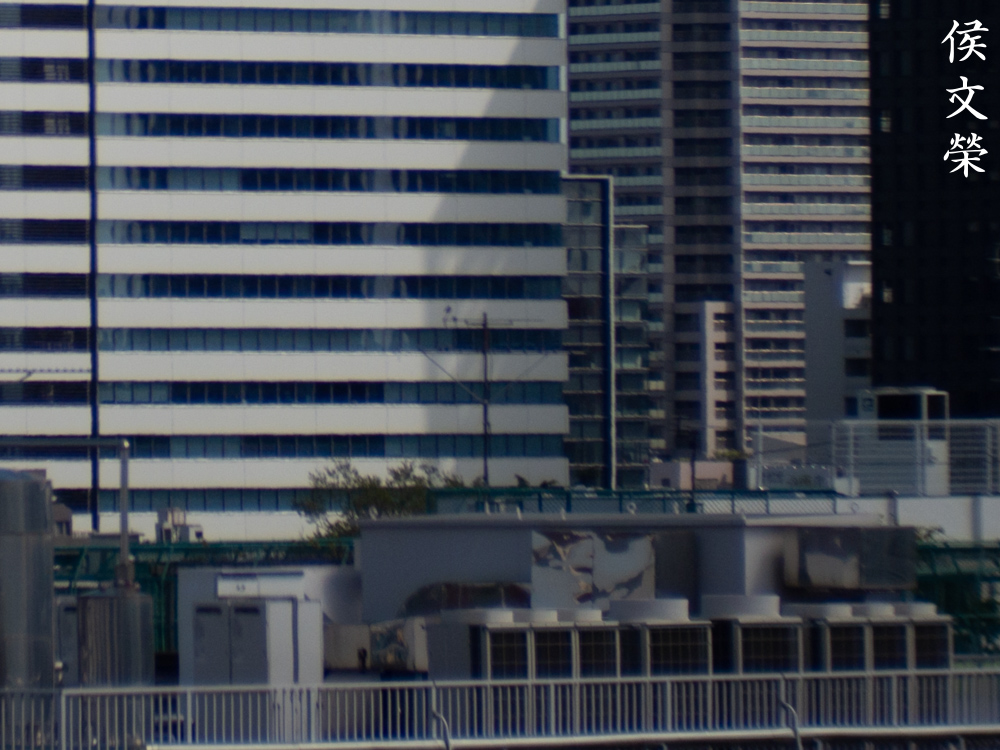
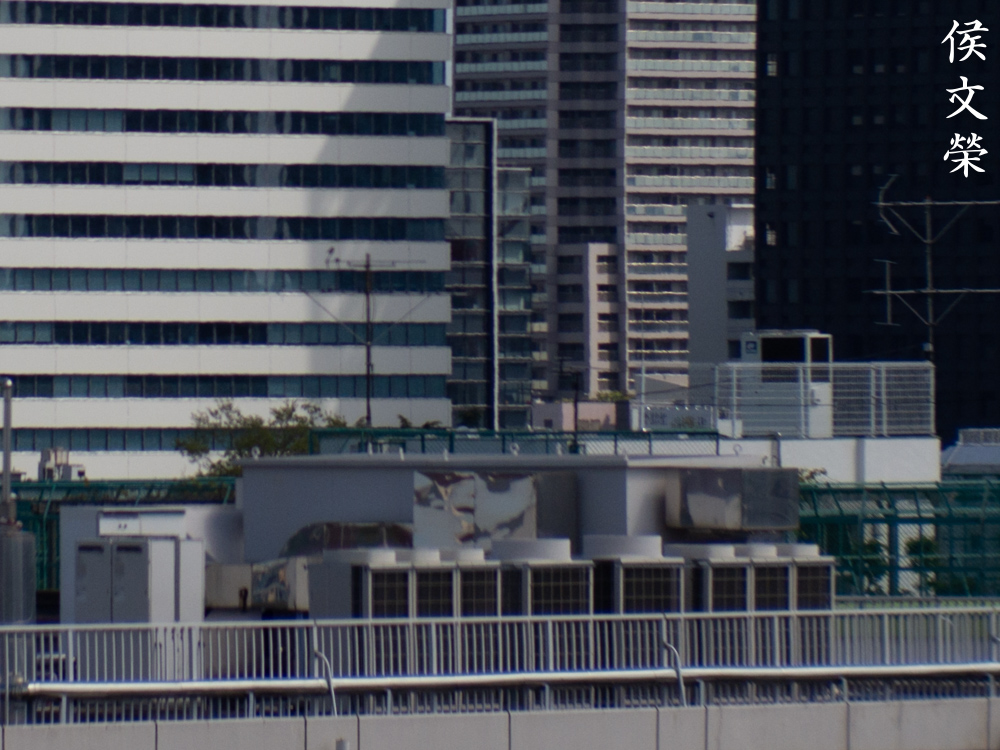
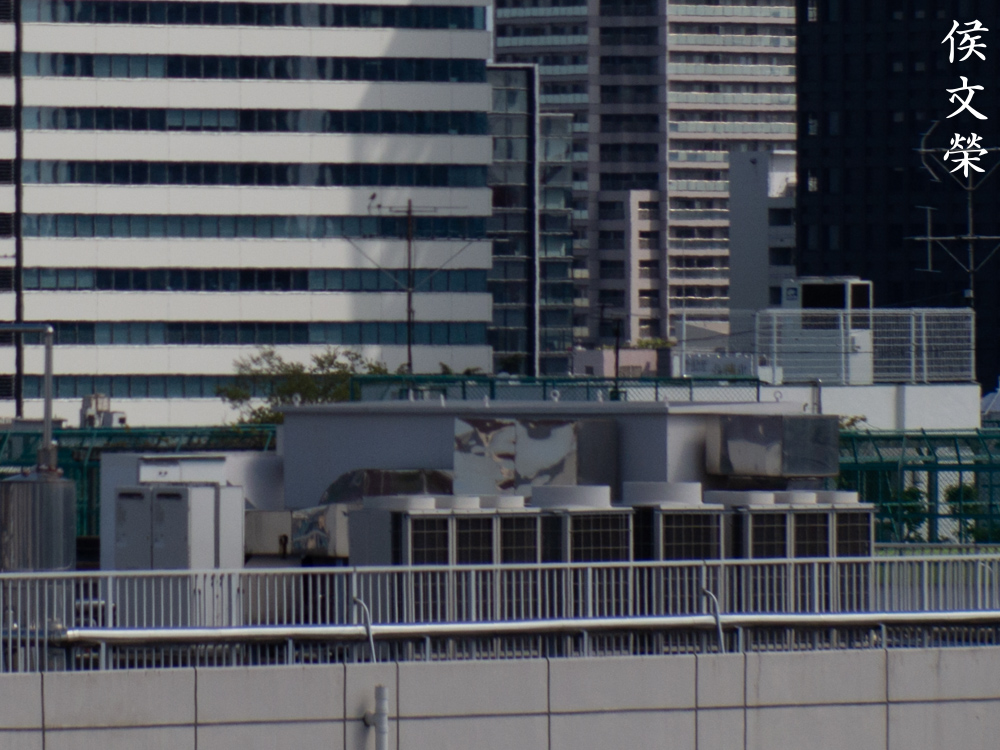
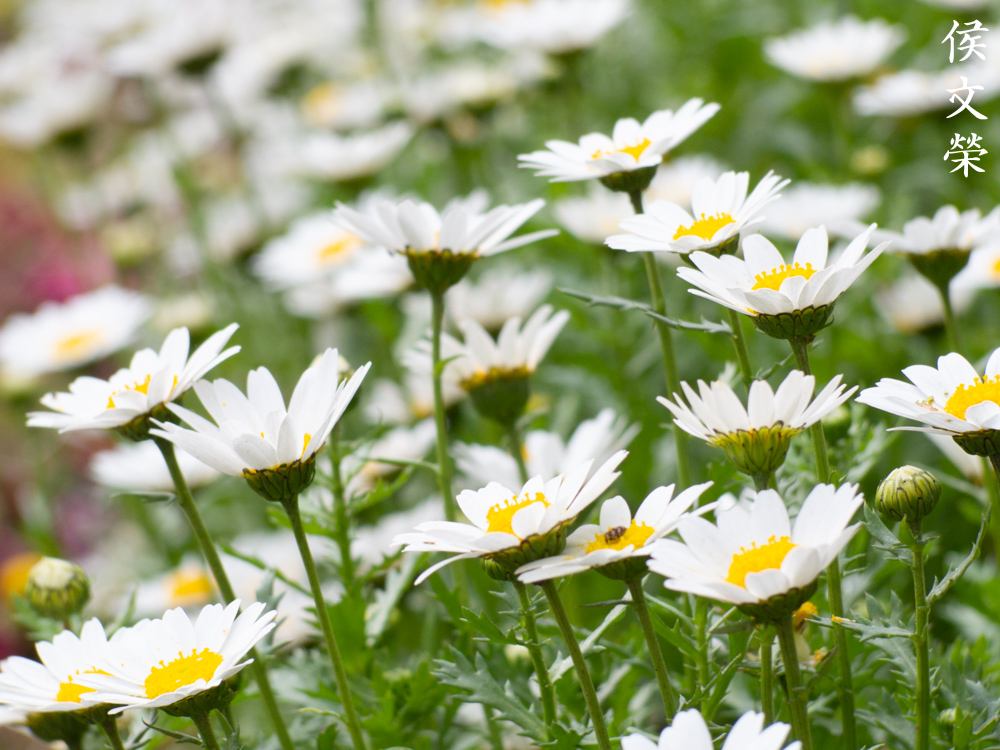
It appears to be quite sharp wide-open with a delicate-looking flare covering the whole frame. It’s subtle but you’ll get to see more of it at certain lighting conditions. Resolution is poor but it’s adequate for most situations. You’ll get sharp photos (at the center) when you stop it down f/2.8 which I think is its best aperture because you’ll still see some of the delicateness retained in your photos. The resolution improves considerably and you’ll begin to see details being shown in better fidelity. The corners still look bad specially at the extremities. Stopping this down to f/4 will give you excellent results at the center, the improvements aren’t drastic when coming from f/2.8 but you’ll notice subtle improvements at the center. The corners look a lot better, you should be stopping it down to at least f/4 if the corners matter to you. It’s not going to improve much at the center if you stop it down to f/5.6 but the corners now look a lot better. My sample performs somewhat better at closer distances and the performance drops a bit as you get closer to infinity.
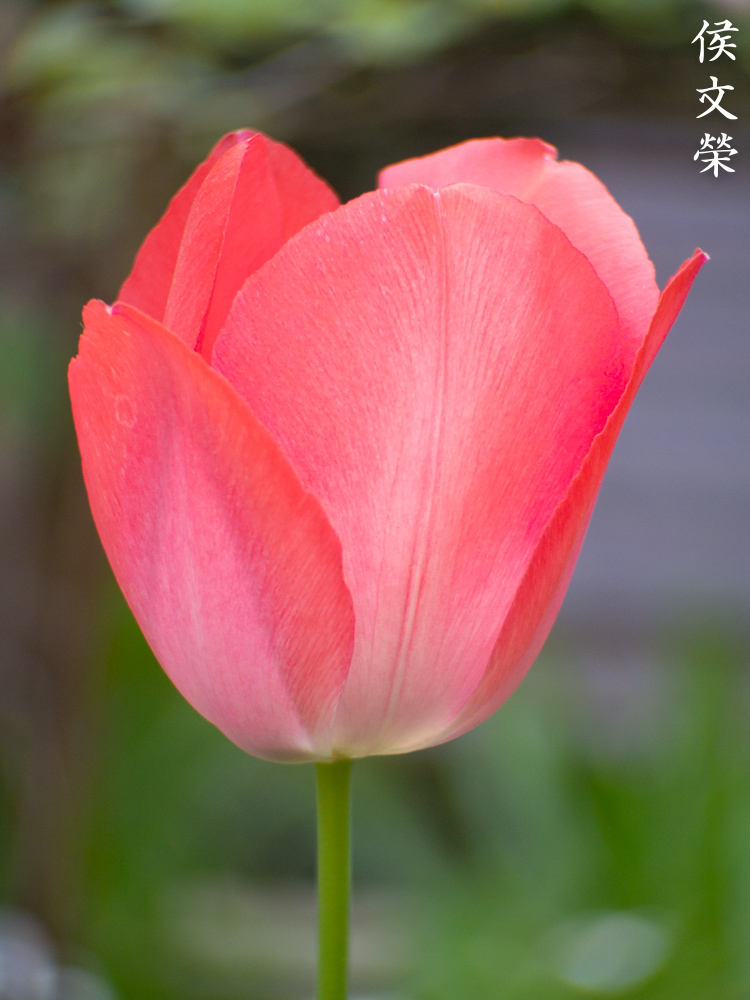
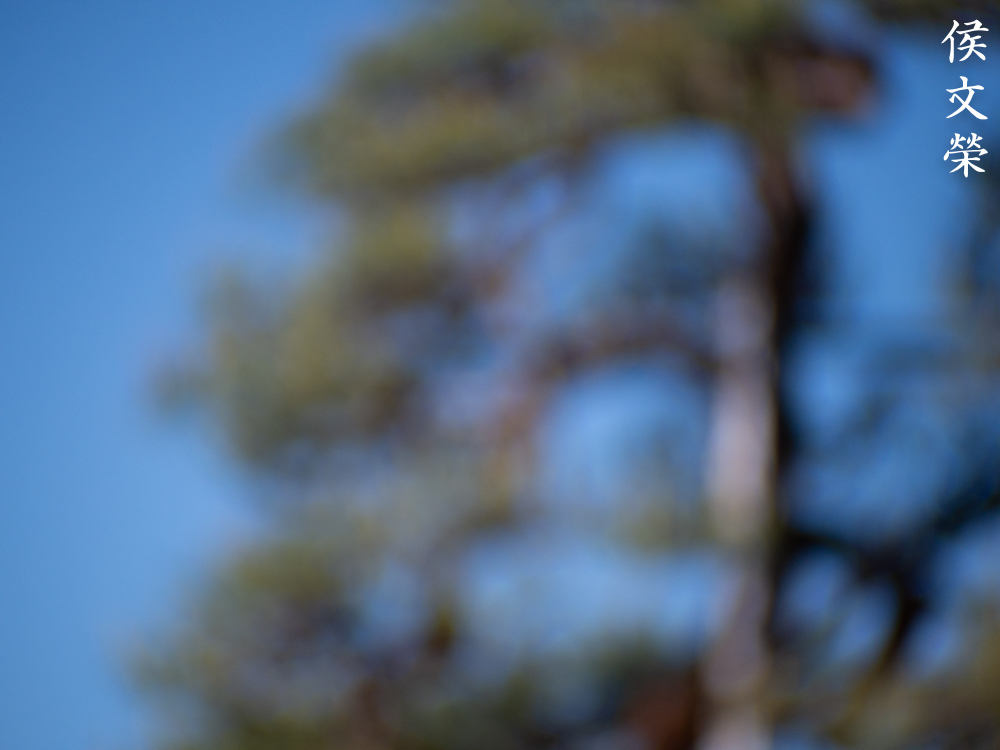
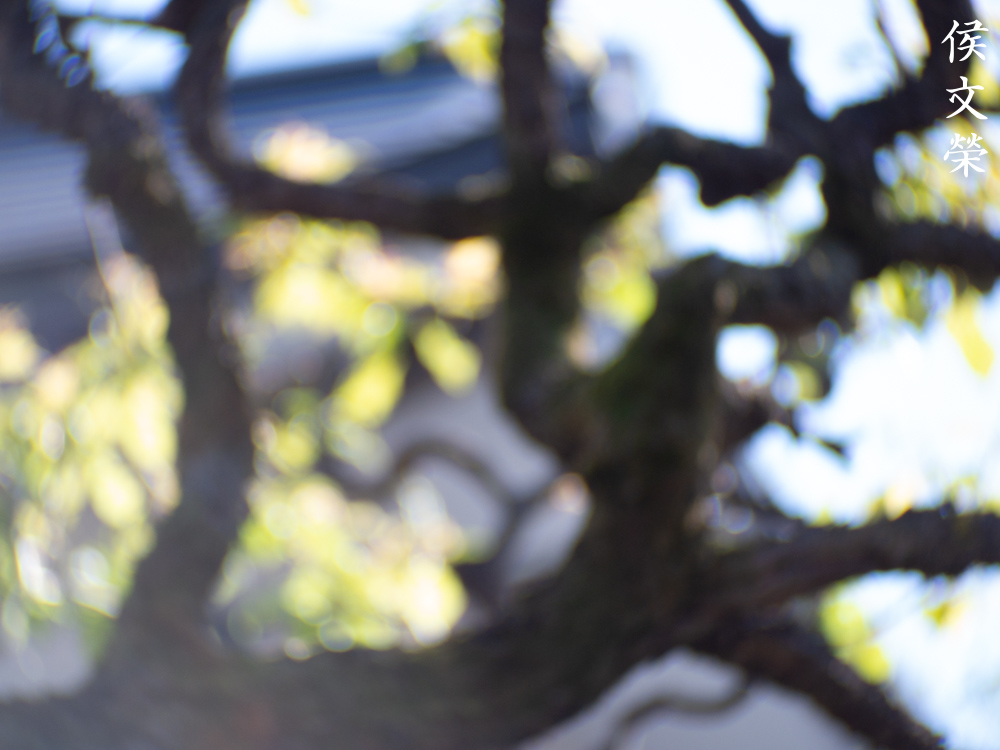
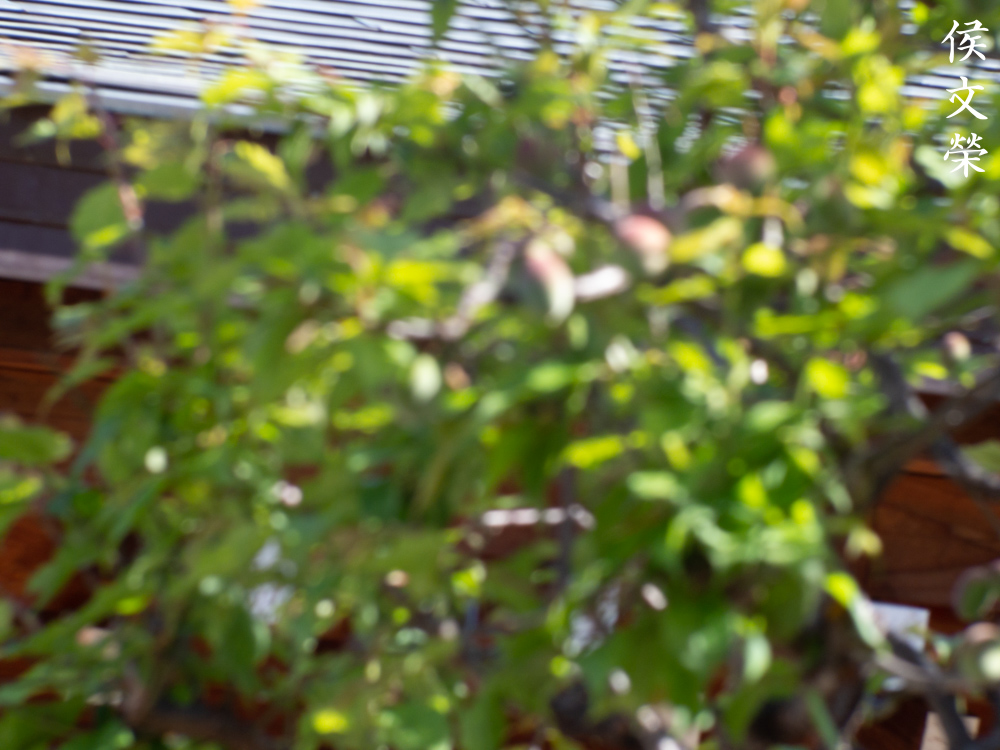
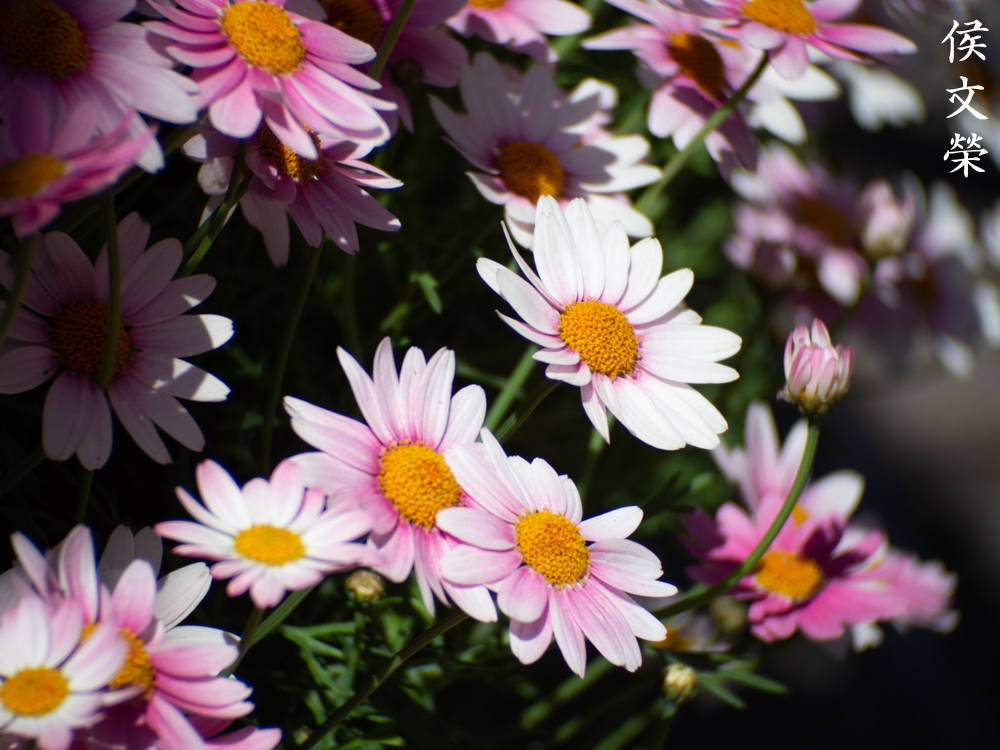
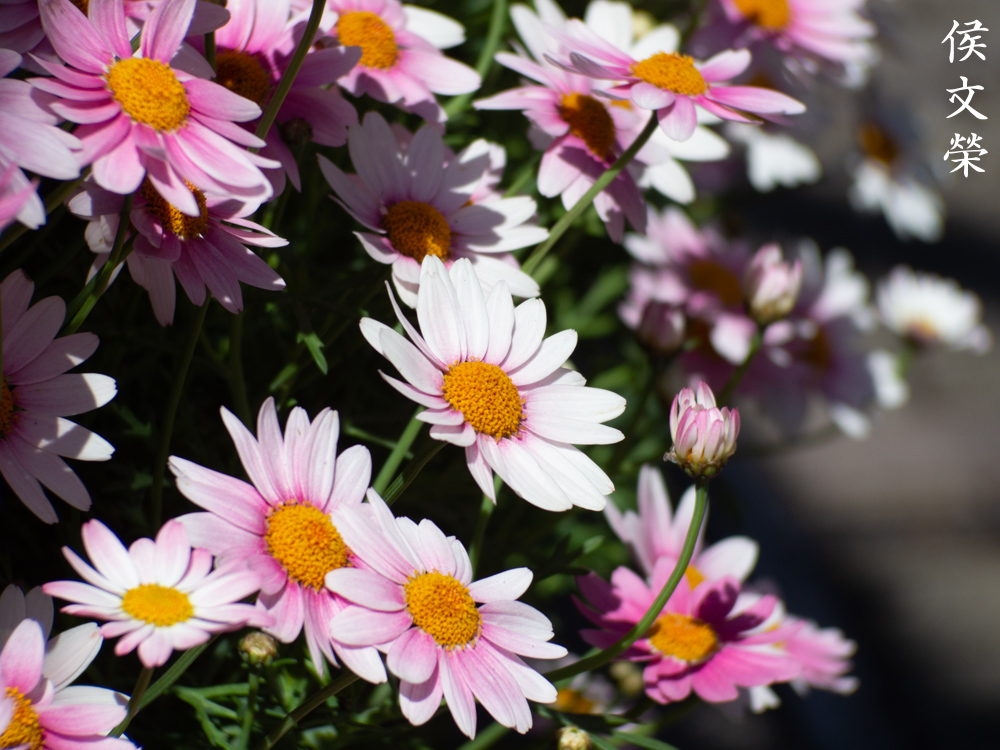
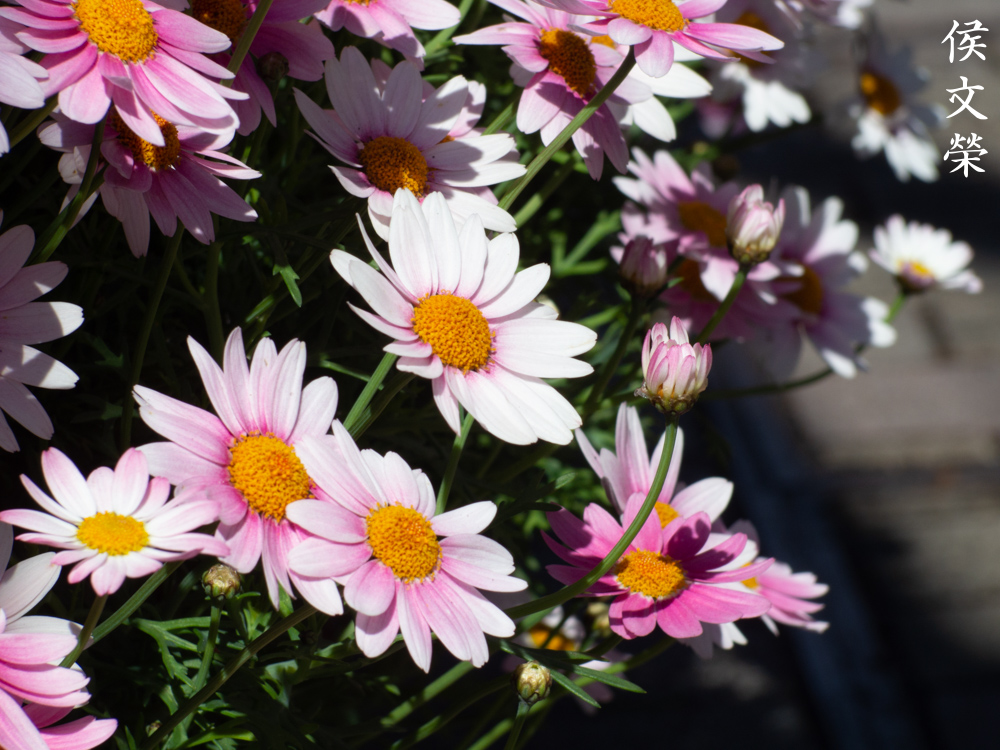
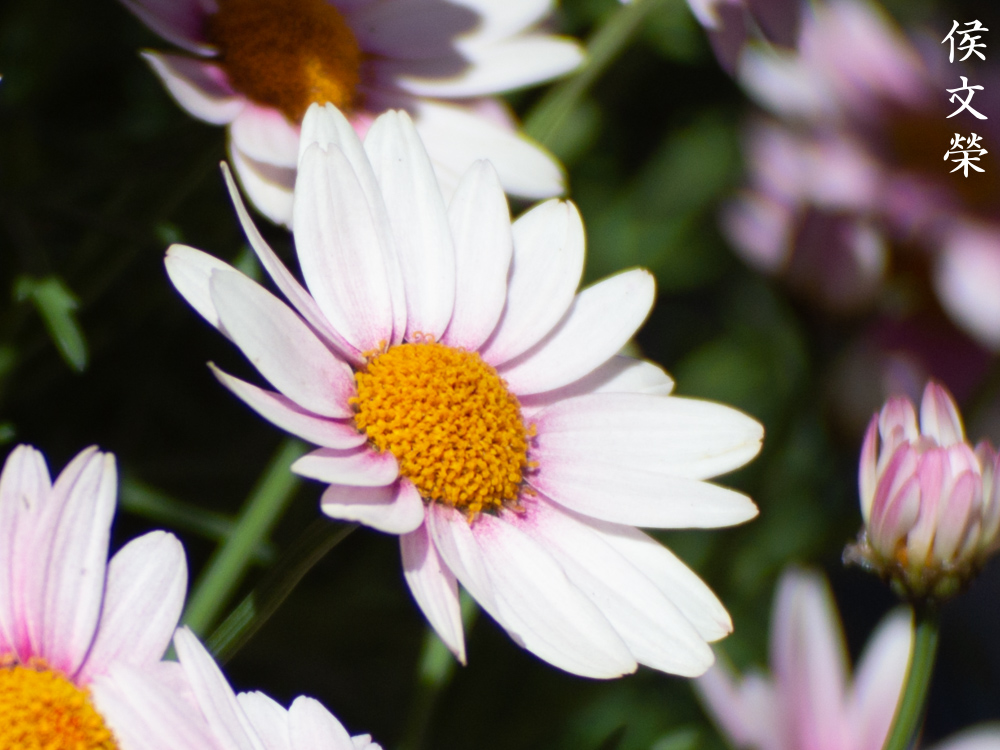
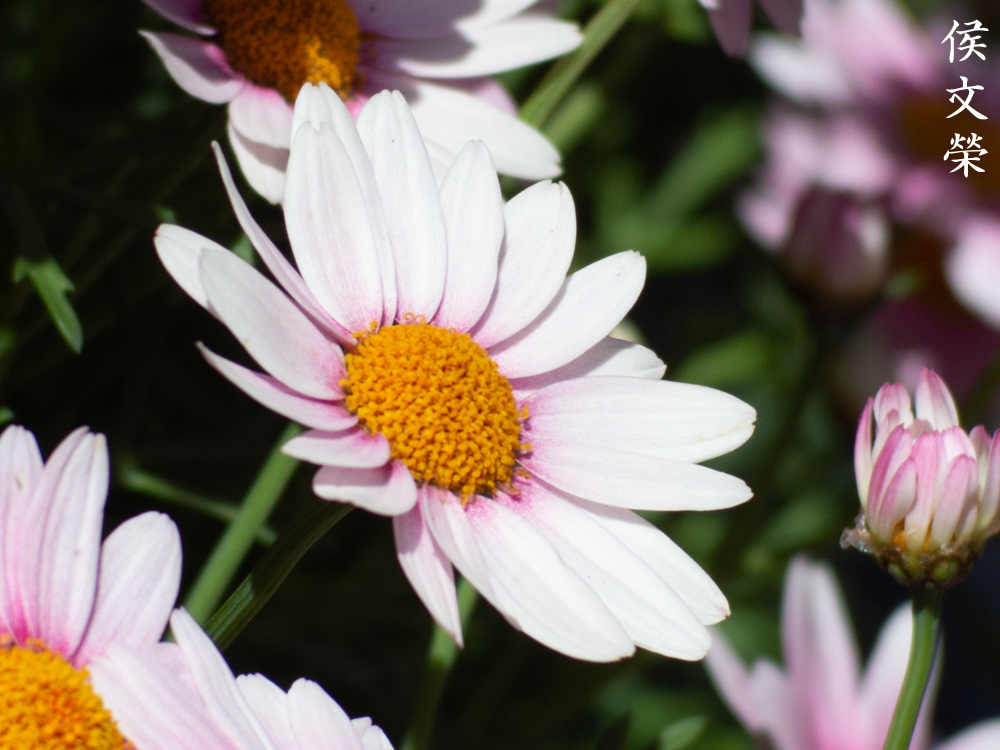
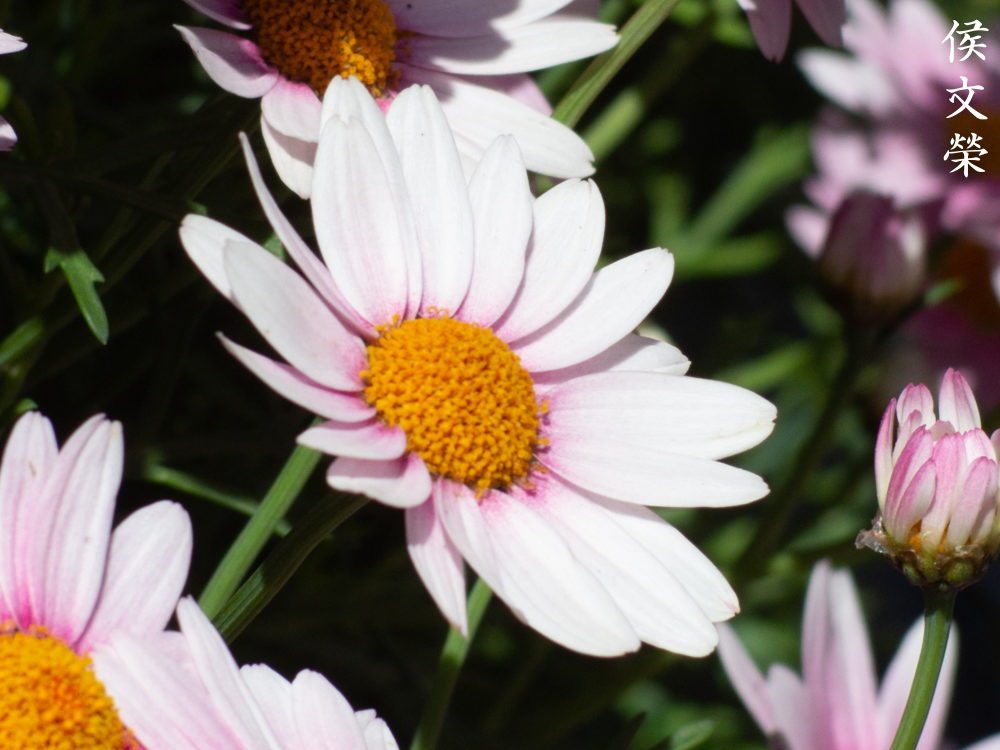
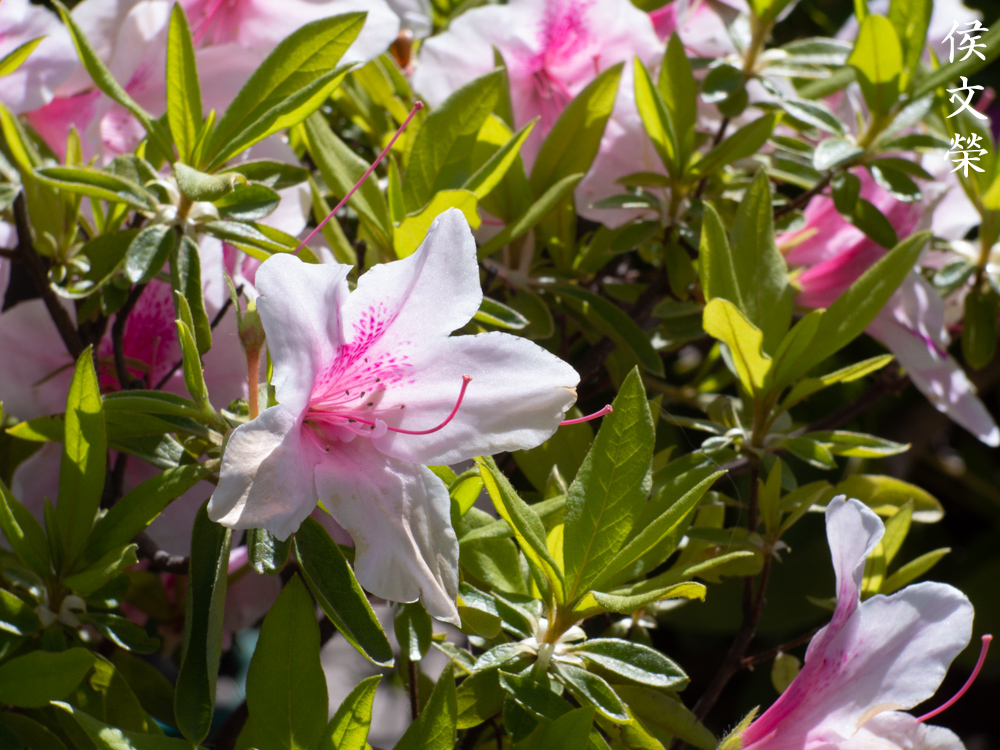
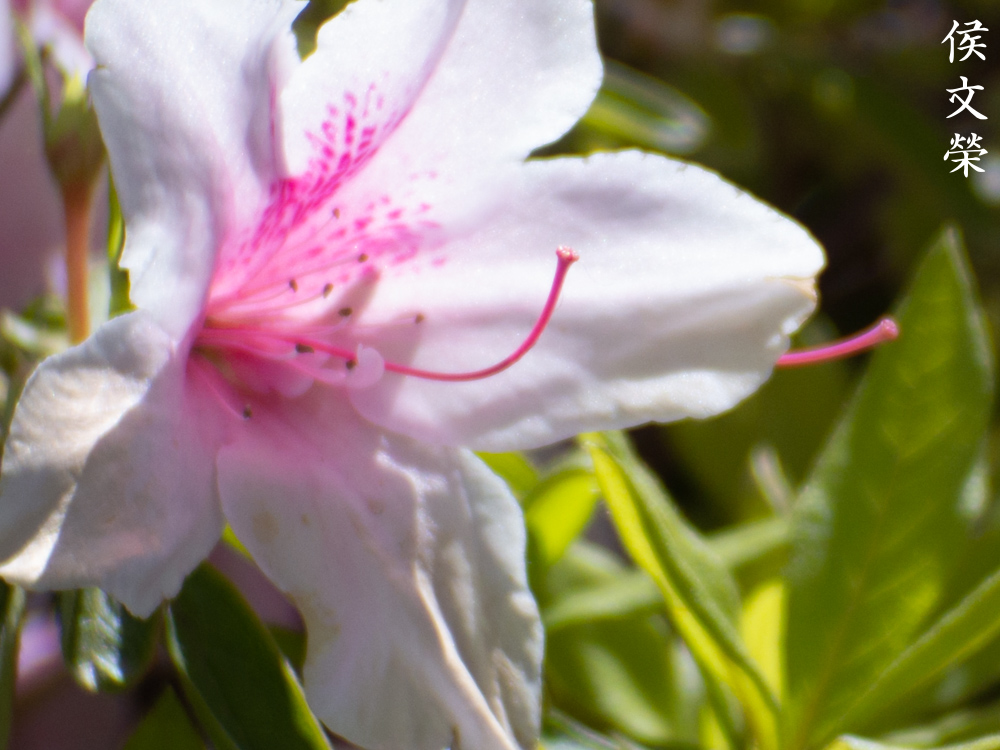
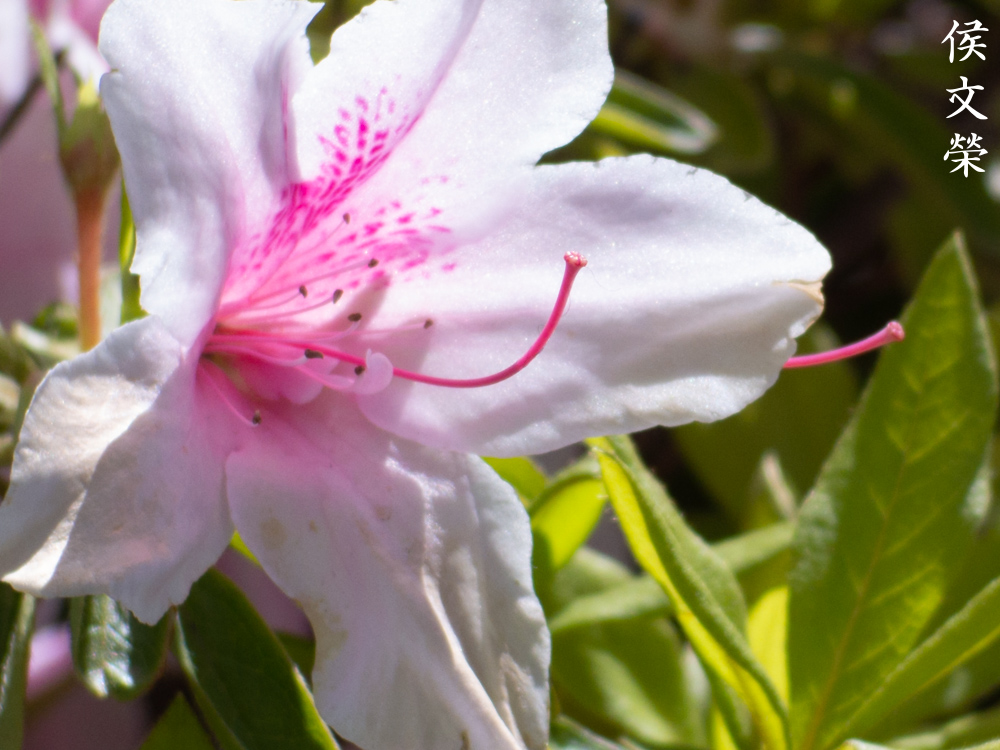
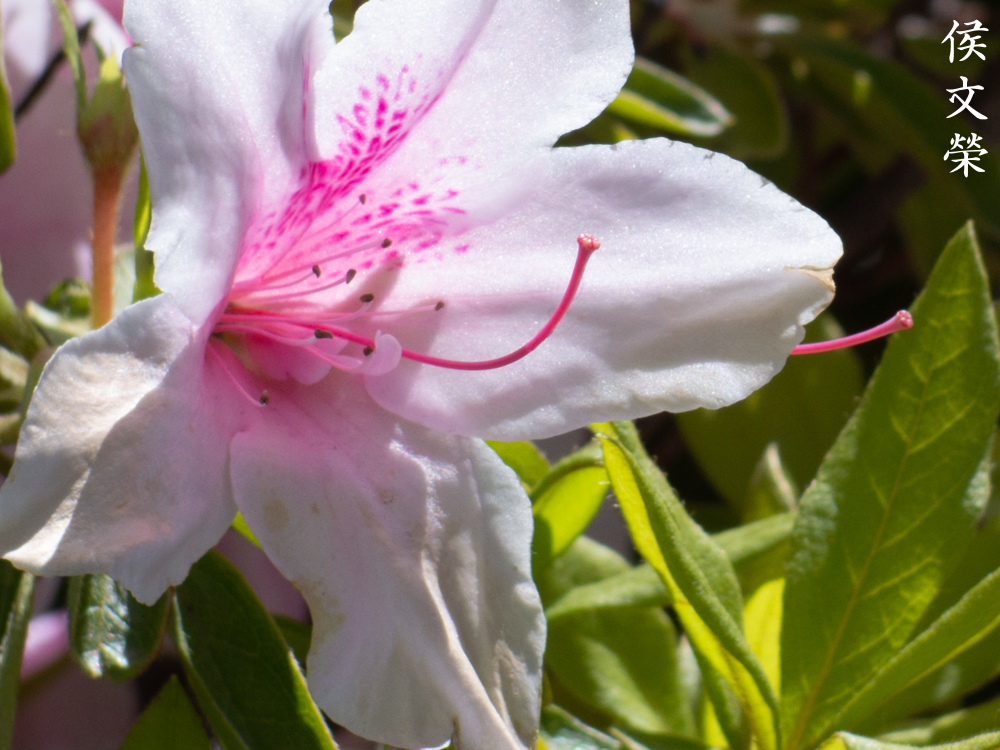
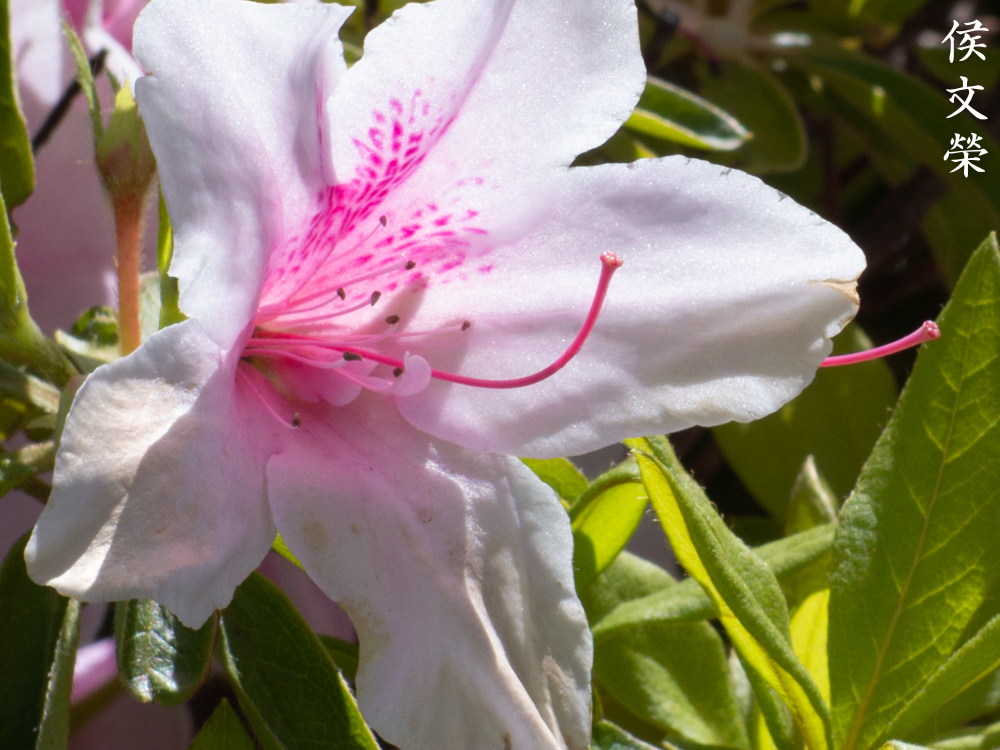
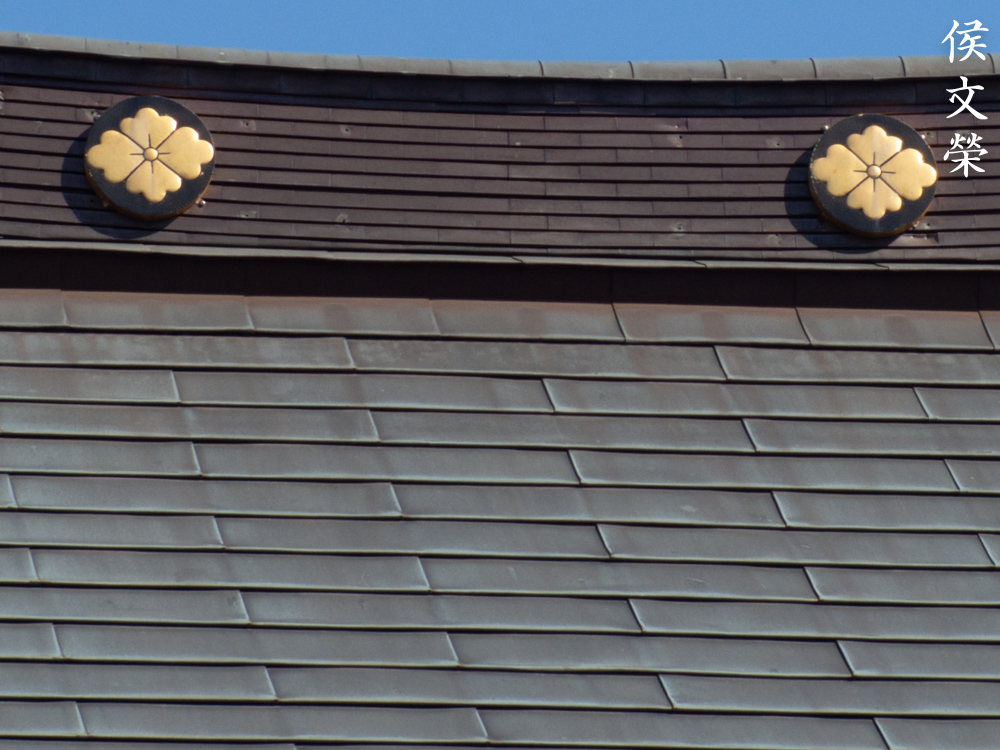
You’ll be able to focus-down to about 2ft with this, it won’t be enough to take photos of bugs but it’s great for flowers. The beautiful rendering wide-open is perfect for taking photos of delicate things. The background melts into a wash of colors at closer distances which helps create a surreal look which is perfect for postcards if you’re still living in the past.

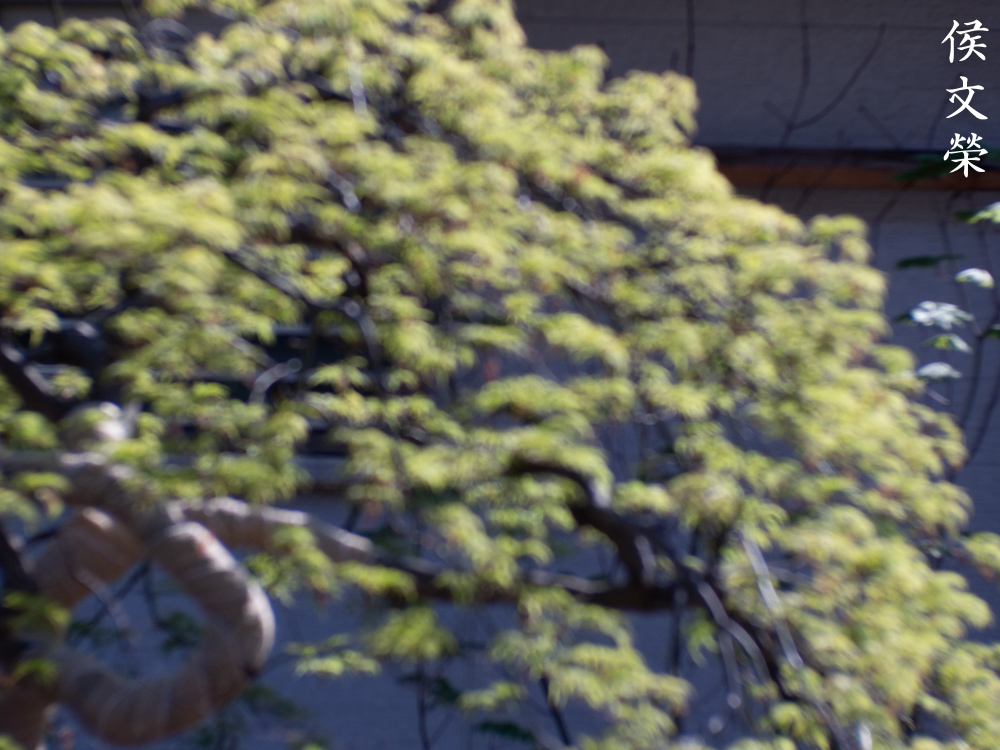
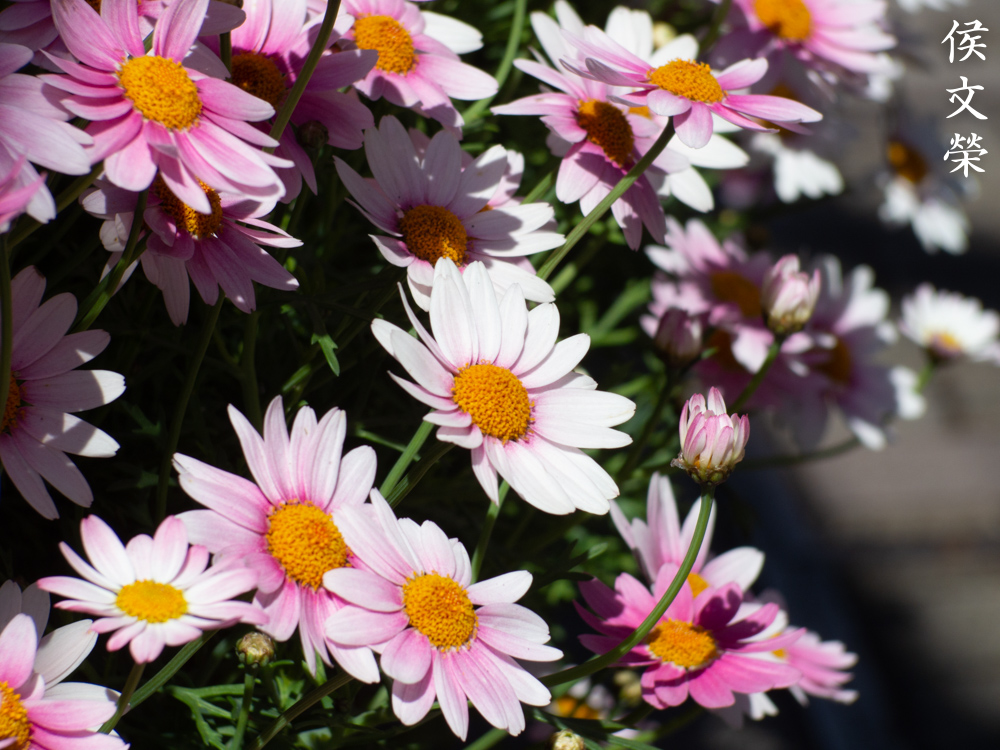
It will give you swirly-blurs which is something that I do not like much as I find this disorienting. The focus-transition is smooth so you won’t get a wall-of-focus.

This is a tight-crop of a drone that I shot at f/4. It’s difficult to focus accurately at this distance specially considering the inadequate resolution of the Pentax Q10’s screen.

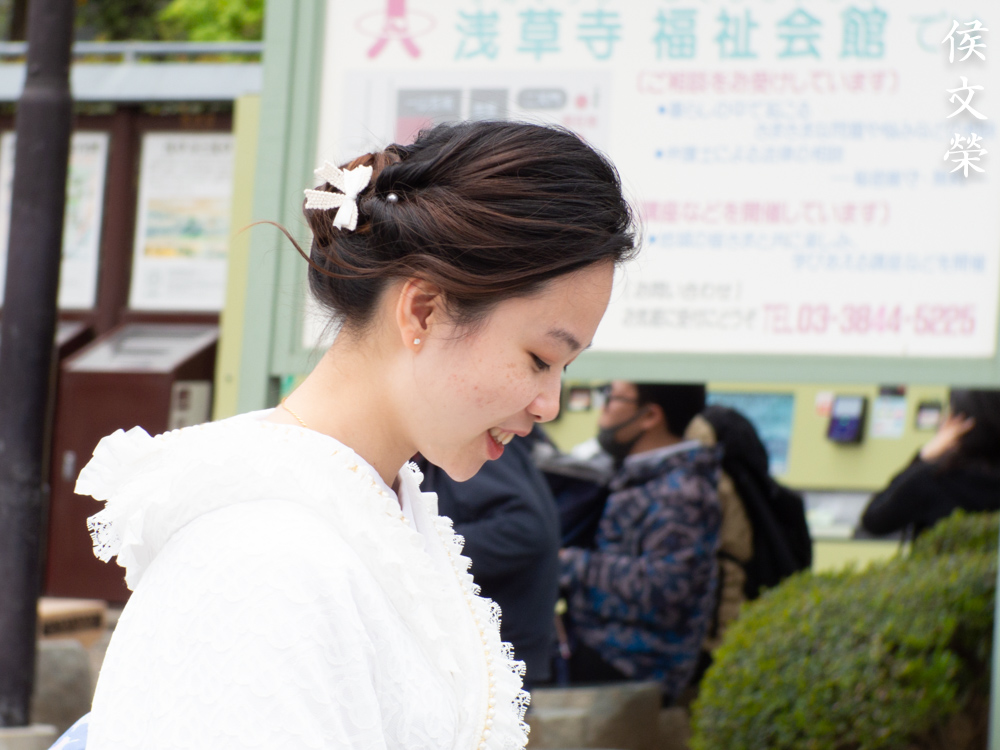
I see this as a competent lens for portraiture and I wasn’t disappointed at all by its performance in this context. What’s not good is how difficult it is to focus with using the Pentax Q10. It’s a lot easier if you have time to confirm your focus after each shot.

Despite acting as a telephoto and having a “fast” f/1.9 maximum aperture it’s still difficult to confirm your focus with it since it won’t have that thin depth-of-field that we’re accustomed to when shooting with larger formats. You can miss your focus without you even realizing it until you see your photo with a large monitor when you get home. Despite not being in-focus, this photo is a nice example of how good it is at blurring your backgrounds. The background will never turn into a blurry-wash even if you try unless it’s really far from your subject.

It renders skin beautifully thanks how spherical aberration is balanced with this lens. Skin looks healthy and youthful, a delicate glow gives skin these interesting properties when shot with this lens, a great feature for a portrait lens.

It has a slight blue tint which is common for lenses of that era since it helps create photos with more contrast when it’s shot with black-and-white film. This feature helps give your photos more of that “vintage-look” that some people love or hate depending on who you ask.

The diminished effects of foreshortening in a long lens helps create a flat-looking photo. This is useful for framing and storytelling so your subjects won’t appear too different when one is closer to you.


(Click to enlarge)
Here are more photos. I truly enjoyed shooting with this and I think that many people should actually use this more as a portraiture lens. You could also use this for shooting sports because many people used these back then for that. It’s a great lens for just about anything so long as you have the patience to focus with it.
This is a really great lens. I highly recommend this because there’s not a lot of alternatives to this when it comes to the tiny D-mount Cine-Nikkors. The later Cine-Nikkor 38mm f/1.8 is brighter but a lot rare than this, I also do not think it’s a lot better in terms of performance anyway. When looking for one you should be concerned about the state of the iris since that is the most vulnerable part of the lens. It’s difficult to find one with scratch-free glass these days, don’t worry too much about it as a few light scratches won’t affect your photos. Turn the rings and see if they operate smoothly. It is not uncommon to find these with dry helicoids so you’ll need to overhaul them anyways. Lastly, wiggle the front part of the barrel, it should not feel broken at all and the amount of play shouldn’t be unusual. These aren’t expensive but I don’t think these are cheap, too. I got mine for $30.00 from a junkshop but these sell for much more online. Just wait a bit and you’ll find one for a reasonable price, happy hunting.
Before We Begin:
If this is your first attempt at repairing a lens then I suggest that you see my previous posts regarding screws & drivers, grease and other things. Also read what I wrote about the tools that you’ll need to fix your Nikkors.
I suggest that you read these primers before you begin (for beginners):
- Essential tools
- Best practices 1
- Best practices 2
- Best practices 3
- Ai conversion
- Working with Helicoids
Reading these should lessen the chance of ruining your lens if you are a novice. Before opening up anything, always look for other people who have done so in YouTube or the internet. Information is scarce, vague and scattered (that is why I started this) but you can still find some information if you search carefully.
I highly recommend that you read my working with helicoids post because this is very important and getting it wrong can ruin your day. If I can force you to read this, I would. It is that important!
For more advanced topics, you can read my fungus removal post as a start. It has a lot of useful information, it will be beneficial for you to read this.
Disassembly:
Despite being big for a D-mount lens it has plenty of tiny parts so you’ll need special tools and skills when servicing it. I will never recommend this to a novice, only an experienced repairer should tackle this since the dexterity required for it is akin to that needed for repairing watches. You’ll also need special tools for the job and steady hands to prevent any damages. If your lens needs to be serviced send it to a professional, be sure to show my article to help him/her out. It’s not easy to find repairers who are experienced with working on cine-lenses so my article should be helpful.
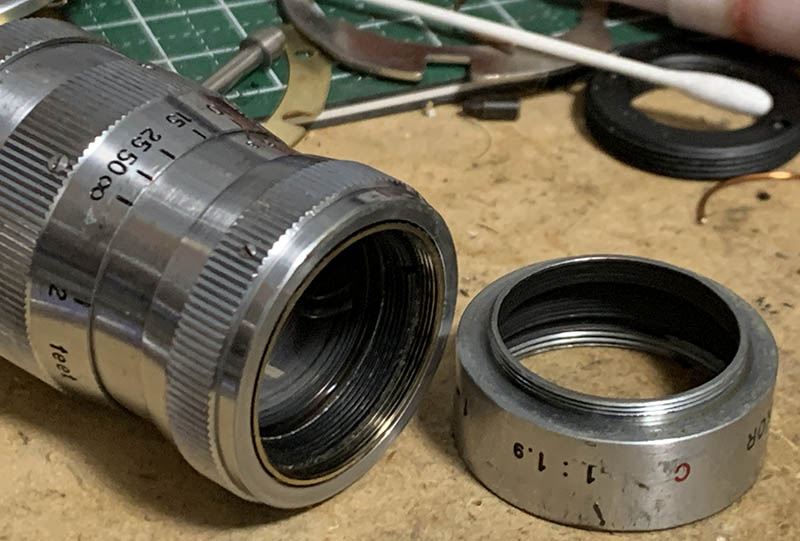
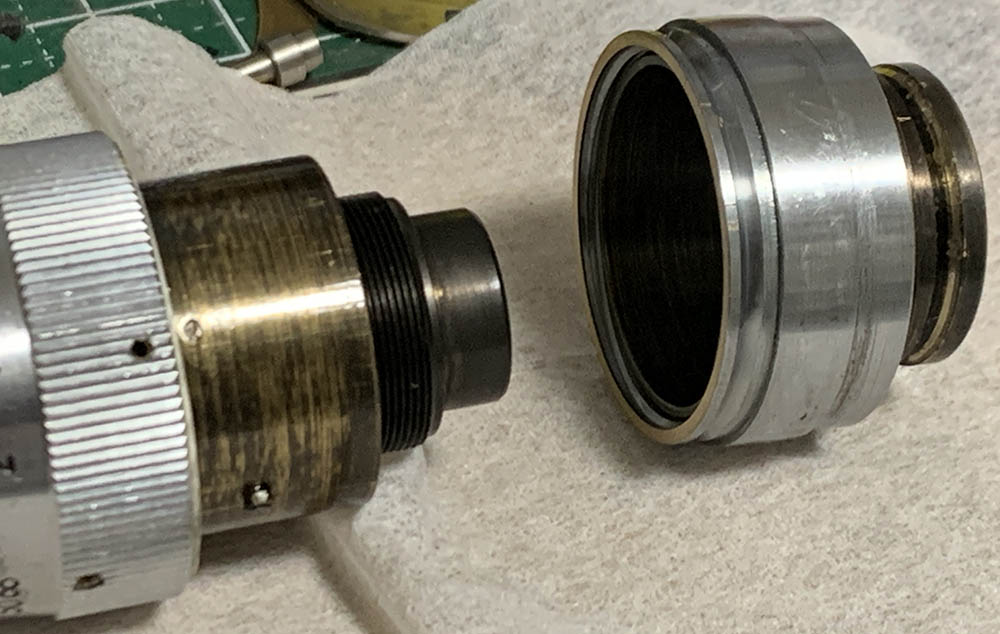
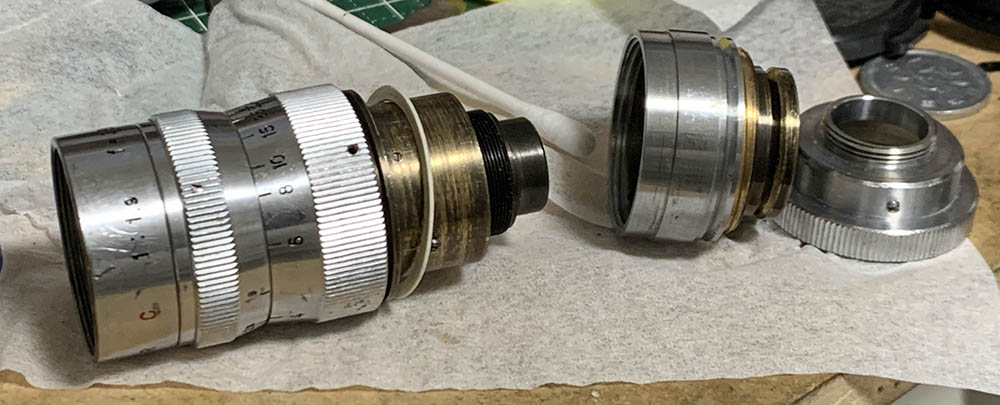
It may not be always possible to unscrew the front ring so easily but I was able to do it with mine. Removing this makes it a lot easier to access the front group.
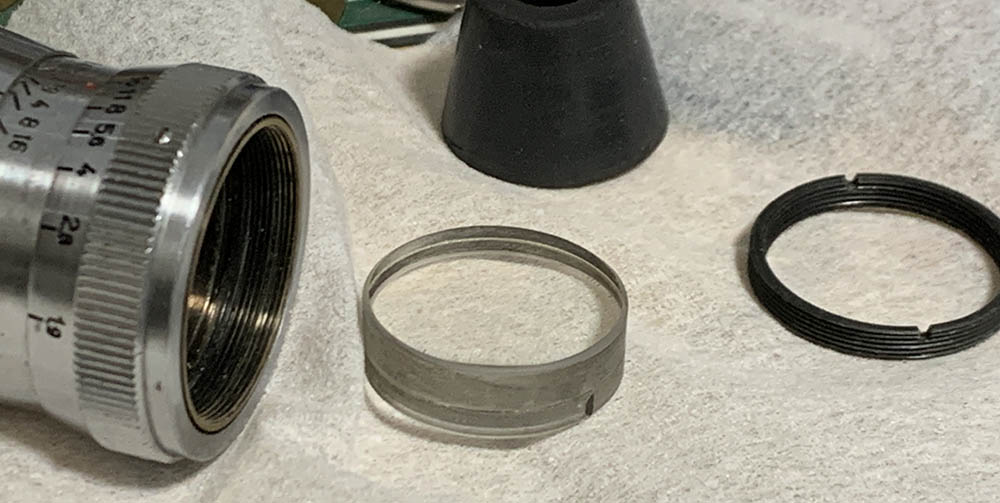
Carefully unscrew the retainer ring and extract the front group with a lens sucker. Note which side should be facing the front so you’ll know how to put this back.
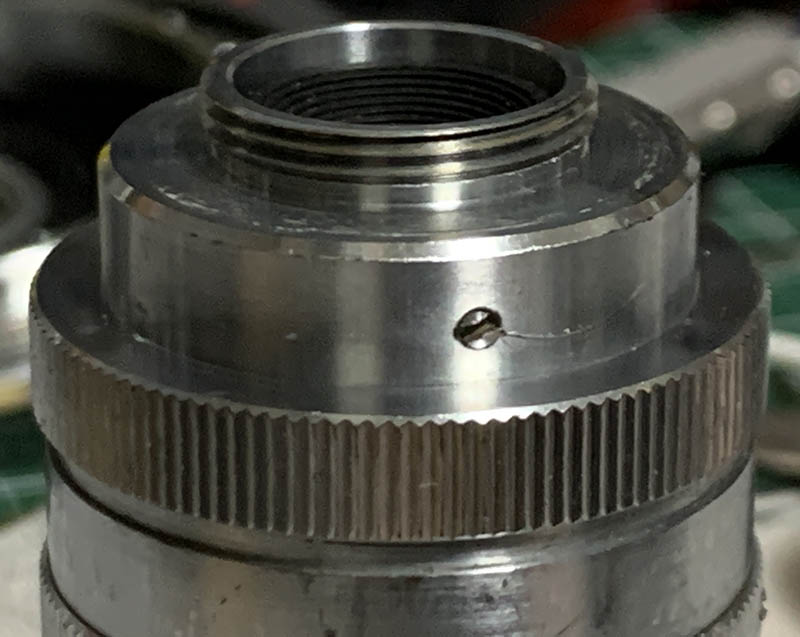
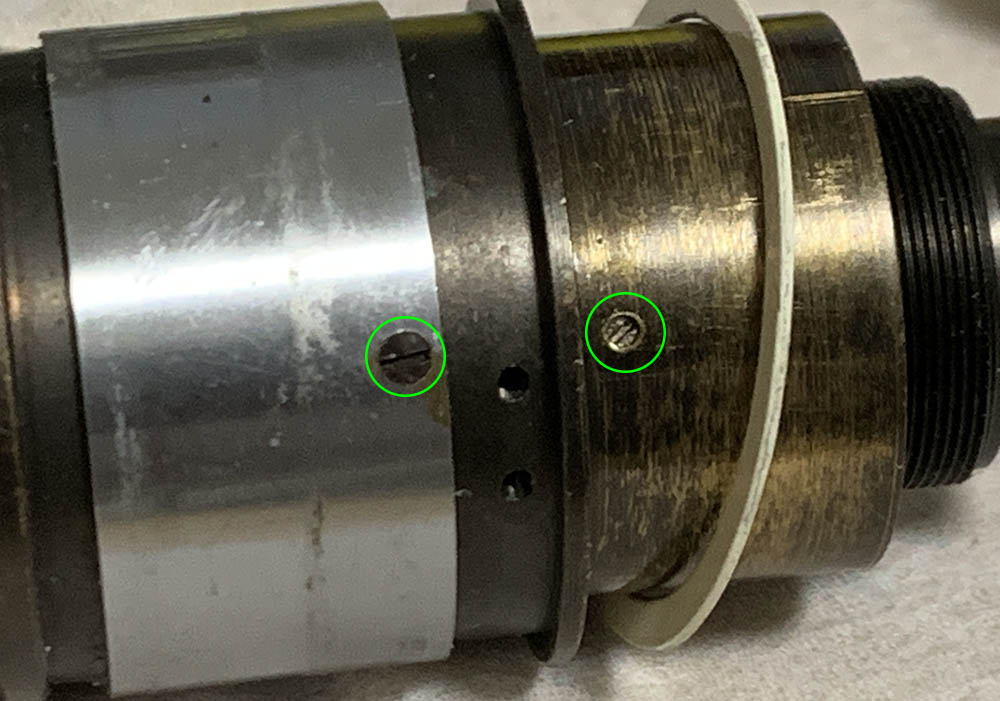
Loosen these screws but don’t remove them, just loosen them so you could pull the mount off from the barrel.
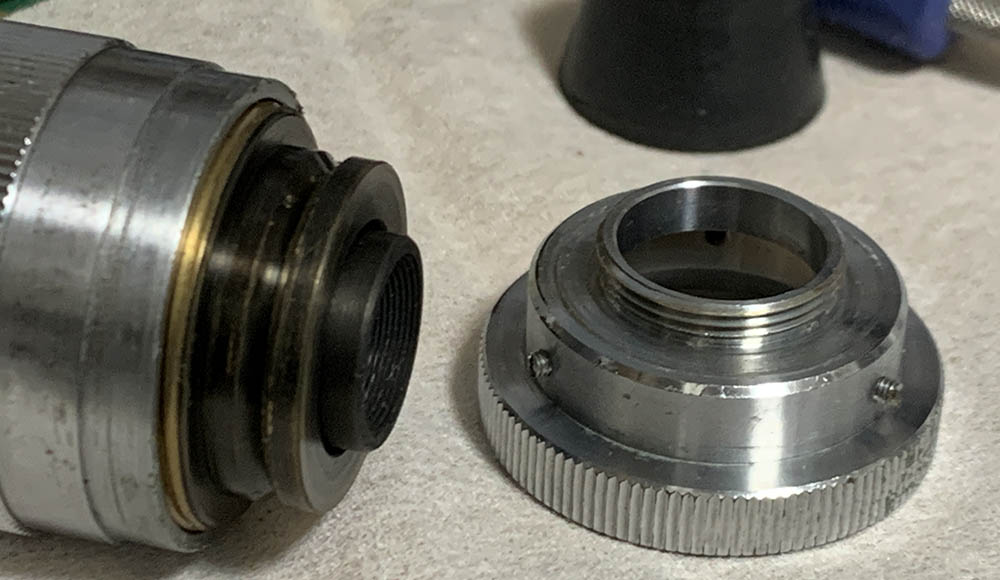
The mount is adjustable so it turns when you loosen the screw, simply pull it off to separate it from the barrel
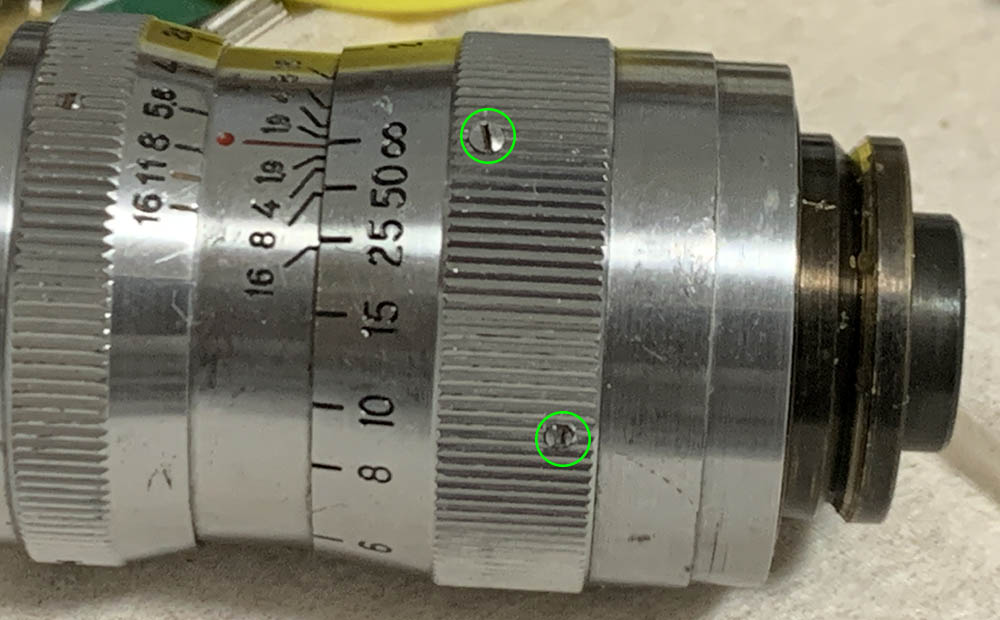
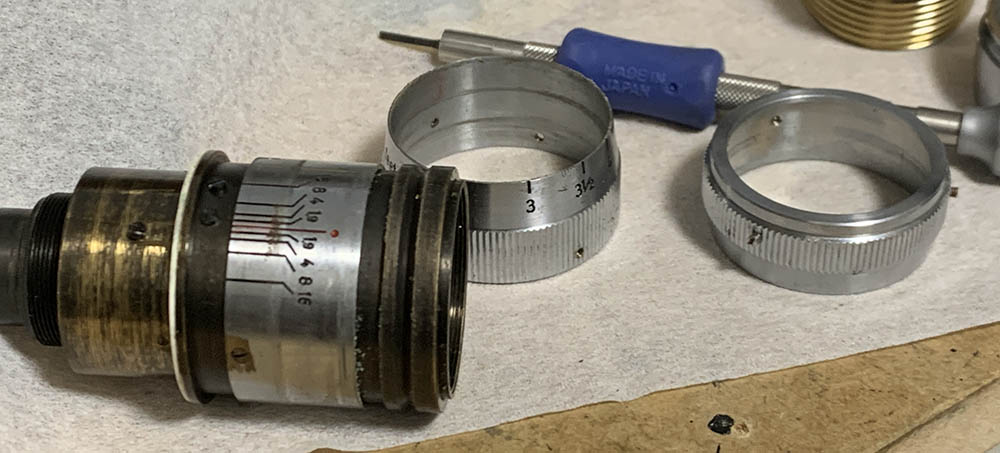
Loosen the 3 screws of the focusing ring and be sure not to lose them. Extract the larger one and keep it safe, that one is used to constrain the focusing ring’s range.
The focusing ring and its 3 screws are the only things that secure the main barrel to the focusing unit. Simply pull it off once the focusing ring’s screws are loose. Carefully tighten the screws back a bit so they won’t be misplaced so easily.
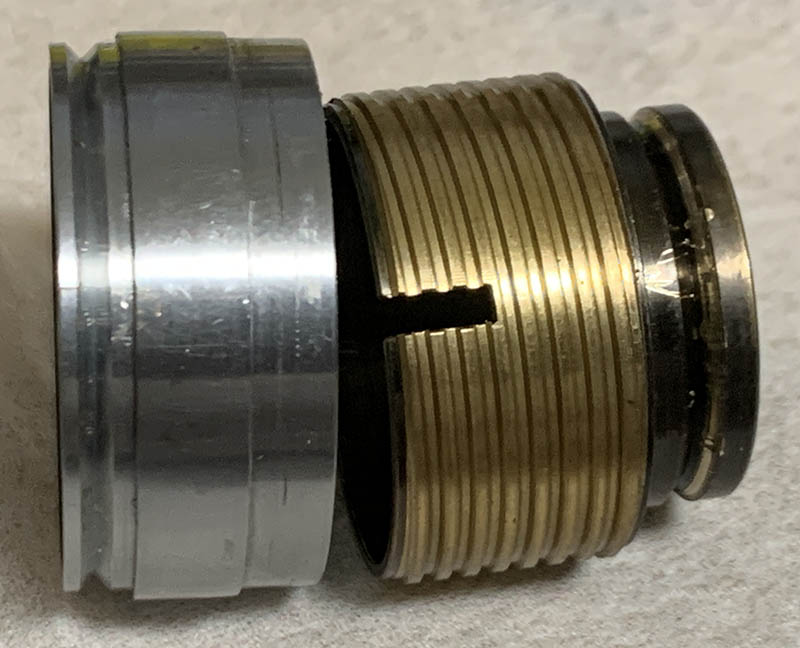
Carefully separate the helicoids and note where they parted since this is also the place where they should mate. People usually forget to do this and get stuck, to prevent this from happening read my article on how to work with helicoids.
Loosen the screws of the aperture ring to remove it, once it’s gone the focusing ring could be removed as well.
Do not lose this shim, its height is precise so the front barrel will sit perfectly on top of the focusing unit. If it’s too tall you won’t be able to secure the focusing ring properly and if it’s too short the front barrel will wiggle back-and-forth.
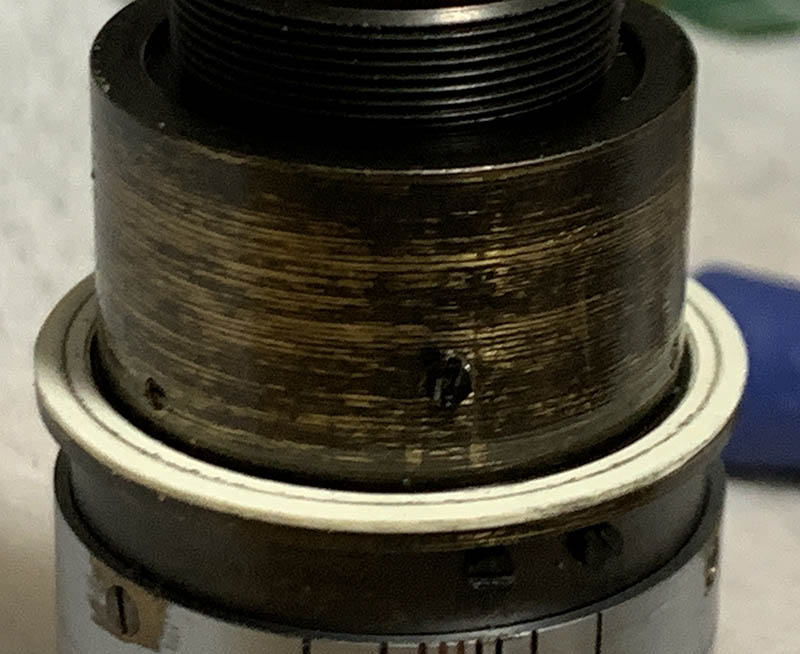
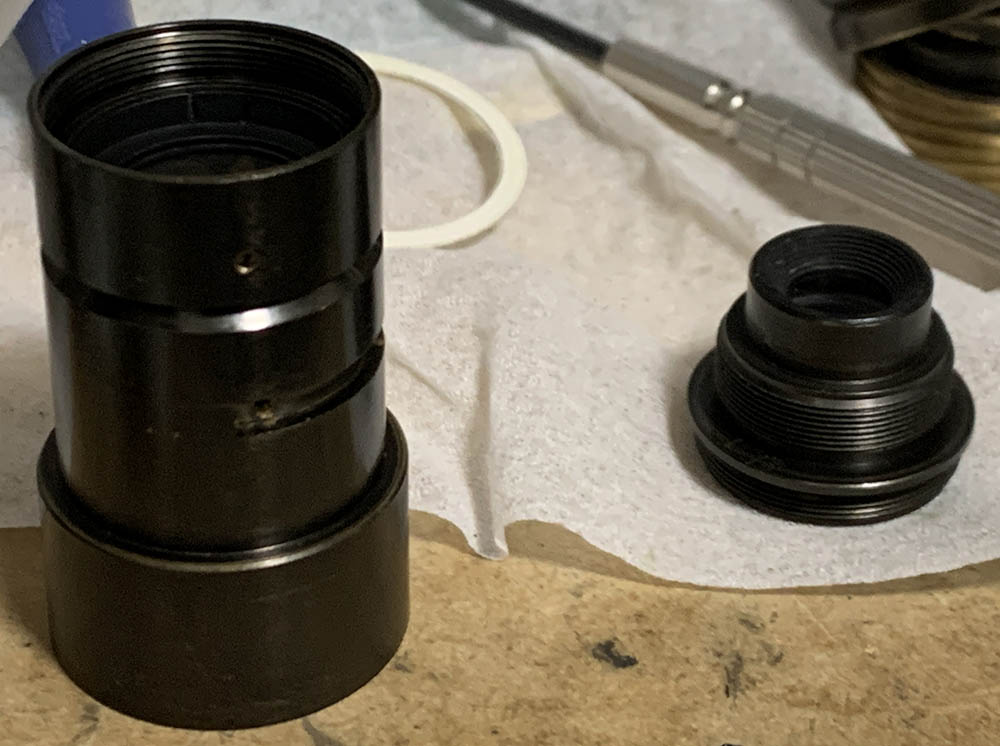
Extract the screws of the sleeve to remove it. Loosen the 3 set screws so you could pull the objective’s housing from the rest of the main barrel. Do not remove these set screws since it’s not easy to put them back.
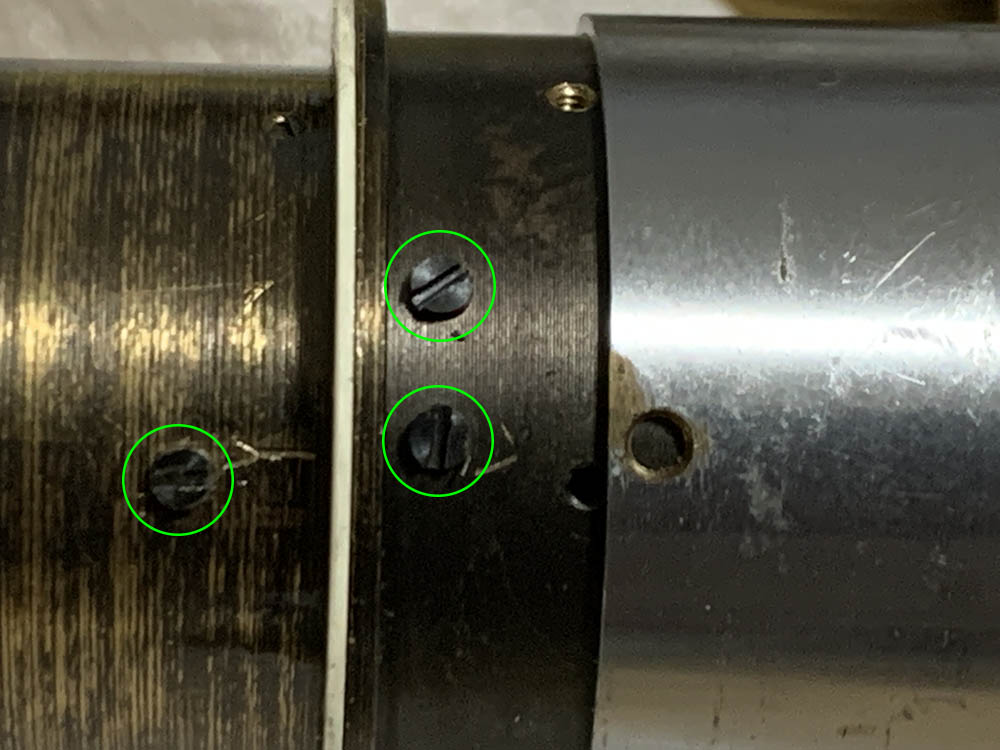
Do not remove these unless there’s something wrong or you need to remove the shim.
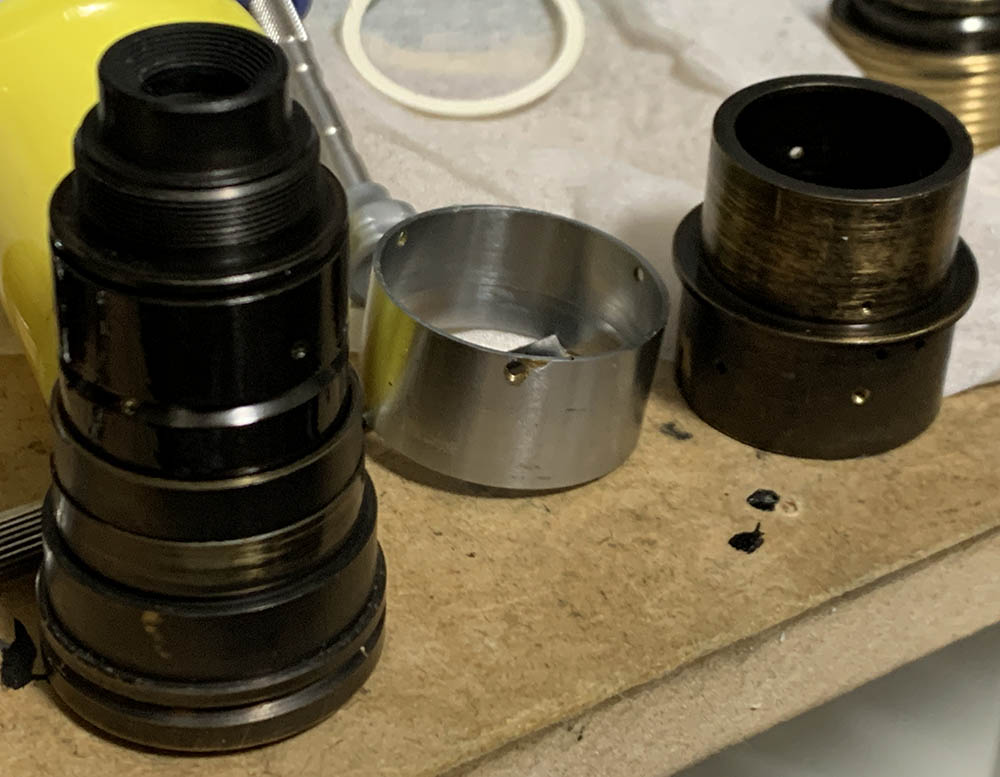
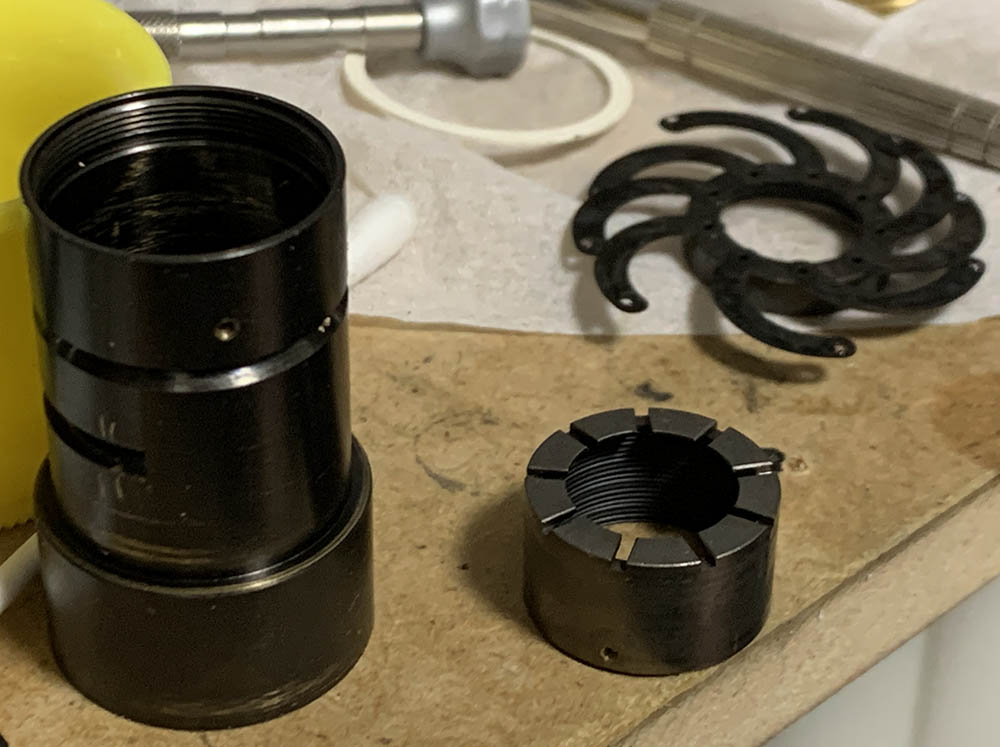
Here’s how it looks like now with the objective’s housing extracted from the main barrel.
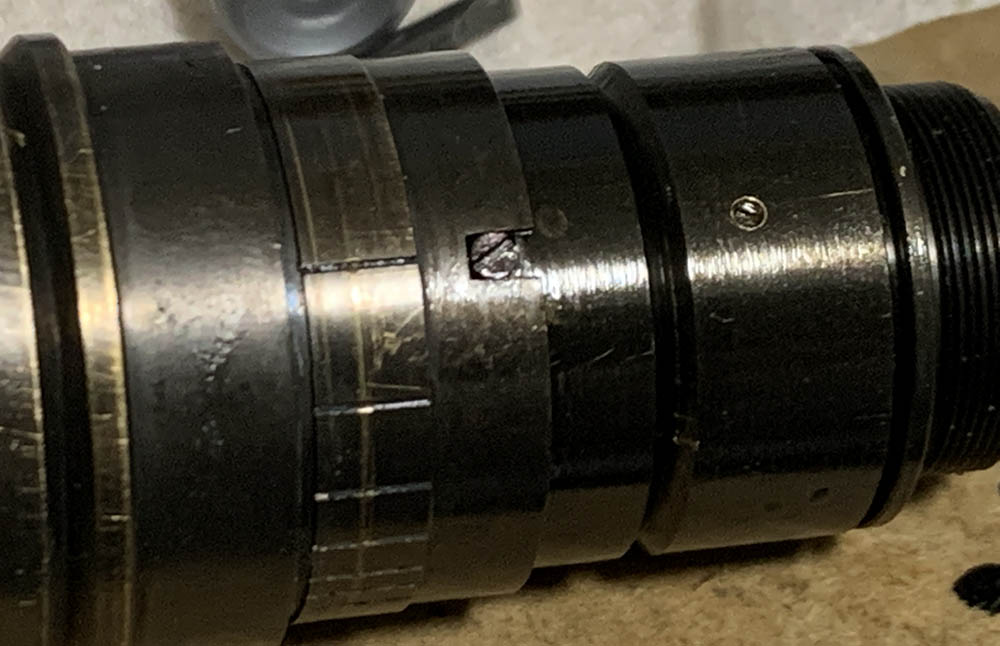
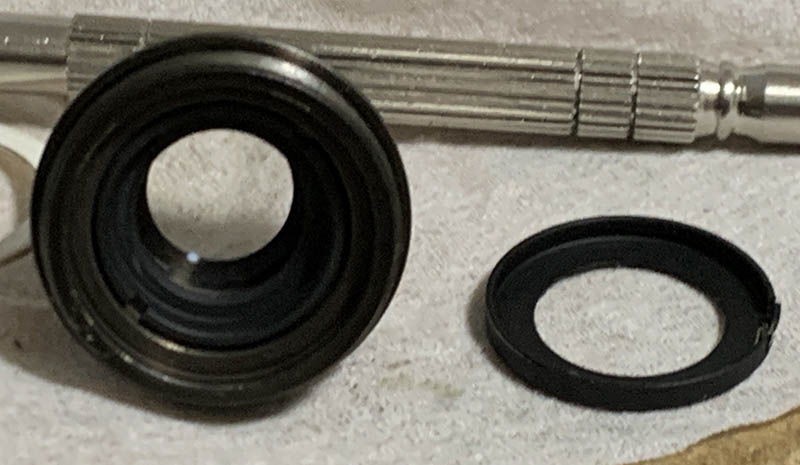
Carefully extract this screw so you can remove the outer tube of the iris mechanism. It couples it to the iris mechanism inside so turning the aperture ring will allow you to manipulate the iris.

Remove the outer tube and set it aside but be careful when handling it since there’s a spring here for the click-stops.
You can finally unscrew the rear optics assembly off.
Carefully pick the baffles off with your nails and be careful not to warp it.
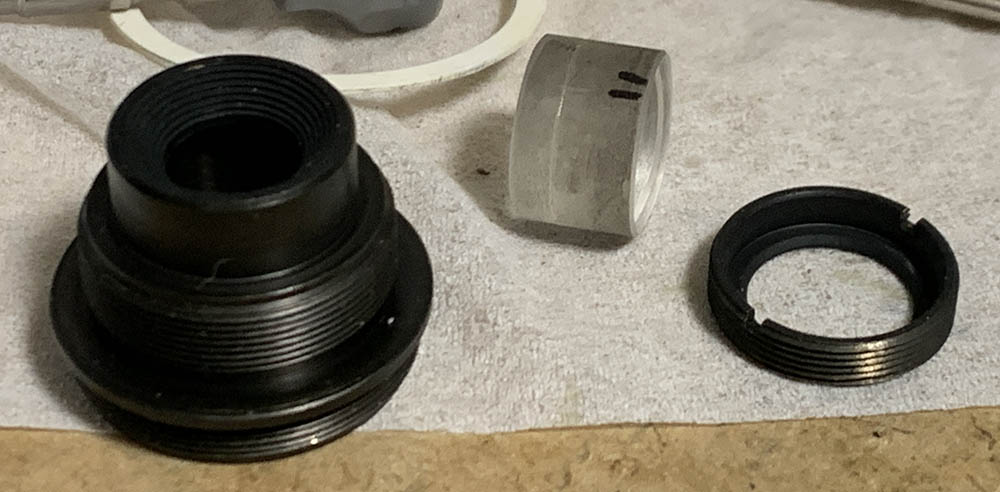
Unscrew the retainer so you can remove the rear group and do not forget to note which side should be facing front or you’ll have to dismantle everything again just to flip this back.
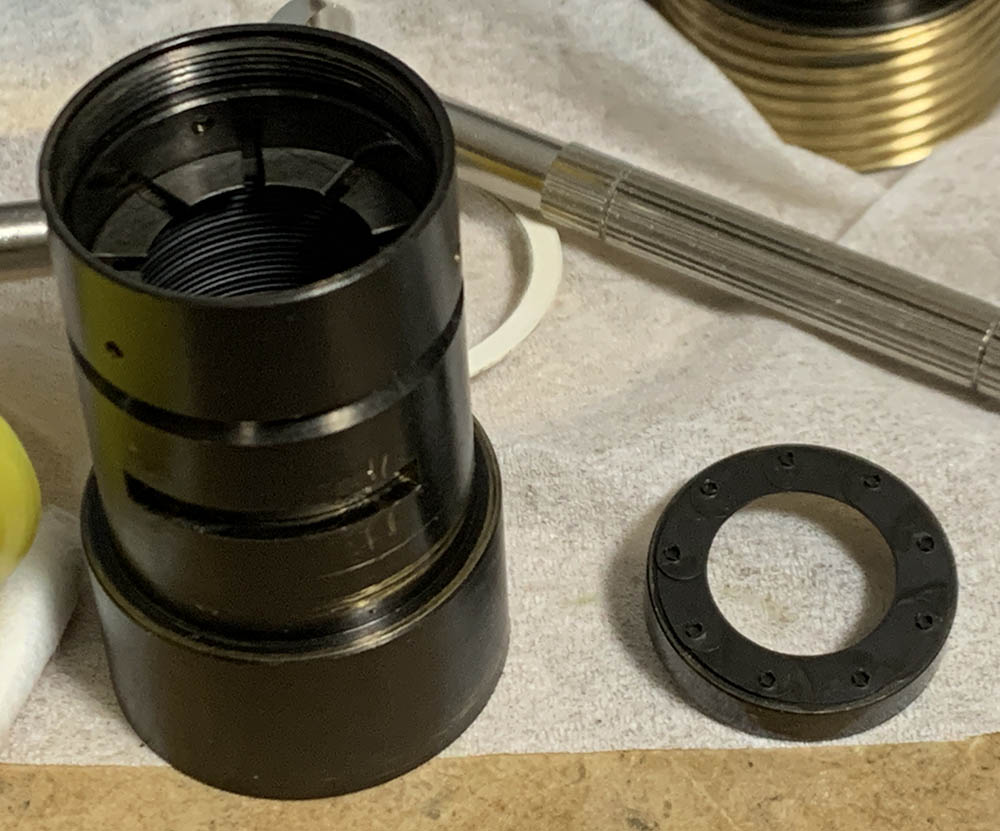
Loosen the set screws of the iris mechanism and extract it. This part is adjustable so take some notes before you get it off.
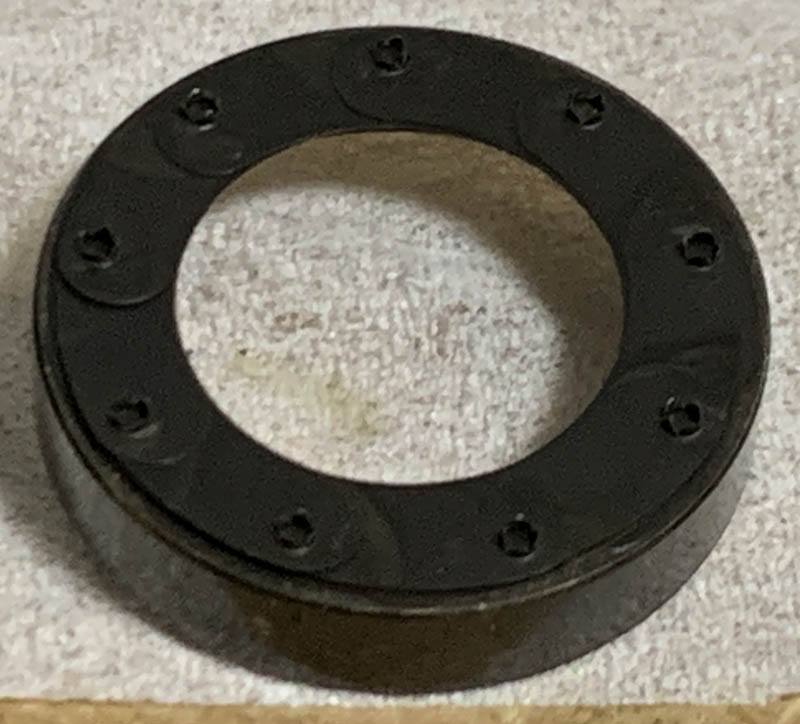
Notice that the leaves are delicate, they do no have pins but use punch-holes in place of them. Be very careful so these won’t get damaged. Warping any of these will result in a faulty aperture.
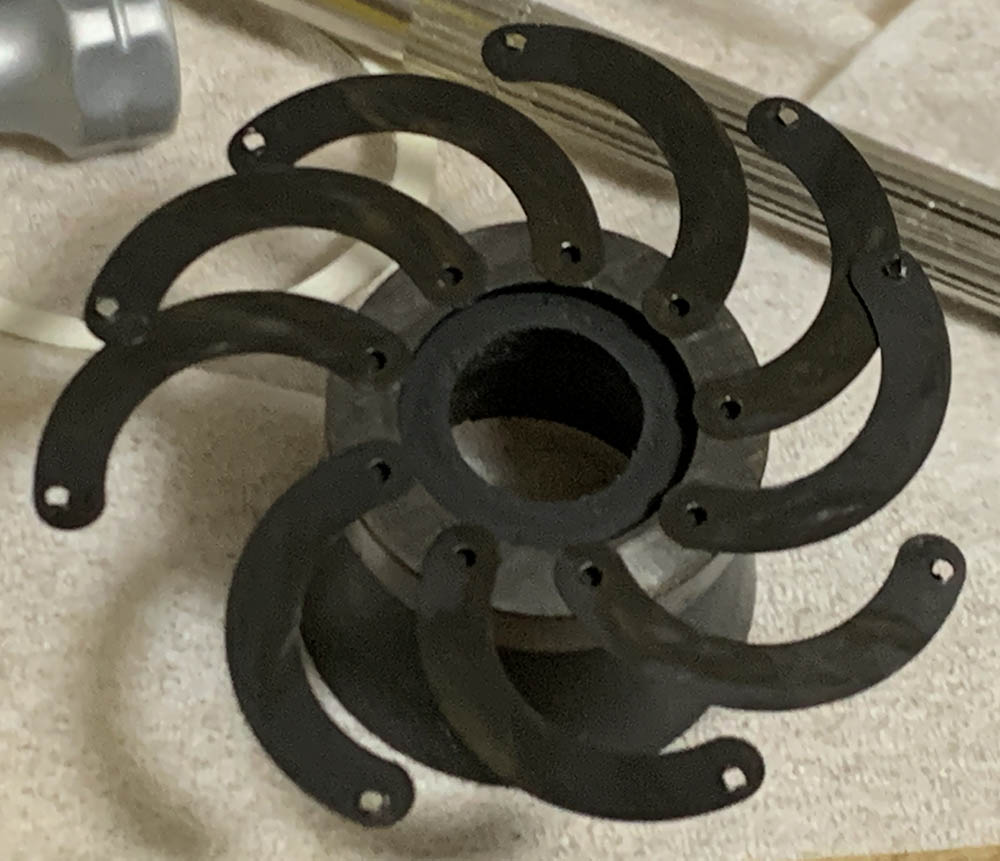
The leaves were splayed but not removed from their cup. Leave them like this so you could clean them properly. Use a Q-tip saturated with solvents to clean them carefully. Note how grimy they are, if left for too long the rust will eat them and the result is never pleasing.
Finally extract the diaphragm cup and clean it carefully.
Clean everything very well and be sure not to leave any residue. Apply a thin coat of grease to the helicoids along with the part of the inner barrel that slides inside the focusing unit. Never apply any grease or oil on anything that’s close to the iris mechanism or the oil will migrate there eventually, creating an even bigger mess. The iris mechanism had to be cleaned very carefully to prevent damaging the delicate puncture-holes, flattening the excess material will damage the whole thing and the result is an uneven-shaped iris at best and a useless on at worst.
Conclusion:
It took me the whole night to work on this with most of that time spent on cleaning the iris mechanism or looking for a dropped screw or two. I am glad that the optics are larger in this lens so it wasn’t so difficult to handle them. There are only 2 groups which also made my job easier. I enjoyed working on this and I learned a lot from this experience.
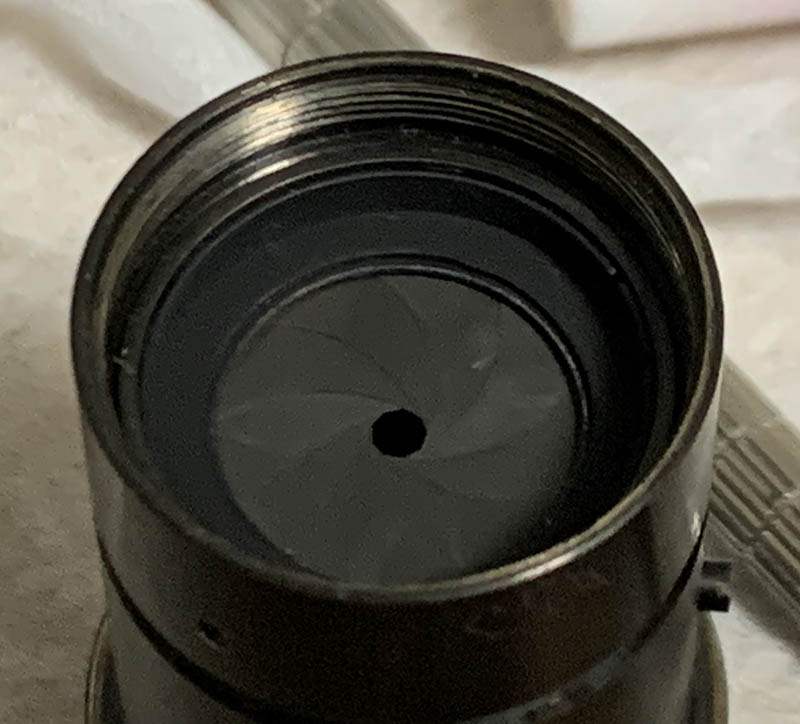
The iris mechanism is now clean. I dusted it with powdered graphite to ensure that this operates smoothly. Blow-away any excess powder.
This is how everything looks like just before I finished everything. This is the proper way to separate and put back all of the main parts of this lens.
Before tightening the focusing ring adjust the focus of your lens. It’s fortunate that I didn’t have to fabricate a shim for this to adjust its focus. Read my article on how to adjust the focus of your lens so you’ll know how this is done with DIY tools.
Thanks for following my work, if you liked this article please share this with your friends so it will get more views. This site earns around $0.40 a day, we are totally reliant on views. You could also support this site, it helps me offset the cost of maintenance and hosting. You are also helping me purchase, process and scan film. This site promotes the use of film so we are all in this together. See you again in the next article, Ric.
Help Support this Blog:
Maintaining this requires resources and a lot of time. If you think that it has helped you or you want to show your support by helping with the site’s upkeep, you can make a small donation to my paypal.com at richardHaw888@gmail.com. Money isn’t my prime motivation for this blog and I believe that I have enough to run this but you can help me make this site (and the companion facebook page) grow.
Leave me some tip?
Thank you very much for your continued support!
$2.00
Helping support this site will ensure that this will be kept going as long as I have the time and energy for this. I would appreciate it if you just leave out your name or details like your country’s name or other information so that the donations will totally be anonymous. This is a labor of love and I intend to keep it that way for as long as I can. Ric.

5 Comments (+add yours?)