
Hello, everybody! Do you know about the “vintage-look”? It’s something that many people use these days to describe how a lens renders a scene. This term mostly gets thrown-around when talking about older lenses because they were not made to be optically-perfect. This was done either deliberately or simply because the technology of that time was not able to accurately calculate rays as fast as the engineers wanted or the manufacturing techniques just wasn’t there yet. While this trait is considered outdated by many people there’s a small group who seek these traits, mainly people who are into shooting movies. It can be used for storytelling and other creative pursuits. Experts say that your taste for the “vintage-look” increases as the adjectives used to describe your coffee gets longer. I beg to disagree because I am merely a Nescafé drinker but I appreciate a good lens with the said trait. Today, I am going to show you one such lens. It produces imperfect photos which can lead to expanded creative expressions. Read this article to know what this is.
Introduction:
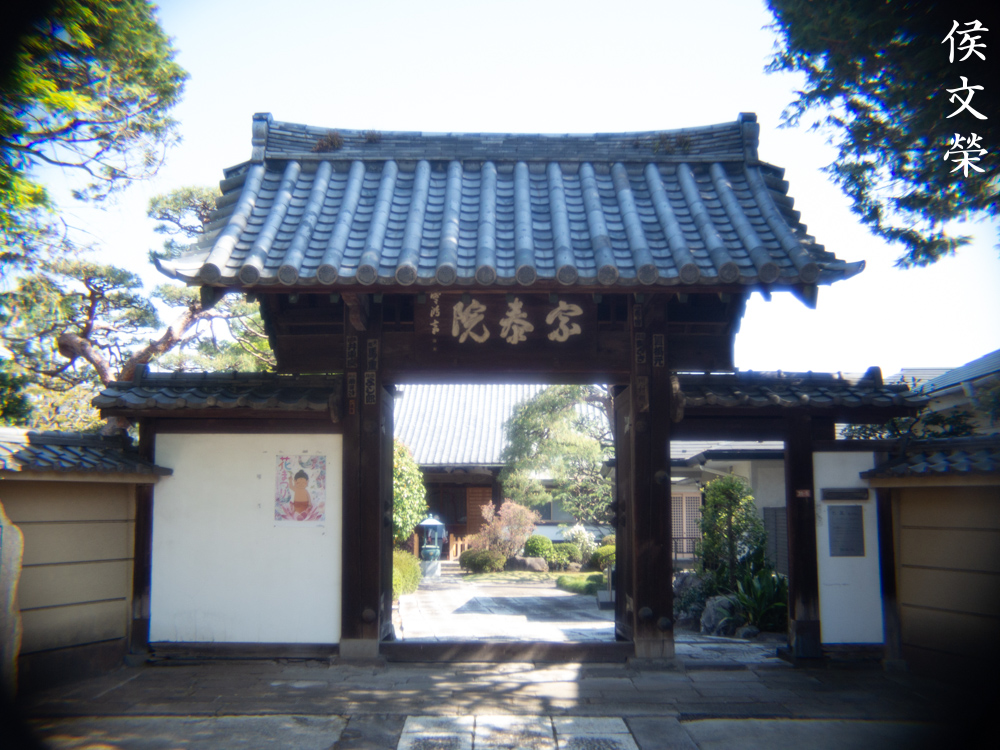
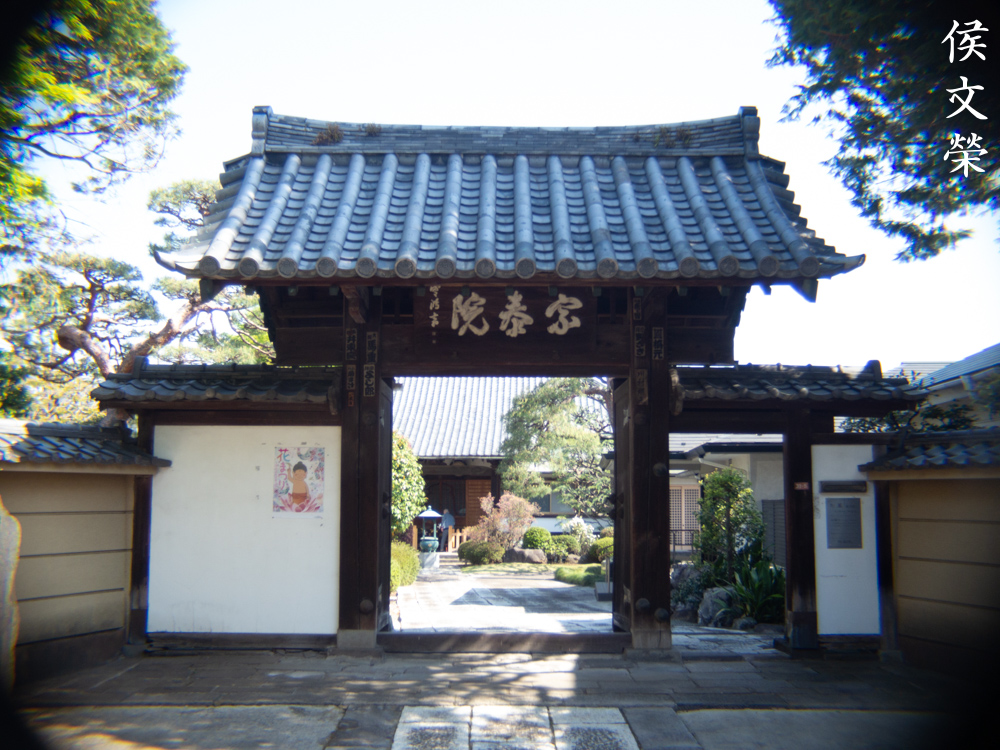
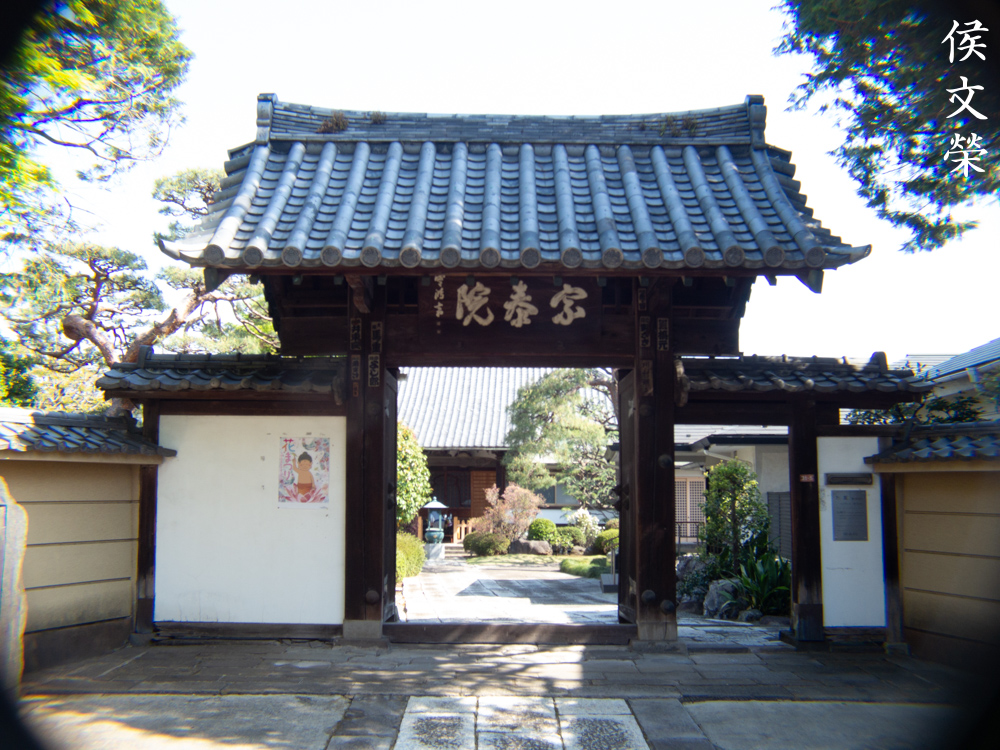
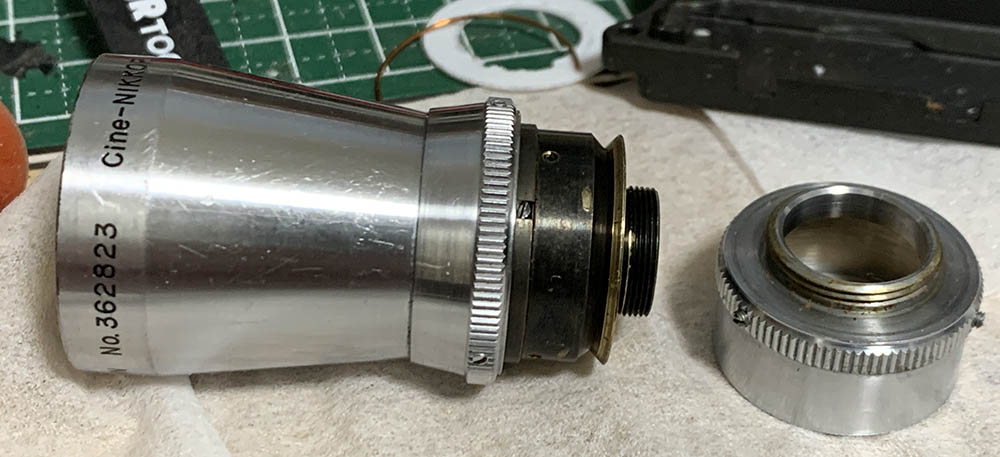
The Cine-Nikkor 6.5mm f/1.9 was introduced in the 1950s to capitalize on the 8mm movie cameras boom of that time. I do not know much about this lens since there aren’t many literatures about this. While 6.5mm sounds wide if you are coming from a standard 35mm perspective it’s actually considered to be rather moderate in standard 8mm. You’ll get an equivalent of about 36.5mm in terms of field-of-view with a full-frame (35mm) camera. The maximum aperture also sounds fast but it’s actually a lot slower than that. This is the reason why f/1.2 or even f/1.0 ones were common for the standard 8mm format but even with those speeds they won’t mean much when compared to larger lenses made for a bigger format such as standard 35mm.
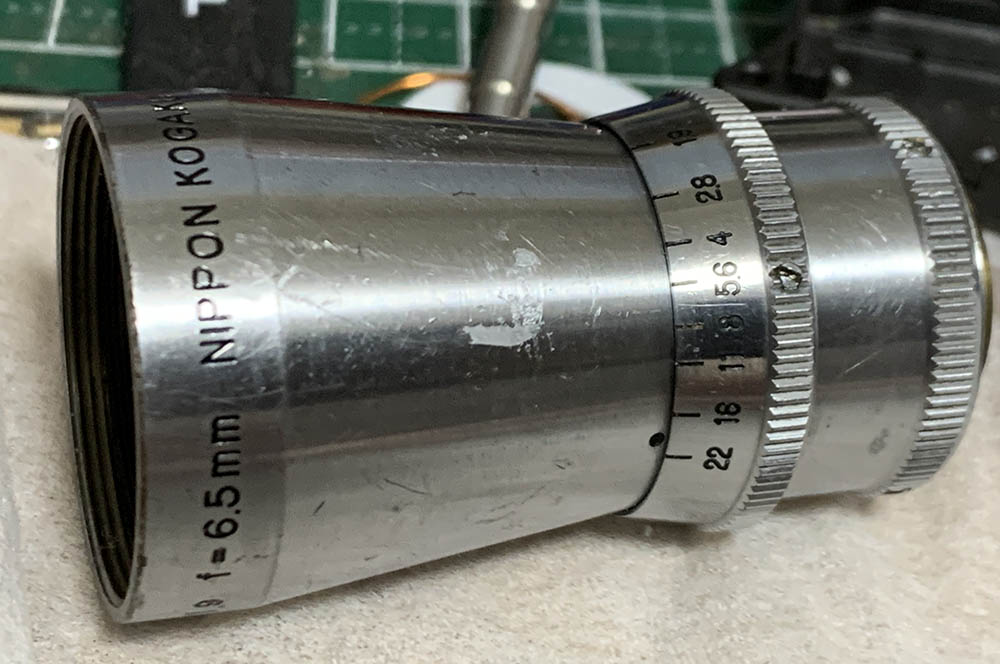
The styling is similar to many European lenses of its class along with the decision to make it a fixed-focus lens. The lens is quite dense due to its brass parts and large front group. The aperture-range is from f/1.9 to f/22 and you use that for manipulating your focus via the depth-of-field. This is trivial since it’s considered to be a wide-angle lens so getting the scene in-focus should theoretically be easy. Stopping it down to f/8 will allow you to get most of your scene in-focus.
It has an 8-elements-in-6-groups construction, this is somewhat complicated compared to its peers. It works perfectly with a standard 8mm camera but you should know that it causes severe mechanical vignetting if used with a Pentax Q. This is because the sensor is actually larger than standard 8mm for which this lens was designed to work with. You will not get clipped corners when shooting with an old 8mm movie camera since its image-circle barely-fits that format. If you want to know more about this and see this in action read my Pentax Q10 review to see a video about this.

This lens is actually part of the original Cine-Nikkor trinity for the D-mount. From left-to-right we have the Cine-Nikkor 38mm f/1.9, Cine-Nikkor 13mm f/1.9 and the Cine-Nikkor 6.5mm f/1.9. These were all made in the 1950s and they were sold with Japanese 8mm movie cameras such as the ones made by Uryu Seiki.
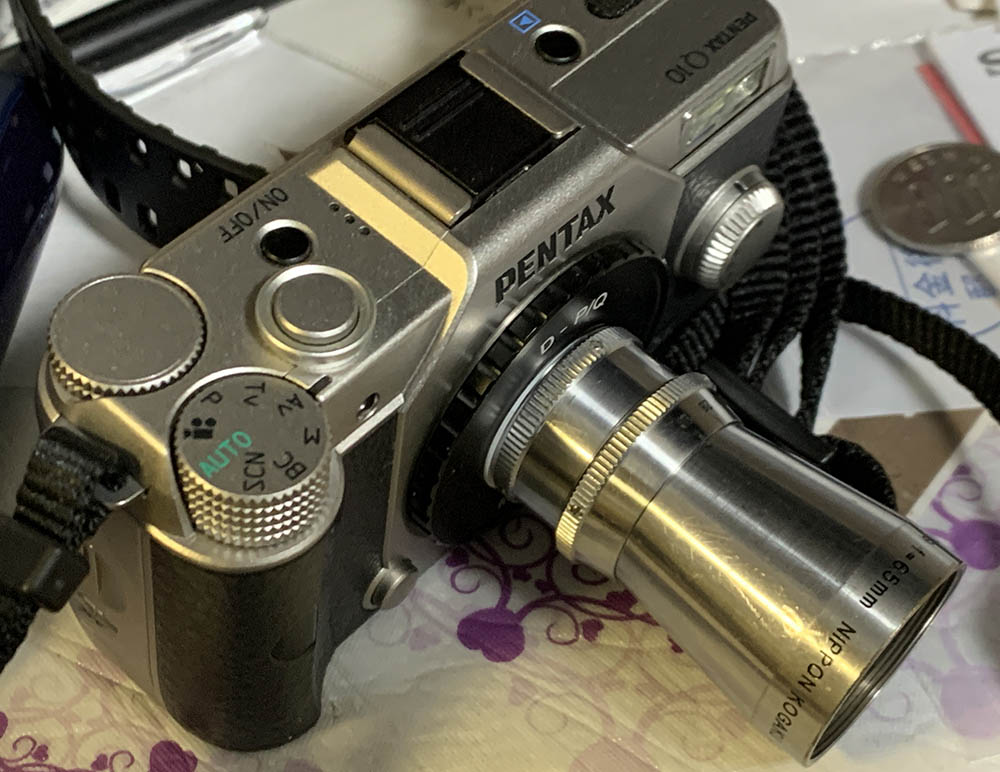
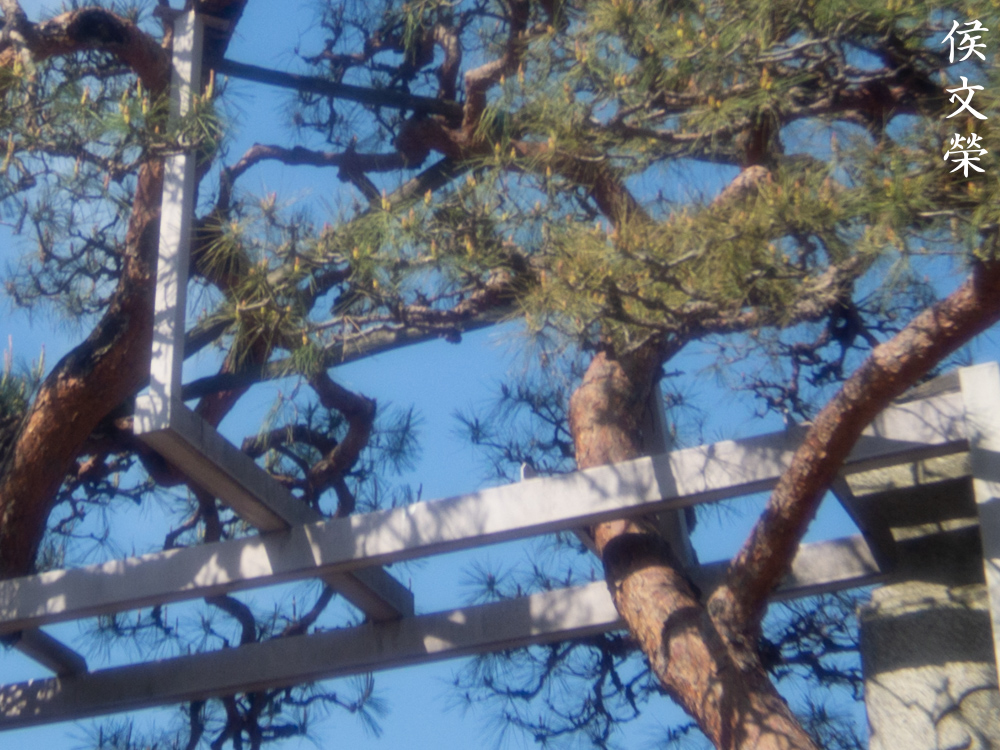
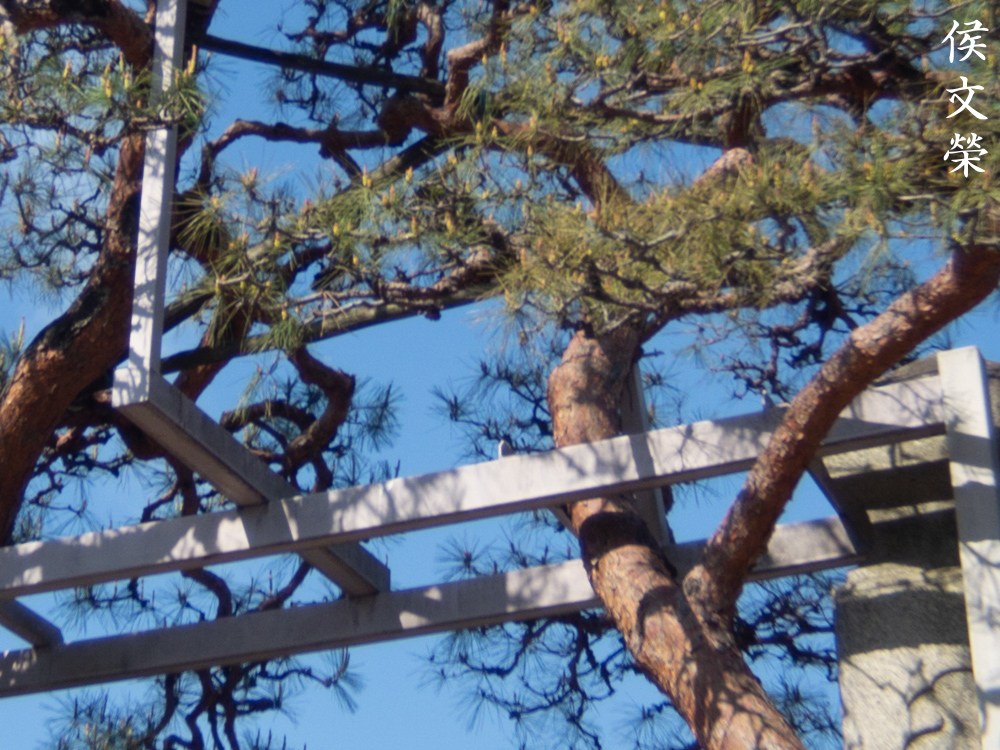
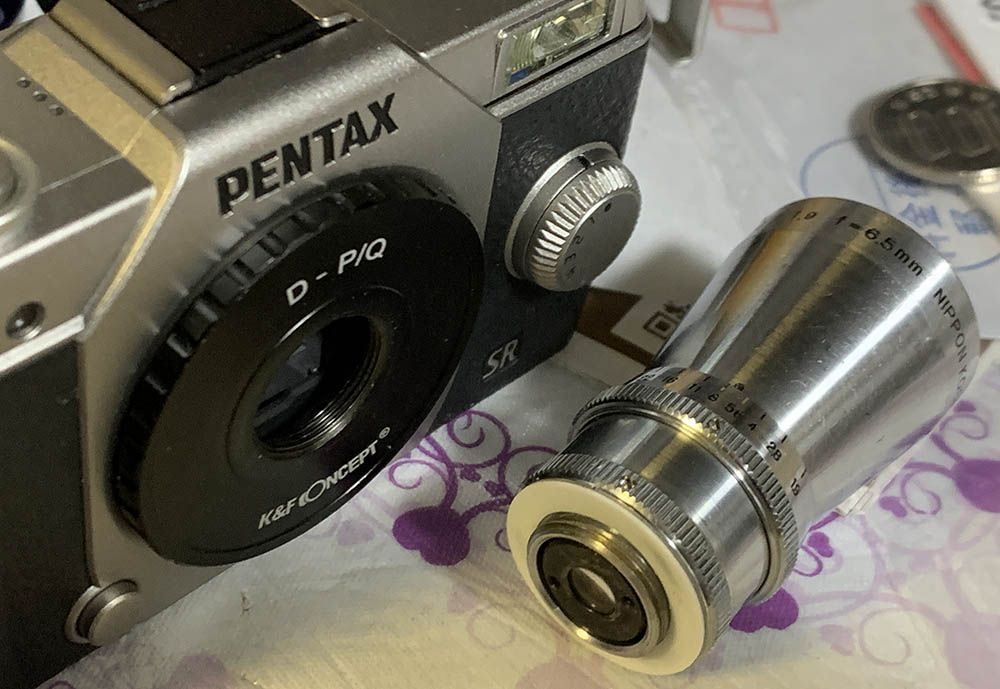
This can only be practically used with a Pentax Q series camera. It handles quite well with it despite being huge.
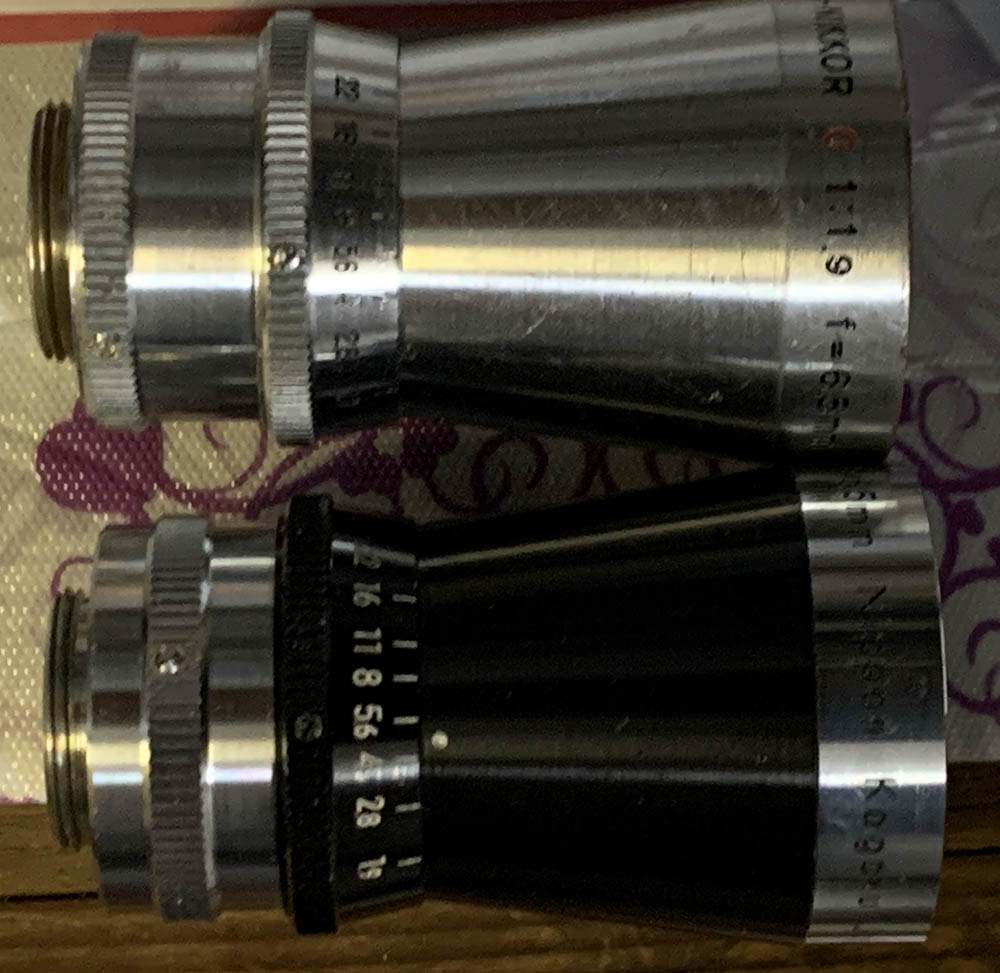
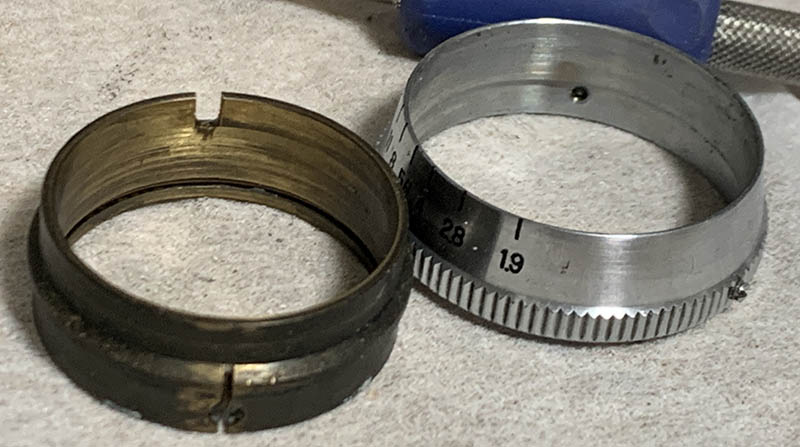
Here it is together with the later black-barreled one. They’re similar but not identical, the later model’s accessory ring is larger so it takes bigger filters. most of the parts were made with a lighter alloy so the earlier one feels more dense. It’s the only variant known, all of its contemporaries have f/1.8 equivalents but this one stayed at f/1.9 for some reasons.
Learning how a lens performs is key to maximizing it. You’ll learn how to utilize its strengths and avoid its weaknesses. This knowledge helps in determining which lens to bring on an assignment. I shot these from f/1.9, f/2.8 and f/4 and f/5.6 since these are the most common apertures that people would want to use this and we’ll see the most changes happen within these values. These photos were shot with my Pentax Q10, some of the photos were cropped close to 1:1 magnification so we can see the details better and some were cropped too about 0.7x in order to simulate the size of standard 8mm.
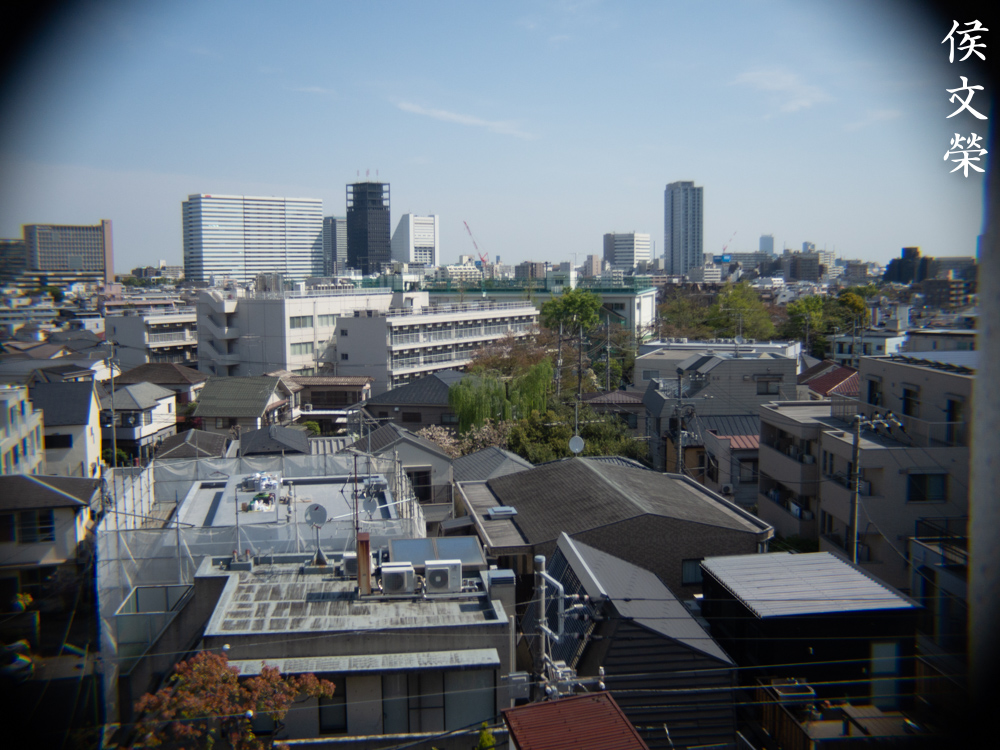
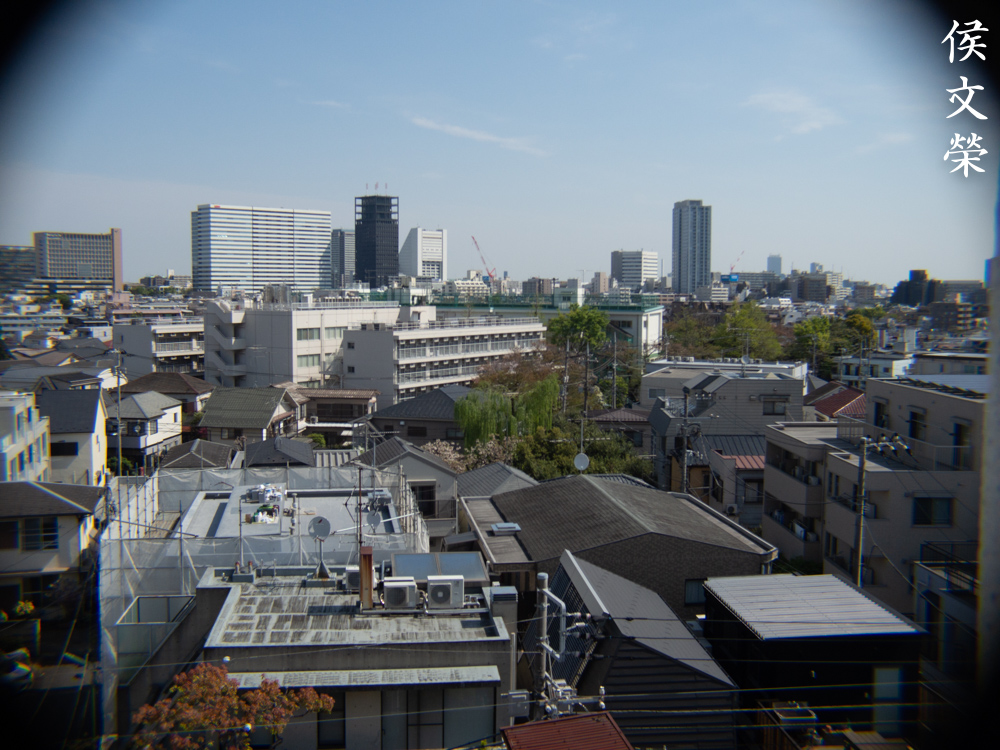
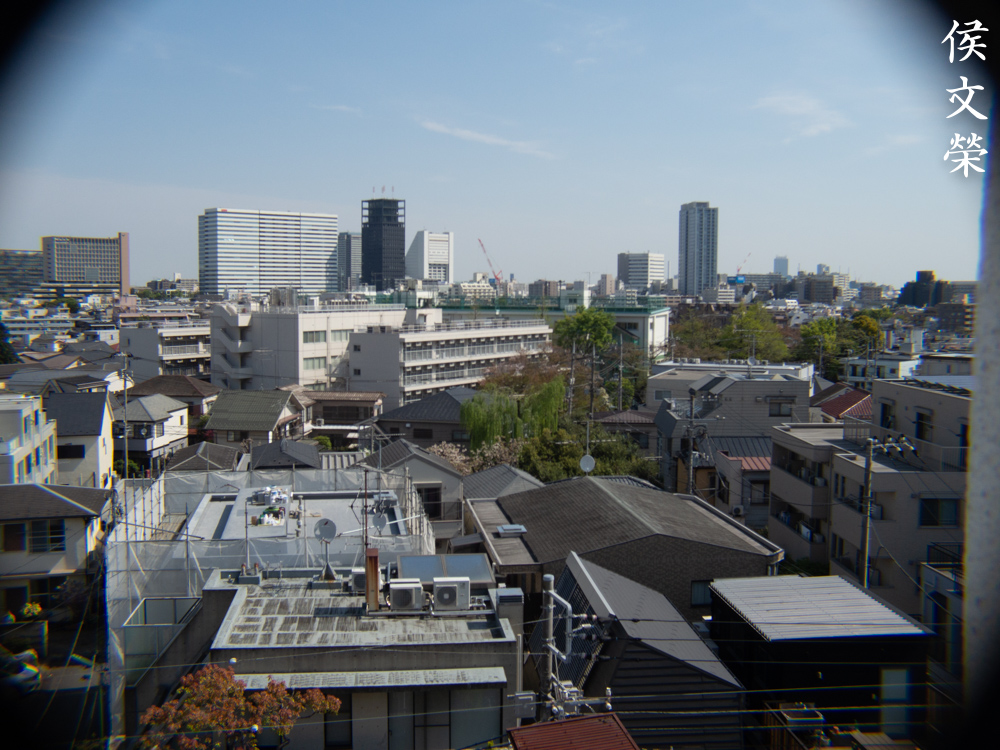
It shows a shallow barrel-type distortion with a complex profile which isn’t going to be easy to correct. The good news is the ugly parts are beyond the bounds of what’s it’s supposed to project which is roughly around 1.3x smaller when it is cropped.


(Click to enlarge)
Vignetting isn’t a big issue when cropped to approximately something close to standard 8mm dimensions. You’ll see a bit of darkening at the corners wide-open which persists up until f/2.8. The frame looks evenly-lit by f/4 and you won’t see much of it by f/5.6. This is not goin to be a problem in real-world use.

(Click to enlarge)
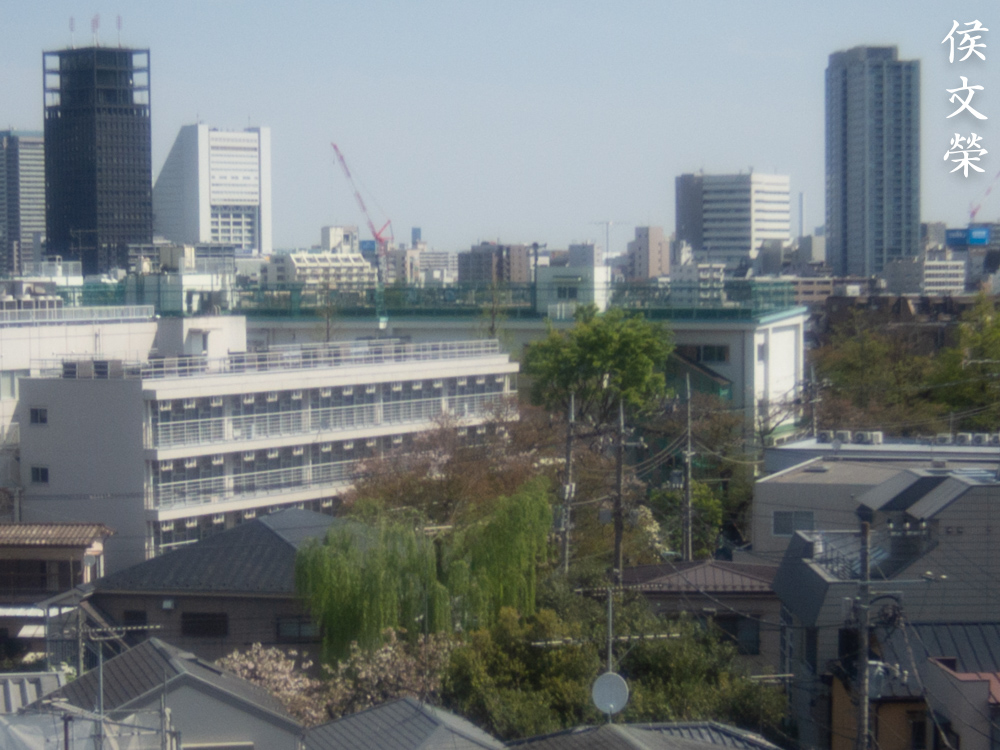
It flares terribly but it appears to be resistant to ghosts but that doesn’t mean that you won’t get any. Whatever you’re going to see will look subtle and won’t form large, ugly blobs in your frame.


(Click to enlarge)
Spherical aberration, flare and chromatic aberration appears to be quite high when shooting wide open. It’s certainly a lot more than what I’d tolerate but some people may like this effect. Stopping it down to f/2.8 helps tremendously but you’ll still see some aberrations which look quite interesting. Everything looks a lot cleaner by f/4 except when you are shooting in extreme situations where chromatic aberration will still pose a problem. Shooting at f/5.6 should give you a clear photo except in difficult situations. There’s not much you could do about this so be mindful when you’re shooting a scene that has overblown shiny elements or shooting backlit scenes.


(Click to enlarge)
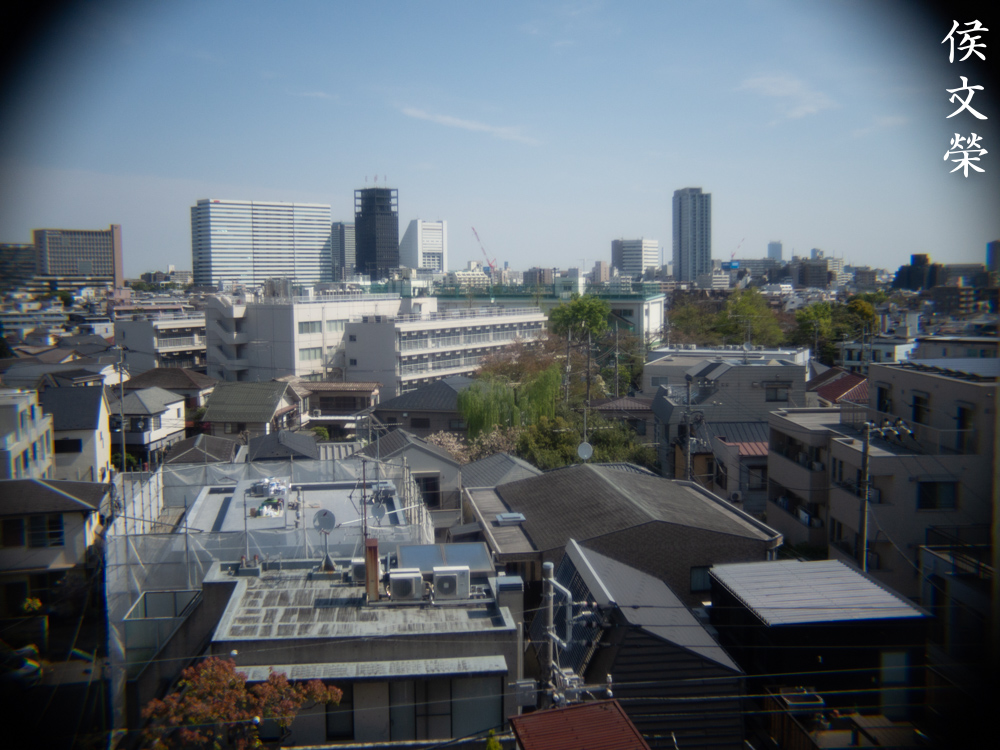
Sharpness is rather poor wide-open, flare can cover the whole frame which results in subdued contrast. Resolution isn’t good, too. Stopping it down to f/2.8 helps bring the resolution up which results in sharper photos. The whole frame is now a lot cleaner since the veiling-flare is now much better controlled. Things begin to look a lot more decent when it is stopped-down to f/4 where you’ll see improvements in resolution and sharpness. The corners still look terrible but a lot better compared to how they look at f/1.9. It improves even more once you get to f/5.6 but it’s still not able to give you pin-sharp results.
This lens appears to perform better at closer distances. It may be due to how I adjusted its focus, the shim may be a bit thicker by 0.05mm which is a lot when it comes to D-mount lenses.
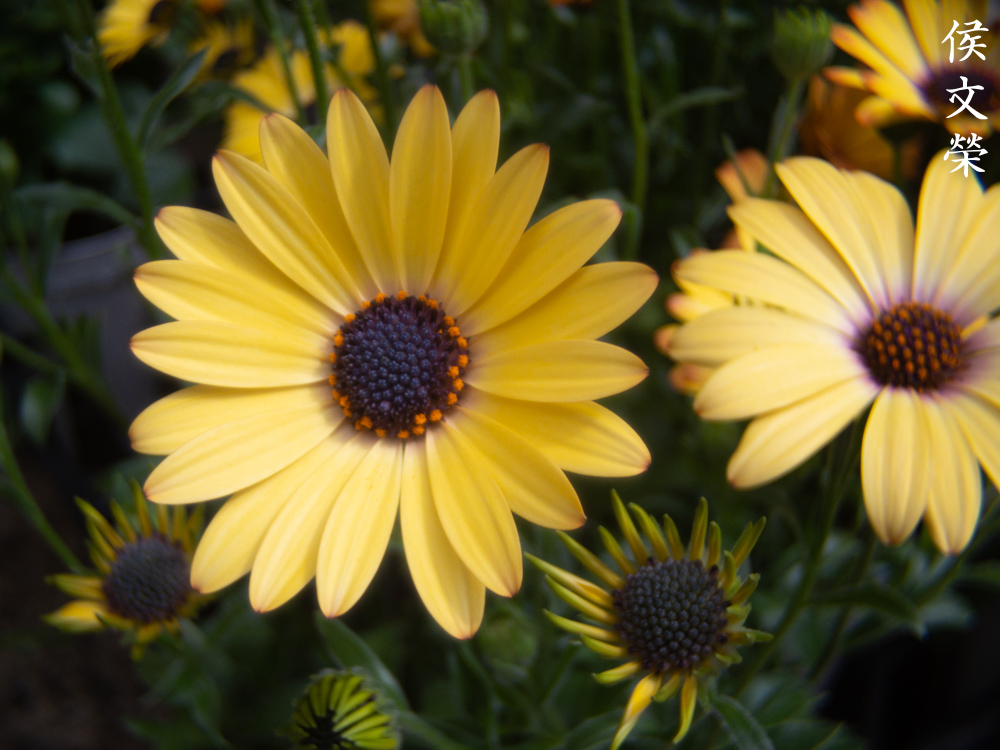
You’re not able to shoot this close when using the lens as-is but loosening it from the adapter by 1mm will allow this to focus a lot closer, all you have to do is hold it properly so you won’t drop it. I love how this photo looks, the softness of the photo makes the flowers look delicate, it’s like this lens has a permanent soft-focus filter attached to it when you’re shooting at wider apertures such as f/2.8.

It’s challenging to focus with it using the method I mentioned in the previous panel specially considering how hard it is to determine your focus since the depth-of-field isn’t shallow at all. Even with the help of the Pentax Q10’s magnifier it is still difficult to determine what’s in-focus since the LCD’s resolution is quite low. The trick is to shoot several pictures and choose the best one later when viewing with a large monitor.

This appears to be decently sharp at closer distances depending on how thick your shim is. I was able to get acceptable results with it, stopping the iris down helps widen the depth-of-field so you could get more things in-focus.
The effects of distortion can be easily-seen in this photo. Despite that, I don’t think it will pose a problem in real-world scenarios. Just angle your photos so that your straight lines aren’t parallel to the edges of the frame.

The flare and spherical aberration helps create an atmosphere which helps give you the impression that a scene is a lot brighter or hotter than it looks. It helps give the impression of a hot, sunny day. This is effectively used by filmmakers if the scene calls for a “dreamy-look” or anything surreal.

If you’re a fan of the “vintage-look” then this lens will give you more than what you bargained for. Some people like it, some people don’t. It will depend on your creative vision and your acceptance of the imperfect.


(Click to enlarge)
Here are more photos that I took with this little thing. It’s not the best lens out there but it could certainly take pictures that have a certain “character”. Using this isn’t the most intuitive since you couldn’t focus with it. You just accept what it gives you and enjoy it like a toy-lens. It has its charm, one that will appeal to certain people who have special tastes.
I recommend this lens not because it’s the best but only because it’s the only Cine-Nikkor of its kind. If you want to use a wide D-mount Cine-Nikkor then you’re stuck with this one. If you’re open to shoot with ones from other brands you’ll get better results from other lenses, some of which will allow you to focus properly. This is a quirky little lens, its image quality isn’t the best but it was certainly enough for its time. Nobody pixel-peeps 8mm movies so it was sufficient for a lot of things specially if you only shoot home-videos with it which standard 8mm was mainly used for in its day. These aren’t rare but they’re certainly not easy to find. Prices range from dirt-cheap to expensive and their conditions do not match, too. You will want to wait until one with the right price and condition comes your way. I got mine for $20.00, it’s sold together with other things as a set. When buying one be sure that the iris is working perfectly. The condition of its glass has to be good but it’s common to find 8mm lenses in terrible state which is fine so long as the damage isn’t that bad. These are tough as there’s nothing much that can go wrong apart from the iris. Just be patient and you will find a deal waiting for you, happy hunting.
Before We Begin:
If this is your first attempt at repairing a lens then I suggest that you see my previous posts regarding screws & drivers, grease and other things. Also read what I wrote about the tools that you’ll need to fix your Nikkors.
I suggest that you read these primers before you begin (for beginners):
Reading these should lessen the chance of ruining your lens if you are a novice. Before opening up anything, always look for other people who have done so in YouTube or the internet. Information is scarce, vague and scattered (that is why I started this) but you can still find some information if you search carefully.
I highly recommend that you read my working with helicoids post because this is very important and getting it wrong can ruin your day. If I can force you to read this, I would. It is that important!
For more advanced topics, you can read my fungus removal post as a start. It has a lot of useful information, it will be beneficial for you to read this.
Disassembly:
The construction is rather simple since there’s no focusing unit at all. The most difficult part of repairing this is dealing with the many small and delicate parts and making sure that they don’t get damaged or misplaced. This is certainly not something that a beginner should work with, the level of dexterity required in repairing these small lenses is high and it approaches the same level required for repairing mechanical watches. You will need special openers and several drivers so they fit the heads of the screws. You will also need special lens suckers so you could put the elements back properly. I use a small one that’s perfect for repairing microscope plans. Since the elements are really tiny you should mark them properly so you’ll know which side should be facing the front. Failing to do so will result in potential damage. Take lots of notes as you work on this and you should be fine.
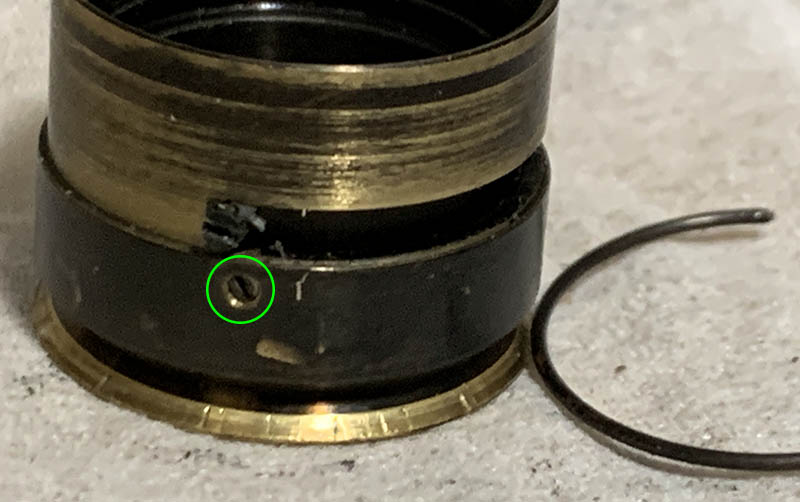
Loosen the screws of the mount to remove it from the barrel. There’s a screw here that serves as a pin coupling the iris mechanism to the aperture ring. Remove it carefully and store it in a safe place.
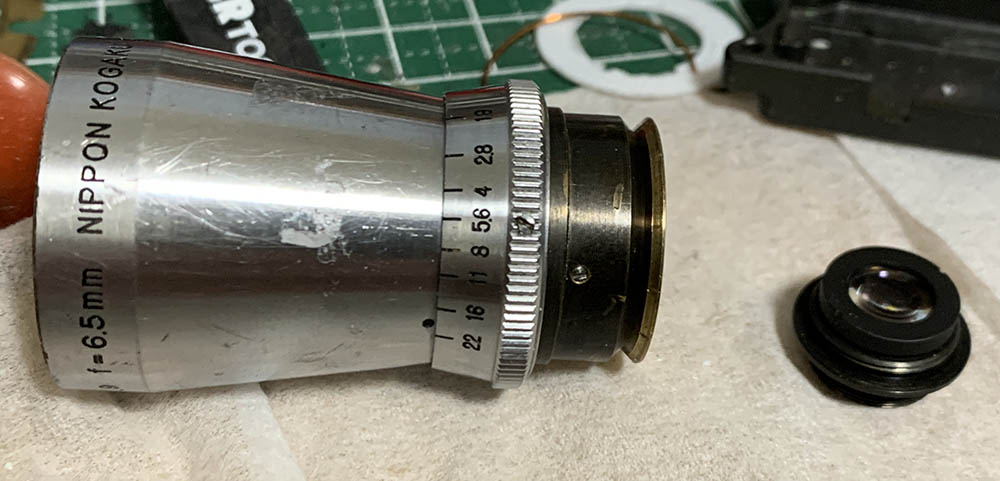
The rear optics assembly could be unscrewed by your hands if it wasn’t sealed by anyone.
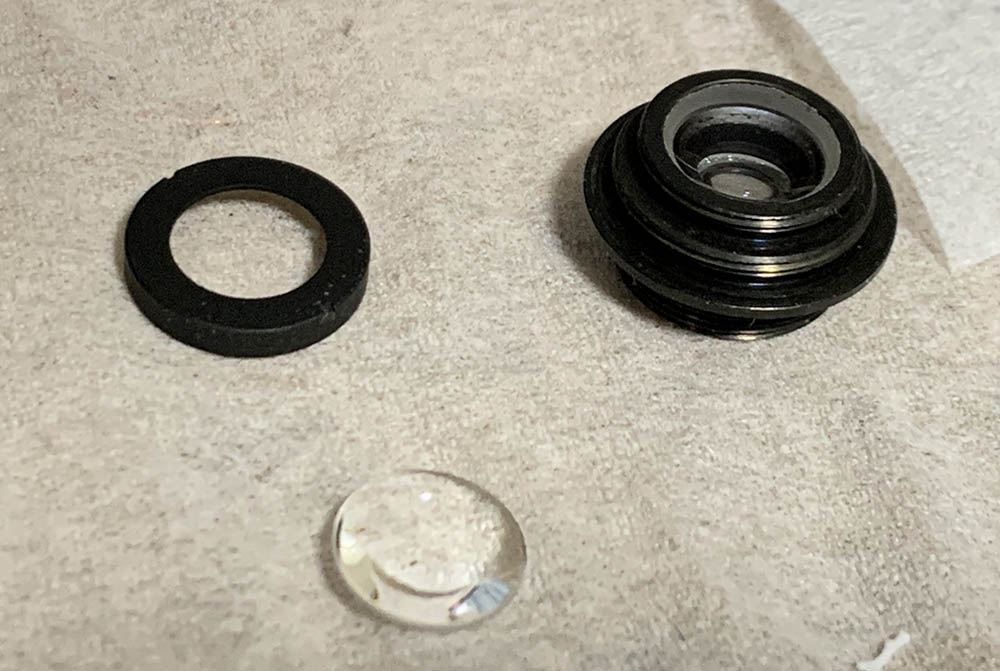
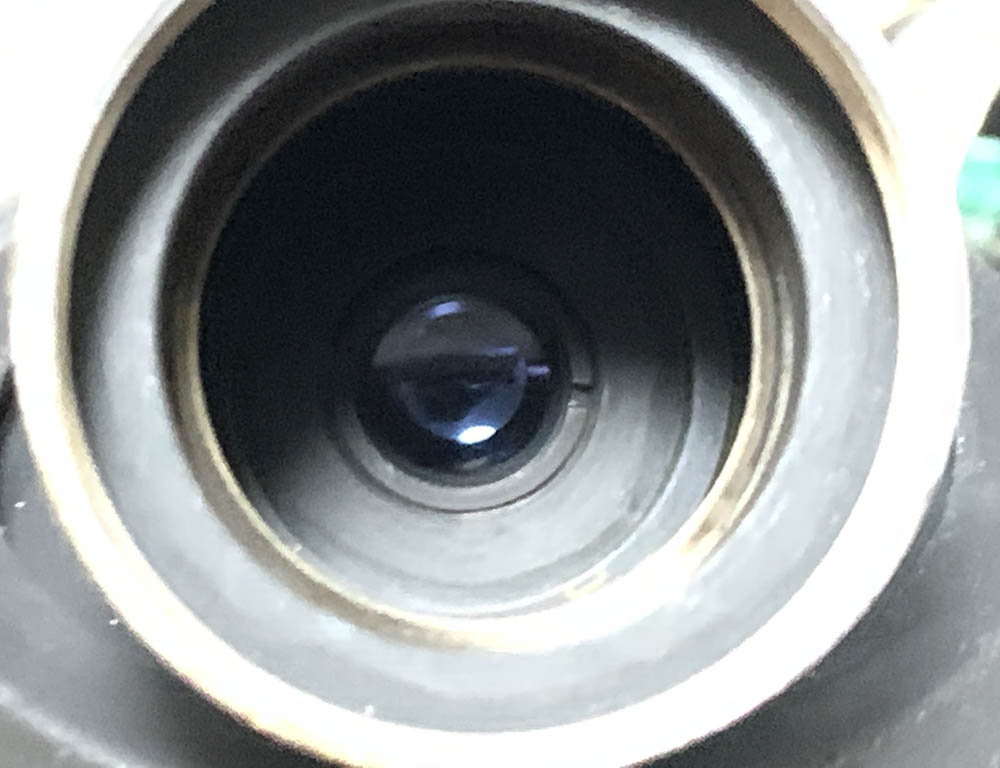
The rear element can be removed once you unscrewed its retainer ring. Be careful to note which side should be facing the front so you won’t put it back facing the wrong way.
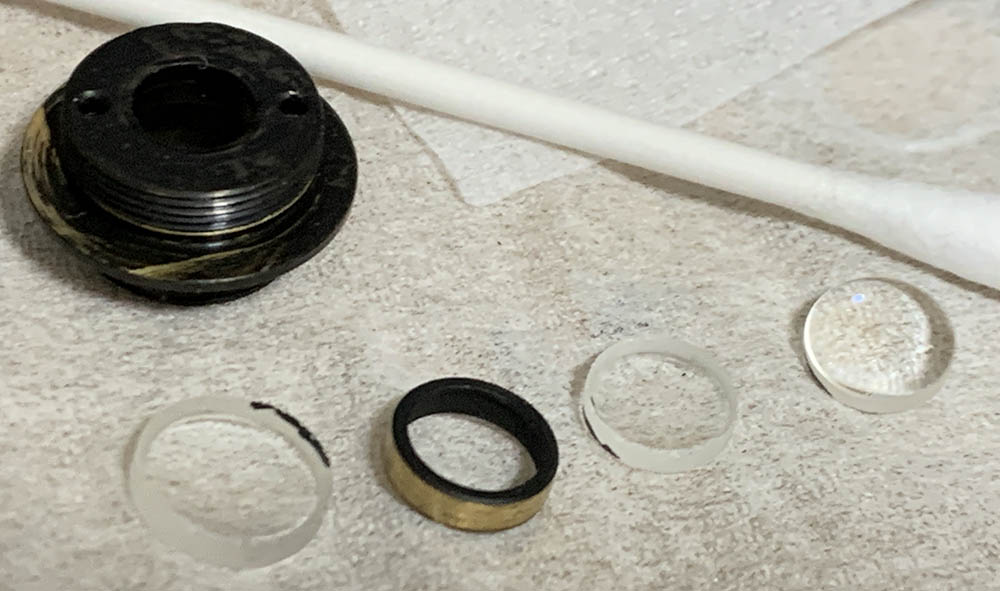
The rest of the optics can now be removed, here they are in their proper order. There’s also a spacer here, too. Always note their directions, they’re very tiny and their curvature isn’t apparent, this includes the spacer, too.
Unscrew the main barrel off, it’s basically a long, heavy conical tube. This part is sometimes sealed, if it won’t move just leave it alone, it’s better to skip it than cause irreparable damage to your lens.
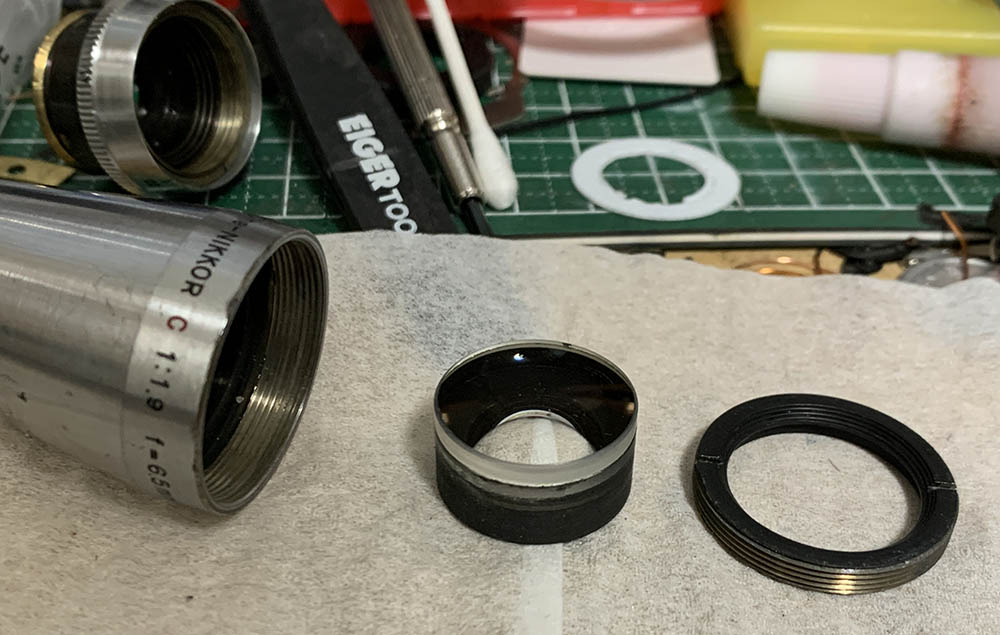
Unscrew the retainer of the front group to remove it. Use a lens sucker and carefully pull the front group off. It’s a huge chuck of cemented glass so do not flood this part with solvents.
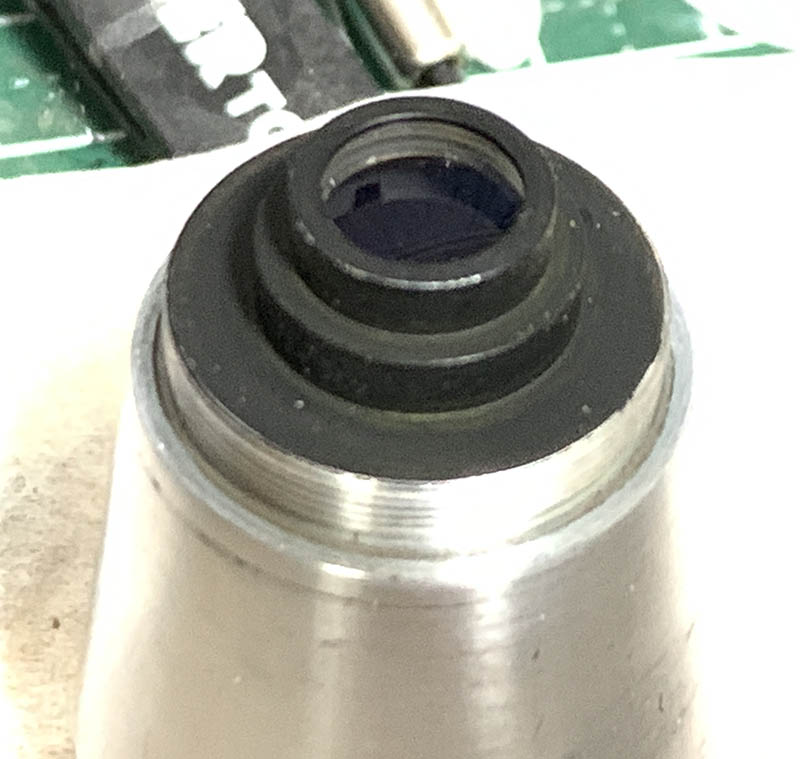
This group can be removed from the other side which isn’t the easiest thing to do since it’s seated deep inside the tube and accessing it requires a special tool.
This is how it looks like. Just leave this alone, you can clean both of its surfaces anyway. It just requires more effort, use a Q-tip or something that’s long enough to reach it.
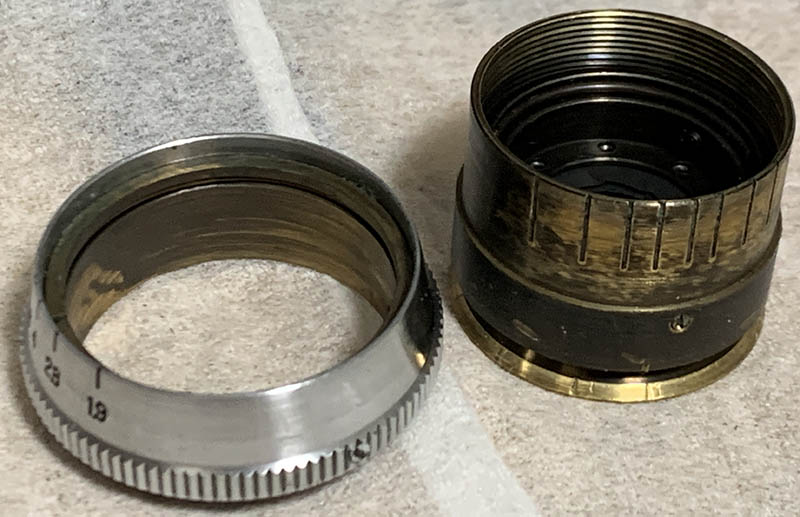
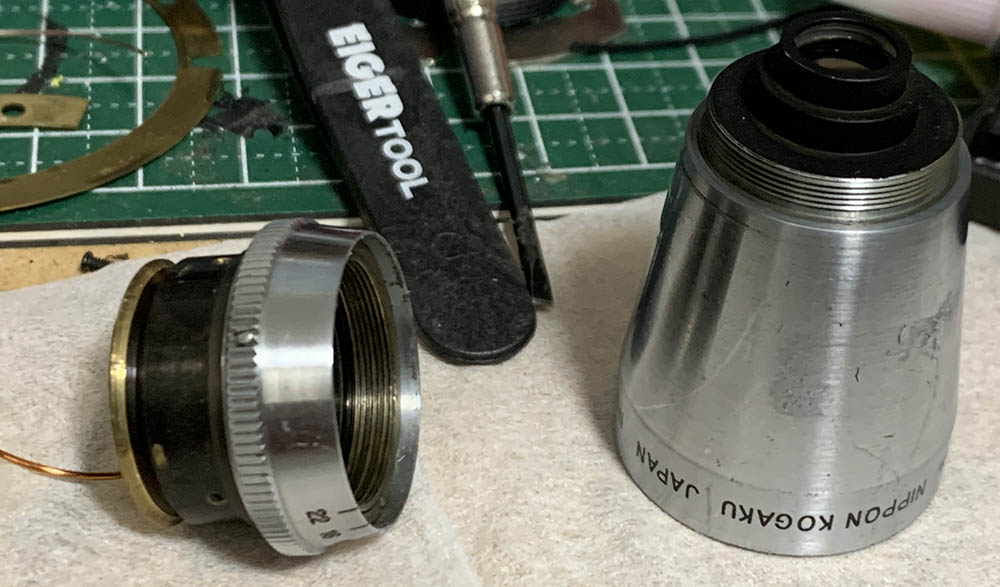
Remove the aperture ring from the objective’s housing.
Loosen the set screws of the aperture ring and slide it off from the main ring. Note that there’s a spring located at the throat of the ring, it’s used for the aperture-clicks. While it’s tough you could easily misplace it if you’re not careful.
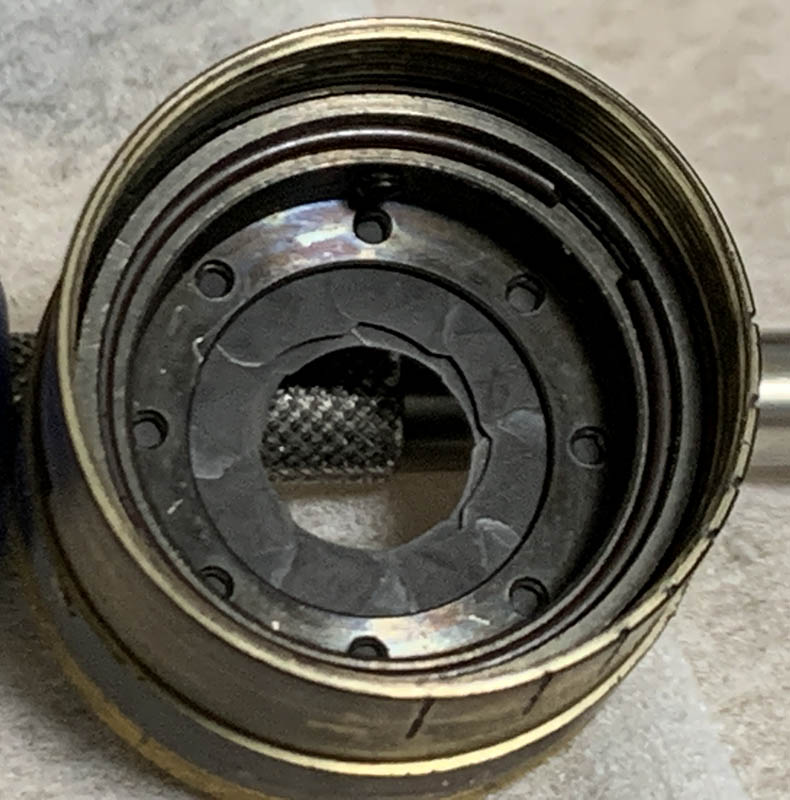
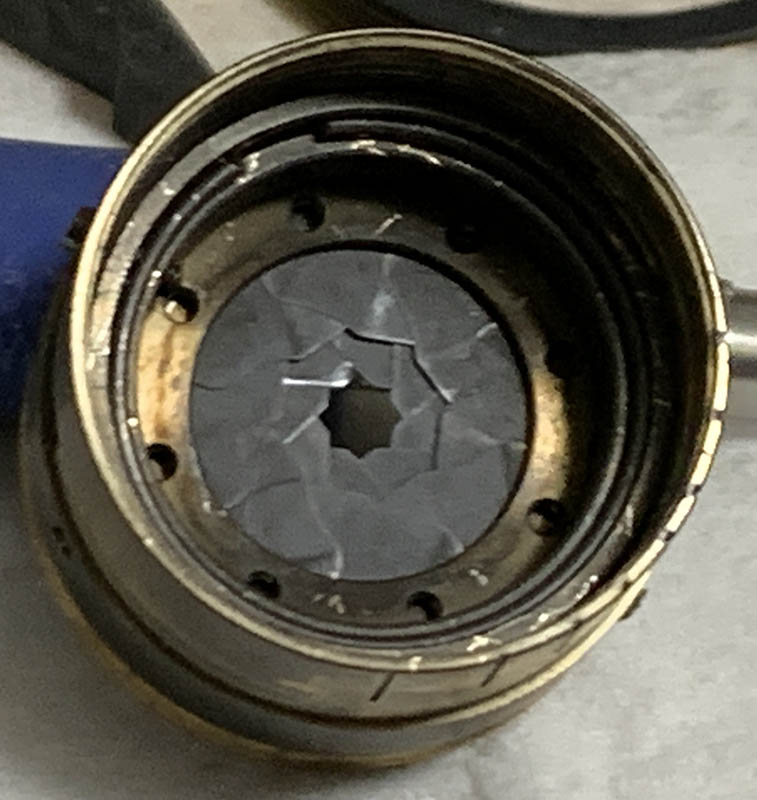
Ideally the iris should be left alone but there will be times when you would want to clean it as it can get rusty. This is a delicate operation and should only be done by an experienced repairer. There is a circlip securing the mechanism. It’s best to remove it later when the iris mechanism has been removed.
The iris mechanism is adjustable and it’s secured by these small screws, loosen them to remove the whole assembly.
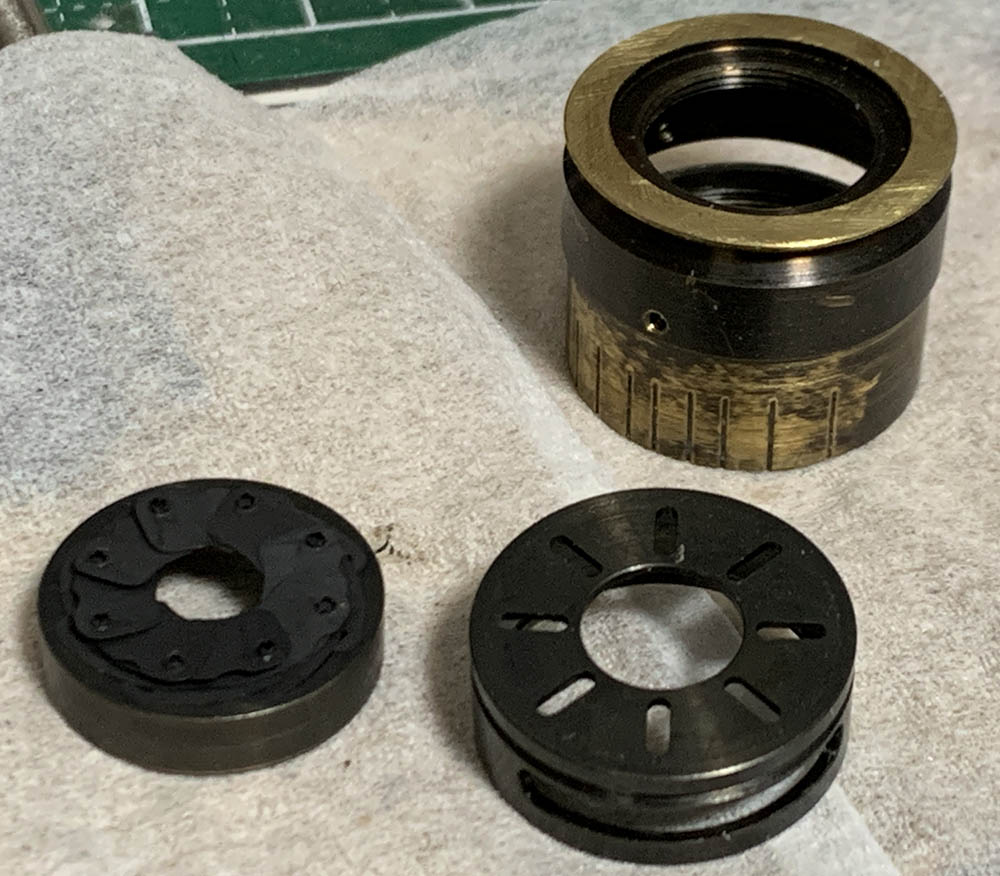
Once the whole thing is out you can remove the circlip easily and dismantle the mechanism. Don’t forget to note how the parts should align so you can put it back properly. The hole of the pin/screw should align properly with slot or you won’t be able to open or close the iris properly which can damage it beyond repair.
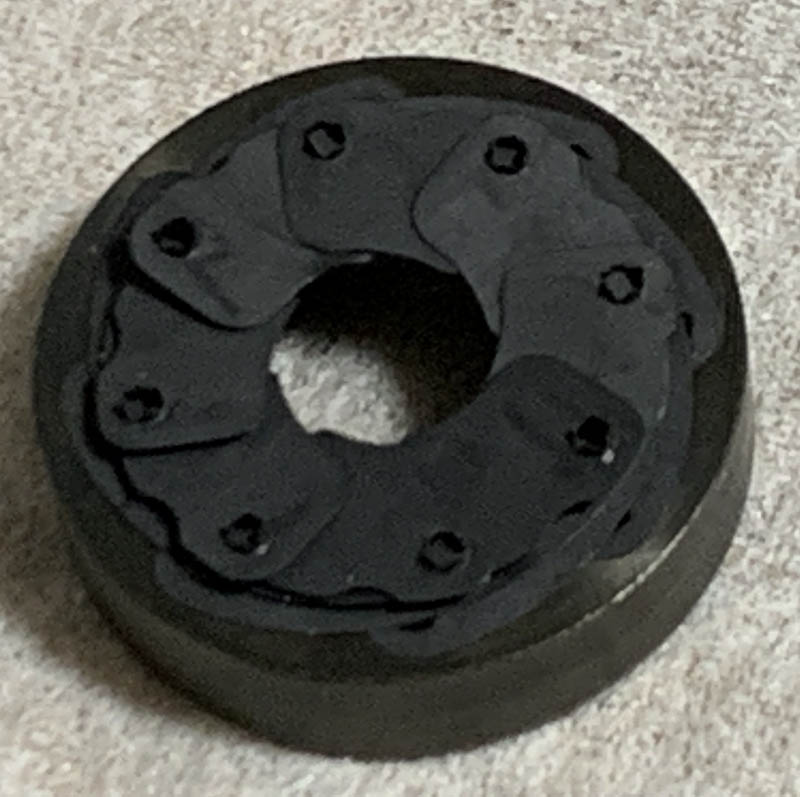
The iris is delicate, there are no pins at all and they’re merely guided by punch-holes. Never bend them, you won’t be able to put them back properly if you did.
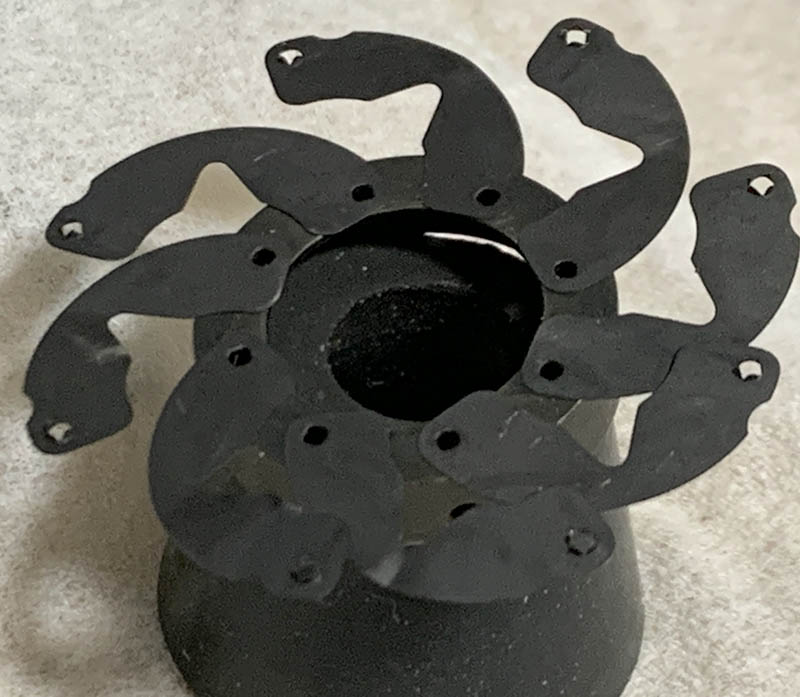
Spread the iris out so you could clean the blades easily. Do not remove them from their base as it could damage the delicate protrusions securing them.
Wiping them carefully is the best way to clean the blades. A Q-tip saturated with solvents is enough to wipe these and be sure not to warp any of them while you’re at it.
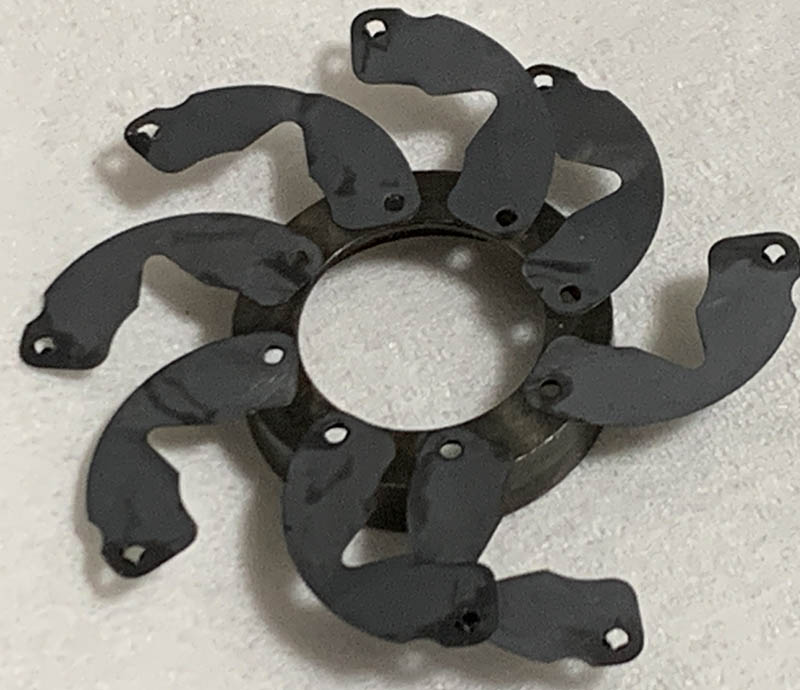
Reassembling the iris is trivial, just put the blades back to their original positions and carefully put the rotator cup back. Do not use force when doing so, just go about lightly so you won’t bend the delicate protrusions.
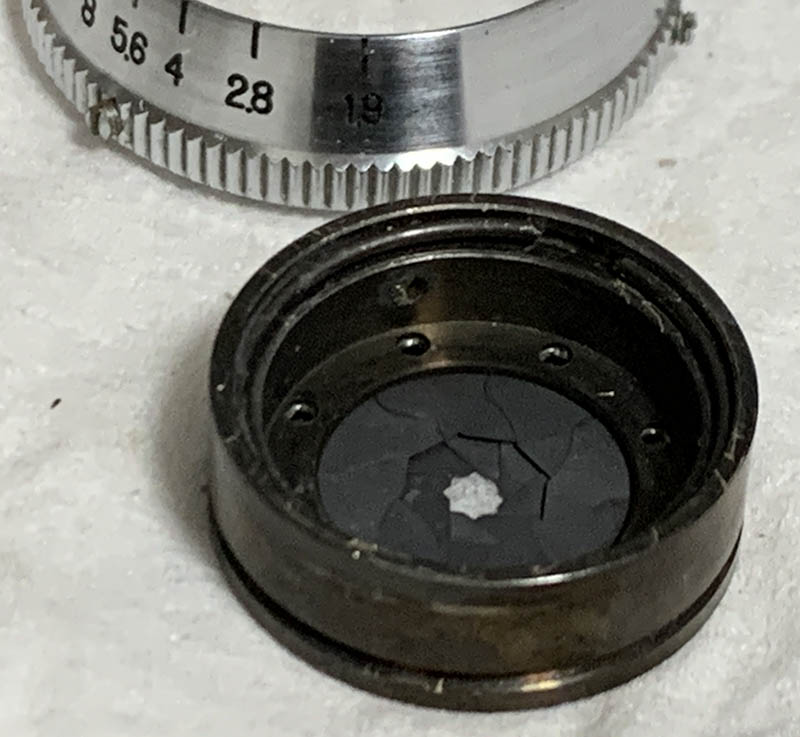
The iris is now clean. It’s very intricate, so turn the aperture ring with care to prevent damaging this.
Clean everything well and make sure that you don’t apply too much grease on the aperture ring. A thin film is enough to make it turn smoothly. The iris will benefit from a small amount of powdered graphite to make it work smoothly. It’s easy to put this back together again apart from the rear optical assembly because the elements are so tiny.
Conclusion:
This one took me a whole night to service, the parts are so small and the screws are even smaller. Cleaning the glass is not an easy task and putting them back takes even more effort. I enjoyed working with this a lot as it gave me a whole new perspective when it comes to working with Nikkors. If your lens needs to be repaired, send it to a technician. There aren’t many who are experienced with repairing these lenses so show them my article so they can have something that will help show them the way.
Before you could shoot with it you should adjust its focus so it can focus properly despite being a fixed-focus lens. This can be done by fabricating shims for it, read my article on how to adjust a D-mount lens’ focus using shims so you could use this properly with your adapter.
Thanks for following my work, if you liked this article please share this with your friends so it will get more views. This site earns around $0.40 a day, we are totally reliant on views. You could also support this site, it helps me offset the cost of maintenance and hosting. You are also helping me purchase, process and scan film. This site promotes the use of film so we are all in this together. See you again in the next article, Ric.
Help Support this Blog:
Maintaining this requires resources and a lot of time. If you think that it has helped you or you want to show your support by helping with the site’s upkeep, you can make a small donation to my paypal.com at richardHaw888@gmail.com. Money isn’t my prime motivation for this blog and I believe that I have enough to run this but you can help me make this site (and the companion facebook page) grow.
Buy me a roll of film or a burger?
Thank you very much for your continued support!
$2.00
Helping support this site will ensure that this will be kept going as long as I have the time and energy for this. I would appreciate it if you just leave out your name or details like your country’s name or other information so that the donations will totally be anonymous. This is a labor of love and I intend to keep it that way for as long as I can. Ric.

5 Comments (+add yours?)