
Hello, everybody! Do you remember the show “Small Wonder“? I loved that show when I was younger, life was a simple back then and shows like that was enough to entertain anybody. We weren’t as fussy back then and we just accepted a lot of things. I guess that’s just how things were back then. I don’t think I’ve lost that since I am still satisfied with many things in life today despite the inconvenience. Today, I will show you something small. It’s really a “small-wonder” and I am also entertained by what I get from it despite not technically being excellent. It was made for a different time if you think about it, a time where things were much simpler than what we had 40 years ago. Read this article to see what this thing is.
Introduction:
The Cine-Nikkor 13mm f/1.9 was sold around 1953 to an unknown date, it’s notable for being sold with the Japan’s first 8mm motion-picture camera. It was replaced by the black-barreled Cine-Nikkor 13mm f/1.9 which is more common. It is an interesting lens with a lot of history behind it but not a lot of information could be found since the market at that time was dominated by European brands so there’s not a lot of literature left for us to reference from. What I do know is it was sold together with the Cinemax 8A made by Uryu Seiki in 1953 as a kit until the latter began to make lenses of their own. It was common for many Japanese manufacturers to include Nippon Kogaku lenses with their cameras at the time until they get the ability to design and manufacture their own optics, one example of this is Canon.

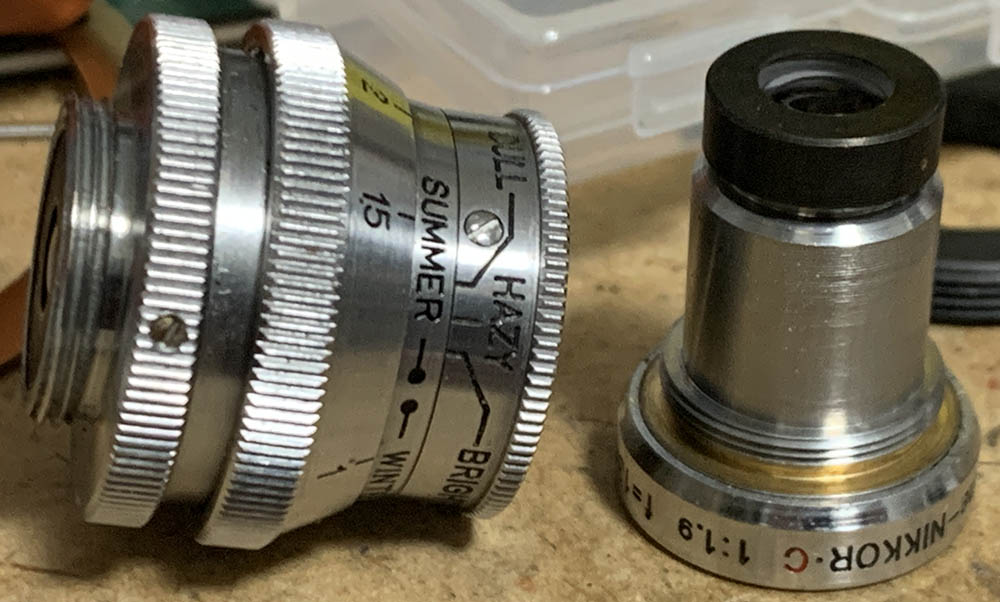
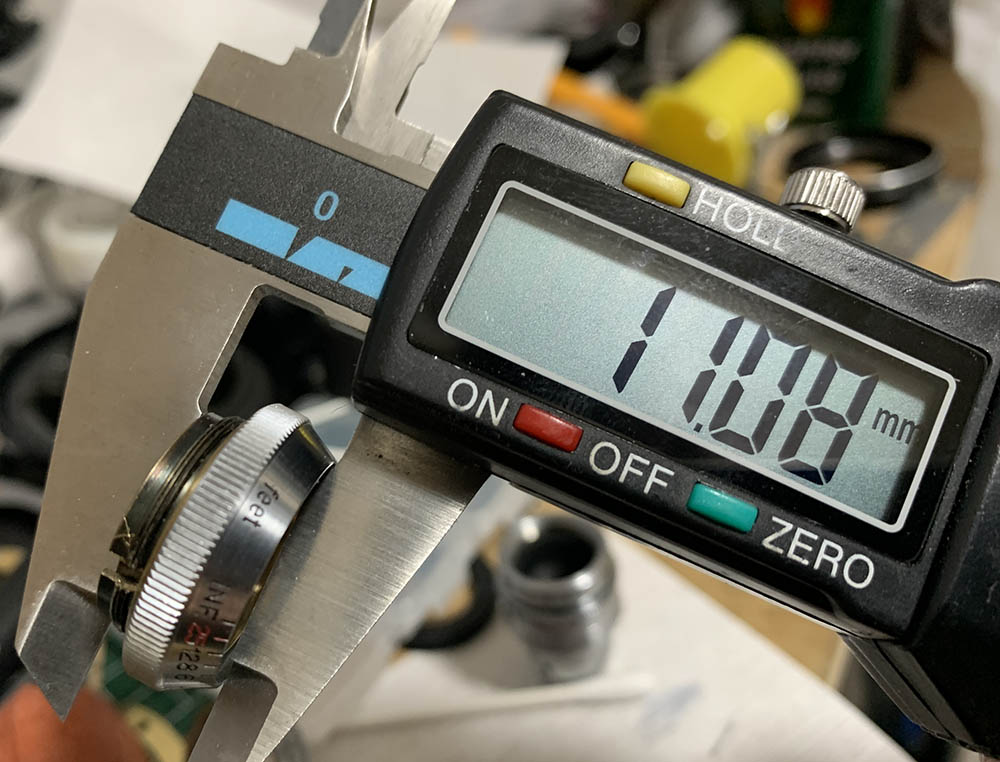
It’s all-metal, which makes this feel dense when held in your hand. It’s amazing how much detail went into building this little gem, the beautiful engravings are informative but difficult to see thanks to the shiny chrome-finish. It’s so tiny, the rings can be hard to recognize at times and you could be turning the wrong one if you’re not looking at it.. The front is recessed so a hood isn’t necessary.
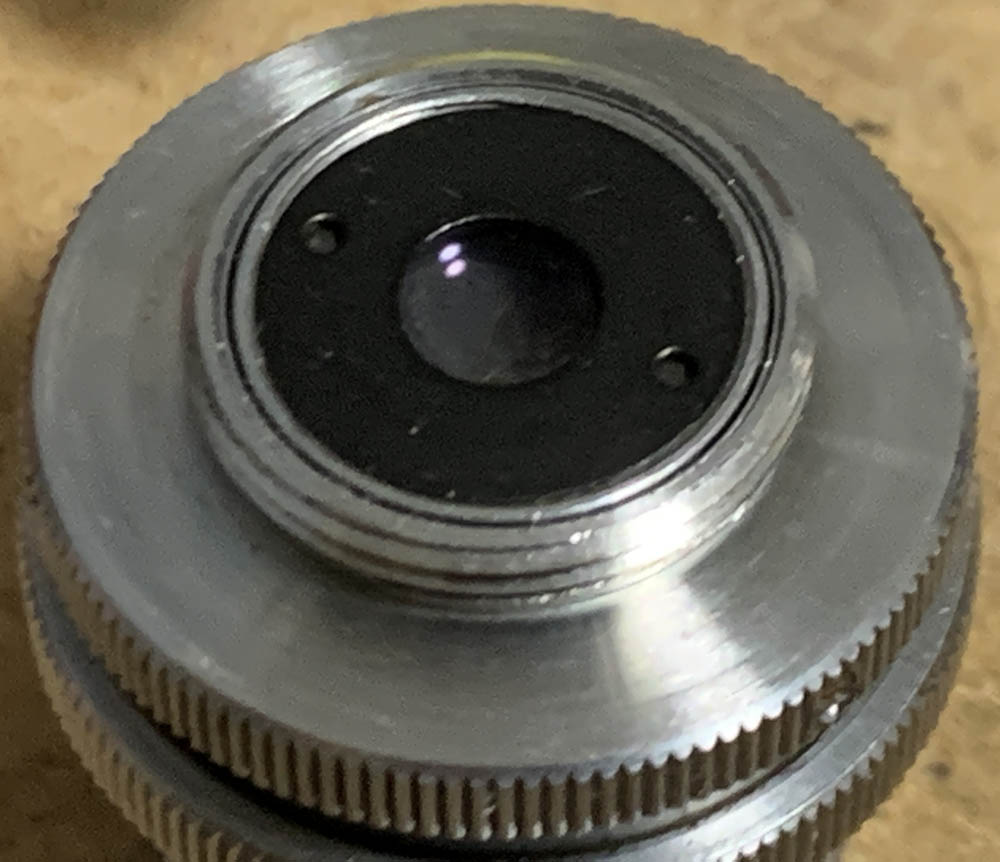
It has a 4-elements-in-4-groups design, it’s simple but it does the job. It kept the lens small and the cost of making the lenses low which is helpful since Japan had to sell quality goods at that time for a nice price in order to survive in those difficult years right after the war. Despite the simple and minimalistic optical formula all of the surfaces were coated. It is easy to see the blue-tint when you look at the glass, it also has a red “C” engraved at the front indicating this. This is really a work-of-art, the optics are small, servicing this little thing felt more like working with a microscope plan (lens). I think this is the smallest Nikkor ever made if you include its housing. It could easily fit inside a chestnut’s shell.

This lens is actually part of the original Cine-Nikkor trinity for the D-mount. From left-to-right we have the Cine-Nikkor 38mm f/1.9, Cine-Nikkor 13mm f/1.9 and the Cine-Nikkor 6.5mm f/1.9. These were all made in the 1950s and they were sold with Japanese 8mm movie cameras such as the ones made by Uryu Seiki.

It’s so tiny that the little Pentax Q10 appears huge. This is the best way to enjoy this lens for digital photography. Read my Pentax Q10 review to know why I made that statement and how to maximize this lens when shooting with it. This is the only option you have at the moment if you want to play with D-mount lenses.
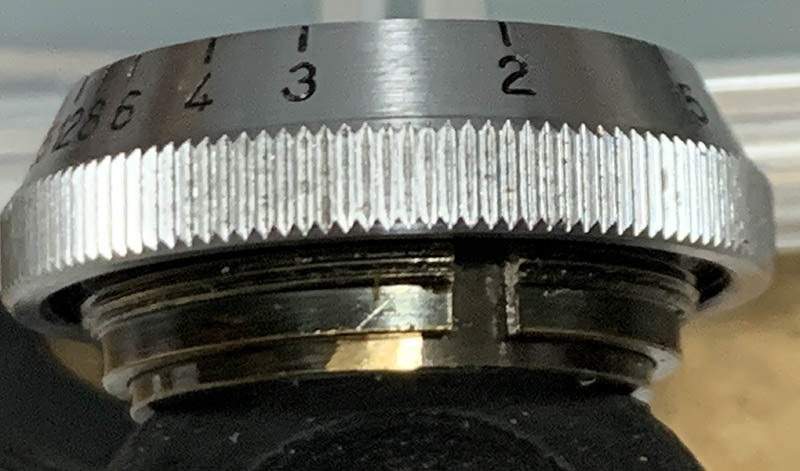
Handling is rather nice, the rings are small but aren’t difficult to identify with your fingers. It’s all-brass so it’s dense and durable. Of all the Cine-Nikkors this one is the most ornate when it comes to engravings, it has the standard markings along with some other extras like “Winter”, “Hazy”, “Bright” and so on. These were aimed at people who aren’t experts in calculating exposure, if a granny in the 1950s were to shoot in a sunny day she would just set it to “Bright” when she turns the aperture ring. In case you are wondering where these names were referenced from the early Cinemax-8 has a huge dial at the side indicating the ideal setting for exposure and the names all correspond to what’s engraved on that dial, it’s really an exposure-scale that’s easy to grasp by people who aren’t technical. This just goes to show how close the partnership was between Nikon and Uryu Seiki at that time, even the camera’s scale and the box have “Nikkor 1.9” printed or embossed on them.
To my knowledge there are at least 2 variations of this thing, this one you see here and another one with the “Revere” brand engraved at the bezel which is also rather narrow compared the one you see here. The Revere company made a couple of 8mm movie cameras which included this Nikkor with their product.

To give you a perspective about how this lens is actually used in its proper context here is a Cinemax 8S. The 1950 saw a boom in standard 8mm movie cameras and the Japanese industry wanted to have a share of the market, too. This is a very small format so nobody “pixel-peeps” the results and they were basically marketed towards people who could not afford the more expensive formats or people who just wanted to shoot home-videos. This is why many 8mm lenses are not as good optically compared to the ones made for larger formats. Of course, you’ll want to consider physics into the equation, too.
Learning how a lens performs is key to maximizing it. You’ll learn how to utilize its strengths and avoid its weaknesses. This knowledge helps in determining which lens to bring on an assignment. I shot these from f/1.9, f/2.8 and f/4 and f/5.6 since these are the most common apertures that people would want to use this and we’ll see the most changes happen within these values. These photos were shot with my Pentax Q10, some of the photos were cropped close to 1:1 magnification so we can see the details better. You’ll need to understand that the sensor’s usable area is actually a bit bigger compared to that of standard 8mm so the areas closer to the top and bottom edges look terrible since this lens is rendering beyond its intended image-circle.

It has a shallow barrel-type distortion profile with a simple curve, this isn’t going to be much of a problem but you will have to be careful when you have straight lines in your scene. This won’t be as obvious when you angle your shot.


(Click to enlarge)
Vignetting can be observed when shooting wide-open but it’s not as heavy as I expected. In fact, this isn’t a problem at all. It gets better by f/2.8 and is gone once you’ve reached f/5.6. I wouldn’t worry about this at all. Despite this, you will have to remember that we’re seeing more than what’s it suppose to project so the extremities will appear dark even at smaller apertures. They will not go away since they’re beyond the lens’ image-circle.


(Click to enlarge)
Shooting into the sun isn’t the best thing to do with a mirrorless camera but I’m going to do it for you anyway. This is a simple demonstration of how it looks like at wider apertures and at a much smaller one. Flare resistance seems poor, it will cover the majority of your frame in sever cases. You’ll get blobs which appear subtle when shooting wide-open but it becomes more defined on smaller apertures as expected. It doesn’t look bad at all, I’m sure some people will use this creatively, specially those who shoot movies.


(Click to enlarge)
The character of the bokeh isn’t the best, it looks rather ugly on certain scenarios. Despite it having an f/1.9 maximum-aperture you won’t be able to get think depth-of-field from it since we’re shooting with a tiny format compared to that of standard 35mm.


(Click to enlarge)
Here’s a couple of photos demonstrating how the depth-of-field changes as you stop the iris down. You won’t see any big changes but it’s enough to alter what’s in-focus in your scene.


(Click to enlarge)
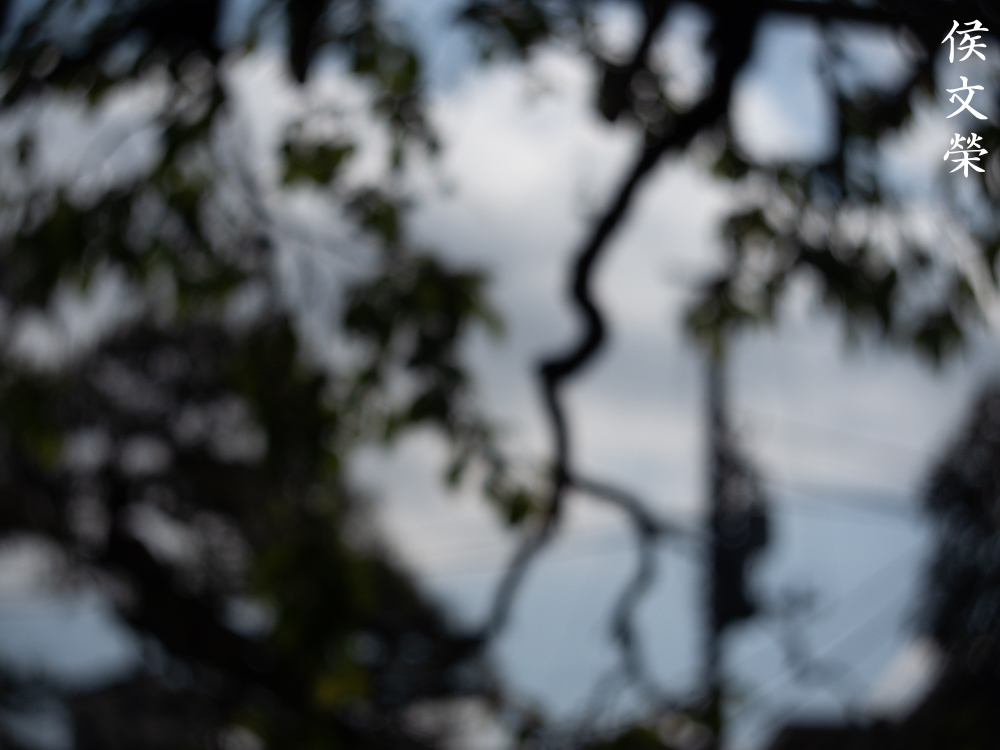
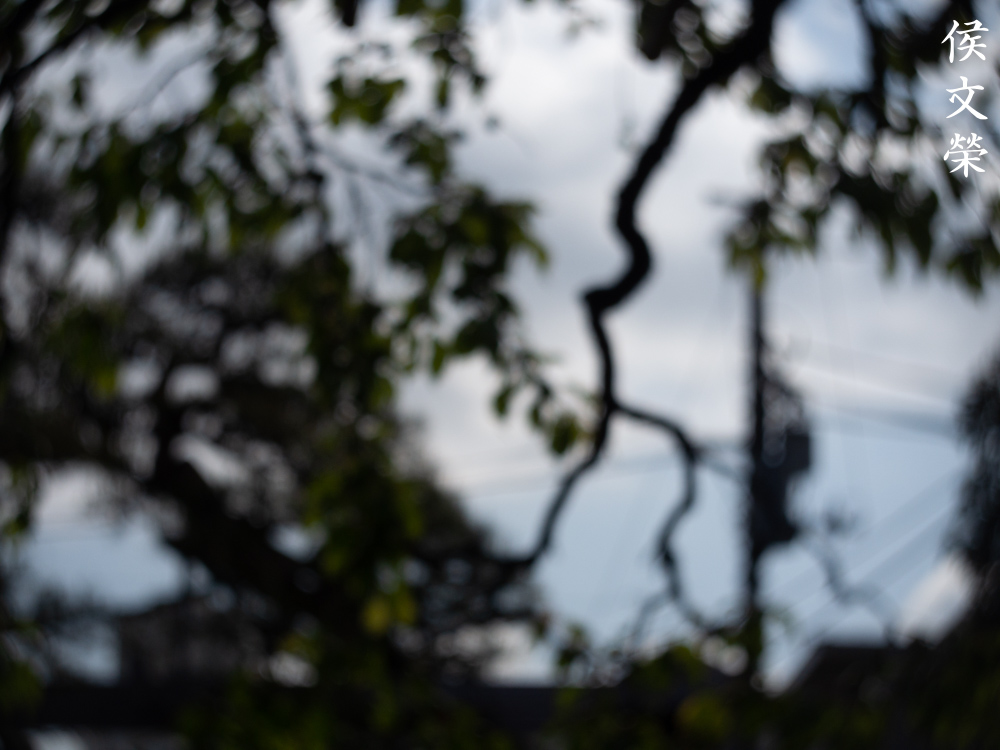
It appears to have a polite rendering when shot at night, the out-of-focus areas appear smooth, astigmatism and some elongated discs could disorient your viewers. It does add another interesting layer to your photos so I do not mind this at all.


(Click to enlarge)
Chromatic aberration appears to be controlled a lot better than spherical aberration but the latter clears-up earlier. It’s almost gone by f/2.8 but you’ll still see chromatic aberration up until f/5.6 in severe cases. I think flare makes it look a lot worse than it is.

(Click to enlarge)
It seems to tolerate flare from strong reflections pretty well as far as I can see, even wide-open. Chromatic aberration is not a big issue with this lens.


(Click to enlarge)
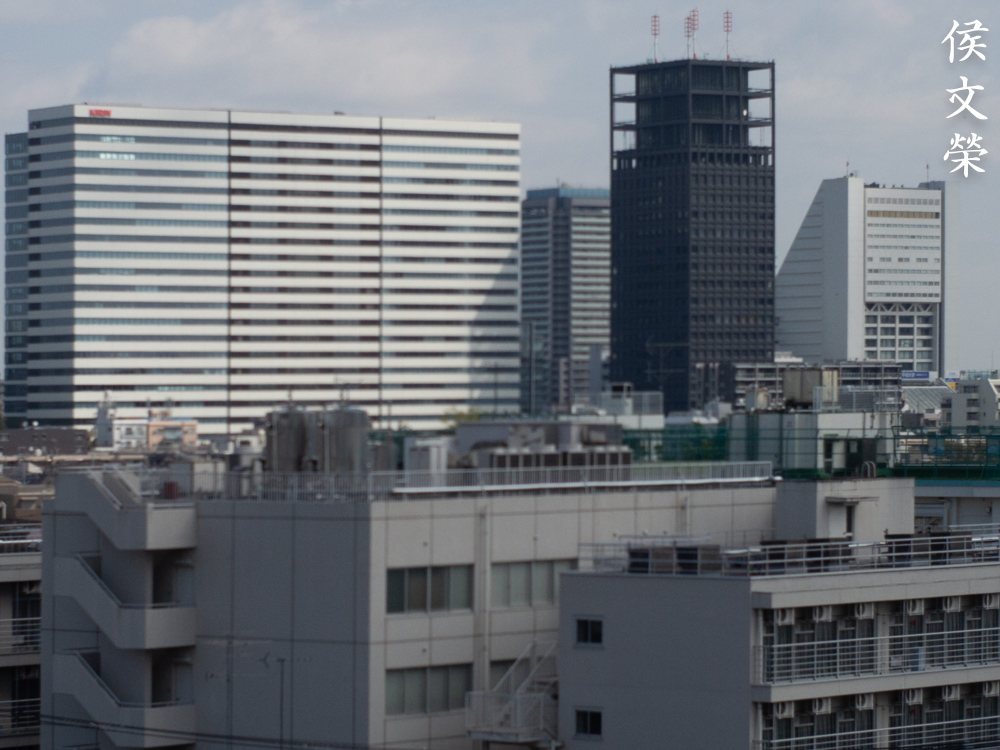
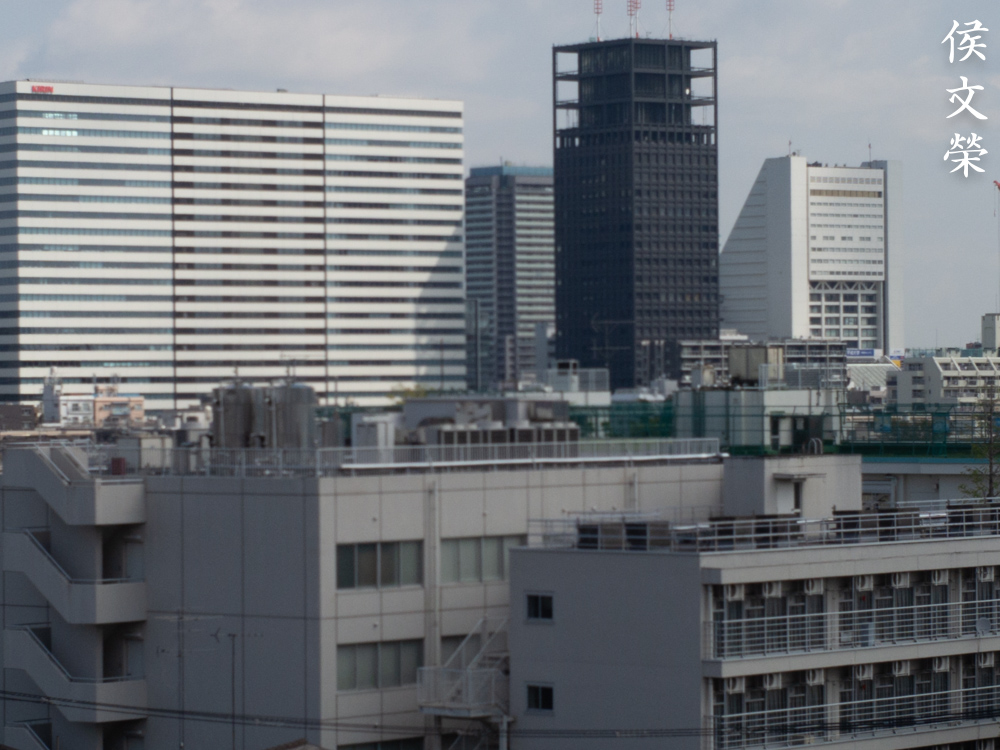
It’s sharp wide-open but veiling-flare subdues its contrast, making everything look “dreamy”. Resolution appears rather adequate, just barely acceptable. Stop it down to f/2.8 and you’ll see a huge improvement since the resolution now is a lot better which enables it to render better details but the “dreamy-look” is now gone. You’ll see some improvements in terms of resolution by f/4, it helps resolve details better which results in sharper photos. Contrast looks better so you will notice a big jump in sharpness. The corners look better by this point but the extremities will never look good since they’re beyond the lens’ image-circle. Stopping it down to f/5.6 results in relatively-good performance at the center. It’s not going to look much better at the corners but you’ll see some improvements there, too. My lens appears to perform better at closer distances compared to what I see at infinity. It’s also worth mentioning that it focuses really close, you’ll be able to focus-down to about 0.9ft with it.

Strong sources of light at night will cause them to flare if you’re shooting wide-open, something that you could use as an effect in your photos or videos. Stopping it down helps prevent this if you want a cleaner look.

It’s not apparent here but this photo is very sharp, I took this at f/4 so it should look quite good by this point. Shooting it from f/4 and f/5.6 seem to yield the best results as far as I could see.

I think I took this wide-open, I couldn’t achieve a reasonable shutter-speed so my photos look blurred even while using the Pentax Q10’s shake-reduction feature proved to be pointless so I took this with using the built-in flash. Surprisingly, the photo looked quite nice.


(Click to enlarge)
Here are more photos that I took with this tiny setup. I enjoyed shooting with it a lot, I think it’s the best combination if you want to take the smallest setup with you on a trip. That is if you don’t mind using a camera with a tiny sensor. That and a tiny cinema-lens that produces quirky images.
I highly recommend this for people who’d like to shoot manual lenses with a Pentax Q series camera. Its not the best at sharpness compared to later lenses but it’s able to deliver nice photos when you stop the iris down. The biggest reason for using this is its size, the later black model and the brighter Cine-Nikkor 13mm f/1.8 are both bigger than this. You’ll want to bring this lens instead most of the time due to its cuteness. Collectors should own at least one of these since it actually has historical value. Cinematographers will want this one as it renders with a nice character wide-open but it’s able to give you a cleaner-look by just stopping it down to f/2.8, this allows you greater creative expression without the need to bring separate lenses with you just to achieve both feel. When buying one be sure that the iris works perfectly, it should be dry and even when you look at it at f/16. This is the most vulnerable part of the lens as you will soon see. I don’t think these are rare but they’re not that common either. I got mine for $20.00 which is about the going-rate for it these days in the junkshops. An excellent one should cost you about $60.00 or se depending on what’s included. Check what’s available often and you’ll surely find one that fits your budget, happy hunting.
Before We Begin:
If this is your first attempt at repairing a lens then I suggest that you see my previous posts regarding screws & drivers, grease and other things. Also read what I wrote about the tools that you’ll need to fix your Nikkors.
I suggest that you read these primers before you begin (for beginners):
Reading these should lessen the chance of ruining your lens if you are a novice. Before opening up anything, always look for other people who have done so in YouTube or the internet. Information is scarce, vague and scattered (that is why I started this) but you can still find some information if you search carefully.
I highly recommend that you read my working with helicoids post because this is very important and getting it wrong can ruin your day. If I can force you to read this, I would. It is that important!
For more advanced topics, you can read my fungus removal post as a start. It has a lot of useful information, it will be beneficial for you to read this.
Disassembly:
Working with cine-lenses isn’t easy due to the size of the parts, they’re delicate, too. You’ll require special tool to work on them. The dexterity and care involved is similar to repairing watches in many ways. You’ll require drivers of various sizes that fit the heads of the screws perfectly and small lens suckers to handle the tiny elements. I’ll never recommend this to beginners because of the reasons I’ve mentioned. The elements are so small that it’s difficult to determine their direction so take plenty of notes as you go. Having said that, a seasoned repairer shouldn’t have problems working on this so long as one follows my notes. Like most lenses you’ll want to remove the optics as early as possible to prevent damaging them.
Unscrew the front optics assembly off along with the front barrel. I don’t remember these to be sealed in all samples of this lens that I’ve worked with. You can place a drop of alcohol to its threads if yours is stuck.
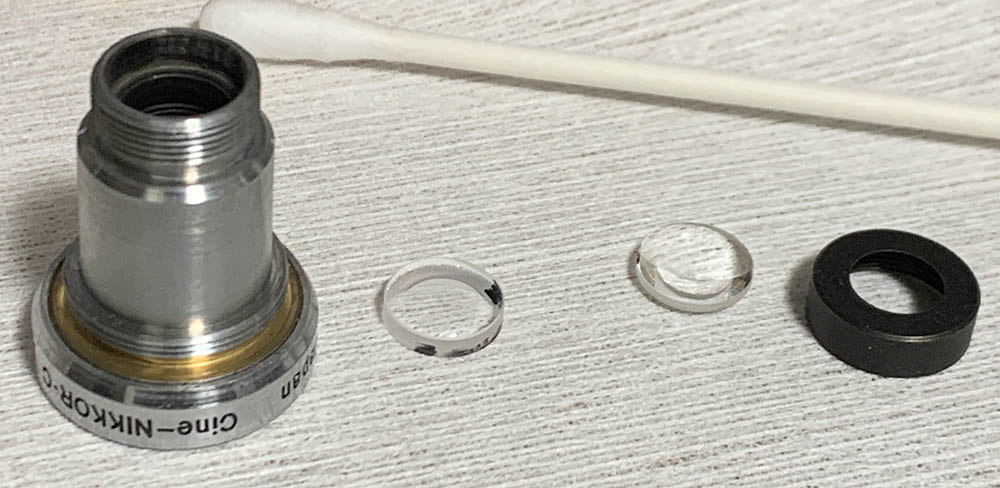
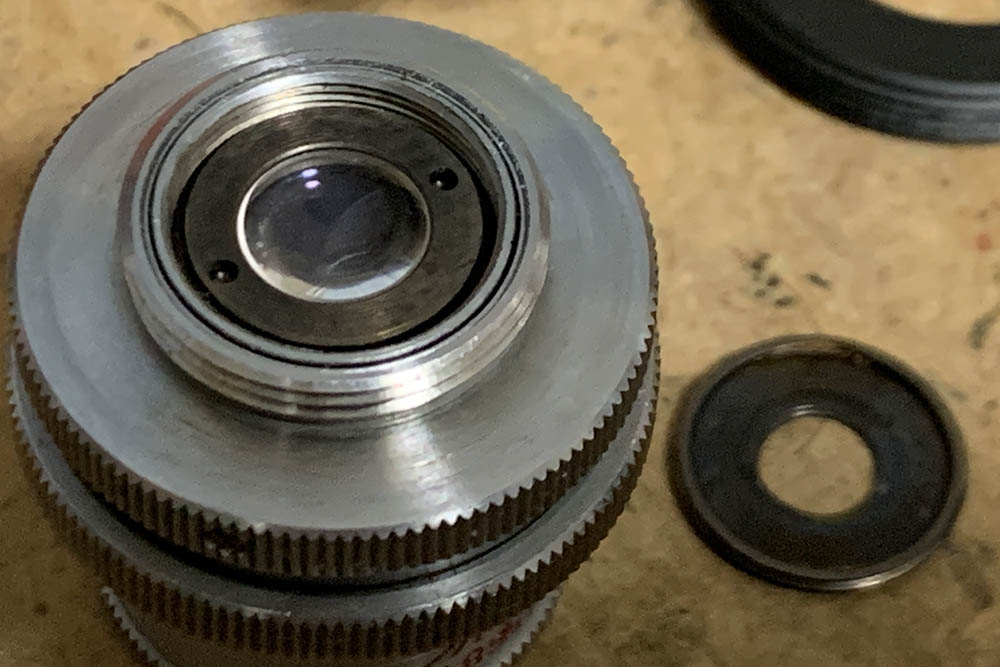
Unscrew the big retainer to remove the front and 2nd elements. Be sure to note their direction so you will know which side should be facing the front. Putting any of the elements facing in the wrong direction can damage them specially if they’re as delicate as these. That Q-tip should give you an idea as to how small they really are.
Unscrew the rear baffle so you can extract the rear element. This is sometimes sealed so be careful. Do not flood it with alcohol since there’s a small nylon part inside that will warp when exposed to solvents.
Be sure not to drop this as it’s loose at this point.
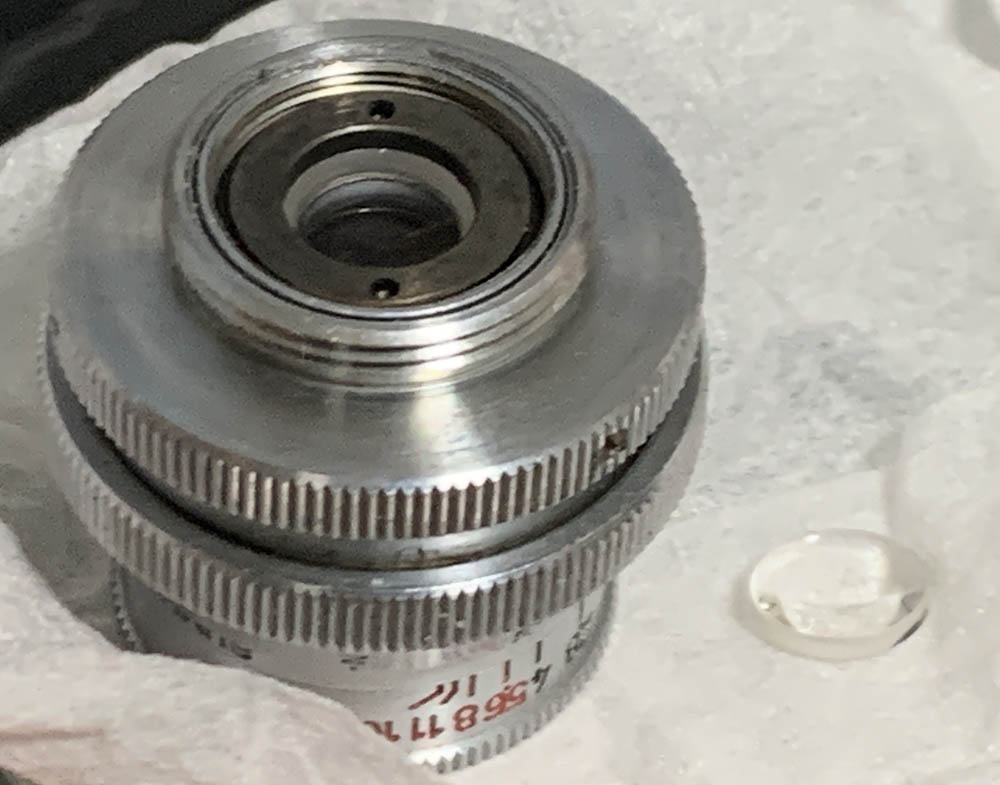
Use a small lens sucker to extract the rear element and never forget to note its direction.
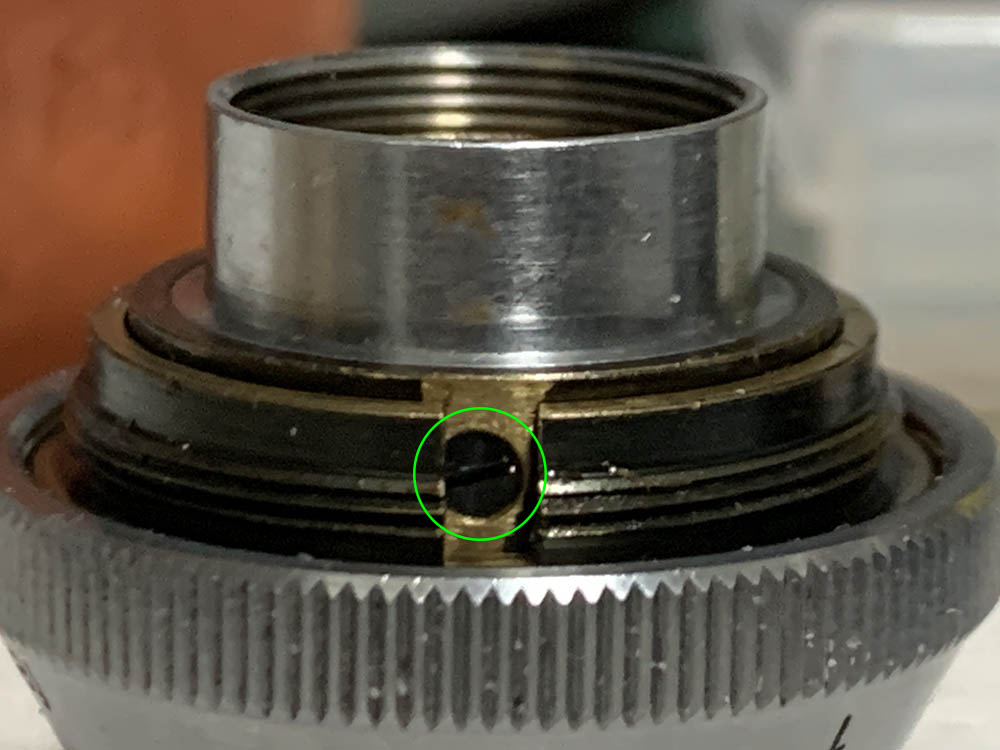
Loosen these screws but don’t remove them, unscrew the mount off afterwards.
Carefully unscrew the mount so the little screws won’t get misplaced.

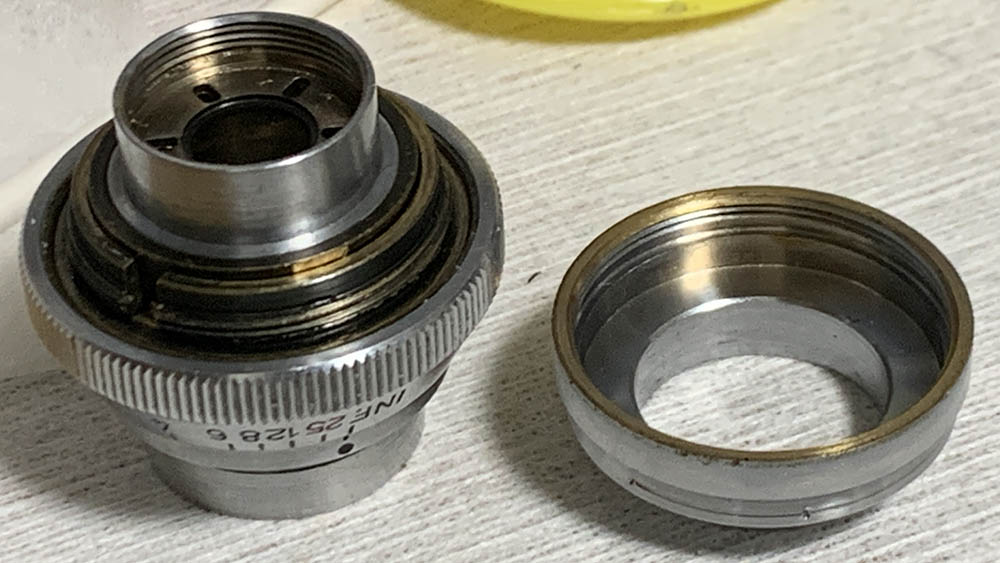
Carefully unscrew the collar to remove the 3rd element. It’s not sealed to the collar so be careful, mine was just stuck to it because it was dirty. For safety you may want to extract it with a lens sucker before you unscrew the collar.
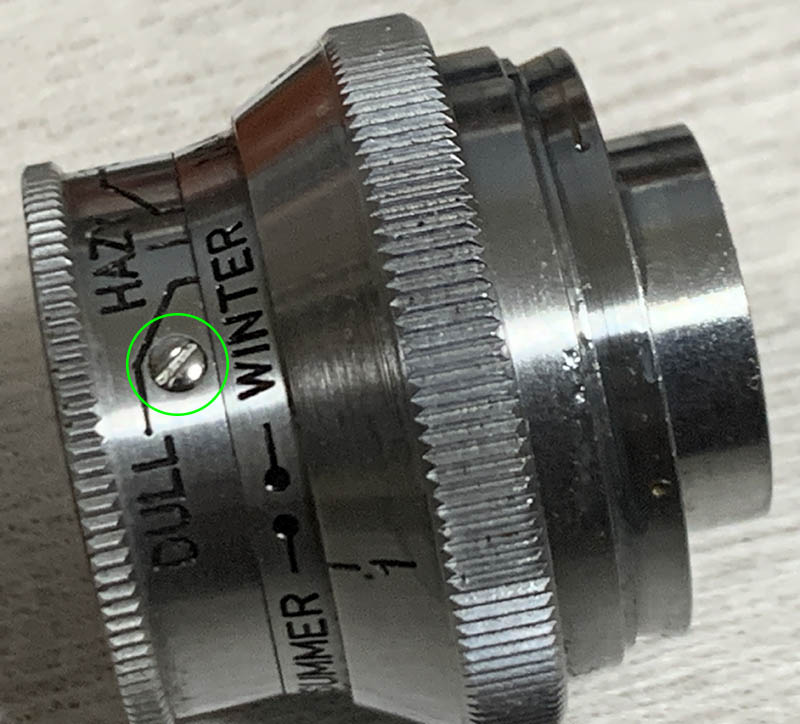
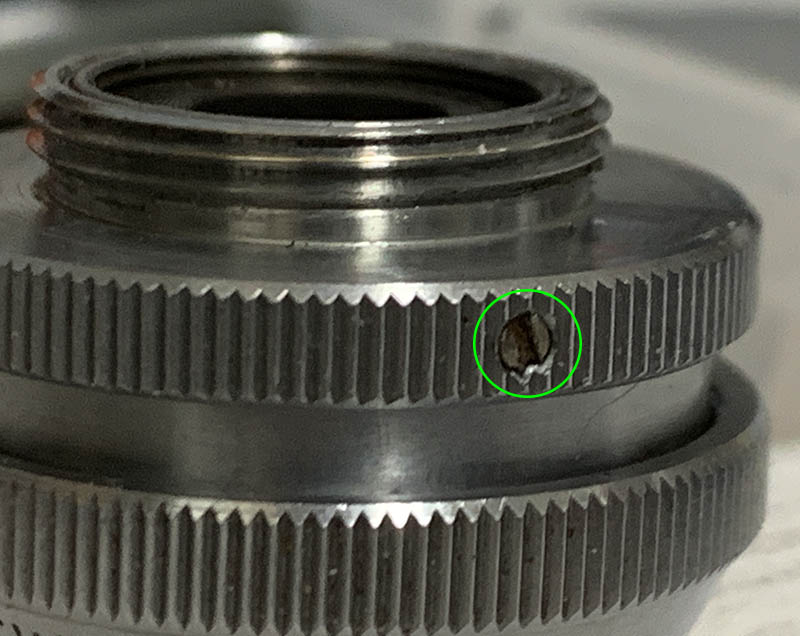
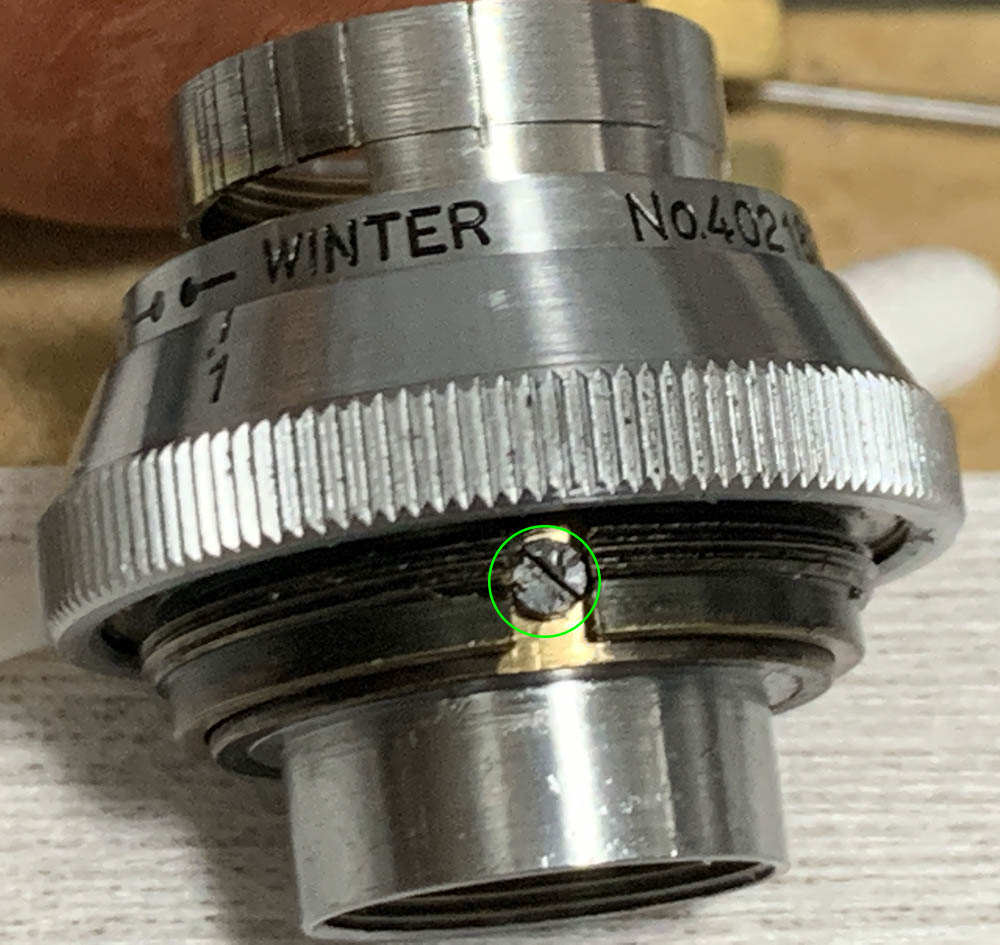
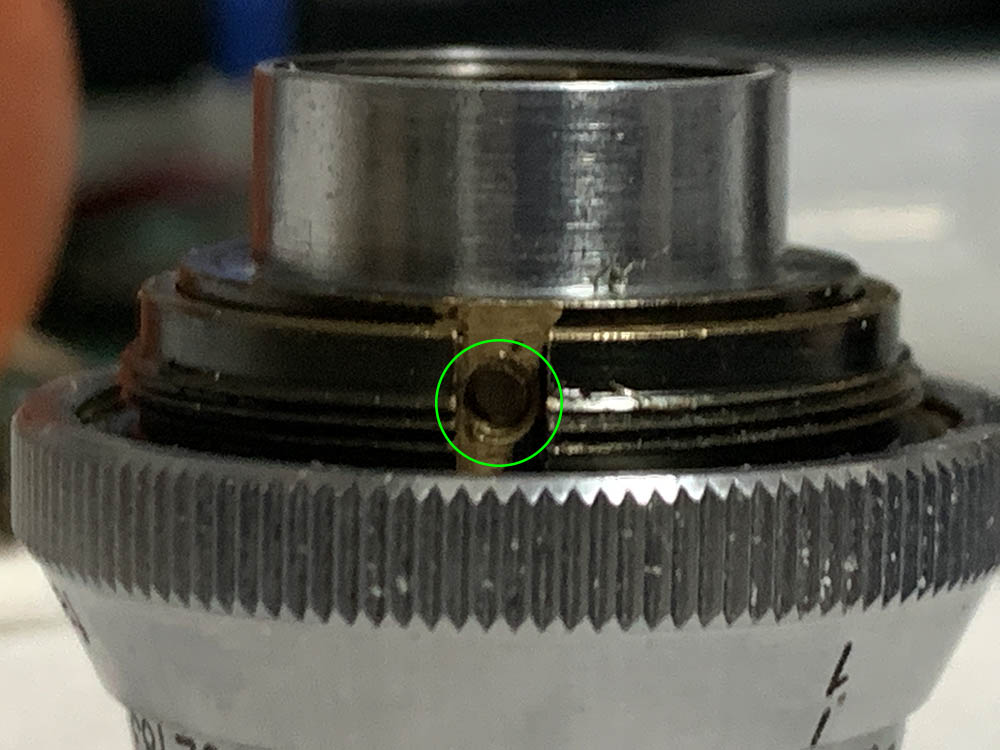
Extract this so you can remove the aperture ring. This screw acts as a pin coupling the aperture ring to the iris, allowing you to control the iris externally. Do not misplace this since you won’t find any replacements for it.
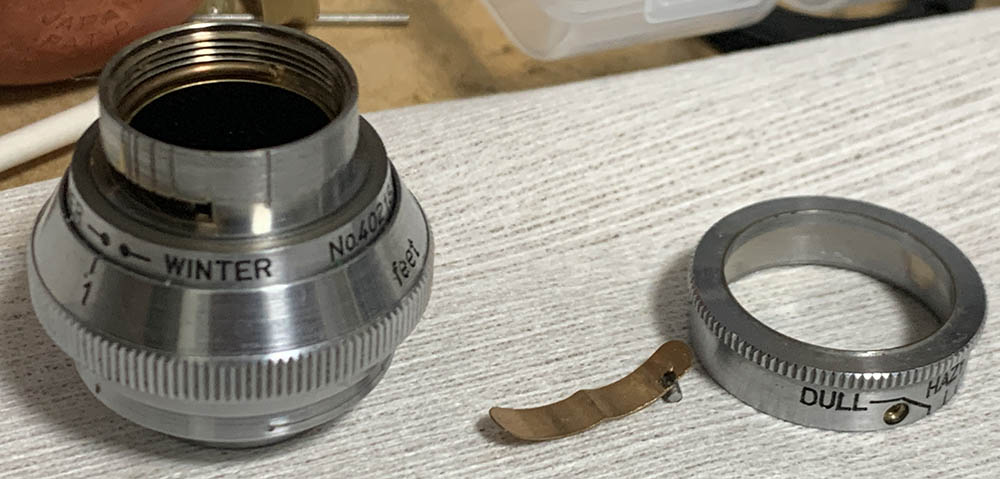
This pin also secures a spring underneath it, this is responsible for the click-stops. Putting this back requires patience as you’ll have to align the hole at the spring to the hole of the screw in the aperture ring.
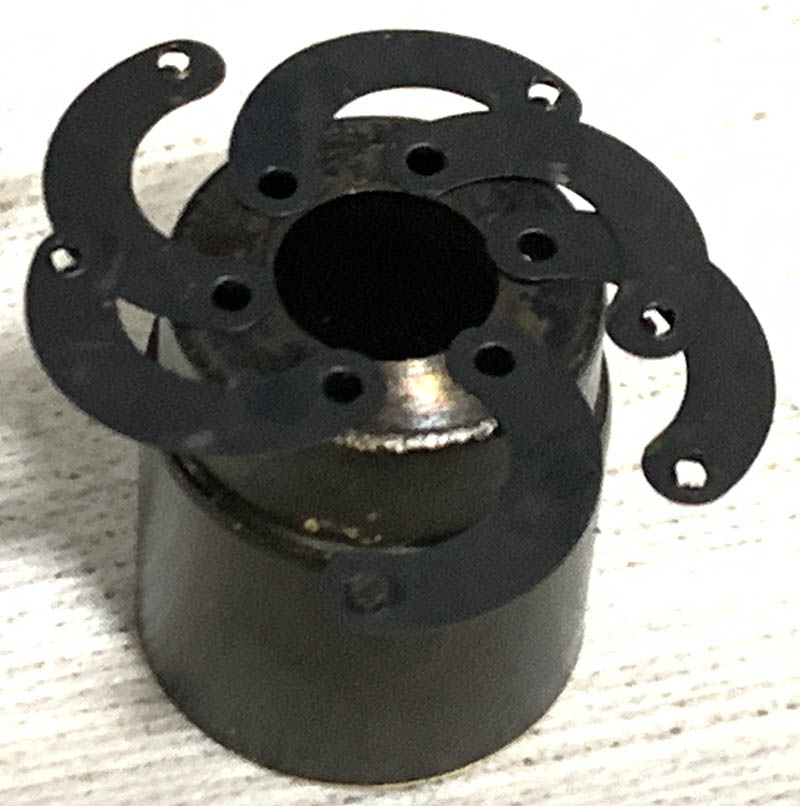
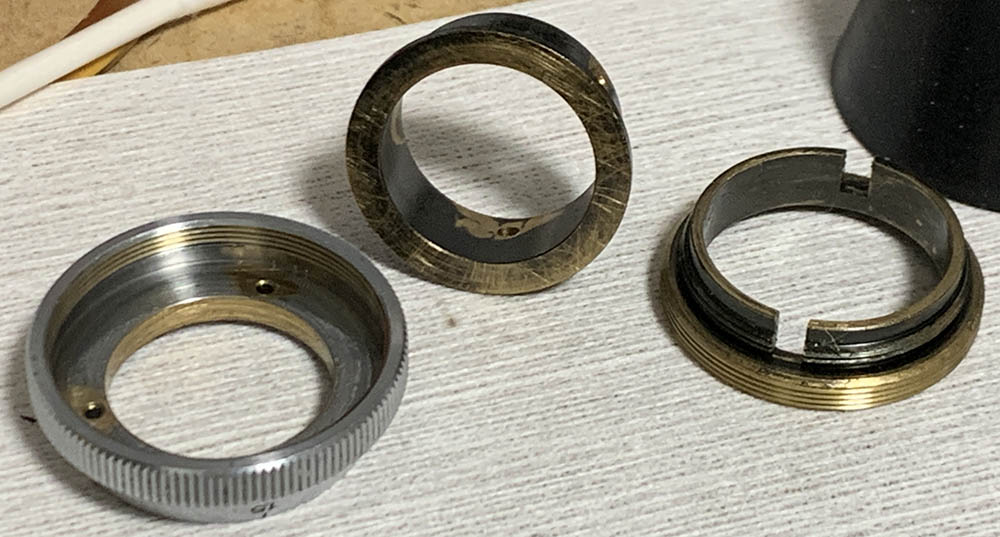
There’s a small brass circlip securing the iris mechanism, carefully remove it so you can dismantle it.
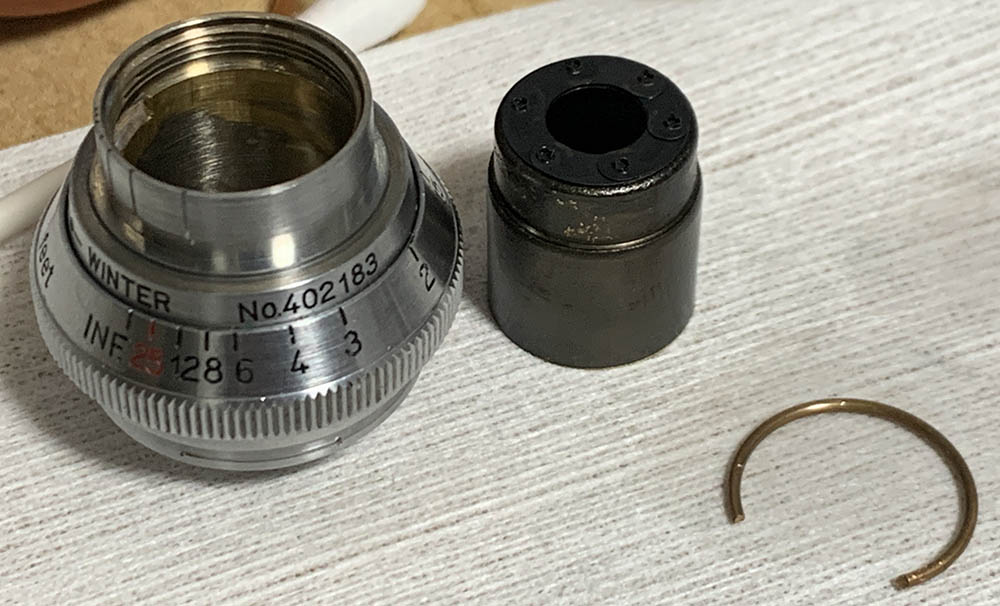
Carefully pull the diaphragm cup from the barrel and be careful so you won’t damage the iris since it’s delicate. Do not bother removing the blades.

It’s so tiny that it uses punch-holes instead of pins. These are very delicate so make sure that you don’t warp them or you won’t be able to put it back properly.
Spread the iris and clean the leaves in this manner, a Q-tip soaked in solvents will allow you to safely clean them. Never remove the leaves, you’ll risk damaging them if you do. Set this aside once you’re done cleaning and continue with the rest of the lens.
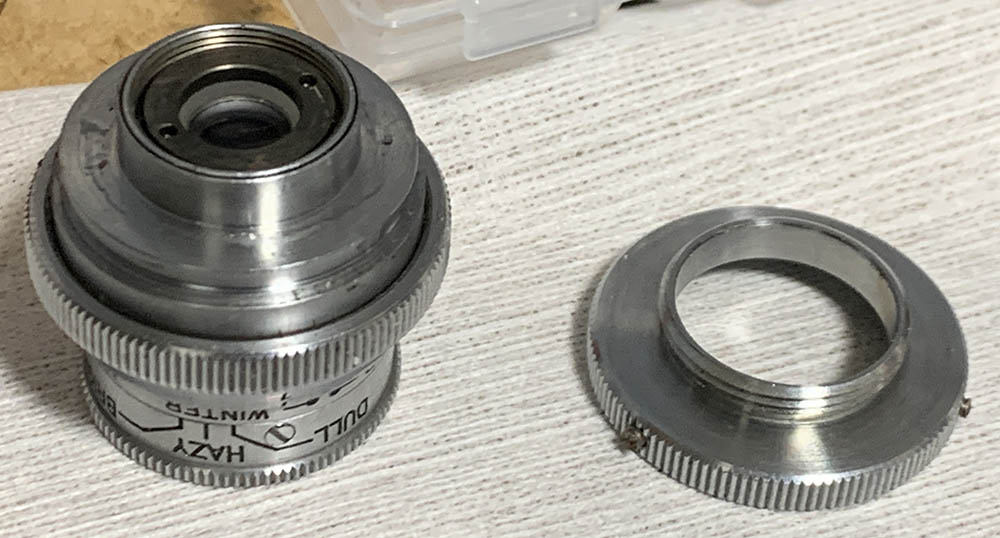
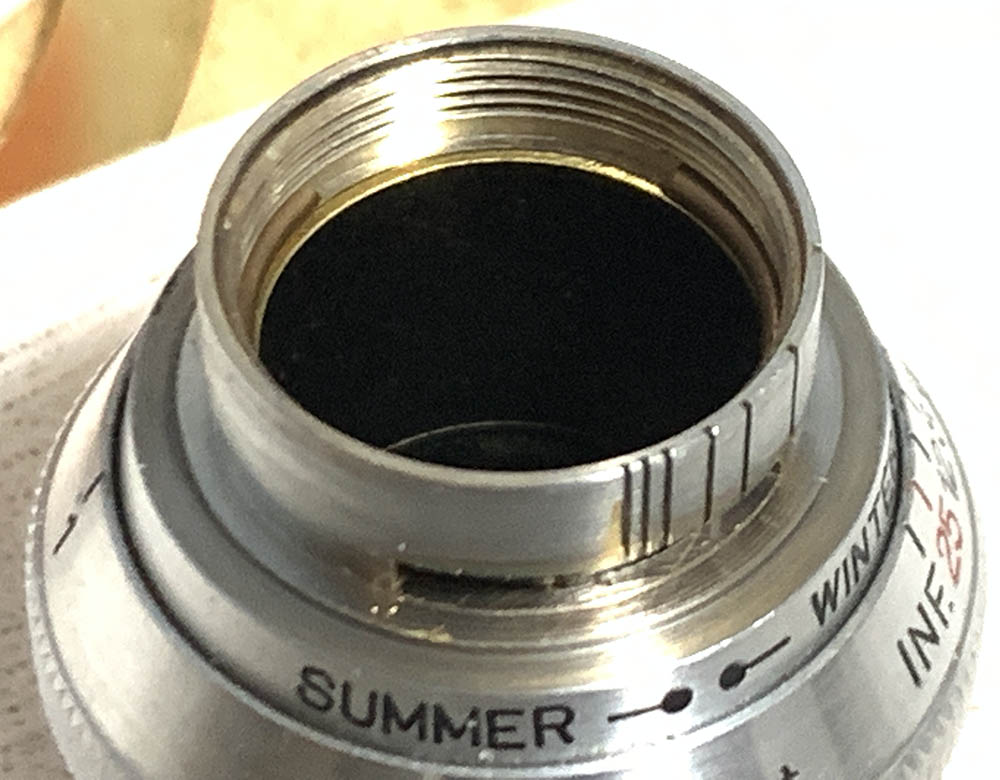
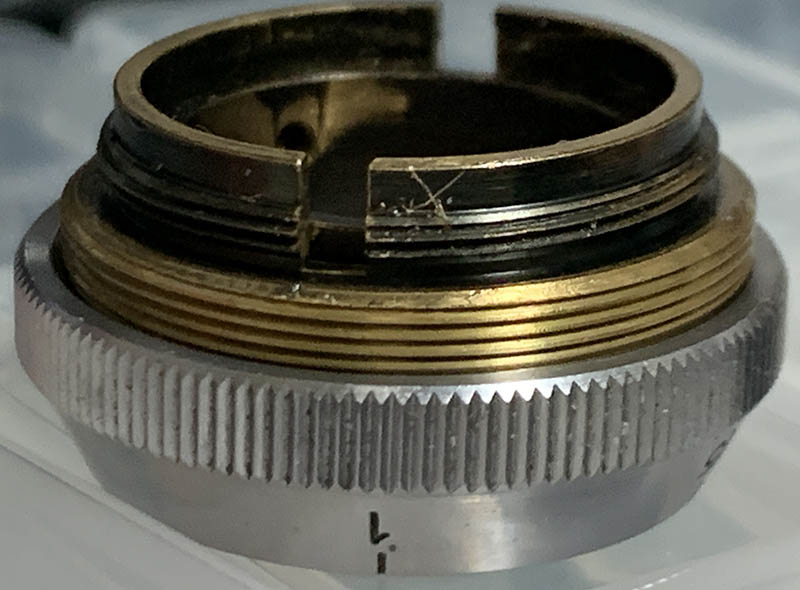
Unscrew this crown from the rest of the main barrel. It can be hard to remove at times so using a rubber sheet will help you grip it better.
Carefully unscrew this, it acts like a helicoid key so be careful not to damage it.
Turn the inner barrel and locate this, extract it carefully to prevent damaging anything.
Here’s another one. The 3 screws that you’ve extracted secure the inner barrel to the focusing unit.

You can now remove the inner barrel from the focusing unit.
This is how mine looks when the focusing unit is collapsed.
Be sure to note the focusing unit’s height when it’s collapsed, you should be able to reproduce it later.
Carefully unscrew the focusing ring off and be careful to mark where they parted since it’s a small helicoid. Lots of folks get stuck here because they forget to do this, read my article on how to work with helicoids so you will know how this is done.
Carefully clean everything and don’t leave any residues.
Clean everything very well, a heavier-type of grease will be beneficial for this but do not apply too much, a thin film is enough to lubricate the threads. Never apply lubricants to the iris or anything near it, the ridges for the click-stops will only require a very thin film of grease and that’s it. Powdered graphite will be helpful to ensure that the iris is smooth. I applied a small amount to the iris and blew any excess off. Carefully reassemble everything and follow your notes.
Conclusion:
It took me a whole night to service this thing, most of that time was spent on the focusing unit to make sure that I got it right. Putting the screws back also took plenty of time along with cleaning and reinstalling the tiny elements. Once I got everything back it felt really good because overhauling cine-lenses is a lot more difficult compared to repairing any 35mm lens on average due to the size of the parts.
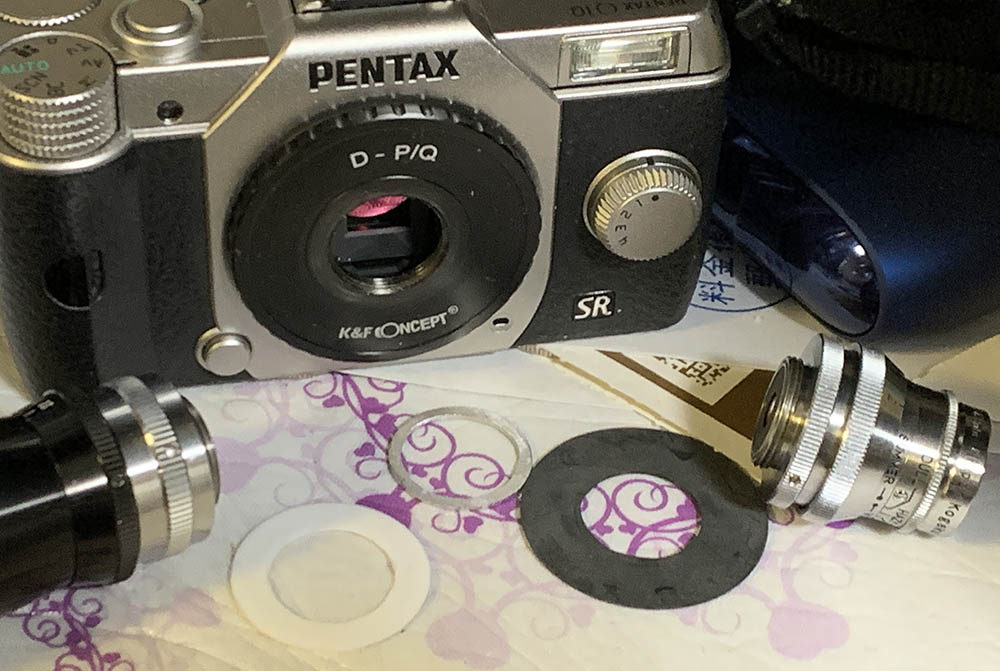
Once you’re done it’s time to adjust your lens’ focus. To do this you will have to fabricate shims. I wrote a whole article about this, read my article on how to adjust your lens using shims to see how I did this.
Thanks for following my work, if you liked this article please share this with your friends so it will get more views. This site earns around $0.40 a day, we are totally reliant on views. You could also support this site, it helps me offset the cost of maintenance and hosting. You are also helping me purchase, process and scan film. This site promotes the use of film so we are all in this together. See you again in the next article, Ric.
Help Support this Blog:
Maintaining this requires resources and a lot of time. If you think that it has helped you or you want to show your support by helping with the site’s upkeep, you can make a small donation to my paypal.com at richardHaw888@gmail.com. Money isn’t my prime motivation for this blog and I believe that I have enough to run this but you can help me make this site (and the companion facebook page) grow.
Buy me a roll of film or a burger?
Thank you very much for your continued support!
$2.00
Helping support this site will ensure that this will be kept going as long as I have the time and energy for this. I would appreciate it if you just leave out your name or details like your country’s name or other information so that the donations will totally be anonymous. This is a labor of love and I intend to keep it that way for as long as I can. Ric.

Apr 16, 2021 @ 12:29:58
Like to see this lens at a Pentax Q camera.
I have some D-Mount lenses too 🙂
Best regards
Bernhard