
Hello, everybody! Do you know “Hi no Tori” or 火の鳥 in Japanese? It’s the masterpiece of Tezuka Osamu (手塚治虫), a work that spanned decades and many chapters. It was never finished because he died before the series was done. It’s a great illustrated novel which delves in the deep topics of humanity, suffering, philosophy and morality, heavy themes I don’t think the mainstream audience would digest readily. It’s the zenith of Japanese comics in terms of story depth, it will leave you thinking and questioning many things well after you’re done reading even a single chapter. Today, I will show you something similar, a gold-standard of its class. Just like “Hi no Tori“, it was first revealed in the late 1950s. It is my honor to introduce to you this little-known gem. Read this article to know what this is.
Introduction:
The Cine-Nikkor 13mm f/1.8 is the ultimate evolution of its class. It replaced the older Cine-Nikkor 13mm f/1.9 but I do not know when since there’s not a lot of data available but I assume that it was sold in the late 1950s. While the older Cine-Nikkor 13mm f/1.9 is a good performer it’s apparent that the optical formula has to be refreshed in order for the line to be competitive since there were many other companies manufacturing D-mount lenses back then when it was a great time to be selling 8mm movie cameras.

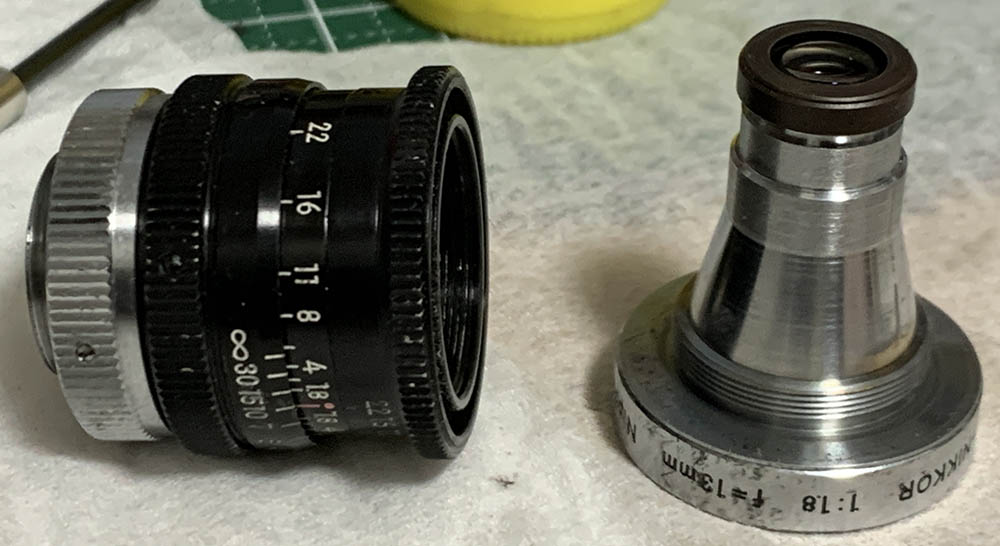
It’s well-made, despite being tiny it’s heavier than an acorn. It’s all-metal barrel will ensure that it will outlast us all. That large front barrel also serves as a hood because the front element is recessed and it’s situated rather deep within it. Its scales are informative, a depth-of-field scale and a focusing scale makes it easier to focus without having the need for a rangefinder.
It has a 4-elements-in-4-groups which is similar to the older Cine-Nikkor 13mm f/1.9 in terms of layout but they aren’t obviously the same. Apart from the sizes of the elements the spacing and curvature appear to be different, too. This is a welcome improvement, its modest improvement in terms of speed is pointless but the image quality is a level above the older generation. Similar to the older version it has the ability to focus rather close but not as close as what I’d like it to. I suppose it’s useless to make these focus closer since it would be impossible to frame properly using the vintage peep-holes that all older 8mm cameras have.

The lens it replaced is the Cine-Nikkor 13mm f/1.9 which looks similar to this so many people get confused. They aren’t the same in terms of mechanical construction as you will soon see in the repair section. If I am not mistaken they won’t be able to share the same accessories since the attachment ring size are different, this one seems to have a larger one.

The difference is even greater when you compare this to its grandparent, the original Cine-Nikkor 13mm f/1.9. This is a lot easier to use compared to the older lens since the rings are larger.

It’s cute, this makes it a nice walkaround lens for the Pentax Q series. Handling is nice, it’s easy to distinguish the rings with your fingertips.

This is its brother, the CIne-Nikkor 38mm f/1.8 which not a lot of people knew about. Both lenses represent the best in Nikon’s catalog during their time.
Learning how a lens performs is key to maximizing it. You’ll learn how to utilize its strengths and avoid its weaknesses. This knowledge helps in determining which lens to bring on an assignment. I shot these from f/1.8, f/2.8 and f/4 and f/5.6 since these are the most common apertures that people would want to use this and we will see the most changes happen within these values. These were shot with a Pentax Q10, some of them were cropped close to 1:1 magnification so we could see the details better. You’ll need to understand that the sensor’s usable area is actually bigger compared to that of standard 8mm so the areas closer to the edges look terrible since this lens is rendering beyond its intended image-circle.


(Click to enlarge)
Vignetting isn’t bad wide-open and is confined mostly at the corners. Stopping it down to f/2.8 helps clean it up, you’ll only see traces of it at the extremities. It doesn’t seem to improve much by stopping it down any further but this isn’t a problem because we’re not supposed to see that part of the image. The sensor of the Pentax Q series cover a broader area than standard 8mm for which this lens was designed to be used for.
The distortion profile is of the barrel-type and is quite shallow but prominent. I wouldn’t use this for shooting straight lines. If you have to just angle your shots so it won’t be obvious.


(Click to enlarge)
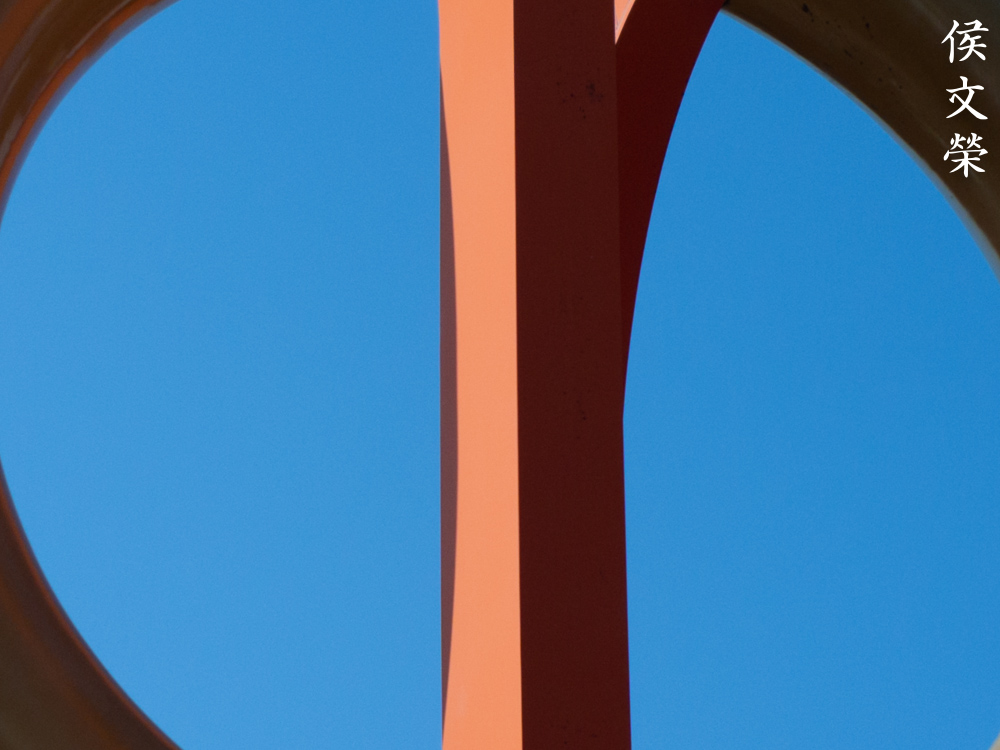
As expected, it flares terribly when shooting in contra-light, even stopping the iris down won’t help much. This is not a big problem when you are shooting in more realistic scenarios and you could even use this creatively. You’ll get plenty of blobs caused by internal-reflections as the coatings aren’t high-tech. It also has the tendency to produce ugly, broad beams that’s typical of many cheaper lenses of its time. The multi-colored burst you see is the reflection of the sensor. I hate it but it looks trippy so someone may have a use for it.


(Click to enlarge)
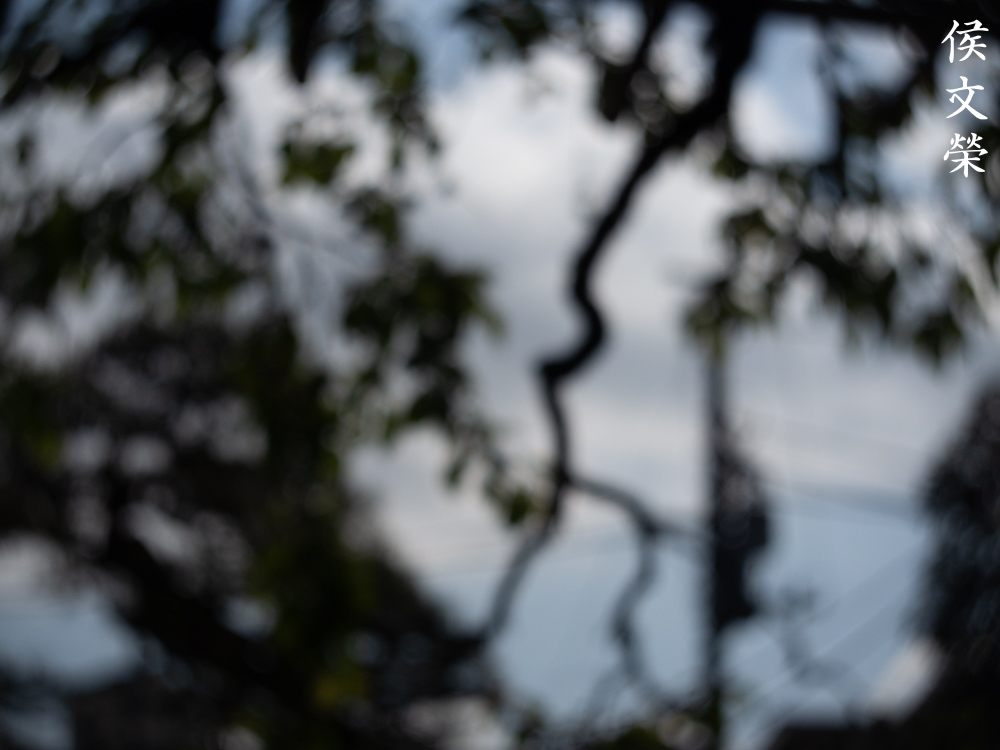
The character of its bokeh appears to be rather poor, giving you a cheap-look. To be fair, this isn’t the lens for shooting nice, smooth blurs and specially not with the standard 8mm format because it’s tiny.


(Click to enlarge)
The discs appear to look clean even when shooting wide-open, they look more round than angular despite it having an angular iris with only 6 leaves. The sun-stars aren’t pretty as they don’t look well-defined.


(Click to enlarge)
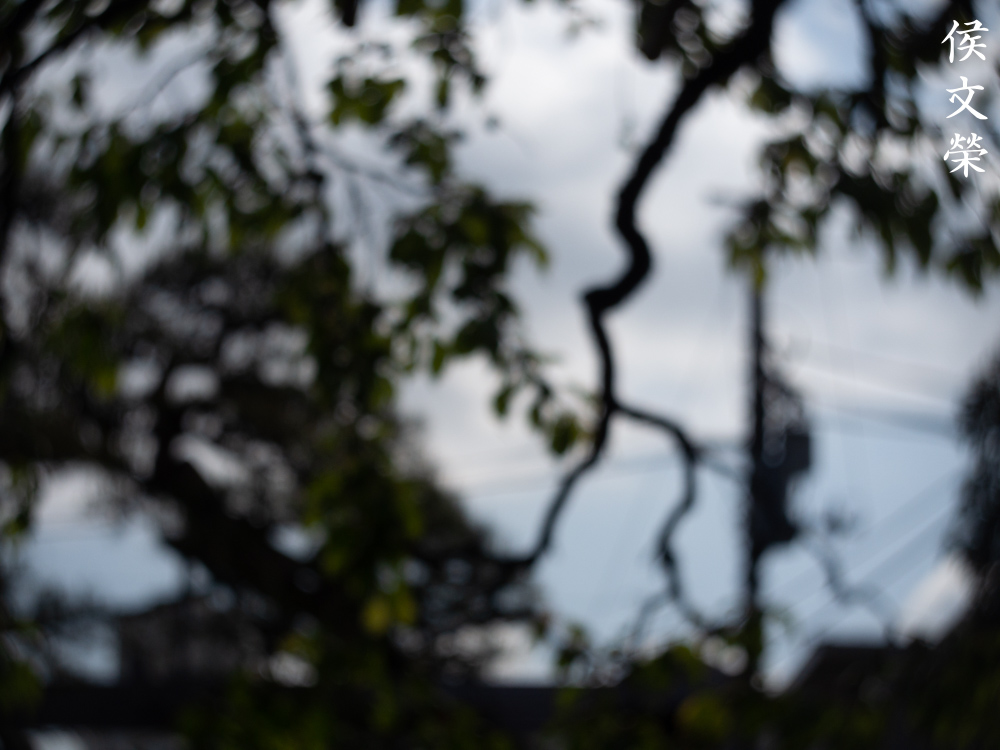
This set should illustrate how depth-of-field affects the blur’s character and how much you could get things in-focus. It isn’t the best if you love smooth, creamy blurs because the format is so tiny.


(Click to enlarge)
It does have the tendency to produce that swirly-look, some people love it while some hate this. Stop the iris down to about f/2.8 and you won’t see much of it.


(Click to enlarge)
Chromatic aberration appears to be controlled very well even when shooting wide-open, you’ll only see it when you’re shooting in extreme scenarios but the results aren’t ugly at all. Spherical aberration can be observed but it doesn’t look bad and it adds a nice character to your photos. Stopping it down to f/2.8 will result in a cleaner look since the flaring is now controlled a lot better. Chromatic aberration can still be seen but not at the same levels as when shooting this at f/1.8 and it’s only visible in terrible cases. Stop it down to f/4 to help make it look even cleaner but it does not seem to make a huge difference if you stop it down further than this. I am impressed by its performance in this simple test, you won’t have to worry about it when shooting with it in real-world scenarios.

(Click to enlarge)
While this is no-match compared to modern lenses it’s remarkable how well it controls optical aberrations even when it is used in difficult situations. You won’t get harsh purple or green artifacts or any strong blooming around highlights.


(Click to enlarge)
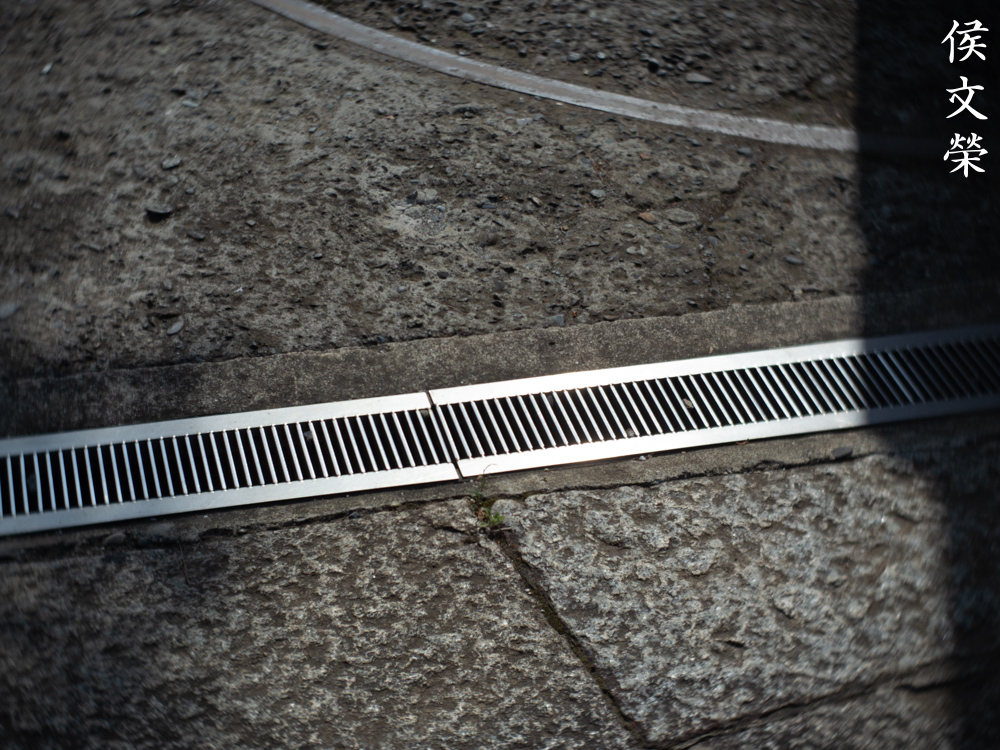
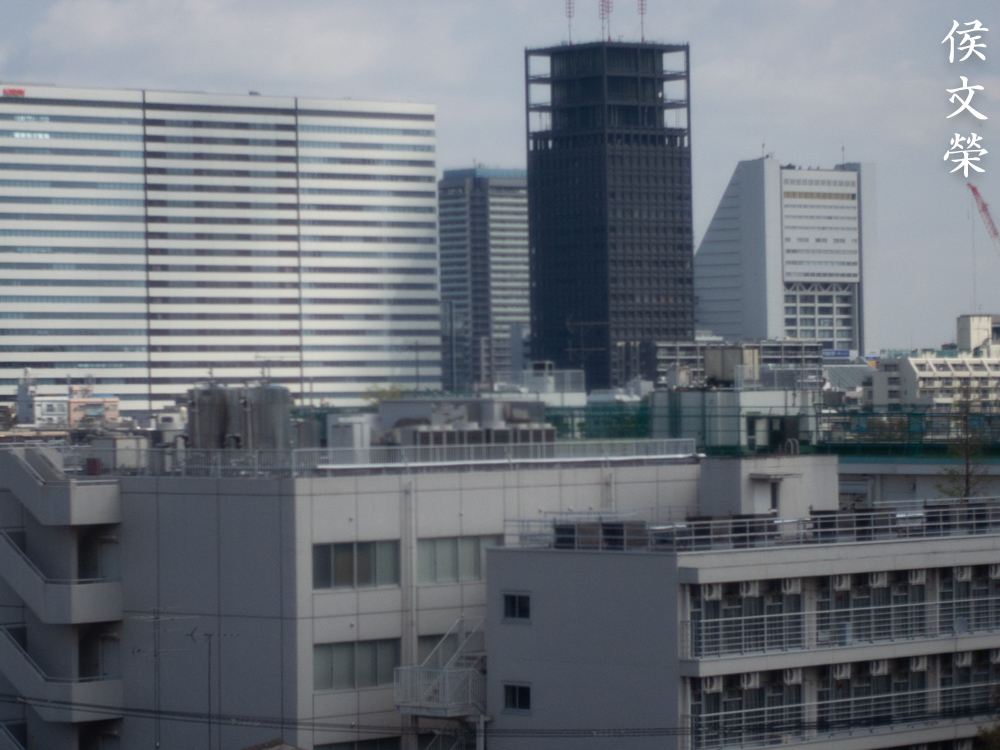
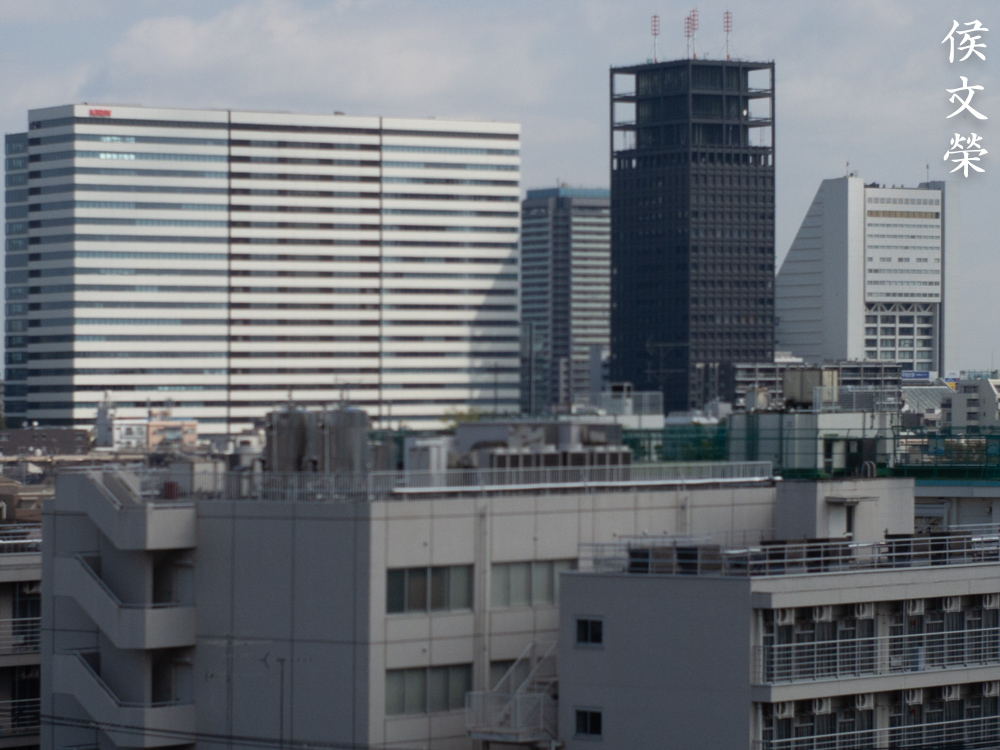
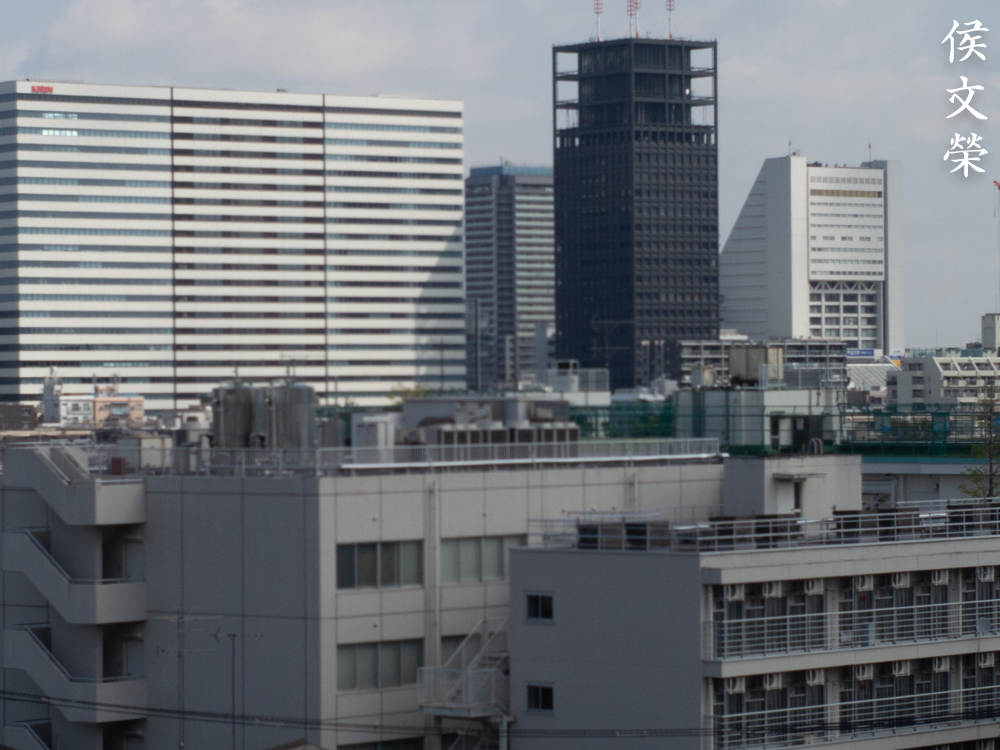
It’s a bit soft wide-open but a lot better than its contemporaries made by other brands. Despite that you will see that it has potential because the softness is caused by a mix of optical aberrations and not the lens being poor itself. In short, you can see that it is a sharp lens but the resolving power just isn’t enough to support it at this point yet. There is a soft haze covering parts of your frame at certain conditions, giving the photos a “dreamy” look but it’s not overdone as to make it appear ugly. In fact, you won’t see this in most cases. Stopping the iris down to f/2.8 will make the center look great since the resolving power improves by quite a bit. It’s sharp and you can see details rendered much better. You’ll get a good contrast boost as well which helps give the impression of sharpness. The corners also look a lot better, too. It’s impressive, this is the best I’ve seen from a lens of this class at this aperture. The center get better still once you’ve stopped it down to f/4 but the biggest improvements could be seen at the extremities. It appears to have reached the peak in terms of optical performance at the center. The corners will improve some more by the point it gets to f/5.6, it is amazing how nice it looks even at the extremities. The center doesn’t seem to benefit as much as I don’t see signs of it improving at all. The corners appear to be behind by about a stop which is remarkable since it’s usually 2-3 stops for lenses of this vintage and class. Mine seems to perform very well at closer distances and the image quality drops a bit as you get to infinity, this is more obvious wide-open and the gap is closed by f/2.8. This is not unusual at all because a lot of lenses were calculated to perform their best at more practical distances.
The character of the bokeh gets smoother as you get closer to your subject. This is as expected and this is the best way to get the most out of it if you’re into blurry backgrounds.

It has the tendency to produce that swirly-look to some degree. Some people like this but I find this disorienting.
The swirly-effect isn’t overpowering but that will depend on what’s in your background and how close you are to your subject, the closer you are the stronger the swirly-effect will be.
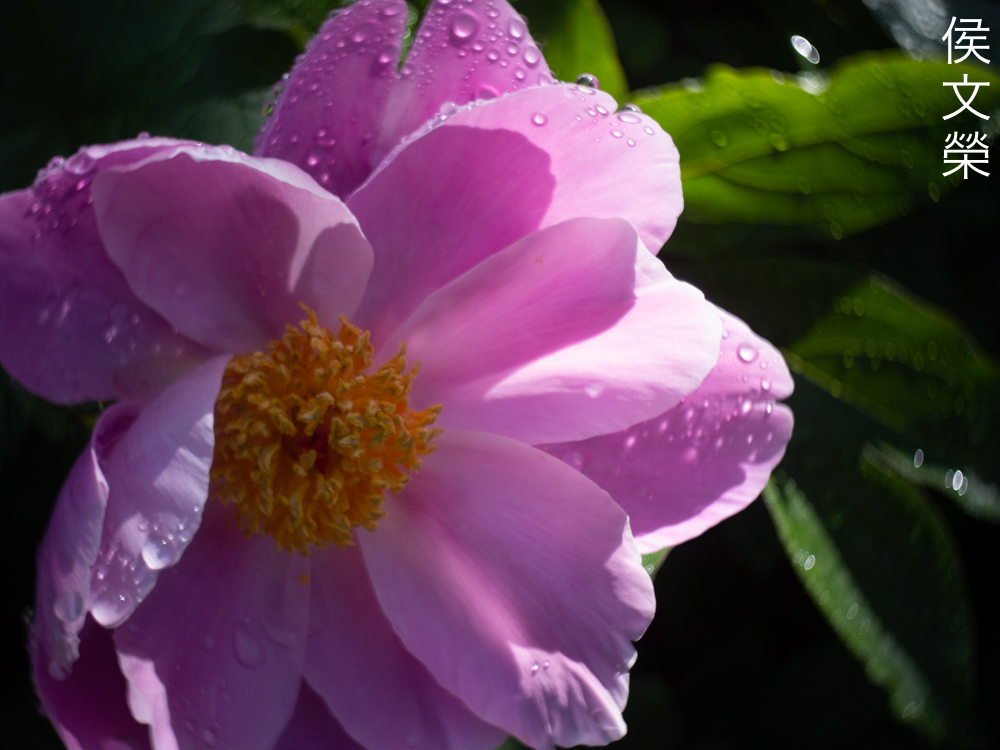
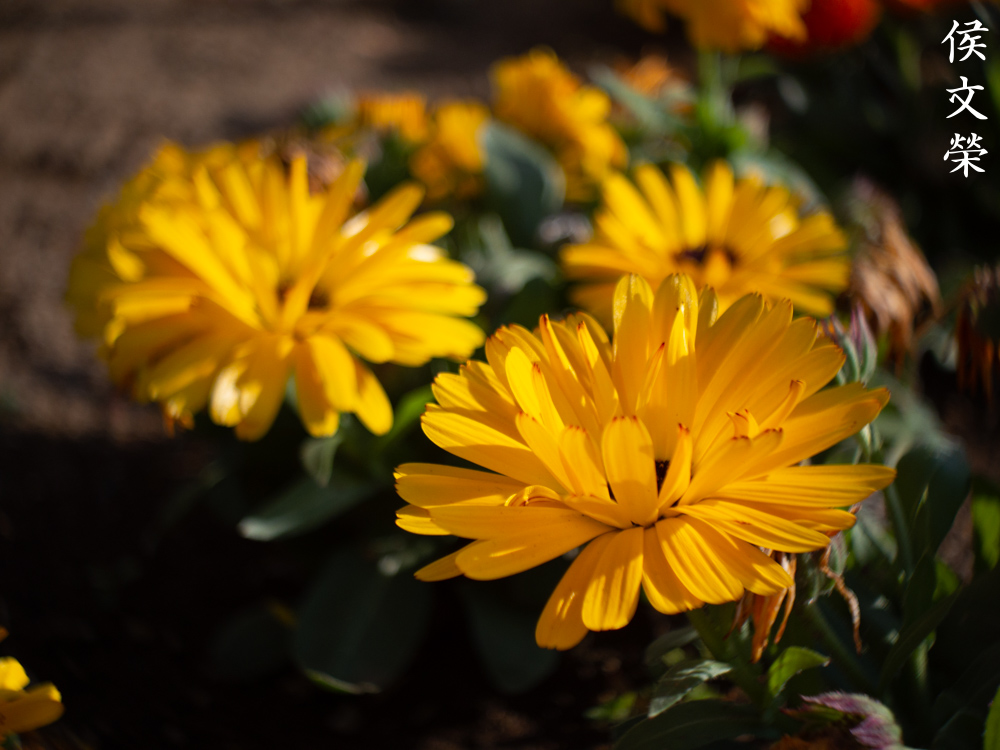
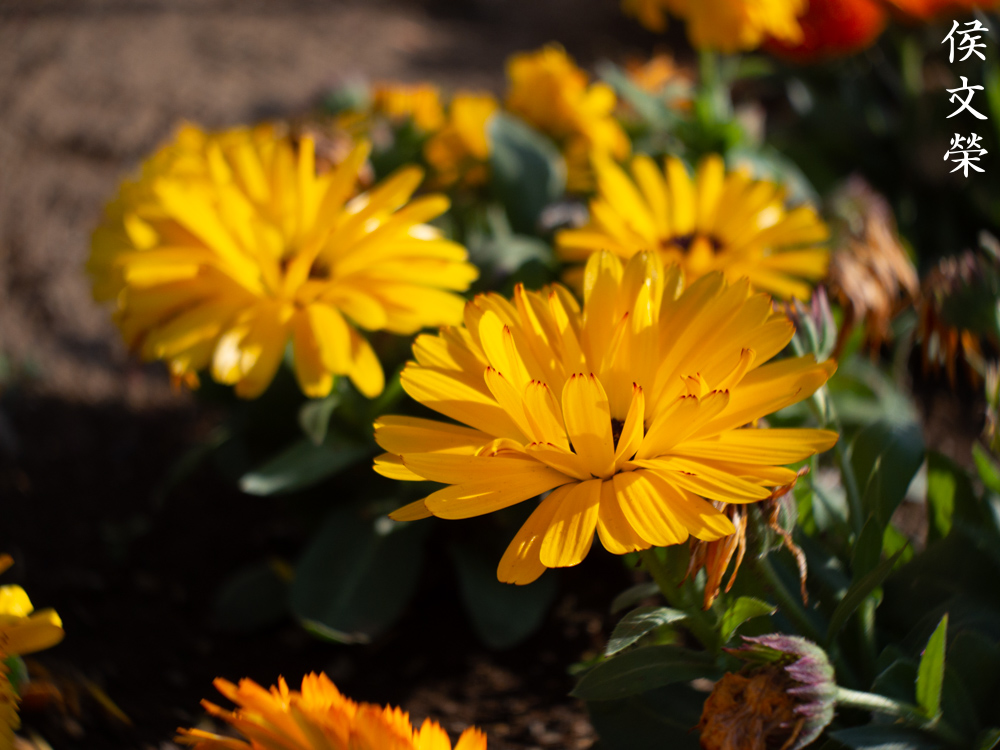
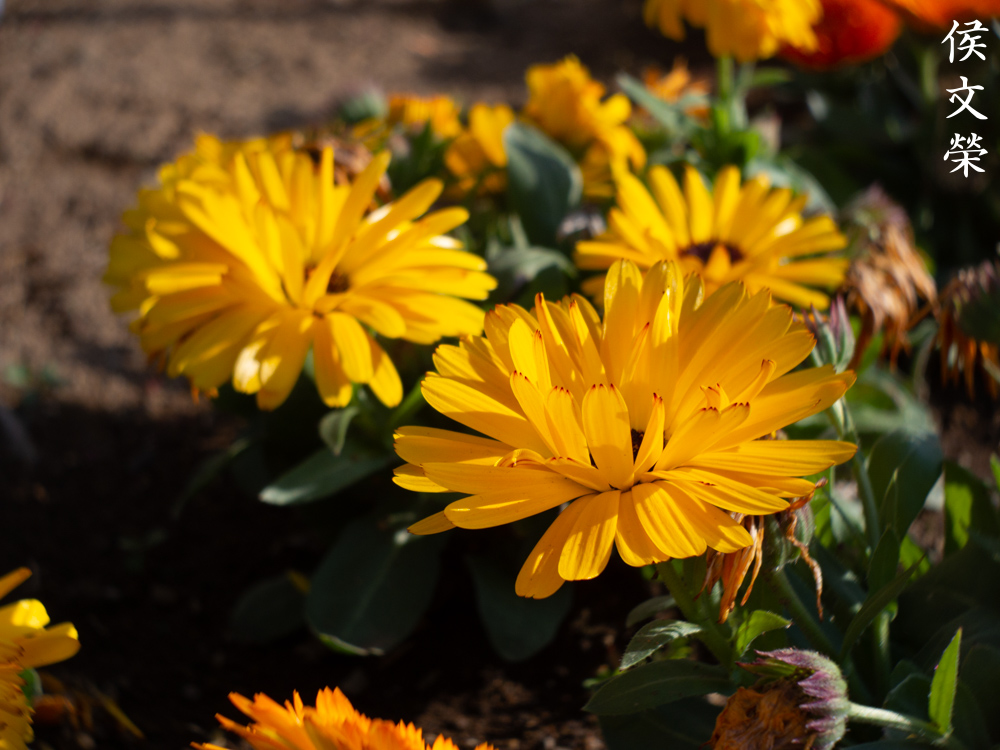
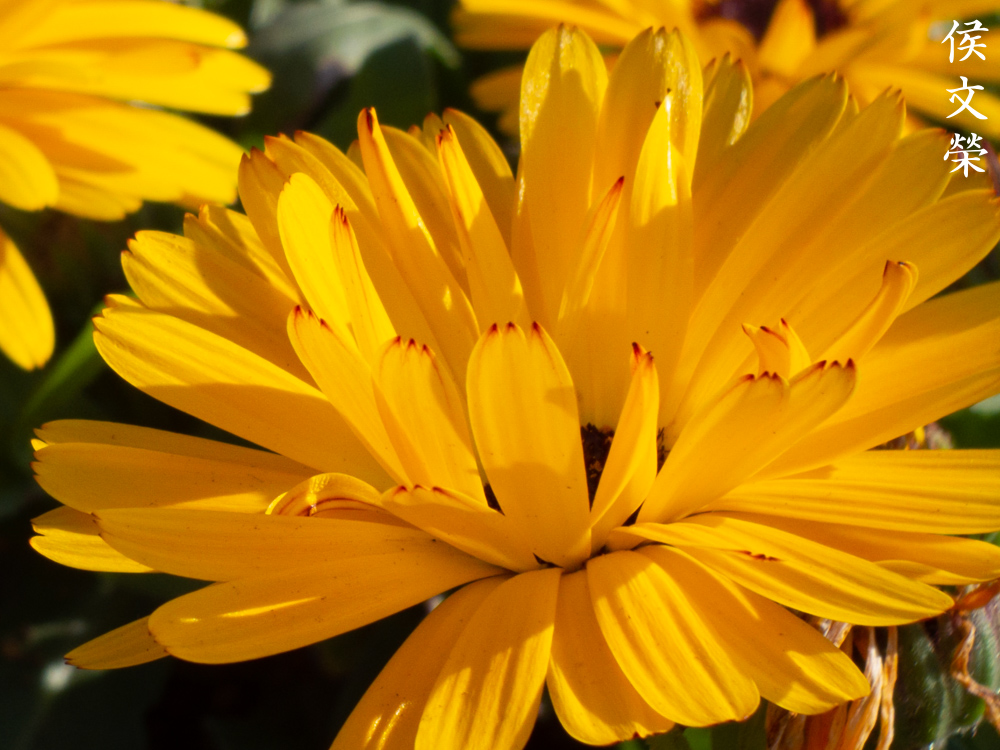
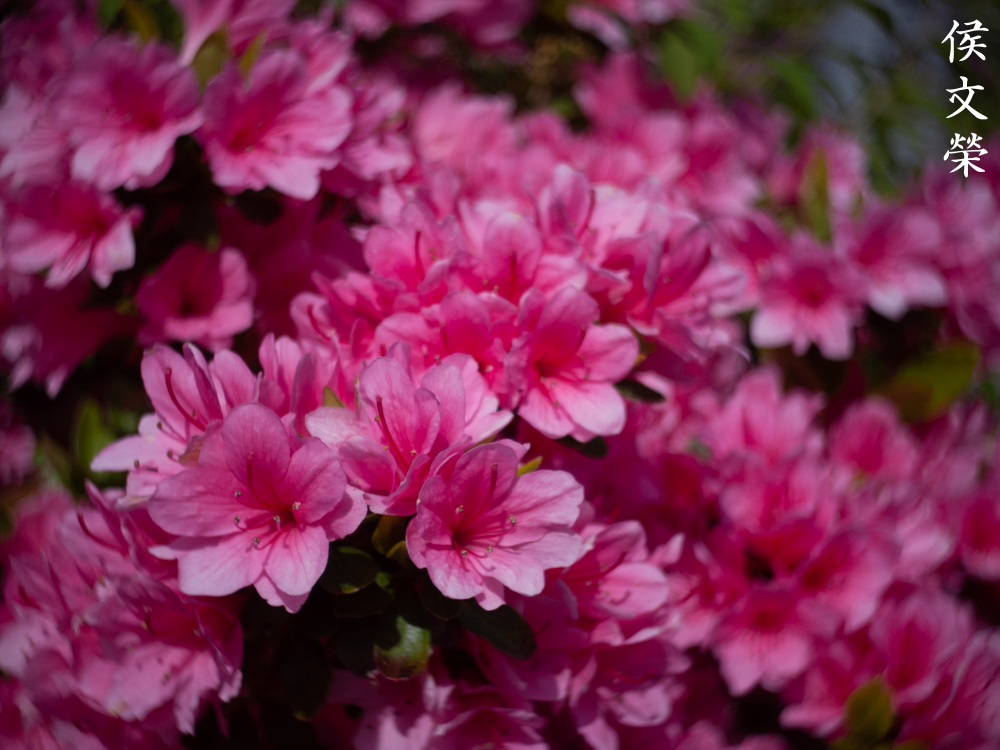
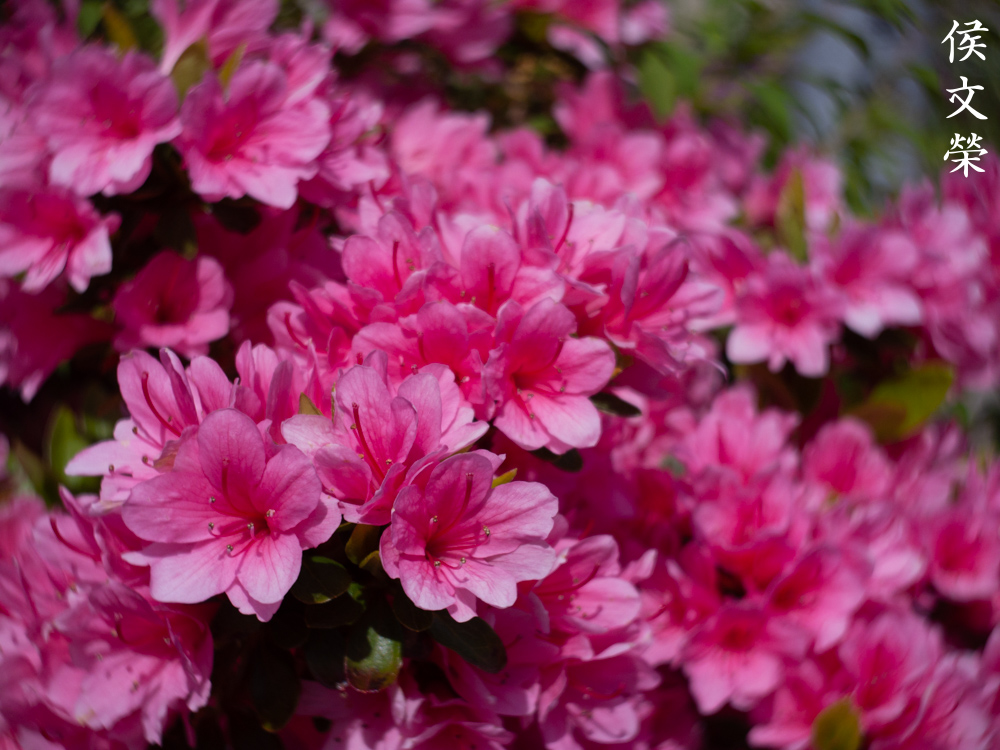
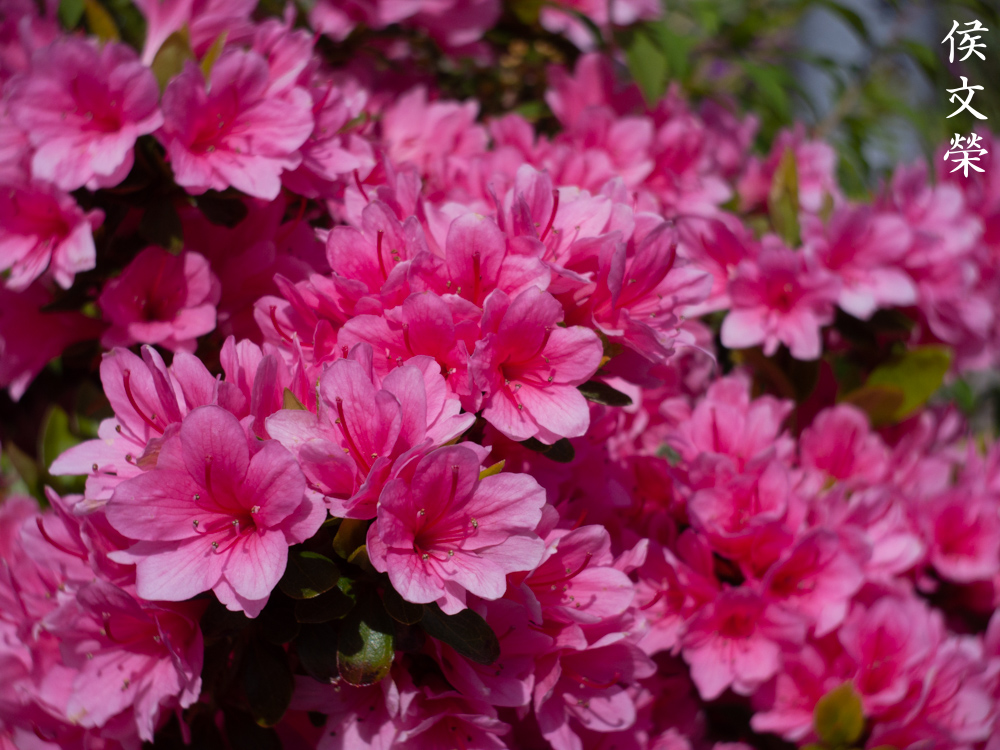
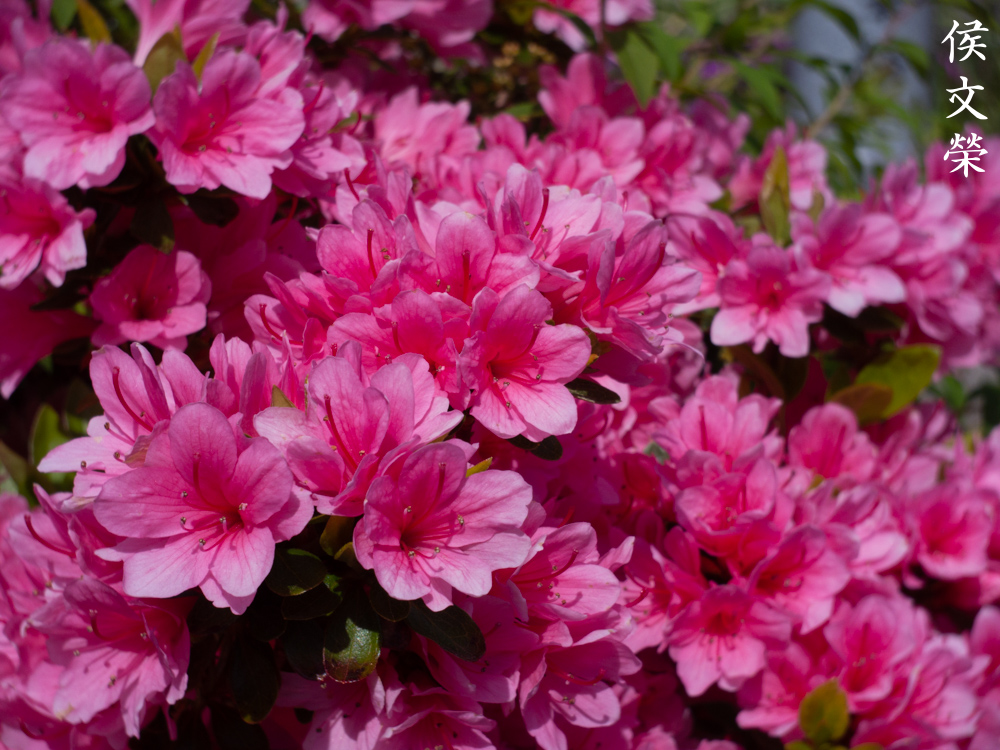
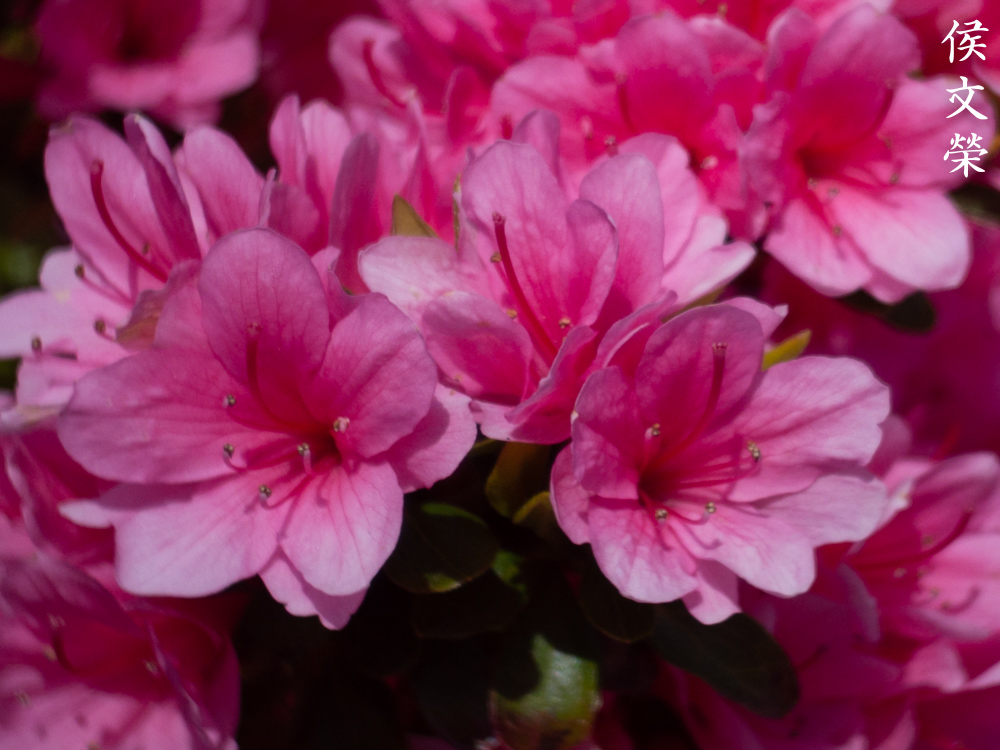
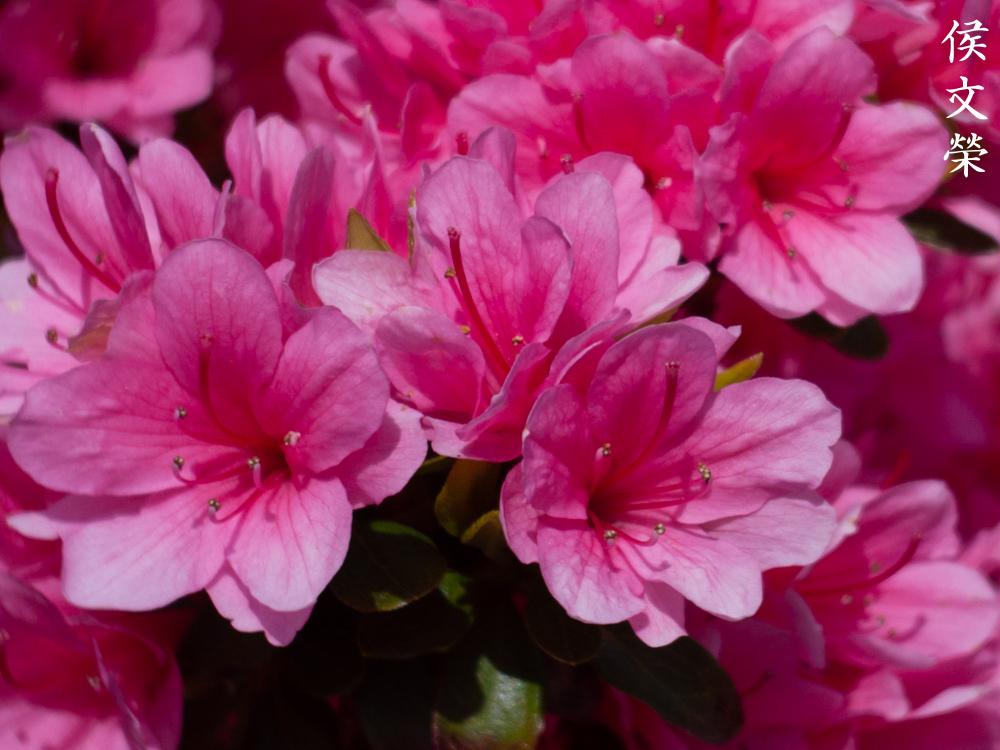
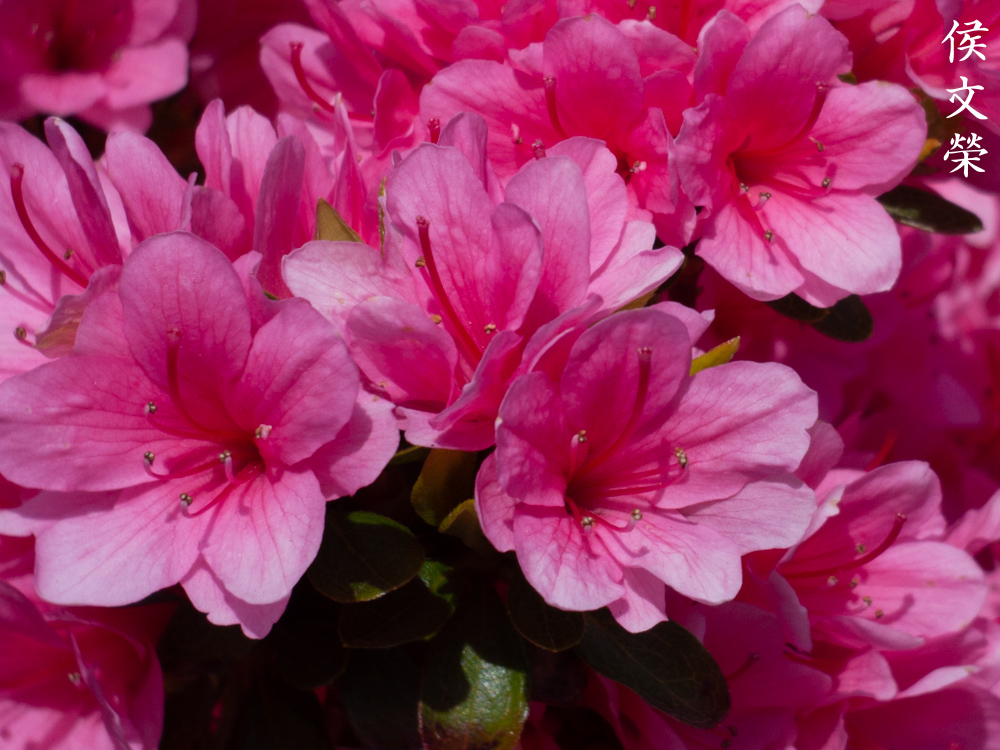
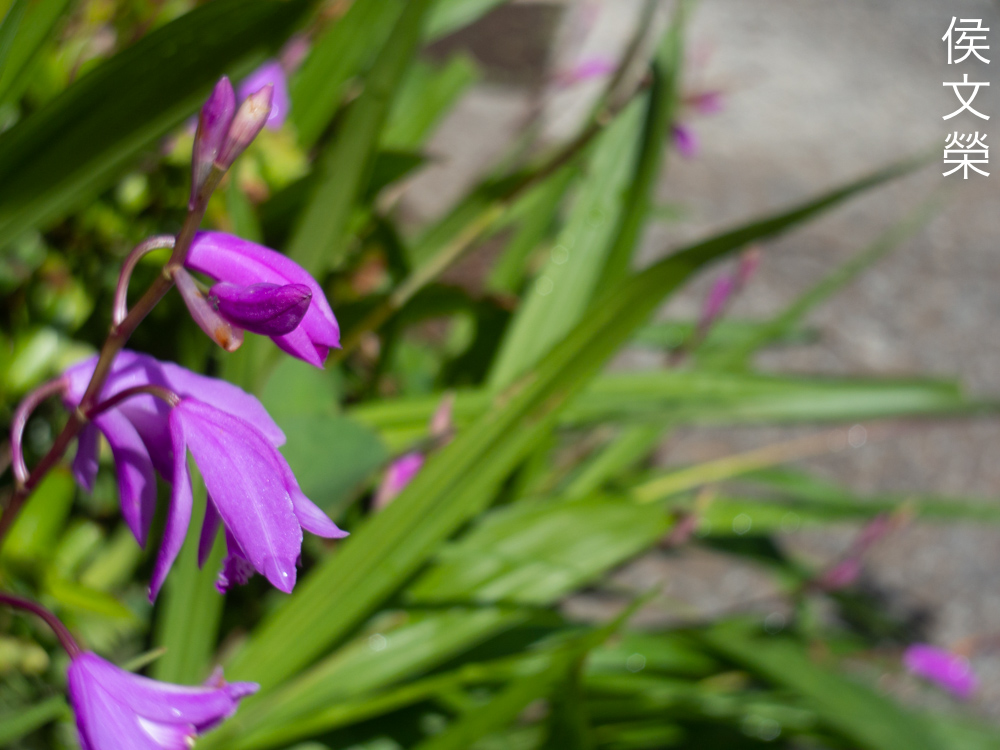
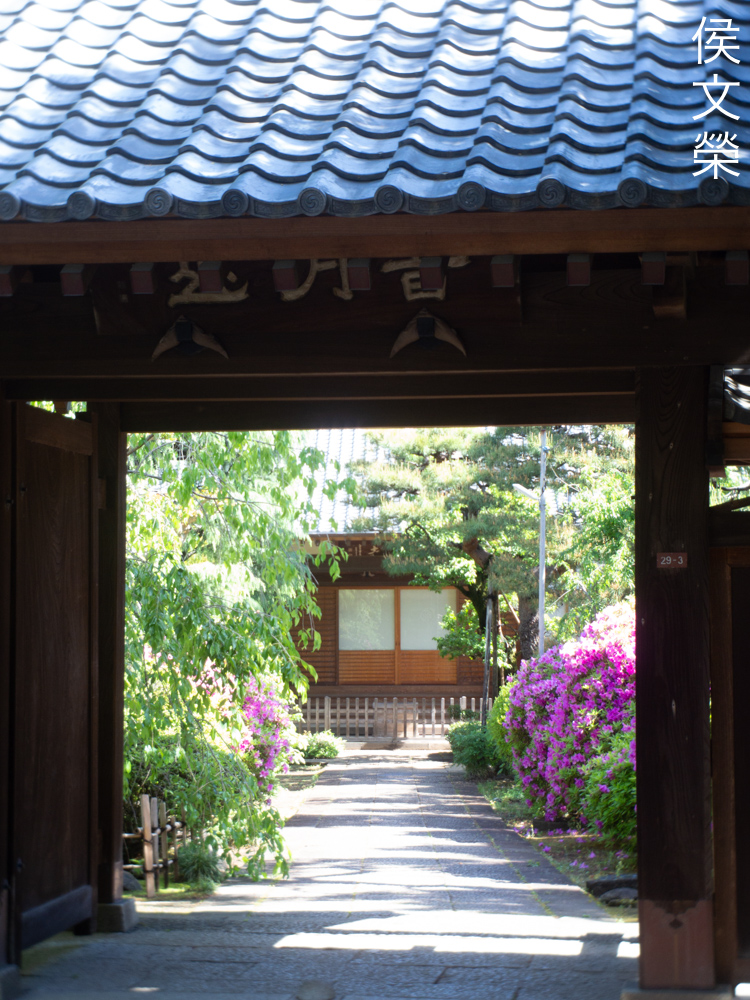
You could use its ability to render soft-looking photos at larger apertures to your advantage. Flowers and other soft or delicate things will benefit from it.

I find this quality quite beautiful, the rendering is nice, giving you the impression that the flowers are delicate. This was shot at about f/4 or maybe even smaller if I am not mistaken.

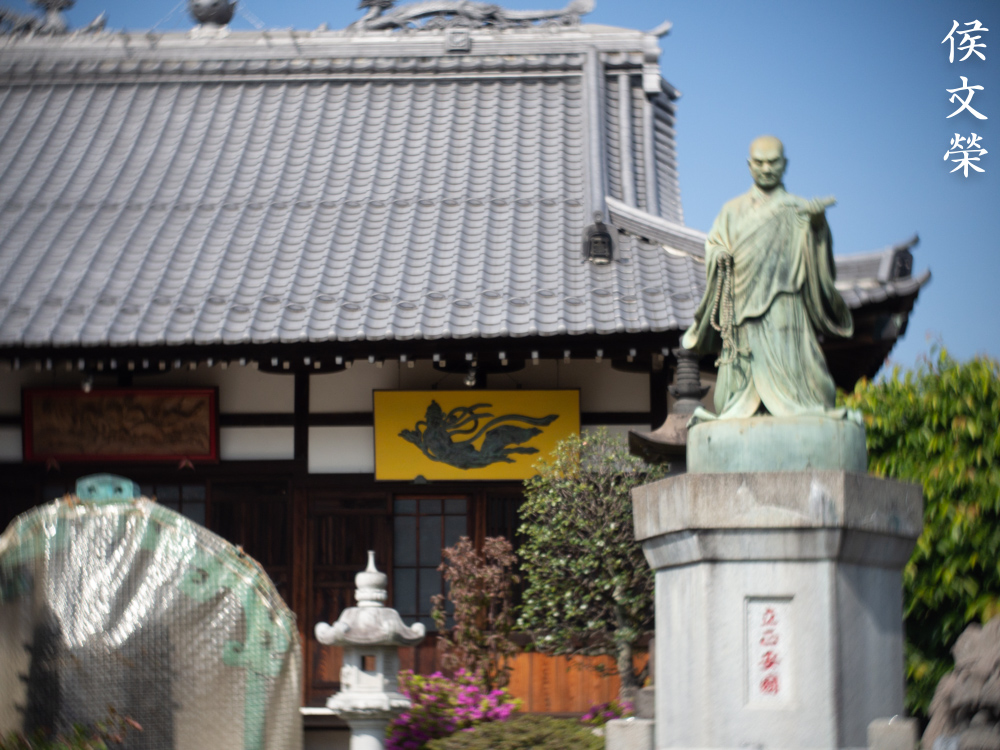
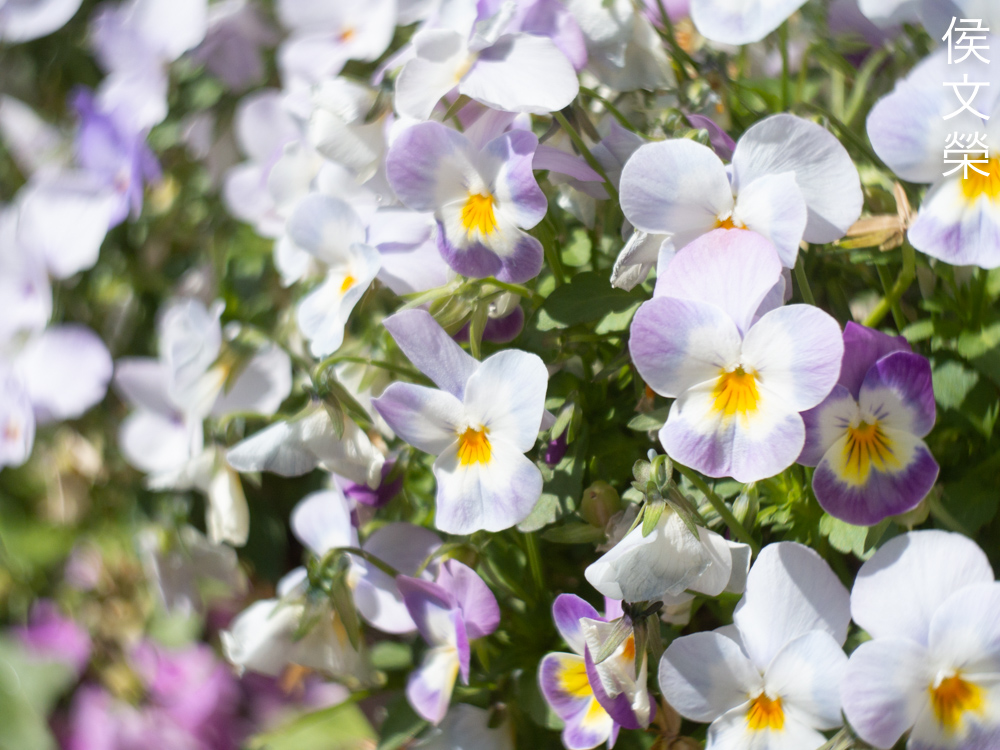
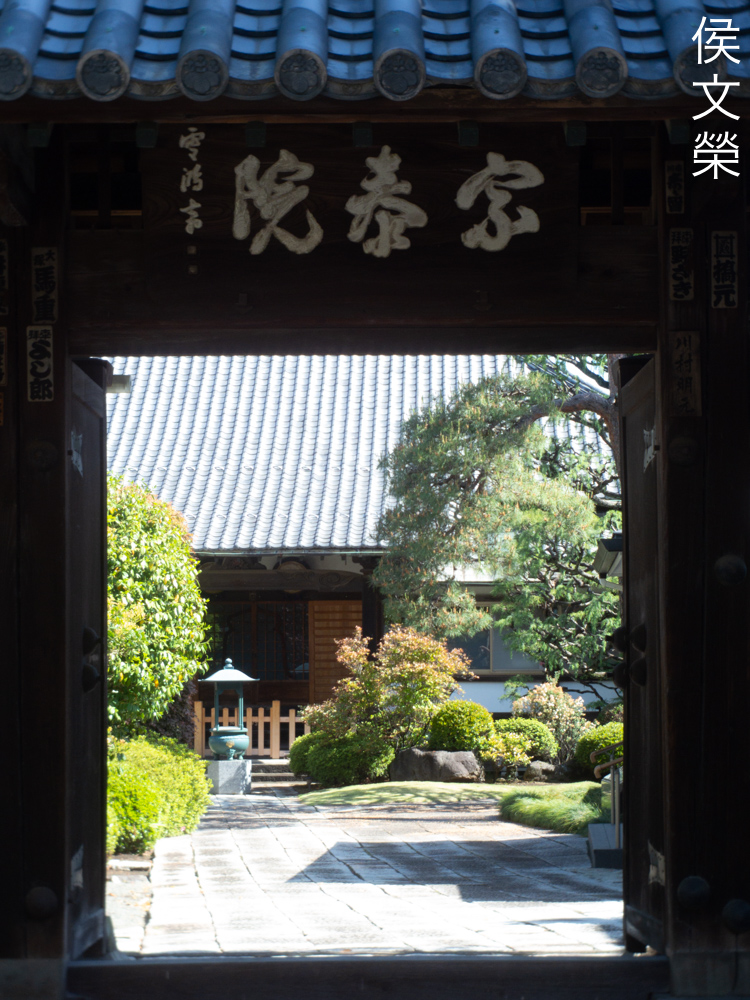
I believe this was shot at f/8. The tendency to bloom is useful for portraying harsh sunlight, it works rather well if you’re shooting with monochrome film. On the other hand I expected this to be sharper which is a shame.

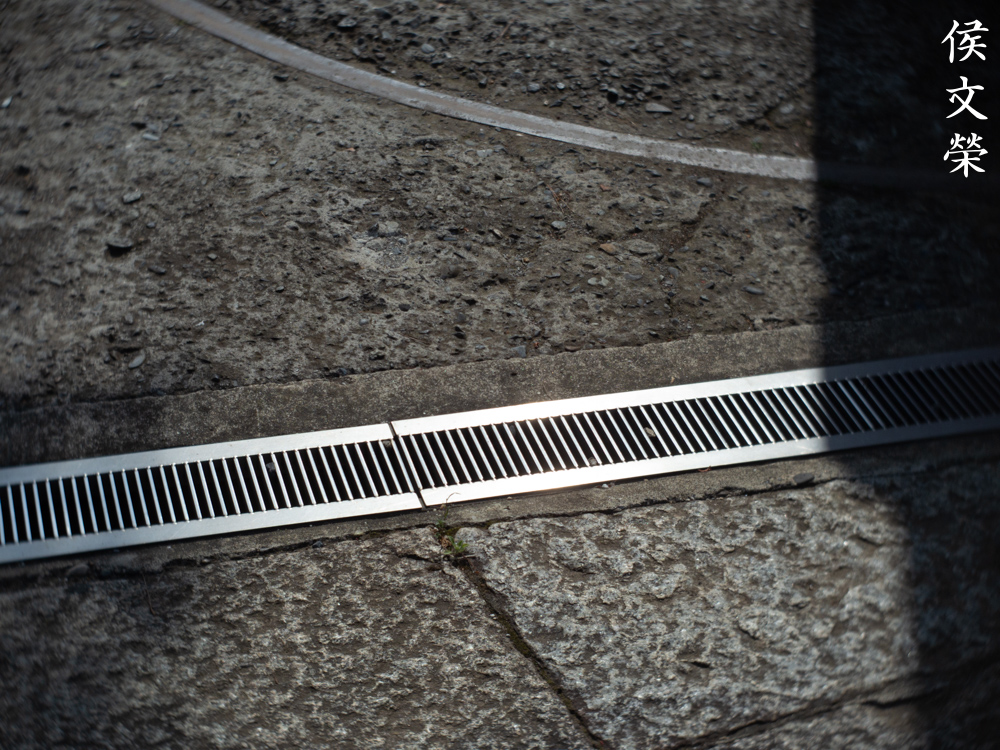
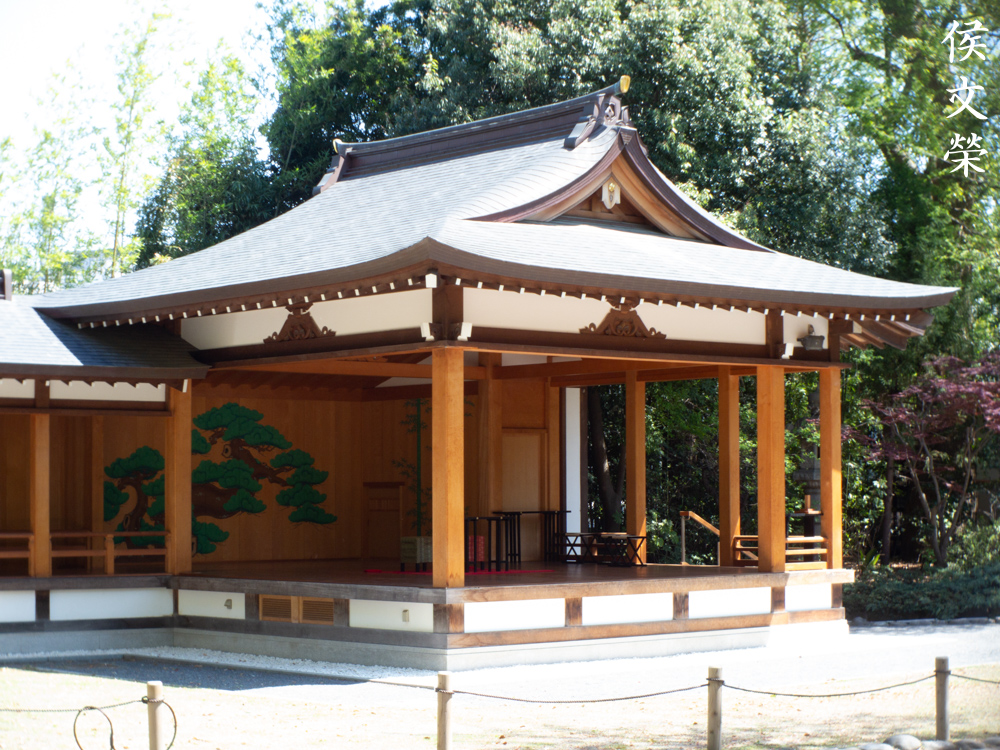
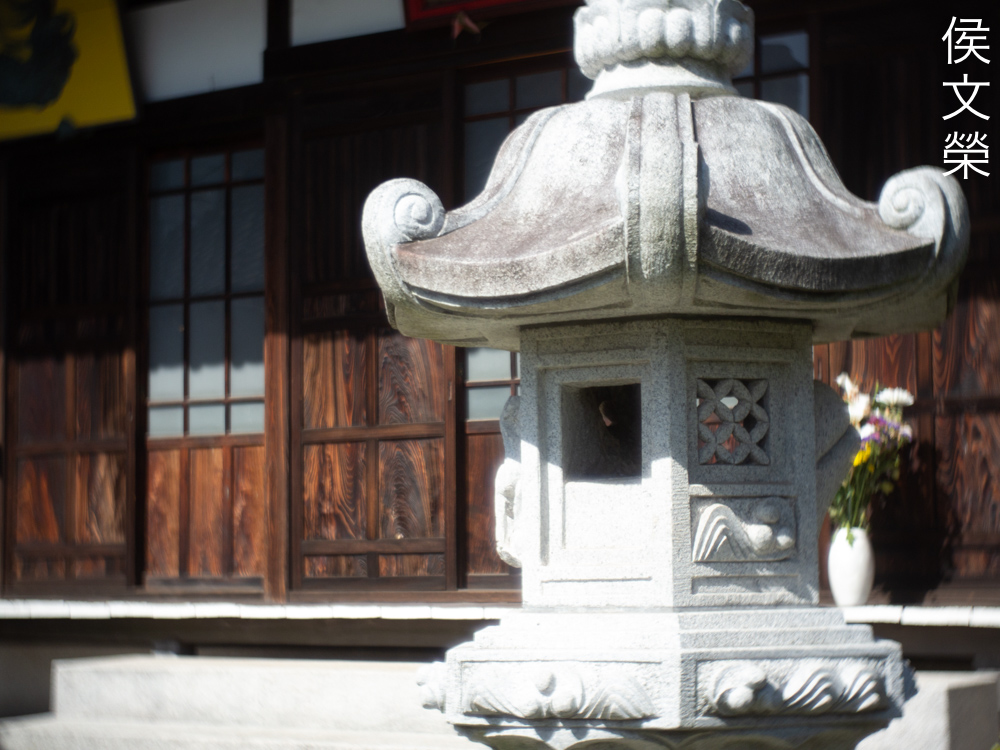
This was shot at f/8, at this aperture the lens is able to render sharp lines so long as there’s nothing in your scene that will trigger flare and cause your bright objects to bloom.
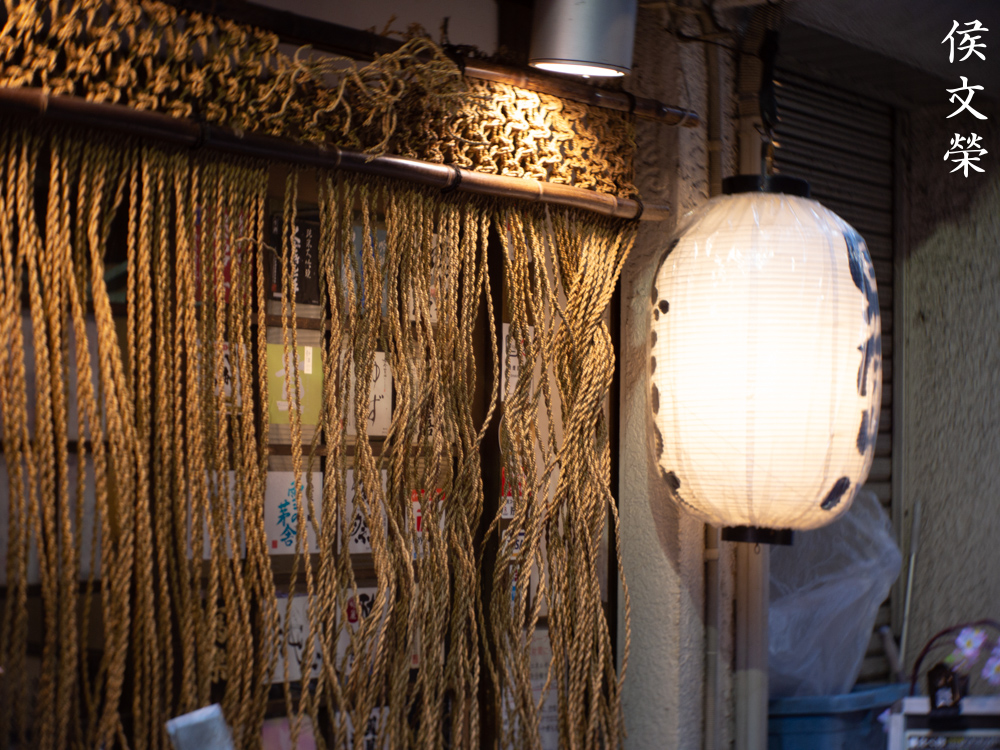
Despite shooting with a smaller aperture you’ll still be able to see flaring, this can be amplified by harsh hot sunlight. It is easy to see how sharp the details are in the shade which is juxtaposed by the surreal look of the bright parts of this scene.

You can’t count on this for taking photos in lowlight scenes but that doesn’t mean that it’s useless, it’s just not as good as a fast-lens shot with a larger format.

Contrast is rather low despite stopping the iris down by a bit which helps give that “vintage-look” to your photos. This is controversial since some people hate this.


(Click to enlarge)
Here are more photos for you to enjoy. Check these photos to see if it produces photos that suits your taste. It has lots of potential if you ask me, I consider this to be the best-performing lens in its class. You won’t go wrong with this one, I think it offers the best value amongst all Cine-Nikkors in this focal-length.
I highly recommend this over the older Cine-Nikkor 13mm f/1.9 because it appears that this fixed a couple of issues I observed with the older lens. While the differences aren’t great you’ll still see that this one performs better specially in the suppression of optical aberrations at wider apertures. The older Cine-Nikkor 13mm f/1.9 isn’t a bad lens at all, this is just better in some ways which is impressive because the Cine-Nikkor 13mm f/1.9 is good performer specially if you compare that to its contemporaries of the same class. When looking for one be sure that the iris works perfectly and it should be dry. The optics should be clean and clear, it’s difficult to check because the optics are so tiny. Even shining a light through it won’t be enough, you’ll need a loupe in order to really see what’s there. Operate all the rings and make sure that they operate fine. It’s not uncommon to find these and all cine-lenses with seized rings or with bad grease so do not expect them to work perfectly unless you’ve found one that was recently serviced in the past decade or so. The prices vary quite a lot depending on the demand but they shouldn’t sell for more than $80.00. I got mine for very little money because it came together with a pile of junk that I bought for $100.00 which includes a lot of goodies. You will not see a shortage of these but they’re not common either. Frequently check what’s available and you could find one with the right price and condition, happy hunting.
Before We Begin:
If this is your first attempt at repairing a lens then I suggest that you see my previous posts regarding screws & drivers, grease and other things. Also read what I wrote about the tools that you’ll need to fix your Nikkors.
I suggest that you read these primers before you begin (for beginners):
- Essential tools
- Best practices 1
- Best practices 2
- Best practices 3
- Ai conversion
- Working with Helicoids
Reading these should lessen the chance of ruining your lens if you are a novice. Before opening up anything, always look for other people who have done so in YouTube or the internet. Information is scarce, vague and scattered (that is why I started this) but you can still find some information if you search carefully.
I highly recommend that you read my working with helicoids post because this is very important and getting it wrong can ruin your day. If I can force you to read this, I would. It is that important!
For more advanced topics, you can read my fungus removal post as a start. It has a lot of useful information, it will be beneficial for you to read this.
Disassembly:
As with all lenses we’ll want to extract the optics as soon as possible in order to prevent damaging them while we work on the barrel. If you’ve been following my work you’ll probably notice that it has plenty of similarities to the older Cine-Nikkor 13mm f/1.9 that preceded this but that isn’t the case because the barrels aren’t identical in construction. They’re completely different so you’ll have to follow my guide precisely. Take plenty of notes as you go and also do not forget to note the direction of each lens group so you’ll know how to put the optics back properly. It’s kind of tricky with this lens since everything is so small.
This isn’t an easy lens to work with because the parts are so small. You’ll need small versions of your usual tools such as a tiny lens sucker and small drivers. The skill and experience required to do a good job makes this lens something that a professional should do, not a novice.
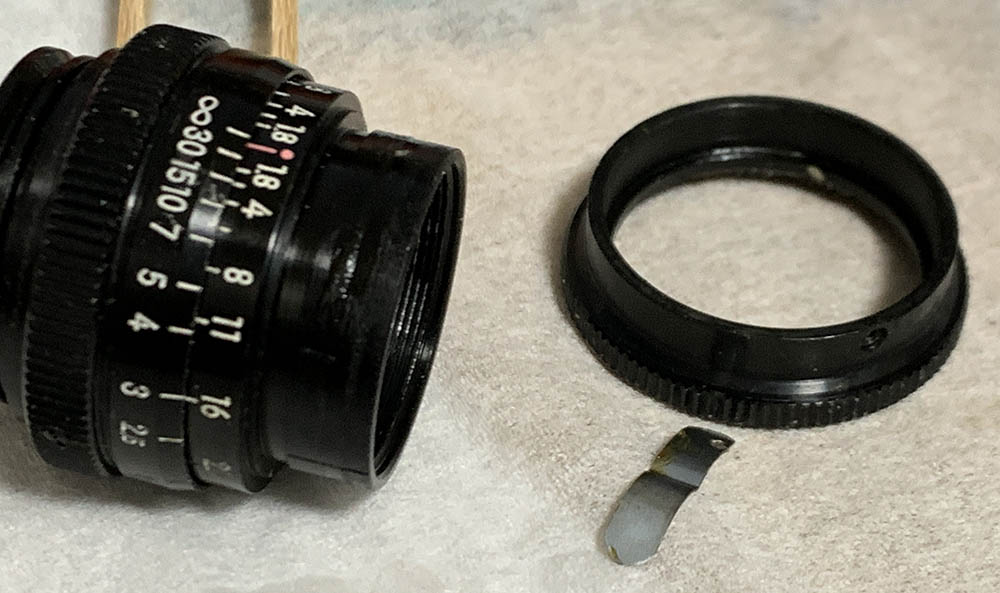
Unscrew the front barrel off. It can be stuck at times so placing a couple of drops of alcohol to its neck may help soften the seal on the thread.
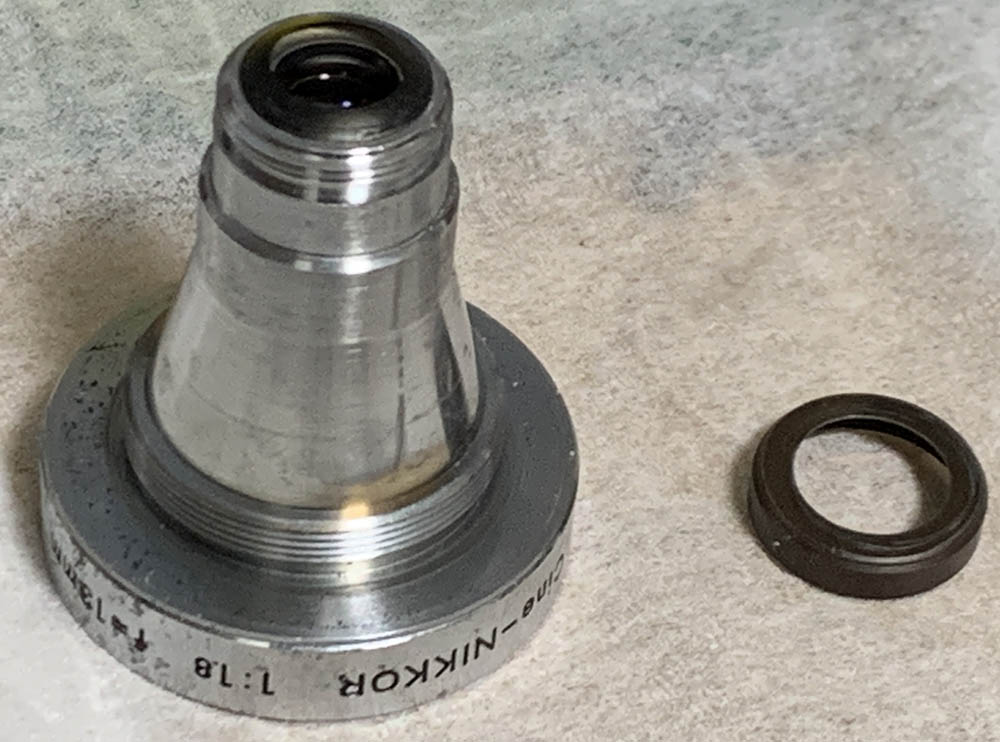
Carefully unscrew this collar.
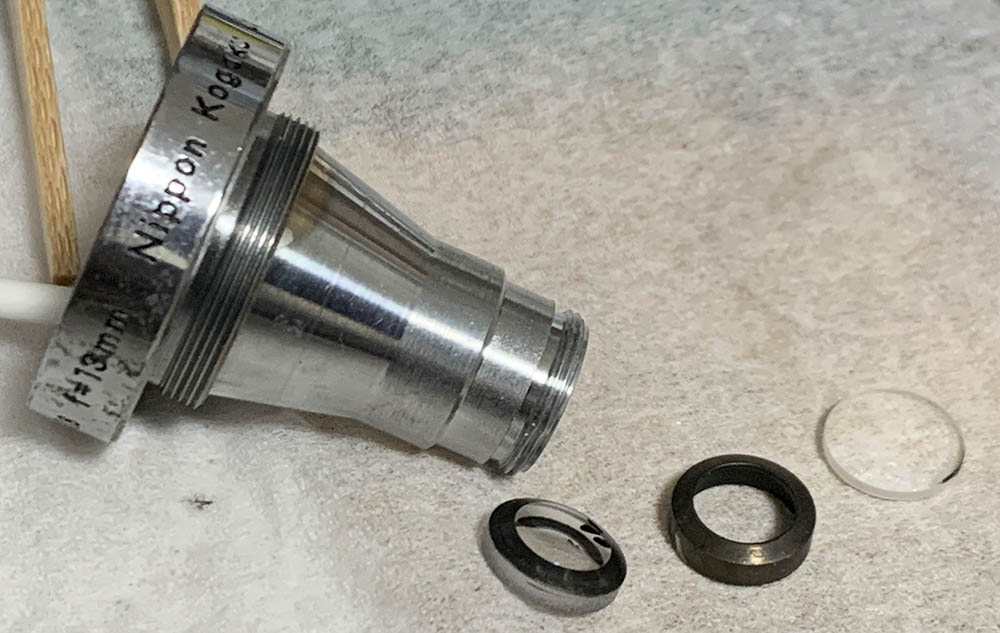
Extract the 1st and 2nd groups, be aware that there’s a spacer between them. Mark which side should be facing front, it is easy to put the 1st group facing the wrong way since the curvature is ambiguous.
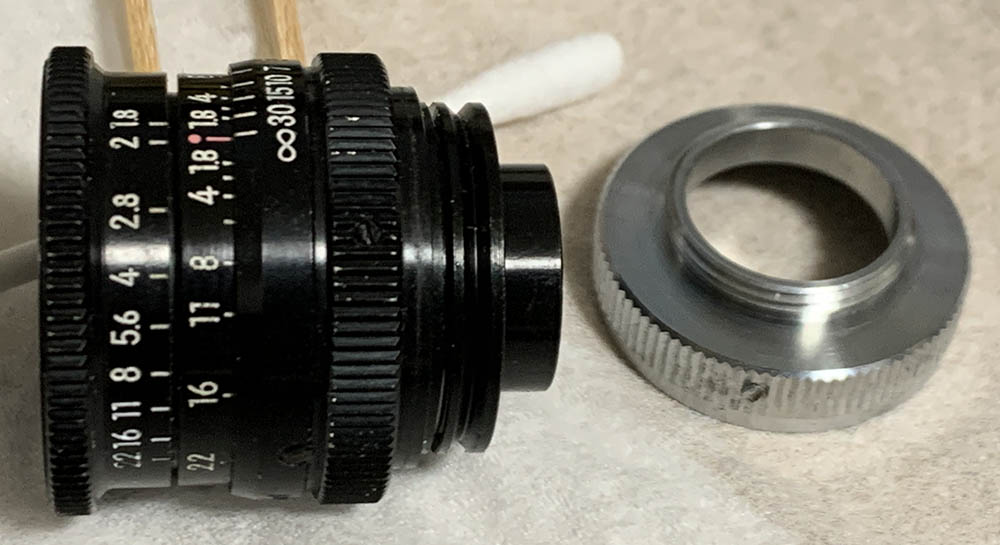
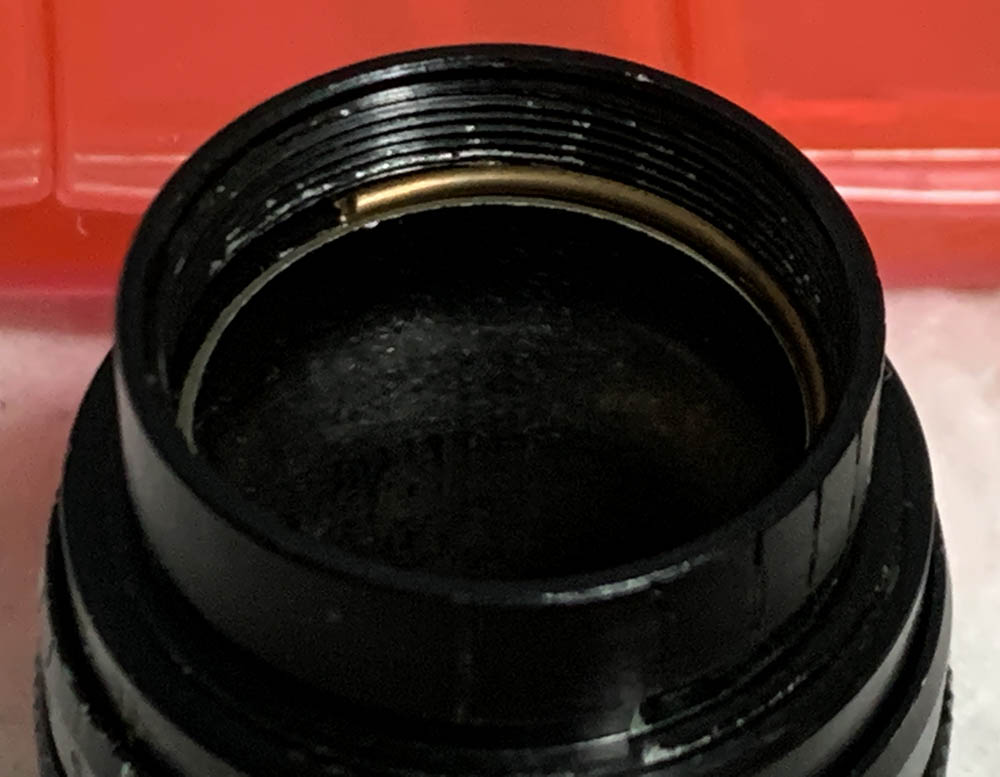
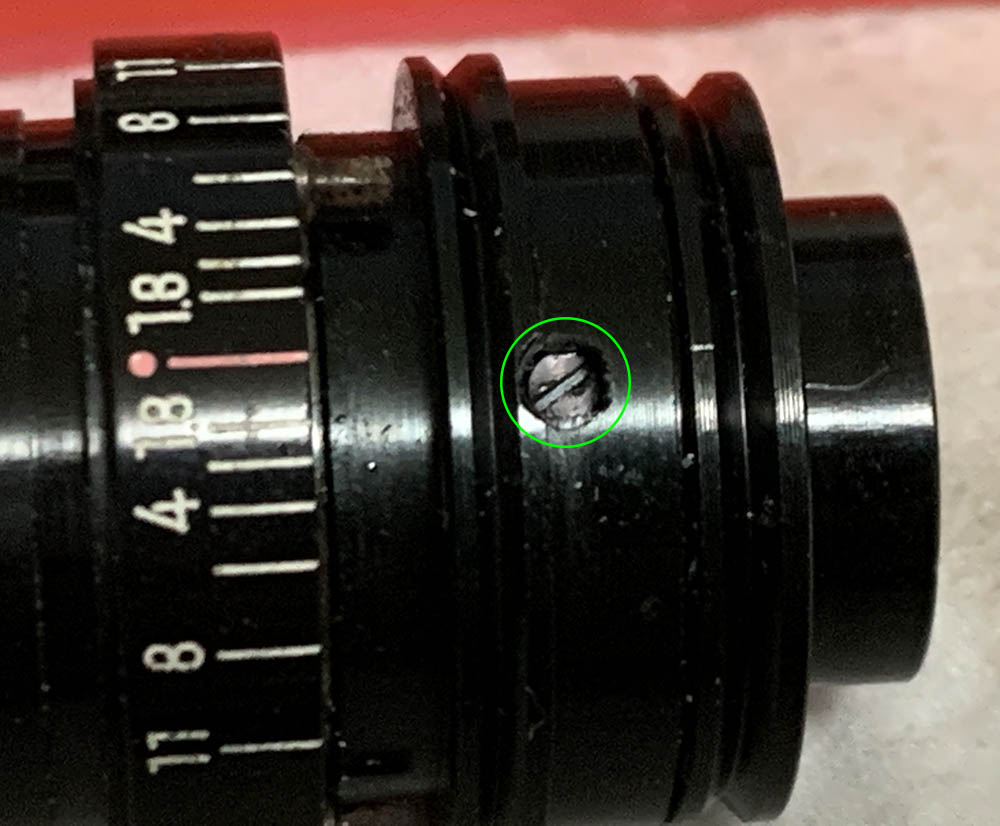
Loosen the screws of the mount and pull it off, you don’t have to remove them completely in order to get this off.

Use a small lens spanner to carefully remove this ring.
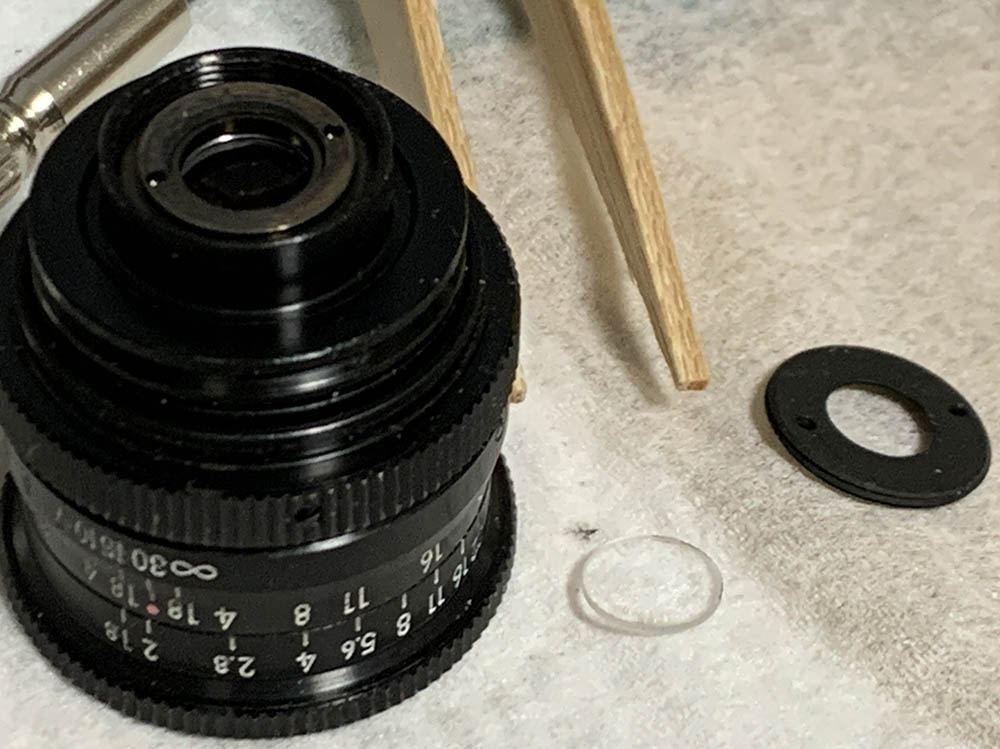
Once it’s off carefully extract the 4th group with a lens sucker. Be sure to note its direction so you’ll be able to put this back properly.

There’s a spacer here, carefully pick it off with a toothpick.
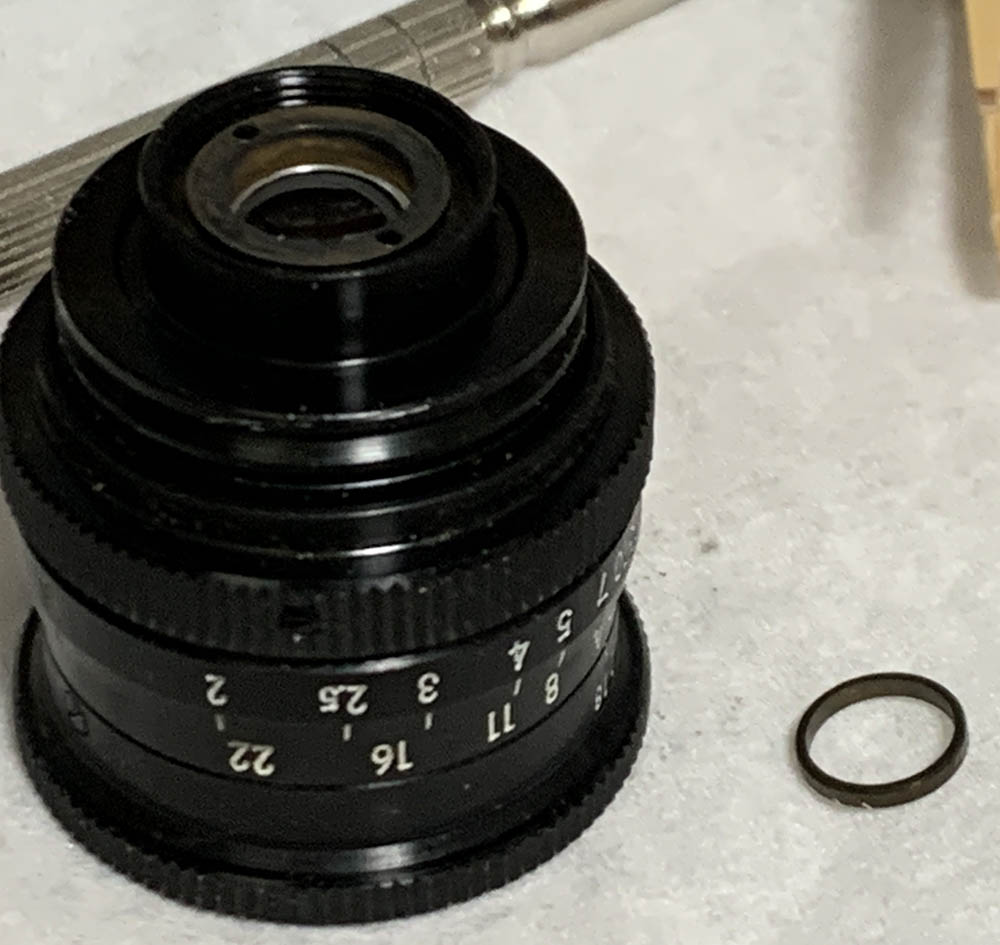
Be sure to note its direction by scribing a small mark on its outer wall.
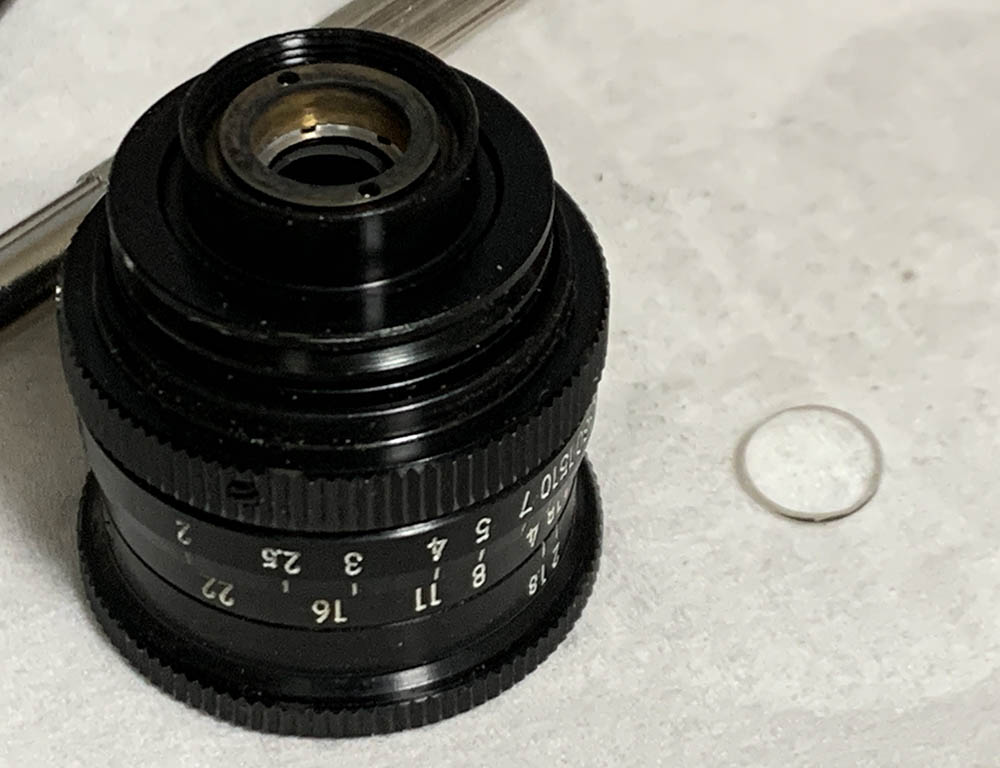
Carefully extract the 3rd group with a lens sucker and don’t forget to note its direction. The collar is glued to the barrel so it’s stuck, you won’t be able to remove it at this point so pickle this in alcohol later to soften it up.
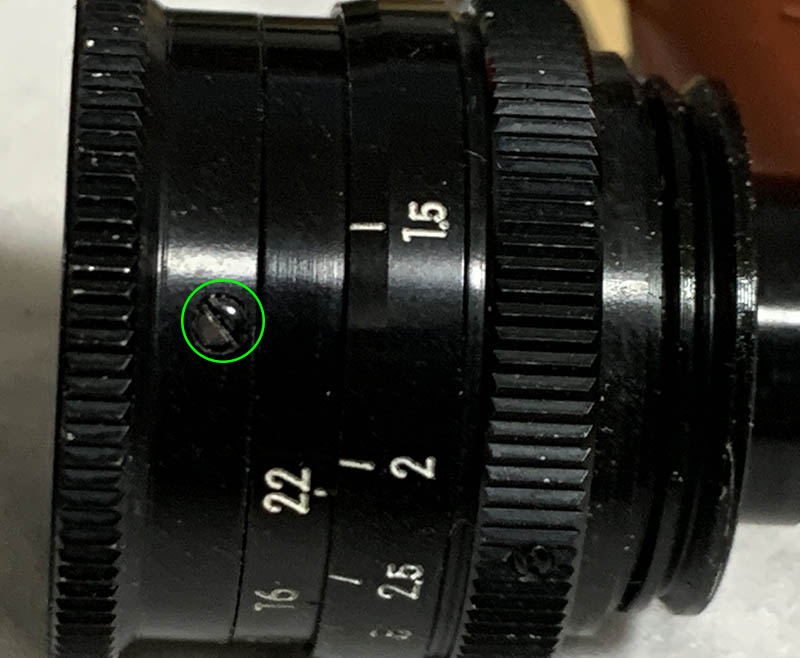
Extract this carefully so you won’t damage this. It acts like a pin to couple the aperture ring to the iris mechanism so it’s possible to control the iris by turning the aperture ring.
Pull the aperture ring off and be careful so this spring won’t get misplaced.
Carefully pick this ring off so you could dismantle the iris mechanism.

Pull this tube off and be careful so the iris won’t get damaged.
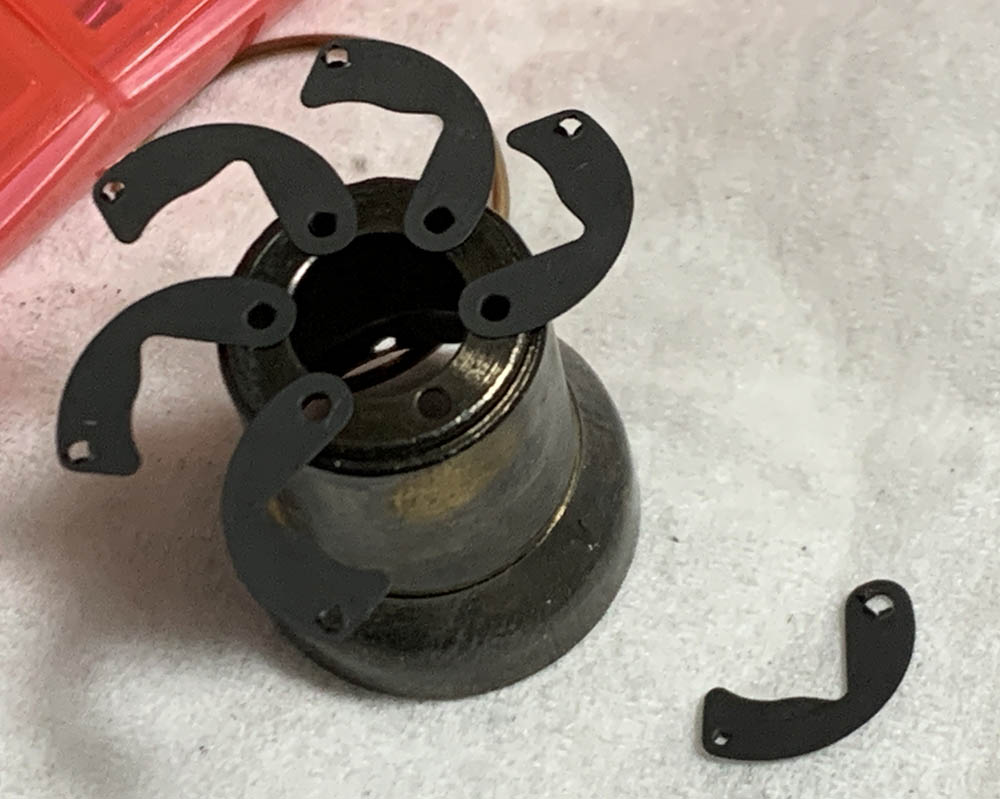
Splay the iris and clean the leaves carefully with a Q-tip saturated with solvents. Never remove the leaves, the one here was loose so it came off.

Extract this carefully to remove the focusing ring, it constrains the focusing ring’s range.
Loosen the screws and pull the ring off. You don’t have to remove them in order to pull the ring off.
Turn the helicoid and locate this, carefully extract it with a driver that fits perfectly.
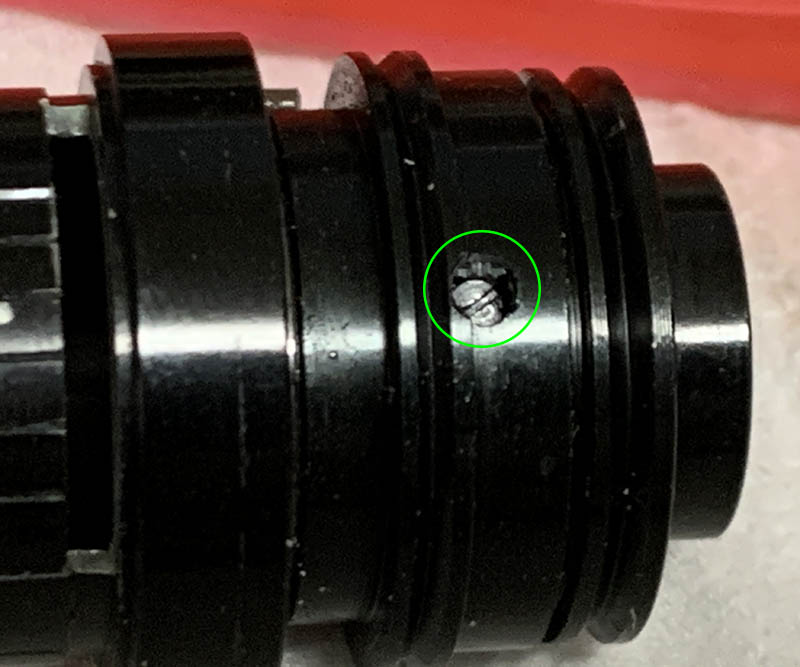
Here’s another one.
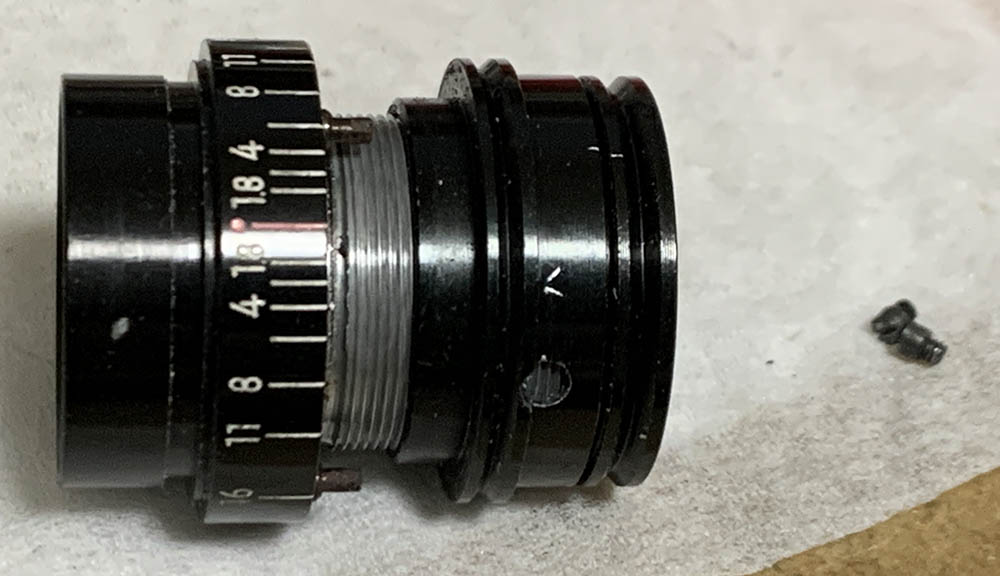
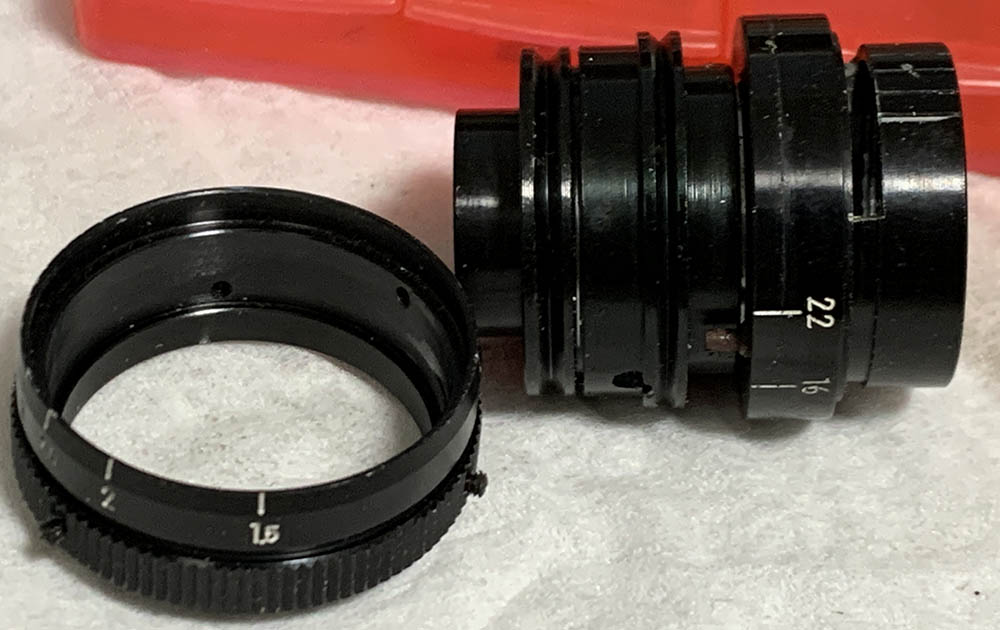
Separate the helicoids and never forget to note where they parted. Many people get stuck here because they forgot to do this. Read my article on working with helicoids to prevent this from happening to you.

Unscrew this helicoid after removing the inner barrel.

It took some time to soften this up and I was finally able to safely unscrew this off.
Scrub the helicoids clean and don’t leave any residue. I used a strong dishwashing liquid to do the job and then soak the parts in alcohol to soften any hardened gunk and remove traces of residue. This benefits from a thick-type grease for smooth operation, just apply a thin film on the helicoids. Applying excessive amounts of grease will create a mess when it migrates to the iris, you’ll have to clean that later so avoid applying a lot and do not apply any grease to parts that are close to the iris. The slots for the detent spring only requires a very thin film of grease, that’s all.
Conclusion:
I was expecting that this would have a similar construction to the late version Cine-Nikkor 13mm f/1.9 but I was wrong since there are many internal differences between their barrels. I learned a lot of things from this exercise and I enjoyed every moment of it except for the part where I had to handle miniscule parts and sometimes losing a few screws. I have a bunch of reserves in my spares so that covered my loss. Now that you’ve seen how difficult it is to service tiny lenses, if your lens needs to be repaired just have it worked by a professional. Be sure to show my article, that will help a lot.
Before you could use this be sure to adjust its focus. Thankfully I didn’t have to fabricate any shims for this since it has provisions for adjustments. If you want to know how I adjust the focus, read my article on focus adjustments. Reading it will help educate you on how to adjust your lens’ focus under a DIY setting with available resources.

I hope you liked this article. There’s not a lot of information about this little gem around and a repair article is almost non-existent. This should be a welcome addition to our database, it should help those who love using cine-lenses for the fun of it and specially so if the lens has to be serviced. You’ll only find exclusive information on this website.
Thanks for following my work, if you liked this article please share this with your friends so it will get more views. This site earns around $0.40 a day, we are totally reliant on views. You could also support this site, it helps me offset the cost of maintenance and hosting. You are also helping me purchase, process and scan film. This site promotes the use of film so we are all in this together. See you again in the next article, Ric.
Help Support this Blog:
Maintaining this requires resources and a lot of time. If you think that it has helped you or you want to show your support by helping with the site’s upkeep, you can make a small donation to my paypal.com at richardHaw888@gmail.com. Money isn’t my prime motivation for this blog and I believe that I have enough to run this but you can help me make this site (and the companion facebook page) grow.
Leave me some tip?
Thank you very much for your continued support!
$2.00
Helping support this site will ensure that this will be kept going as long as I have the time and energy for this. I would appreciate it if you just leave out your name or details like your country’s name or other information so that the donations will totally be anonymous. This is a labor of love and I intend to keep it that way for as long as I can. Ric.

Oct 01, 2021 @ 13:31:21
This is the only website I have seen on the internet that gives step by step pictures and description of an actual teardown of a D-mount lens. This is invaluable information for someone contemplating attempting to do this themselves. Thanks a lot!