
Hello, everybody! Do you know “いとしのエリー” (Itoshi no Ellie)? It’s a popular love song by a Japanese band named “サザンオールスターズ” (Southern All Stars). The meaning of the song is beautiful, it’s about a love that turned sour somehow. The late Ray Charles covered it as “Ellie My Love“, the melody is the same but the lyrics has changed. It is still a great song despite many people thinking that Ray’s version is the original. Today, I’ll show you something that has been rehashed and just like the songs that I mentioned, both aren’t identical despite looking really similar. Let me present to you its ultimate evolution and the swan-song of this lens line.
Introduction:
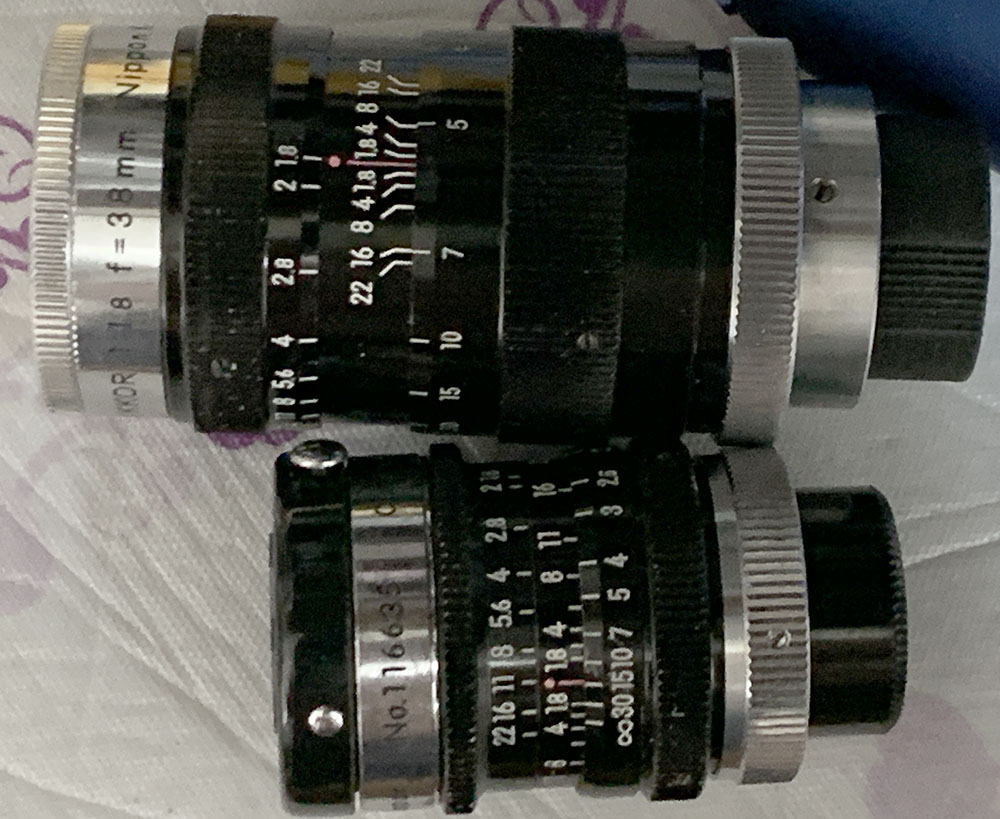
The Cine-Nikkor 38mm f/1.8 replaced the older Cine-Nikkor 38mm f/1.9 around the late 1950s I assume. It’s last lens in the 38mm class of Cine-Nikkors and in my opinion, the best at certain scenarios. It’s apparent that the Cine-Nikkor line wasn’t the focus of Nikon at the time so we never get to see another one after this was made. Compared to the slower Cine-Nikkor 38mm f/1.9 this one is marginally faster. I am not sure how useful that is but I suppose that was developed for marketing purposed and f/1.8 makes it more practical because that’s what many light-meters show in their dials.

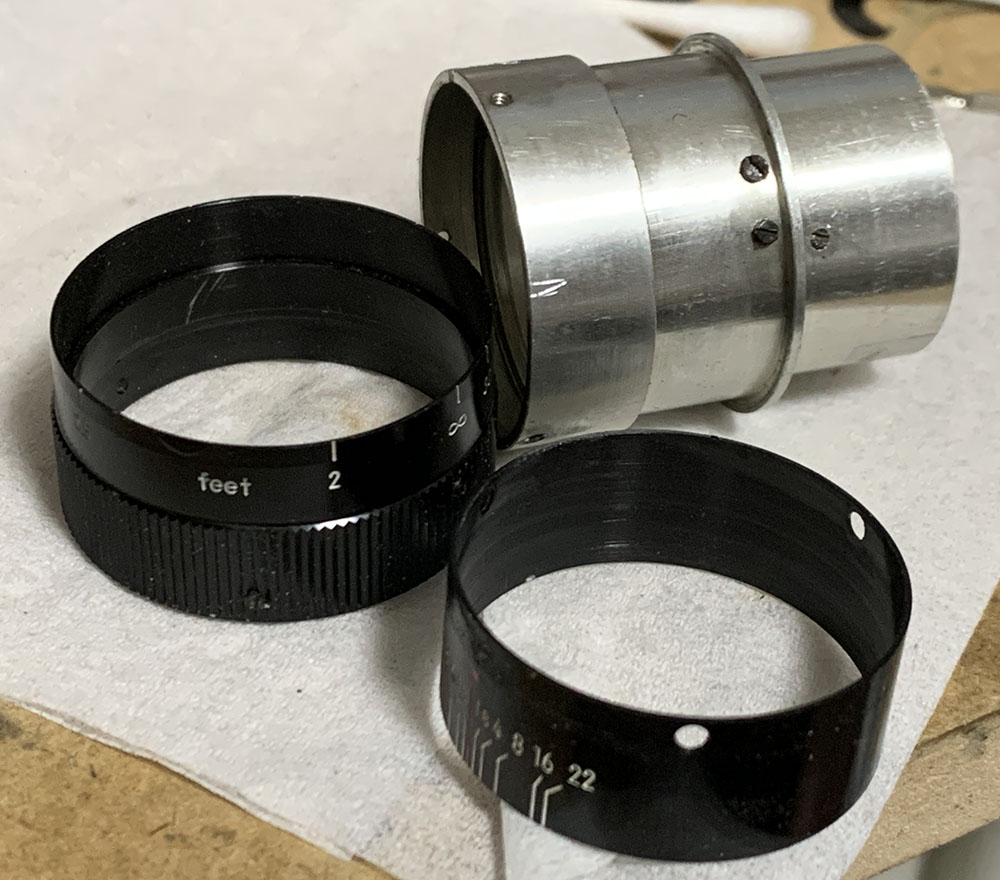
Handling is excellent, it’s not difficult to distinguish the rings with your fingertips. The all-metal barrel makes it a robust lens that could survive use in the field so long as you’re careful with it and prevent dust and moisture to foul the barrel. The numbers can be difficult to see due to their size but it’s a lot better compared to the early Cine-Nikkor 38mm f/1.9 which was made with chrome barrels.
It has a 4-elements-in-2-groups design which is identical to its predecessor only in name and layout. This one is faster so I don’t think the optics are the same. The size and curvature of the elements may be different. Since there’s no data on these lenses anywhere I couldn’t confirm any differences. As far as I could tell it has all air-to-glass surfaces coated, it only has 4 air-to-glass surfaces, too. This helps in preventing blobs from forming since there’s less surfaces to reflect. This is the lowest you could get unless you’re using a single-group lens. While that’s helpful it doesn’t mean that blobs won’t form when shooting in contra-light.
The Cine-Nikkor 13mm f/1.8 is the only other lens in this series, they are the only f/1.8 Cine-Nikkors that were made for the D-mount. These are beautiful lenses and these will certainly catch anyone’s attention if they have good taste.

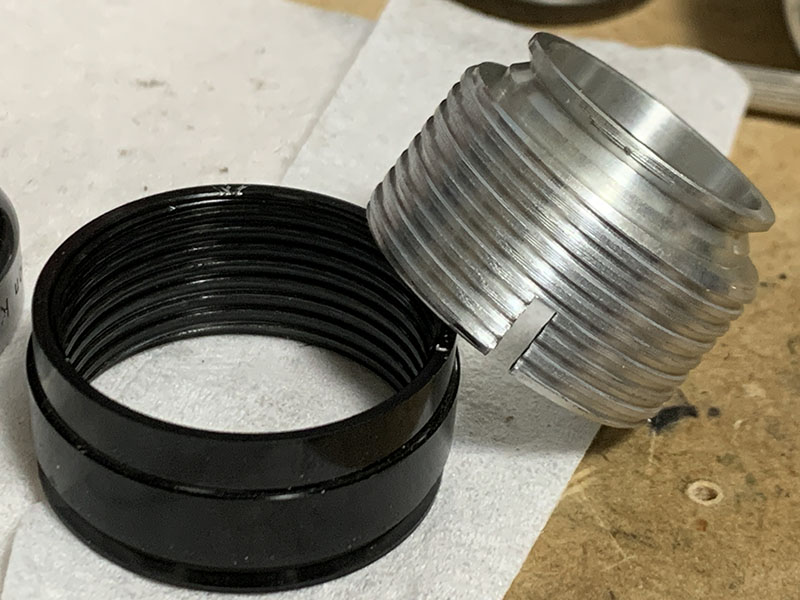
There are many subtle differences between this and the older Cine-Nikkor 38mm f/1.9 but they may not be apparent to those who are not familiar with this lens family. The best way to identify them even without looking at the engraving is to examine the mount, if the fluted area is wider without any throat then it’s surely the Cine-Nikkor 38mm f/1.8 and not its older relative which obviously has a different look. The barrels appear to be somewhat different in girth but I am not sure since I didn’t measure them.
Learning how a lens performs is key to maximizing it. You’ll learn how to utilize its strengths and avoid its weaknesses. This knowledge helps in determining which lens to bring on an assignment. I shot these from f/1.8, f/2.8, f/4 and f/5.6 since these are the most common values that people would want to use this and we’ll see the most changes happen within these values. These photos were shot with my Pentax Q10, some of the photos were cropped close to 1:1 so we can see the details better. You’ll need to understand that the sensor’s usable area is actually a bit bigger compared to that of standard 8mm so the areas closer to the edges look bad since this lens is rendering beyond its intended image-circle.
There’s a bit of distortion but it won’t be a problem since the falloff is rather shallow and the curve is rather simple. The profile is of the barrel-type and should be simple to correct in post.


(Click to enlarge)
Vignetting is observable wide-open but it improves significantly once you get to f/2.8 where you’ll only see traces of it. You won’t see much of it at this point and it improves a bit more by f/4. It’s impressive in this regard, this indicates that it performs rather well from f/2.8 on.


(Click to enlarge)
Having really few air-to-glass surfaces means that you’ll get less blobs from it but that doesn’t mean that it’s immune. I find that it’s susceptible to flare since the coatings used are kind of old-tech.


(Click to enlarge)
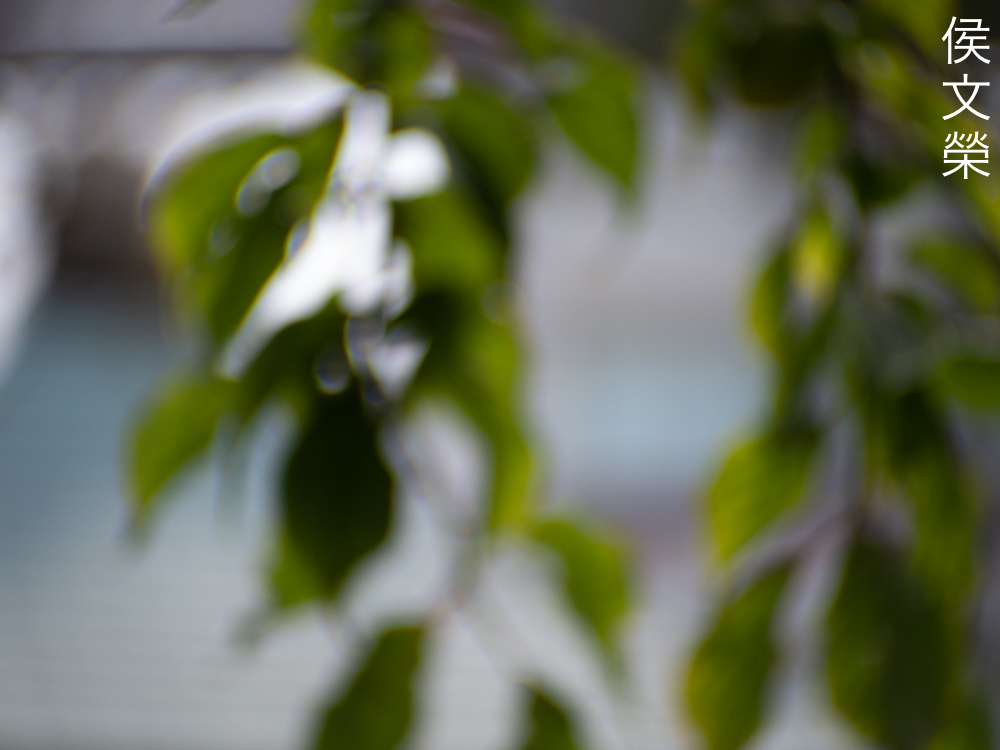
It appears that its bokeh quality is smoother compared to the Cine-Nikkor 38mm f/1.9 but the difference is marginal. It could occasionally produce some cheap-looking features if you’re not careful specially if you have long, thin details at the background. Stopping the iris down a bit may help somewhat.
(Click to enlarge)
Chromatic aberration is controlled much better compared to the Cine-Nikkor 38mm f/1.9 but you’ll still see some of it wide-open. Spherical aberration is obvious but it’s not unpleasant at all. Stopping it down to f/2.8 will clean most of the chromatic aberration and spherical aberration is now almost gone. It gets even better by f/4, the frame looks cleaner. It improves a little bit from this point. I am impressed by this, this is as good as it gets.


(Click to enlarge)
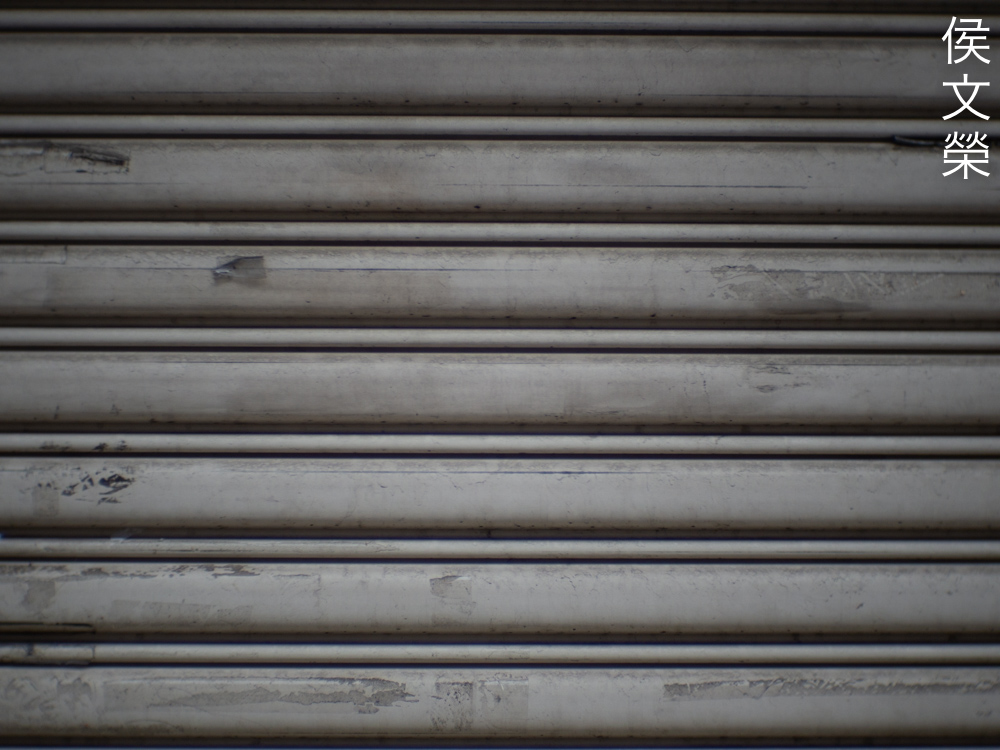
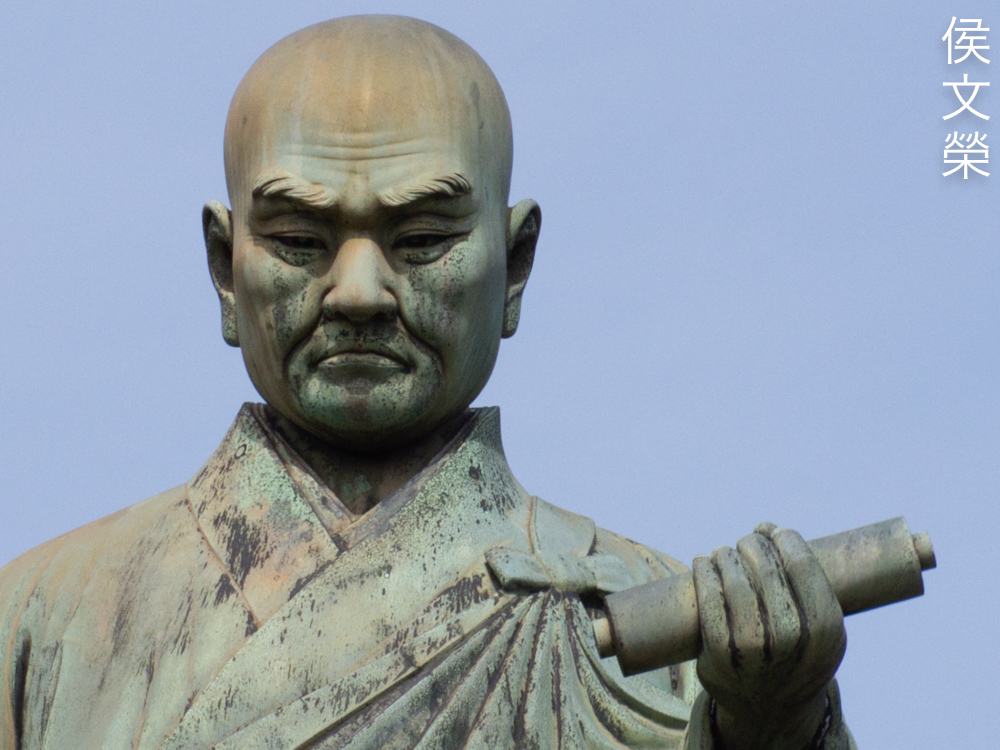
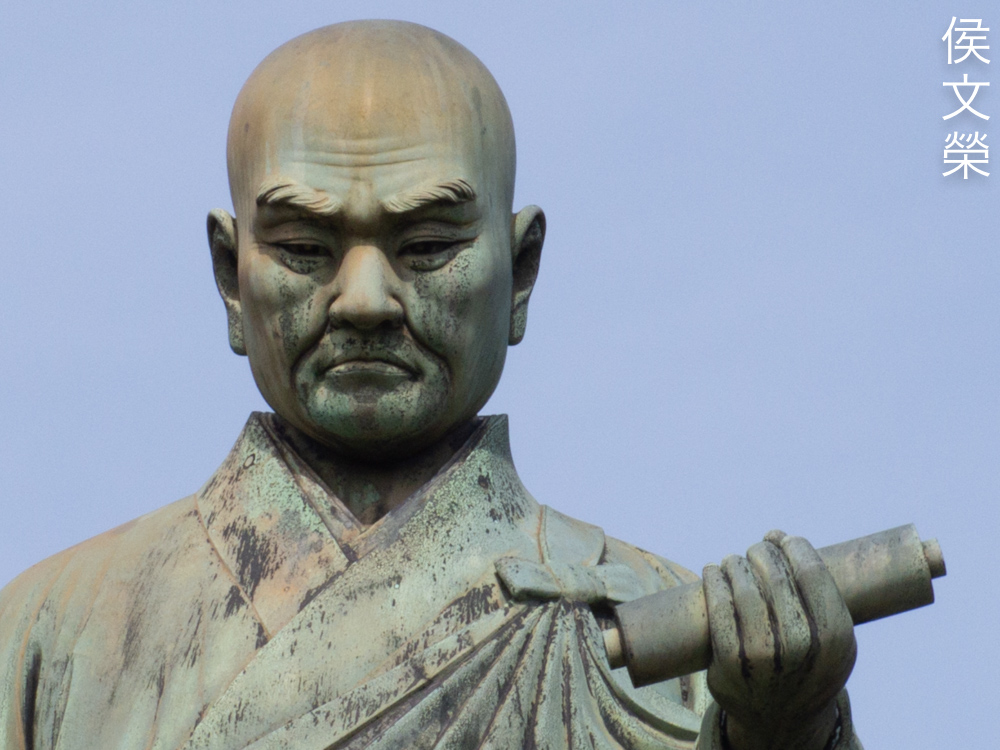
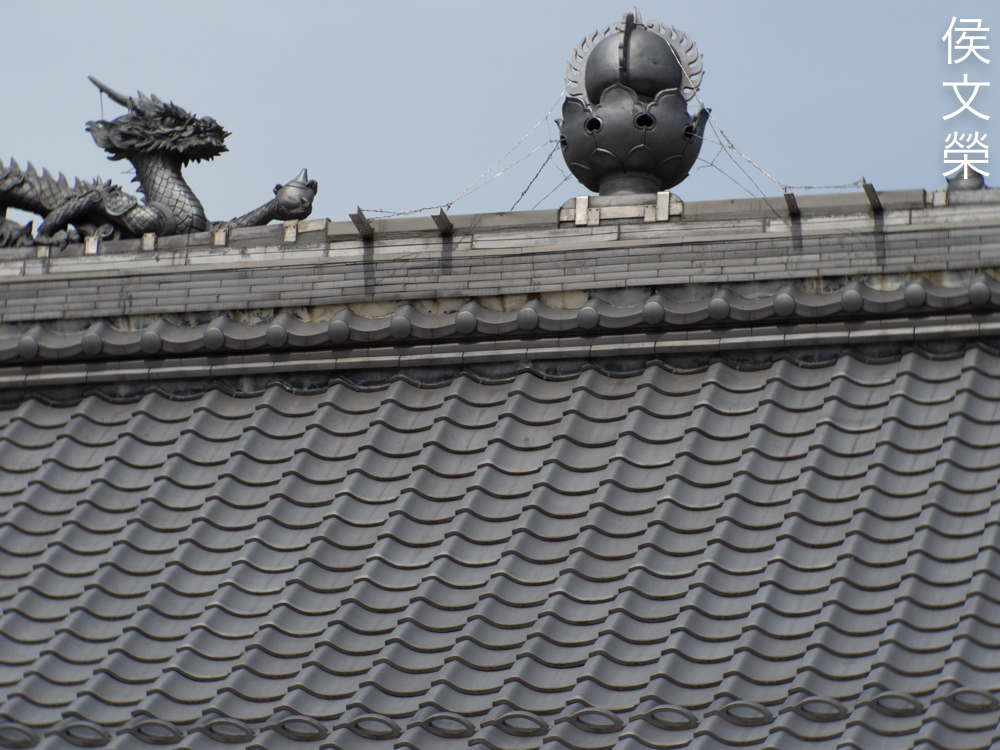
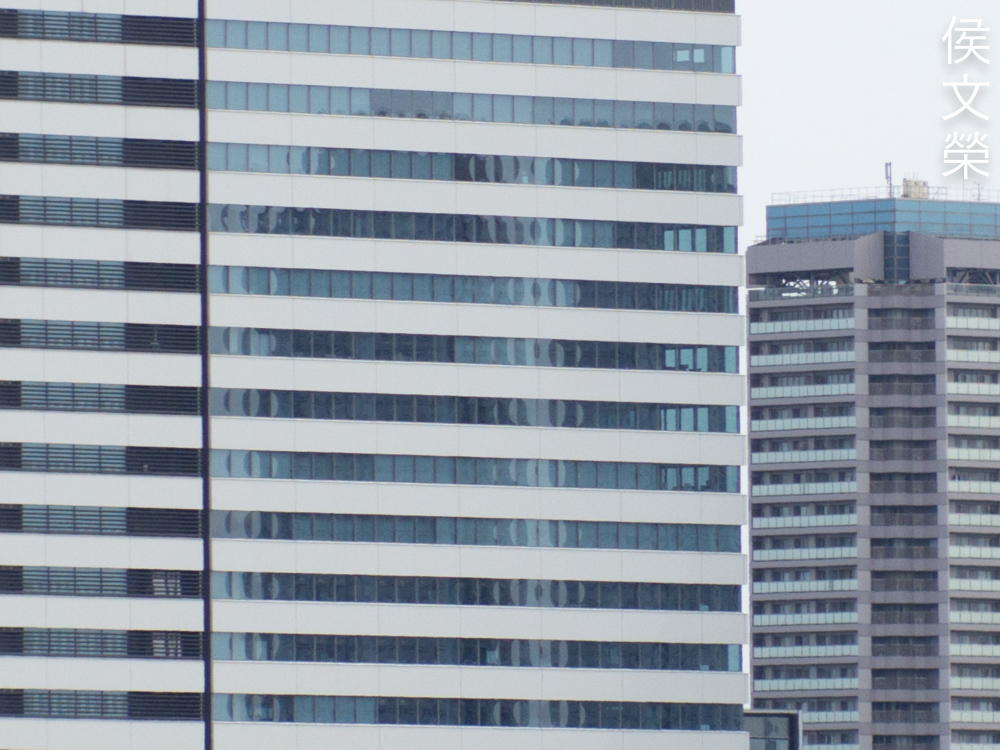
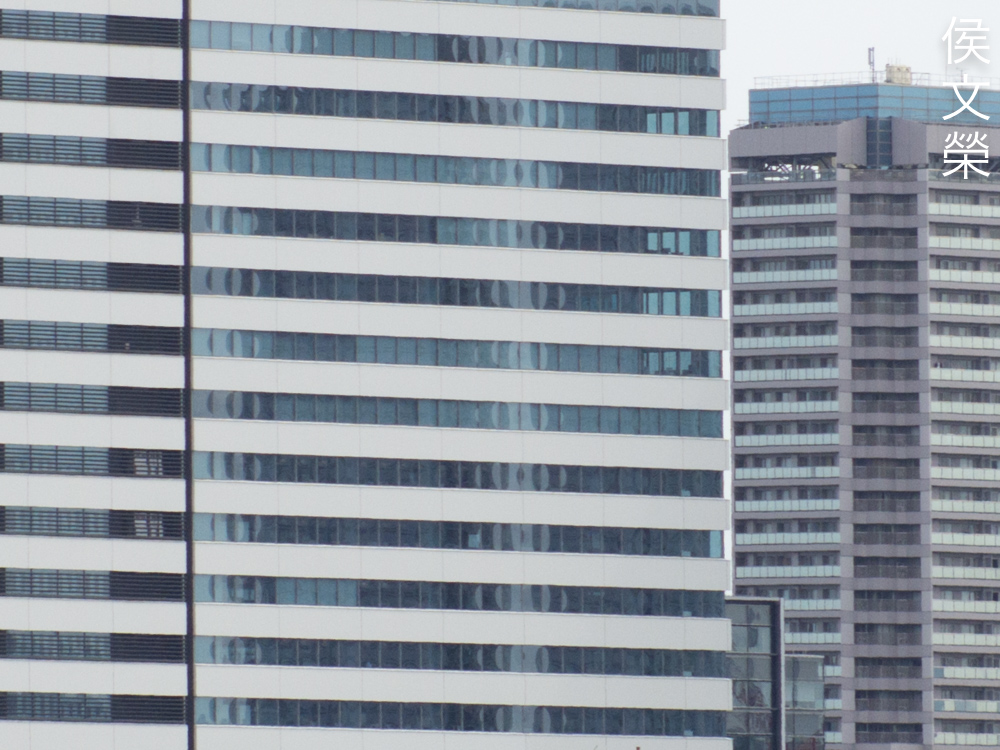
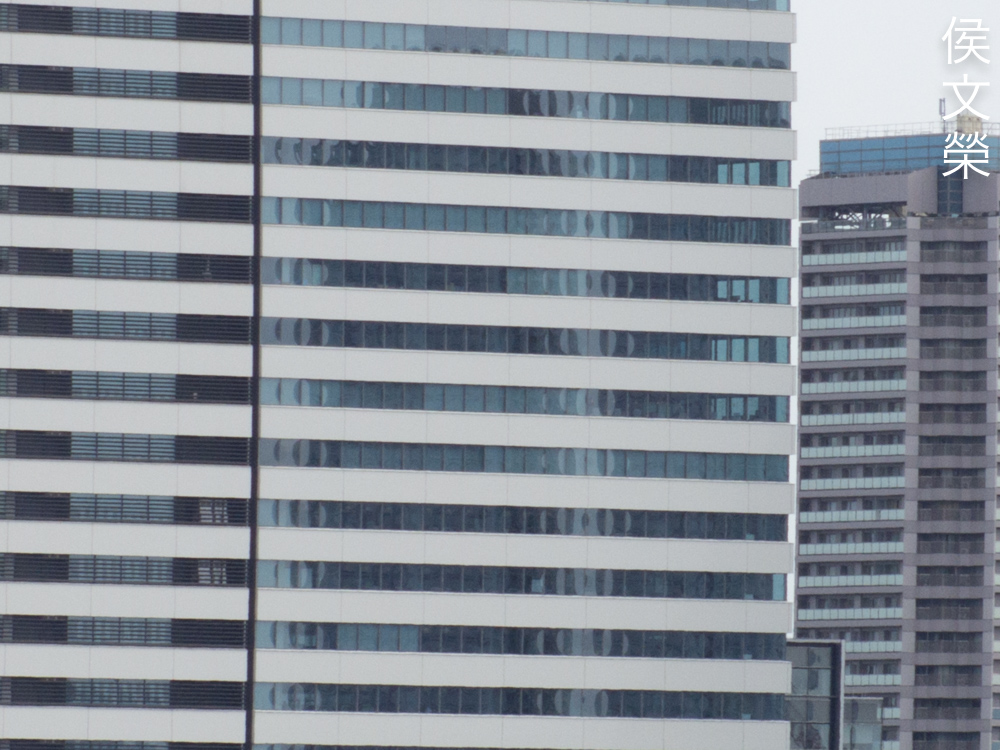
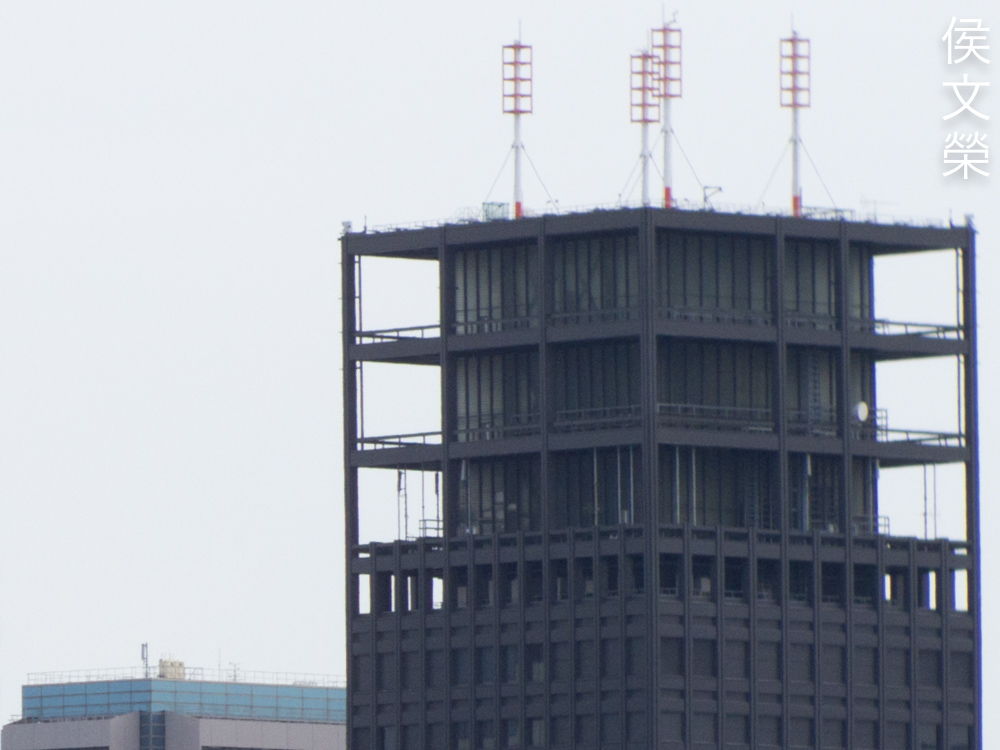
It’s sharp at the center wide-open but the extremities appear to be poor compared to the Cine-Nikkor 38mm f/1.9. The resolution is adequate at the center but it’s still not enough for resolving really fine details. Of course, the resolution at the corners are poor compared to the center. Stopping it down to f/2.8 makes the center look great, the resolution has improved considerably there so we’re able to see sharper details. The extremities improves quite a lot but still ugly. The center is performing at its peak by f/4 and the corners now look somewhat usable. Stopping this down to f/5.6 will not make the center much sharper but the corners now look a lot better.
Compared to the Cine-Nikkor 38mm f/1.9 the performance at the far-corners look pathetic but it controls aberrations a lot better wide-open which is a trade-off I am willing to accept. The center may be just a bit softer but it’s still good, it’s definitely usable specially when shooting in difficult lighting situations. The performance appears to be quite nice when focusing close and it gets worse as you reach infinity which can be noticeable at higher magnifications. Despite that, it is an impressive lens for its time specially when you compare this to its contemporaries, you’ll definitely get that special “Nikkor-look” which is defined by sharp and high-resolving photos. The balance of softness and sharpness is also good which helps give your photos a more natural look.

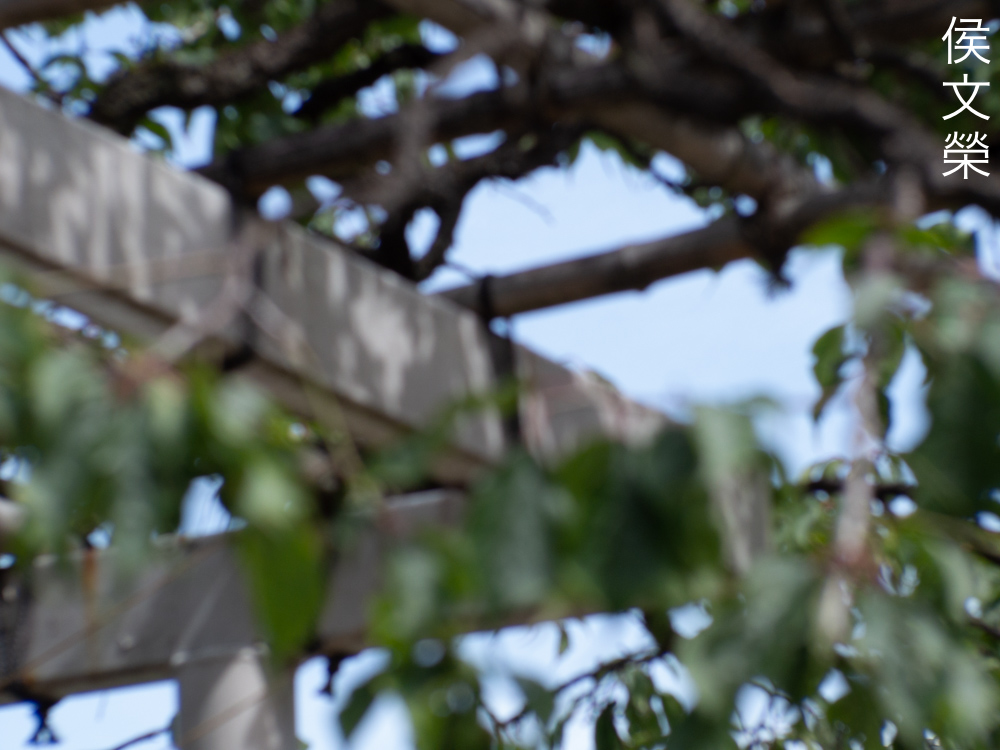
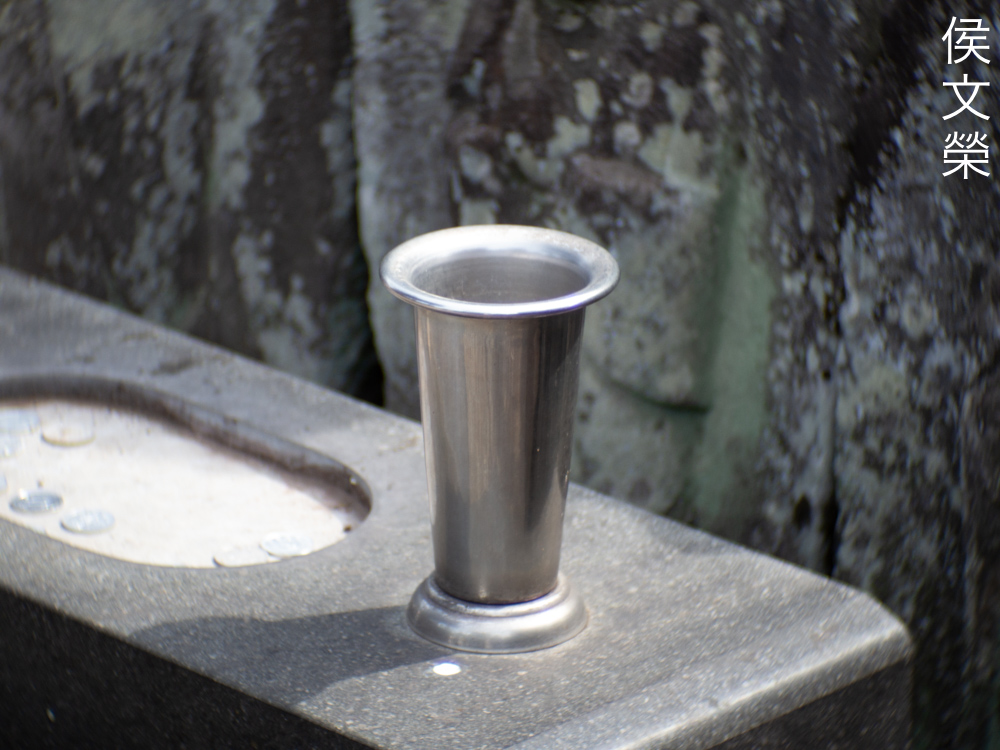
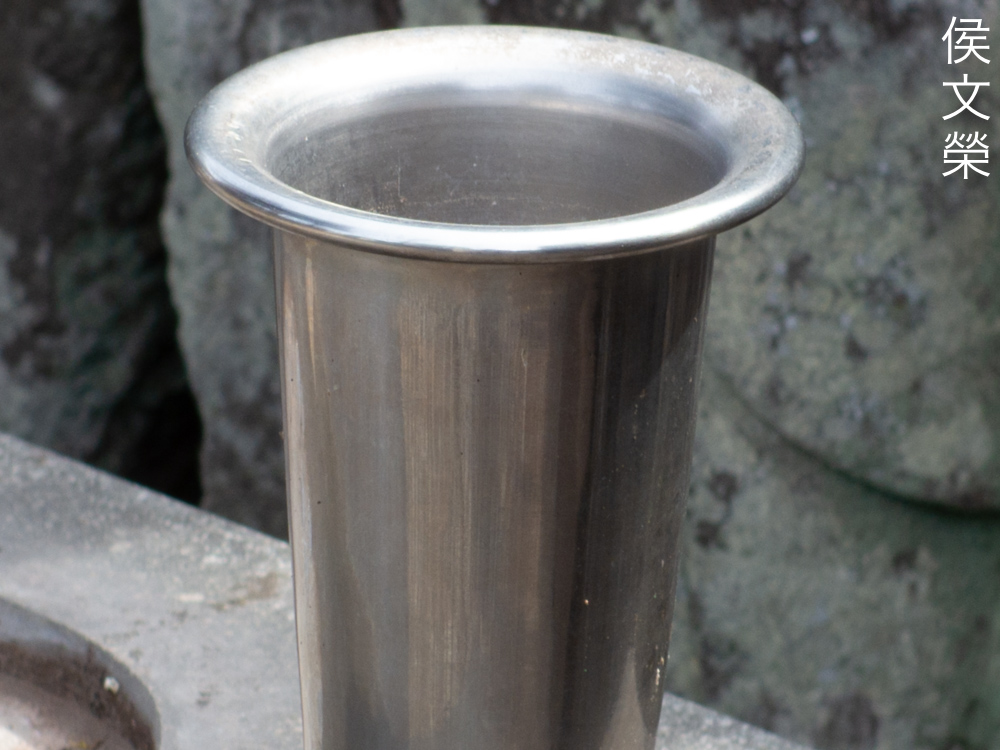
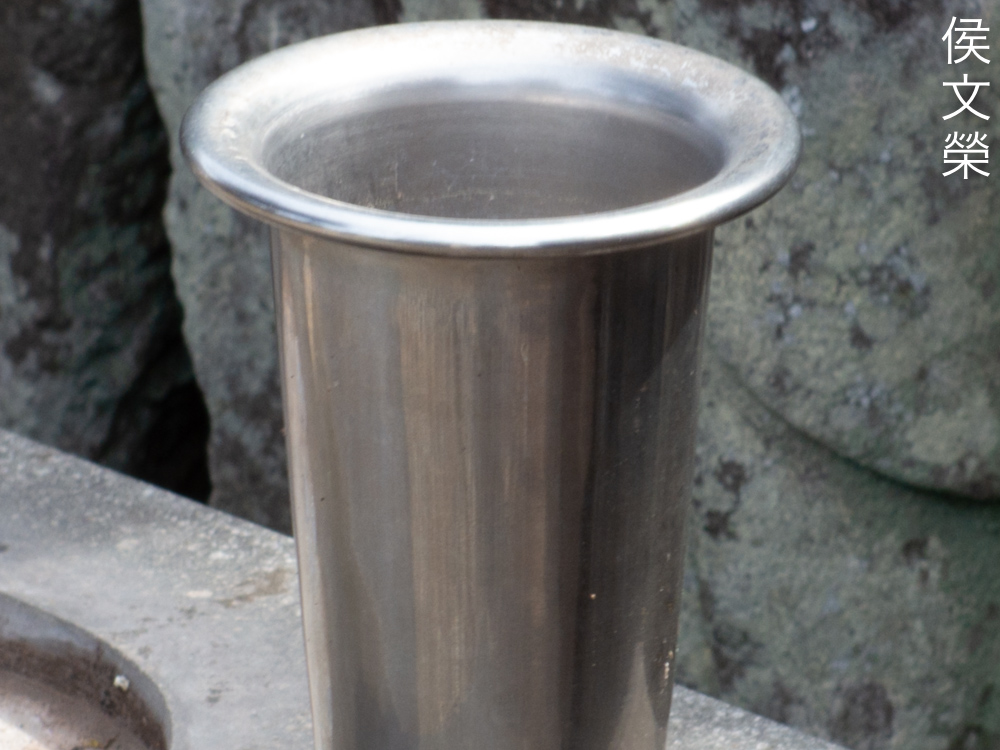
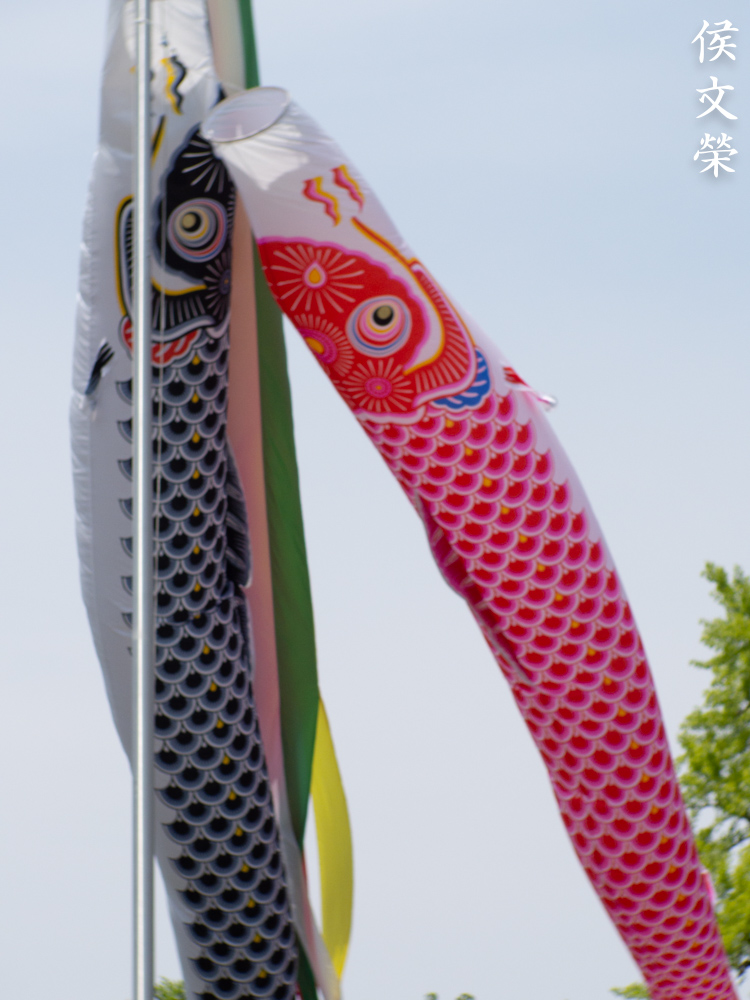
This photo is good for us to examine because there are parts of the photo that’s under the shade and some parts look overexposed due to the strong midday lighting. It looks great in the areas under the shade while the bright areas show plenty of spherical aberration and blooming. I don’t treat the overblown parts as ugly because this photo shows a nice balance between soft-and-hard which makes it even more interesting.

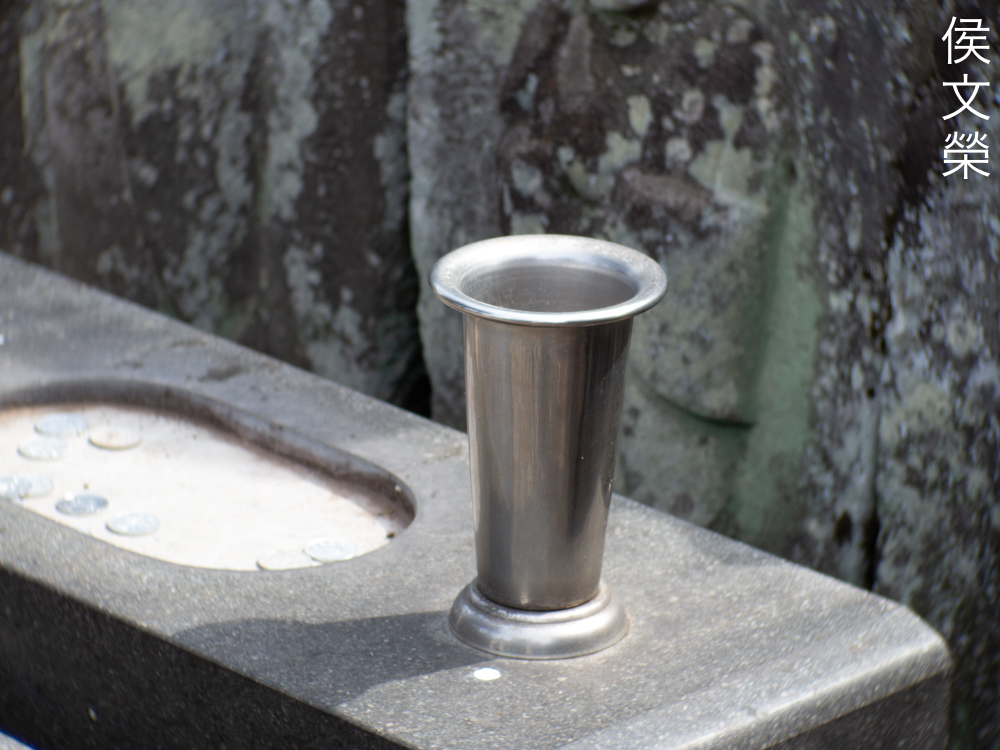
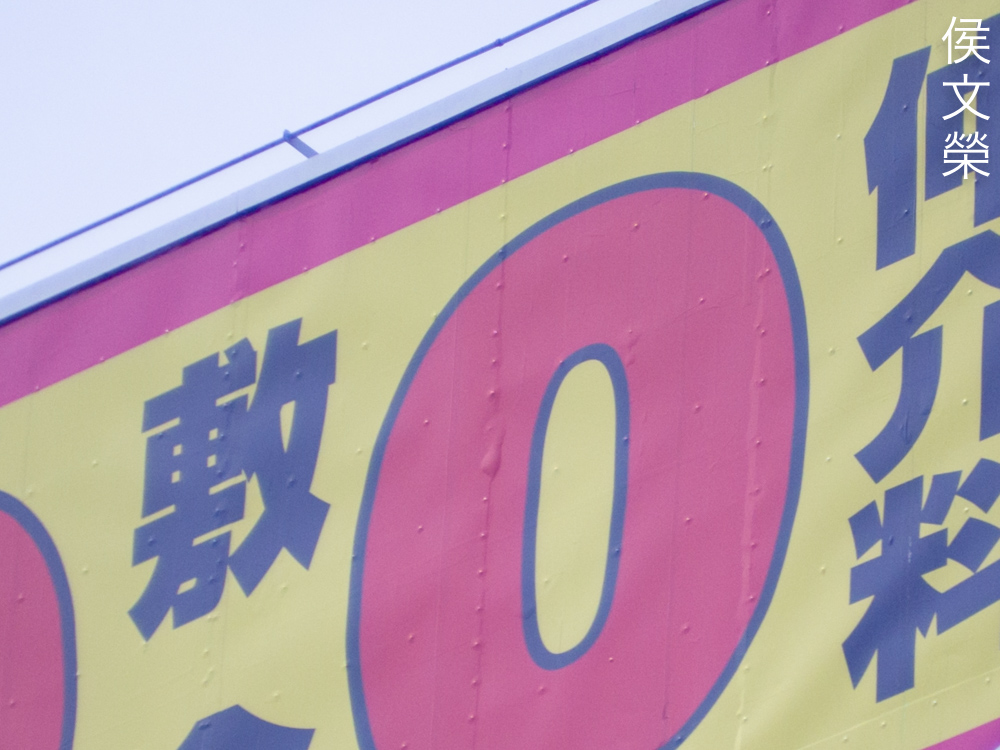
This photo is sharp but it looks a bit washed-out due to flare. I don’t think using a hood will help make things better, it is more the result of having single-coated groups.
Even at further distances missing your focus by a bit will result in blurry photos. It’s unforgiving in this sense which can result in a lot of frustration specially considering how poor the resolution of the Pentax Q series’ LCD is.

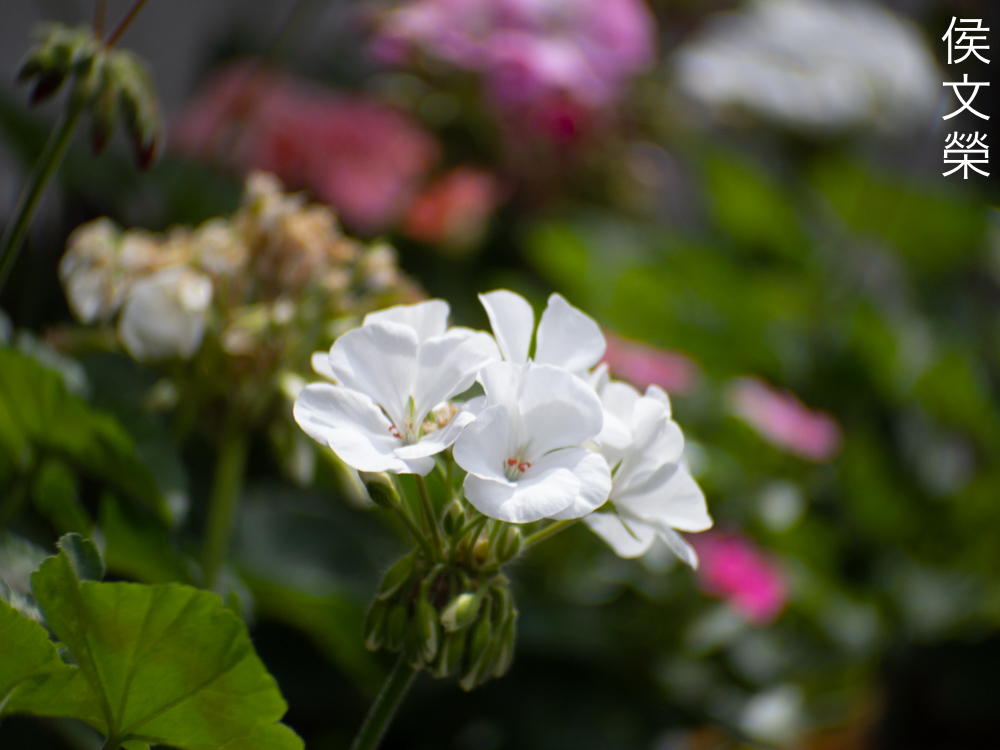
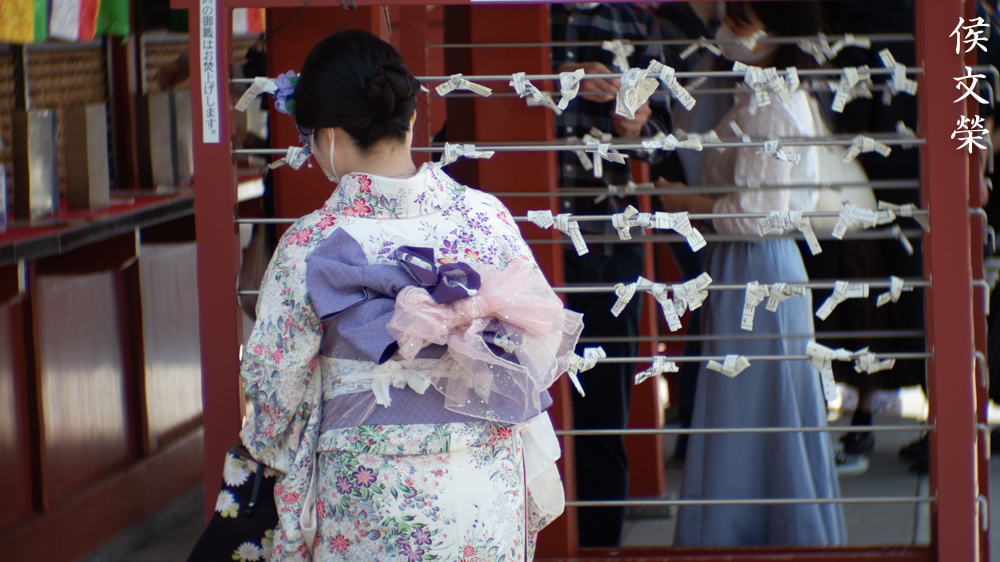
Rendering is exquisite for a lens of this class. It has subdued contrast but not in an ugly way, you could say that it has a “vintage-feel” to the photos instead.

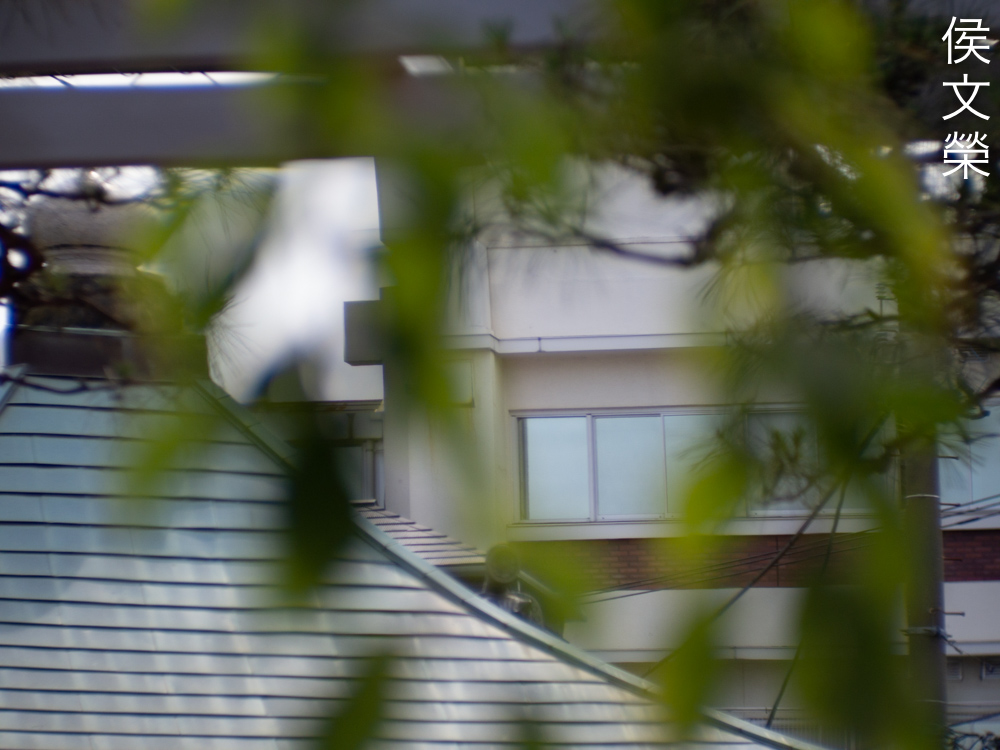
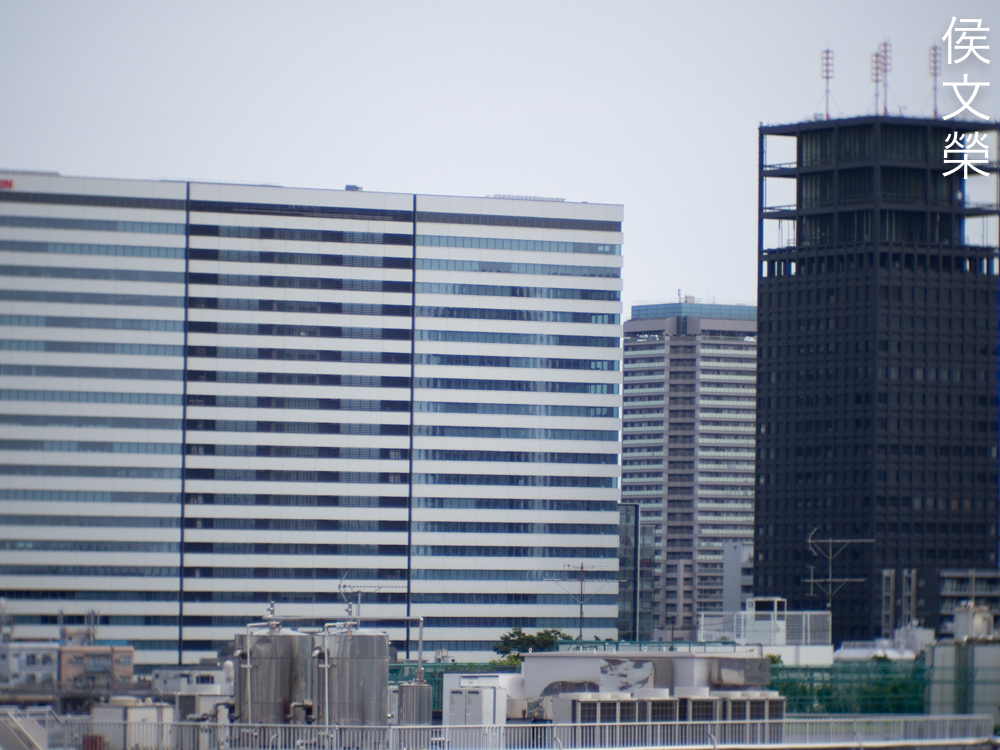
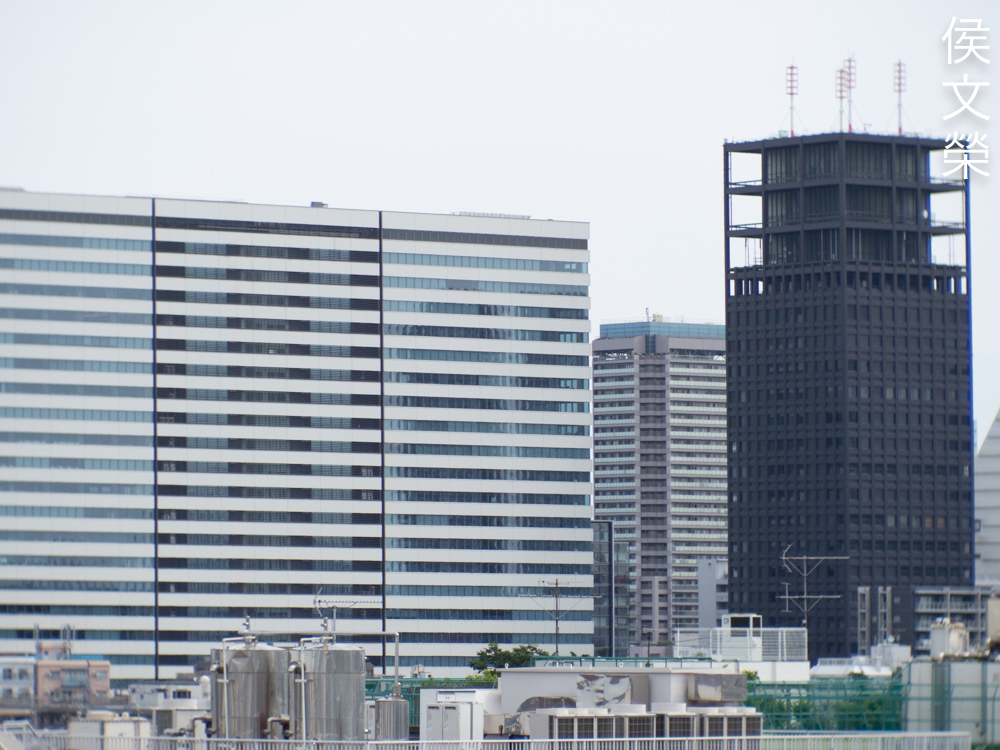
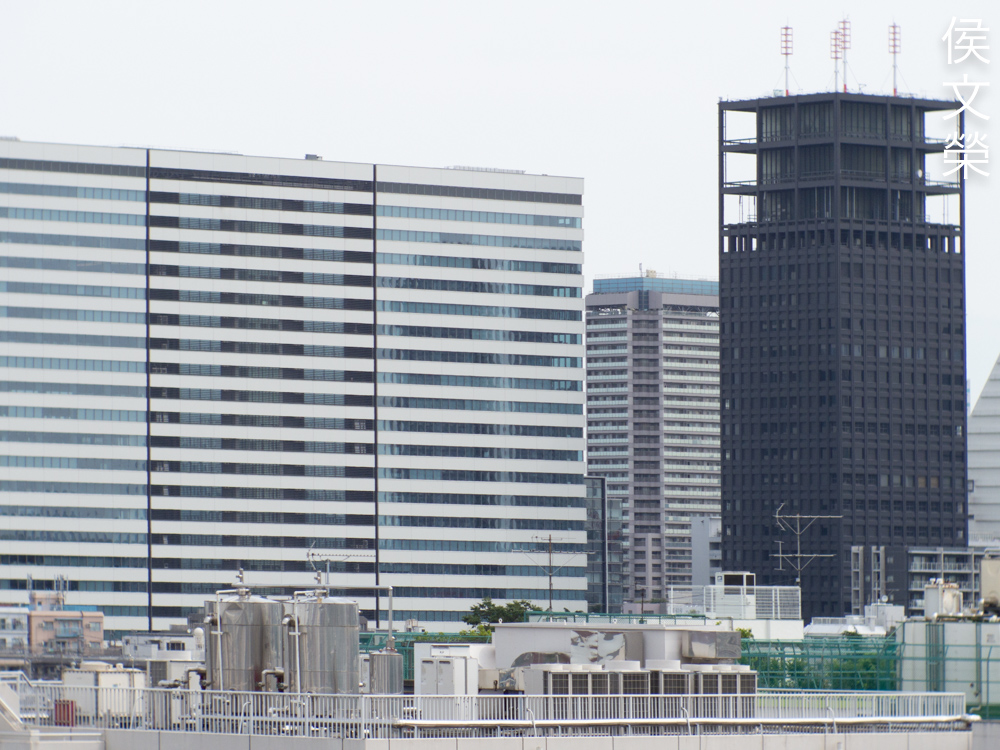
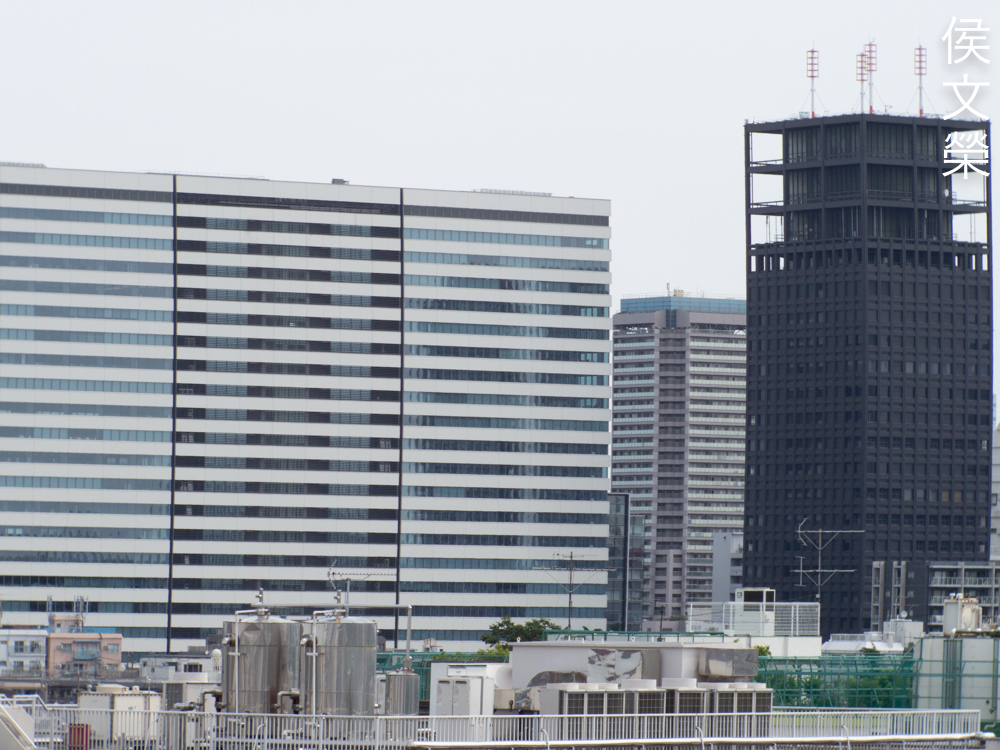
Since this basically works as a telephoto lens for standard 8mm you’ll get higher frame compression with it. That helps mitigate the effects of foreshortening, making the background appear larger, more prominent in your photos. It helps with storytelling so the background won’t lose its importance. This also helps make the photo appear more “distant” to the viewer, detaching the viewer from the subject which lessens intimacy, like a candid photo.

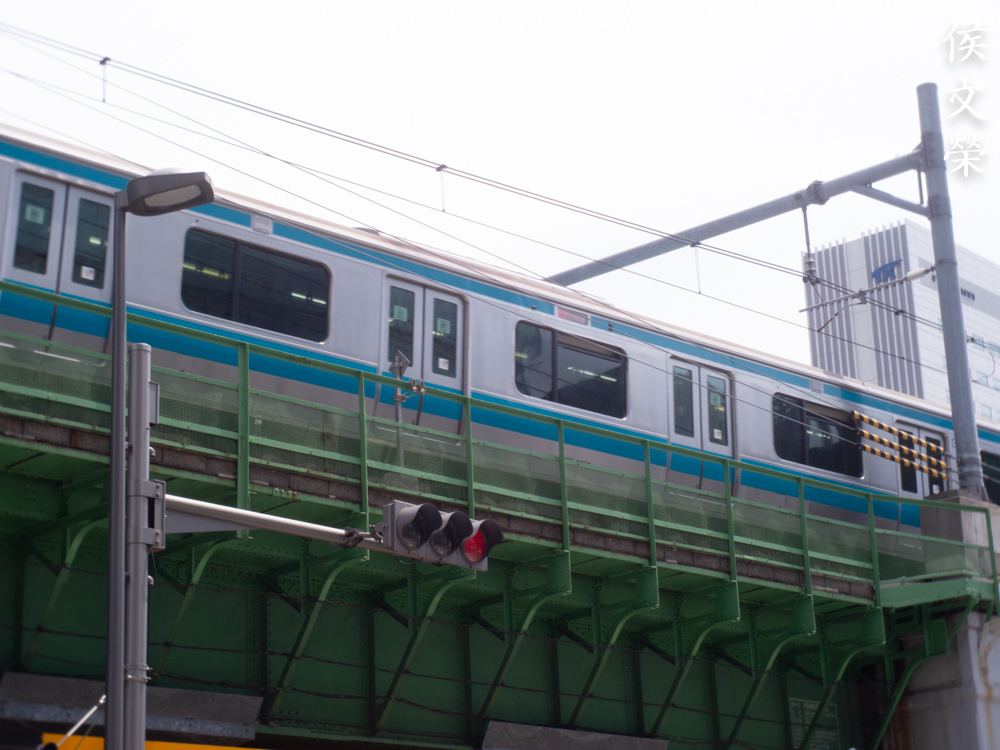
I want to show you this just because the left portion appears distorted. This is caused by the “rolling-shutter” effect, it’s a well-known issue with electronic shutters from cameras that were made around 2008 to a couple of years back. This is annoying since it will turn a nice photo into something useless. One way to prevent this issue is to shoot with a faster speed but that won’t guarantee a straight photo as you can see here. I don’t think I was shooting under 1/250s here.
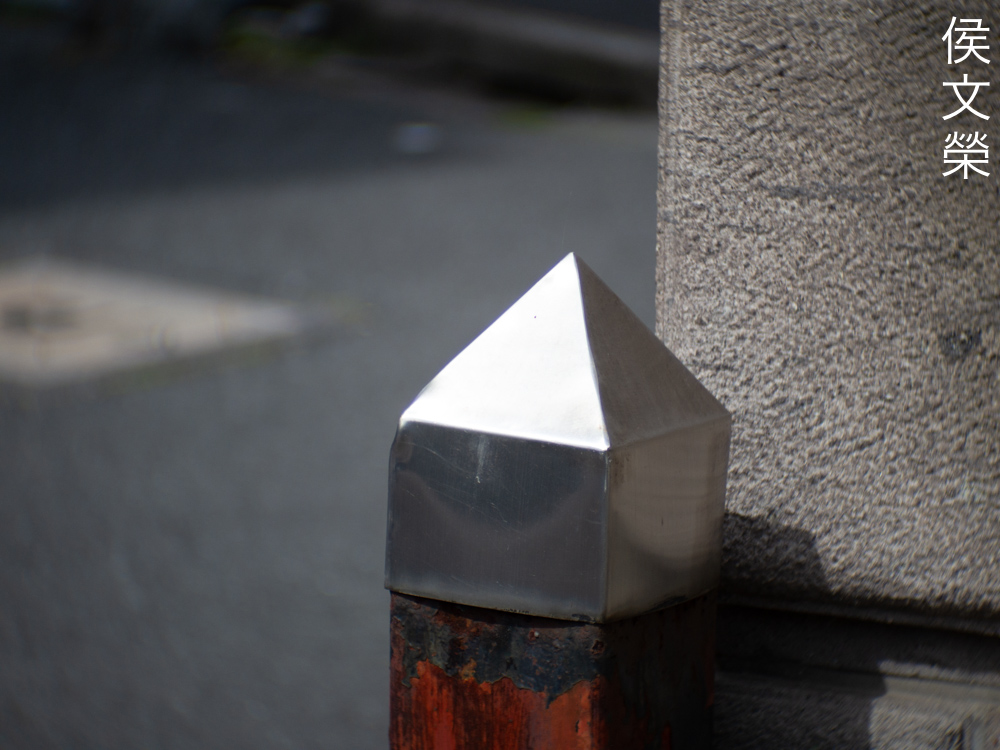
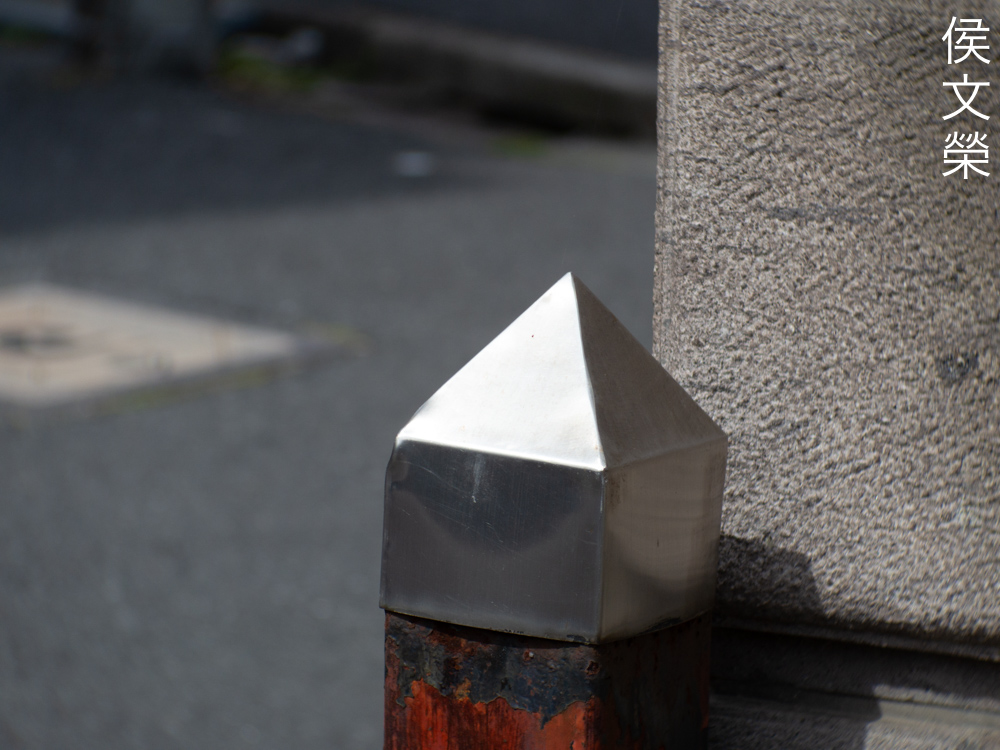
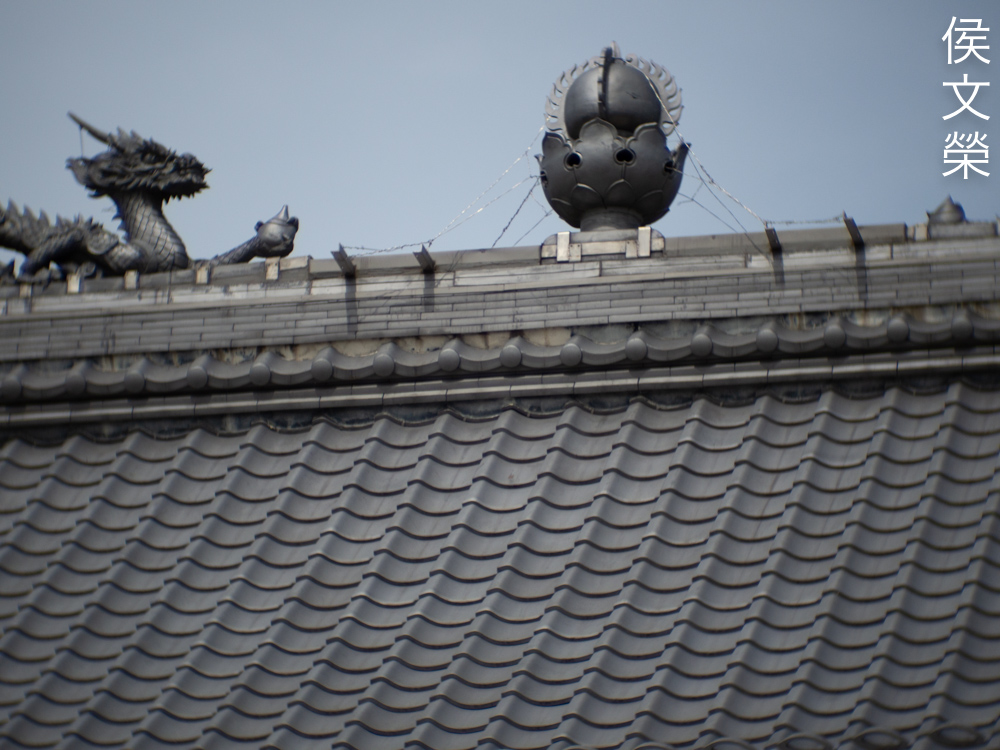
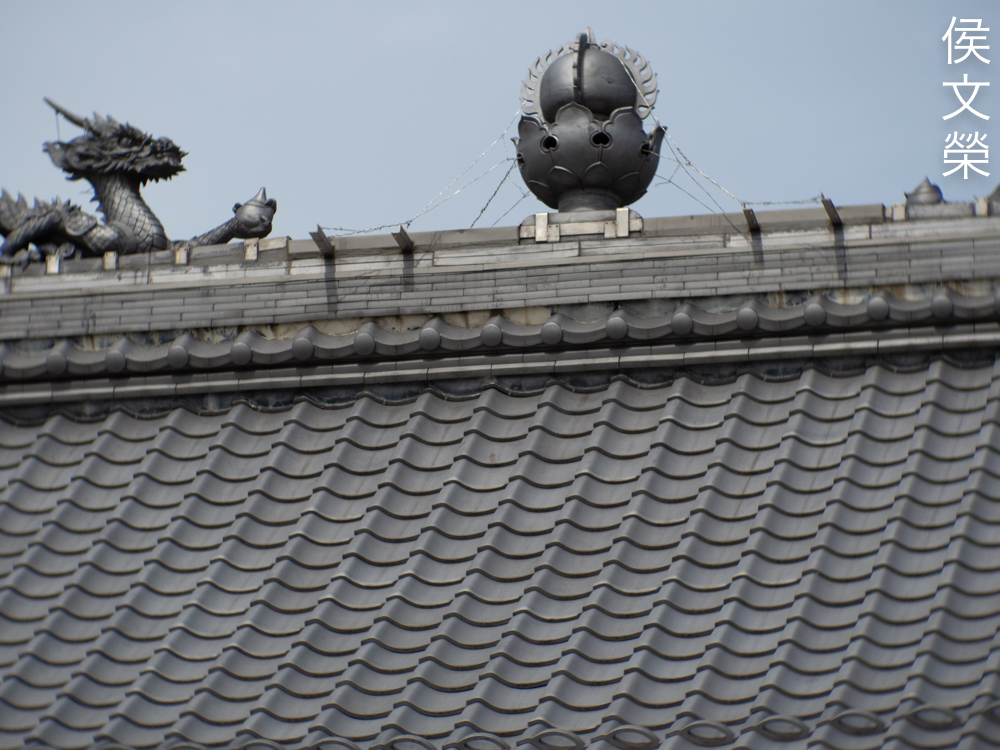
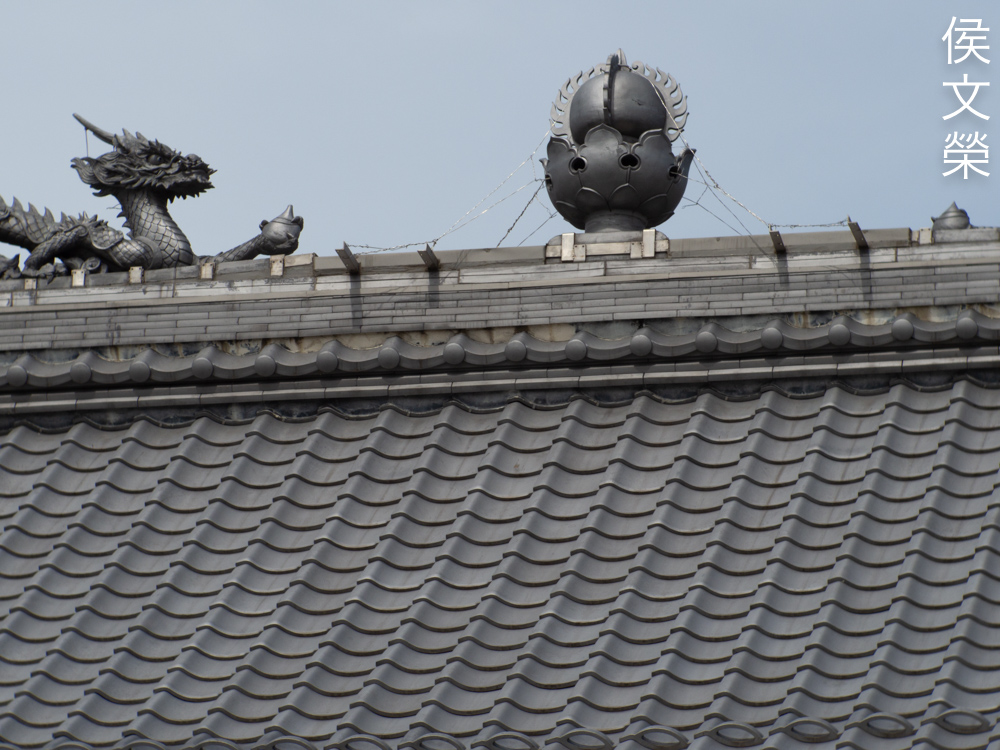
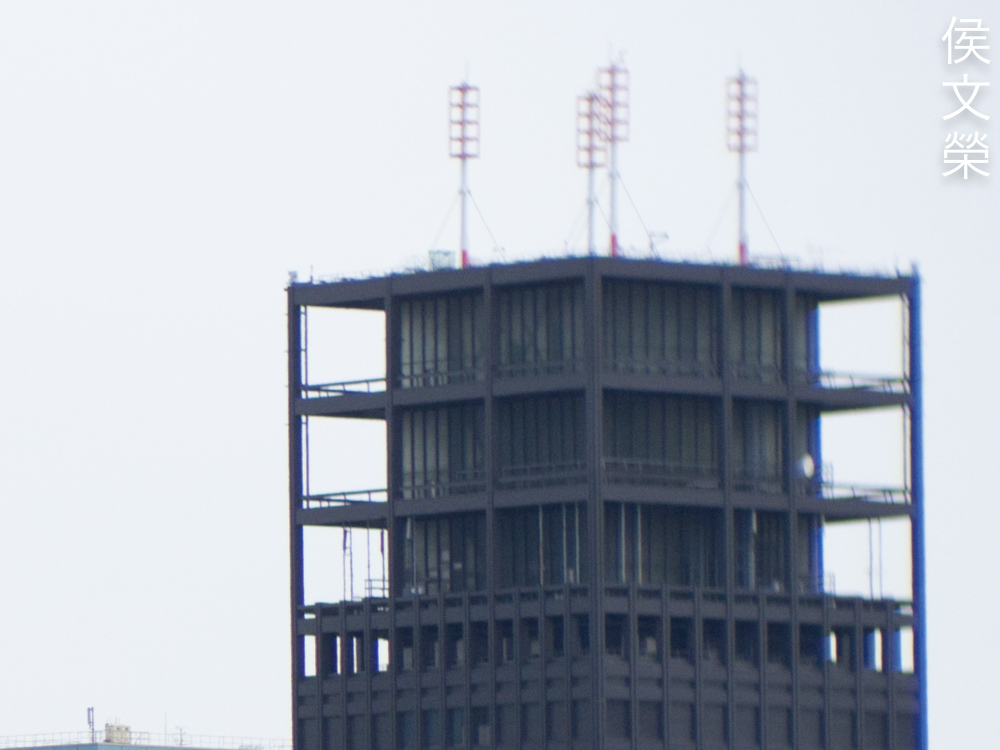
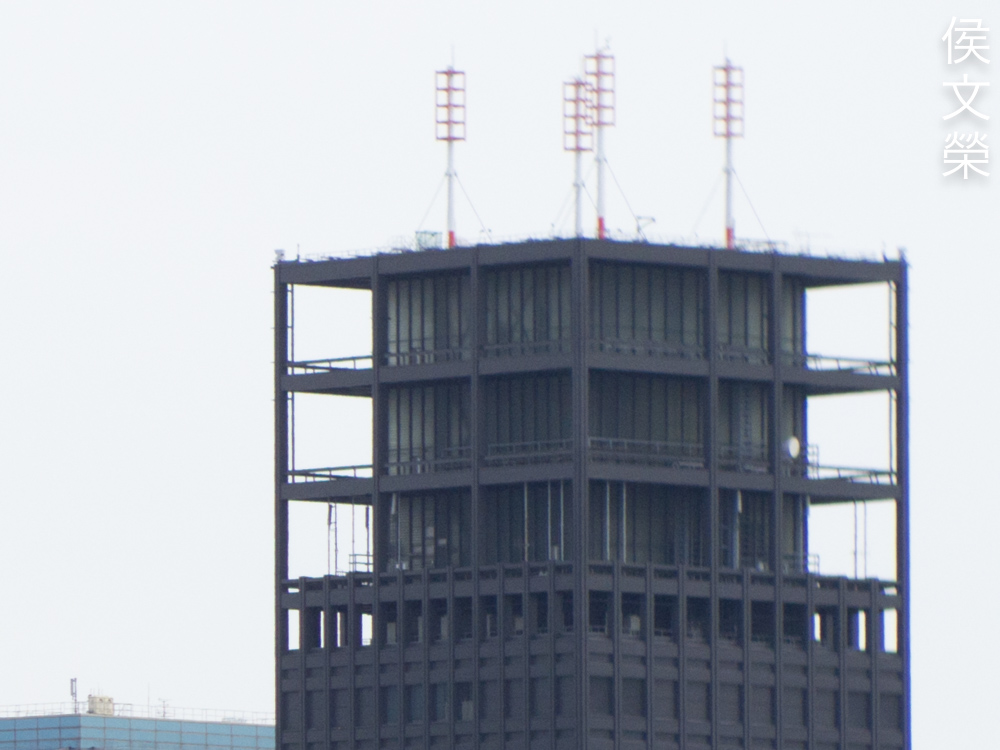
There will be traces of spherical aberration and astigmatism even if you’ve stopped the iris down to smaller values. This is not bad at all and will only show in overblown areas such as the cables and posts in this photo. Flare or haze will also contribute to this, there’s not much we could do because the coatings applied are old-tech.

The edges look poor because the sensor of the Pentax Q series actually covers a wider area as opposed to the standard 8mm format for which this lens was originally made to work with. Despite that it’s not unusable, just frame your photos properly and avoid placing important things near the edges.


(Click to enlarge)
Here are more photos for you to evaluate this. It’s a very nice lens which I think is still relevant today if you’re fine with operating it manually. It’s just a bit challenging when focusing on moving subjects or even with still ones because the LCD’s resolution isn’t high enough. Having an optical viewfinder would’ve helped somewhat but not by much.
This is a great little lens, it’s worth your time looking for one. When you love portraiture this will give you that smooth and clean look that makes your subjects look better. The rendering is great even at wider apertures, it does have lots of chromatic aberration specially at overblown areas of the frame but that is easy to remedy. The Cine-Nikkor 38mm f/1.9 is comparable in terms of performance so that may be a good option if you couldn’t find this one. They’re cheaper and a bit more common in my experience. These are not expensive, the average price is about $90.00 each for good-quality examples. I got mine as part of a bag-of-junk which I got for $100.00, it’s probably around $15.00 if you divide all items to the price I got them all. When looking for one be sure that the iris works perfectly and it’s dry. Turn the rings and be sure that they operate fine. The optics have to be clean and clear but It’s not unusual to find these with cleaning marks and scratches, that’s not going to affect your photos so long as it’s nothing serious. Just check the auction sites, maybe you can get one that fits your budget and requirements, happy hunting.
Before We Begin:
If this is your first attempt at repairing a lens then I suggest that you see my previous posts regarding screws & drivers, grease and other things. Also read what I wrote about the tools that you’ll need to fix your Nikkors.
I suggest that you read these primers before you begin (for beginners):
- Essential tools
- Best practices 1
- Best practices 2
- Best practices 3
- Ai conversion
- Working with Helicoids
Reading these should lessen the chance of ruining your lens if you are a novice. Before opening up anything, always look for other people who have done so in YouTube or the internet. Information is scarce, vague and scattered (that is why I started this) but you can still find some information if you search carefully.
I highly recommend that you read my working with helicoids post because this is very important and getting it wrong can ruin your day. If I can force you to read this, I would. It is that important!
For more advanced topics, you can read my fungus removal post as a start. It has a lot of useful information, it will be beneficial for you to read this.
Disassembly:
The construction is nearly-identical to the Cine-Nikkor 38mm f/1.9, what works for that lens will work with this, too. It’s important to extract the optics as soon as possible and to dismantle it at the right order but that won’t be the case for this one because some of the parts were glued. I will take a long detour so if you’re concerned about how to do all the sequences right read my Cine-Nikkor 38mm f/1.9 article.
Servicing it isn’t as easy as you think as you’ll see why later. You’ll need special tools to service this, drivers of different sizes are important to prevent stripping the slots. If something is stuck, soften the seal with solvents. Do not flood the parts unless the optics have been extracted because all of its groups are cemented.
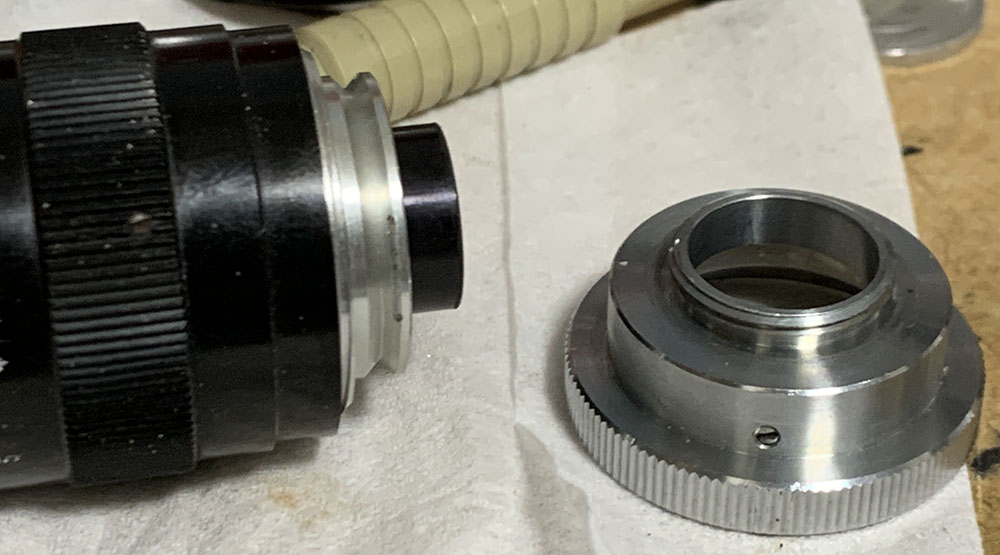
Loosen the screws of the mount and pull it off from the barrel.
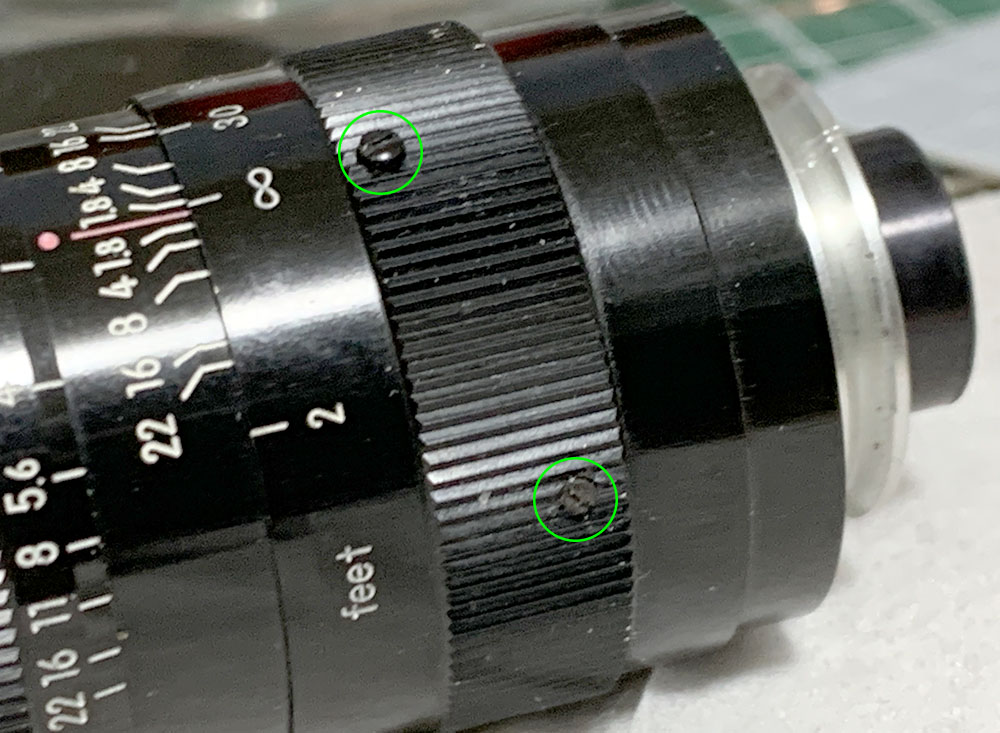
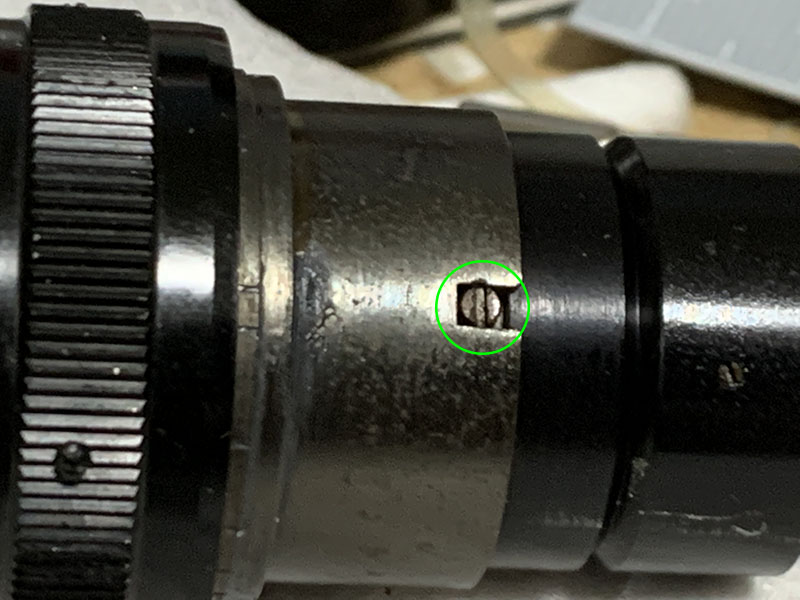
Loosen the screws closest to the mount to remove the focusing unit. The lone screw towards the front is for preventing the focusing ring from turning beyond its range.
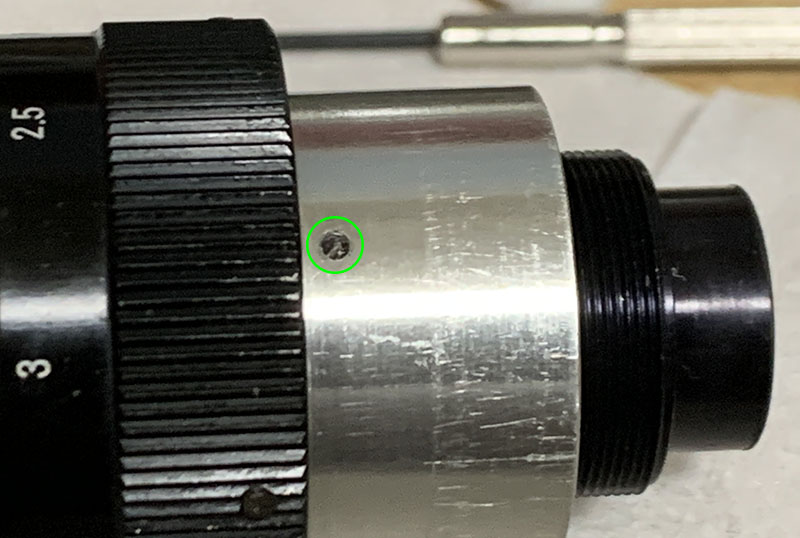
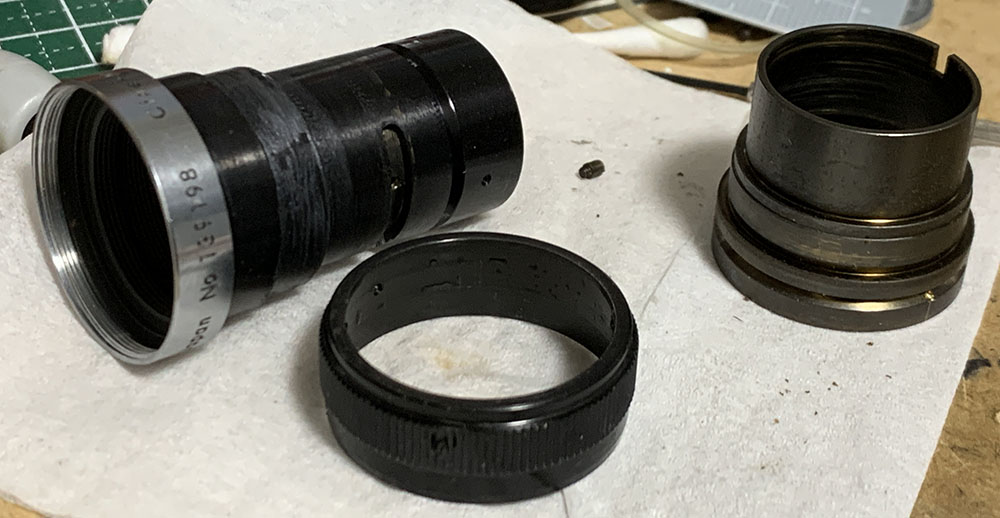
Once the focusing unit is off, loosen these to remove the front barrel from the inner barrel.
Pull it off, it may be tight since the tolerances are precise.
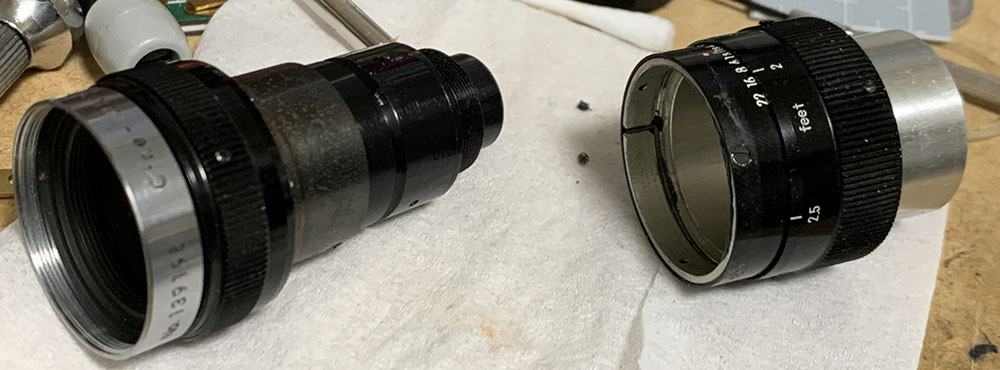
Dismantle the focusing ring and the sleeve by removing their screws.
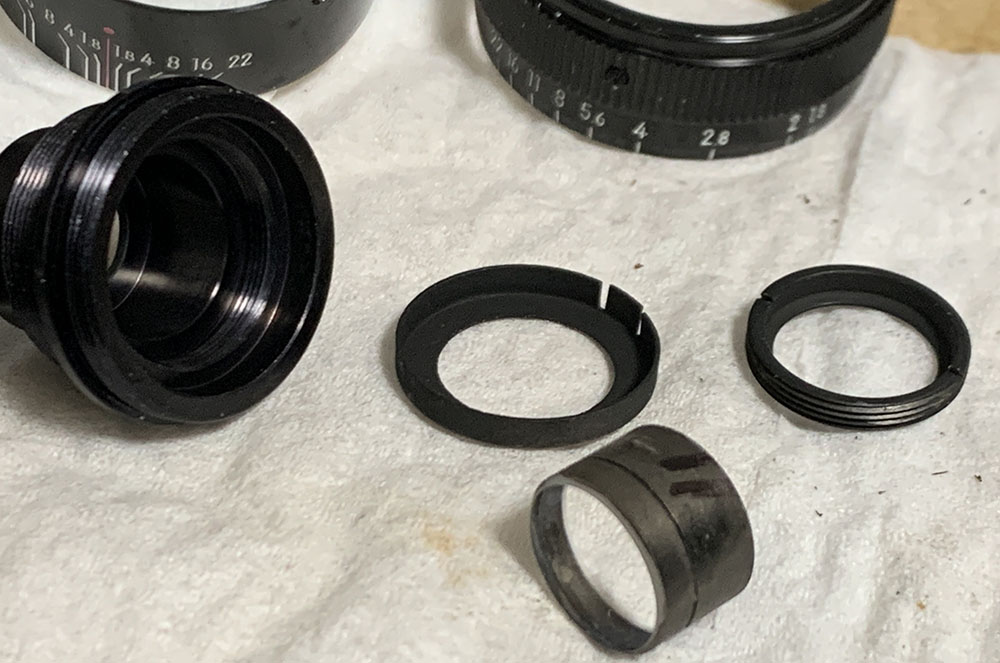
Unscrew the housing of the rear optics assembly.
Unscrew this so you can begin to dismantle the iris mechanism. It couples the outer tube to the iris mechanism so you will be able to control it by turning the aperture ring.
The aperture ring can be removed after loosening its screws.
Separate the helicoids and don’t forget to mark where they parted because this is also the spot where they mate. Many people forget to do this and get stuck, read my article on working with helicoids to prevent this from happening to you.
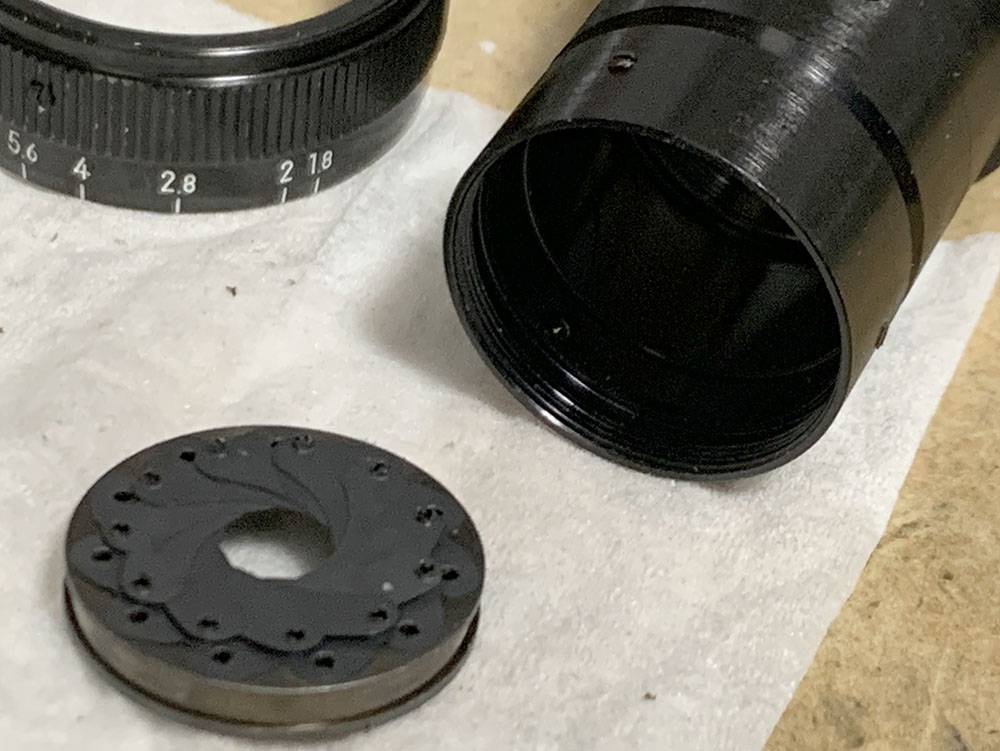
Pull the diaphragm off after loosening its screws.

Unscrew the bezel from the barrel. These are sometimes sealed and it can be tough to remove. Placing a few drops of solvent can help soften the seal but it it didn’t work then heat is the only thing that work but you will have to be careful because the front group is cemented.
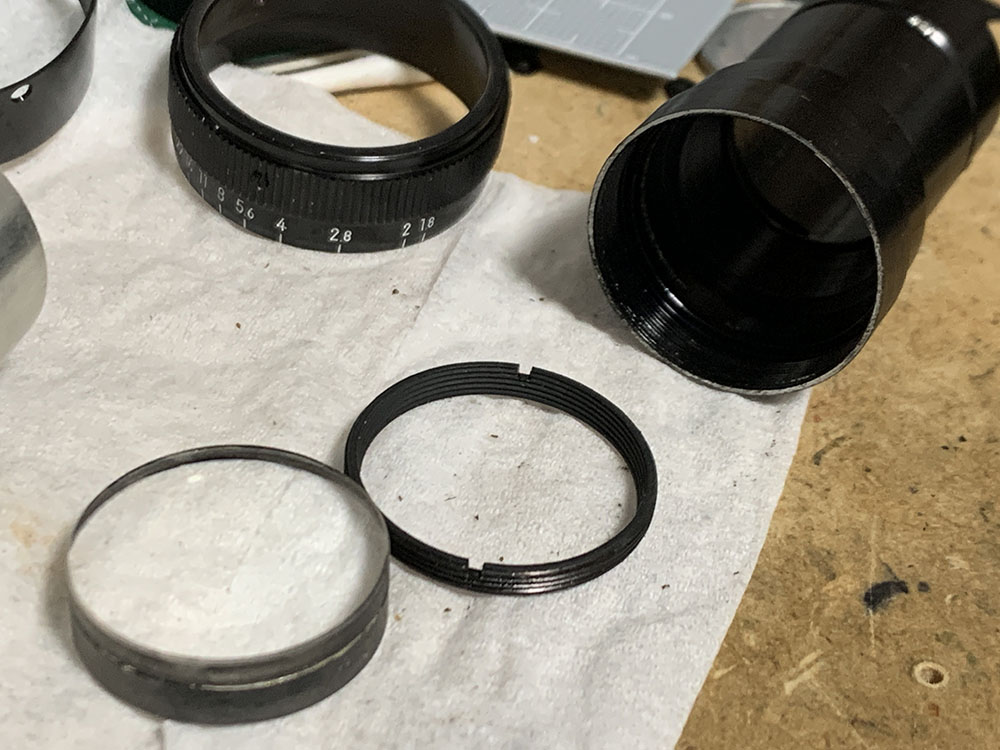
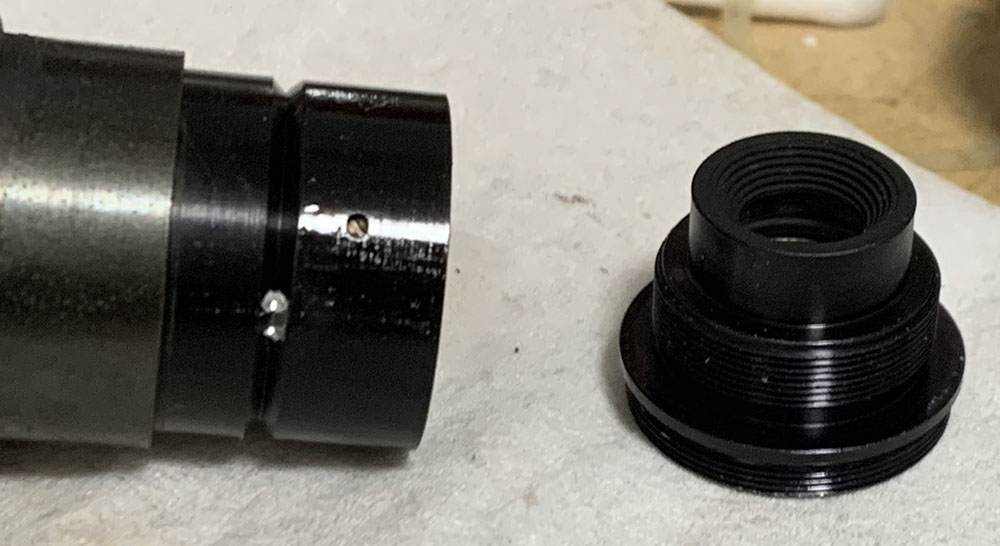
Unscrew the retainer and extract the front group carefully with a lens sucker.
Pull the baffle off with your nails or a sharp pair of tweezers. Unscrew the retainer and extract the rear group from the housing. Be sure to note its direction so you’ll be able to put this back properly later.
Clean the barrels carefully and don’t leave any residue. I scrubbed them with a strong dishwashing liquid, soaking them in alcohol helps remove residue and soften any stubborn dirt. Do not apply excessive grease or it will migrate to the iris in the future and you’ll have to open it again just to clean the mess. A heavy type of grease will be beneficial, it will give you a nice, damped feel.
Conclusion:
Reassemble everything by backtracking, if you took plenty of notes then this should not be a problem at all. Now that you have seen how involved the work is, if you have no tools and experience for the task just send it to a repairer. This lens is not precious at all but it is somewhat rare so it demands care and respect to a certain extent.
Read my article on the Cine-Nikkor 38mm f/1.9 to see how I adjusted its focus. What works with that will also work with this one.
Thanks for following my work, if you liked this article please share this with your friends so it will get more views. This site earns around $0.40 a day, we are totally reliant on views. You could also support this site, it helps me offset the cost of maintenance and hosting. You are also helping me purchase, process and scan film. This site promotes the use of film so we are all in this together. See you again in the next article, Ric.
Help Support this Blog:
Maintaining this requires resources and a lot of time. If you think that it has helped you or you want to show your support by helping with the site’s upkeep and maintenance, you can make a small donation to my paypal.com at richardHaw888@gmail.com. Money isn’t my prime motivation for this blog and I believe that I have enough to run this but you can help me make this site (and the companion facebook page) grow.
Leave me some tip?
Thank you very much for your continued support!
$2.00
Helping support this site will ensure that this will be kept going as long as I have the time and energy for this. I would appreciate it if you just leave out your name or details like your country’s name or other information so that the donations will totally be anonymous. This is a labor of love and I intend to keep it that way for as long as I can. Ric.

1 Comment (+add yours?)