
Hello, everybody! I was looking at the beer section of the local corner store and I found something new, Asahi made a new type of can where the whole top could be opened, giving you a better drinking experience since you could gulp a mouthful if you wish and also enjoy the aroma better compared to the usual style of beer cans where the hole is small. I am amazed at how they could make something good better, this made drinking their beer a lot more enjoyable. This is proof that something could be made even better when you just have the right idea going on. Today, I will show you something that was improved despite being fundamentally the same as its predecessor. You could enjoy the original way it renders photos but the experience is now made a lot better thanks to a couple of improvements in handling.
Introduction:
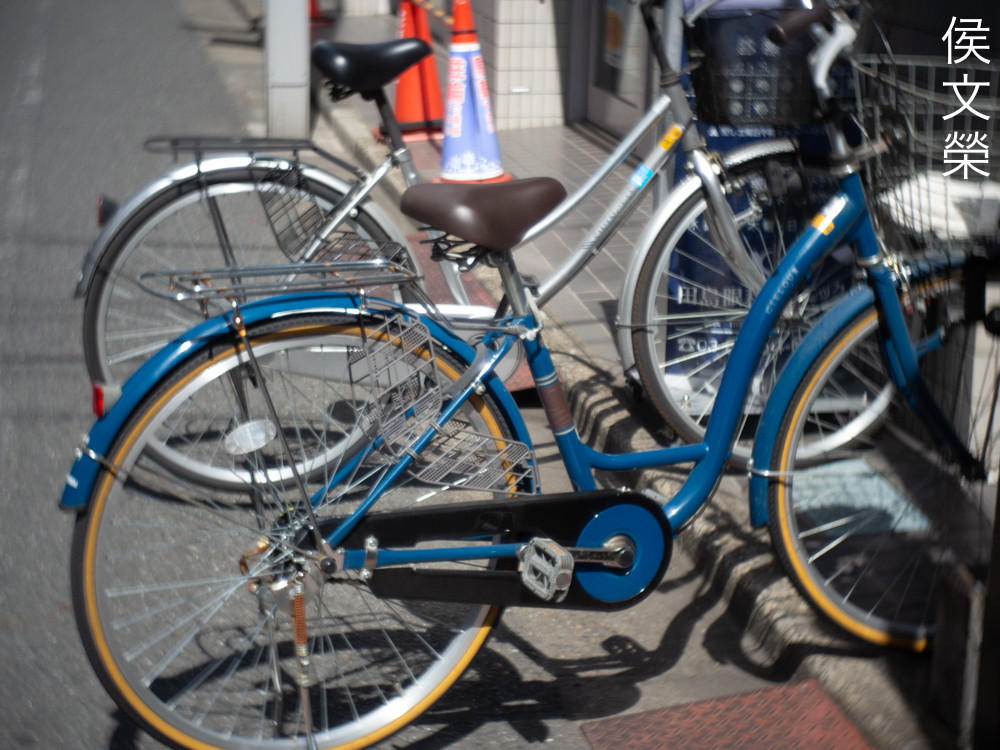
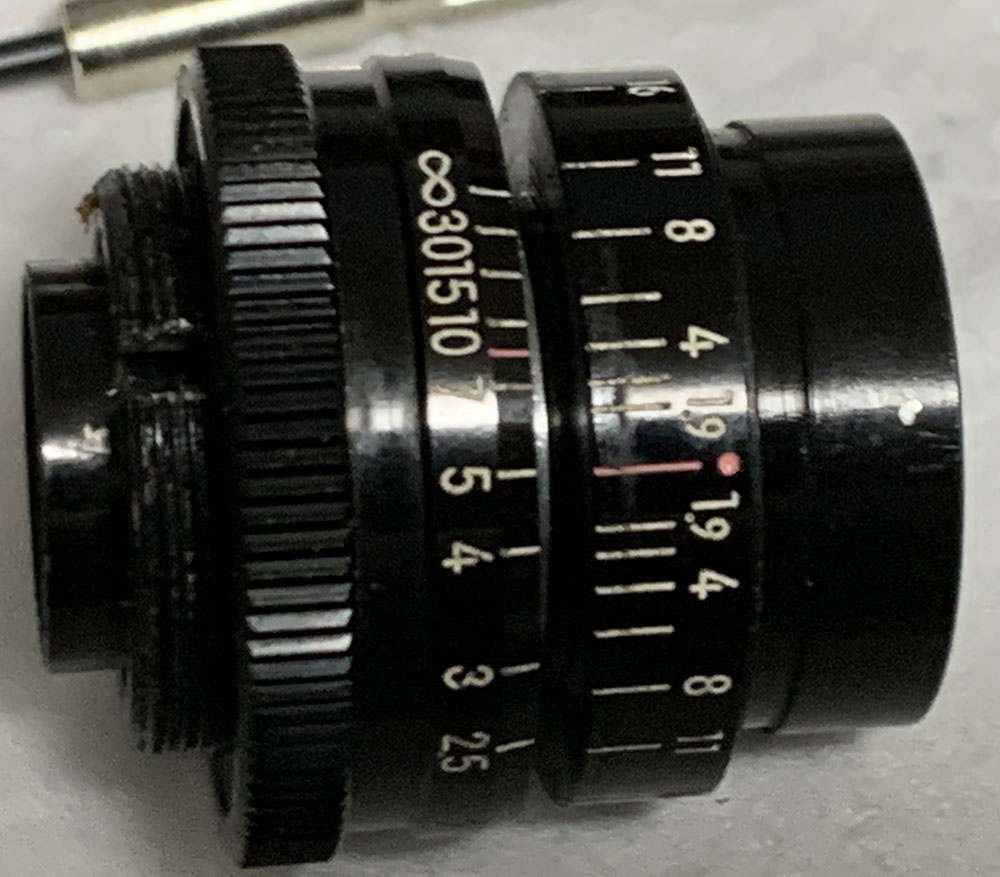
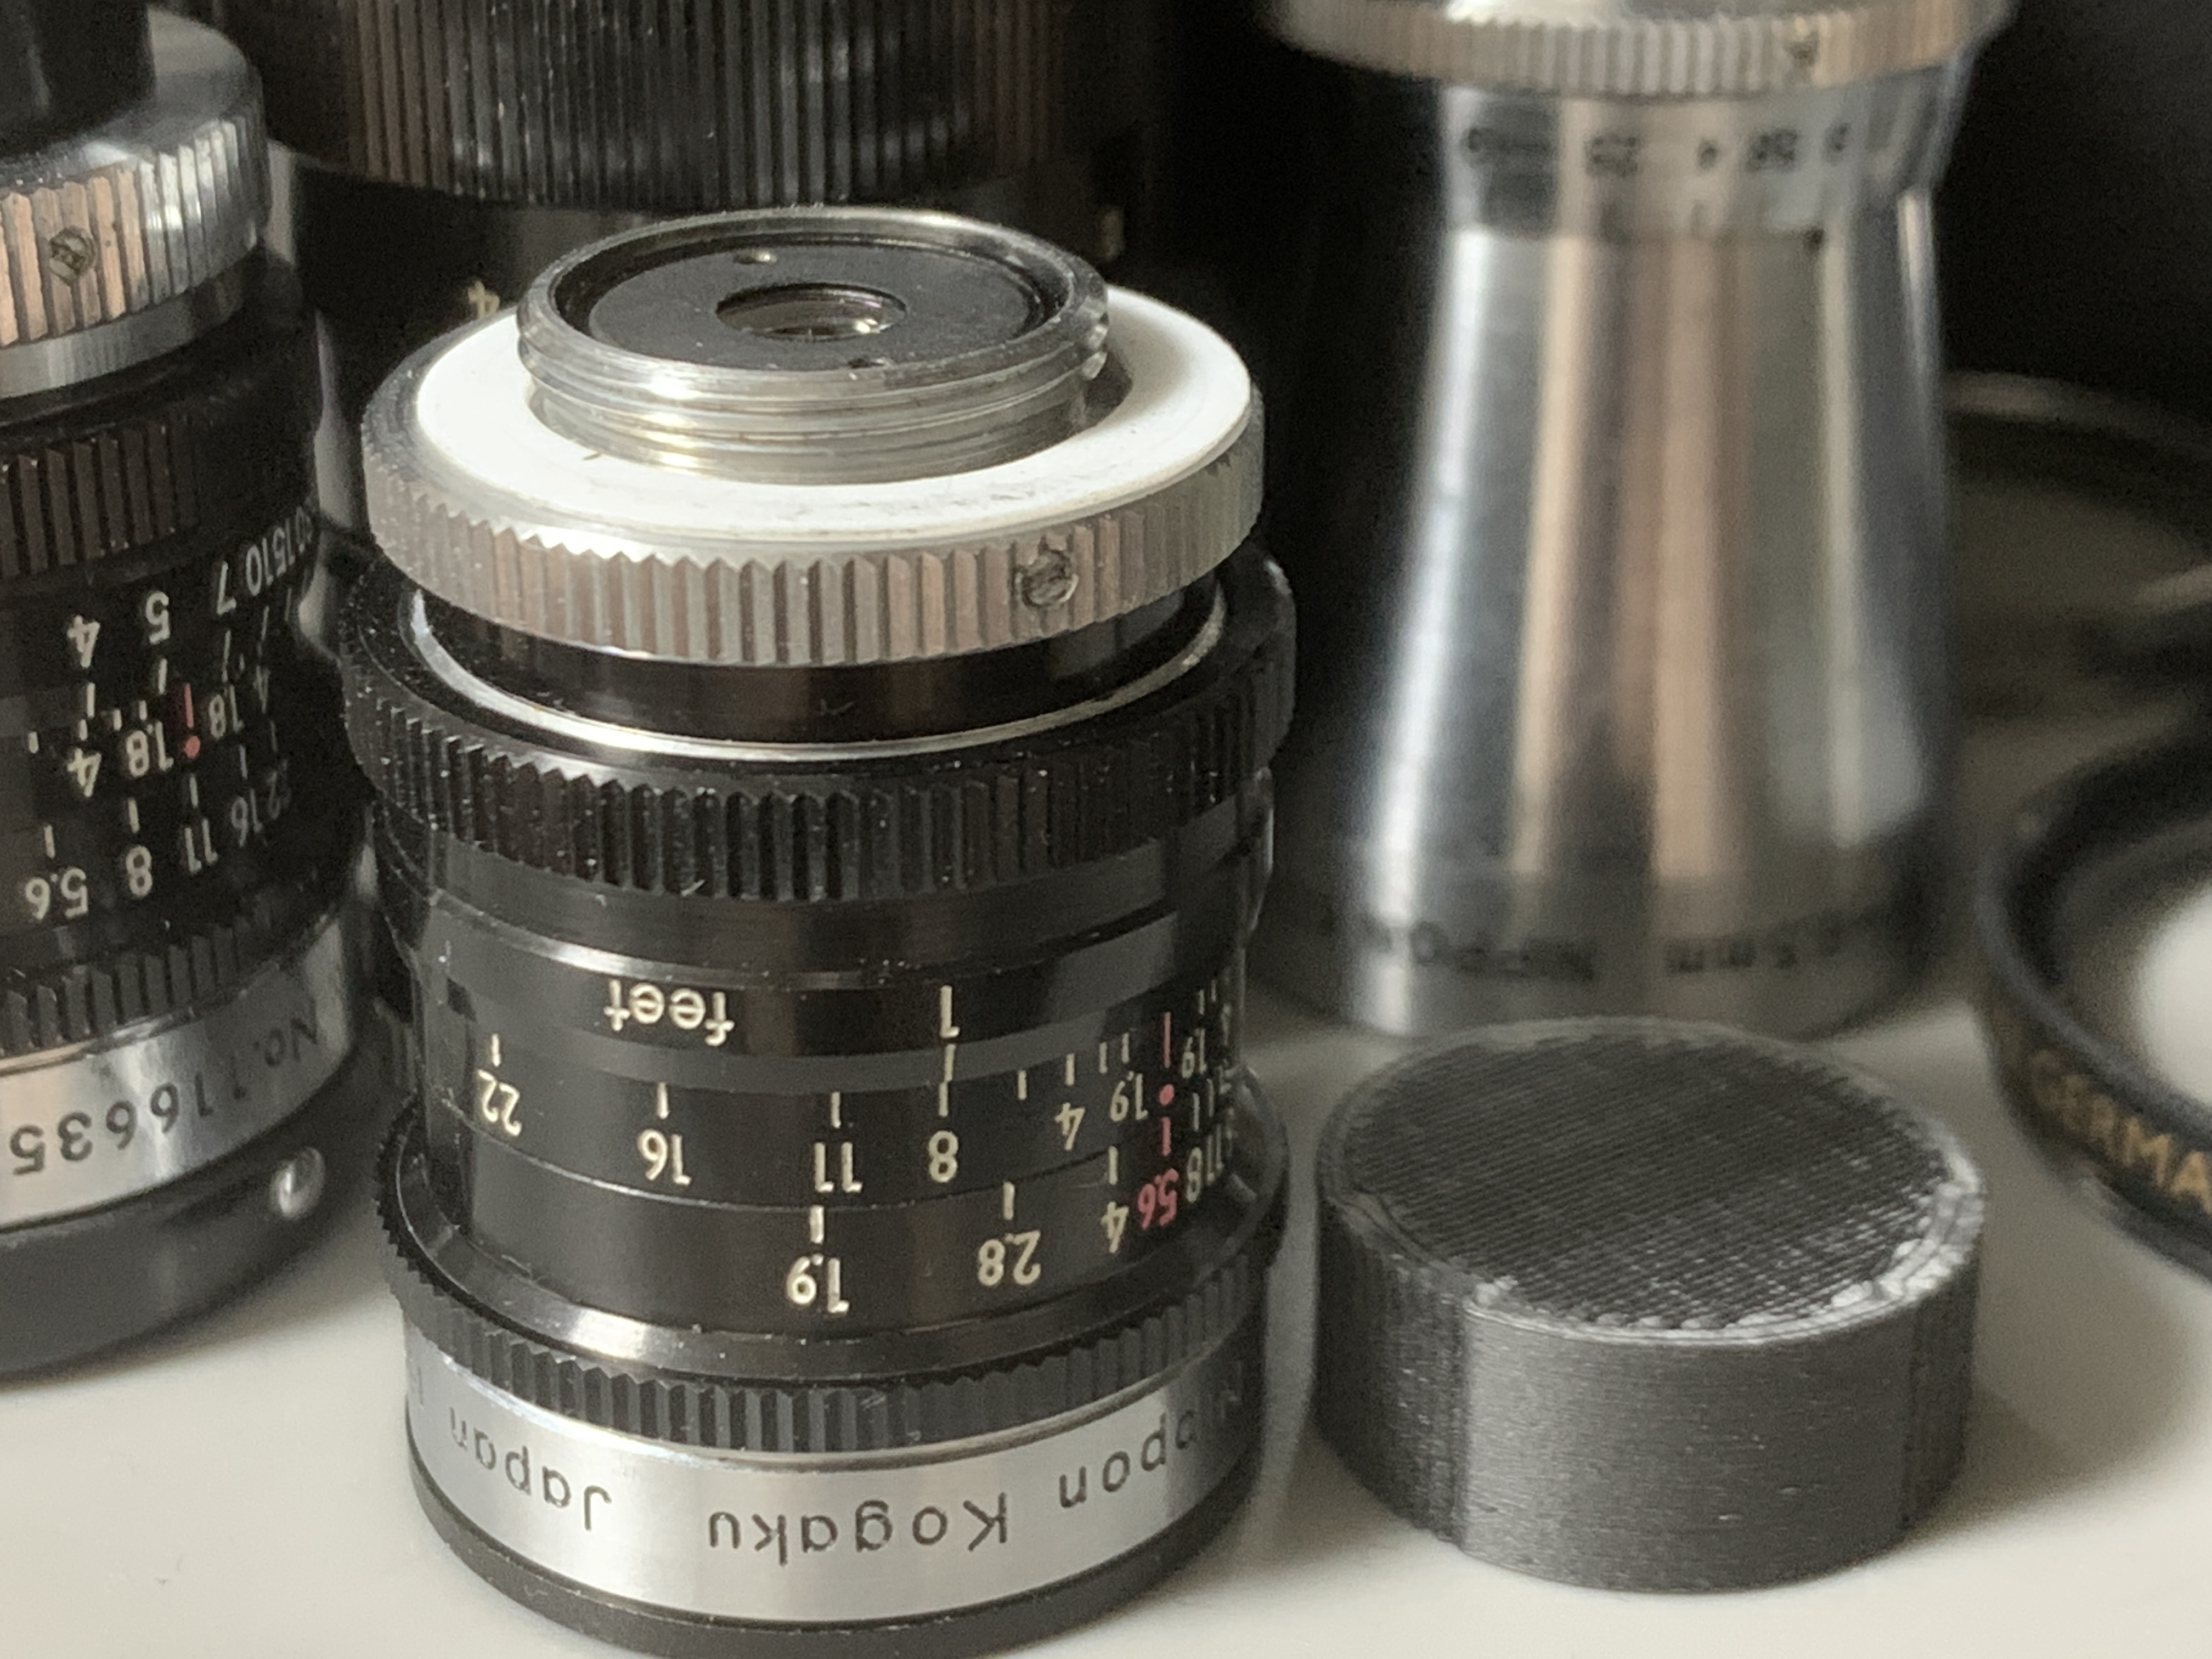
The Cine-Nikkor 13mm f/1.9 is an update of the original Cine-Nikkor 13mm f/1.9, it’s now bigger and the barrel is now made with an aluminum alloy and painted black instead of the all-brass barrel of the original one. I don’t know when it was sold but some people suspect that the change was made around the latter half of the 1950s around the same time the other Nikkors got the same update.

Handling is rather nice as the rings are easy to manipulate and the numbers are easier to see. The barrel itself is made from alloy so it’s light. We also begin to see Nikon starting to realize that having a standard size for filters is better and more economical for the user so the tip of the barrel doesn’t taper anymore.
It retained the optical formula of the original Cine-Nikkor 13mm f/1.9 which is a simple 4-elements-in-4-groups design. I am not sure if anything was changed between the versions and it’s safe to assume that they perform similarly. If there are any changes it may have to do with the coatings more than anything. Despite having a 13mm focal-length and the maximum aperture appears to be a “fast” f/1.9 it actually functions more like a 72mm lens with an effective aperture of about f/10 when you think of it in 35mm terms. Of course, this is all irrelevant when shooting with its intended format but it’s useful to give you an idea as to how this lens should be used specially when thinking about its field-of-view. It’s really somewhat of a short telephoto than anything in actual practice.

This is part of the black-trinity consisting of the Cine-Nikkor 6.5mm f/1.9, Cine-Nikkor 38mm f/1.9 and the Cine-Nikkor 13mm f/1.9. All of these were basically black-versions of their older, chrome counterparts.

This is the box for the Cinemax-8 shown here mounted with this lens and the Tele Zunow Cine 38mm f/1.9. The camera is upside-down in order to show the Nikkor better. Uryu Seiki had a partnership with Nikon so the latter’s lenses were sold together with the Cinemax movie cameras. The tie-up was so close that Uryu Seiki engraved all of the information in the camera’s scale to correspond with the engravings in the Nikkors and vice-versa.
Learning how a lens performs is key to maximizing it. You’ll learn how to utilize its strengths and avoid its weaknesses. This knowledge helps in determining which lens to bring on an assignment. I shot these from f/1.9, f/2.8 and f/4 and f/5.6 since these are the most common apertures that people would want to use this and we’ll see the most changes happen within these values. These photos were shot with my Pentax Q10, some of the photos were cropped close to 1:1 magnification so we can see the details better.

Distortion profile is rather shallow and is of the pincushion-type. You should not be worried about this as it will be too-low to be noticeable in real-world scenarios specially if you angle your straight lines even by a bit.


(Click to enlarge)
You’ll get some vignetting wide-open and it’s worst at the extremities, they should not be seen since they’re outside of this lens’ intended image-circle. It gets a lot better by f/2.8 where only the extremities appear dark. You’ll only see a bit of it from f/4 on. If you look carefully you’ll still see traces of it even by f/5.6 but it’s not obvious at all.


(Click to enlarge)
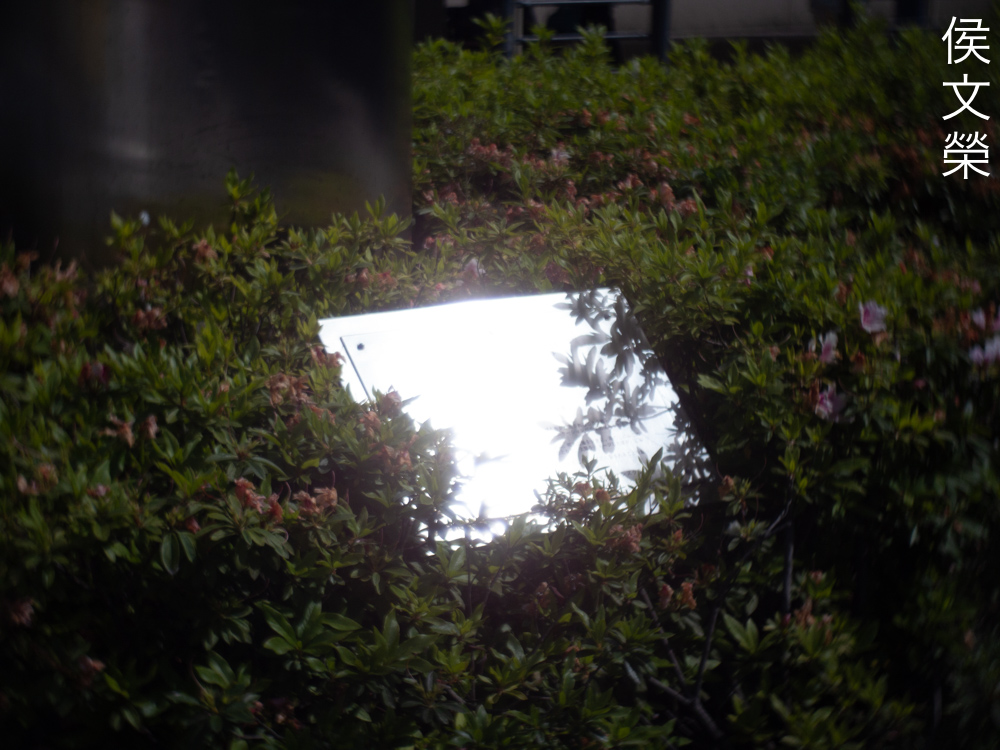
Flaring is terrible wide-open and you’ll get blobs in your frame when you have string sources of light in your frame. It’s important to frame your shot carefully unless you want to have these intentionally. What’s interesting is you’ll also get colorful blobs in your photos which is basically the reflection of the sensor itself. You won’t get any of this when you’re using this with standard 8mm film.


(Click to enlarge)
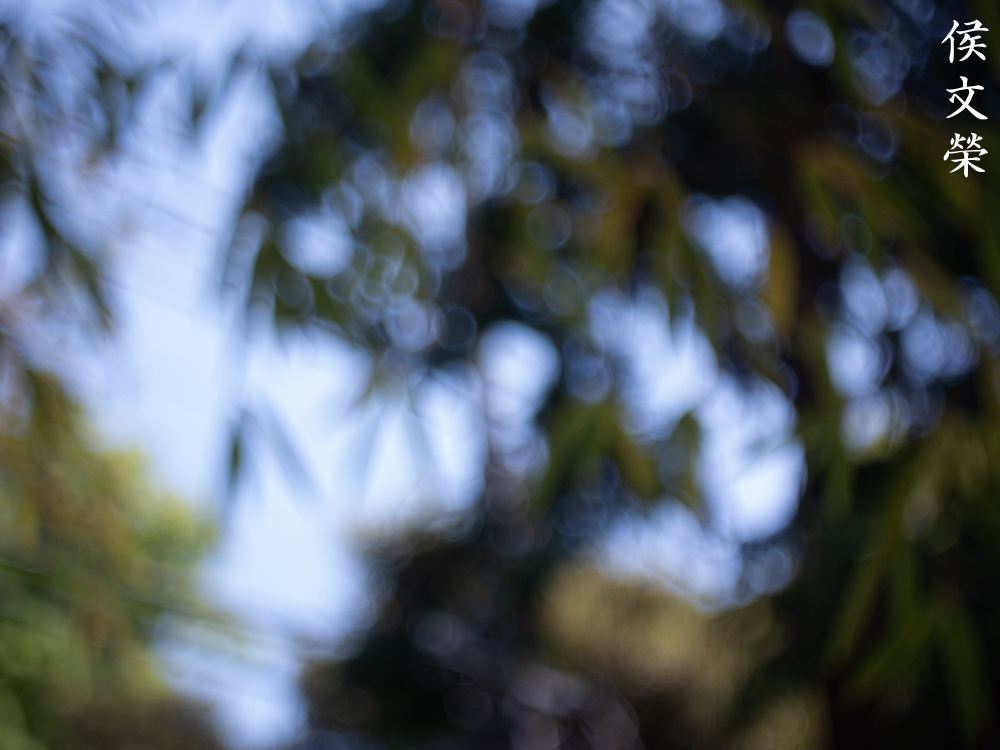
You don’t shoot this for the character of its bokeh, it looks mediocre at best and standard 8mm is not known to be the best format for this. The look is outdated and you’ll get outlines in the discs when shooting wide-open. There are some people who prefer the “soap-bubble” look and this lens is able to give you that to a certain degree.


(Click to enlarge)
Chromatic aberration appears to be controlled rather decently apart from extreme cases where that gets compounded with flare and spherical aberration but it’s not as severe as I anticipated. Stopping the iris down to f/2.8 helps clean the frame so you’ll only see traces of chromatic aberration even in difficult cases. Spherical aberration is still present and it mixes with flare which makes it difficult to tell one from the other. Things look a lot cleaner by f/4 and what you’ll see is most likely blooming from flare. Stopping it down to f/5.6 helps give you a cleaner look but not by much. Flaring is the biggest issue I could see with this, I’m sure that it’s not going to be as bad when shooting with monochrome film using a yellow-filter. It may seem terrible but many lenses of this class and vintage show comparable results and some lenses even look worse. I’d say that this lens is above-average in this regard.


(Click to enlarge)
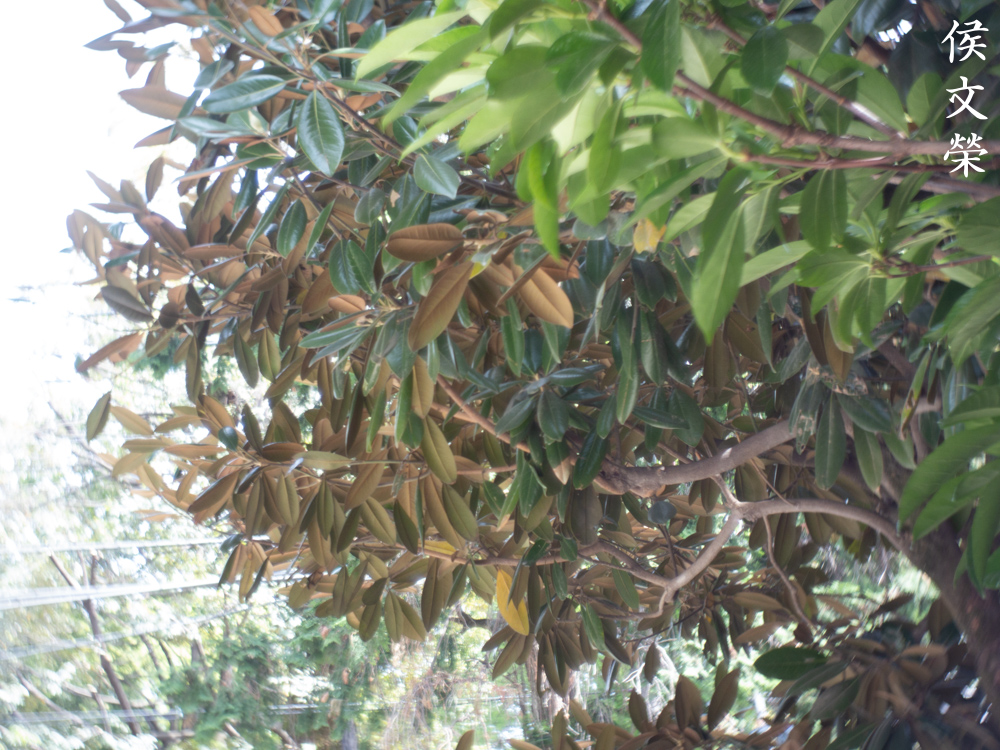
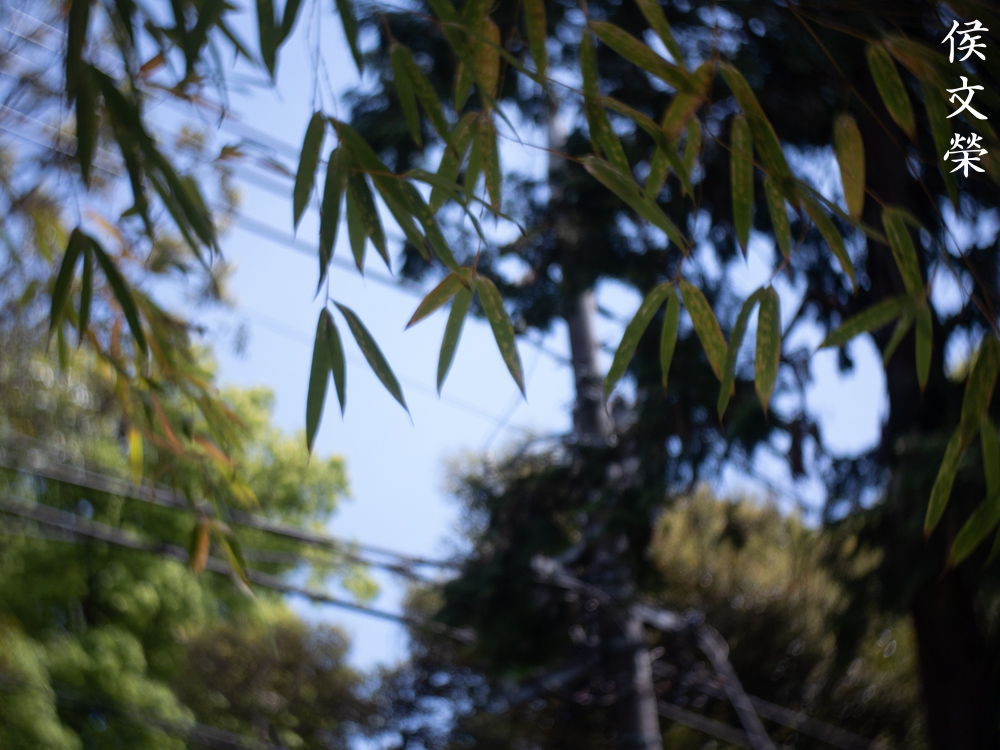
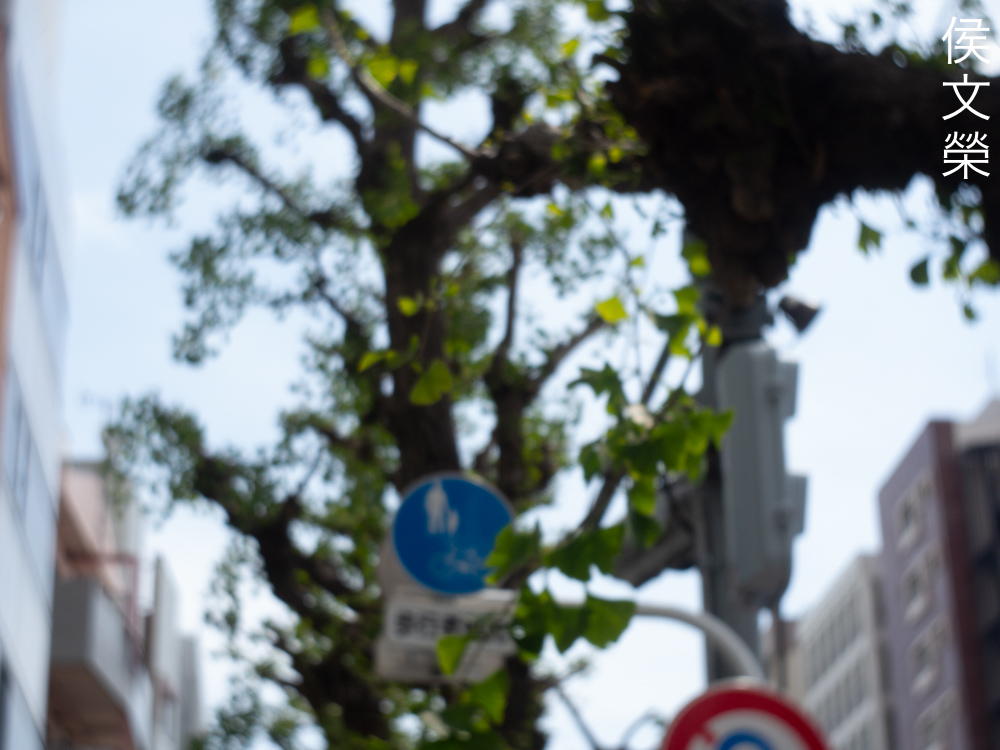
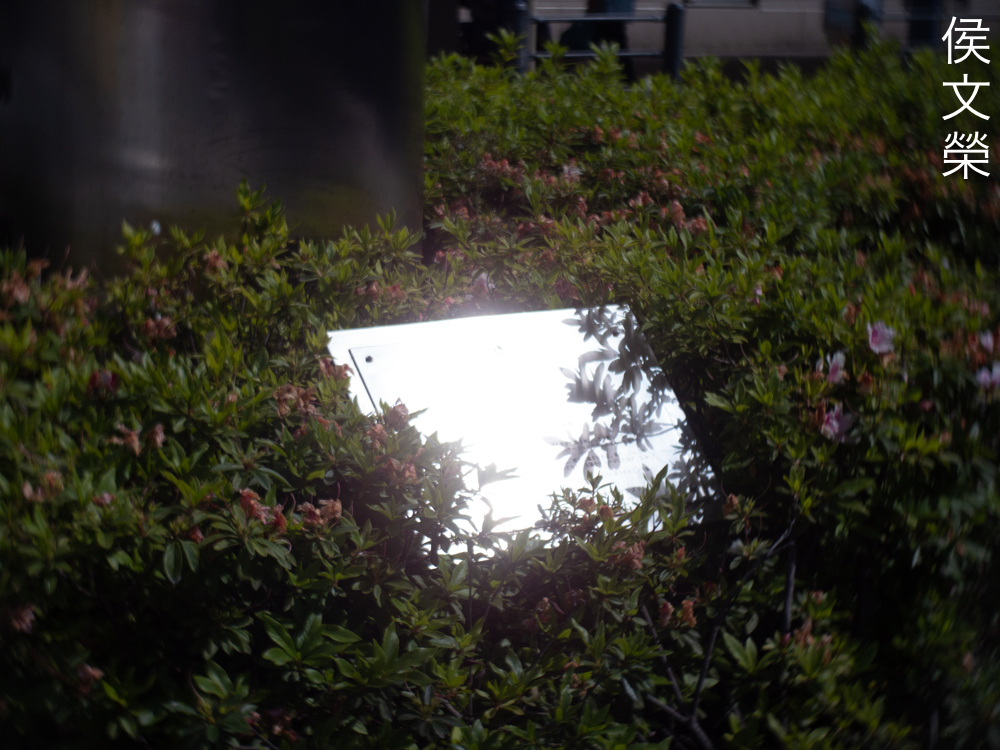
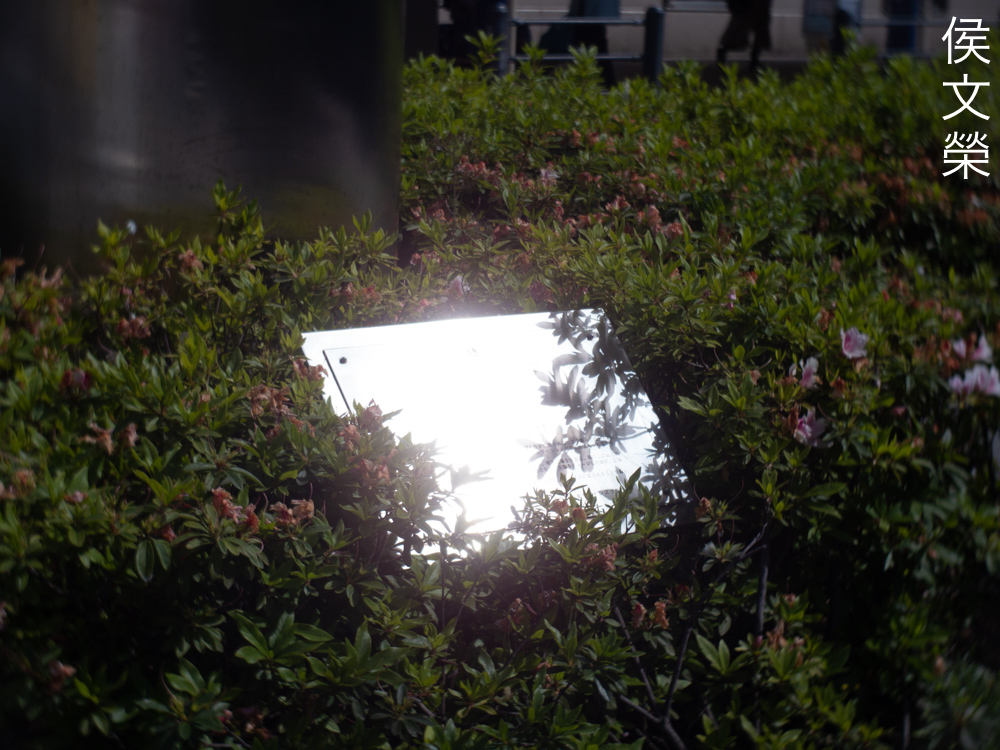
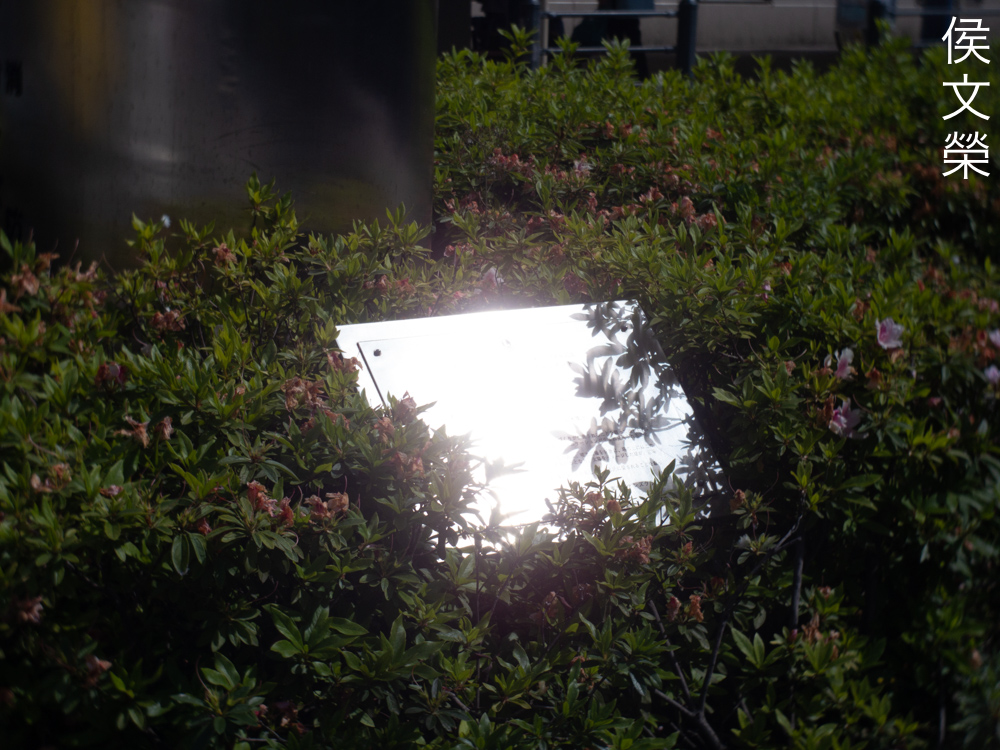
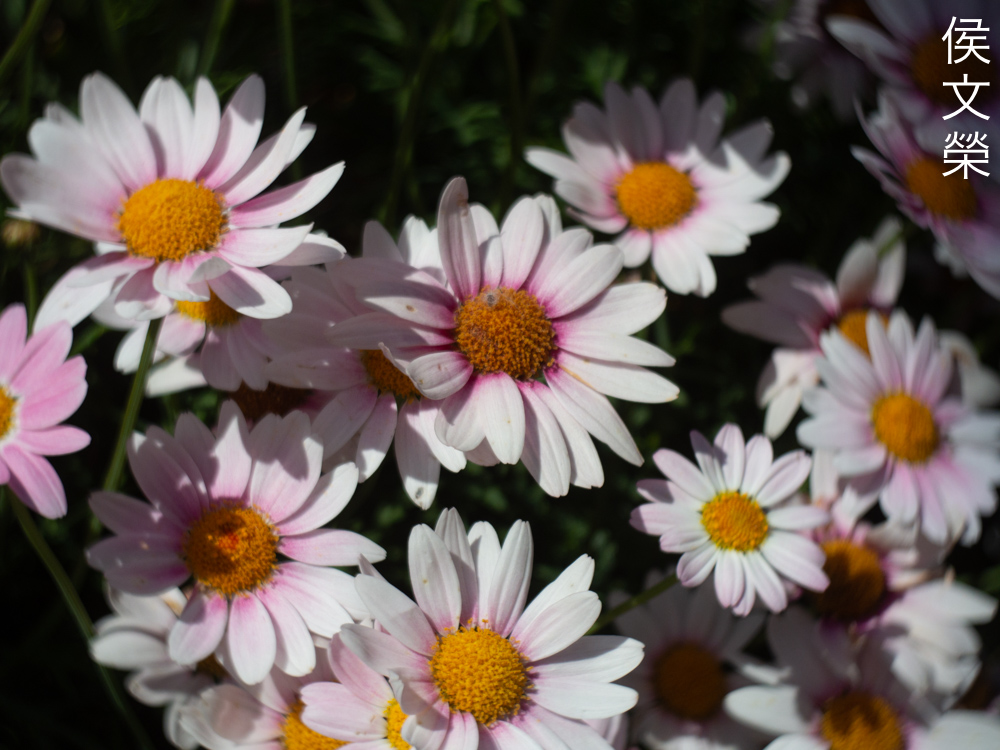
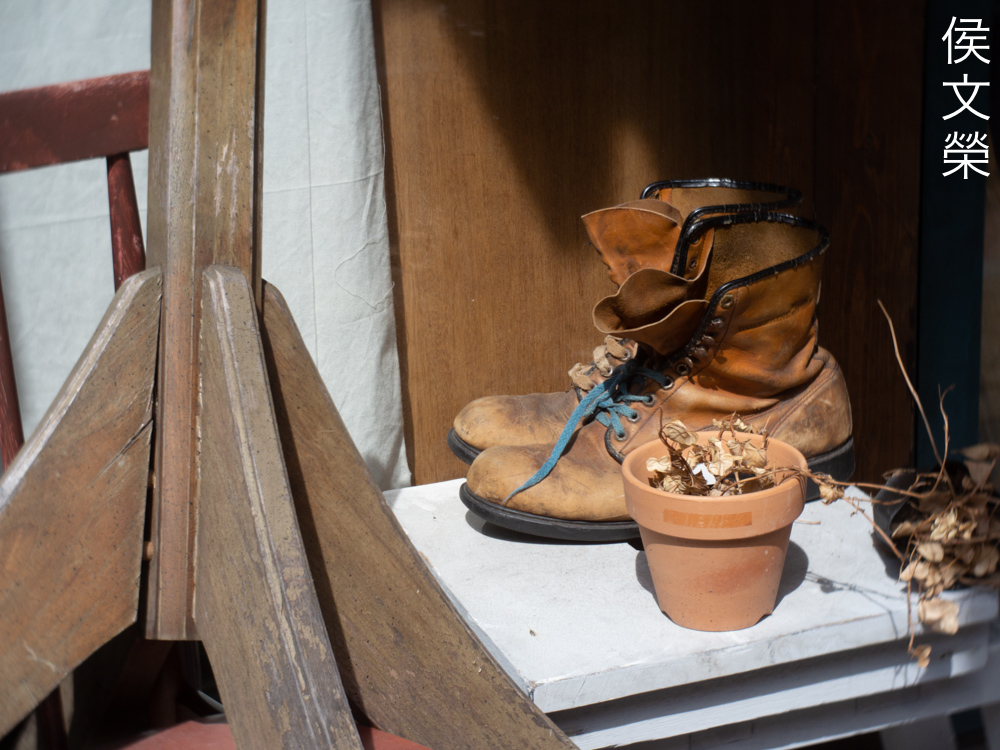
It’s not quite as sharp wide-open, optical artifacts and aberrations will make your photos appear soft, but not useless. I don’t think this is a bad thing and you could use this for interesting effects as it gives your photos a “dreamy” look. The frame is veiled with a delicate flare akin to using a soft-focus filter. Stop it down to f/2.8 and the center looks better, it’s now able to resolve details better but you’ll still get some of that soft-focus effect to some degree. Things look great at f/4, it’s sharp at the center and the corners begin to look decent apart from the extremities because they’re beyond the image-circle of this lens. The center improves a bit more at f/5.6 but the corners show more improvement. You should be shooting this from f/4 to f/8 if sharpness matters to you. I think this lens is pretty good compared to its peers made by other brands as you’ll be able to get better results from it earlier.

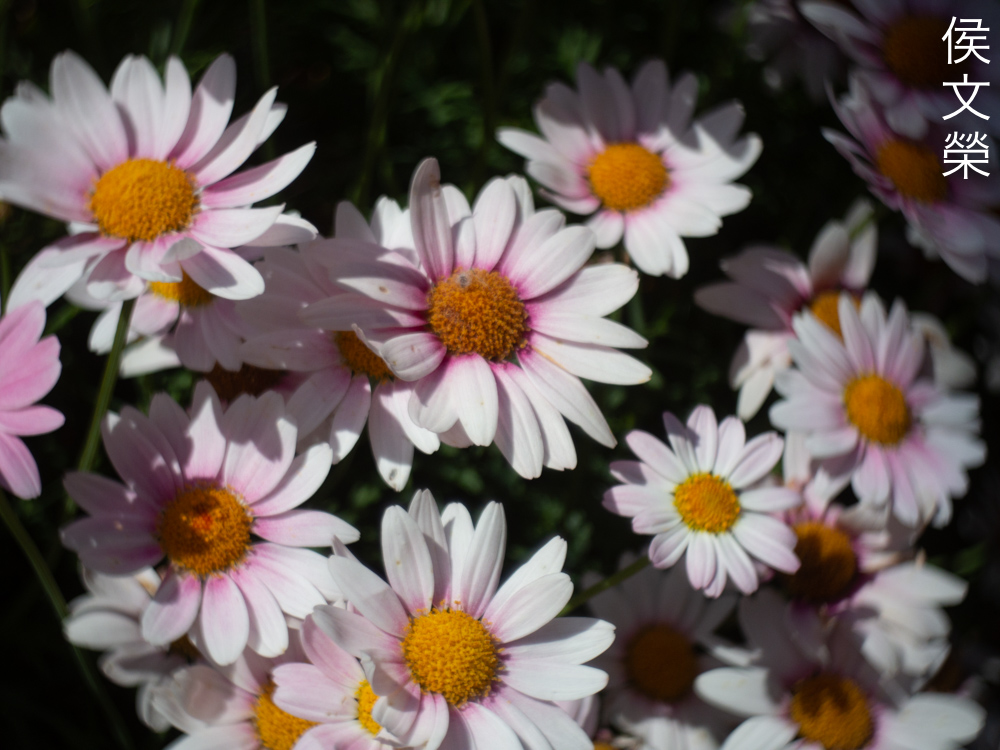
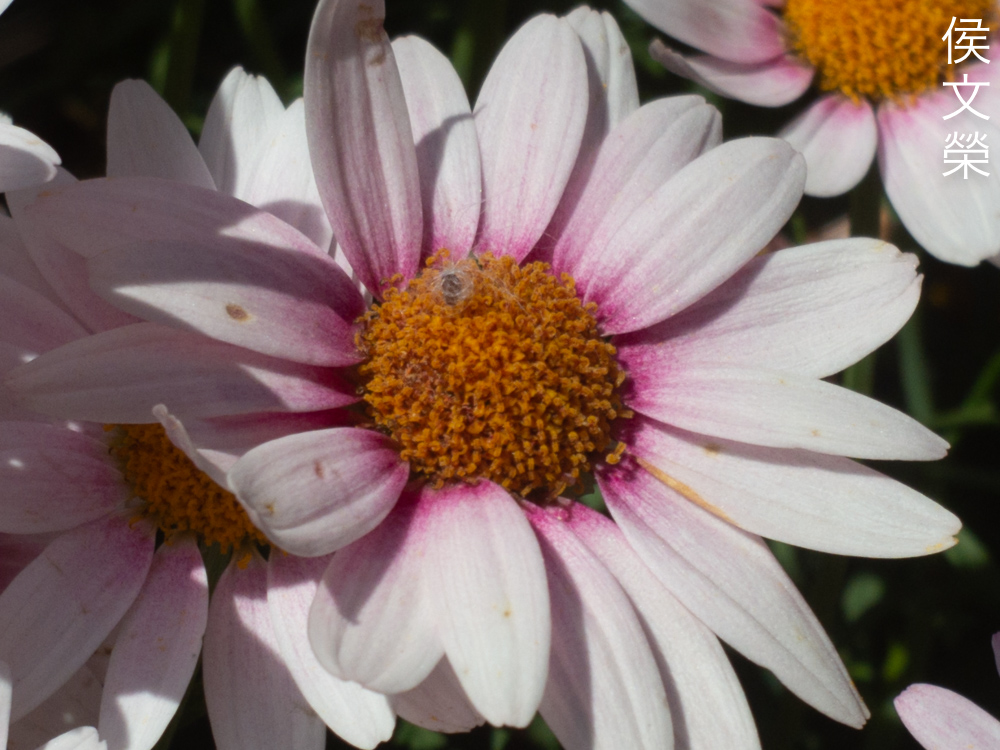
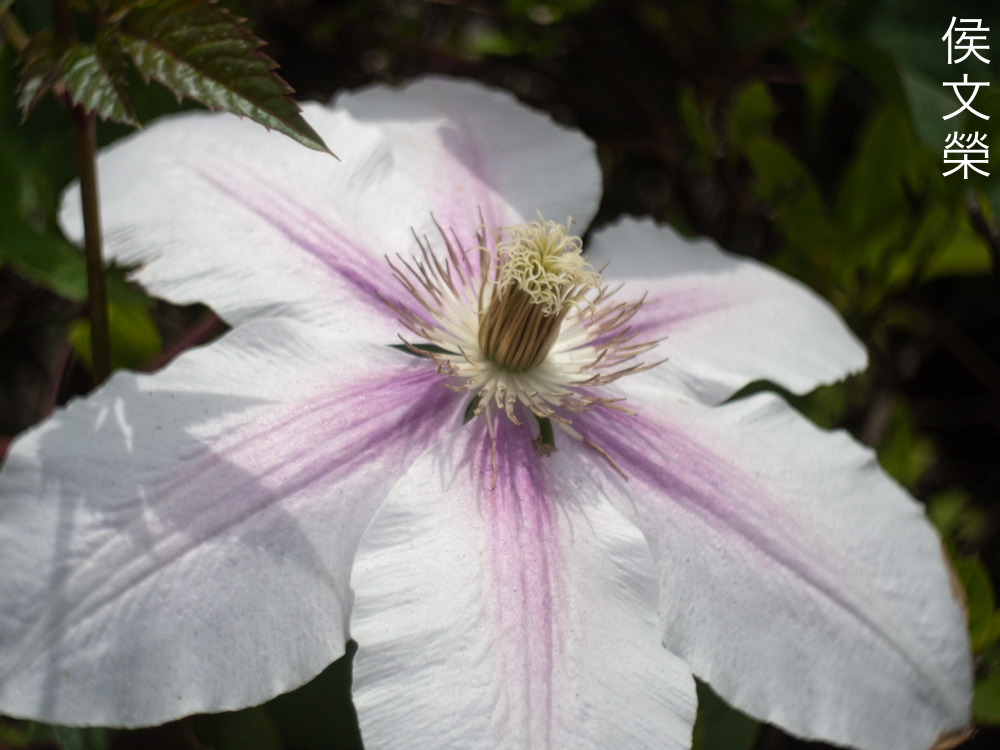
This was probably shot at f/2.8, it’s sharp but you’ll still get some of that “dreamy” look which is great for flowers and a couple of things that needs to be rendered in a delicate way. This will be perfect for wedding videos specially if you are shooting the gown in a well-lit room.
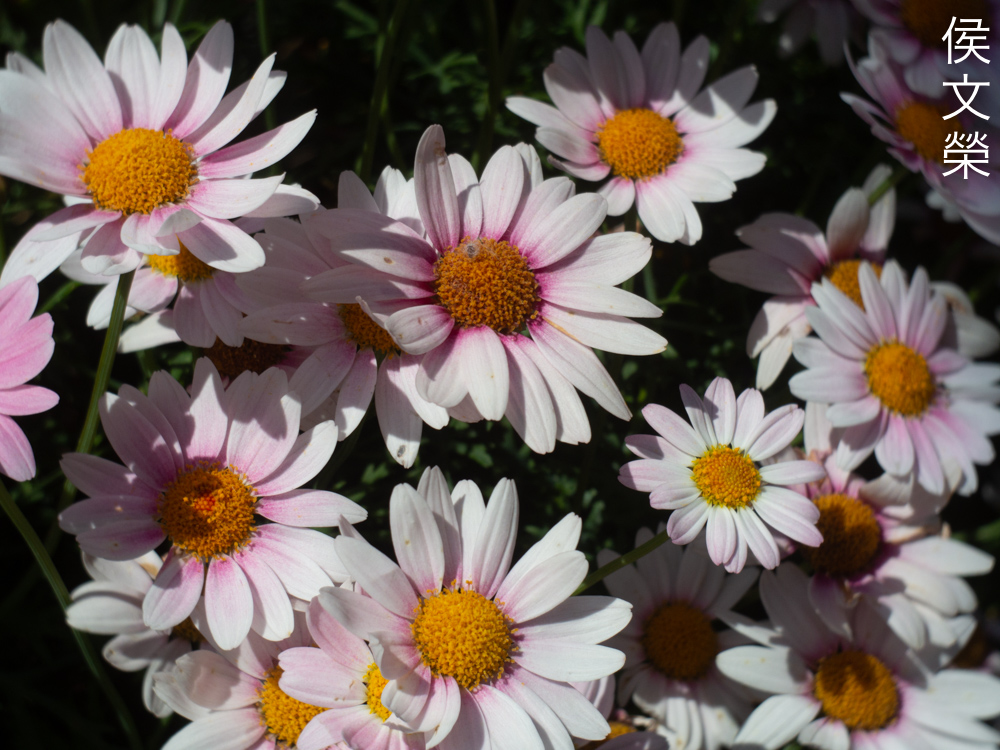
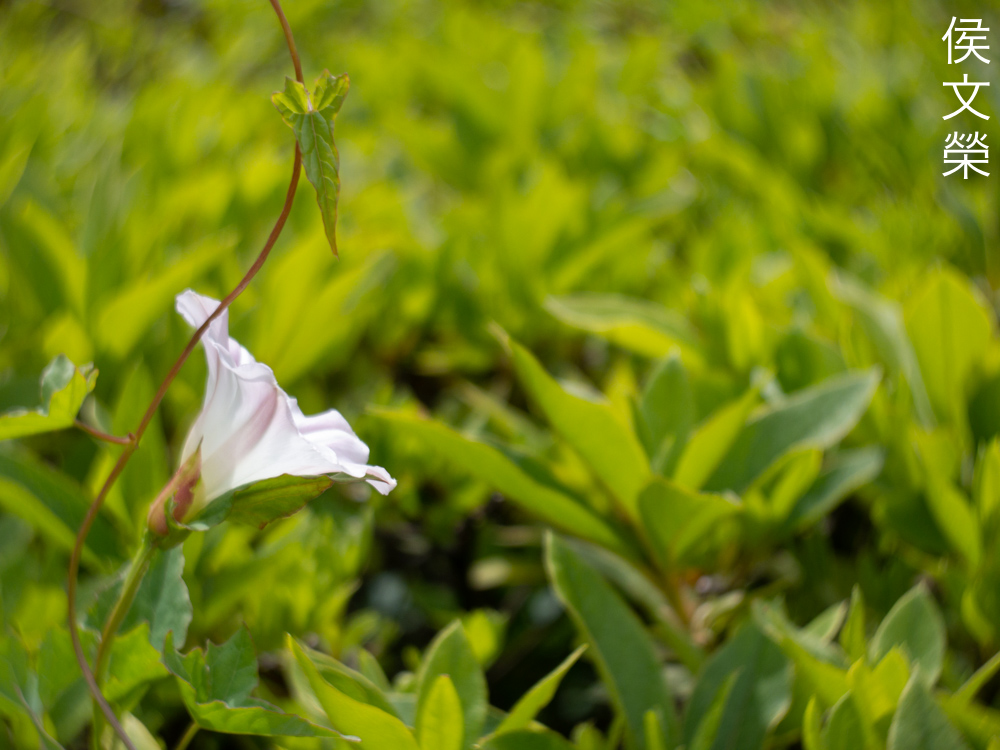
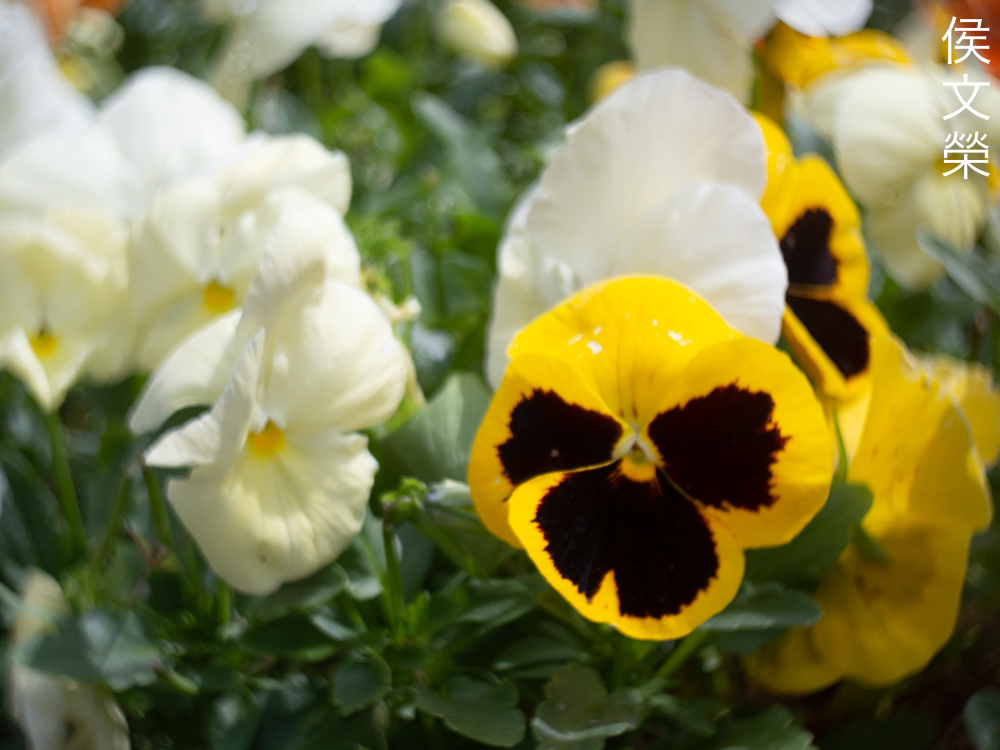
The wide depth-of-field is useful for shooting small things since you’ll get more things in-focus. This was shot at f/2.8, I won’t be able to get the same effect when shooting with a lens made for the 35mm format.
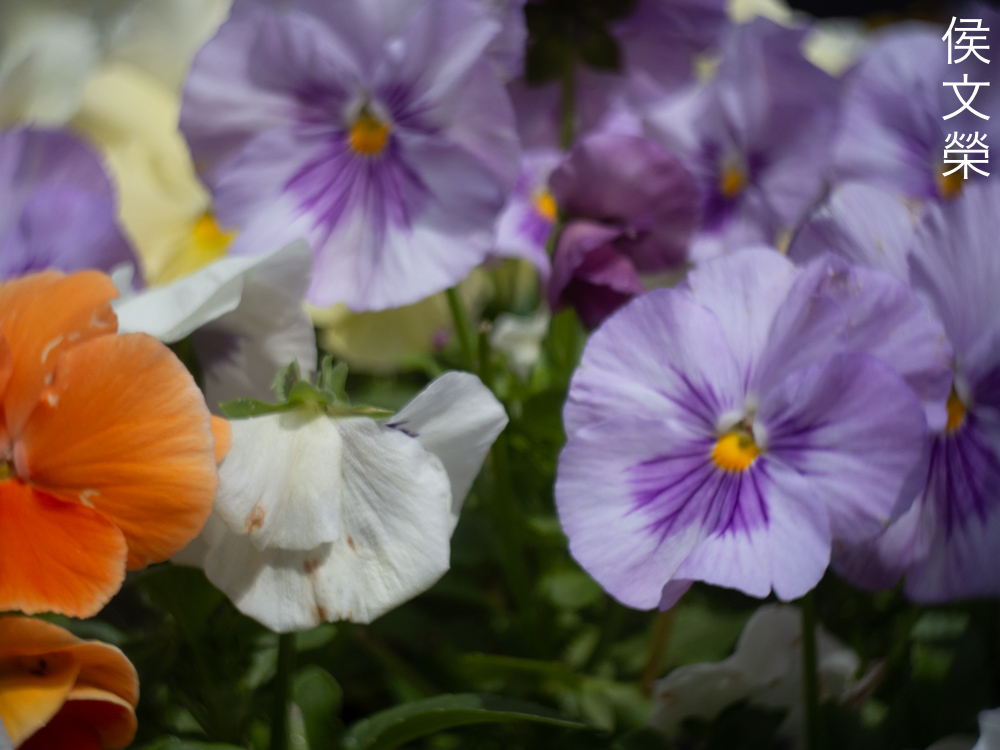
The “swirly-look” is something that I personally do not like but people who enjoy it will love this lens.
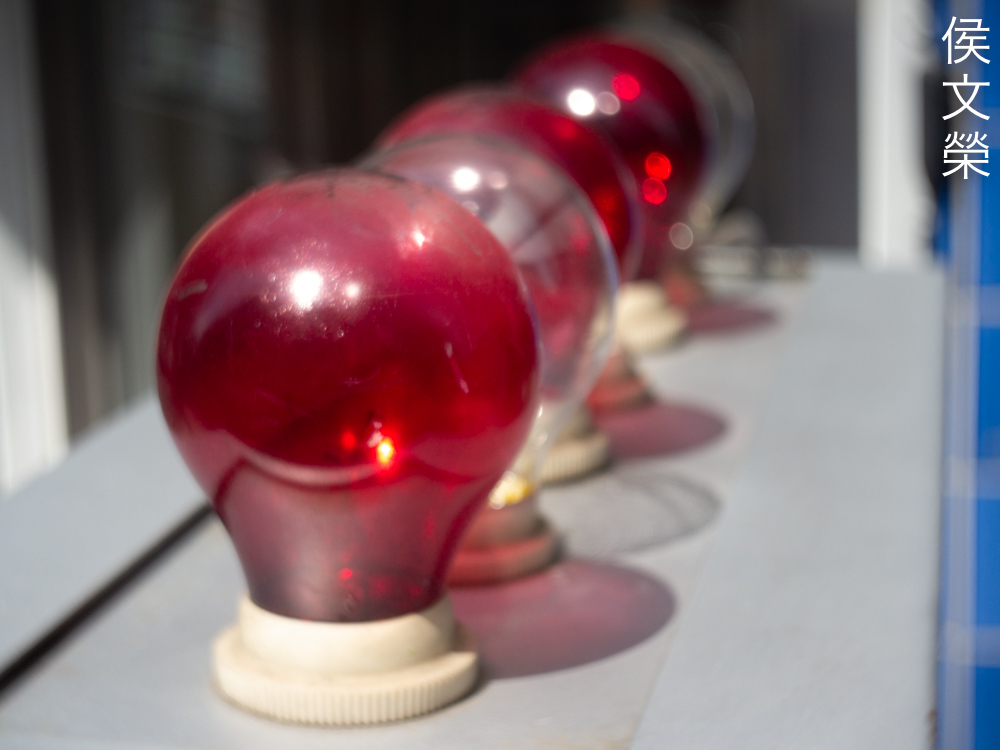
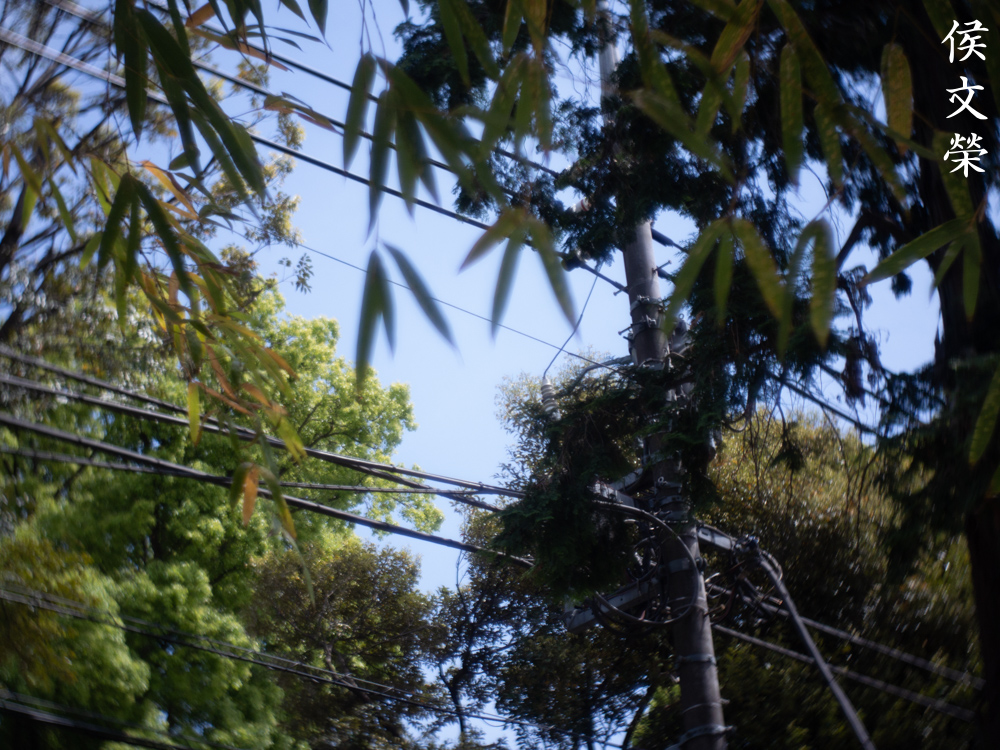
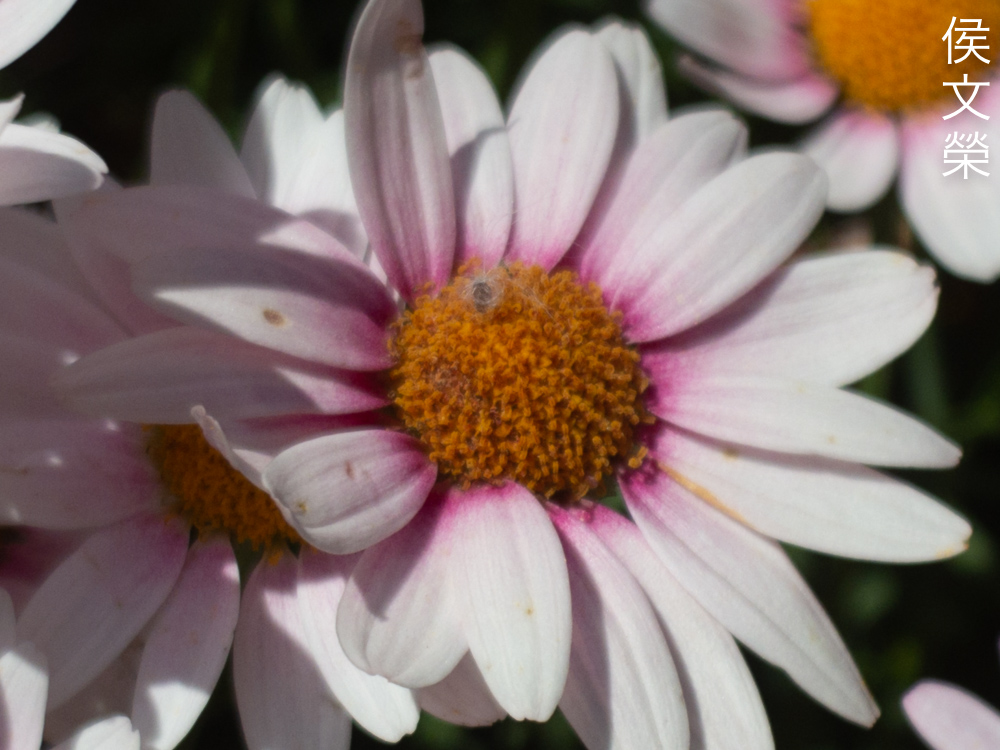
Focus-transition appears to be smooth, you won’t get a “wall-of-focus” effect with it. This results in natural-looking and more pleasing photos, something that you won’t get much from many lenses made in recent years.

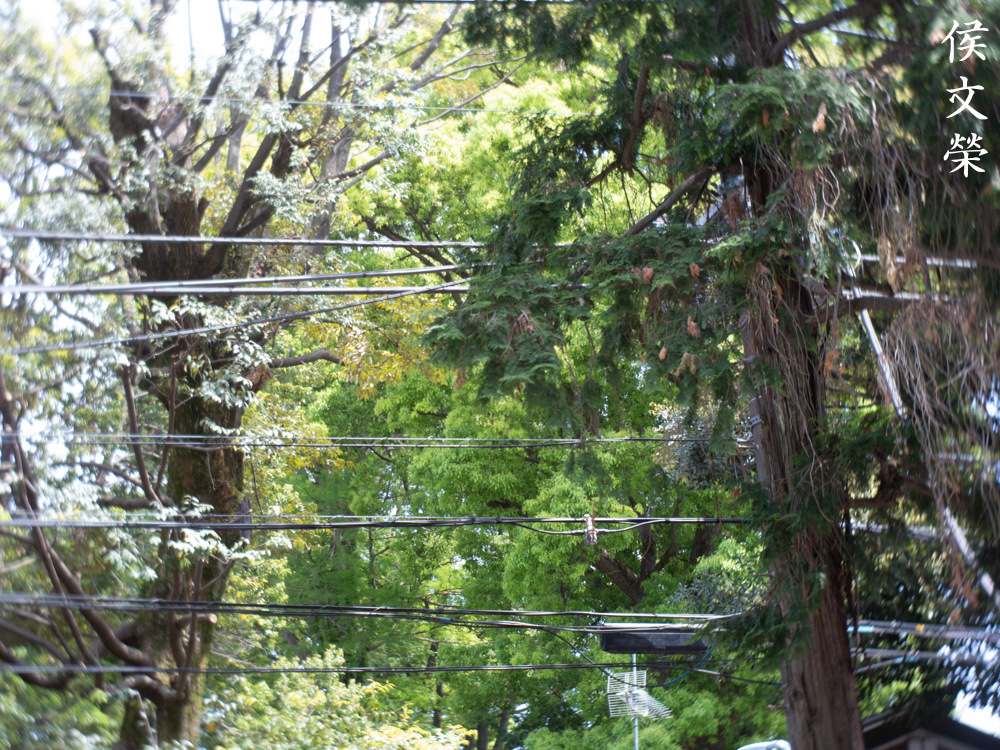
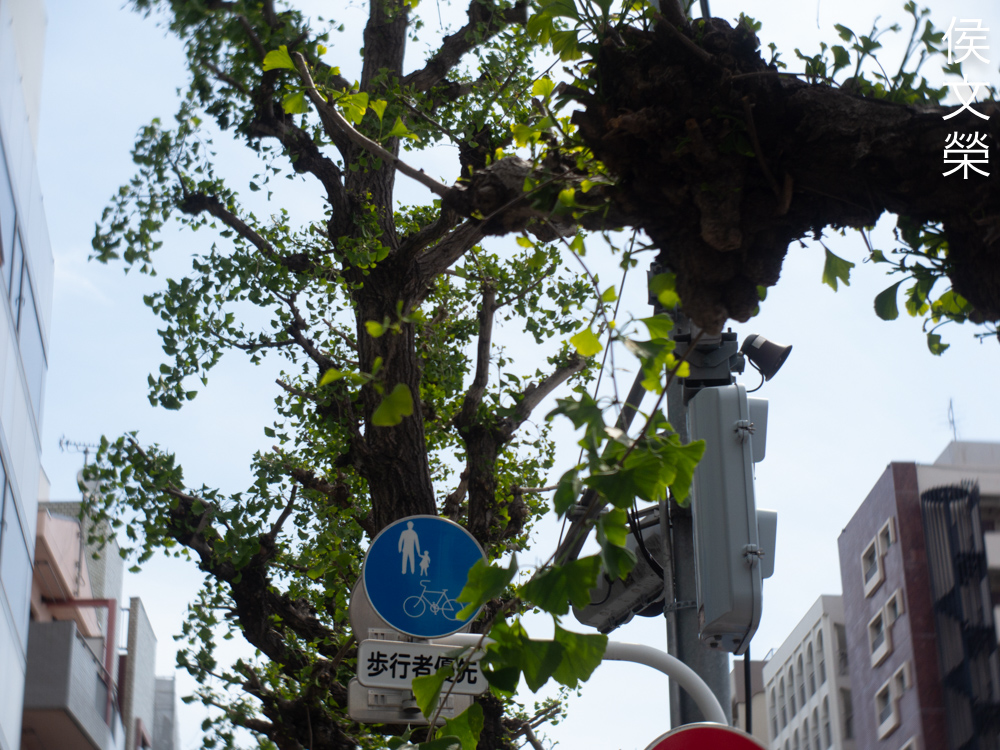
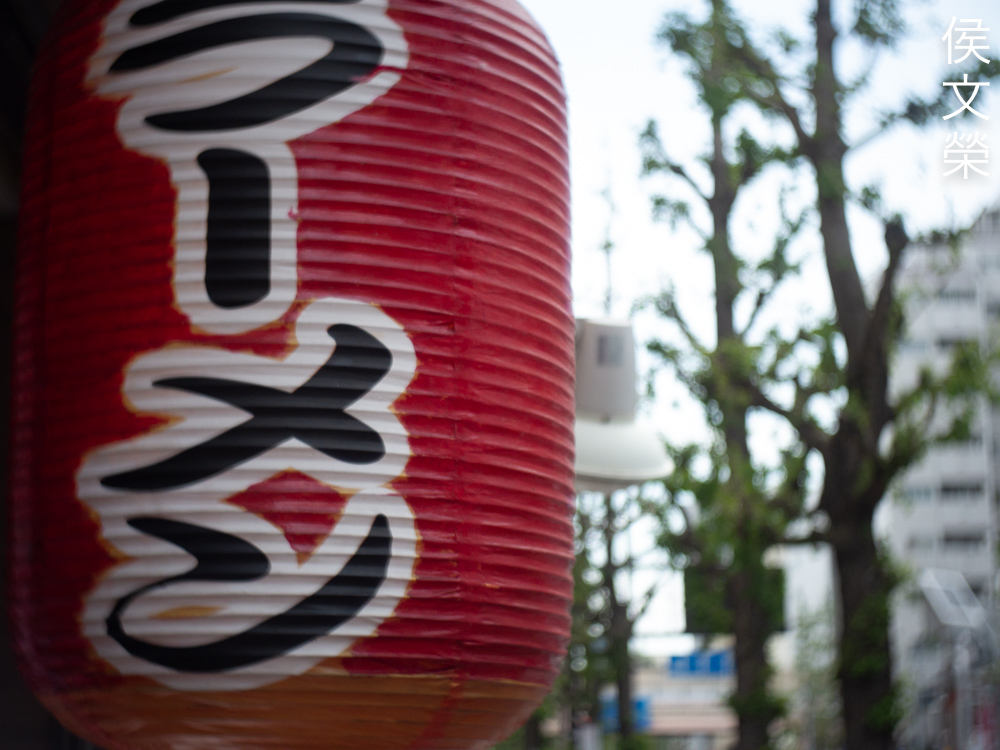
It’s capable of giving you sharp photos at f/8 and the contrast looks nice, too. Of course, modern optics will give you a better photo in this regard but this is not bad at all if you ask me.

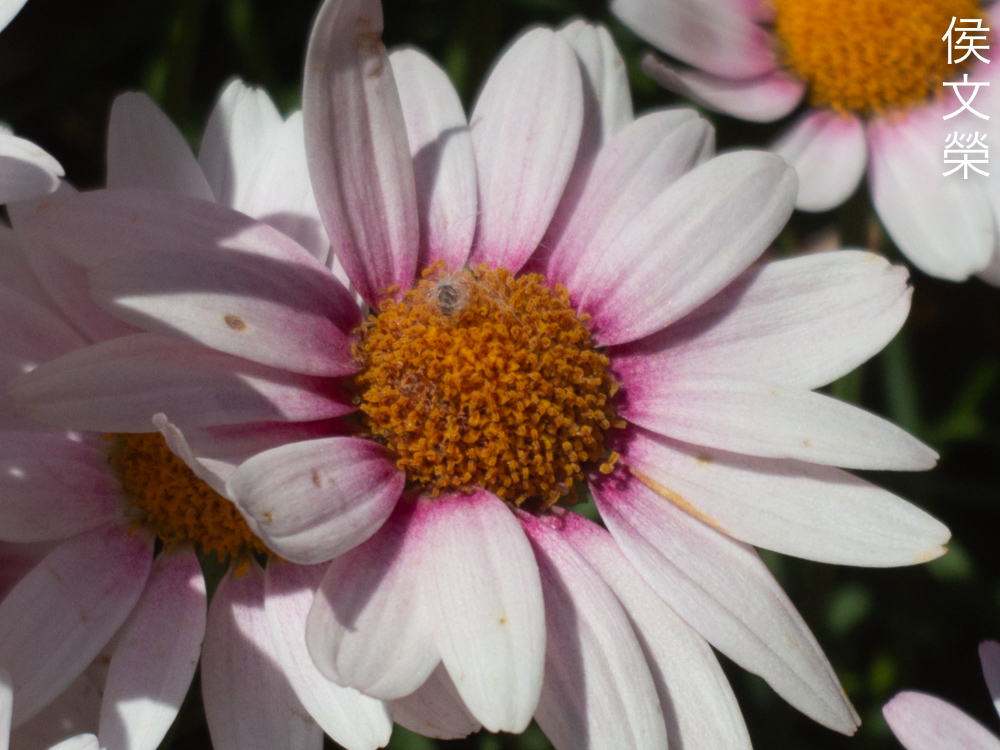
It’s really good at f/8 but the areas around the edges of the frame appear to look a bit poor since we’re looking at the areas where this lens isn’t supposed to render.

Despite shooting at f/8 I still get some blooming from the bright areas of this photo, I do not think this is a negative at all since it helps add character to this photo, giving it that “vintage” feel that some people love or hate.

(Click to enlarge)
Here are more pictures for you to look at. I think this is a nice lens, the performance is well-balanced and it’s great in a practical way. It’s still a nice walk-around lens despite being somewhat long. These photos should give you an idea as to how useful it is in real-world use. If you’re into shooting with D-mount lenses this is something that you should own.
I highly recommend this lens, it’s cheap and the performance is quite nice. Many people start-out with it since they are common and then buy other lenses to grow their collection. I recommend this more over the older versions because it handles better. I don’t think there’s a huge difference in terms of performance but I don’t recall the older version doing better than this. In fact, I think that this version is marginally better than the older one. These don’t cost much, I bought mine for very little money since it came free with a bag of assorted junk that I bought for $80.00 or so. If you’re looking for one be sure that the iris works perfectly since that is the weakest part of the lens. Of course, the optics should be in a clean state and the all the rings should operate properly. These are nice lenses and they will continue to work for lots of years to come if you use them carefully. Get one now and enjoy shooting with it, happy hunting.
Before We Begin:
If this is your first attempt at repairing a lens then I suggest that you see my previous posts regarding screws & drivers, grease and other things. Also read what I wrote about the tools that you’ll need to fix your Nikkors.
I suggest that you read these primers before you begin (for beginners):
Reading these should lessen the chance of ruining your lens if you are a novice. Before opening up anything, always look for other people who have done so in YouTube or the internet. Information is scarce, vague and scattered (that is why I started this) but you can still find some information if you search carefully.
I highly recommend that you read my working with helicoids post because this is very important and getting it wrong can ruin your day. If I can force you to read this, I would. It is that important!
For more advanced topics, you can read my fungus removal post as a start. It has a lot of useful information, it will be beneficial for you to read this.
Disassembly:
This is delicate to service since the components are so small. You’ll require special tools to get some of the things off, it is not uncommon to make tools yourself in order to access some of the more tricky parts of this lens. The trickiest part of servicing this is putting the elements back to their cases since handling them is difficult. The iris mechanism is also a difficult part to service since it’s very delicate. Getting it wrong will result in irreparable damage. Take plenty of photos as you go along so you’ll know how to put things back properly later. Also note the order and directions of the groups since they’re so small and it’s difficult to tell which side they should be facing.
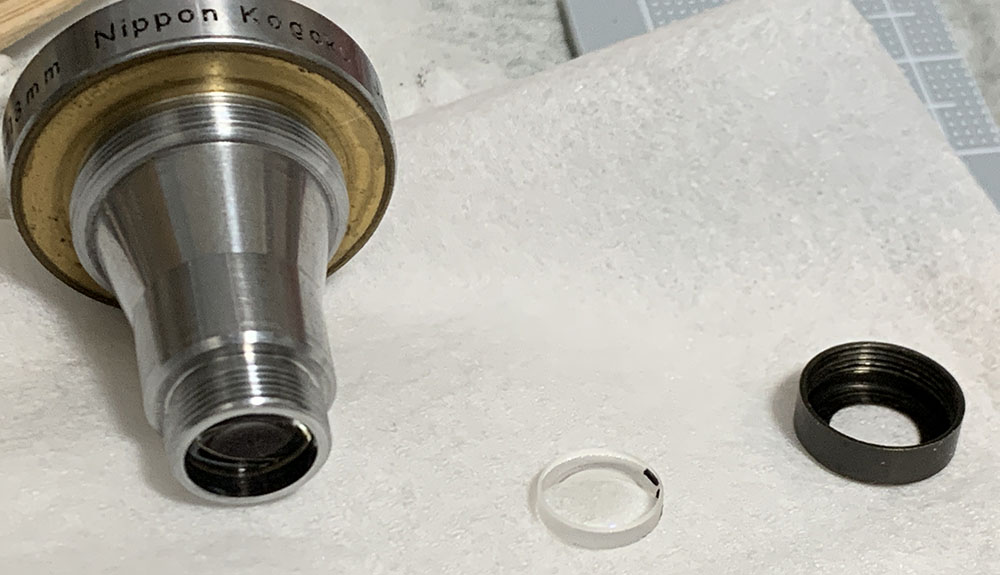
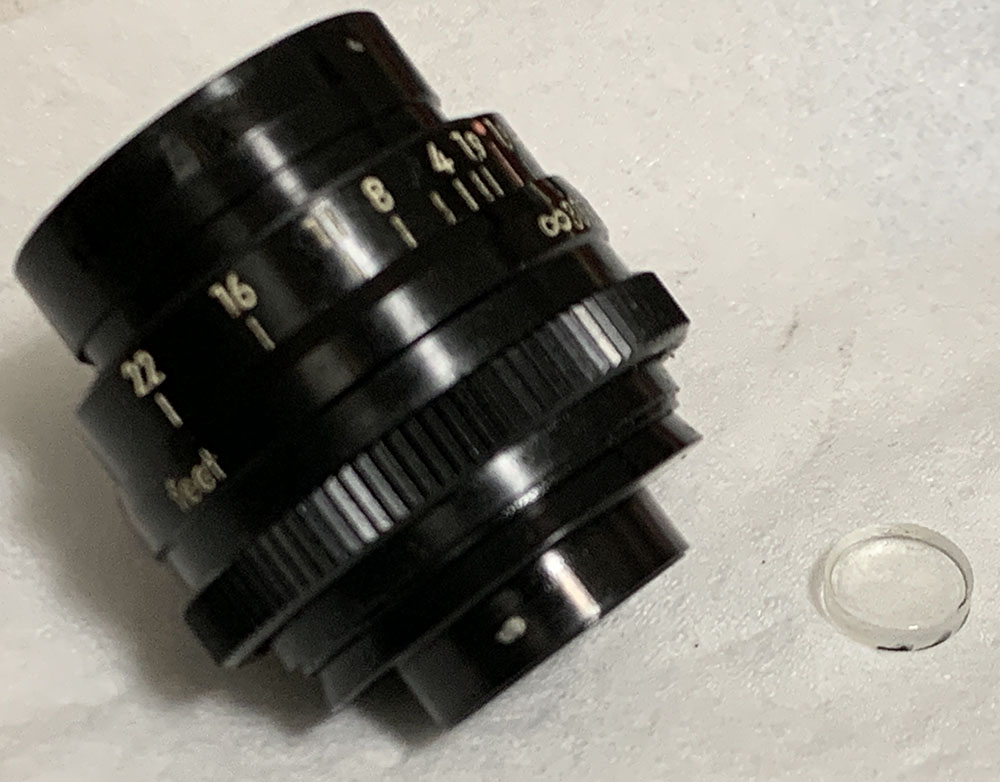
Unscrew the front barrel from the rest of the lens. Carefully unscrew this collar to extract the 2nd group. Use a marker and make a small mark at the group’s wall so you’ll know which side it should face.
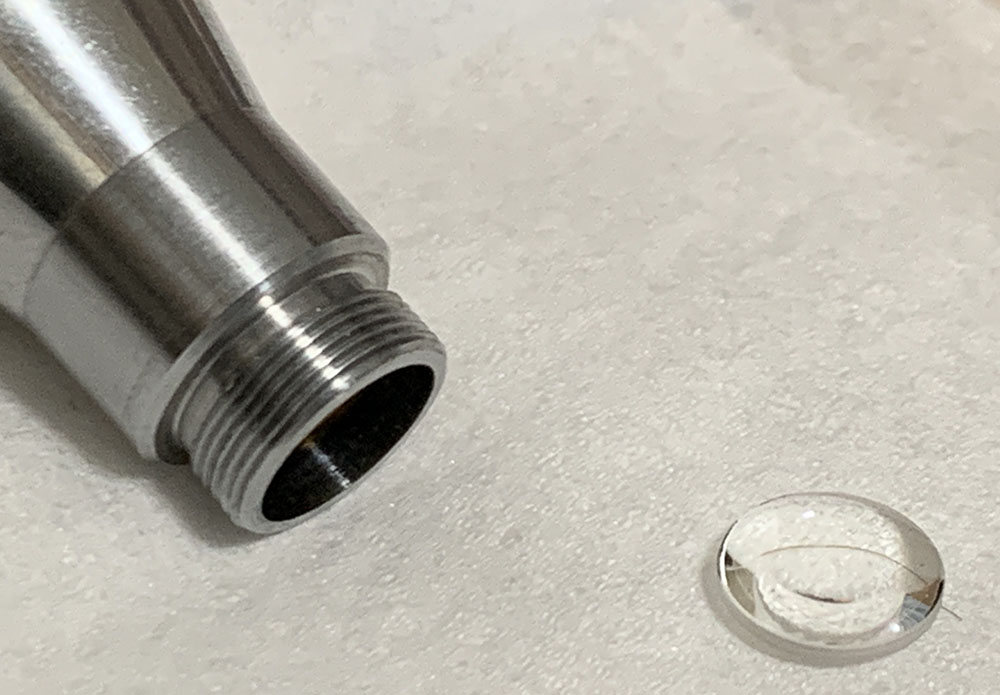
The front group can be easily removed by pushing it from the front. Note which side should be facing the front so you will know how to put this back properly later.
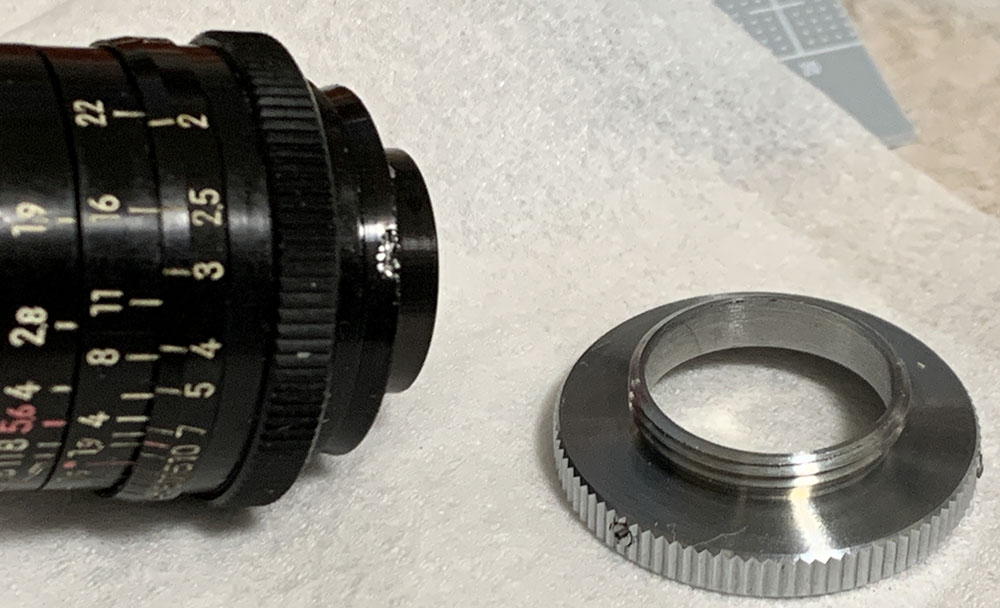
Loosen the screws of the mount and pull it off, you don’t need to remove the set screws.
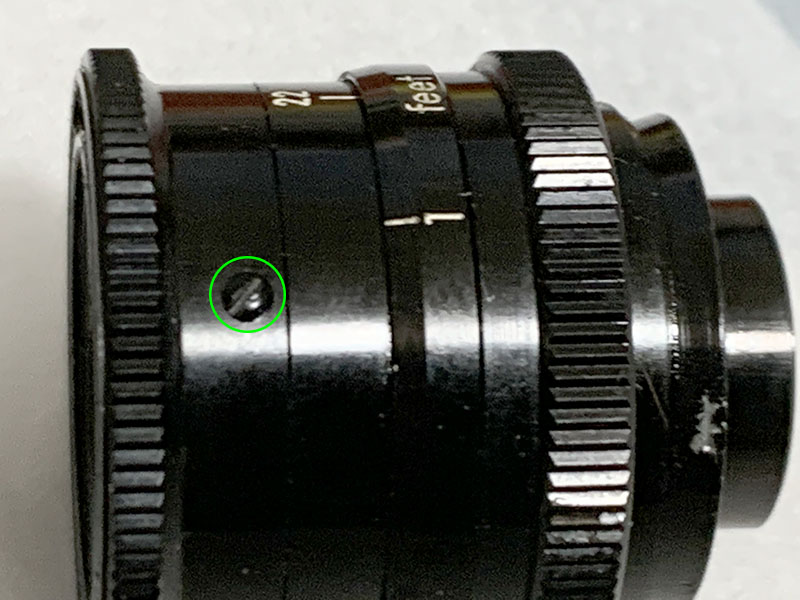
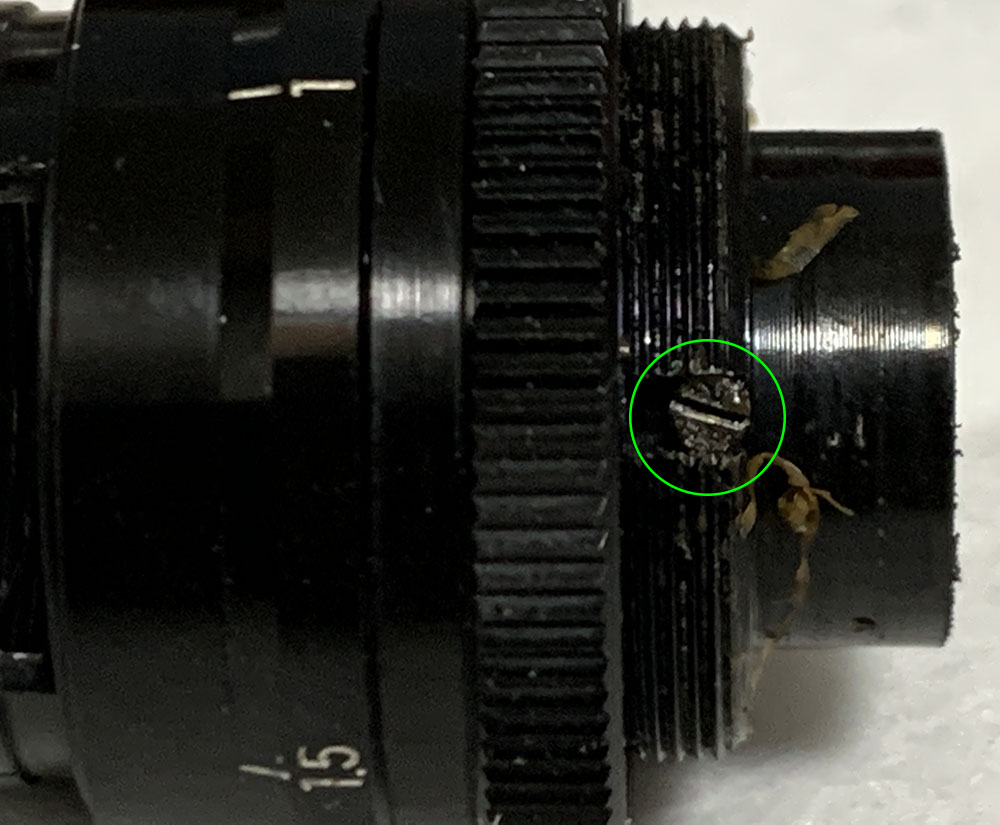
Carefully extract this to remove the aperture ring. It couples the aperture ring to the iris mechanism inside of the barrel.
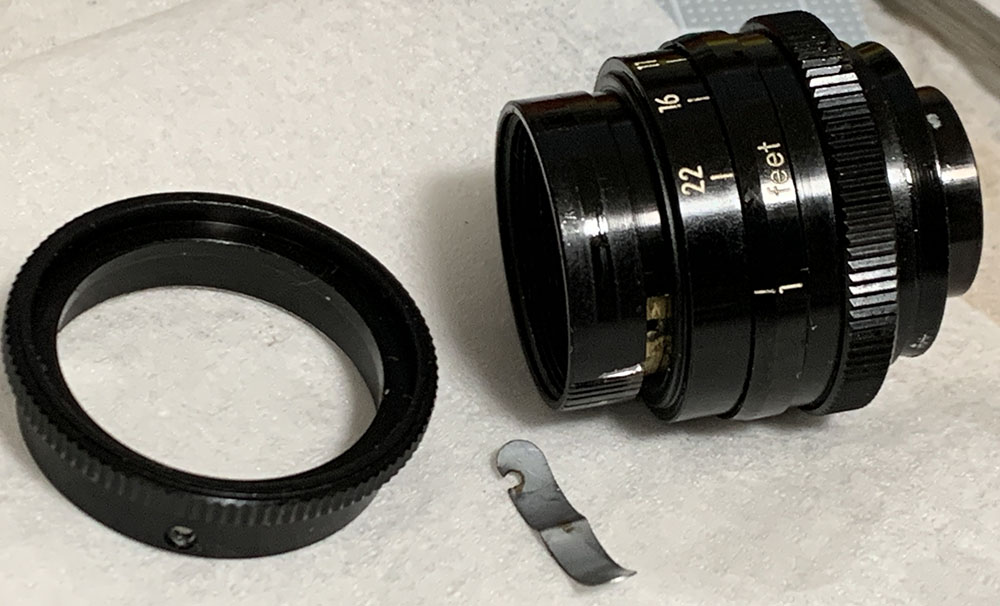
Once the screw is gone you can safely pull the aperture ring off, be careful so you won’t lose the spring. This is used for the click-stops, without it the aperture ring will turn freely.
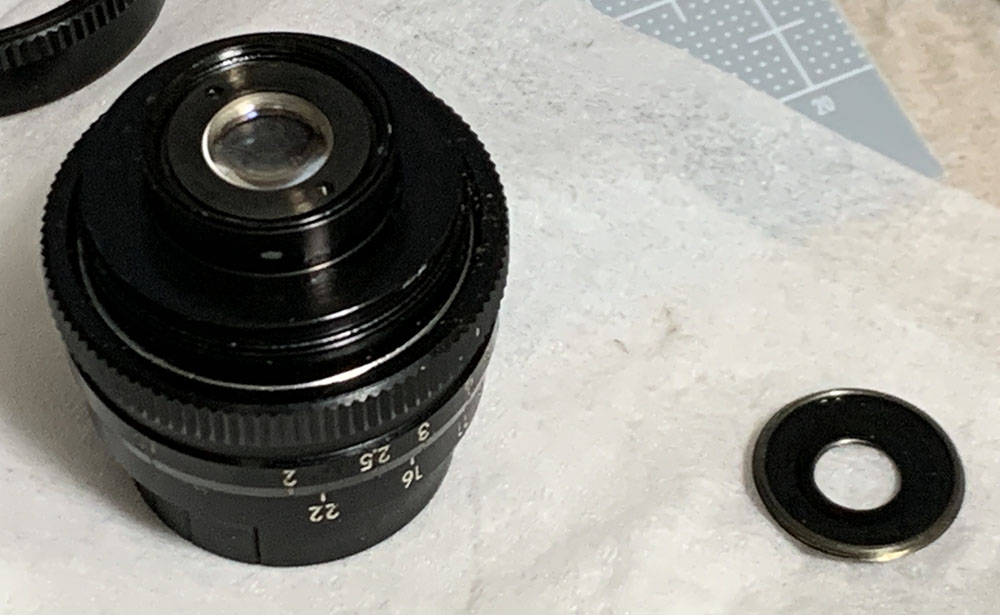
Unscrew the rear collar to extract the 4th group. Note that it’s line with a plastic material so do not soak this in alcohol to prevent the lining from getting damaged. It will also dissolve in alcohol so be careful.
Extract the 4th element with a lens sucker and don’t forget to note its direction.
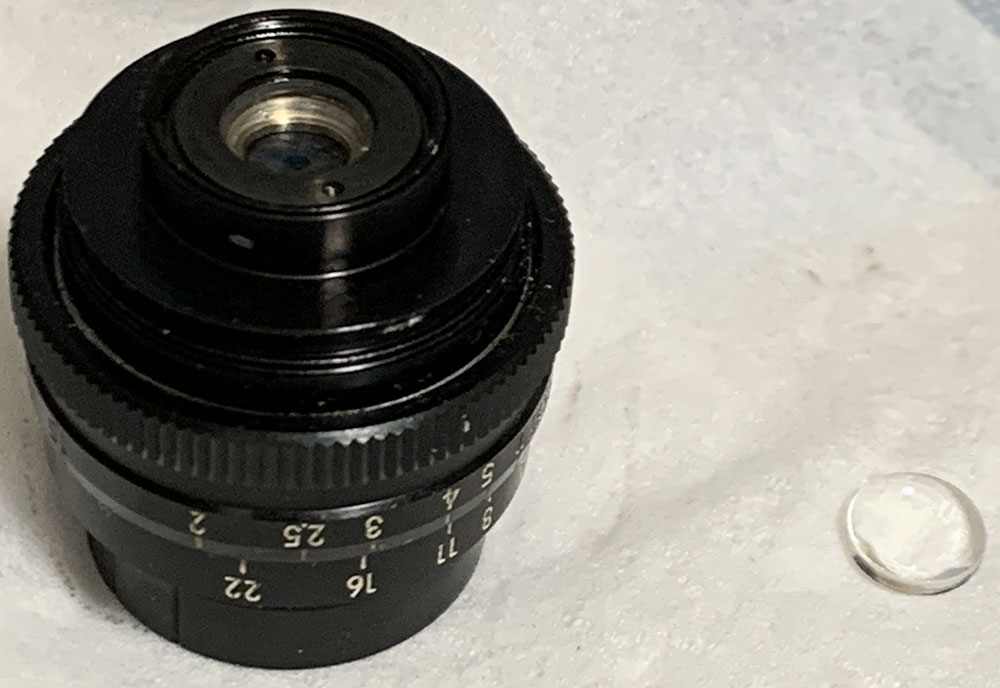
Carefully extract the 3rd element. It can be a bit tight so don’t force it.
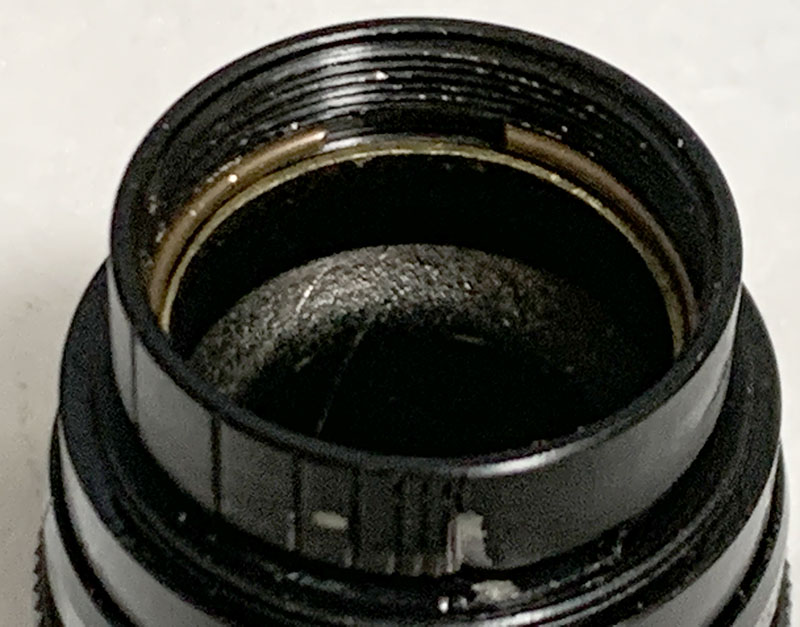
There’s a ring here that secures the iris mechanism, carefully pick it off.
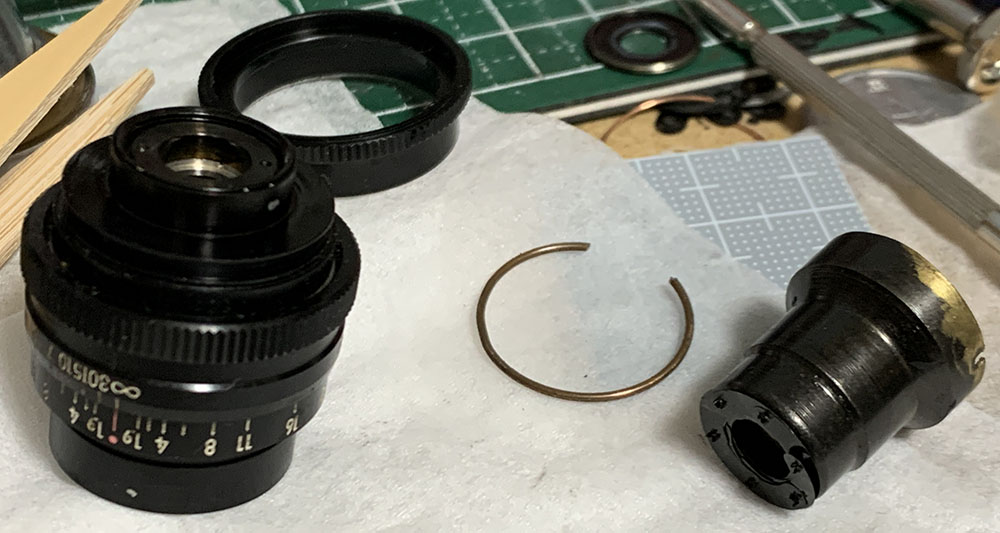
Pull the diaphragm off with your fingers and be careful not to damage the delicate iris.
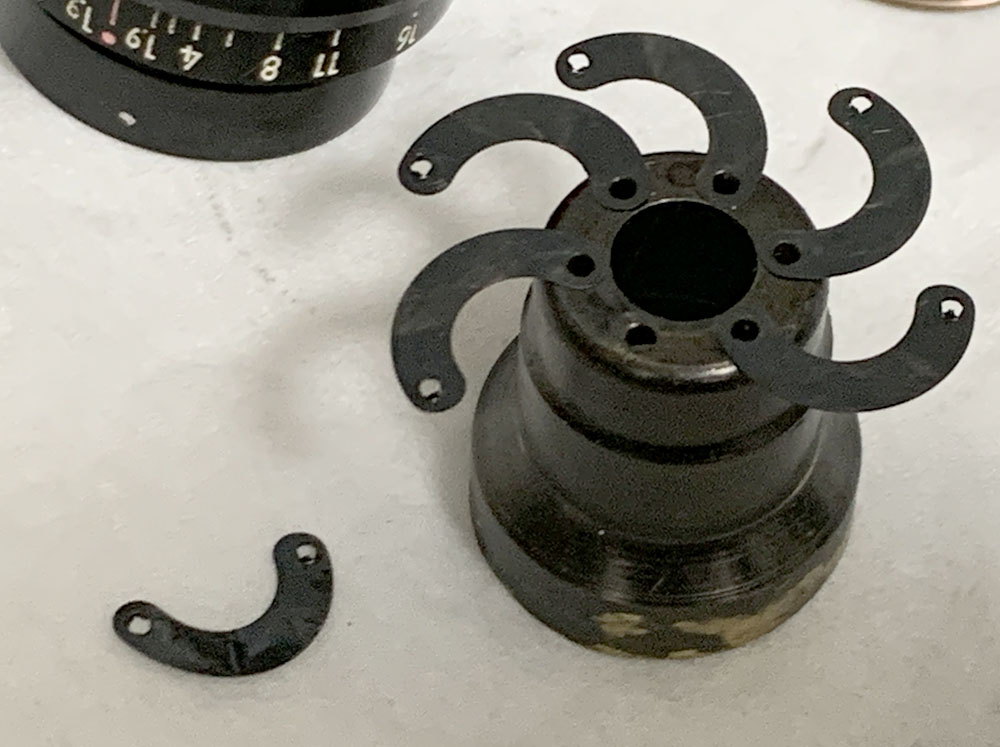
Carefully splay the leaves so you could clean them properly. One of them got loose, it’s important that you do not pull any of them off and just leave them attached to the tube.
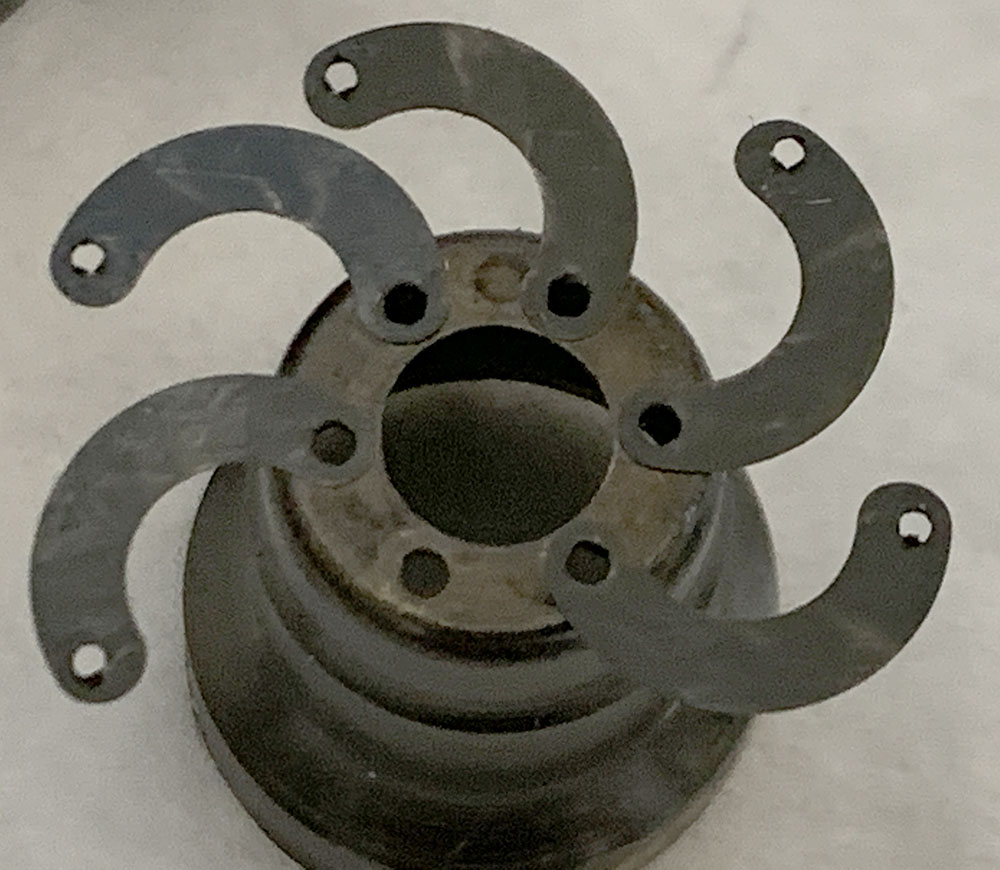
Clean the leaves carefully with a Q-tip saturated with solvents, these are usually rusty and a bit oily.
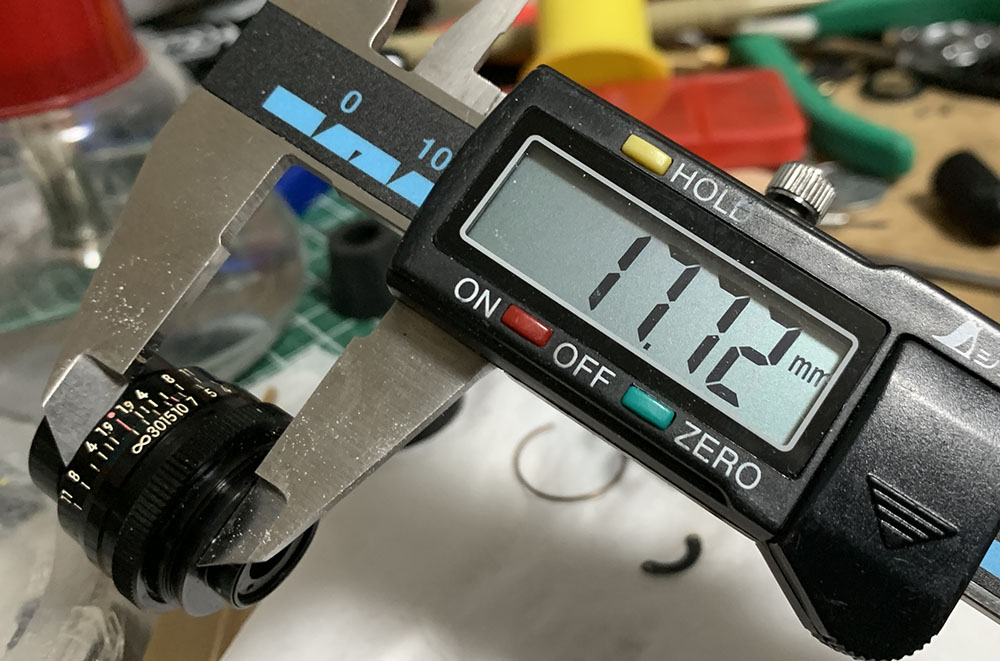
It’s a nice idea to measure the height of the main barrel before you dismantle it so you’ll know how to put it back later but this is kind of pointless since we’re going to readjust it for permanent use with our adapter and camera.
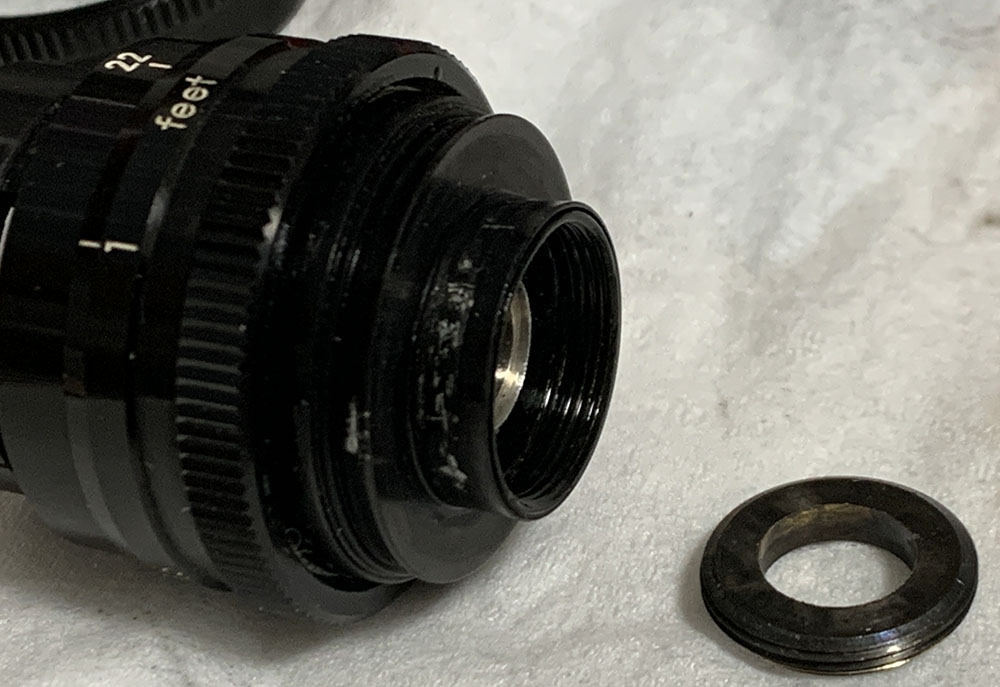
Carefully unscrew this collar. This is usually tough to remove and soaking the whole thing in alcohol is the only reliable way to safely get it off.
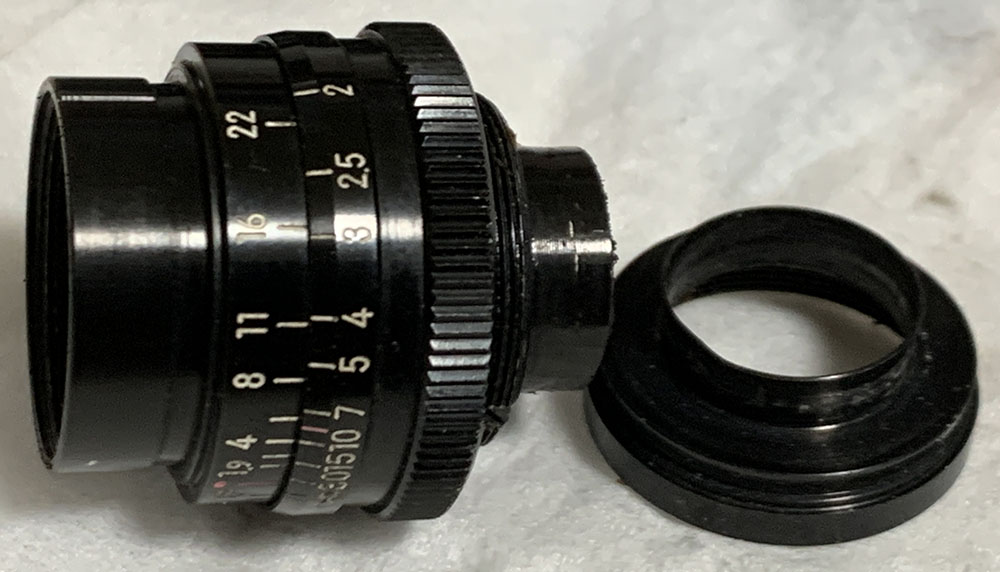
Unscrew the rear barrel, it’s difficult to remove as it’s usually sealed. I had to heat this with a torch before I could even get it to turn a bit.
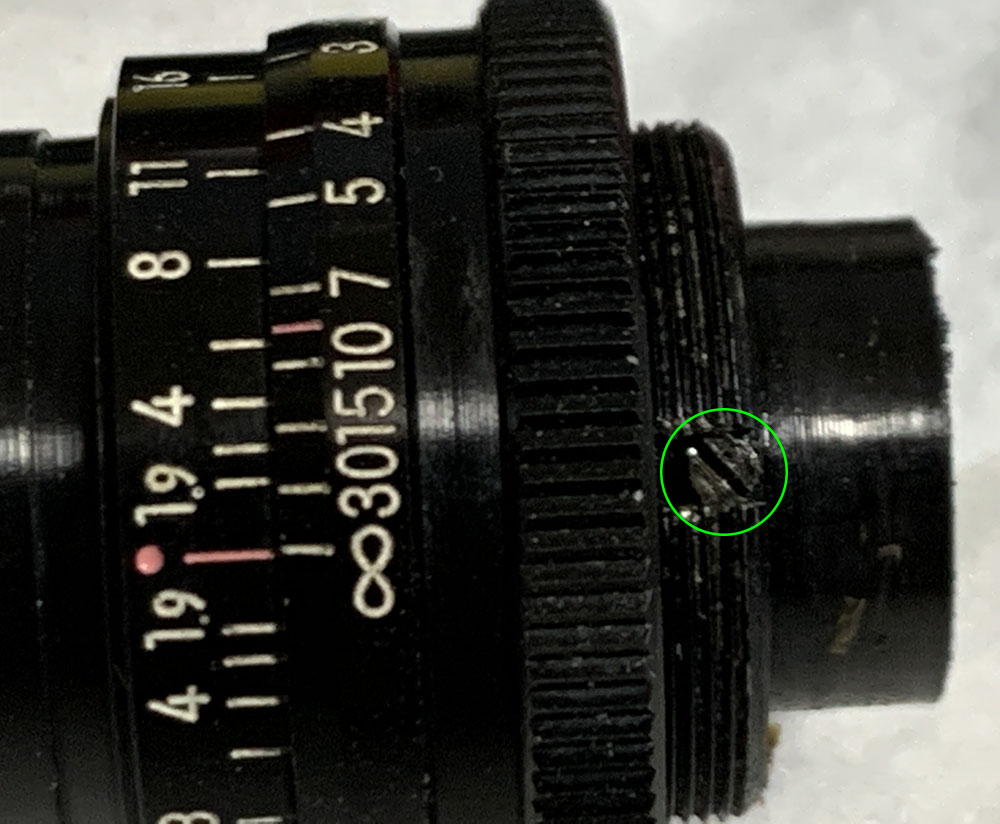
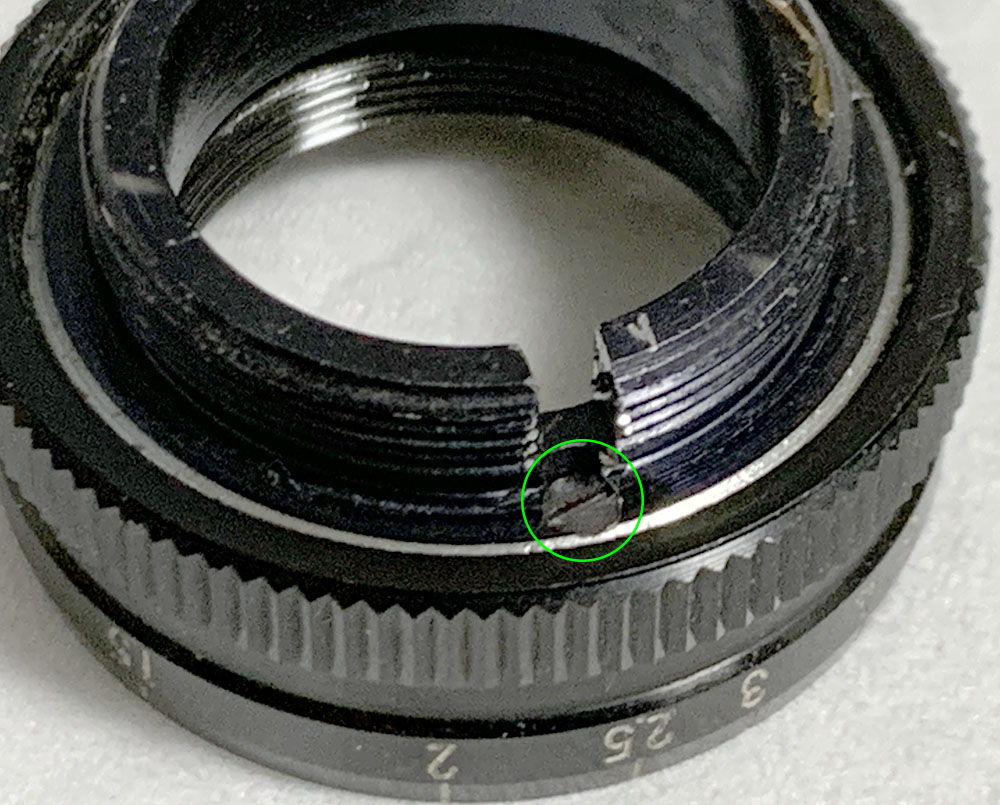
Extract this screw so you could dismantle the whole barrel. It serves as a helicoid key, too.
Here’s another one.
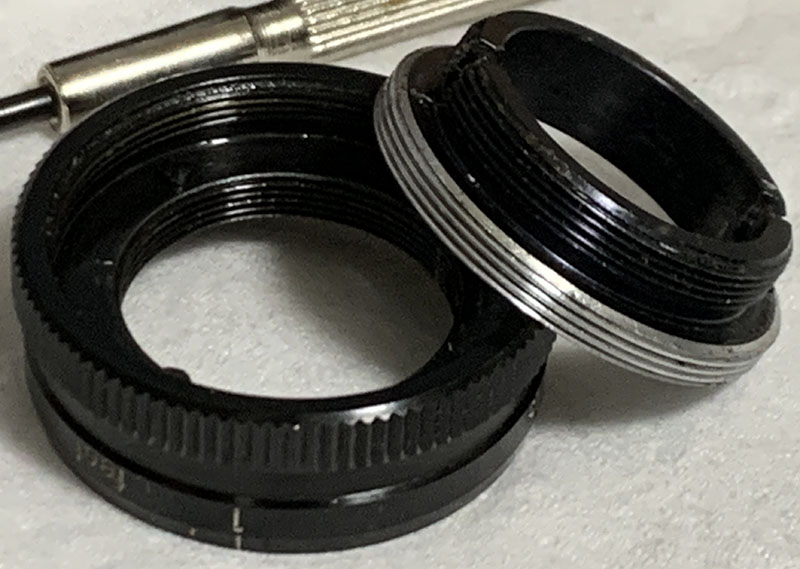
Once those screws are gone you can now pull the inner barrel off.
You won’t be able to unscrew the helicoids unless you extract this pin. It constrains its range within the focus-range.
Dismantle the helicoid and never forget to note where they parted since this is also the same place where they mate. May people get stuck here because they don’t know how to do this properly. Read my article on working with helicoids to prevent this from happening to you.
Clean the helicoids well and don’t leave any residue. I scrubbed mine with some toilet cleanser and rinsed it very well. I then pickled them in alcohol to remove any residue. I applied a thick-type of grease to the helicoids, a thin film will be enough and do not apply any grease to anywhere near the iris. A very thin film is also applied at the slots located at its neck so the aperture ring clicks smoothly.
Conclusion:
I had a great time servicing this since it gave me new insight as to how these smaller Cine-Nikkors evolved from the old version to the last one which we’ll discuss in another article. It’s not easy to service this since the parts are small, you’re going to need the dexterity and patience of a watch repairer for it. If your lens needs to be serviced just have a repairer do it and be sure he’s competent since there are many fakes out there.
Before you could use it you’ll have to adjust its focus with shim since most adapters aren’t precise. If you want to know how I did it read my article on adjusting a lens’ focus with shims. That is the only way you could adjust these lenses for use with your Pentax Q cameras.
Thanks for following my work, if you liked this article please share this with your friends so it will get more views. This site earns around $0.40 a day, we are totally reliant on views. You could also support this site, it helps me offset the cost of maintenance and hosting. You are also helping me purchase, process and scan film. This site promotes the use of film so we are all in this together. See you again in the next article, Ric.
Help Support this Blog:
Maintaining this requires resources and a lot of time. If you think that it has helped you or you want to show your support by helping with the site’s upkeep, you can make a small donation to my paypal.com at richardHaw888@gmail.com. Money isn’t my prime motivation for this blog and I believe that I have enough to run this but you can help me make this site (and the companion facebook page) grow.
Buy me a roll of film or a burger?
Thank you very much for your continued support!
$2.00
Helping support this site will ensure that this will be kept going as long as I have the time and energy for this. I would appreciate it if you just leave out your name or details like your country’s name or other information so that the donations will totally be anonymous. This is a labor of love and I intend to keep it that way for as long as I can. Ric.

2 Comments (+add yours?)