
Hello, everybody! Do you remember the original “TRON” with Jeff Bridges? This movie has some of the earliest scenes that were rendered with CG, the rest are practical-effects and a lot of the glow used to depict wireframe in the movie were shot by employing some optical effects. The look is special, something that made the movie “legendary”. Today, I will show you something that could help you achieve that look. It will add an unnatural glow to your photos if you know how to trigger it. Read this article to know what this lens is.
Introduction:
The Cine-Nikkor 6.5mm f/1.9 underwent a small upgrade to the black-barreled version featured in this article. I do not know when the change happened but many people assume it to be around the latter-half of the 1950s when Nikon did a program to upgrade the look and materials of their lenses. This not only resulted in similar lenses with different color and finishes but the exterior somewhat look different, too. In most cases the material used is also different. The heavier all-brass construction of older Nikkors were dropped in favor of using lighter alloys. The optics remained the same and I couldn’t think of any Nikkor in this period that had their optical formula changed at the same time the barrel had an upgrade.

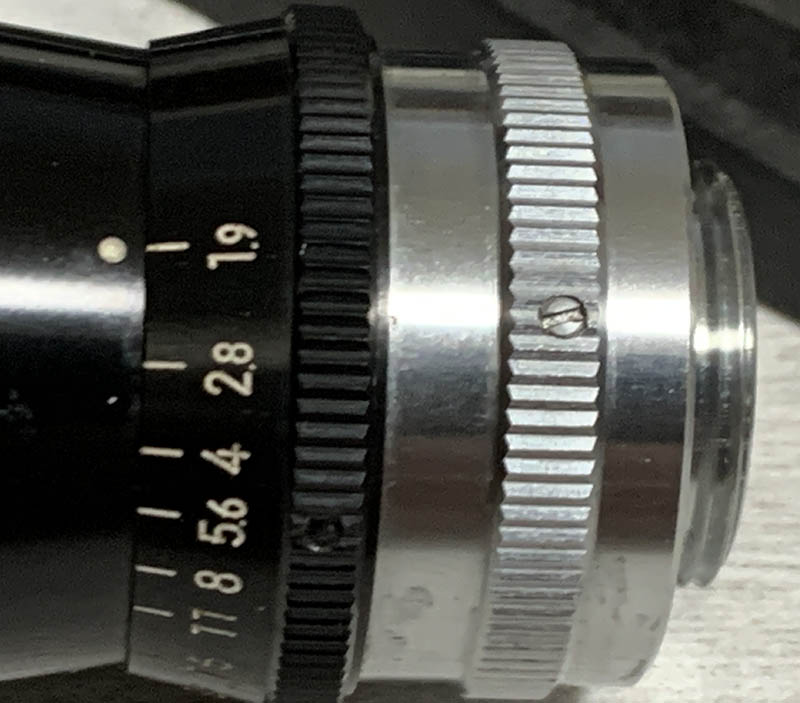
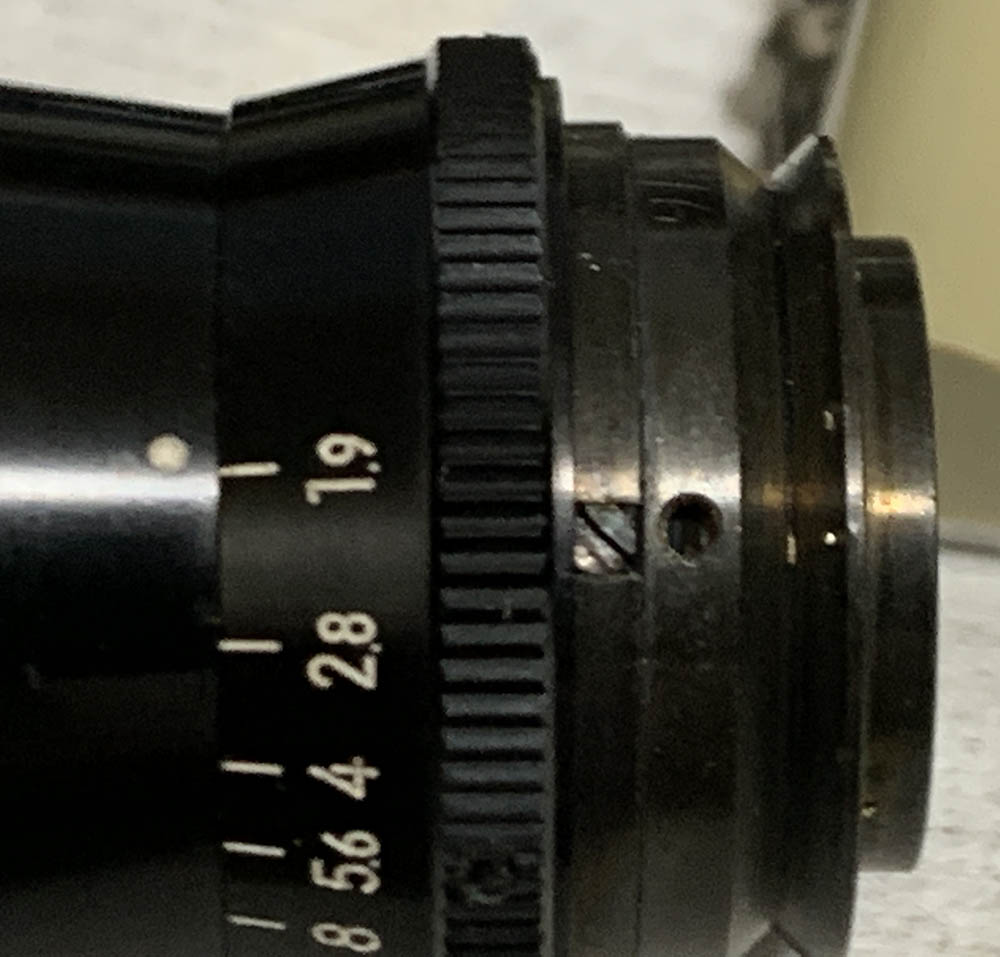
Large parts of the barrel were milled from alloy, making it a bit lighter. Since it’s a fixed-focus lens you manipulate what is in-focus by adjusting the aperture. This all sounds simple but it can be difficult to predict your depth-of-field since it has no scale to indicate what’s in-focus. This isn’t much of a problem when using this with a Pentax Q series camera, it is rather frustrating when shooting with an 8mm movie camera specially if what you intend to focus is close to you. It’s durable, the all-metal construction ensures that it will take plenty of punishment when used in the field.
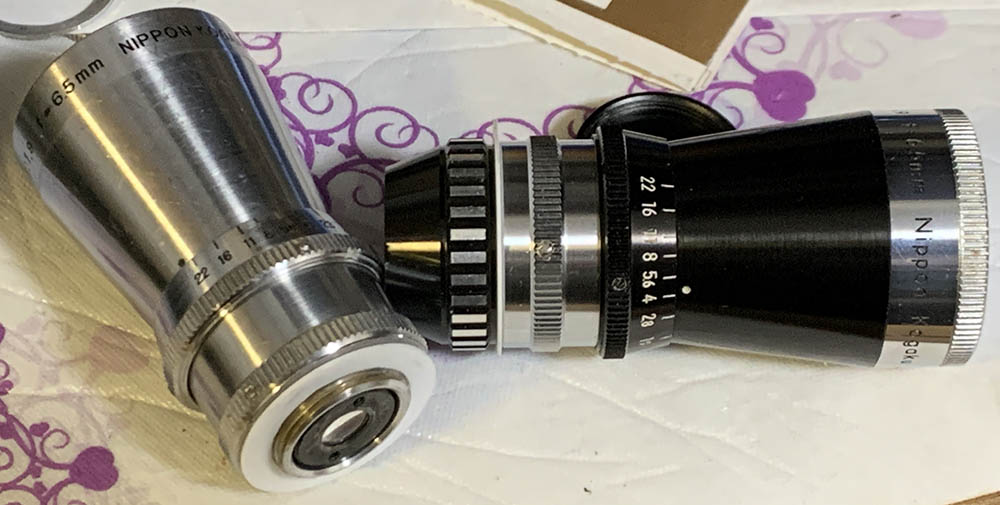
It shares the same optics as the older Cine-Nikkor 6.5mm f/1.9 and I assume that nothing was changed in this version. I initially thought that the barrels are similar but this one has a larger diameter and some of the parts look different. That and its finish differentiates it from its predecessor.

This lens is actually part of the black-trinity consisting of the Cine-Nikkor 6.5mm f/1.9, Cine-Nikkor 38mm f/1.9 and the Cine-Nikkor 13mm f/1.9. All of these were basically black-versions of their older, chrome counterparts. All of these were upgraded with totally-new barrels except for this lens where the barrel’s construction remained mostly identical apart from a few things that are different from the older Cine-Nikkor 6.5mm f/1.9.

Compared to the original Cine-Nikkor 6.5mm f/1.9 the black one has a larger filter-ring size so you will need to buy the appropriate accessories for it. Apart from that the construction is similar. The older one is also heavier since the whole barrel is made from brass.
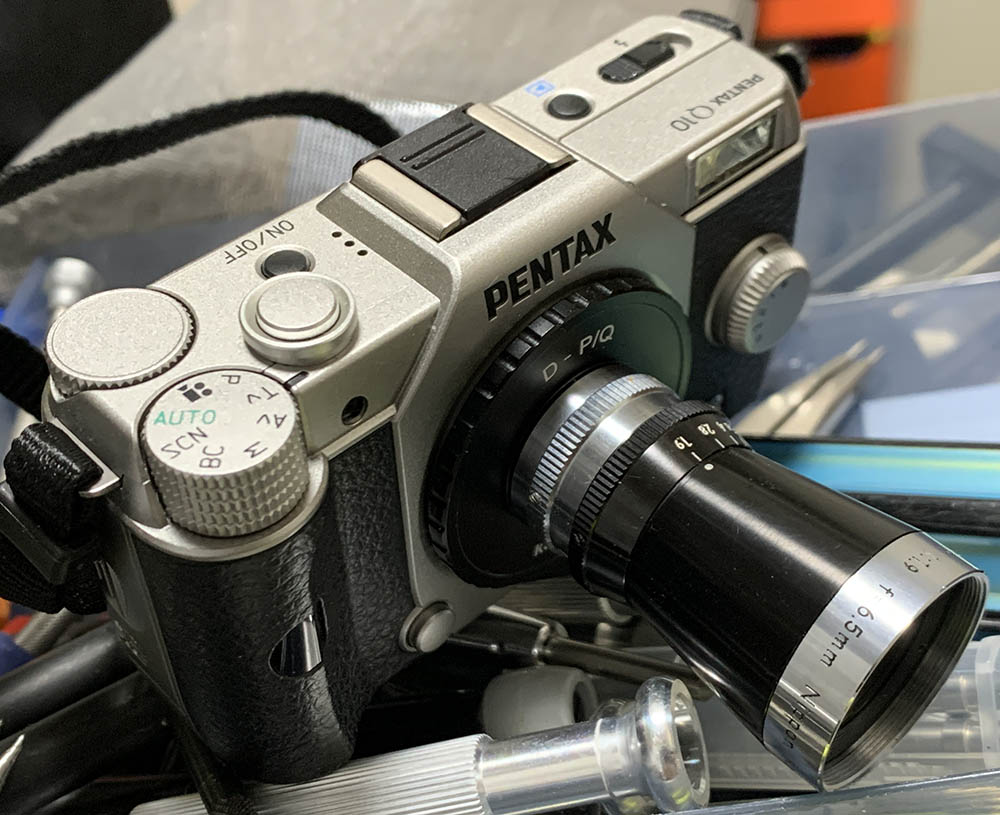
It balances well with any Pentax-Q series camera. This is the only digital camera that you could use this with anyway. Its handling is quite easy since there’s only a single ring to manipulate.
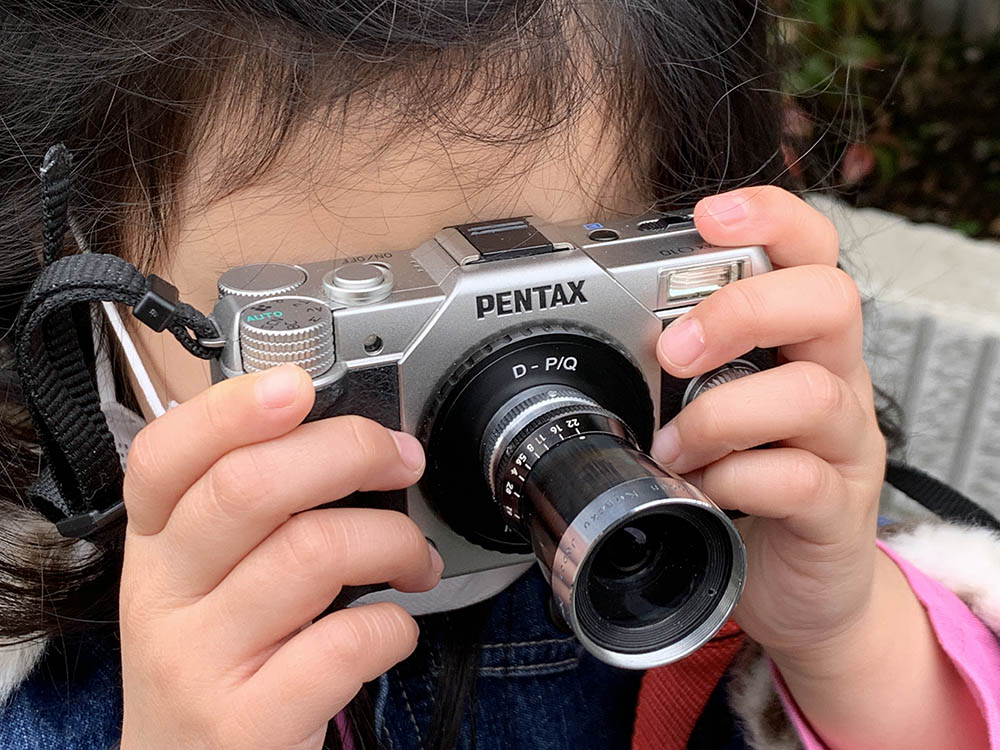
Its fixed-focus feature makes it easy for kids to use as a snap-shot lens, just set it to f/22 and everything is in-focus.
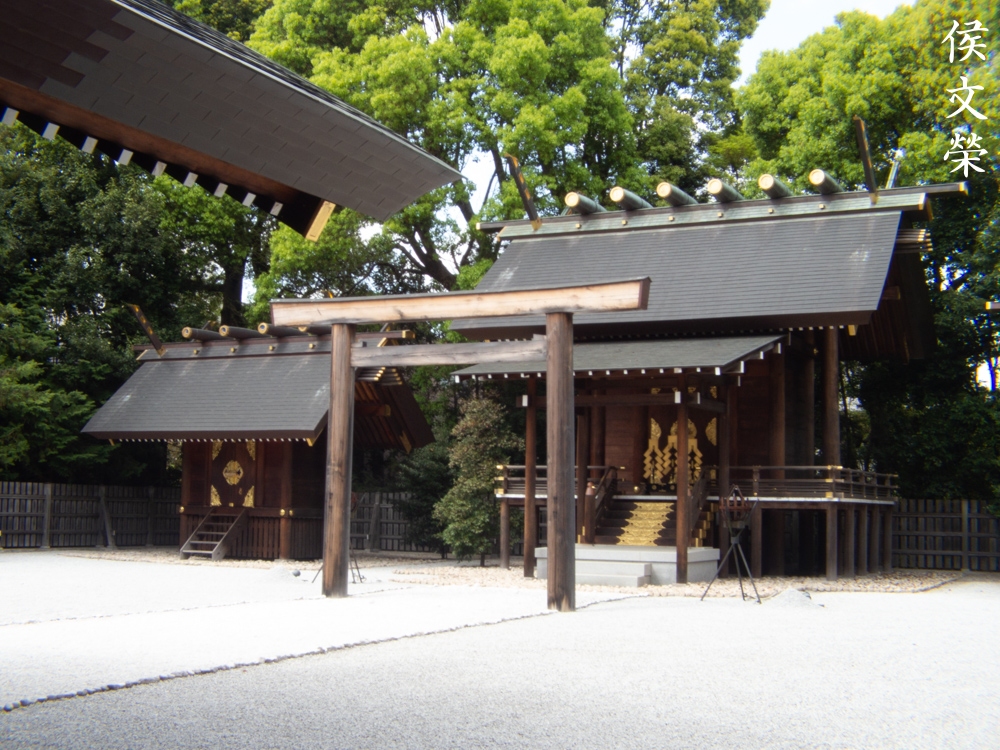
Learning how a lens performs is key to maximizing it. You’ll learn how to utilize its strengths and avoid its weaknesses. This knowledge helps in determining which lens to bring on an assignment. I shot these from f/1.9, f/2.8 and f/4 and f/5.6 since these are the most common apertures that people would want to use this and we’ll see the most changes happen within these values. These photos were shot with my Pentax Q10, some of the photos were cropped close to 1:1 magnification so we can see the details better and some were cropped too about 0.7x in order to simulate the size of standard 8mm.
(Click to enlarge)
Distortion isn’t much of a problem, it’s certainly observable but not something I’d be bothered with. Of course, we are seeing more than what the lens’ actual image-circle is supposed to project so ignore what you see around the edges of the frame.

(Click to enlarge)
These photos were cropped to approximately cover the lens’ actual image-circle to make it fair. Vignetting can be seen wide-open but it’s not severe. Stopping the iris down to f/2.8 will remedy most of it and it’s not obvious by f/4.You will only see traces oft by f/5.6 but only if you look closely, it’s practically gone by this point.
(Click to enlarge)
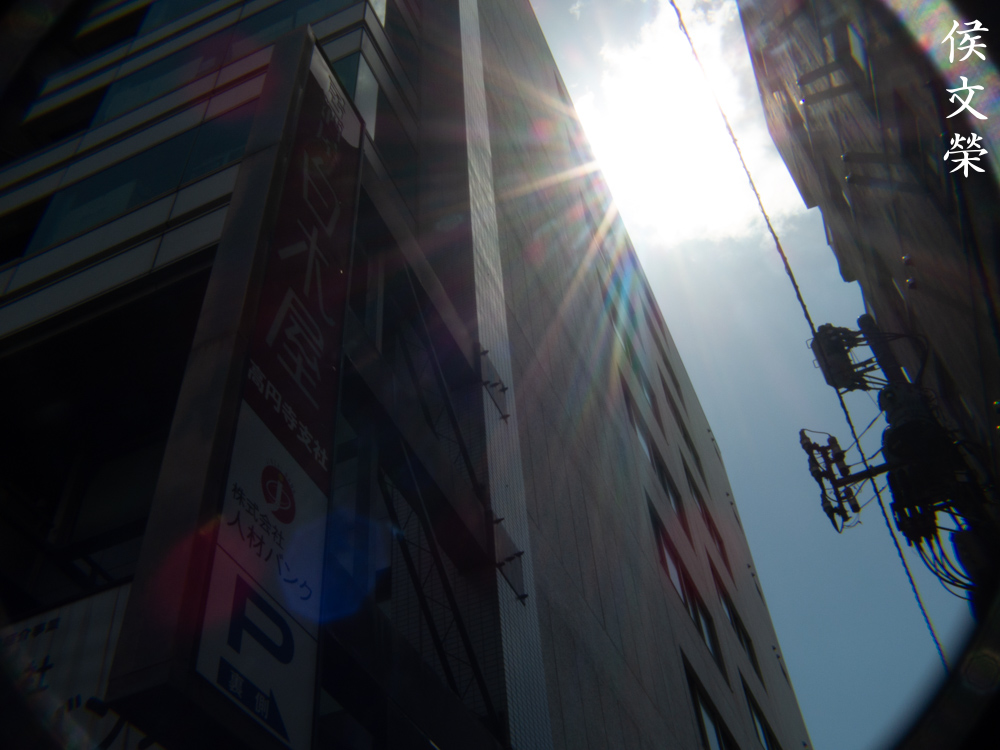
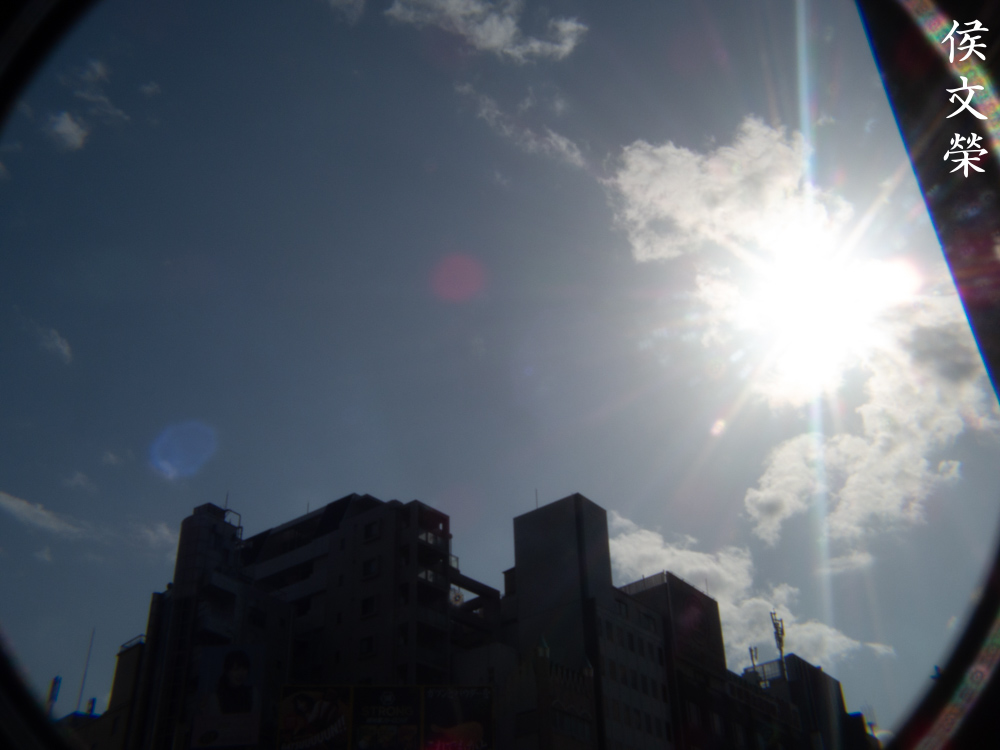
Resistance to flare and blobs is almost non-existence. Coma is horrible wide-open which is evident in the last set. Stop the iris down to turn the ugly effects of coma to beautiful sun-stars. Some of the blobs seen in my photos were caused by reflections from sensor itself which manifests as red-green-blue blobs. The aberrations look worst at the edges as it wasn’t designed to render anything in that area anyway.
(Click to enlarge)
Here’s how it renders point-lights. Coma looks severe wide-open and can only be controlled by stopping the iris down. It may be useful for creating interesting effects but I’m sure that nobody wants to see this in normal cases.


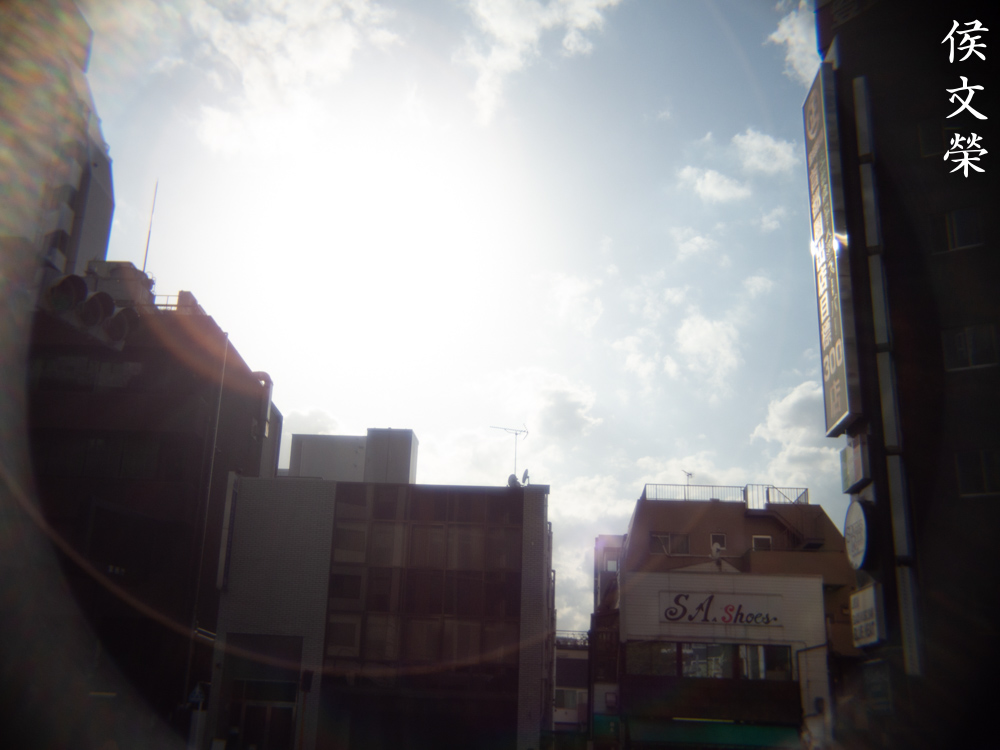
(Click to enlarge)
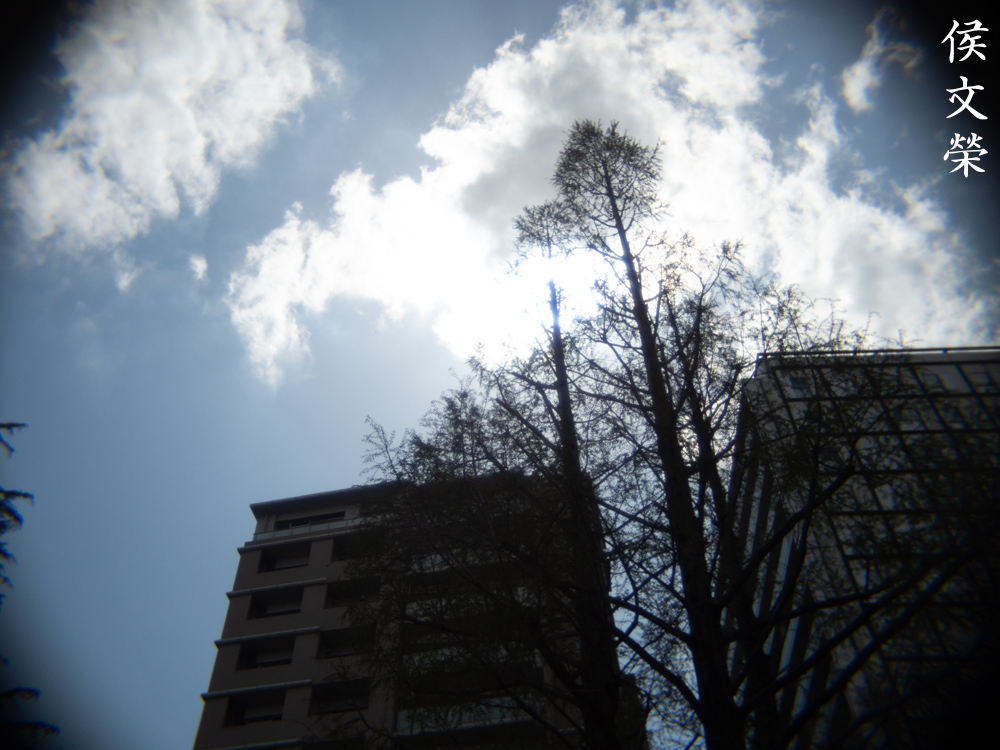
Flare wide-open makes the photo look “dreamy”, veiling the whole frame in soft, hazy look. Stopping this down to f/2.8 helps a lot and contrast significantly improves from this point on. The hazy-look is useful for creating a soft-focus look for wedding videos and other things.


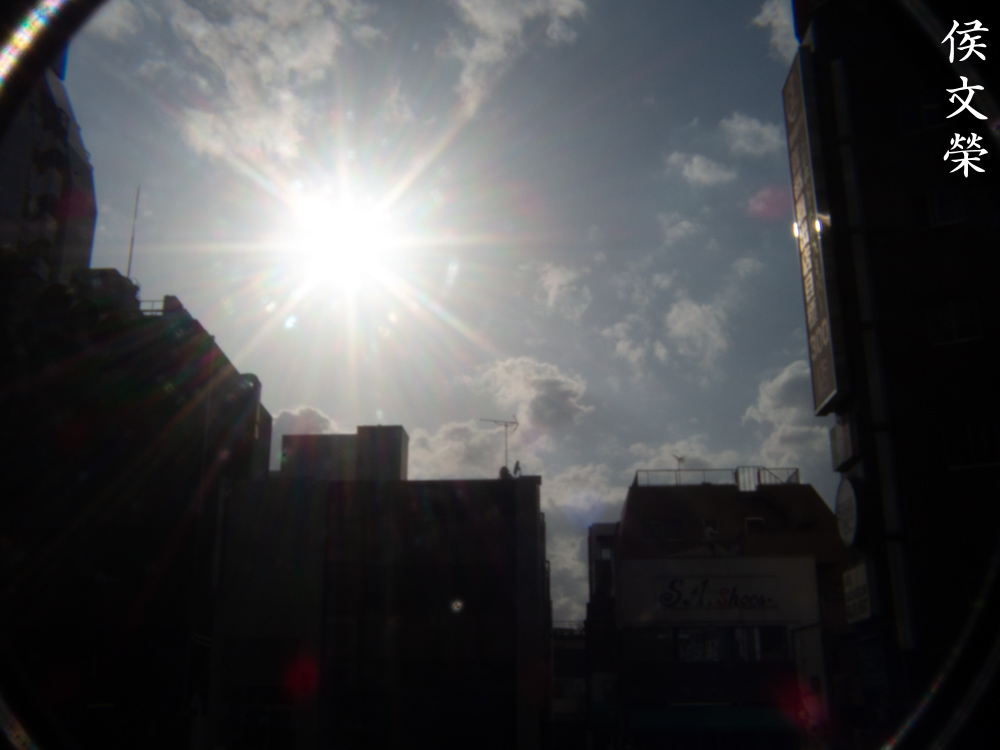
(Click to enlarge)
Chromatic and spherical aberration is severe wide-open, it gets compounded by the effects of flare. It looks distracting and ugly to put it lightly. It may not look as bad when shooting this with monochrome film but it certainly looks awful when shooting this in-color. You’ll see a huge improvement by f/2.8 but it’s still possible to see plenty of it specially in difficult scenarios. Chromatic aberration is almost gone by f/4 but spherical aberration or what appears to look like it is still visible, it may be just a bad combination of that and flare which gives your shiny highlights a weird-looking glow. I didn’t see any improvements by stopping this down to f/5.6 so I guess the cause may not be spherical aberration at all and it may just be flare.
Since this is assumed to be optically identical to the older Cine-Nikkor 6.5mm f/1.9 you can check that article for more examples of how it performs including a more detailed illustration about its performance at the corners.
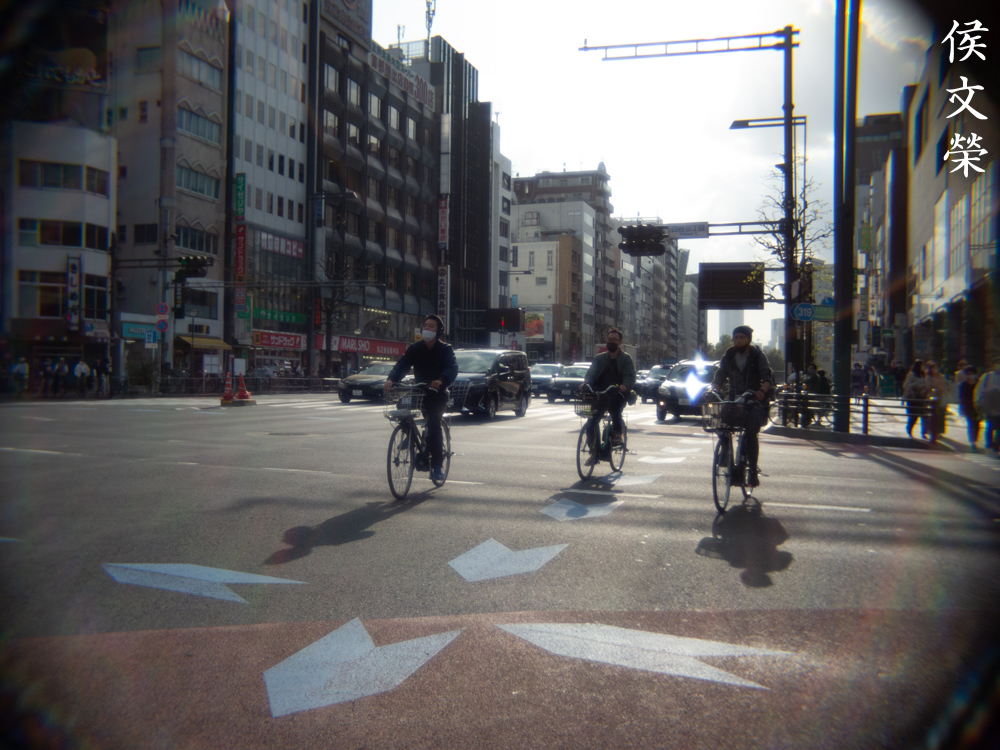
(Click to enlarge)
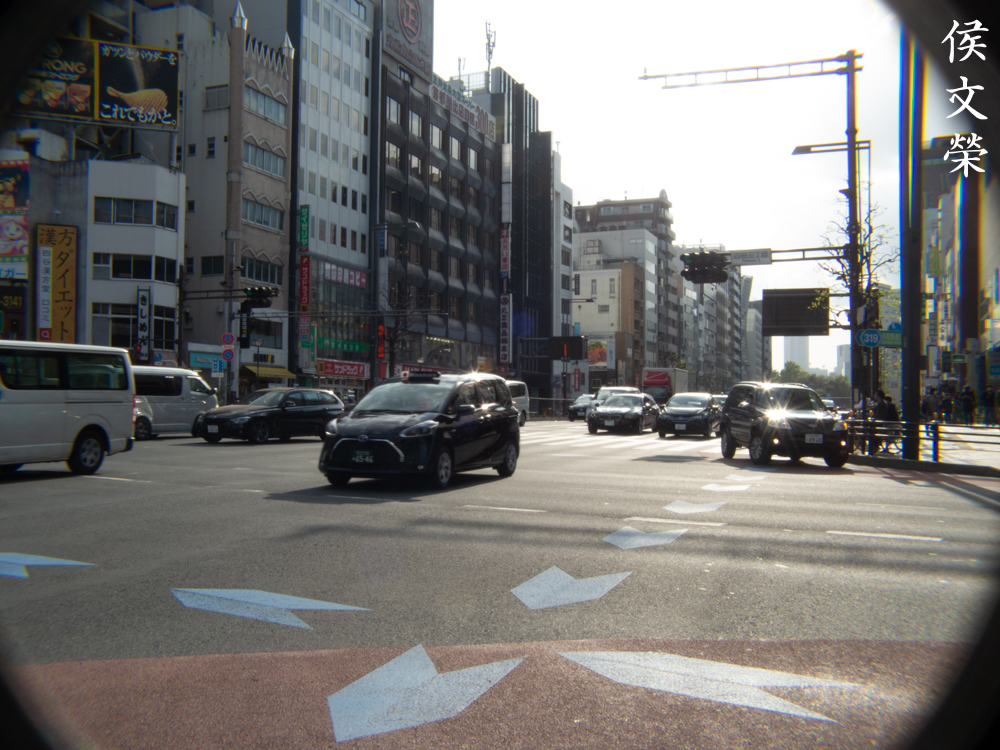
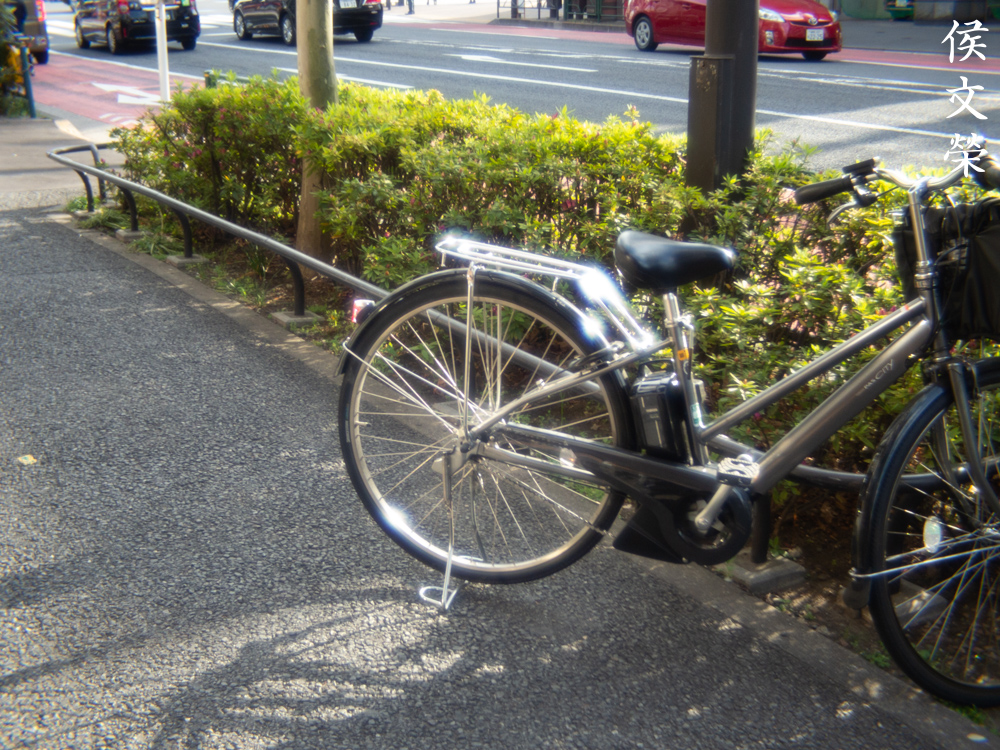
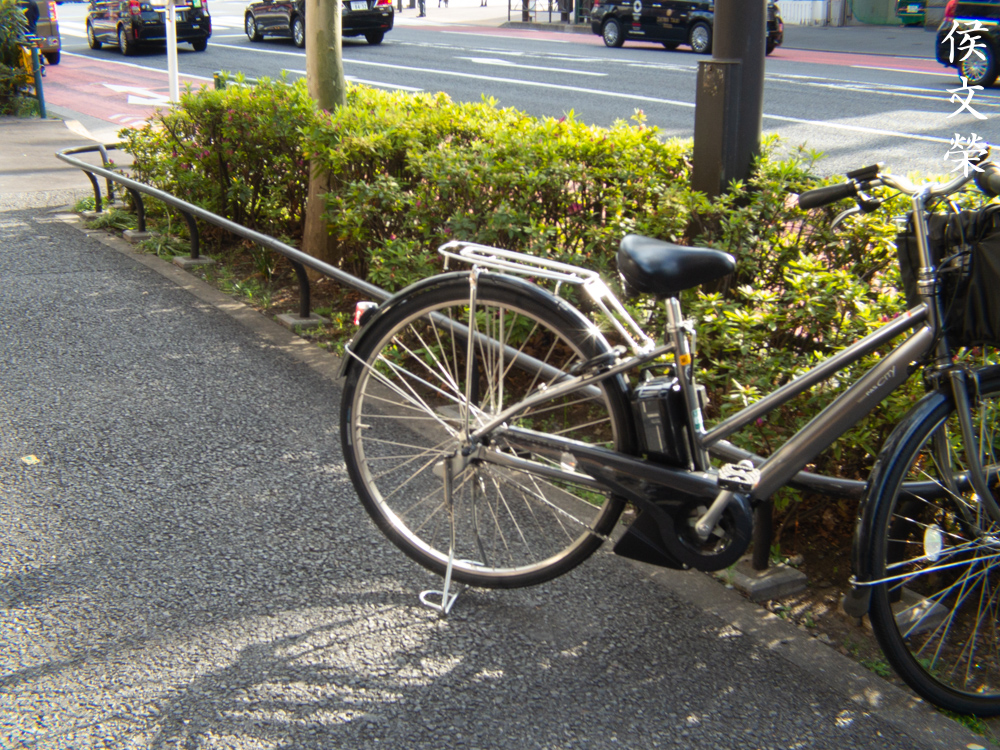
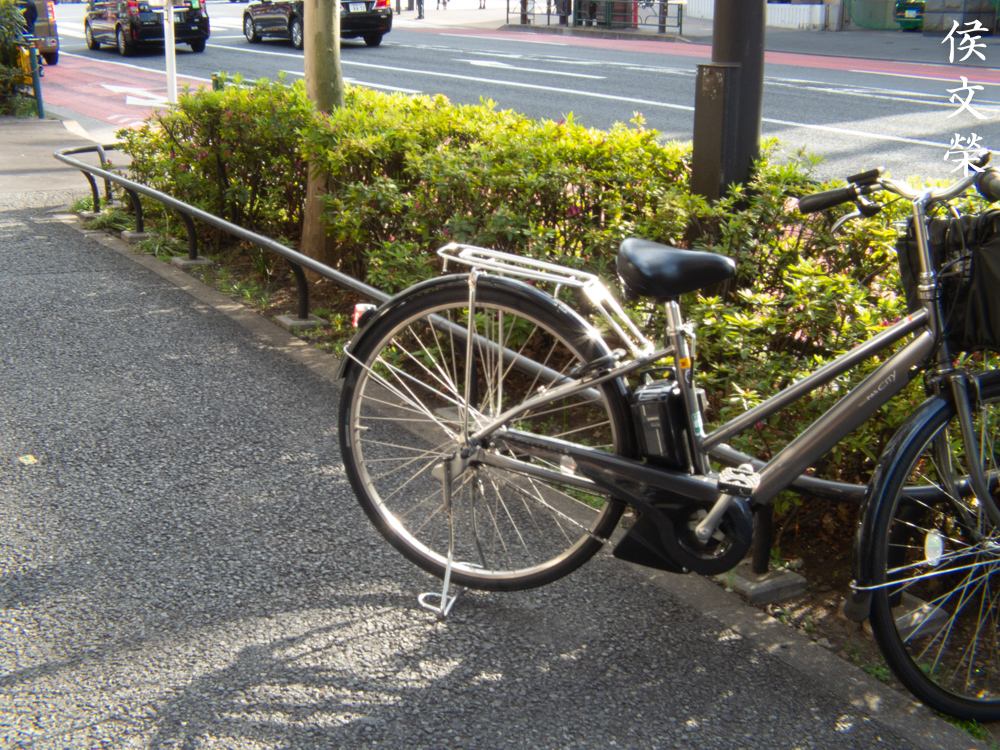
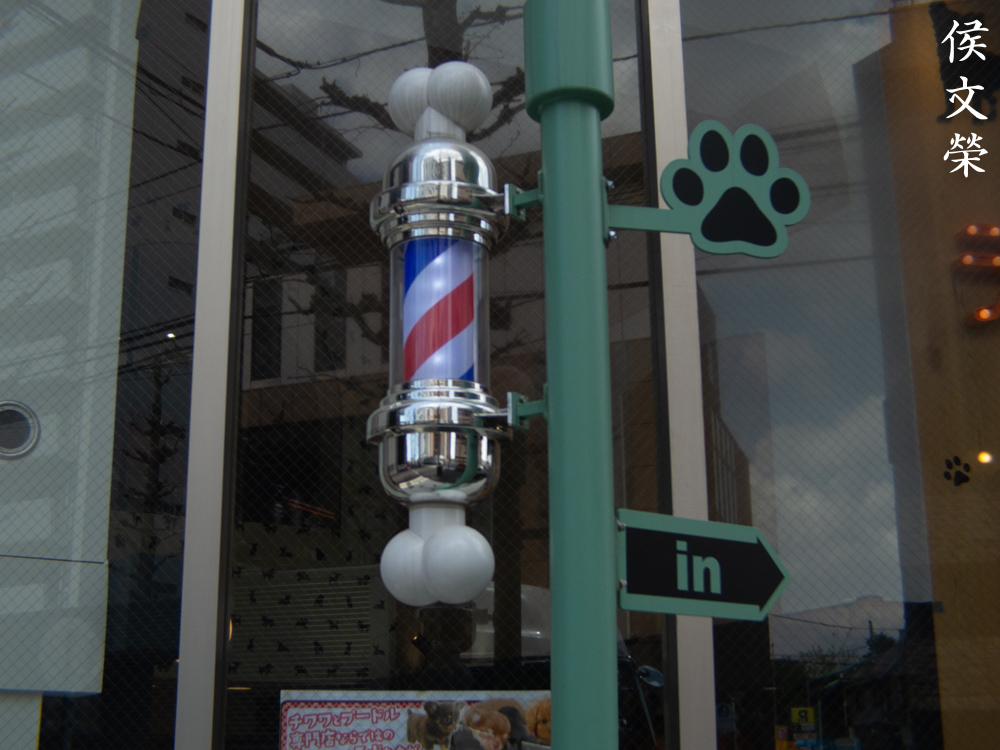
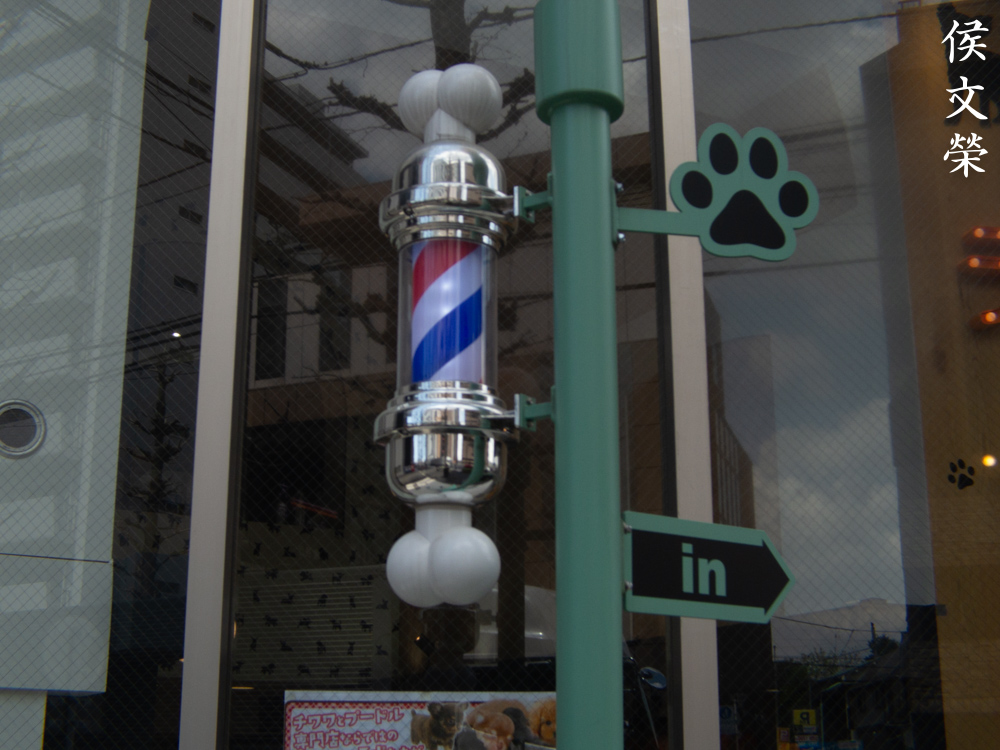
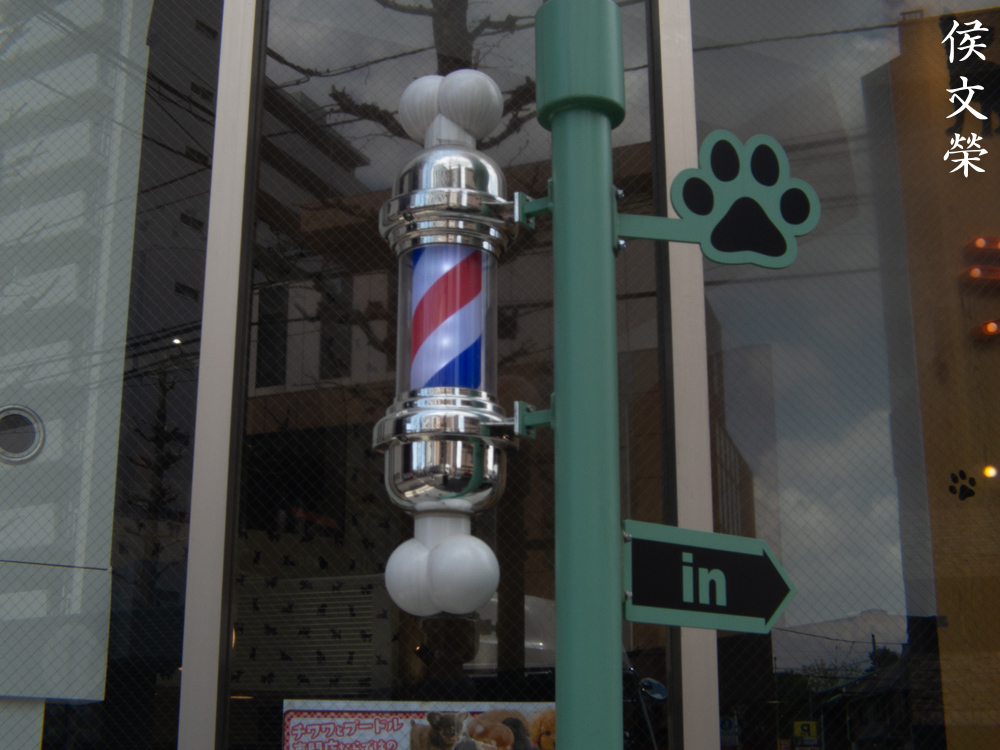
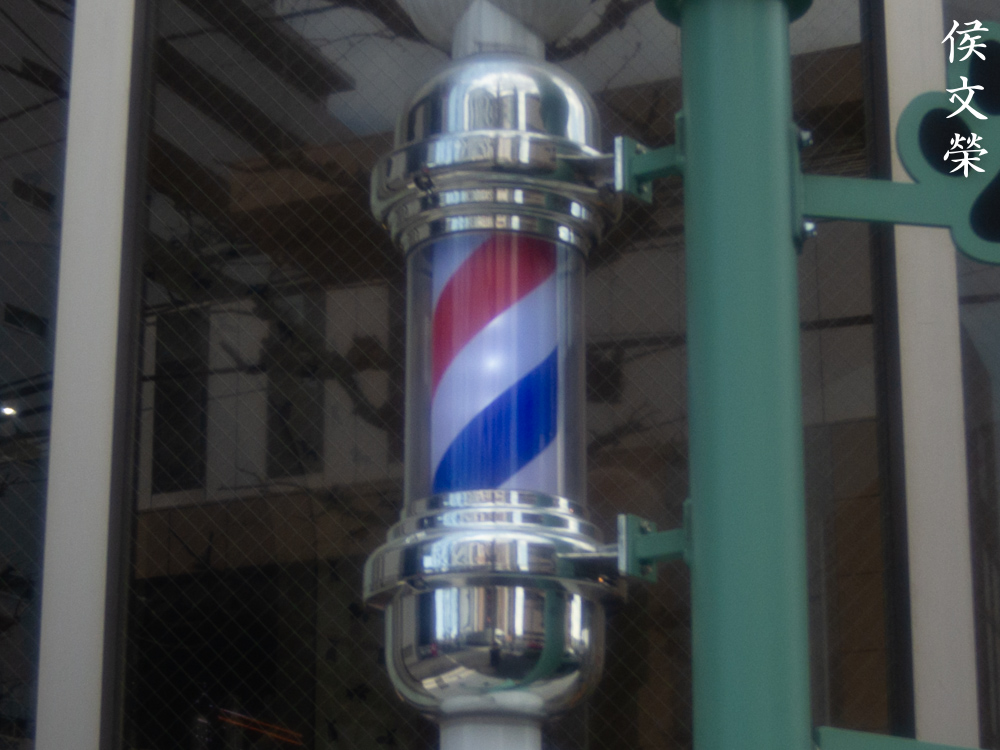
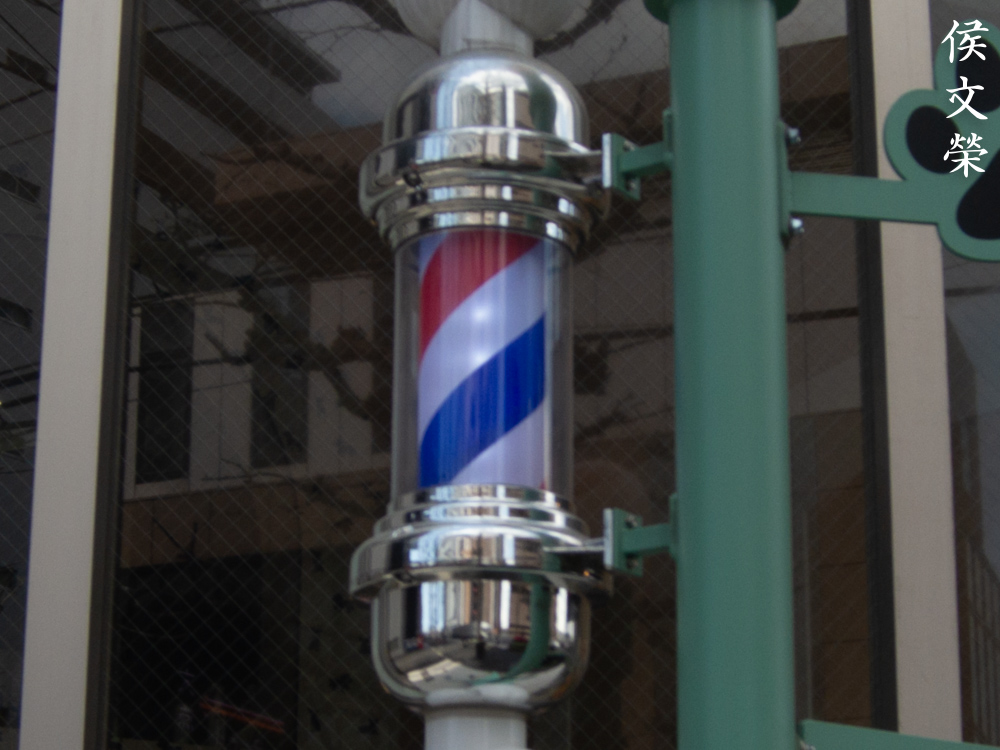
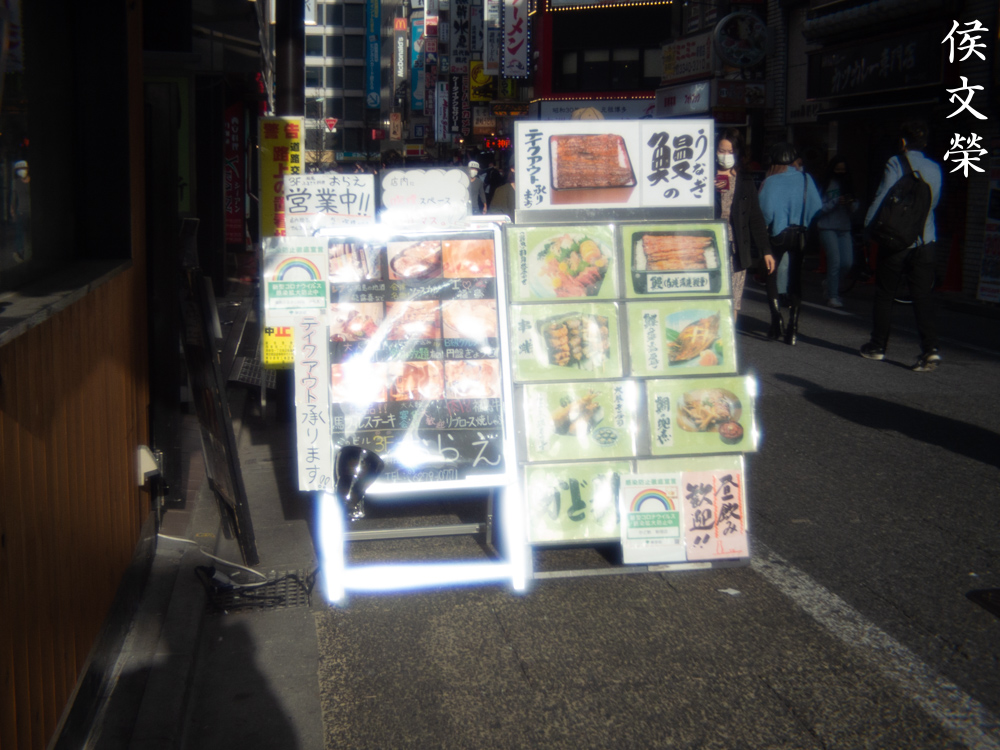
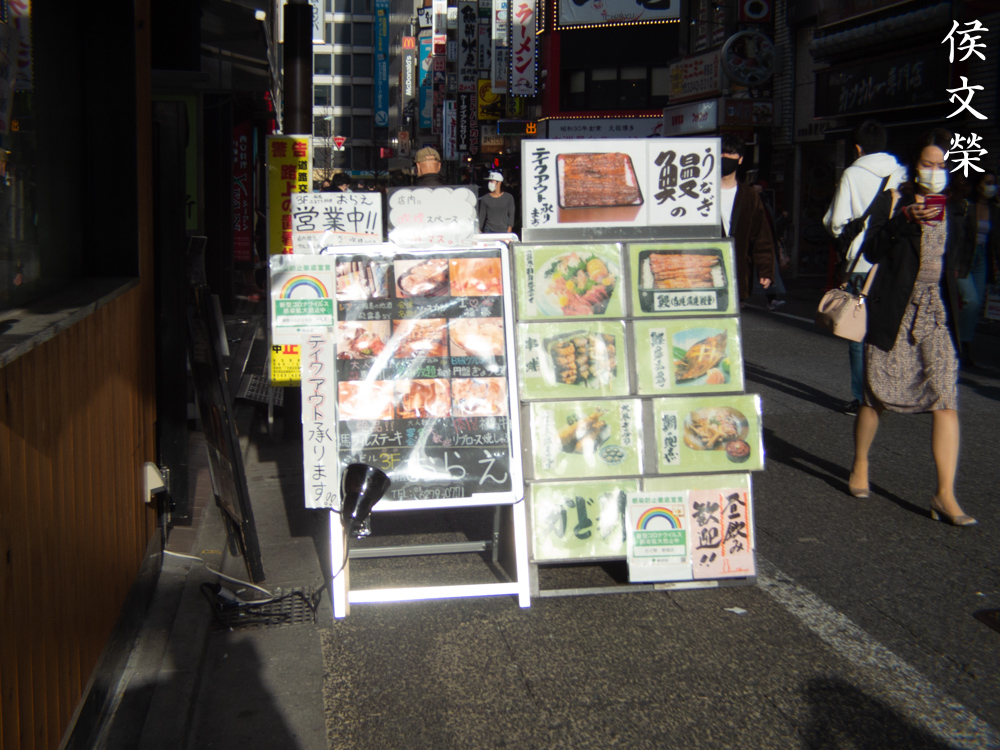
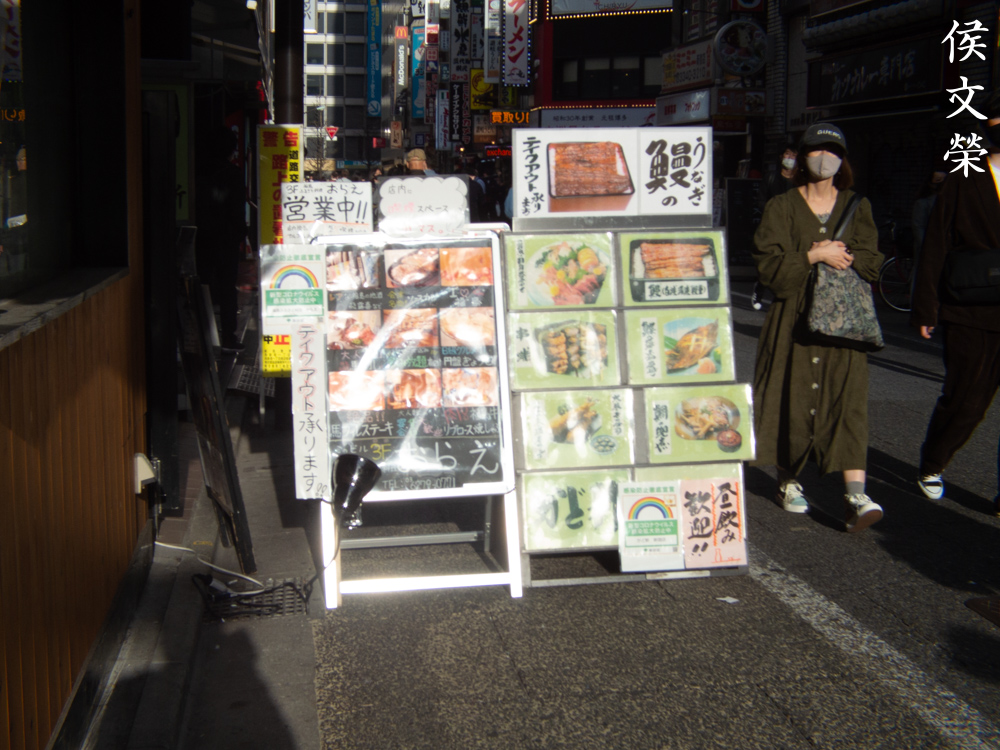
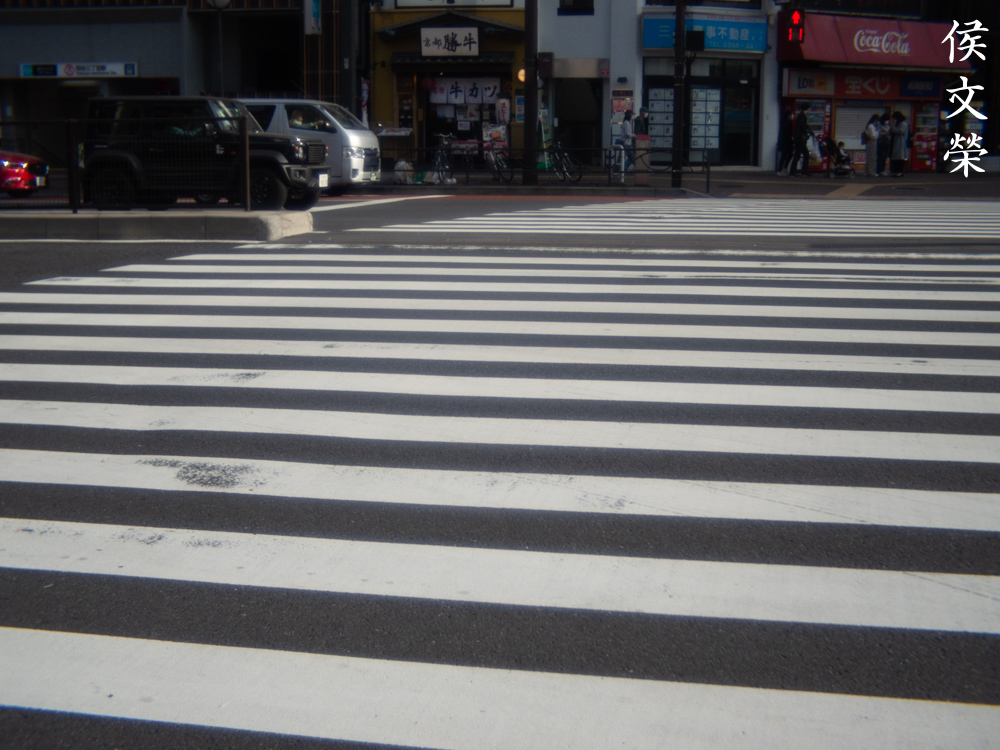
Spherical aberration along with astigmatism could easily be observed when shooting crossings on a sunny day. This is also a good way to trigger chromatic aberration. The white paint “bleeds” at the edges and stopping the iris down will help prevent this.
You won’t be able to focus close with this on its own but adding a slightly-thicker shim helps or just hold the lens with your hand while it’s barely-screwed to its mount. The latter method is safer since your hand is actually supporting it. If you are so inclined to shoot with it in this way you might as well shim it from within the barrel to make your changes a bit more deliberate and thus, semi-permanent. Whichever way you go just make sure that what you did will be easily reversed when you don’t need it.

This is how it looks like when you’re merely shooting with it without any extensions. You won’t be able to focus well, it’s difficult to judge what’s in-focus even if you magnify your view since the depth-of-field is quite wide.
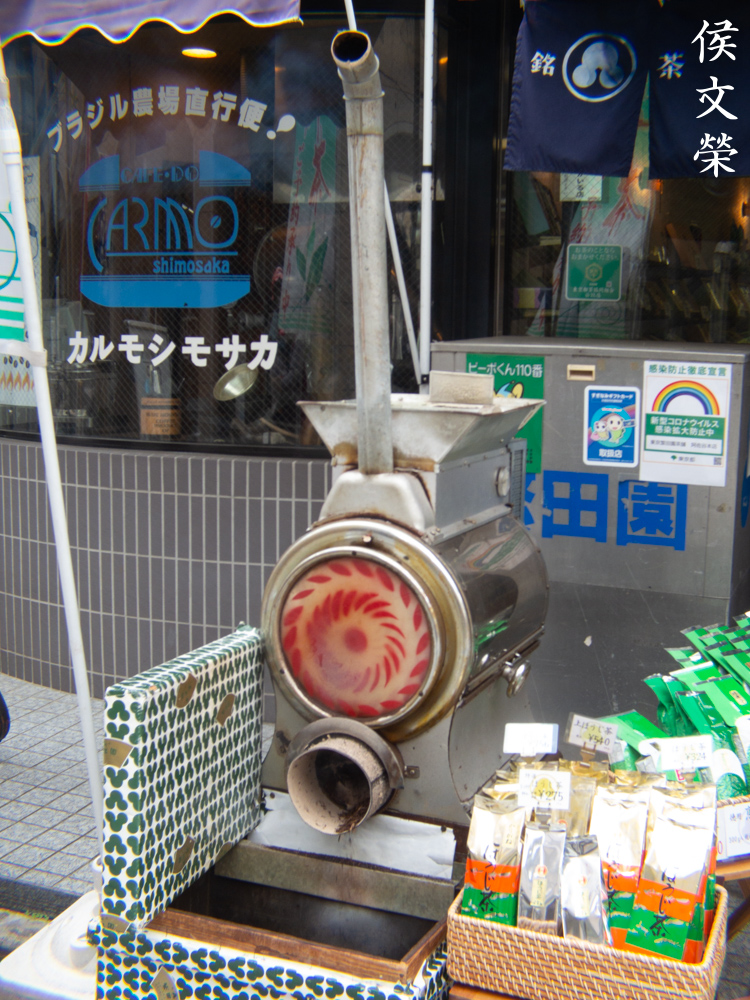
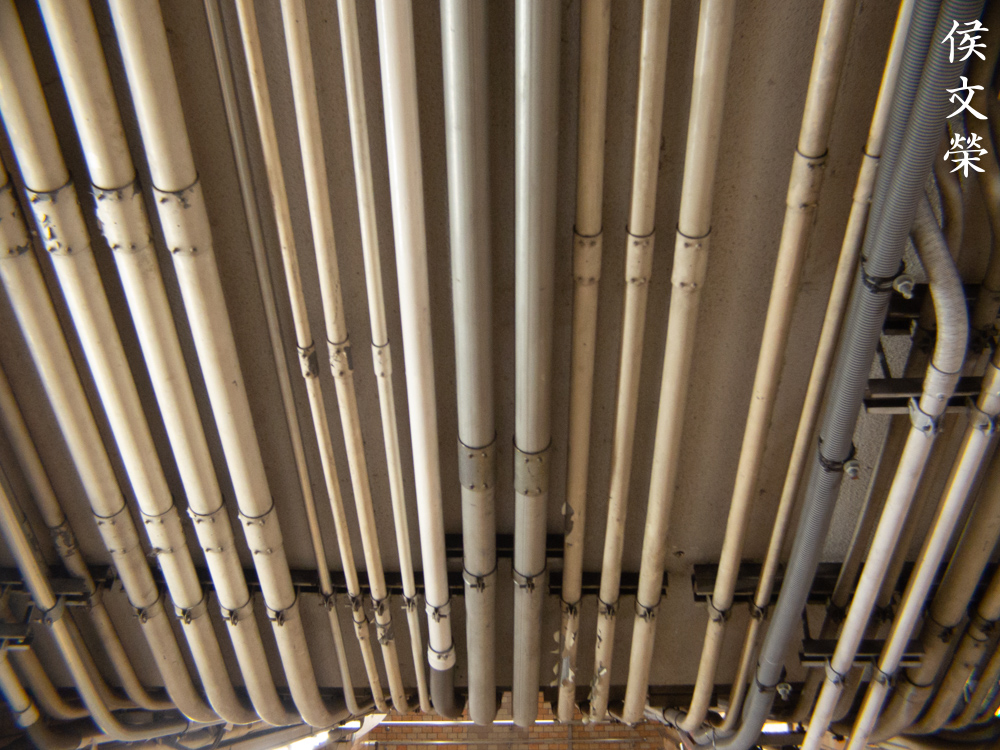
This is a nice lens for capturing more of your scene, it’s sad that this is the only “wide” D-mount Cine-Nikkor you could buy since this is the only one produced along with the older chrome version which is practically similar to this in every manner. This photo shows a tea-shredding and roasting machine at work churning out fresh, fragrant green tea.
Sharpness isn’t the best at wider apertures, stopping this down is mandatory and you’ll want to stop the iris down to at least f/4 in order to see decent results.
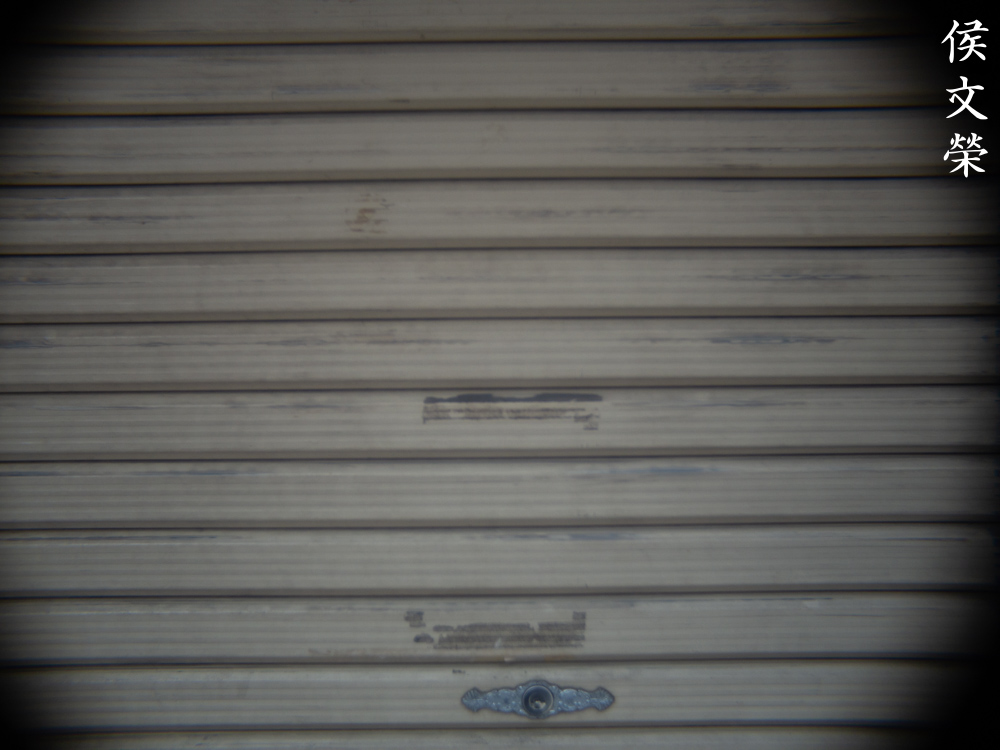
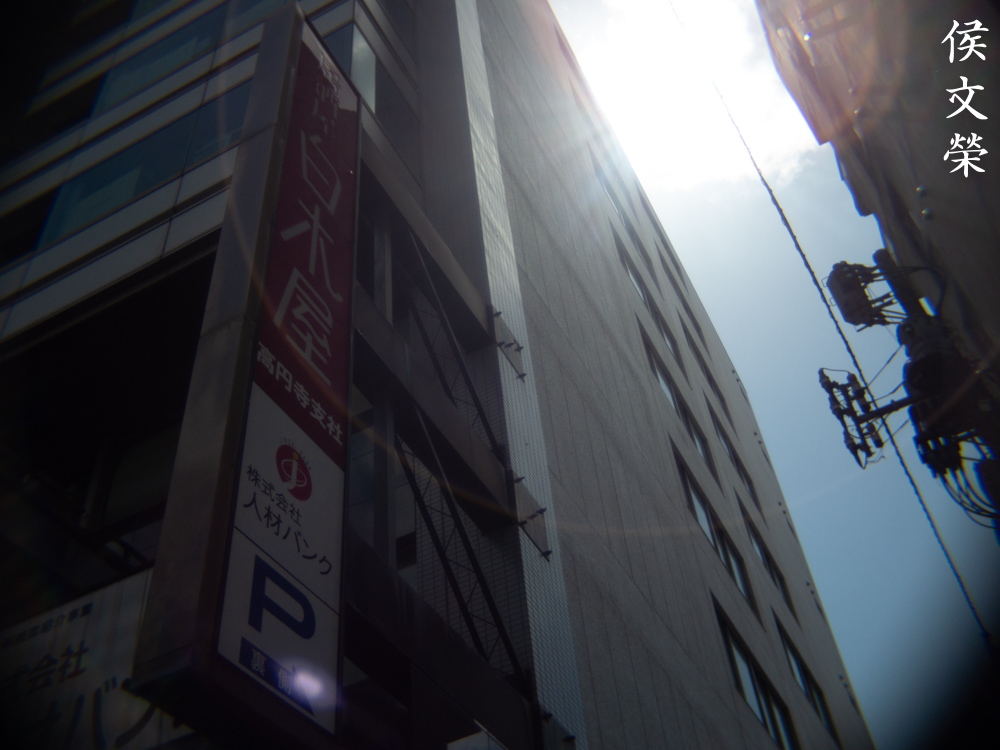
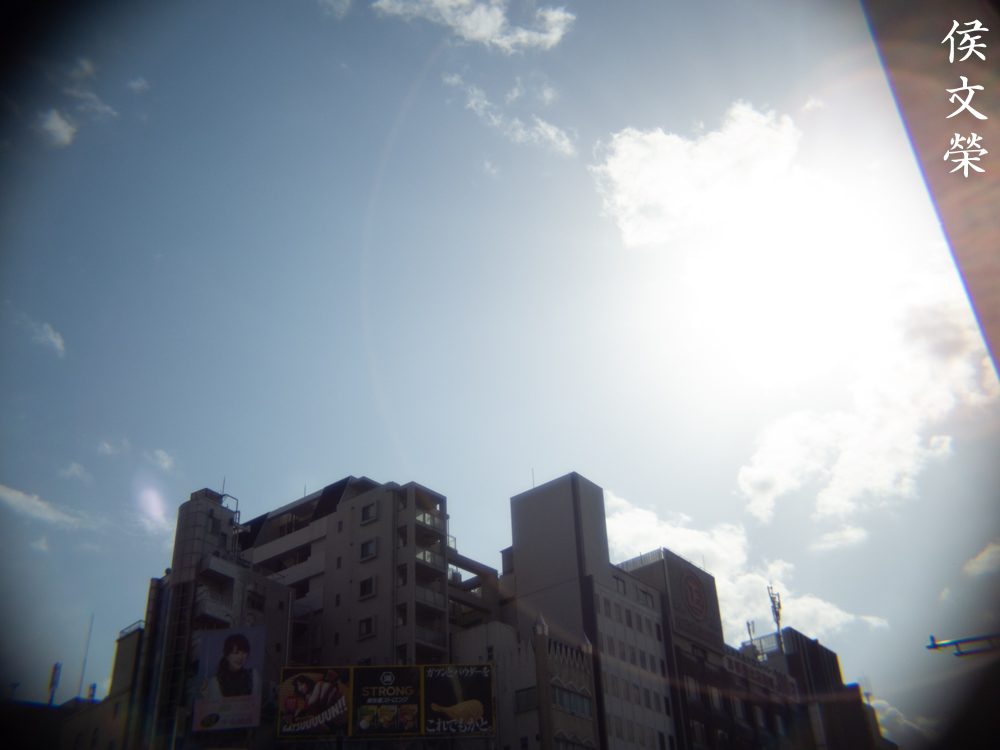
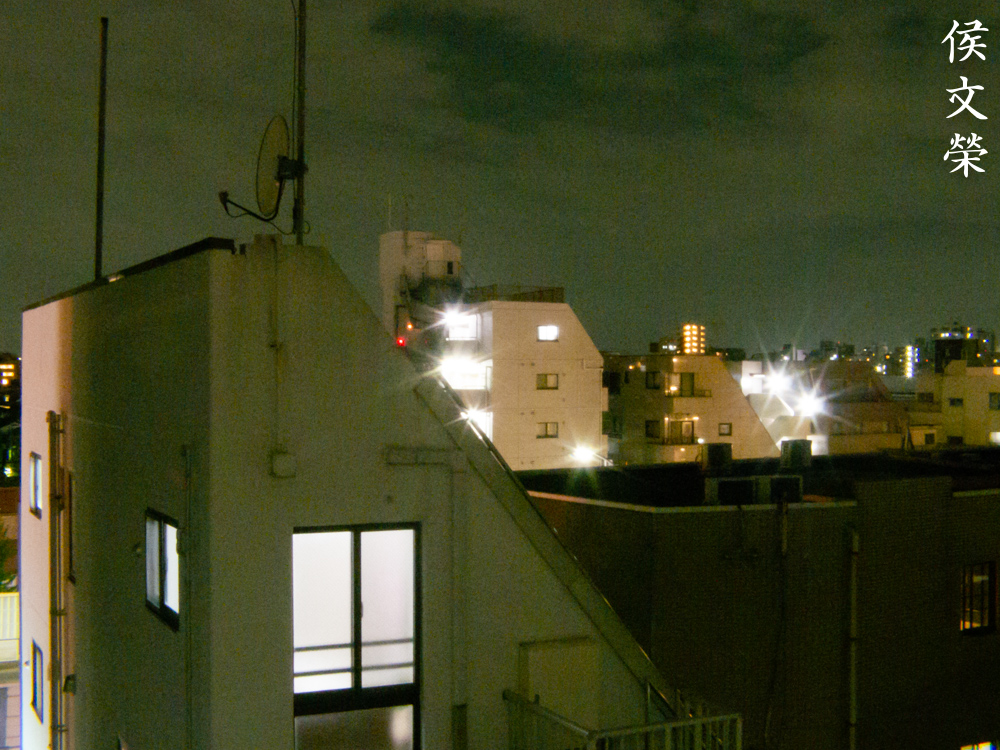
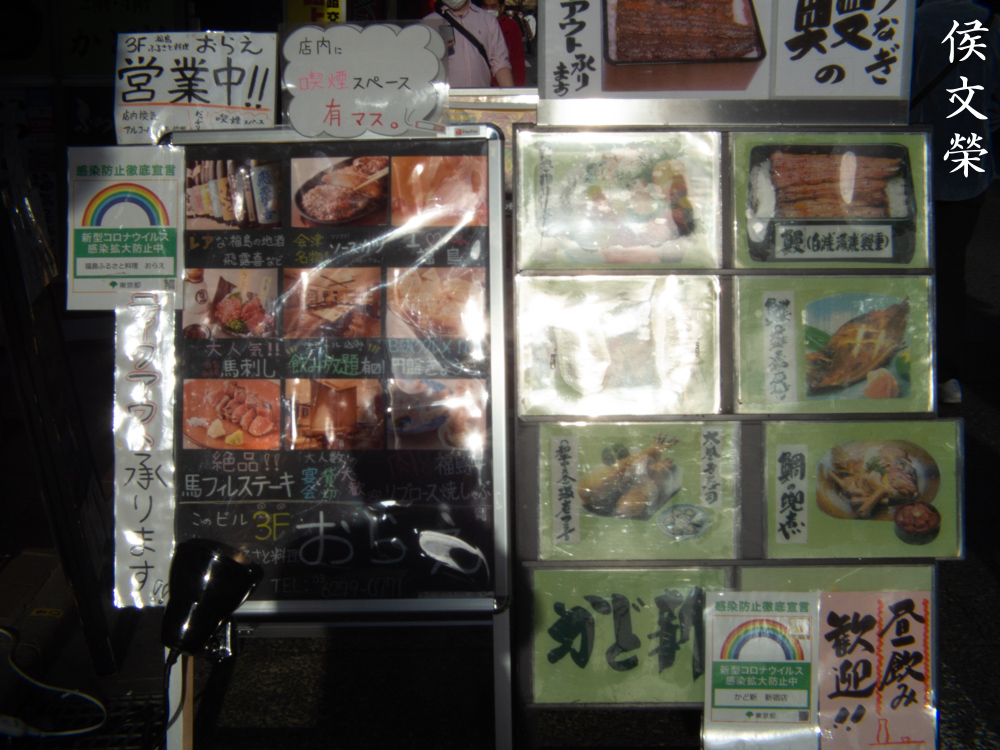
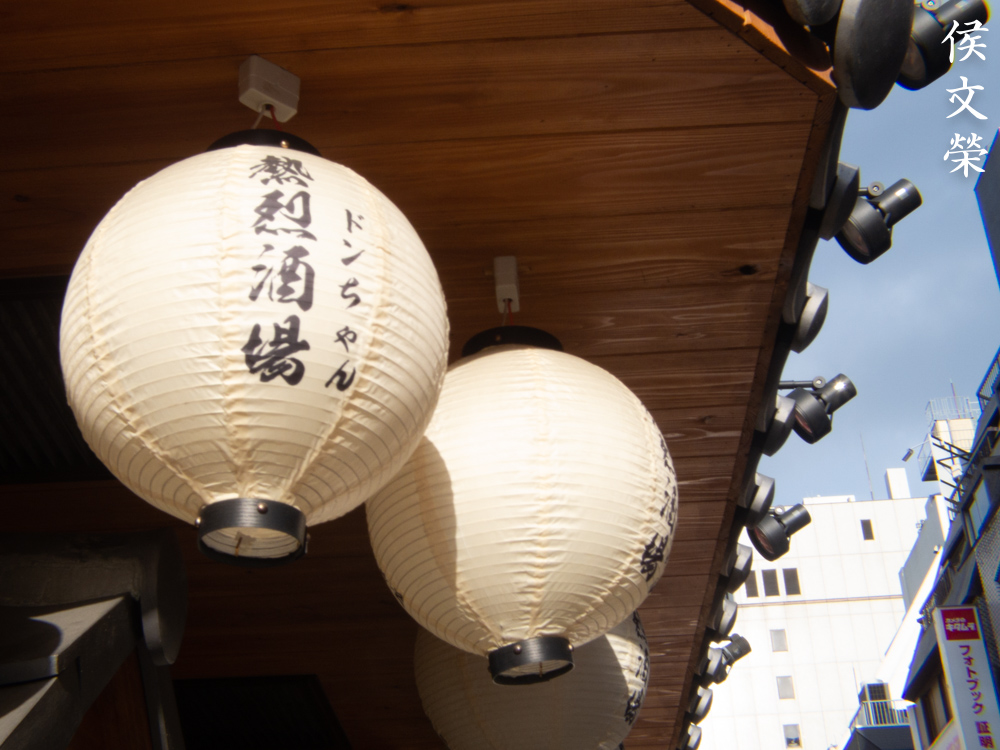
This is how ghosts and flare looks like in real-world scenarios. It isn’t not as bad as my previous examples and it won’t be as obvious when shooting with monochrome film.

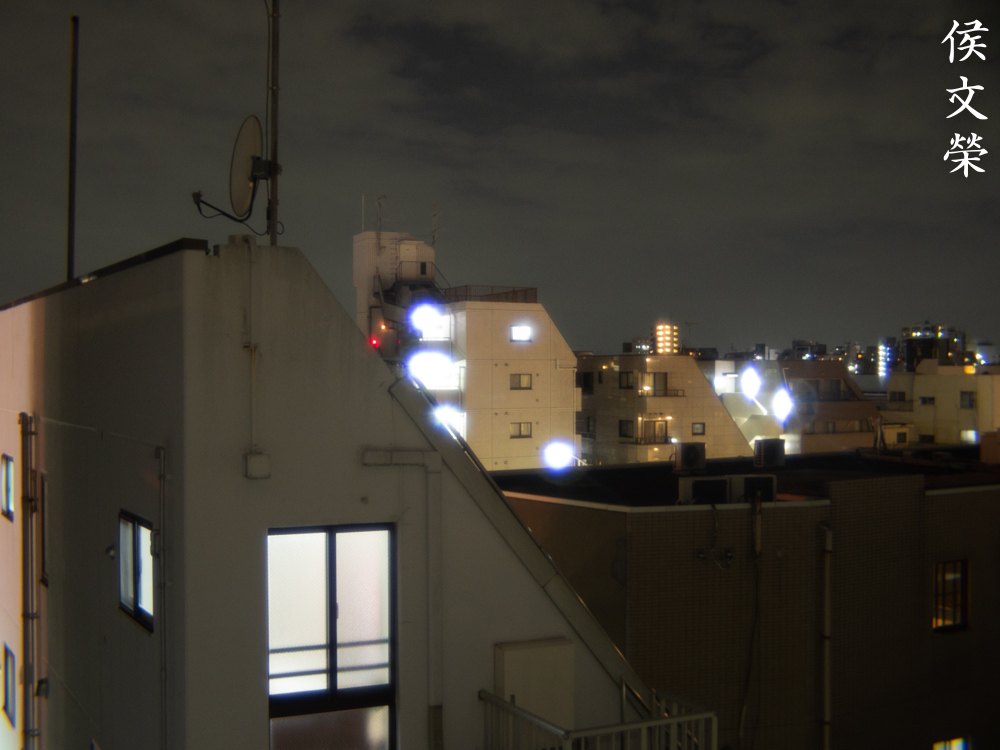
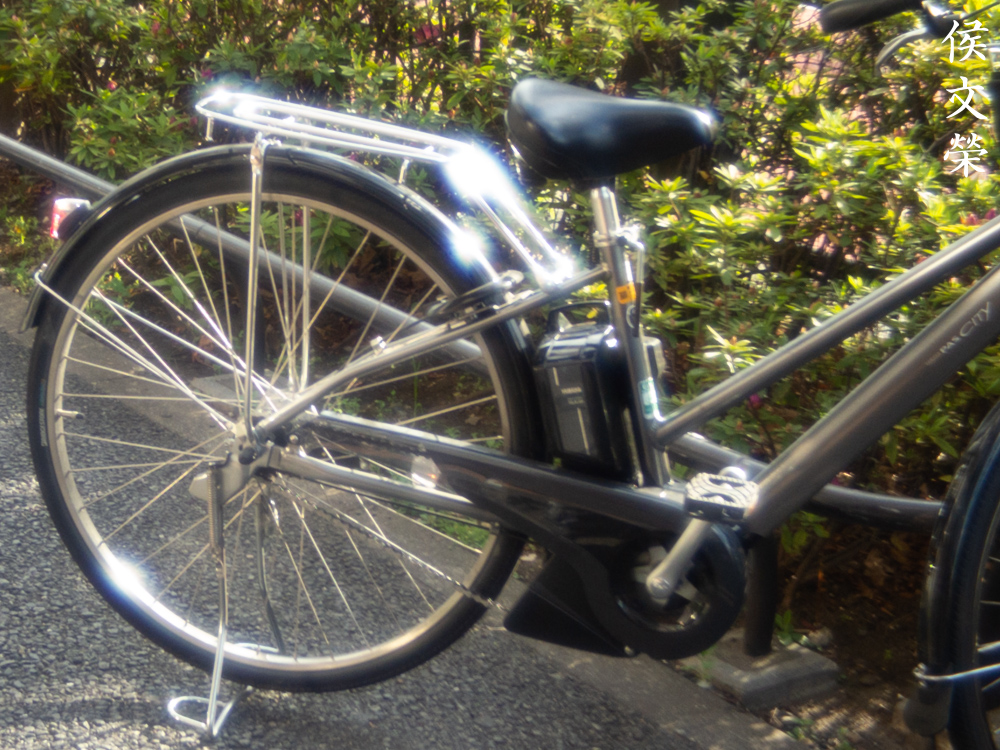
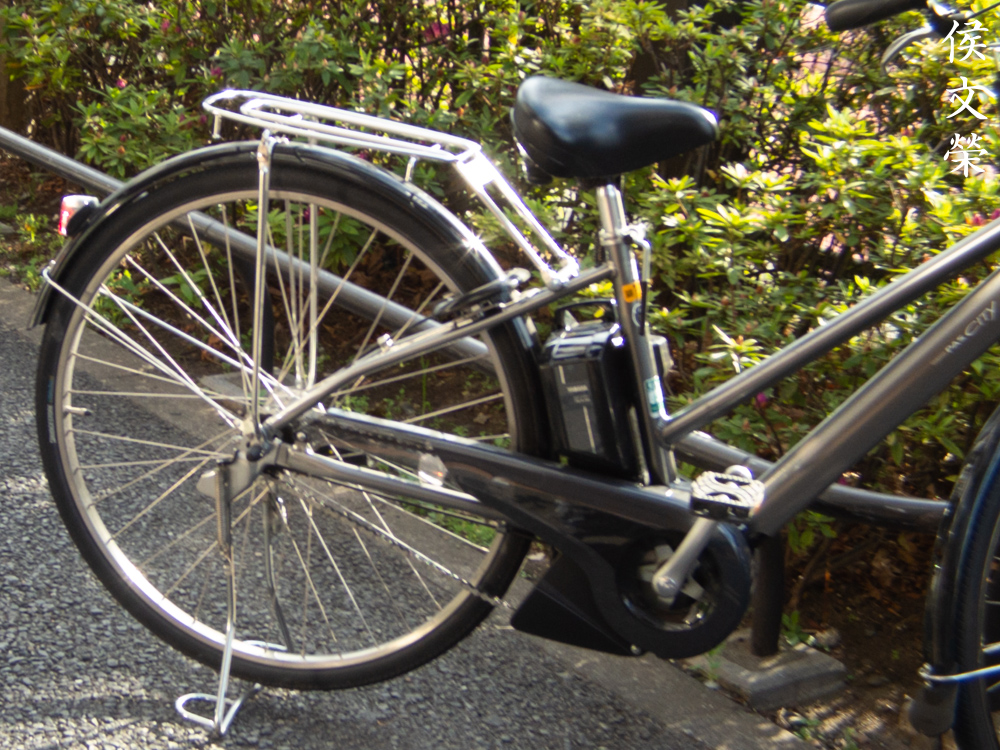
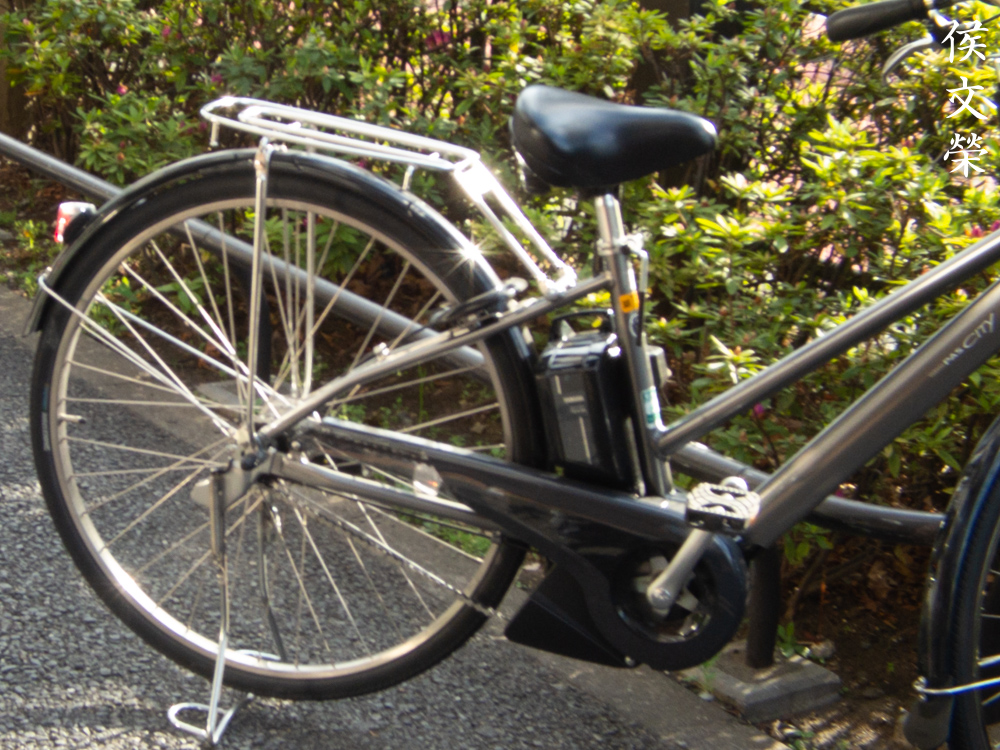
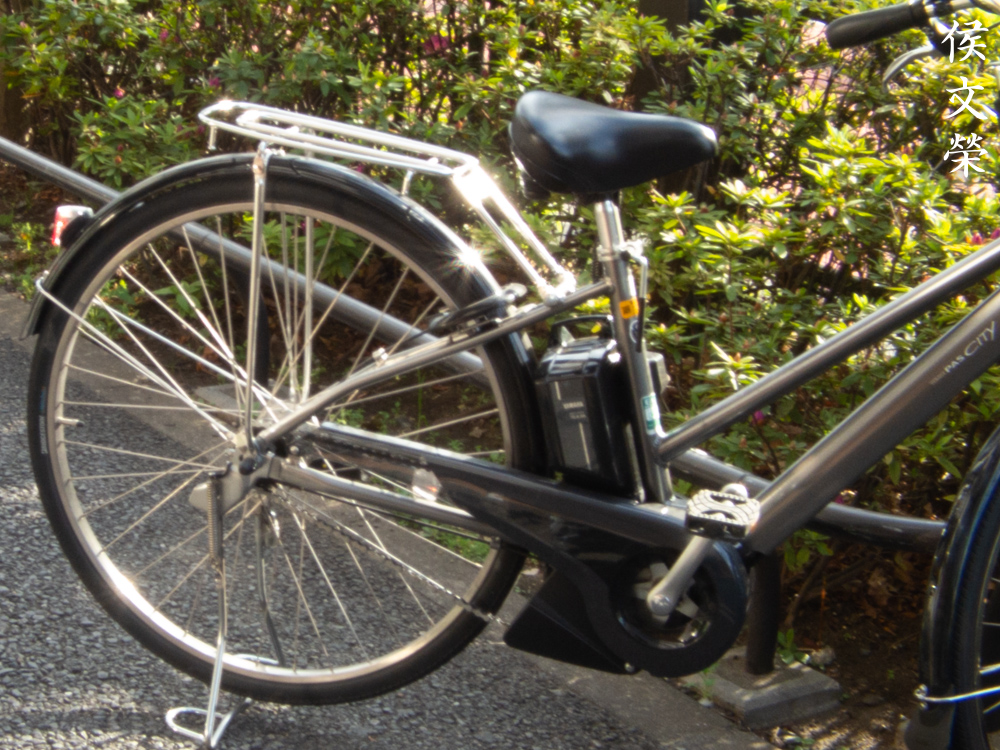
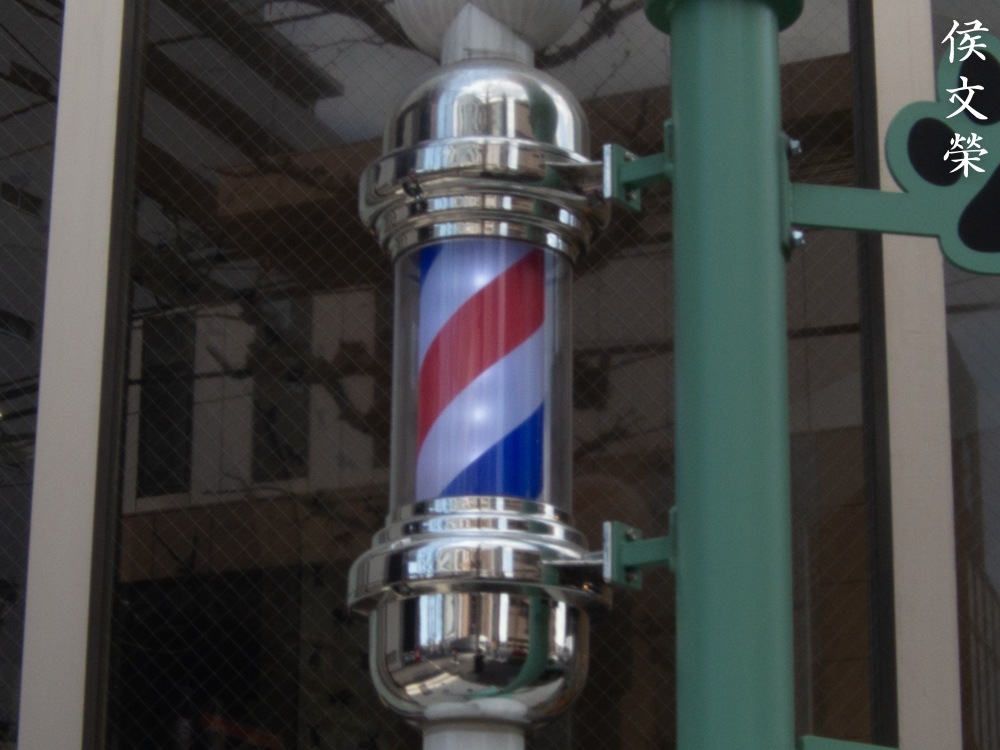
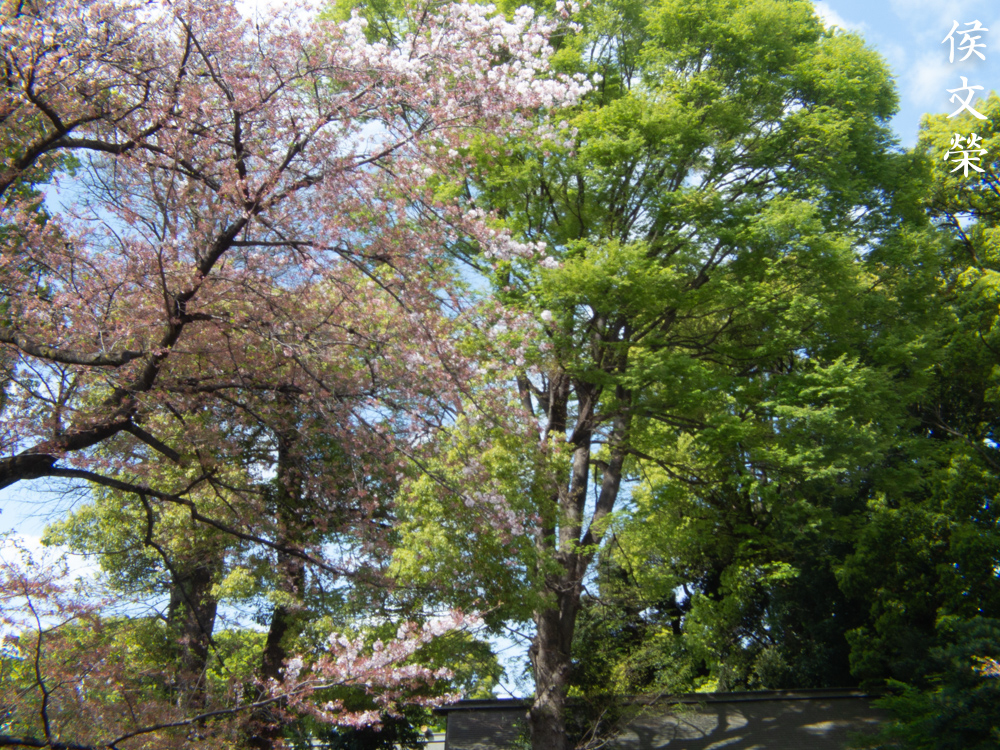
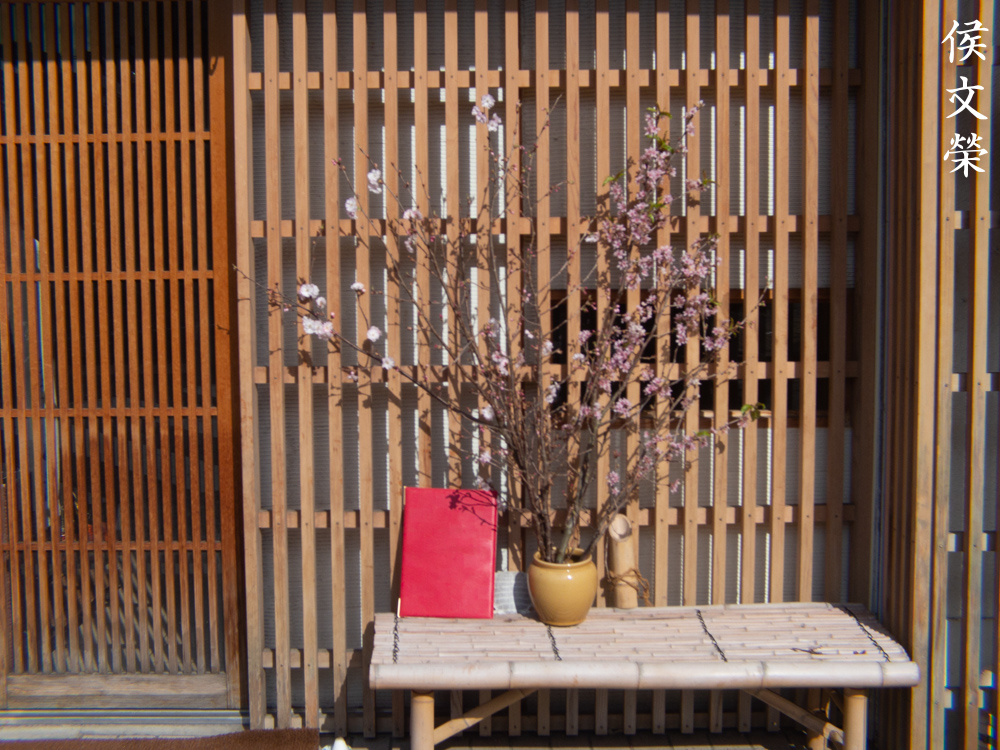
I am more bothered by how bright things seem to glow when shooting wide-open, it’s unnatural and distracting. This is useful for certain effects like portraying a hot, sunny day but I’d rather not see this at all. The only way to get rid of it is to stop the iris down to clean things up.

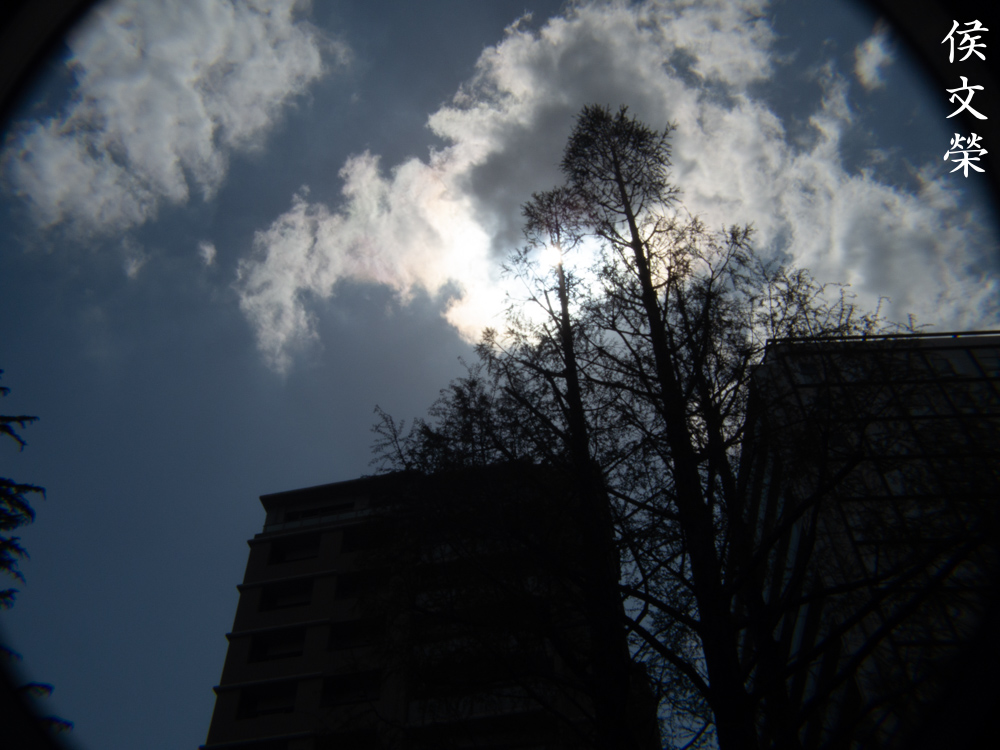
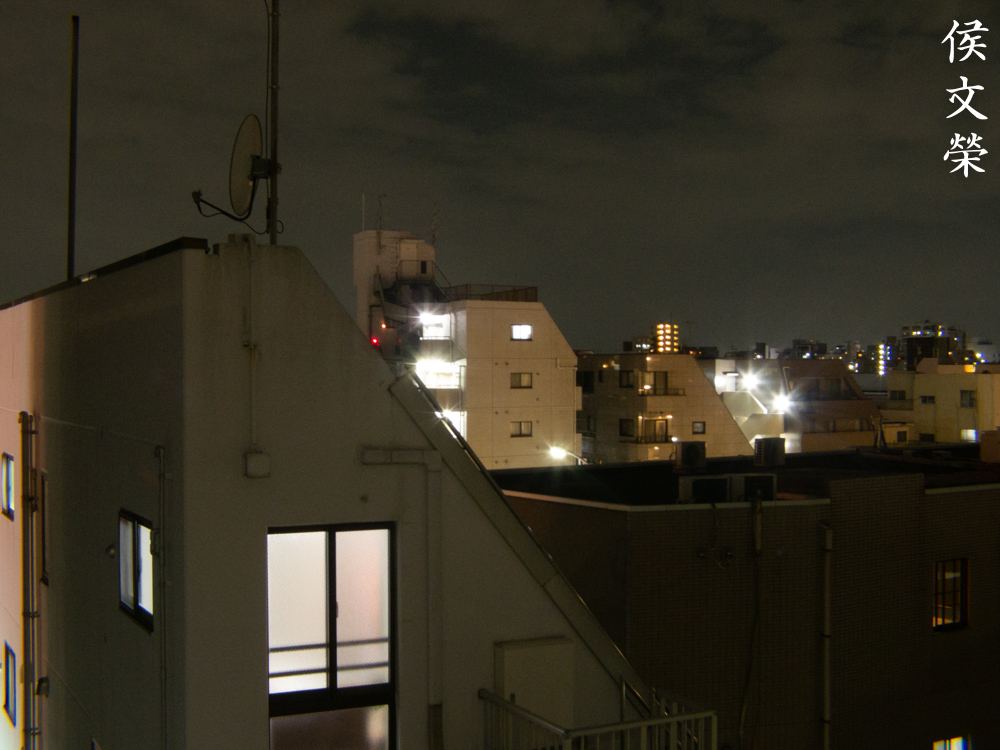
Everything looks “normal” when stopping the iris down to at least f/4, the added depth-of-field is also a bonus which is handy for getting more things in-focus.
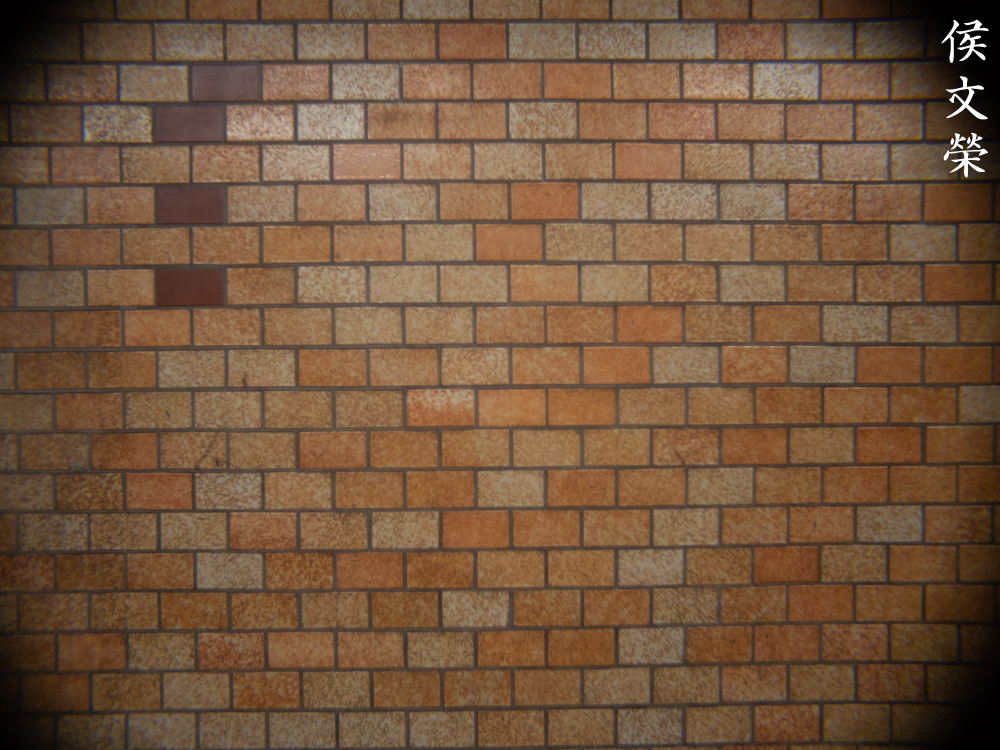
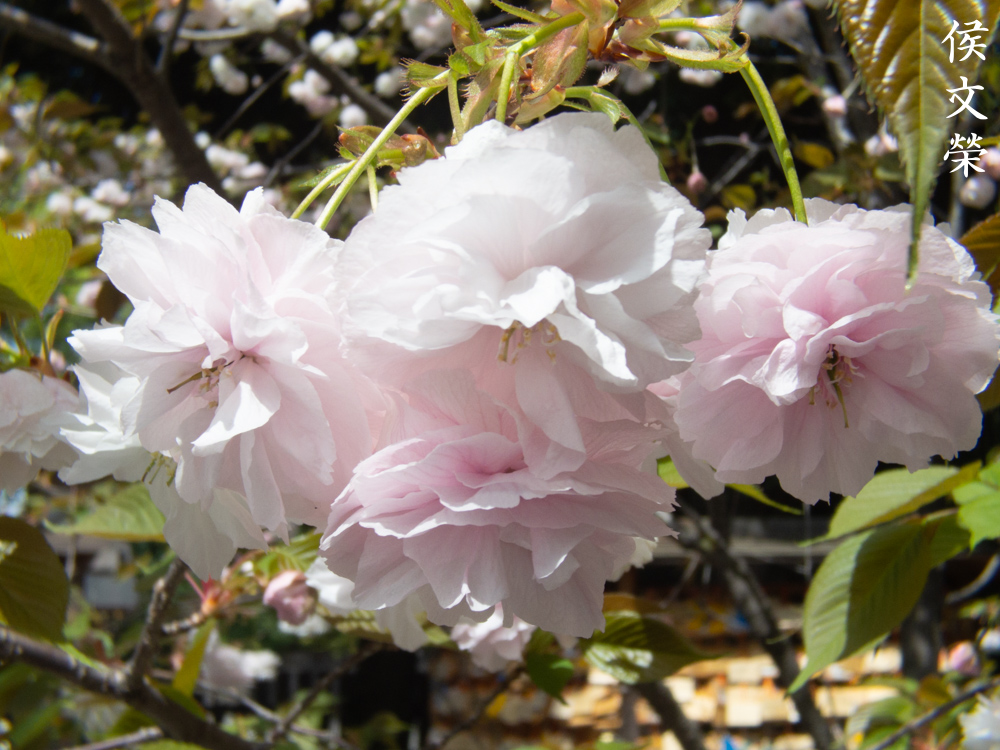
The effects of distortion won’t be obvious as it is rather shallow but you’ll still be able to detect it if you know where to look for it. I’m personally not bothered by it at this level.
Slanting your lines even by a bit helps prevent the effects of distortion from being seen easily.


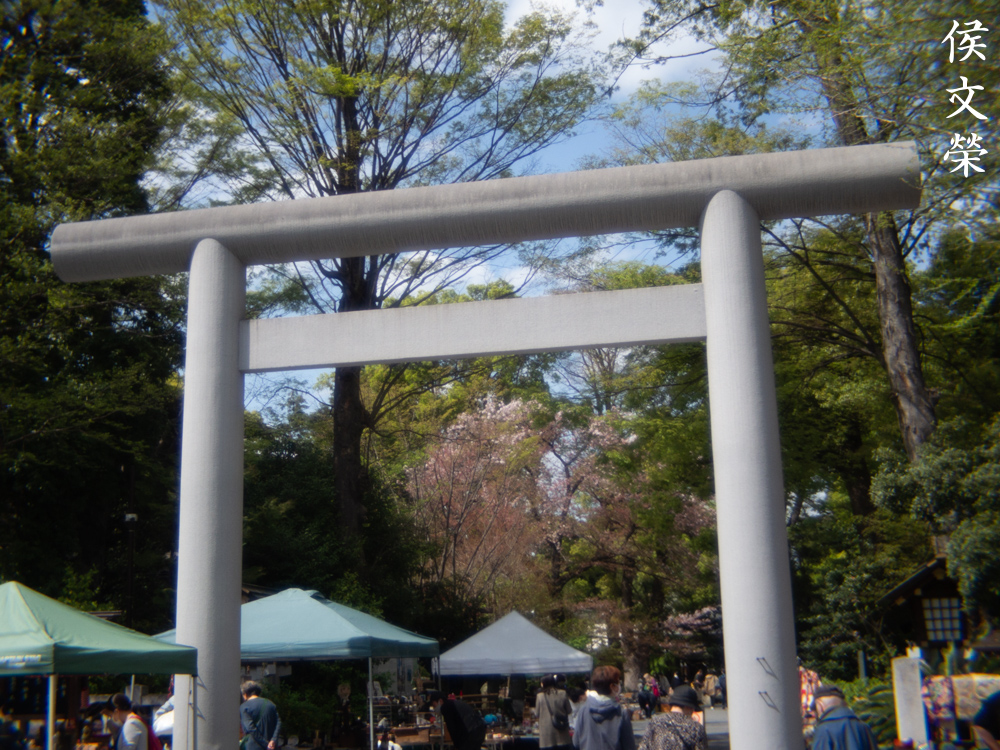


(Click to enlarge)
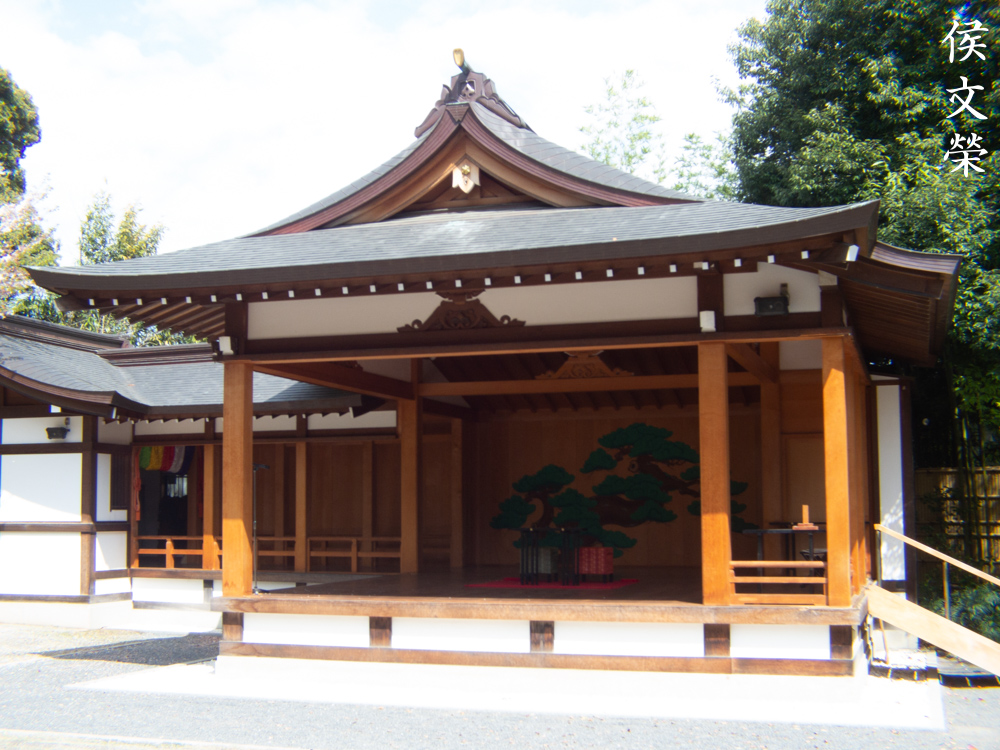
Here are more photos that I took with this lens. Despite not being the best tool for the job you’ll end up using this as it is the only tool available if you want to stick with Cine-Nikkors. It’s able to give decent results so long as you crop your photos and stop the iris down to something more practical like f/5.6 and let intuition do the rest for you.


(Click to enlarge)
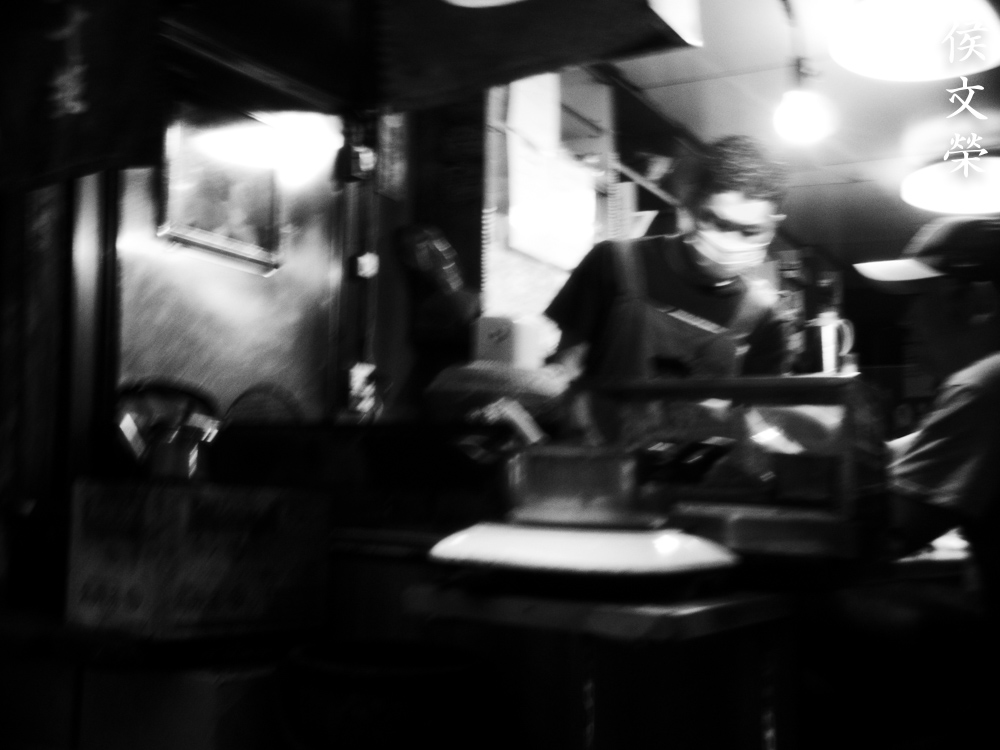
Here’s a bonus! Since this lens produces quirky-looking photos and the Pentax Q series is notorious for producing and rendering blocky and grainy noise I’ve decided to use it for taking photos in the style of the great Moriyama Daido. It’s a fixed-focus lens, Moriyama Daido isn’t one to focus his photos so this setup is nice for mimicking his style. Snapshots are easy since the depth-of-field is rather wide. Set the ISO to its highest and just shoot without even composing. Just follow your instincts and “use the force”.
This is a nice lens, I recommend this not for its performance or handling but because it’s the only Cine-Nikkor you can get if you want to shoot wide with a D-mount lens and stick to the Cine-Nikkor brand. These are inexpensive and they can generally be found under $80.00 or so, I got mine for $50.00 because mine was sold as junk. When buying one be sure that the iris works properly and it’s not oily. Operate the aperture ring to see if anything is wrong. This is a tough lens as there’s nothing much that could go wrong with it. You could have lots of fun with it and only your imagination is the limit when it comes to using it to its full potential.
Before We Begin:
If this is your first attempt at repairing a lens then I suggest that you see my previous posts regarding screws & drivers, grease and other things. Also read what I wrote about the tools that you’ll need to fix your Nikkors.
I suggest that you read these primers before you begin (for beginners):
Reading these should lessen the chance of ruining your lens if you are a novice. Before opening up anything, always look for other people who have done so in YouTube or the internet. Information is scarce, vague and scattered (that is why I started this) but you can still find some information if you search carefully.
I highly recommend that you read my working with helicoids post because this is very important and getting it wrong can ruin your day. If I can force you to read this, I would. It is that important!
For more advanced topics, you can read my fungus removal post as a start. It has a lot of useful information, it will be beneficial for you to read this.
Disassembly:
The construction is identical to the older Cine-Nikkor 6.5mm f/1.9 so you can also read that article for guidance. Since I couldn’t separate the front barrel from the main one I won’t be showing you how to service the iris in this article. That’s covered by the Cine-Nikkor 6.5mm f/1.9 repair article so go there and read about the details.
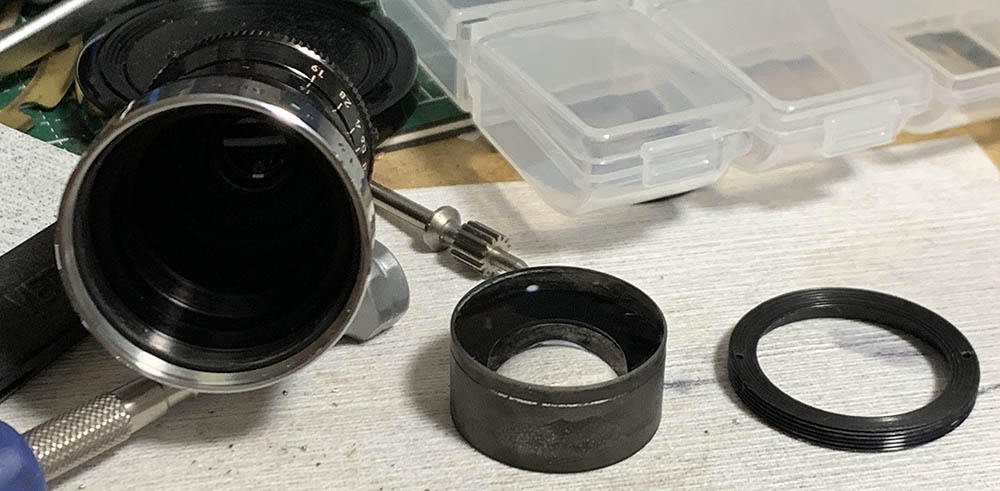
Loosen the screws of the mount to remove it from the barrel.
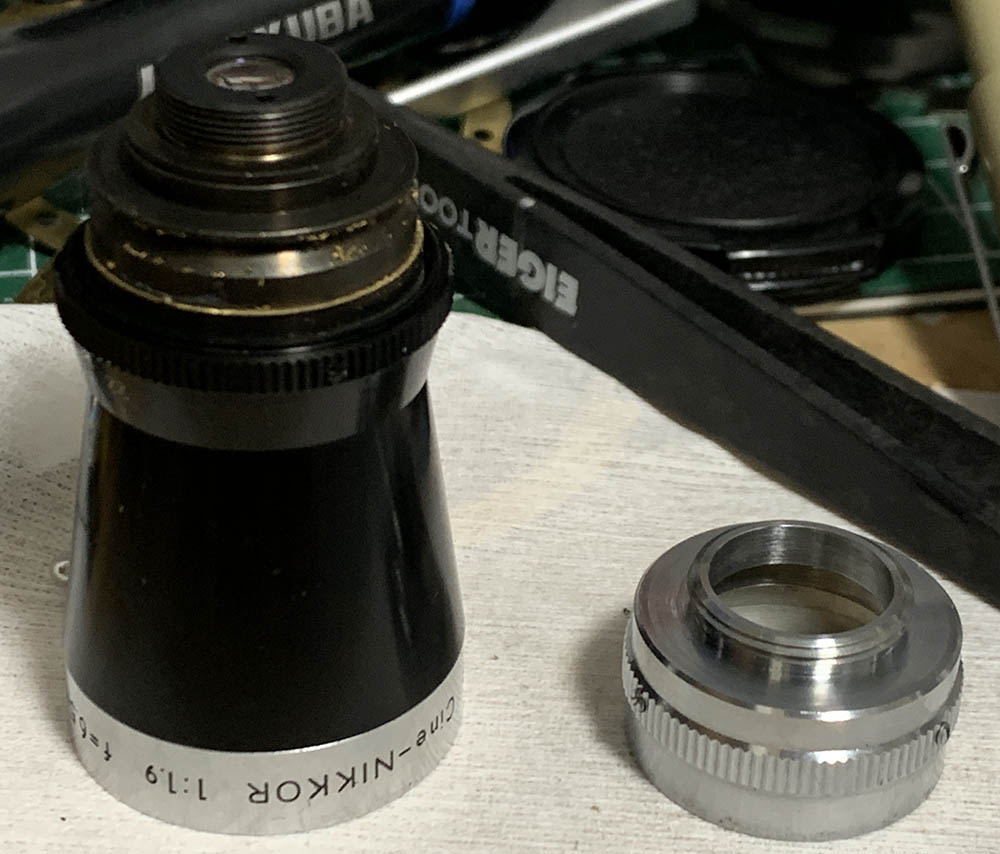
Remove the mount by pulling it off.
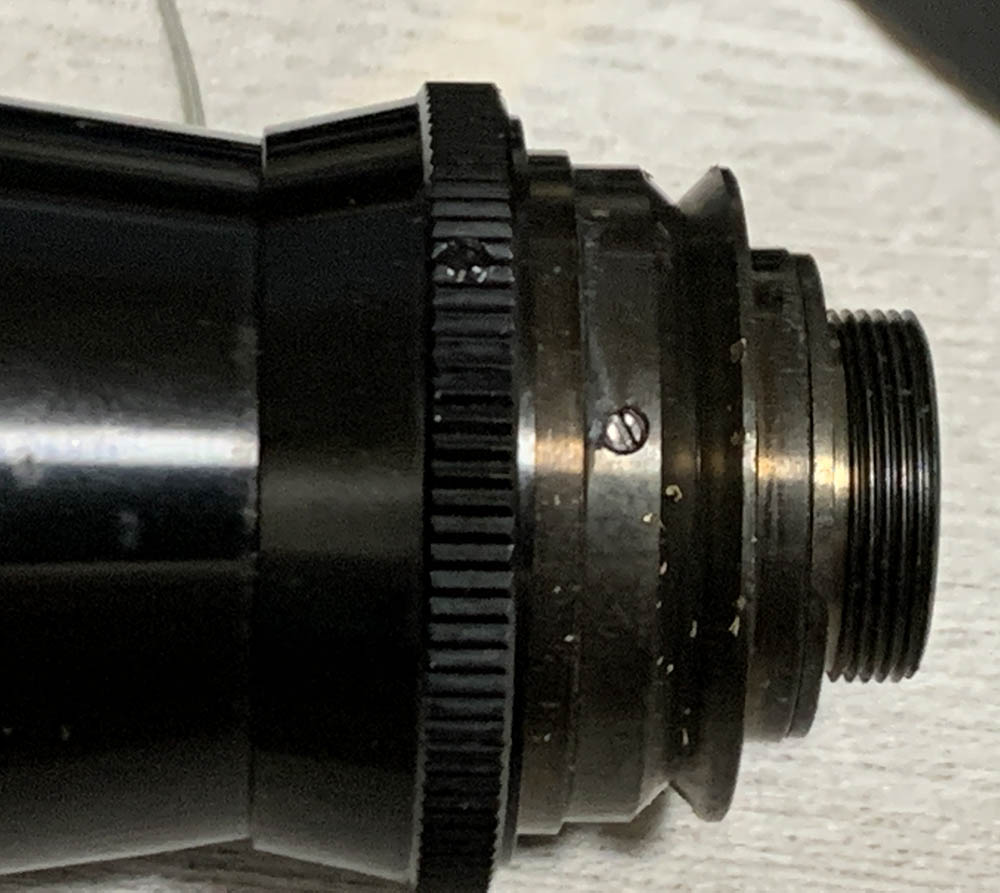
There’s a screw here that serves as a pin coupling the iris mechanism to the aperture ring. I left this alone since I won’t be doing anything to the iris anyway.
The rear optics assembly could be unscrewed by your hands if it isn’t sealed.
Do not do anything to these small screws as of now since they’re used for adjust the iris mechanism.
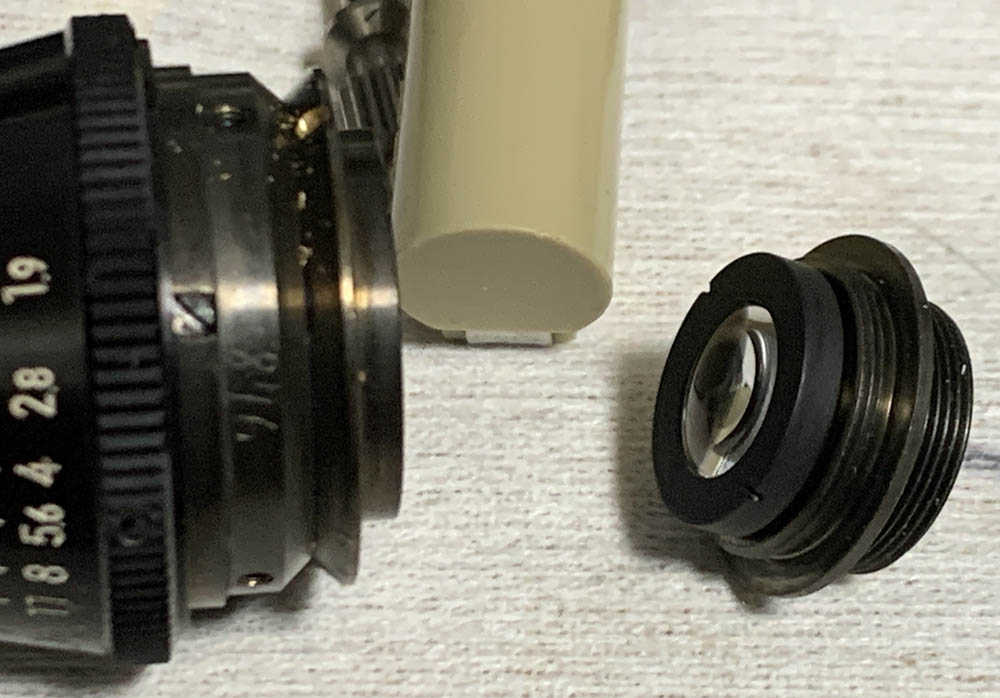
Unscrew the retainer of the front group to remove it. Use a lens sucker and carefully pull the front group off. It’s a huge chuck of cemented glass so do not flood this part with solvents.
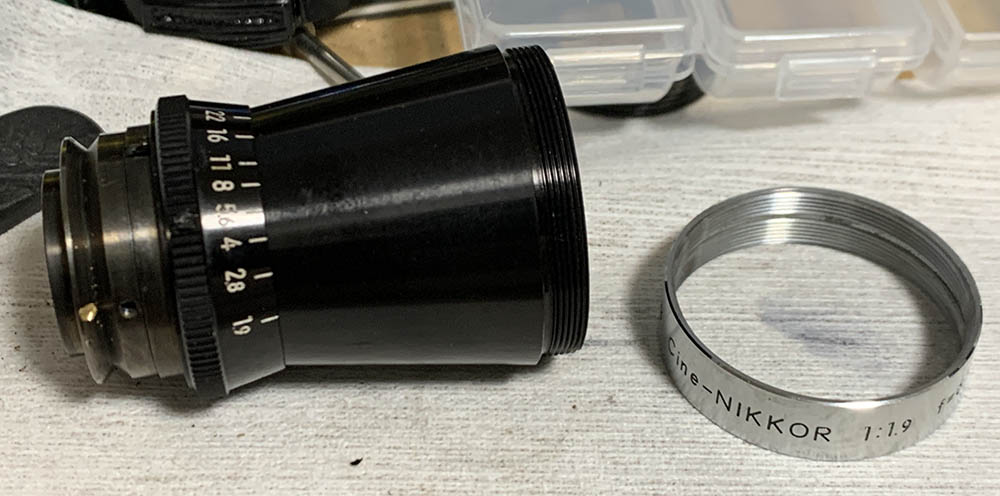
The bezel wasn’t sealed on this one so it was easy for me to unscrew it from the front barrel.
Carefully clean everything and don’t leave any residue. I wish I could’ve opened the iris to clean it but the front barrel is stuck. Since there are optics in that part of the lens I just skipped it and called it a day.
Conclusion:
Well, I didn’t do much to it since it’s stuck. If you’d like to know more about this lens read my Cine-Nikkor 6.5mm f/1.9 article. That’s more in-depth and I stripped the lens down to the last screw.
Before you could shoot with it you should adjust its focus so it can focus properly despite being a fixed-focus lens. This can be done by fabricating shims for it, read my article on how to adjust a D-mount lens’ focus using shims so you could use this properly with your adapter.
Thanks for following my work, if you liked this article please share this with your friends so it will get more views. This site earns around $0.40 a day, we are totally reliant on views. You could also support this site, it helps me offset the cost of maintenance and hosting. You are also helping me purchase, process and scan film. This site promotes the use of film so we are all in this together. See you again in the next article, Ric.
Help Support this Blog:
Maintaining this requires resources and a lot of time. If you think that it has helped you or you want to show your support by helping with the site’s upkeep, you can make a small donation to my paypal.com at richardHaw888@gmail.com. Money isn’t my prime motivation for this blog and I believe that I have enough to run this but you can help me make this site (and the companion facebook page) grow.
Buy me a roll of film or a burger?
Thank you very much for your continued support!
$2.00
Helping support this site will ensure that this will be kept going as long as I have the time and energy for this. I would appreciate it if you just leave out your name or details like your country’s name or other information so that the donations will totally be anonymous. This is a labor of love and I intend to keep it that way for as long as I can. Ric.

3 Comments (+add yours?)