
Hello, everybody! Did you watch the Joker movie? I think it’s a great film, it showed us a different aspect of the character and gave him some humanity. I love this version of the Joker a lot but I think that Jack Nicholson’s version is the better one because it’s closer to the classic depiction of the character. I love both versions, they explore totally different aspects of the Joker. Today, I will show you a version of the lens that I prefer over the newer one. This is just as amazing as the later one but it has a few more things to offer.
Introduction:
The Nikkor 50mm f/1.2 Ai debuted in the late 1970s as a native Ai lens and it replaced the New-Nikkor 55mm f/1.2 as Nikon’s fastest “standard” lens. This is a dream-come-true for Nikon since they have trying very hard to produce something like this for nearly 2 decades now. What filled that gap is the old Nikkor-S 55mm f/1.2 Auto, it was a compromise in the sense that it had to be a 55mm lens instead of 50mm. It was difficult to design something like this for an SLR system at that time because the required technology to make this hasn’t matured yet. The rear element has to avoid the flapping mirror of an SLR and that took some time to solve. This lens was a technical wonder and its design lives to this day in the Nikkor 50mm f/1.2 Ai-S which is still made to this day.

The big front element is the showcase of this lens. It’s needed in order to get as much in to the film or sensor. It’s impressive, an amazing feat in terms of optical engineering.
The optical formula is composed of 7-elements-in-6-groups, the engineers at Nikon did a great job at keeping the elements count low when they could’ve easily solved the problem by adding more elements and keeping the barrel compact while still maintaining a 52mm filter. The resulting design is a fat barrel, wider than it is long.

The optical design is identical to the Nikkor 50mm f/1.2 Ai-S but the barrel is different, this one has a longer focus throw which I find more useful. This is also better-built like most Ai lenses compared to their Ai-S versions. You are going to feel the quality instantly once you hold it in your hands.

A hood is essential in order to protect the front element from damage, light coming from the sides and fingerprints. The snap-on hood is great but that can get knocked-off rather easily so I prefer the screw-in type. It’s a perfect match for the Nikon F6 where it balances perfectly.
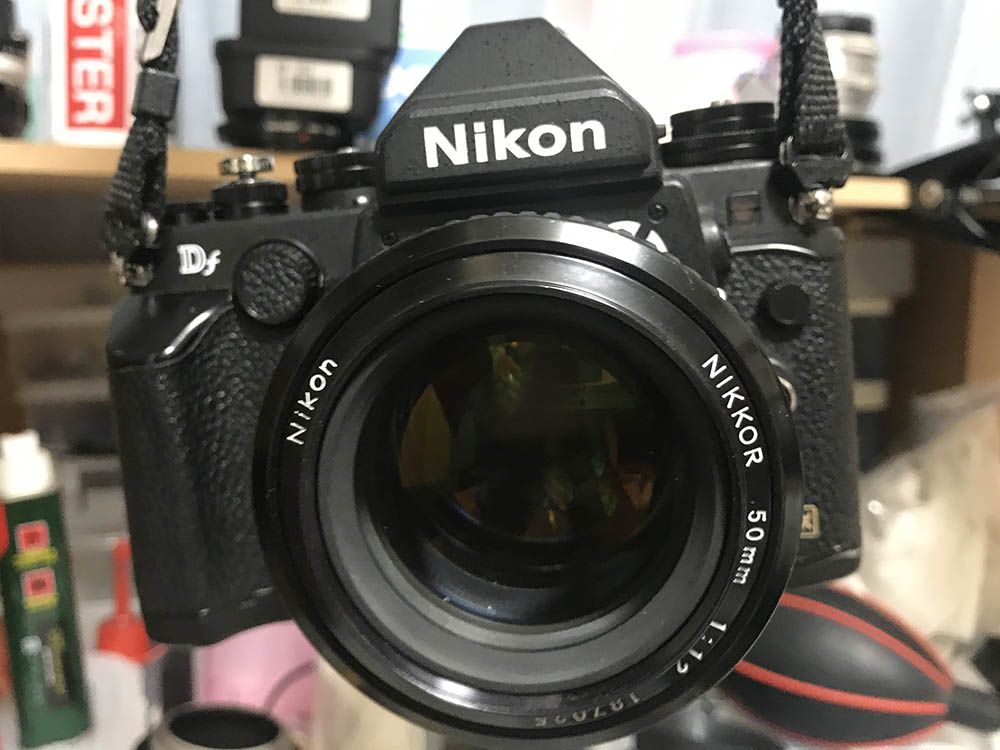
This lens is still a great performer with digital Nikons, I love using mine on my Nikon Df. The resolving power of this lens is great once you stop it down a bit and the latest high-resolution sensors won’t out-resolve it.
Knowing how a lens performs is key to exploiting it. You’ll learn to avoid its flaws and maximize its strengths. I took these photos with a Nikon Z6, these were taken from f/1.2, f/2, f/2.8, f/4 and f/5.6 from left-to-right.


(Click to enlarge)
It’s decently wide-open but the frame is filled with spherical aberration. It’s beautiful in terms of rendering and with subtle tonality. The bokeh quality is astounding wide-open, no outlines and harshness. It has a painterly-look, too. Flaring and ghosts can be observed, the former is bothersome but it can be used to your creative advantage. Coma is terrible wide-open as expected, lenses in this class are known for this, this is no Noct-Nikkor 58mm f/1.2 Ai-S. Coma is nearly-gone by f/2 and you won’t see much of it from f/2.8 on. The quality of the bokeh remains great but it can have a slight tendency to look a but clumpy at times when given the right variables. It’s not bad at all, this is one of the best I have seen in a 50mm lens. The sunstars look nice, this is a great lens for light-time shots if you want amazing sunstars.


(Click to enlarge)
Sharpness is decent wide-open, more than usable as oppose to what people are saying on the internet. Spherical aberration is strong but that is normal for this type of lens. Chromatic aberration isn’t bad at all and is tolerable. At f/2, things start to look much better. Sharpness is near-peak, the resolution is rather high for such a wide aperture. Vignetting is terrible still, it does not seem to improve but it’s a bit better than at f/1.2. You can say that sharpness is at its peak at the center by f/2.8. The corners seem to pick-up but it’s still a bit behind the center. Resolution is very high and you can see things in very good detail. Chromatic aberration is now gone and spherical aberration is not a problem either. Things look perfect from f/4 to f/5.6, stopping down its iris is pointless if all you want is sharpness.
Distortion is awful, I won’t use this for architecture or art. This is how sharp it is wide-open at its closest focusing distance.
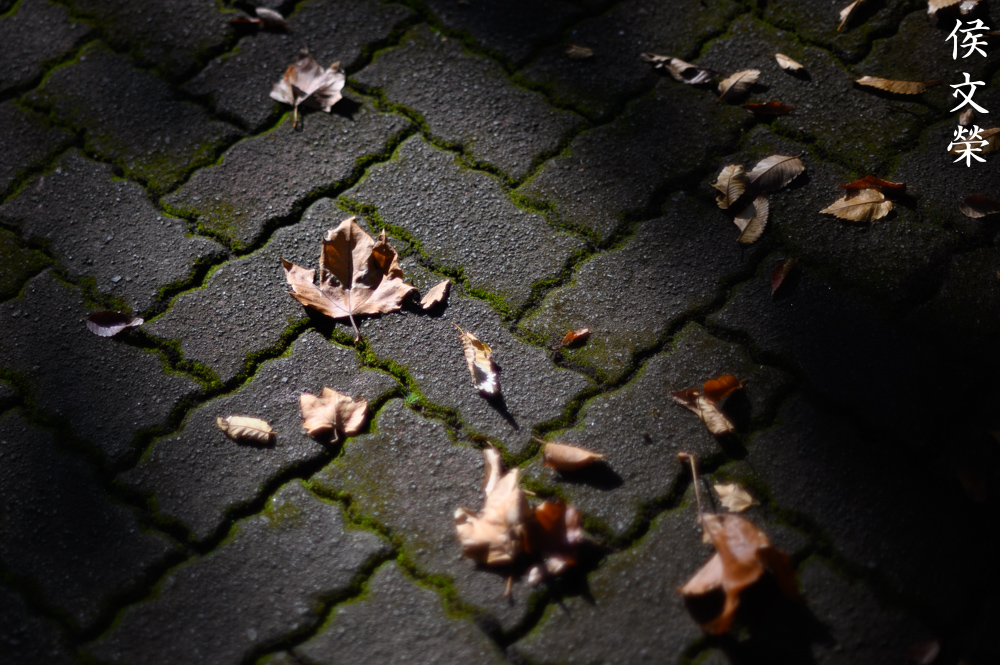
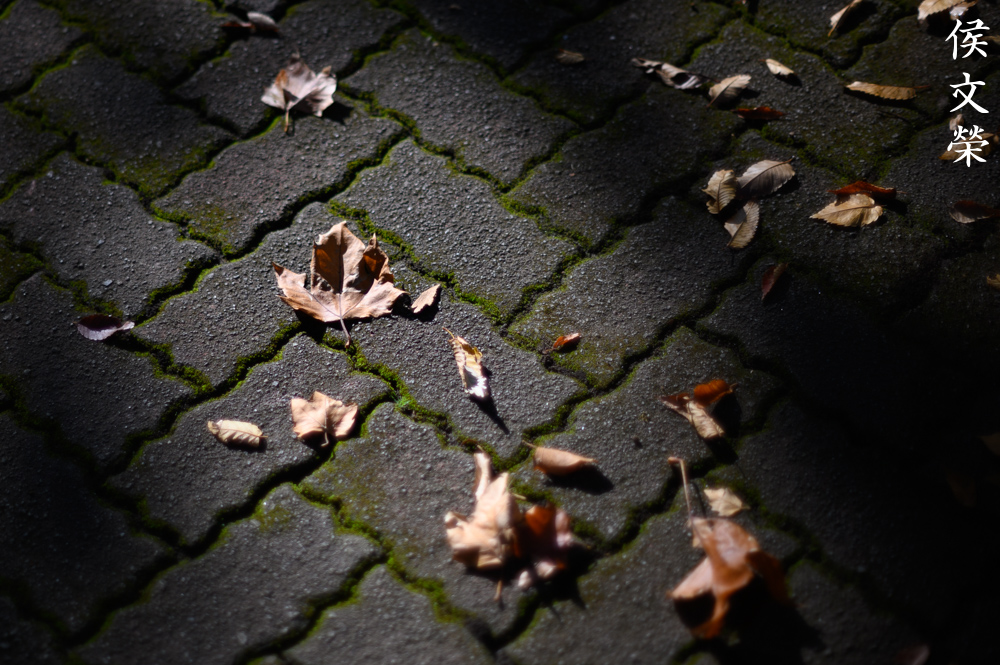
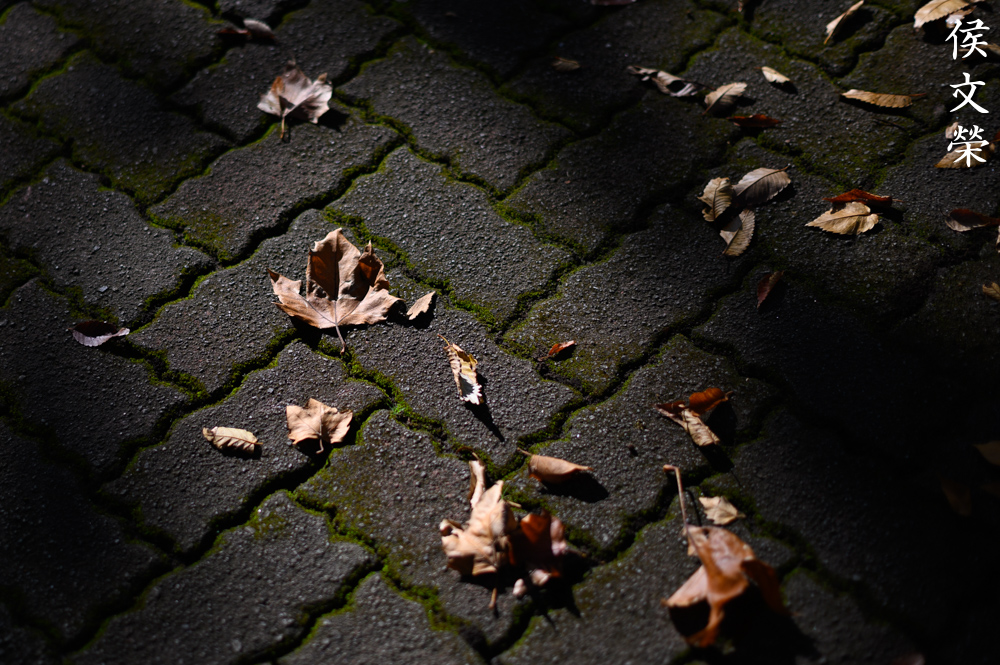
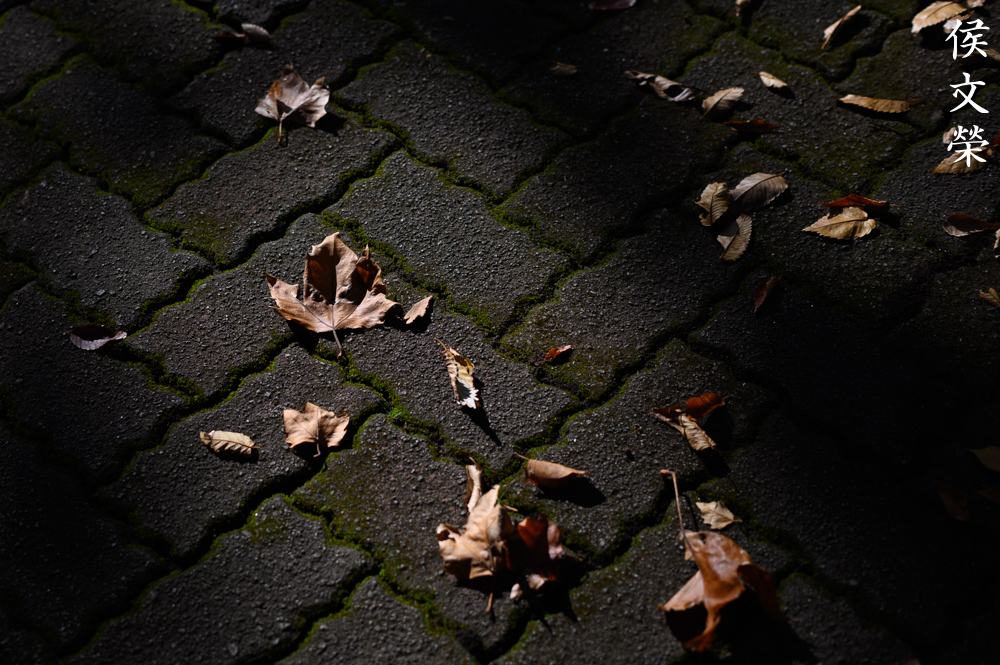
Let’s now see some real-world photos. These were taken at Halloween, this lens can be difficult to focus because of the thin depth-of-field, shooting this wide-open only makes it worse because your keep-rate will even go lower. I had a hard time tracking my subjects even if they’re just walking. With a lot of patience and practice you can get a higher rate of keepers. I used a Nikon Z6 for these, the EVF helps a bit but using a DSLR will probably be better if you’re shooting in this kind of lighting condition.

Who says this lens is useless wide-open? This is more than usable to me. It’s great how the background looks like a painting, the focus transition is great, it’s smooth and you won’t get hit by a wall-of-focus like what many modern lenses tend to do.

The resolving power wide-open isn’t the best but it’s enough to render all of the strands of hair at the focus areas in good detail. It’s not perfect if viewed 1:1 but it’s enough if you’re not printing large.

There’s slight outlining of the discs but not bad at all, I’ve seen worse. This is how thin the depth-of-field is, it’s great for blurring ugly backgrounds from your scene so the focus is on the model.

Chromatic aberration can be observed in the frame of the glass. It’s not bad, it’s actually spherical aberration that’s making it look like that. You can use this to help add a nice touch to your photos, adding a “sexy pass” to it.

I don’t know if this is a real nun, she was preaching that Halloween is never a Christian tradition or something like that and then somebody dressed like a possessed person went up to her after which she tried exorcizing him. The photo should show you how blurred the background can get at this distance so you’ll have an idea when you want to shoot portraits with this.

This is how the character of the bokeh looks like on the foreground blur. It’s exquisite to say the least, some lenses do worse here but this one does this just as good as the background blur.


(Click to enlarge)
Here are some more photos that were taken with this lens. Click on these to see the bigger versions, specially the portraits. This is how good this lens is when shot wide-open. It doesn’t disappoint at all, it beats my expectations.
Let’s now see some photos that were taken with film. Photos that were shot with film look unique because of grain. This is difficult to simulate digitally so I love shooting with film. This lens was designed for film so it’s only good that we see photos that were taken with it. This will help us give this lens a better assessment since these photos were taken with its intended media. I took most of these with Fujifilm Venus 800.

Every click counts when shooting with film so you must focus carefully. It’s hard to focus with this lens if you don’t have a split-screen installed.

This was taken at f/2 and you can see just how sharp it is.

The thin sliver of focus is useful for isolating a part of your scene but it also has the tendency to make your scene look like a miniature.

You can see feint sunstars at the bright points of light, they look nice except for that one near the edge of the thirds.

This is the worst example that I can get when it comes to bokeh quality. The scene has some busy-looking bokeh but this is more of a fluke.


(Click to enlarge)
Here’s the rest of the set. Inspect the photos yourself and judge this lens for yourself. It’s an amazing lens with film, I love the results that I get with it. I highly recommend that you shoot this lens with a fast film as it’s great even wide-open. This is a magic lens for the masses.
I highly recommend this if you can’t afford the Nikkor 50mm f/1.2 Ai-S. This is just as good and the longer focus throw is better in my opinion if you are the type who wants to focus precisely. This lens is not as exceptional as the Noct-Nikkor 58mm f/1.2 Ai-S but it gets the job done. If you’re really short on money the New-Nikkor 55mm f/1.2 is also a good option, it’s not as sharp but it renders beautifully with a unique look to its photos. You cannot go wrong with any of these.
Before We Begin:
If this is your first attempt at repairing a lens then I suggest that you check my previous posts regarding screws & drivers, grease and other things. Also read what I wrote about the tools that you’ll need to fix your Nikkors.
I suggest that you read these primers before you begin (for beginners):
Reading these primers should lessen the chance of ruining your lens if you are a novice. Before opening up any lens, always look for other people who have done so in Youtube or the internet. Information is scarce, vague and scattered (that is why I started this) but you can still find some information if you search carefully.
I highly recommend that you read my working with helicoids post because this is very important and getting it wrong can ruin your day. If I can force you to read this, I would. It is that important!
For more advanced topics, you can read my fungus removal post as a start. This post has a lot of useful information and it will be beneficial for you to read this.
Disassembly (Lens Barrel):
The lens barrel is not so difficult to repair on this lens from an experienced repairer’s point-of-view but this is something that is beyond a novice’s skill. Putting the objective back inside the barrel can be frustrating if you do not know what to do. The barrel construction reminds me of the Nikkor 50mm f/1.2 Ai-S and the Noct-Nikkor 58mm f/1.2 Ai-S when it comes to the helicoid setup so you can read those, too. Taking a lot of notes is vital to make sure that you don’t miss anything just in case.
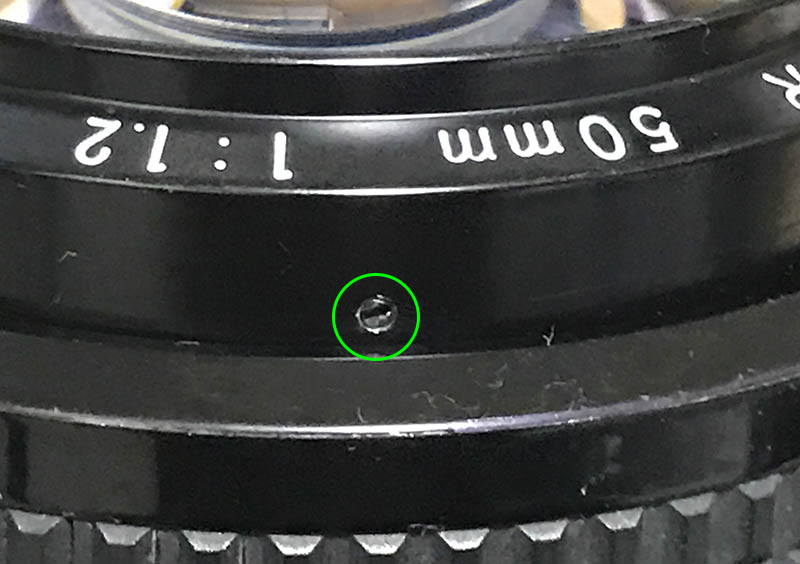
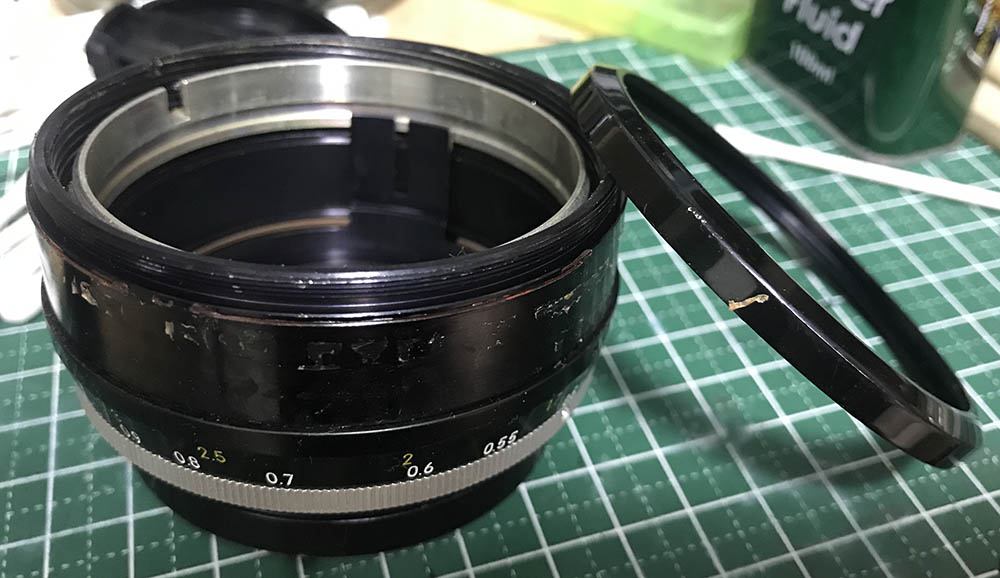
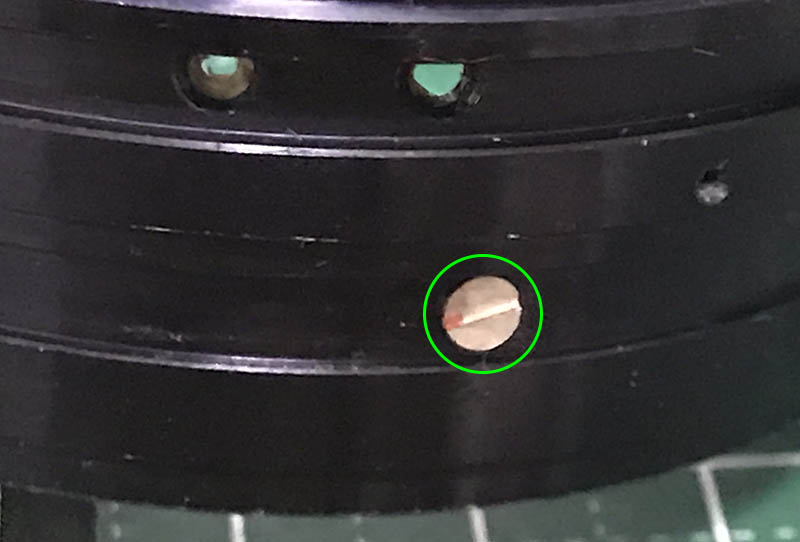
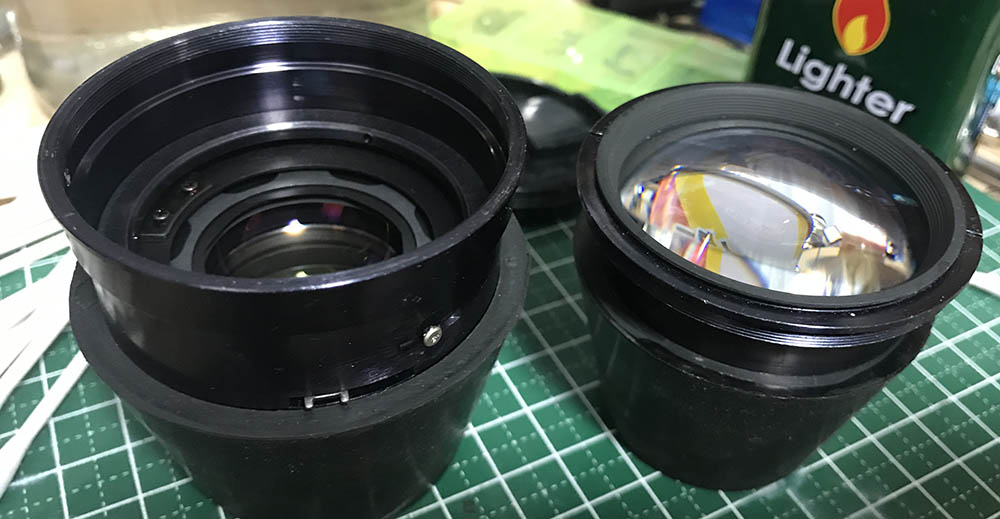
Extract this set screw from the front ring. You’ll have to extend the barrel to access this. You’ll have to carefully remove this screw to prevent damaging it.

The front ring can now be unscrewed once that screw is gone. It should not be stuck at all since this part is rarely glued.
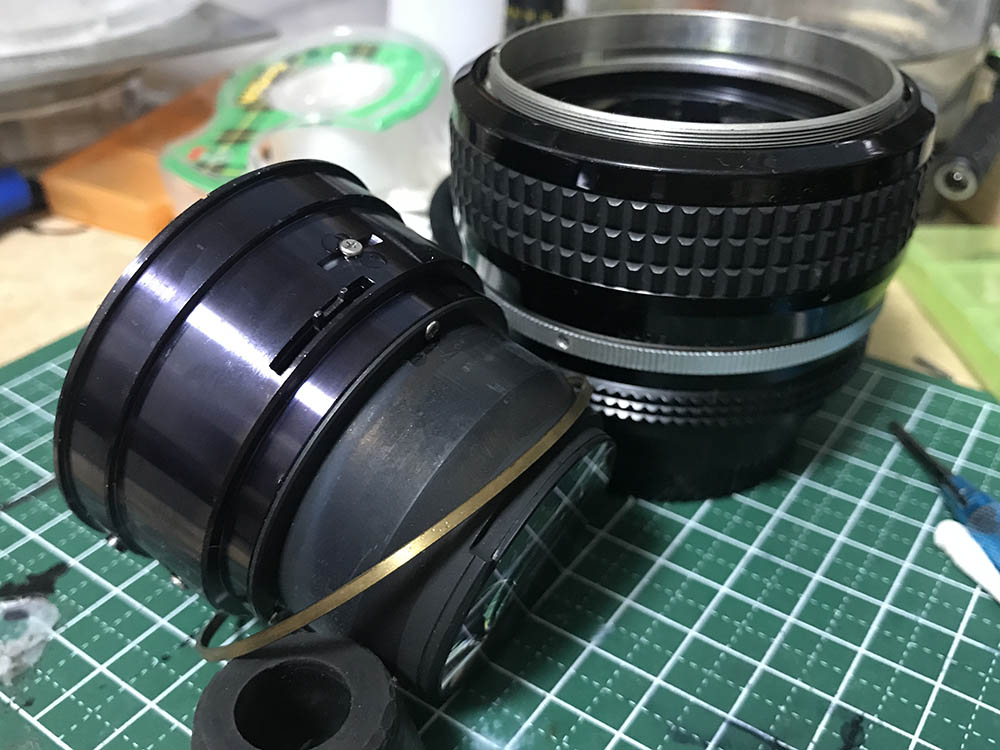
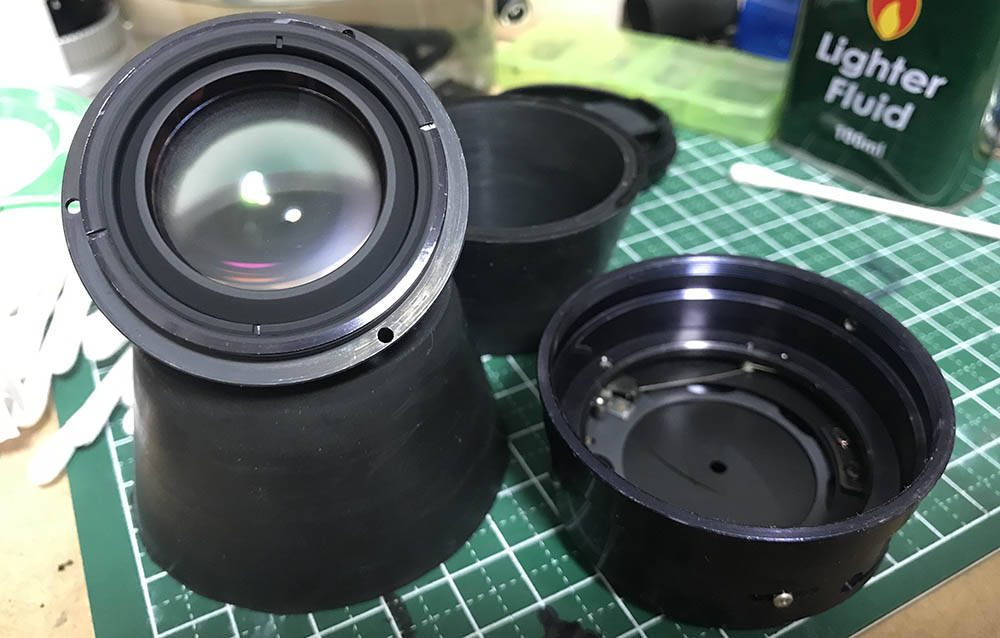
Pull the objective carefully, make sure that you do not scratch the rear glass while you extract the objective’s housing. If it’s stuck, push it from the rear, I used a lens tissue to prevent scratching the glass. You can see a brass ring in the photo, that’s a shim and don’t warp or misplace it.
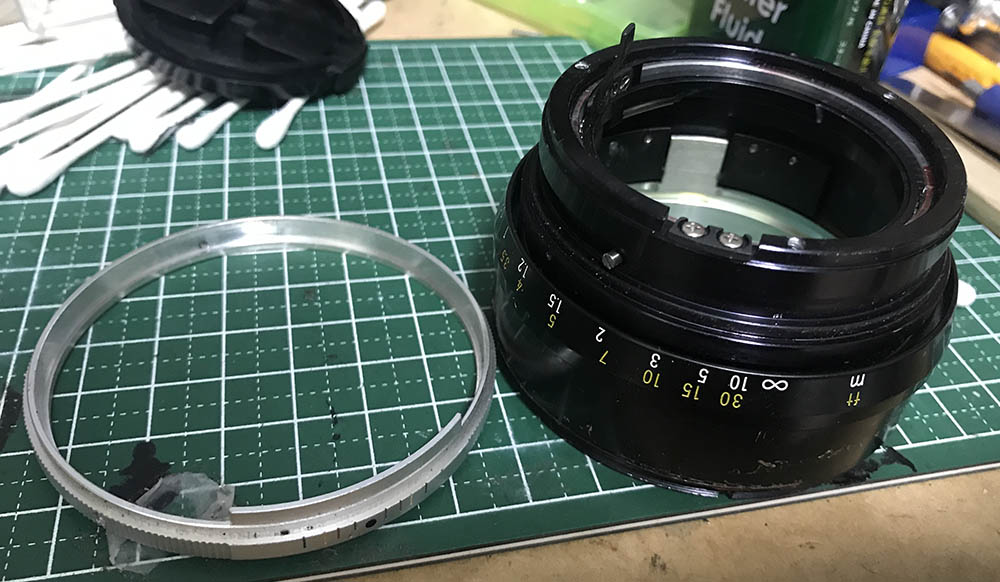
Remove the screws of the bayonet carefully. Many people strip these screws because they’re using the wrong driver. To prevent any damage, read what I wrote about removing bayonet screws, this article will teach you how to do it correctly.
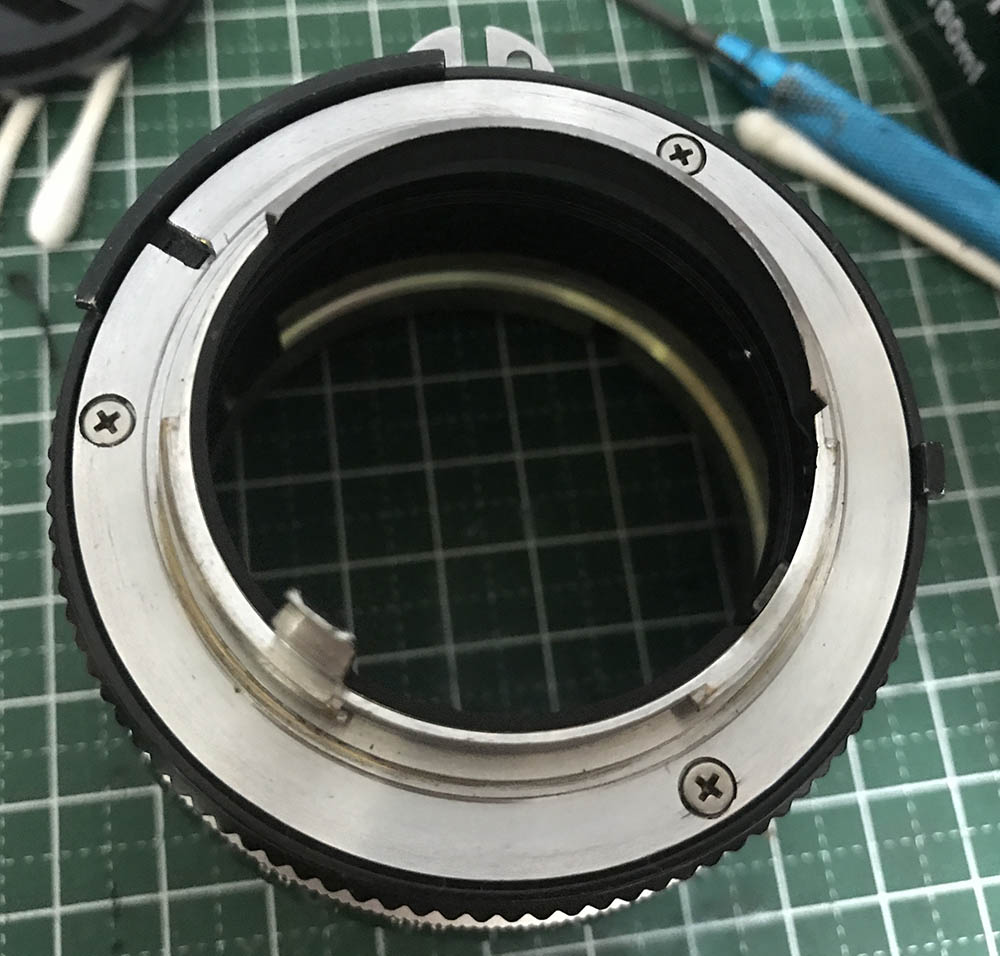
Once the screws are gone you can remove the aperture ring along with the bayonet.
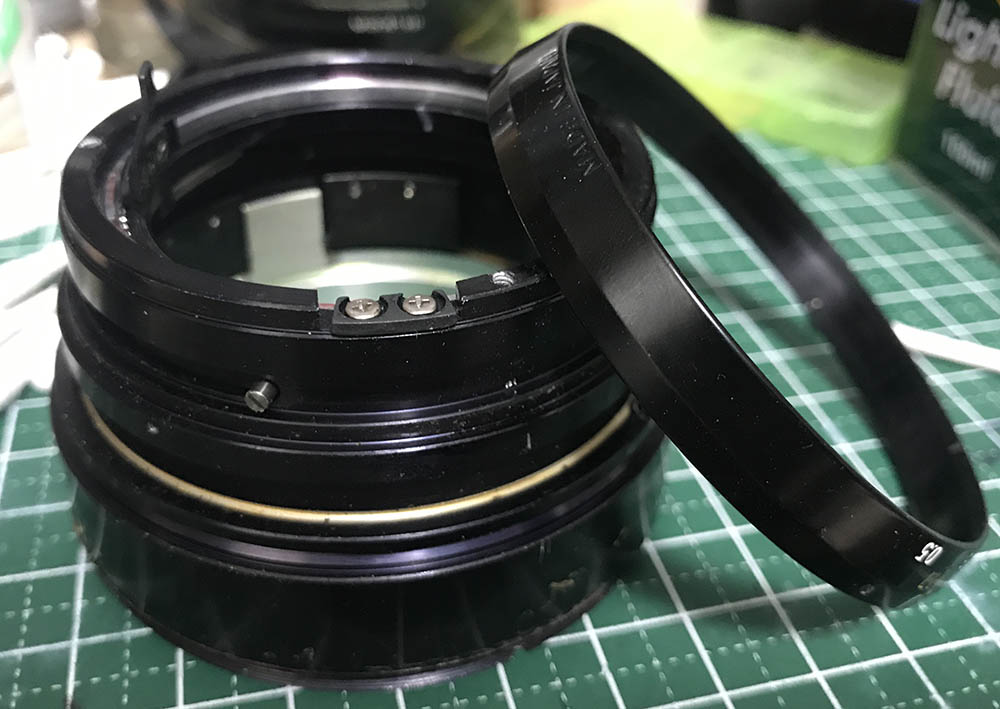
The rubber ring can easily be removed by picking it off with a toothpick. Be careful not to tear it while you remove it.
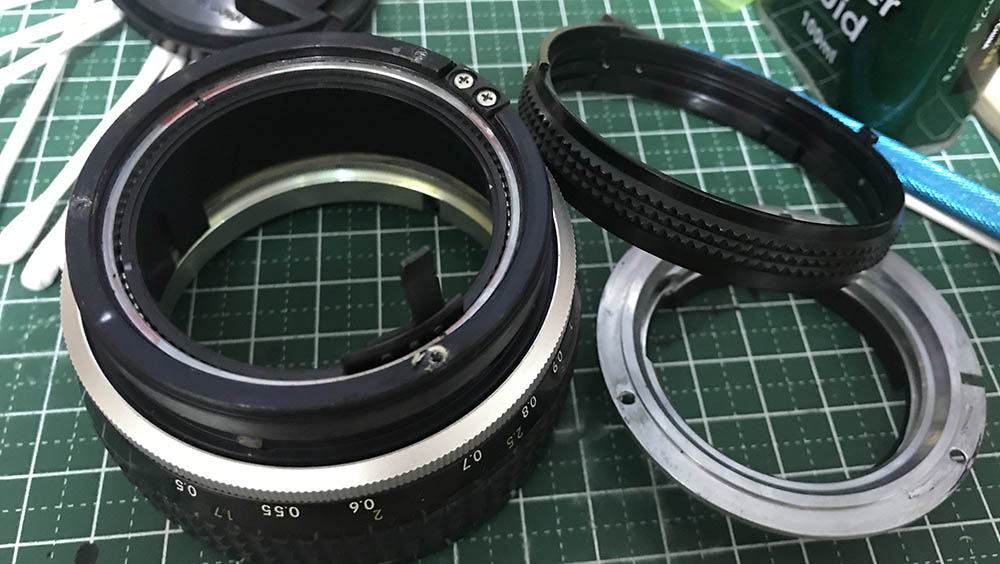
The bezel of the focusing ring can be removed by unscrewing it. Make sure to soften any seals with acetone before you unscrew this.
The depth-of-field scale can be removed after extracting its three screws. Be sure to use a driver that fits perfectly to prevent scarring the metal.

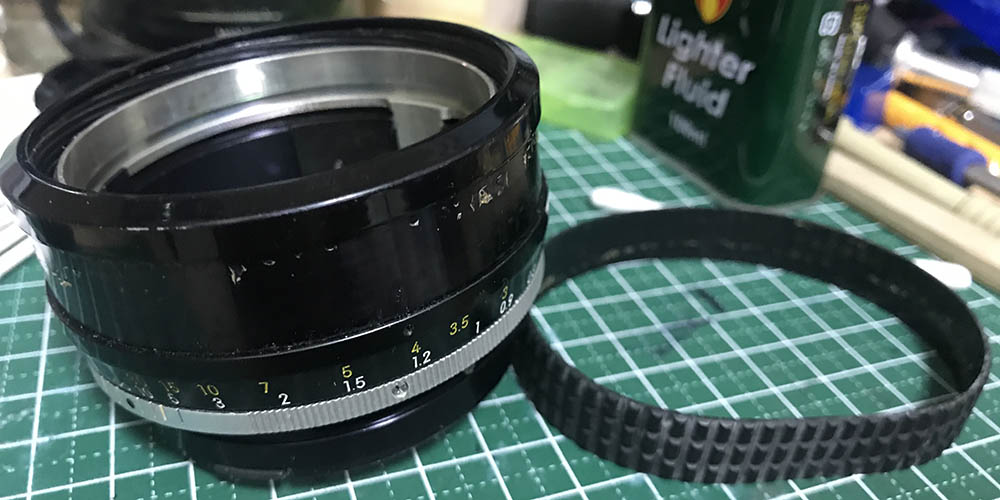
The distance scale can be removed after loosening these screws. These can be easily misplaced so be careful not to lose any of these.
Remove the distance scale carefully and be sure not to warp it.

This is the approximate alignment and position of the helicoids when they are at infinity. Be sure to note this so you’ll know how to put this back again later.
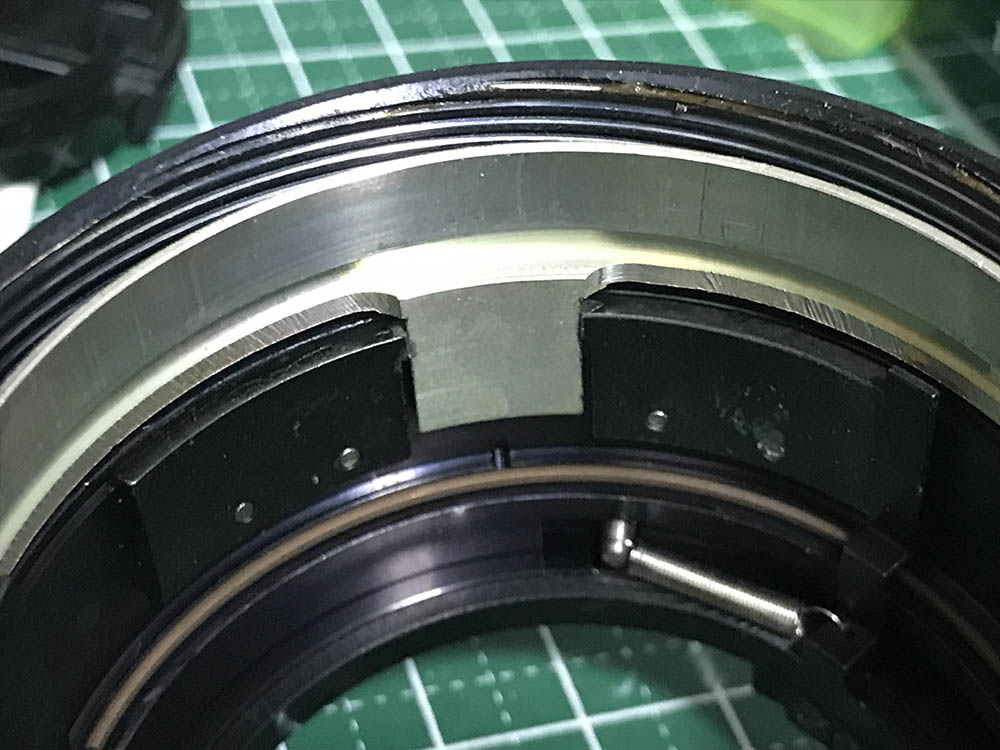
This is the position of the helicoid key. There’s only 1 key in this lens if I am not mistaken.

These are the screws for the helicoid key’s rails, note that they come in pairs so you should put them back the same way you found them, the same goes for the rails on the inner side, too

Carefully remove this pillar screw, it’s delicate so don’t use too much force.
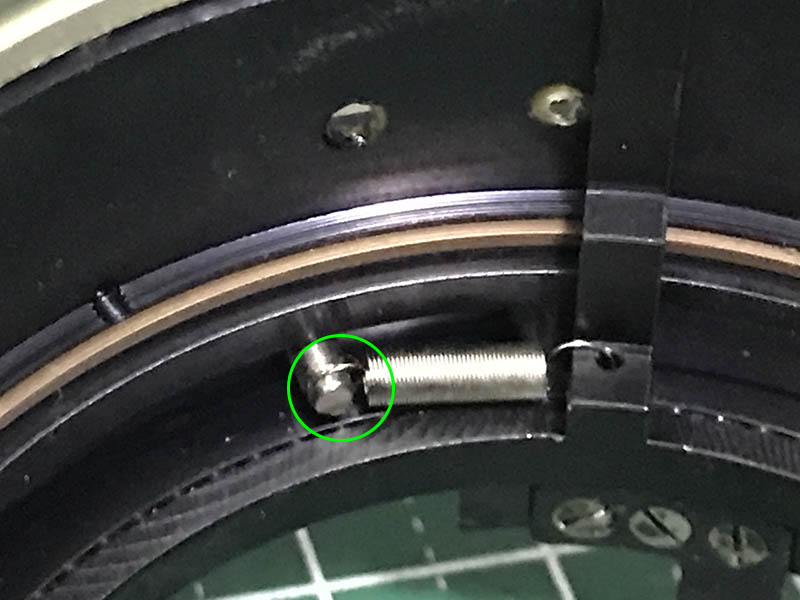
Uncouple this spring by detaching it.
Once the spring is uncoupled you can safely remove its post. If you did not remove the spring you’ll damage it while you extract this post.

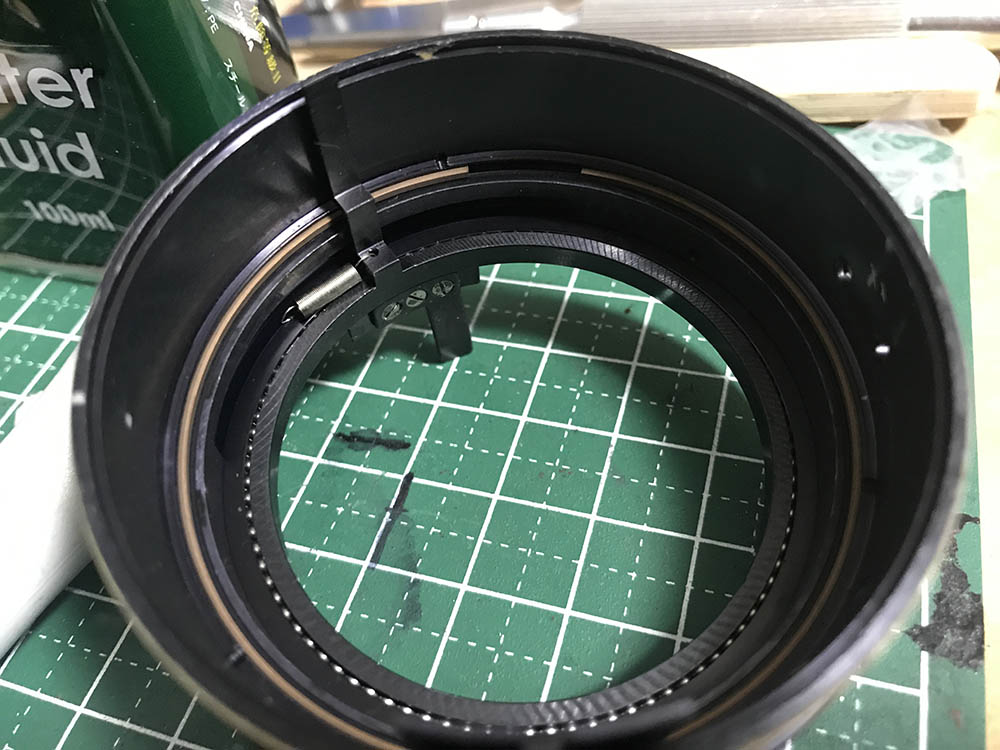
Separate the helicoids by starting with the outer one. Make sure to mark the spot where they separated since it’s the same spot where they should mate. Many people don’t do this and get stuck so I wrote an article on how to work with helicoids to help people who have no idea about helicoids.

The inner helicoid can be separated in the same way. The central helicoid is special, it has threads that face opposite directions. This was done to save a lot space within the barrel since the objective is so large.
You can remove the brass ring to open the aperture fork mechanism but I don’t recommend you to go that far if you don’t have to. Mine was so dirty so I had to do this.

The actuator lever mechanism is a complicated one, it has bearings on rails to ensure smooth operation. Don’t ever open this up if you can help it, this is a very annoying mechanism to put back. I just wanted to clean this well and this had to be done.
Open the mechanism inside a container so the balls won’t end up in the rug or lost under something. Good luck with putting the balls back.
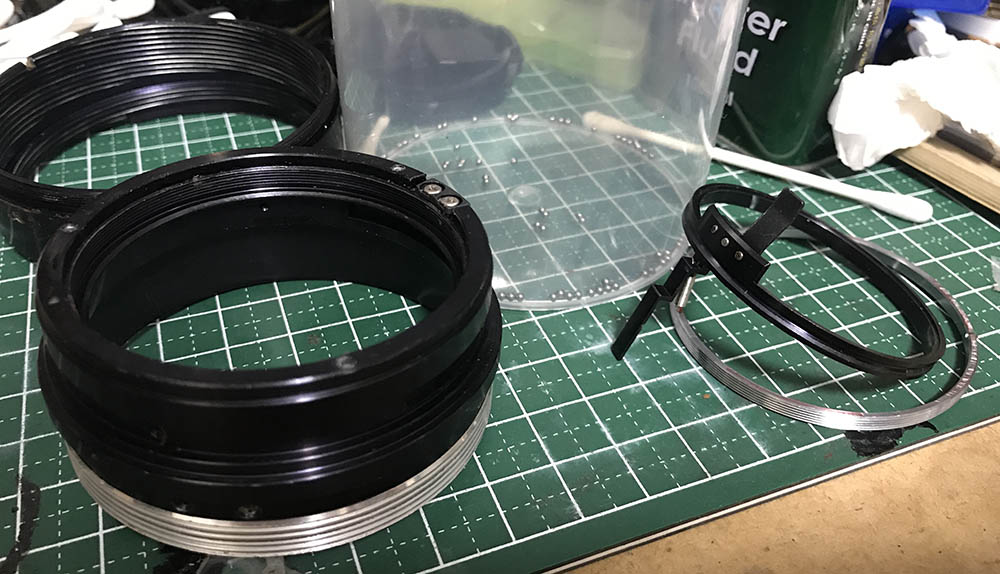
Clean the helicoids really well, be sure not to leave any residue. A thin type of grease is good for this lens, a thicker one will make this difficult to turn. I don’t like helicoids that feel loose but focus throw of this lens is long enough so a thinner-type of grease will do better.
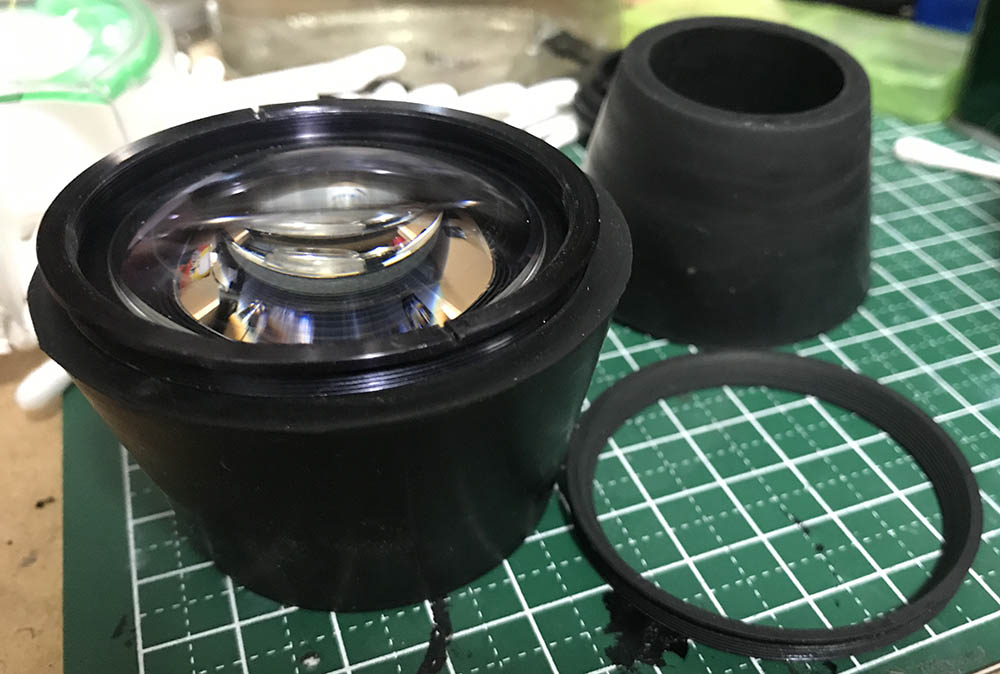
Disassembly (Objective):
The objective is the main part of this lens and easily takes-up more than half of its weight. It is delicate so you must be careful not to damage it while you are working with it. The good part is the construction is rather simple but it is not something that I will let a beginner handle, even a veteran will find it a bit challenging because of its delicateness.
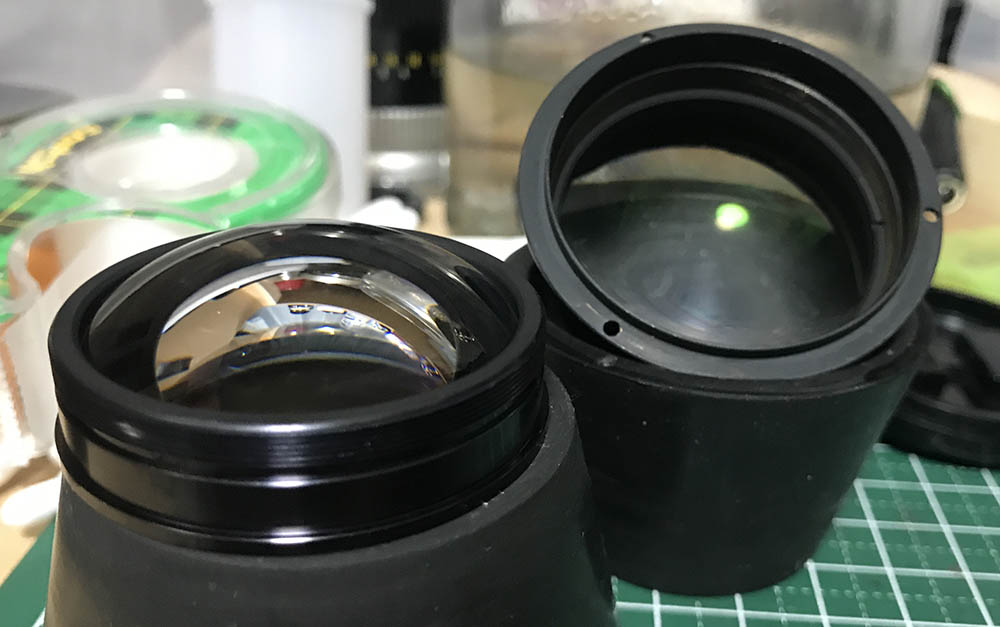
The front elements assembly can be removed like this. Unscrew it using the rubber cup used for removing retainers and make sure not to scratch it. The prong you see here should be attached to the actuator lever.
The front element can be removed after unscrewing it retainer. This part is usually sealed, a drop of alcohol at the threads should take care of that, wait for a while to let the alcohol soften the seal and do your thing.
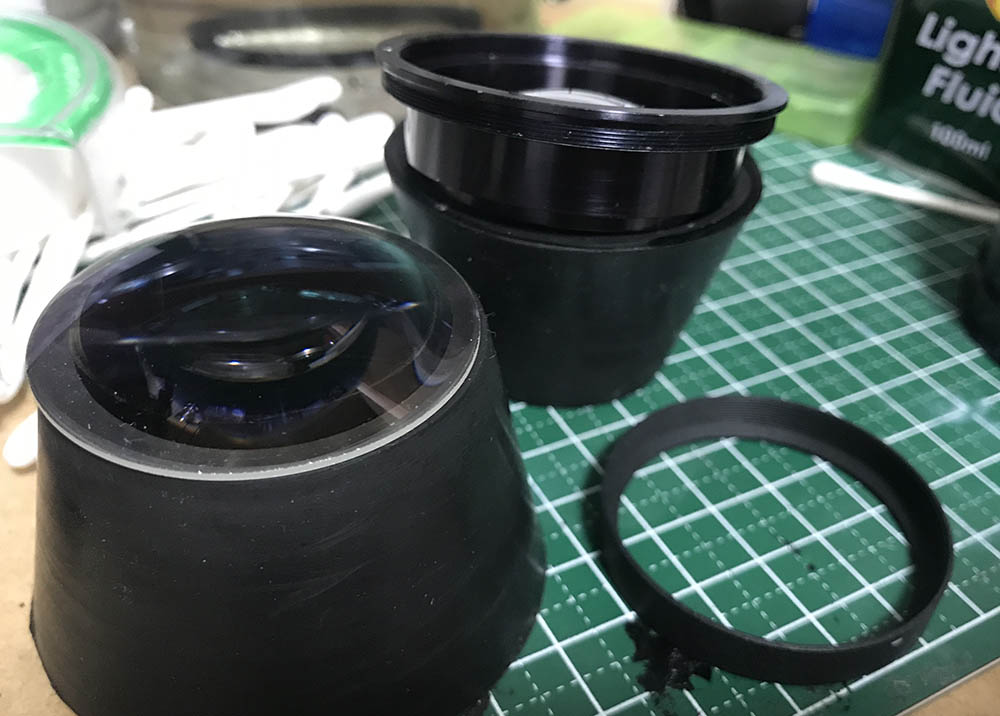
Extract the front element with a lens sucker, there’s a spaced underneath it, don’t forget to remove it and make sure to put it back facing the right way. If you failed to do that you may end up damaging the front element.
The 2nd element can be extracted the same way. The convex part faces the front so it’s easy to identify which way this should be facing.
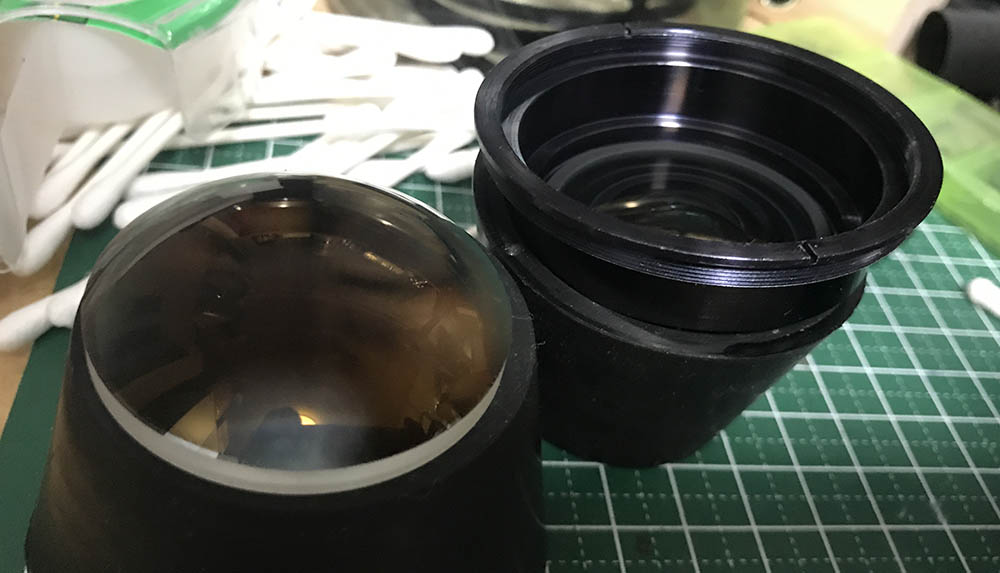
The rear elements assembly can be easily removed after extracting all of its screws. Putting it back in the right way is essential so take plenty of notes so you won’t get lost. Notice that there’s a build-up of evaporated oil that forms a haze on the surface of the elements. Grease can gas and the result is this.
The haze is between the elements of the rear assembly. I carefully removed the glass with a lens spanner and cleaned the haze.
Clean everything really well and put them back together. The elements are huge so be sure not to scratch anything while doing it. The iris on my lens is still clean so there’s no need to dismantle it. I cleaned the housing using my blower and wiped any grime off to make sure that things will stay clean.
Conclusion:
It was fun repairing this lens. it took me several hours since I had to repack the bearings. It took plenty of patience but that paid off. I learned a lot from this project and I now have a perfectly-working lens, it was saved from the junk box from which I got this for a really low price.
I don’t think you can adjust the focus of this lens, at least not without using a file. The only thing you can adjust here is the distance scale but that’s easy since all you need to do is align the infinity symbol with the centerline.

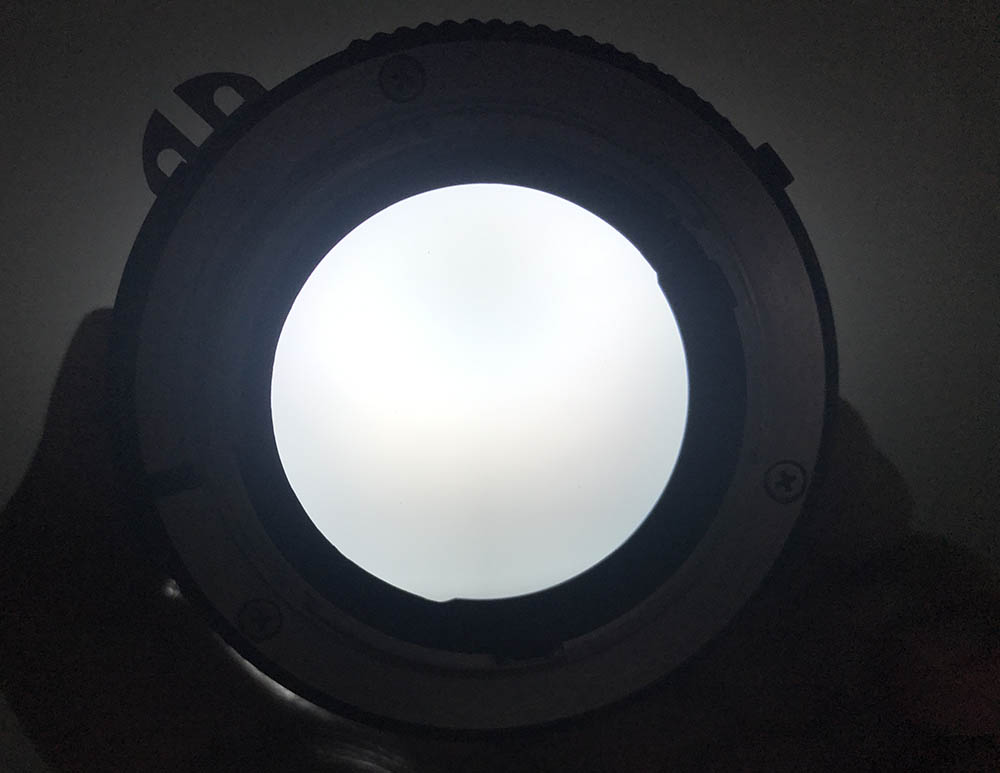
The lens is clean now, see how clear it is?
The haze is also now gone. There are small specs of dust left inside, it can’t be helped since we’re not working on a clean room. Don’t get mad at your repairman if he left really small bits of dusts inside, he can clean the glass perfectly but dust may settle on it during or after reassembly. The dust can come from the walls or threads of the housing or from anywhere.
That’s it for this article. Please share this with your friends at social media if you found this helpful or entertaining. If you love my work please feel free to support this blog, it will help keep this site going. The revenue of this blog relies on views and your support alone and the latter one is the reason this site is still running and helping people through the years. Thank you again and see you guys again next time, Ric.
Help Support this Blog:
Maintaining this blog requires money to operate. If you think that this site has helped you or you want to show your support by helping with the site’s upkeep, you can make a small donation to my paypal.com (richardHaw888@gmail.com). Money is not my prime motivation for this blog and I believe that I have enough to run this but you can help me make this site (and the companion facebook page) grow.
Buy me a roll of film or a burger?
Thank you very much for your continued support!
$2.00
Helping support this site will ensure that this will be kept going as long as I have the time and energy for this. I would appreciate it if you just leave out your name or details like your country’s name or other information so that the donations will totally be anonymous. This is a labor of love and I intend to keep it that way for as long as I can. Ric.

7 Comments (+add yours?)