
Hello, everybody! I am pleased that the site now earns around $1.15 a day from views and clicks. It used to be around $0.30 per day which is pitiful. a $0.90 boost is welcome but it’s hardly anything compared to the effort and love that I put into this thing. Despite that, I’m still thankful since this site is now recognized as one of the best there is for the Nikon shooter (and general camera repair). You couldn’t buy much with that revenue, it’s probably going to buy you 2 rolls of film at most. However, if you’ve put enough effort in finding a bargain it’s possible to acquire something more valuable with that amount of money. I will show you today what I bought for $15.00, a small amount of money but the joy I got from it is priceless.
Introduction:
The Zoom-Nikkor 35-70mm f/3.3-4.5 AF was sold from 1986 to 1994 and was made in 2 version. Today, we will look into the first version which is cheapest one on the market. It was made to complement Nikon’s then-new line of cheap autofocus cameras such as the Nikon F-501. It was designed to be cheap but adequate, this was a nice lens for its time and it covered everything an amateur wanted in the 1980s. It’s the original autofocus kit-lens for Nikon but there’s nothing cheap about its performance and build.

Handling is fine except for the inadequate focusing ring which is flimsy and thin, a common complaint of all 1st generation autofocus Nikkors. People made a big fuss over it since many still focus lenses manually back then due to the unreliable performance of early autofocus Nikkors.
It inherited the 8-elements-in-7-groups optical formula of the Zoom-Nikkor 35-70mm f/3.3-4.5 Ai-S, a nice lens for its time. It’s safe to assume that both lenses perform similarly, if not identical to each other. This is a good point since people who were familiar with the latter should be comfortable with this one. It gained new-life as an autofocus lens so fans of the old Zoom-Nikkor 35-70mm f/3.3-4.5 Ai-S will get the opportunity to enjoy it in a different way.

It autofocuses really quick, even with older cameras when it’s bright. In fact, I found that it’s faster than most newer cheap lenses on the market today. It’s noisy since it’s mechanical-driven but that’s something that a lot of us who have shot with Nikon for years have gotten used to. Surprisingly, it doesn’t feel old at all when using it in real-world tests. It’s a joy to use and its compact dimensions will be useful for traveling.

It sits comfortably at the middle, neither high-tech nor low-tech. It’s a familiar-feeling lens to use for those of us who have been using Nikon for years.
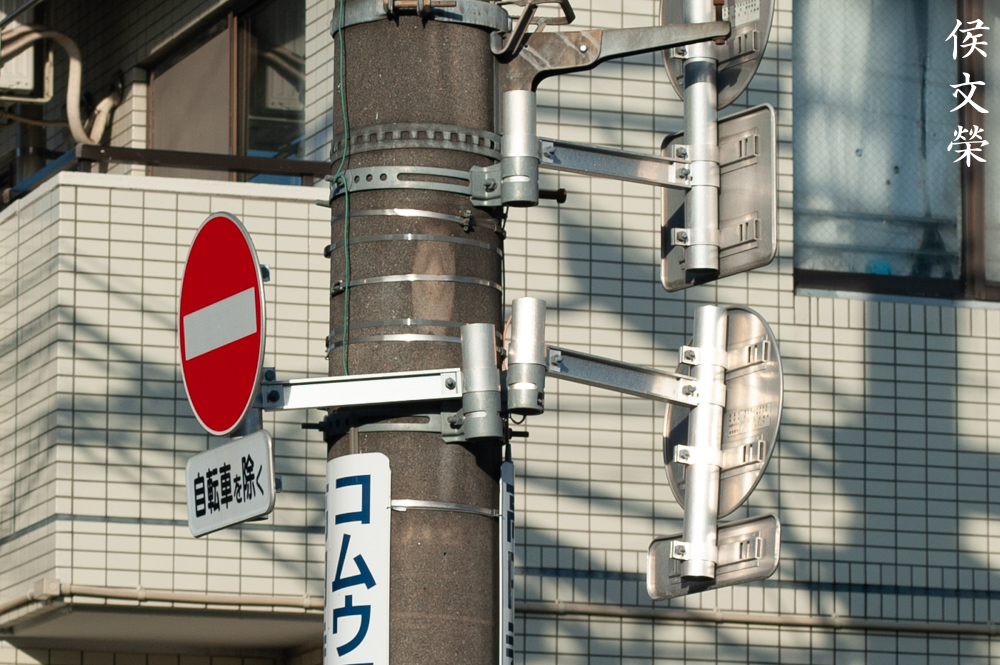
Knowing how your lens performs will help you maximize it. You’ll know its strengths and weaknesses. That’s going to help you decide if a lens is right for the job. I shot the photos below from f/3.3 (f/4.5), f/5.6 and f/8. We will see the most changes happen within these apertures. I also assume that most people would want to use it at these settings, too. I took these with my Nikon D3.


(Click to enlarge)
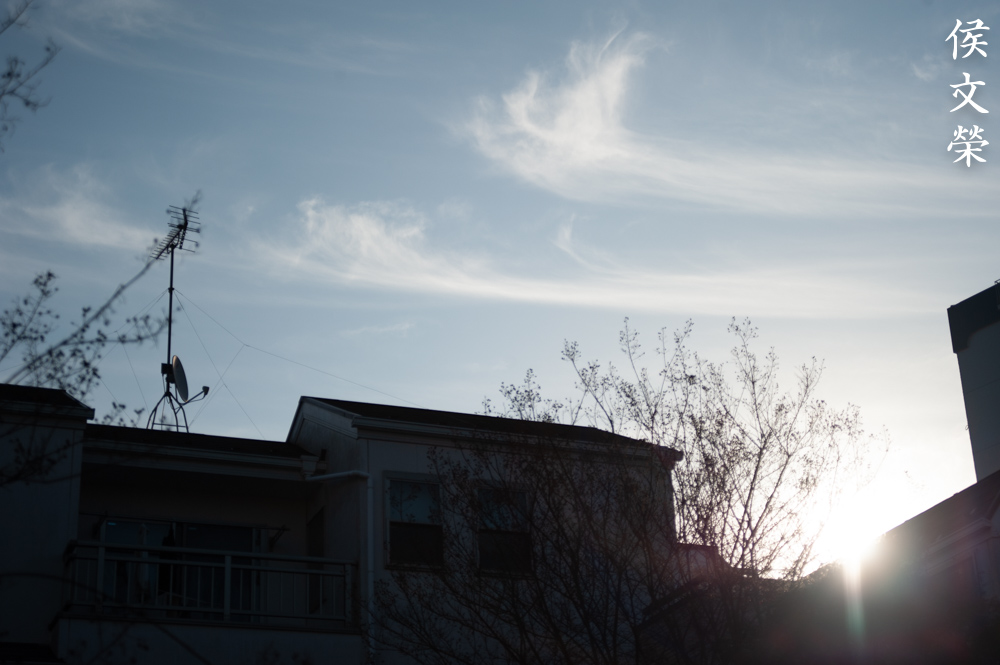
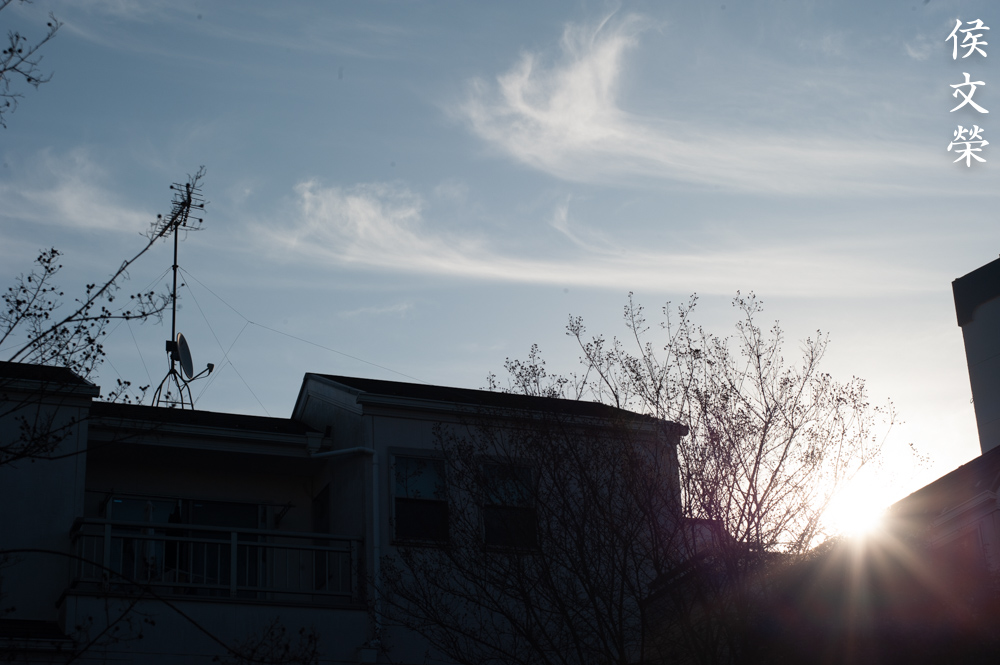
Distortion is kind of high at the wide-end, which is expected from a cheap zoom. It’s not so bad at the long-end which I consider to be quite good for a zoom regardless of price.
Vignetting is prominent wide-open at the wide-end, it improves a lot by f/5.6. You’ll only see traces of it by f/8, which is nitpicking on my part since it’s mostly-gone. It behaves better at the long-end since the falloff isn’t as steep so the effect isn’t going to be as obvious.


(Click to enlarge)
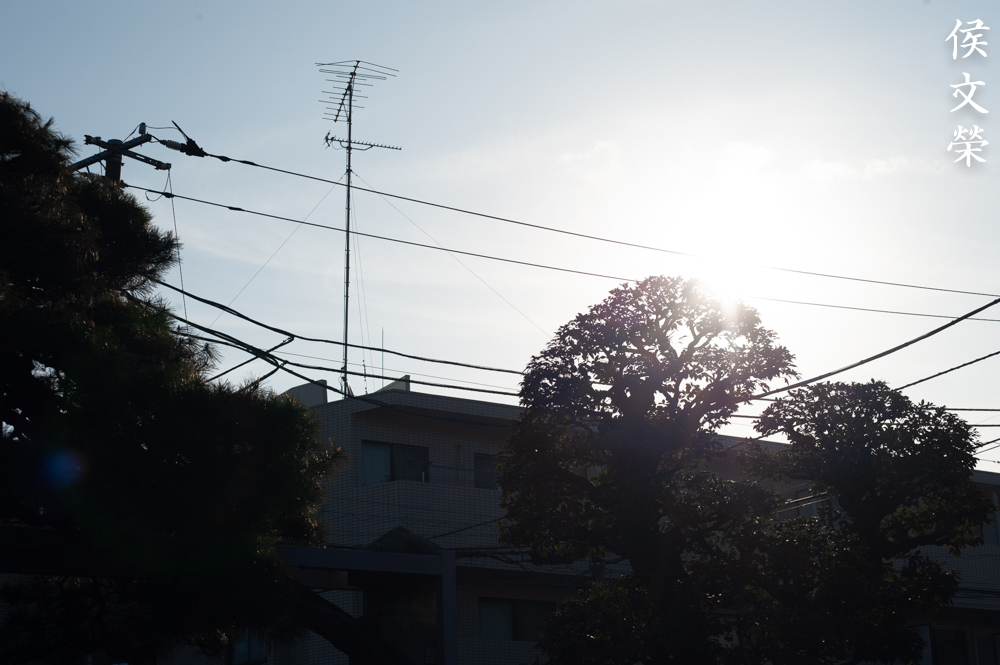
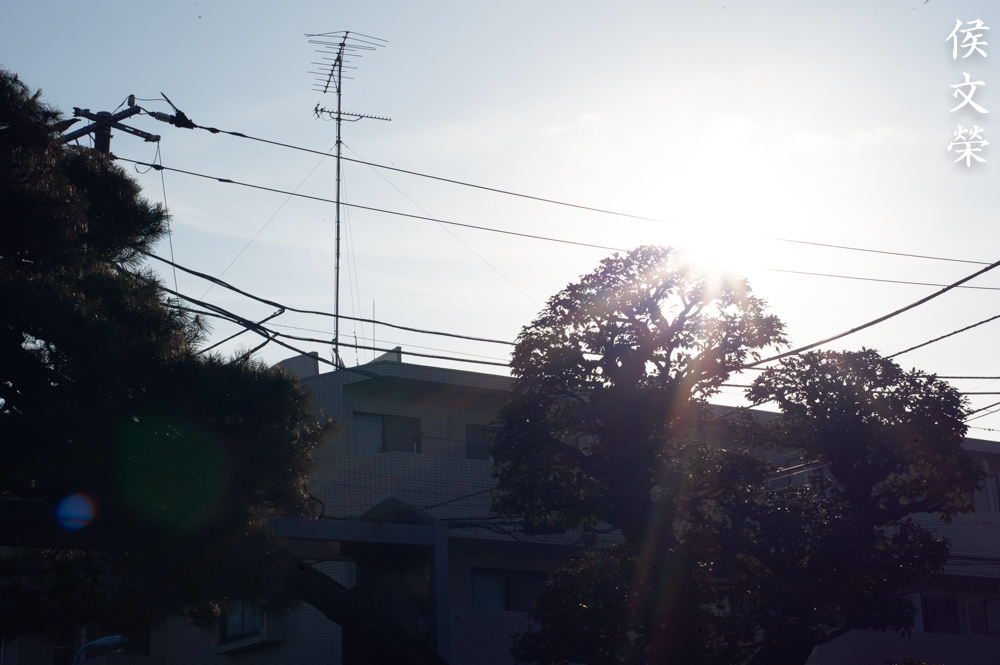
It appears quite resistant to flaring for a cheap lens. You’ll get blobs as well if you’re not careful but it’s not as bad as I thought it would be. I am quite impressed and I think the sun-stars look good, too.


(Click to enlarge)
Its bokeh character isn’t the best but it’s quite good for a cheap lens. You can get rough-looking details if you’re not careful. I’ve seen worse so this is acceptable to me.

There’s some outlines at the discs wide-open. At closer distances it could produce smooth-looking details but that’s a given. It does render beautifully for a cheap lens, some of the best results that I have seen from a kit-lens.
Stopping it down cleans the discs but you’ll they now look angular. The iris isn’t round at all but the blades are not straight either, it would have been better if the iris blades are more curved.


(Click to enlarge)
Chromatic aberration can be observed wide-open in extreme cases but it’s generally well-controlled. It’s not as bad as some lenses that I have tried. It improves by f/5.6 and you won’t notice it much at f/8 except in extreme cases where you’ll still see traces of it. Spherical aberration and flare is another story but I don’t mind it since I don’t consider it as horrible as chromatic aberration. You normally won’t see much of these when shooting under real-world scenarios, just stop it down to f/5.6 at least and you should be fine.


(Click to enlarge)
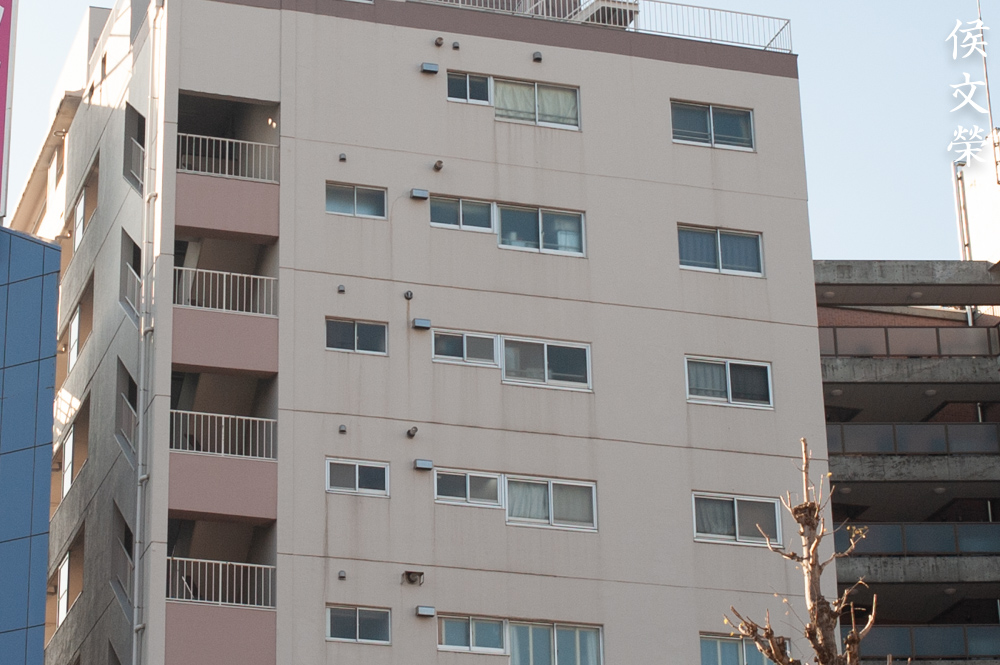
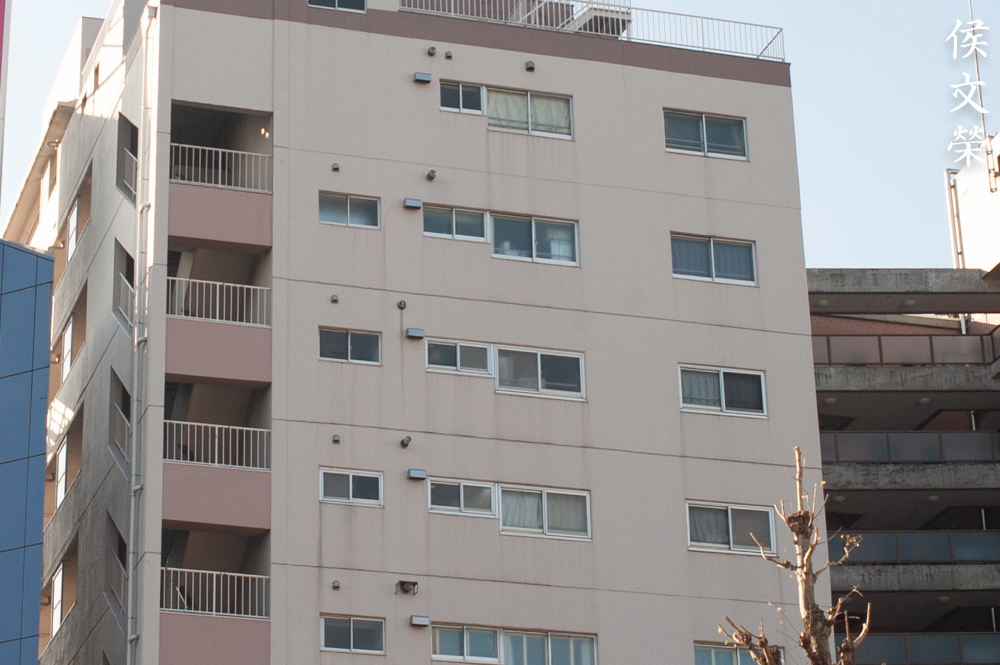
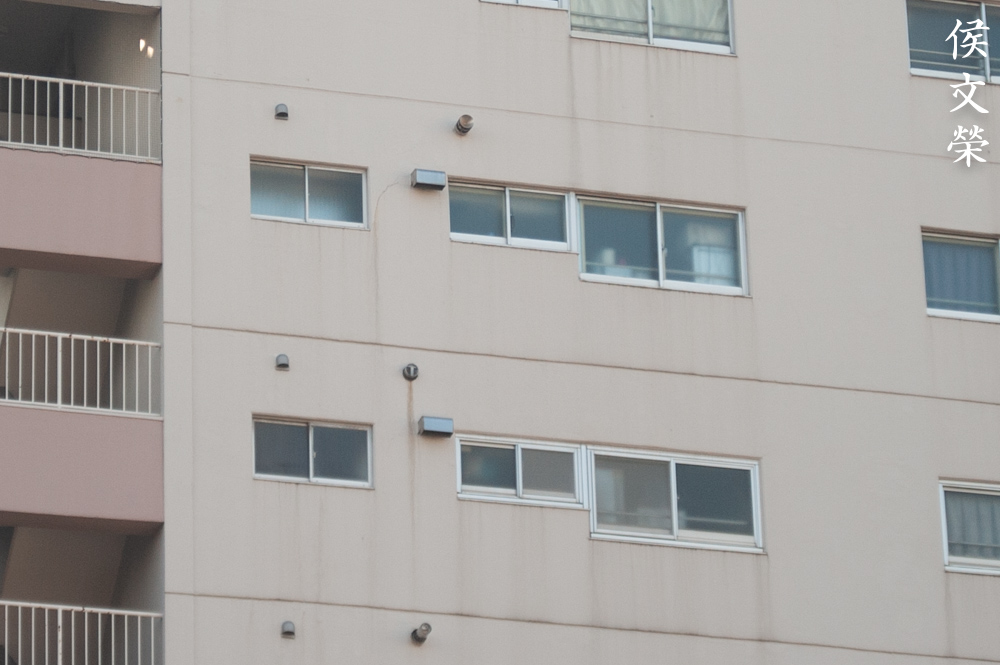
Sharpness is pretty good wide-open at closer distances which degrades a bit as you get further. The center is good and resolution seems to be adequate. The corners aren’t bad either, just not at the same lever as what you see at the center. It appears that it performs better at the long-end where it’s noticeable at the corners. It starts to look better when stopped-down to f/5.6, the resolution improves so sharpness and contrast also gets boosted quite a bit. The corners look better, you’ll notice that the performance gets better at further distances, too. Sharpness improves marginally at f/8 where the center now operates at peak levels it seems, it is already quite nice at f/5.6. The biggest jump in quality happens at the corners where you’ll notice it more. This is a nice lens if you ask me, quite surprising for something that many people consider as a “cheapo” lens. It could give a lot more than what it promises.
Most, if not all of the photos here were shot at smaller apertures. I did this so we could see how this performs when shot at more reasonable scenarios.

Its “macro-gimmick” is quite good. You won’t be able to get closer than this but it’s enough for most cases. You could take plenty of detail shots at a wedding with it. Its performance at the closest focusing distance is quite good, it’s surprising just how balanced this lens is.

Its ability to focus close is quite useful, you’ll tend to use it often as it’s fun. It covers a wide-range of uses, you could use it for just about anything.

It’s a great lens for shooting on a sunny day since you could stop the iris down and get sharper photos. You’ll get better results this way where it could rival more expensive lenses in terms of sharpness.
It’s a nice lens for travel photography. If I were to choose only a single lens to bring on a dangerous country I’ll definitely consider this. There’s nothing cheap about its image quality when you know how to use it. Sure, it’s not the best lens out there but it gets the job done and you could get acceptable photos from it.

Contrast and saturation looks nice when you stop the iris down a bit. Using a circular polarizer will help you get even better results.

It sometimes feel too-short as 70mm won’t be enough for some cases. The focal-range is limited so you’ll have to think of a workaround.


(Click to enlarge)
Here are more photos for you to enjoy. This is a remarkable lens which could still hold its own with modern cameras. The results don’t look outdated at all despite not having the high-contrast of most modern lenses. I think it’s still going to be relevant for years until its electronics die.
Let’s now see how it performs with film, its unique look is difficult to simulate with a digital camera. It could help mask or amplify a lens’ flaws. Since this was originally designed for use with film it’s only fair that we judge it using its intended medium. These were shot with a Nikon F-501 loaded with Fujifilm Industrial 100.
This looks familiar, it’s the same scene that we shot with a Nikon D3 in the previous section. This was shot at f/8 so we get nice-looking details. The colors look great and the details look sharp, too.

Flare helps make your photo look “dreamy”, you could use it creatively to add another layer into your photo. I tolerate flare but ghosts is something that I never want in my photos.

This would’ve looked a lot better with a circular-polarizer.
The wide-end is enough to get more of the scene into your frame, it’s not going to be enough at times and you will struggle to make things work but that isn’t so much of a problem as you can just walk-back a few steps to help frame your scene better.


(Click to enlarge)
This is a great lens when used with film. You’ll get some of that “vintage-look” that people either love or hate. I enjoyed shooting with it a lot, it’s becoming one of my favorite lenses from the 1980s due to its utility.
I highly recommend this to anyone who just wants to take great photos, people who are fussy should just buy another lens. This is a great lens for beginners, even an advanced photographer will enjoy using one of these thanks to its practical specs. It offers great value and is one of the best deals in photography today, just do not set your expectations too high and focus on taking great photos. You’ll be surprised at what you could get with it. These don’t cost much these days, I have several of these and the cheapest one I got cost $5.00, these should never cost more than $40.00 in great condition. If you’re looking for one be sure that the front barrel does not wobble a lot, there should be some play but nothing unusual or suspicious. The glass should be clean and the coatings should be nice, too. This lens has the tendency to develop the oily iris problem and also some haze at the elements surrounding the iris. Actuate the iris, it should be snappy. Flash a light into the lens and it should not have any signs of haze. Check and see if the autofocus works fine, it should work perfectly. Turn the zoom ring, it should be smooth. If there’s no problem, buy it. This lens will serve you well, it will make you question your life decisions and why you spent so much money on gear. Happy hunting.
Before We Begin:
If this is your first attempt at repairing a lens then I suggest that you check my previous posts regarding screws & drivers, grease and other things. Also read what I wrote about the tools that you’ll need to fix your Nikkors.
I suggest that you read these primers before you begin (for beginners):
Reading these primers should lessen the chance of ruining your lens if you are a novice. Before opening up any lens, always look for other people who have done so in YouTube or the internet. Information is scarce, vague and scattered (that is why I started this) but you can still find some information if you search carefully.
I highly recommend that you read my working with helicoids post because this is very important and getting it wrong can ruin your day. If I can force you to read this, I would. It is that important!
For more advanced topics, you can read my fungus removal post as a start. This post has a lot of useful information and it will be beneficial for you to read this.
Disassembly:
This isn’t complicated to service since it only has a few parts. You also don’t normally dismantle an autofocus lens completely in order to service it. In most cases you’ll be fine just by cleaning the affected glass. The only time you’ll have to do this is to clean it thoroughly in case there’s a terrible case of lens fungus. Since this lens has the tendency to develop the oily iris problem it may be a common repair for it, too. Replacing parts is also something that will require a teardown but at that point it’s cheaper to just replace it with a new sample. This is not something that a beginner should work on as it requires special tools and experience to repair. Send it to a qualified repairman to get it fixed.
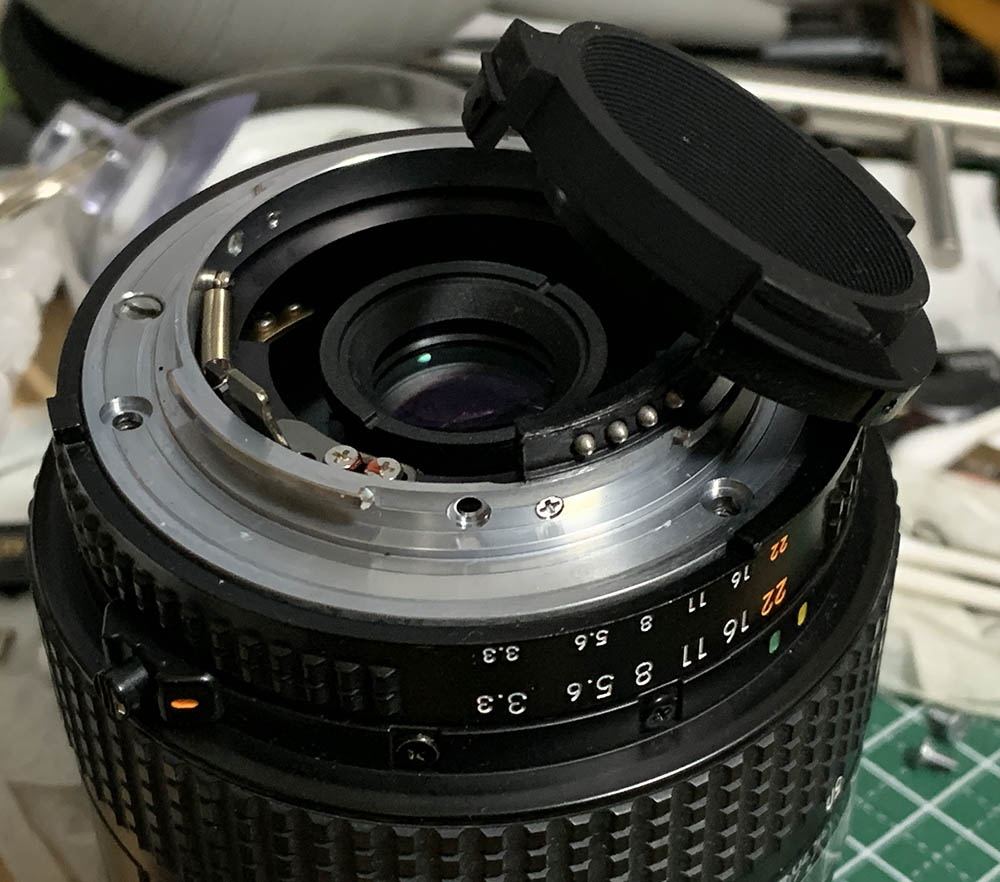
Extract the screws of the baffle to remove it. Note that one of the screws is different, it has a taller head and it is situated at the 6:00 position. Do not lose it, that is preventing you from turning this too-much. Without this you could jam your camera and your lens will get stuck. Carefully extract the screws of the contact-block, too.
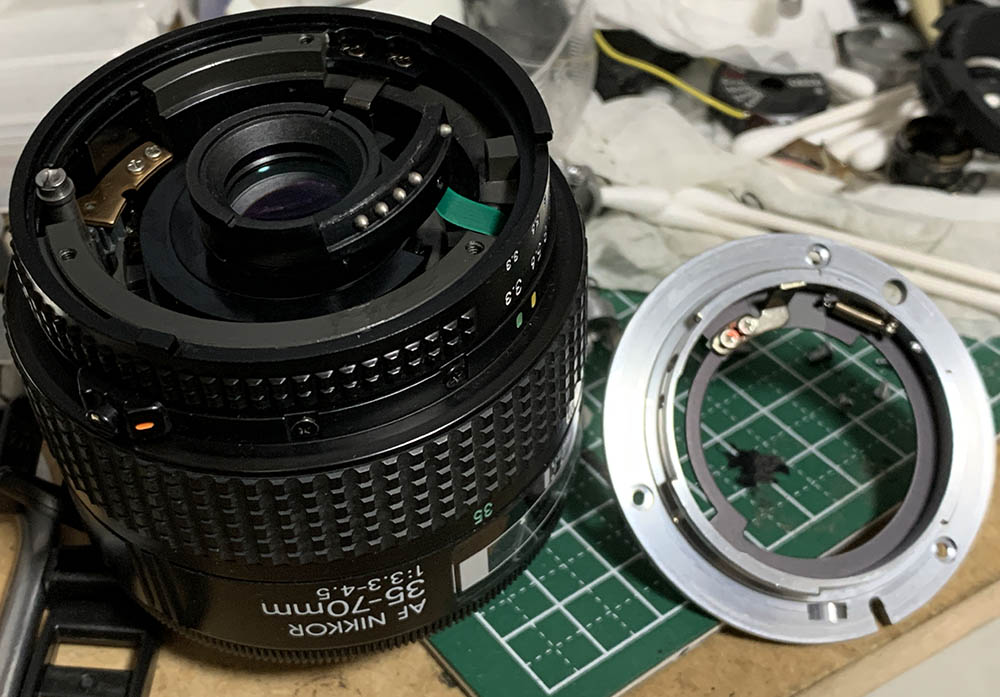
Extract the screws of the bayonet mount so you can remove it. Many people get stuck here because they don’t have the right tools and strip the screws. To prevent this from happening to you, read my article about how to remove bayonet screws. Follow my guide and that should help educate you on how its done and which drivers you should use.
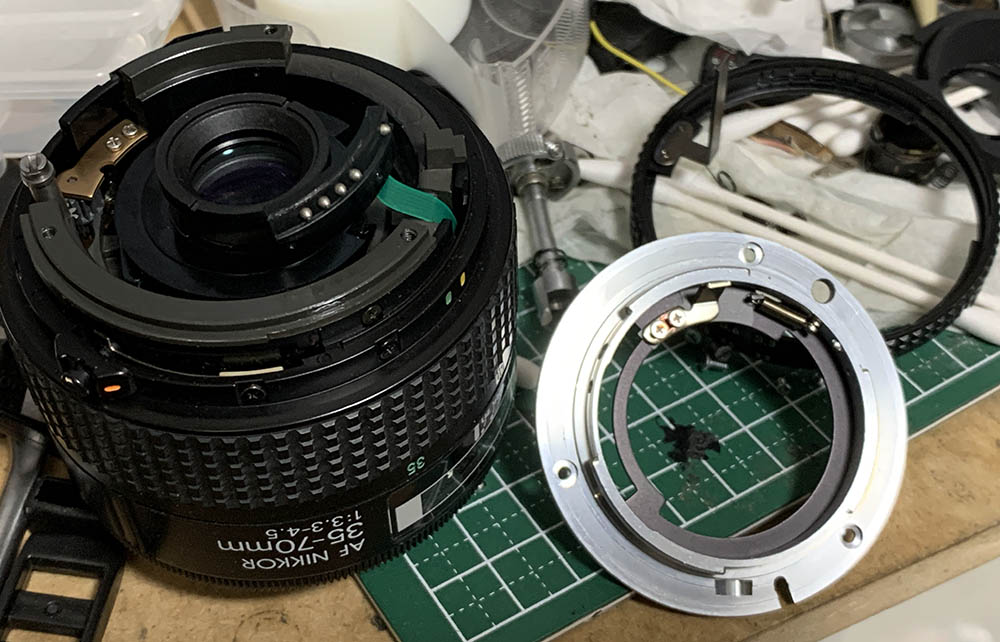
Remove the aperture ring. Note that it has a long lever which controls the iris mechanism. Be sure to put that back properly when it’s time to reassemble this.
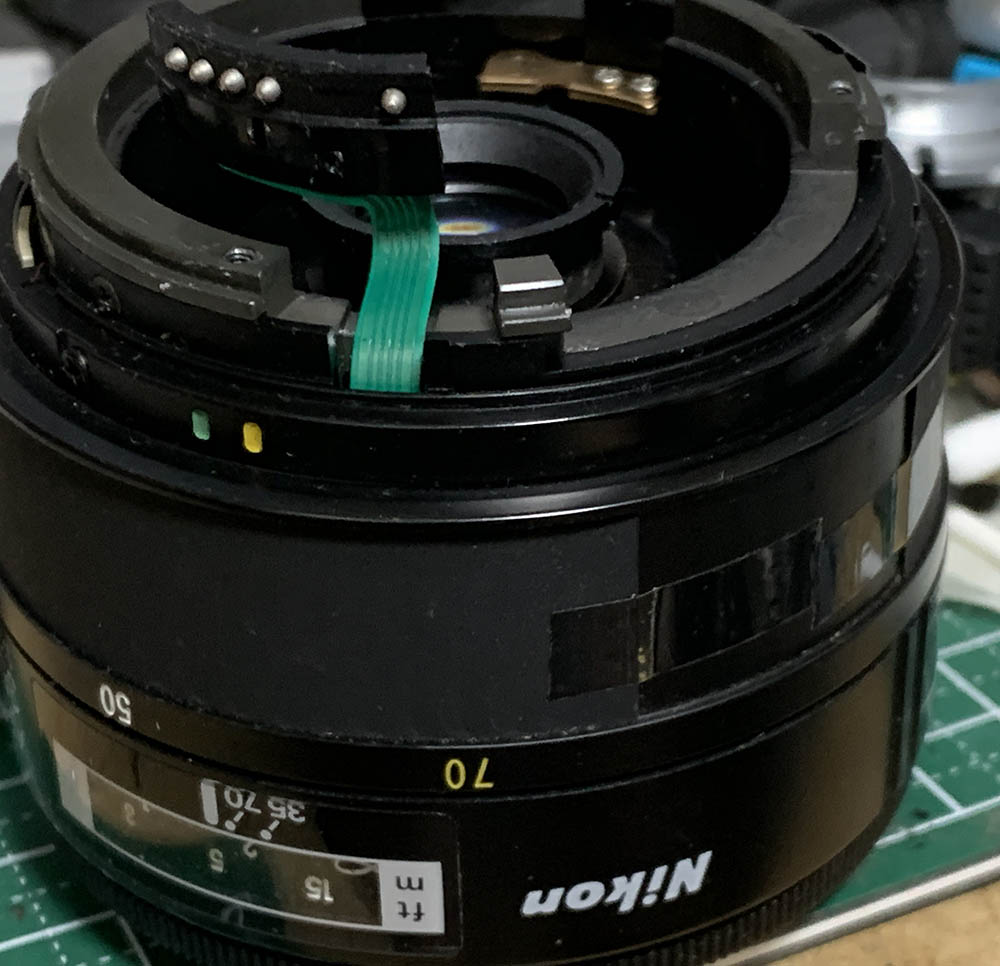
Be careful not to damage the delicate ribbon.
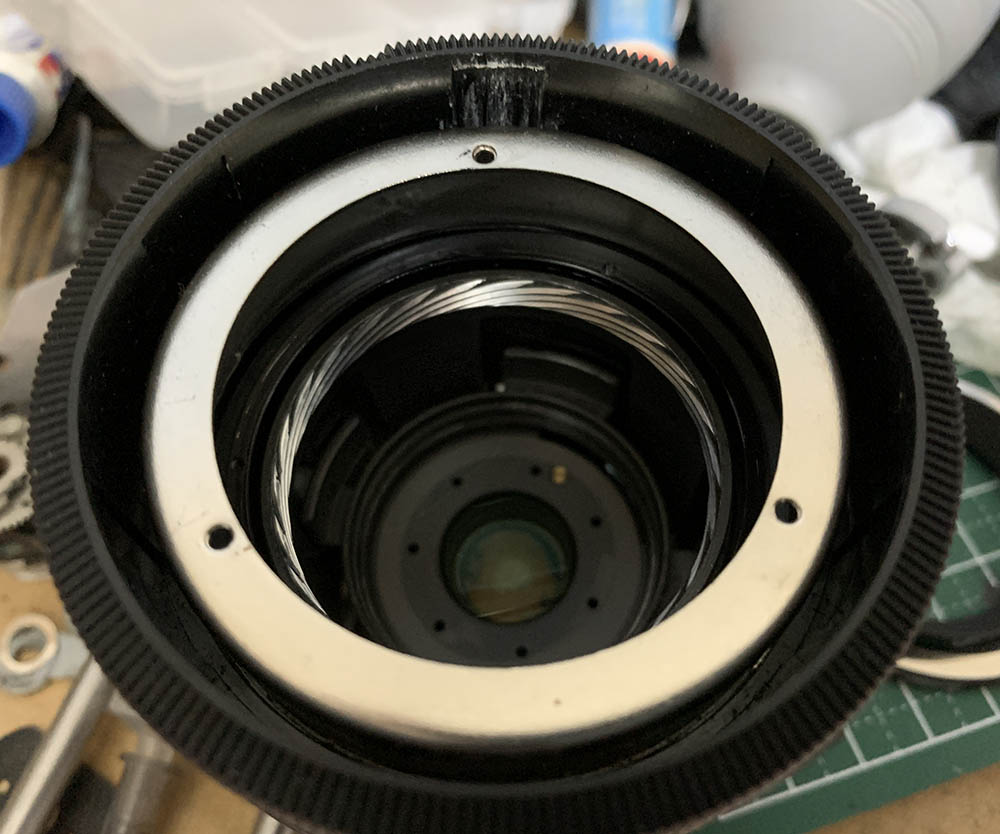
You unscrew the rear baffle with your fingers to access the rear optics. Be careful not to drop the rear optics. It also covers the circlip of the iris mechanism.
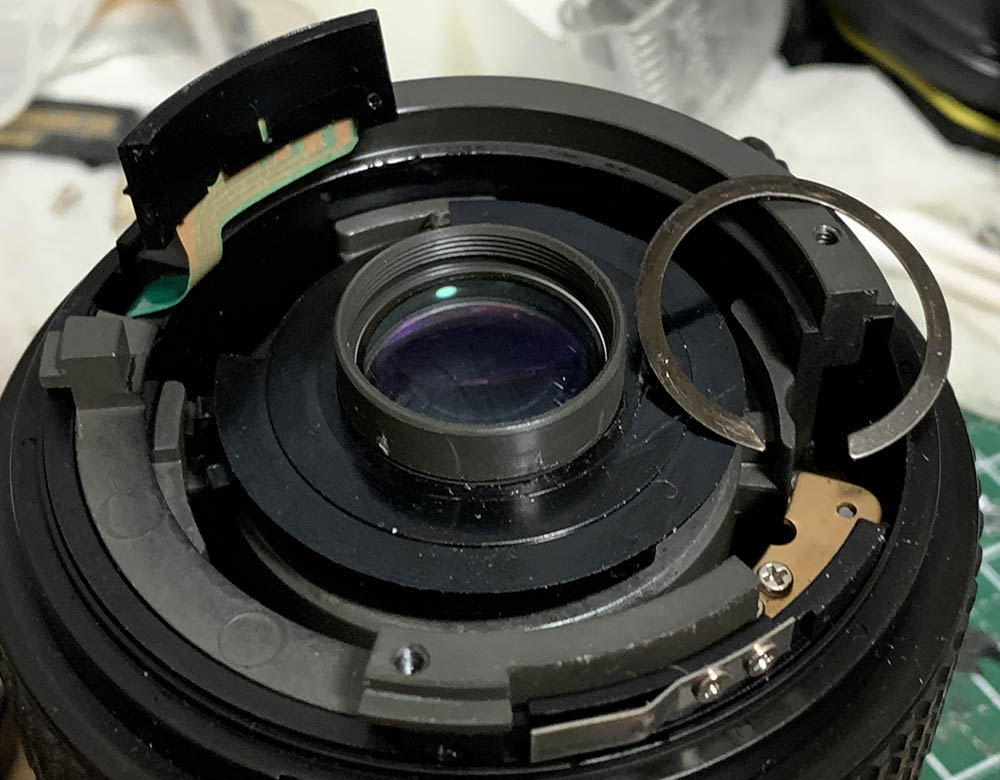
Carefully remove the circlip. You can reinstall the rear baffle to prevent the rear optics from dropping.
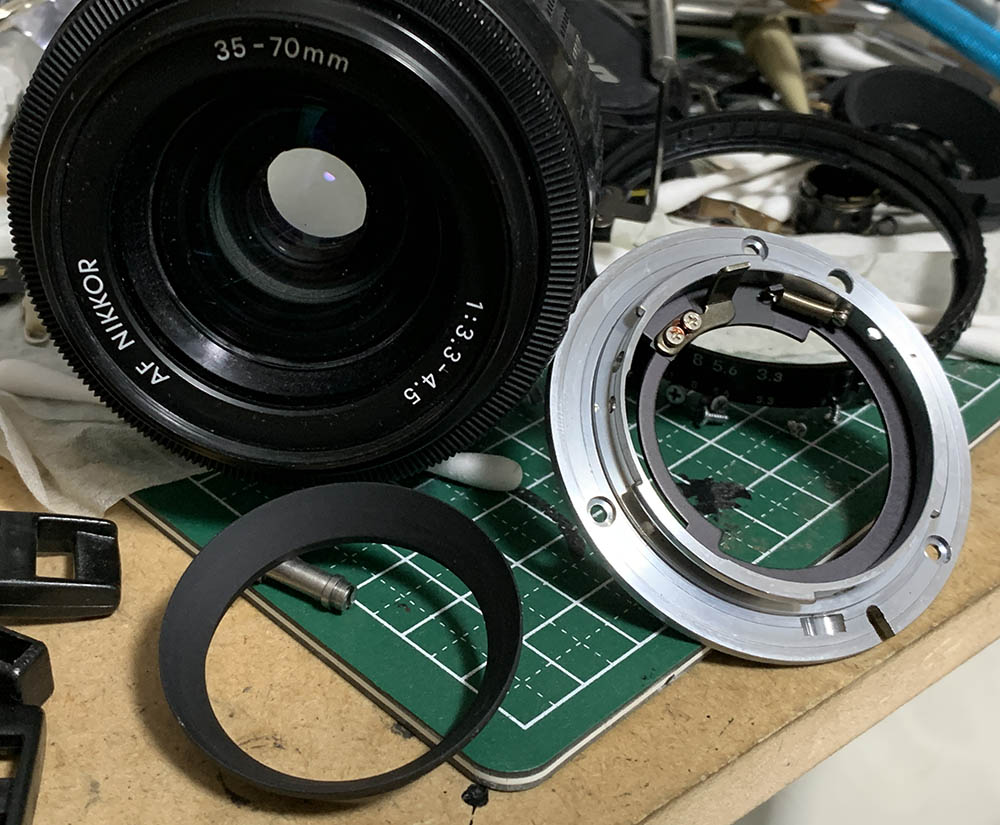
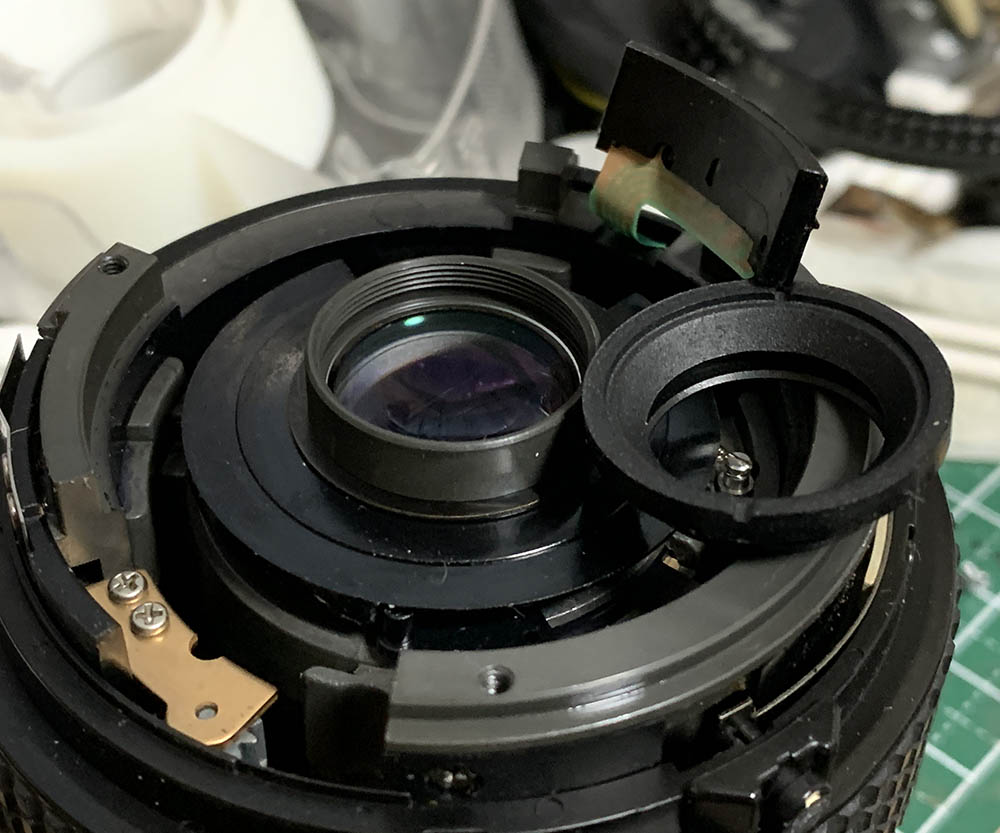
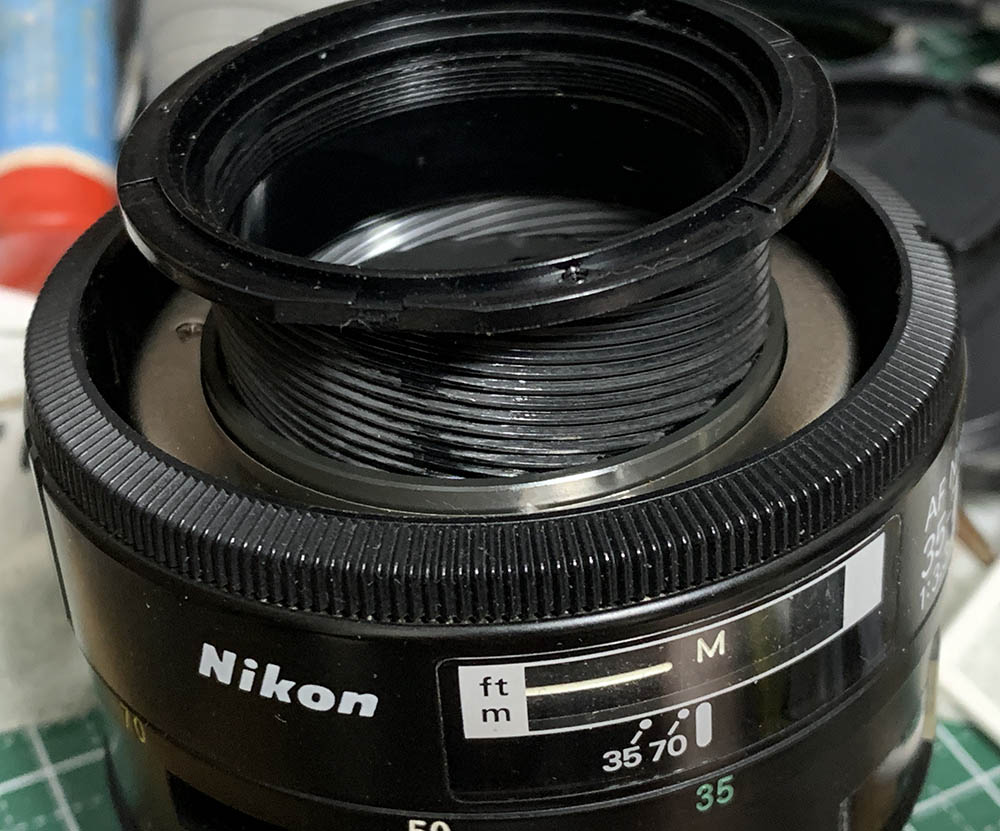
You can remove the front element by unscrewing the front baffle to clean it. Leave this alone if you don’t have to clean anything here.
Unscrew the bezel with a rubber tool. Avoid using alcohol or solvents on this as it’s made of plastic. Friction is all you will ever need to get it off.
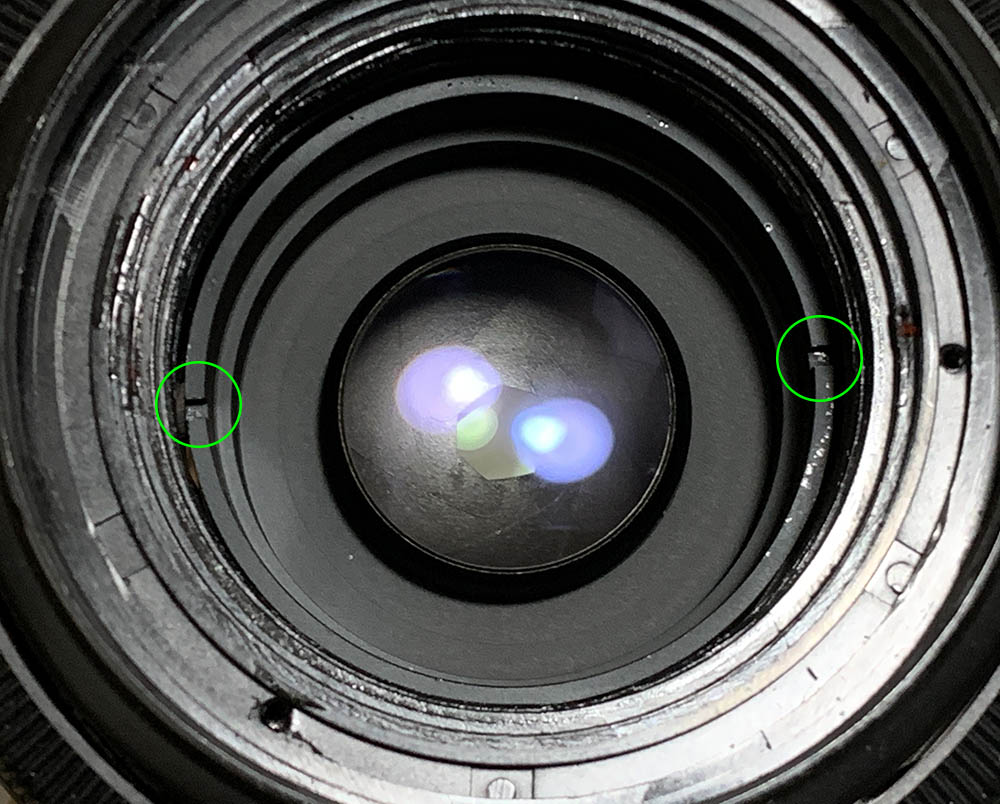
This ring couples the front optics assembly to the front barrel. Loosen its screws in order to adjust the focus. I don’t think it’s necessary to remove it in order to get the front optics assembly off but it will help a lot. You’re not going to subject the dinky focusing mechanism to stress if you remove it, too. Unscrewing the front optics assembly can put a lot of stress to the plastic teeth of the front barrel so it’s safer to decouple this. Take a few notes and make some marks so you’ll know how the front optics assembly and front barrel should be aligned. That will help you later during reassembly.
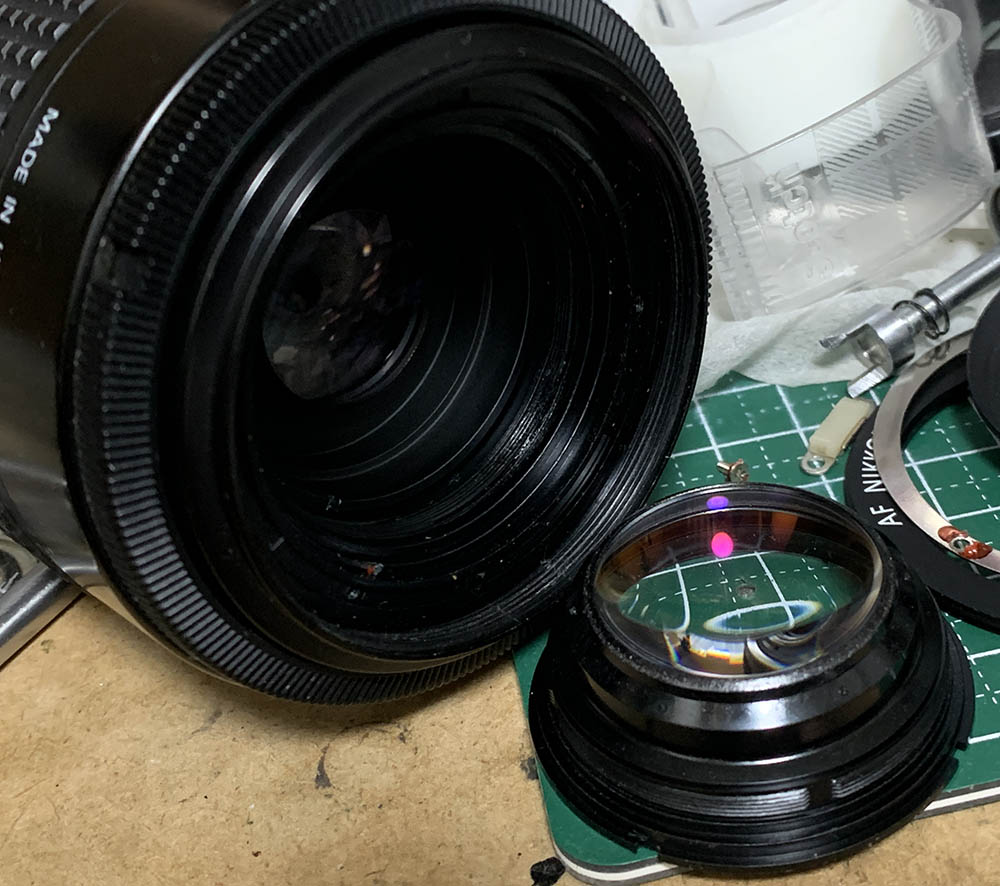
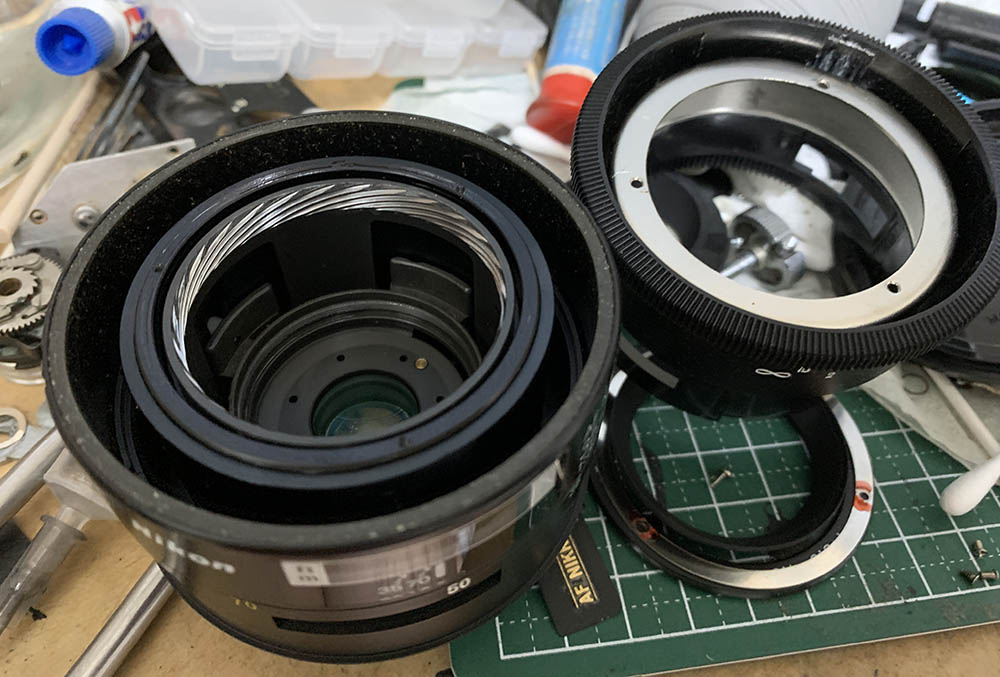
Apply some alcohol to the seams of the front optics assembly and unscrew it with a lens spanner. It’s tough to remove since it’s sealed. This is the reason why I said that it’s best to decouple the front barrel first.
At this point you can also remove the front barrel by wiggling it off. I won’t advise you to do it unless there is something wrong with it like the barrel is jammed or it needs to be replaced.
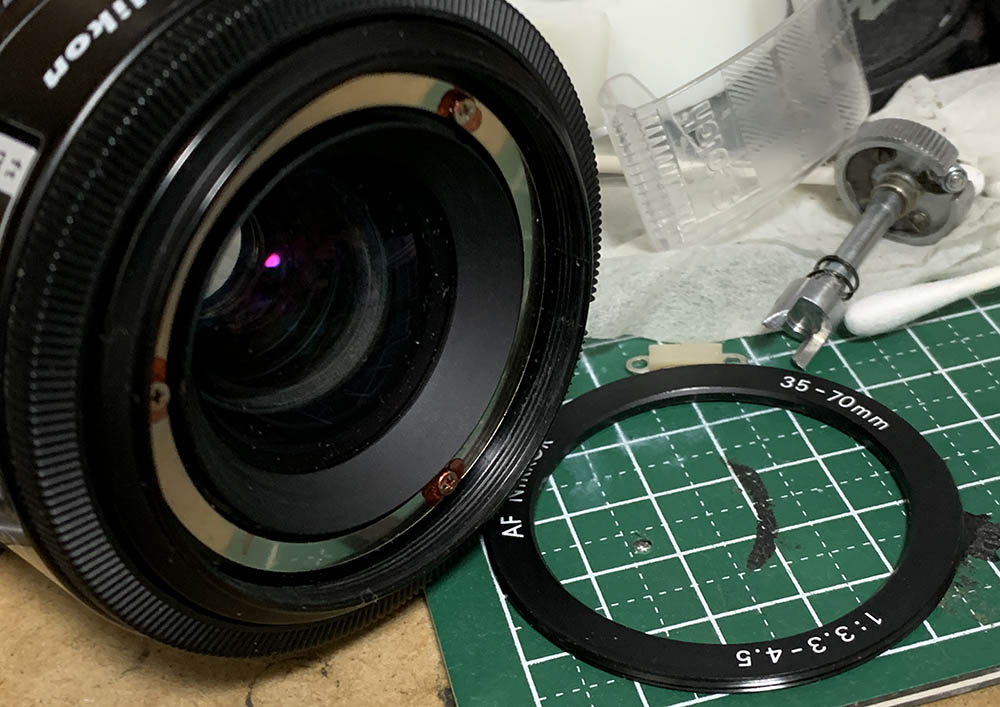
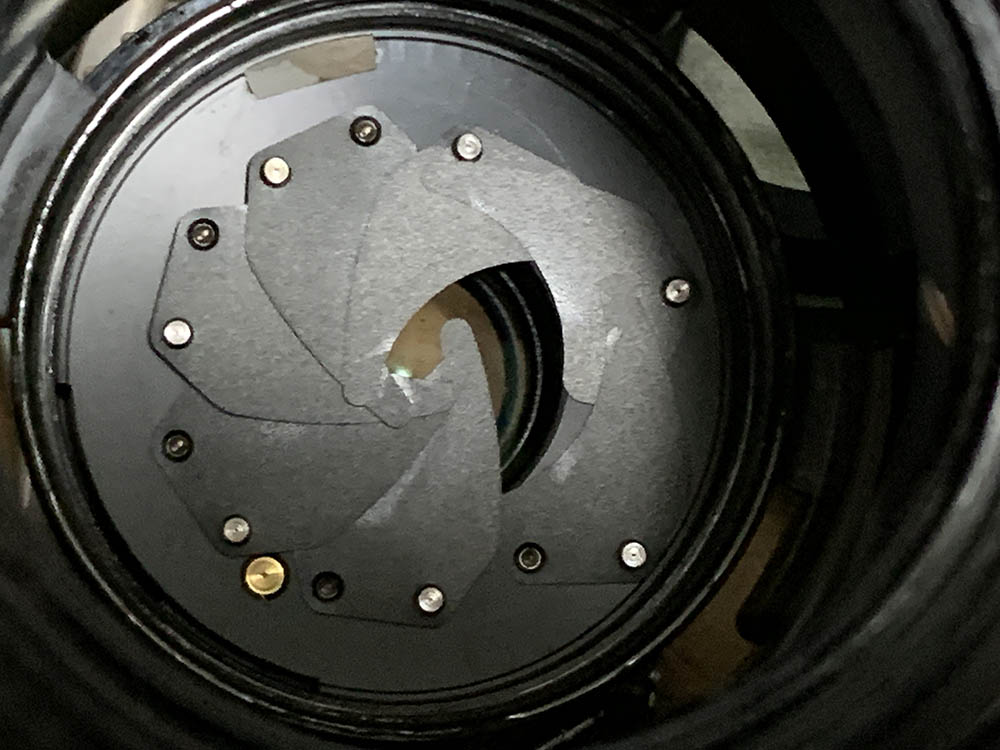
The floating group can be removed by using a lens spanner. Zoom it so it’s easier to access.
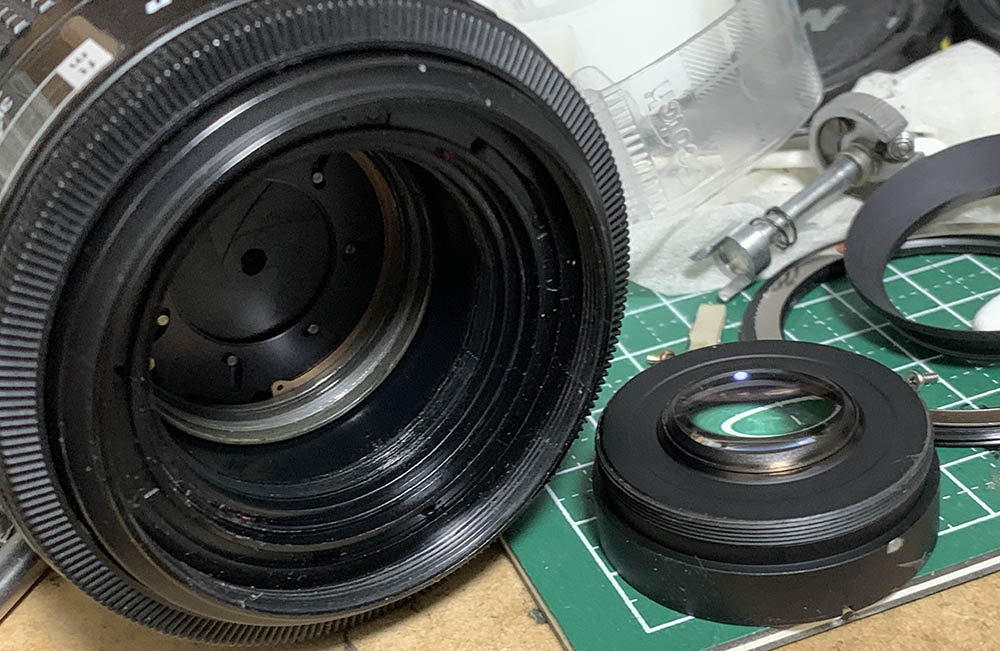
Be careful when removing it so you won’t damage the glass. Its housing is actually made of 2 parts, the bottom and the walls. They’re merely glued together and may separate.
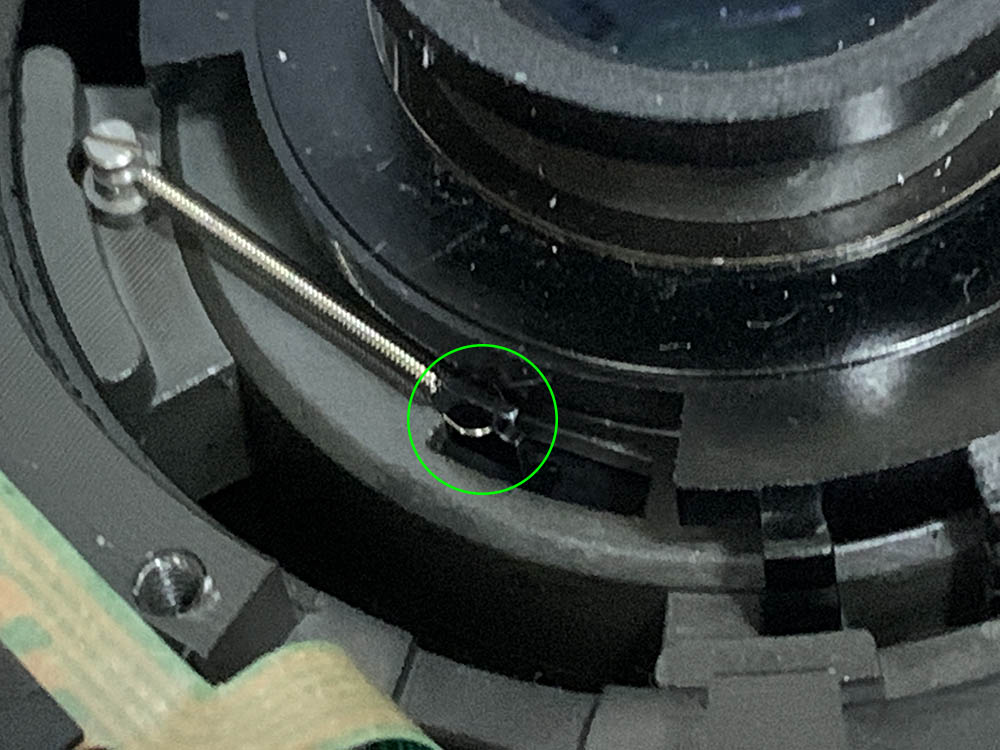
Decouple the spring of the iris so you won’t damage it.
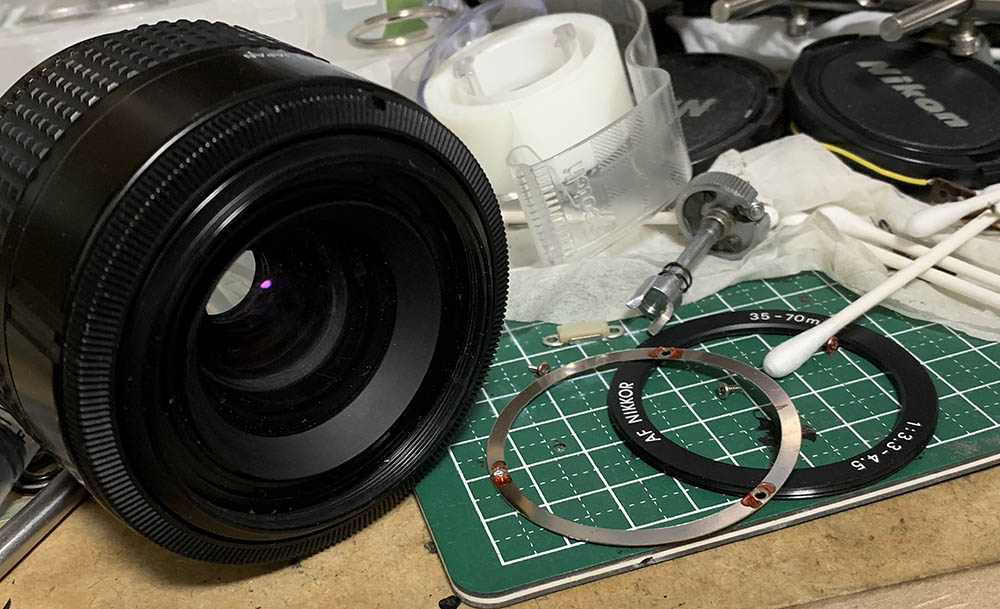
The circlip can be tricky to remove without the right tools.
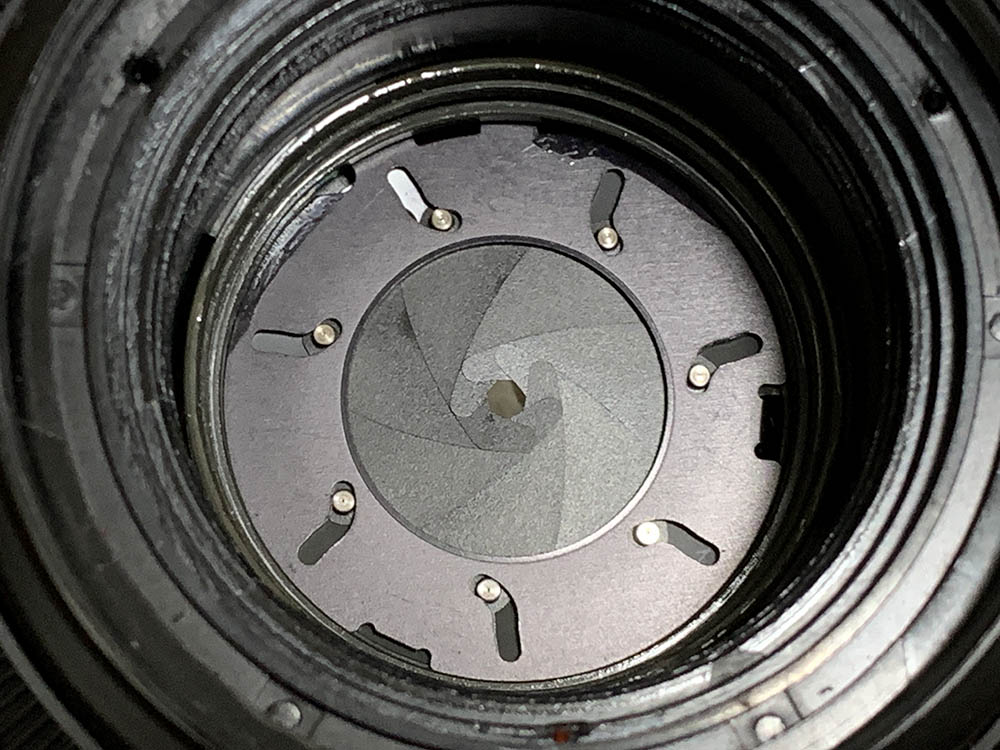
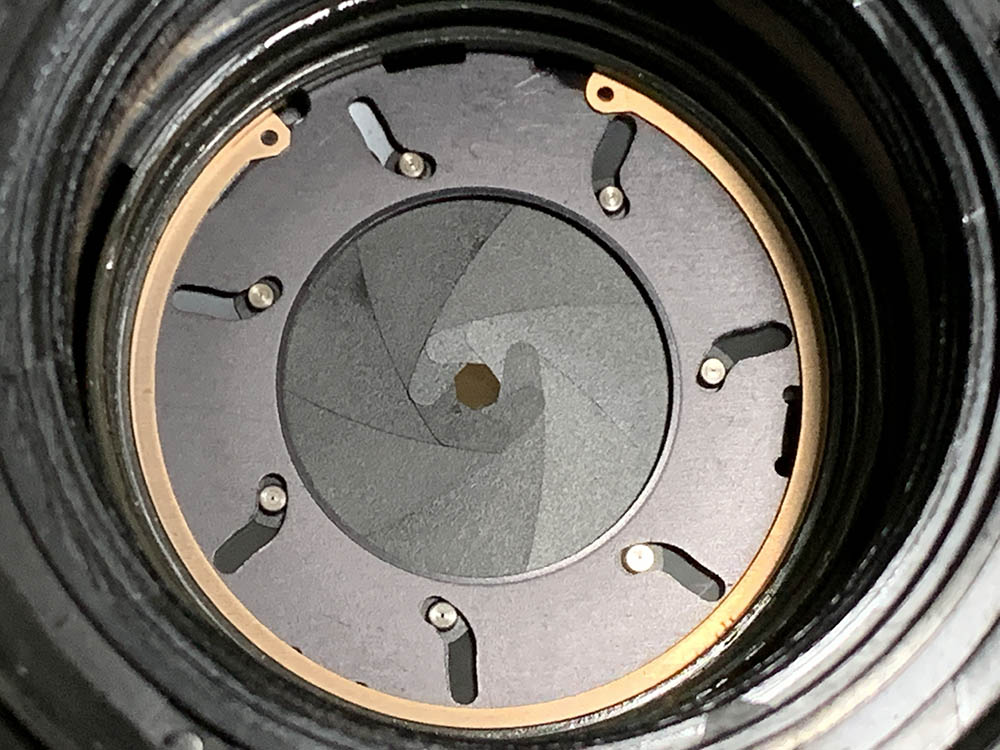
Once the circlip is gone you can remove the diaphragm plate, it holds everything together.
Carefully pick it off with your fingers.
You can now safely remove the blades to clean them.
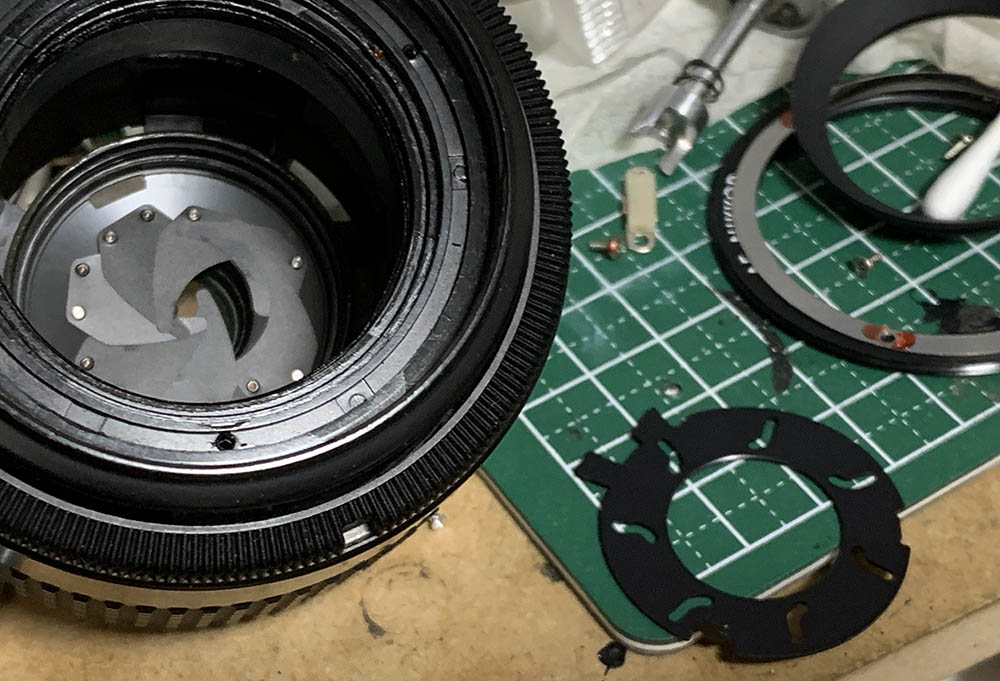
You could separate the helicoid if you wish. Only do this if you know what you’re doing. You normally won’t have to deal with this with most autofocus lenses. Many people get stuck at repairing helicoids because they don’t know how to do this properly, read my article on how to service helicoids in order to know how to do it properly.
Removing the screws of the inner barrel will allow you to remove the whole assembly.
Here’s how it looks like now. This is unnecessary unless you have to repair or replace it.
Clean everything that’s accessible to you while you’re at it. If your lens has fungus, read my article on how to clean lens fungus. Dilute the solution with distilled water, using it at full-strength will etch the coating and the glass will get damaged, too. If it has an oily iris problem, wipe the blades with naphtha and lens tissue. Do not damage the blades and only handle them by their pins.
Conclusion:
Servicing this is quite easy, it took me under an hour to get the job done. It’s a nice exercise after a busy day at the office. Despite its cheapness it’s surprisingly well-built in some places. I wasn’t expecting it to have a metal chassis inside. Its only weakness is the dinky focusing ring which can easily be damaged if you’re not careful.
Once you’re done with everything, backtrack your steps but leave the bezel out. Adjust the focus and be sure it is accurate at infinity. Read my article on how to adjust a lens’ focus to know how it’s done in a DIY setting. The screws of the focusing ring can be tightened to finalize your adjustments and test it once more just to be sure.
Thanks for following my work, if you liked this article please share this with your friends so it will get more views. This site earns around $1.10 a day, it’s totally reliant on views. You can also support this site, it helps me offset the cost of maintenance and hosting. You are also helping me purchase, process and scan film. This site promotes the use of film so we’re all in this together. See you again in the next article, Ric.
Help Support this Blog:
Maintaining this blog requires money to operate. If you think that this site has helped you or you want to show your support by helping with the site’s upkeep, you can make a small donation to my paypal.com (richardHaw888@gmail.com). Money is not my prime motivation for this blog and I believe that I have enough to run this but you can help me make this site (and the companion facebook page) grow.
Buy me a roll of film or a burger?
Thank you very much for your continued support!
$2.00
Helping support this site will ensure that this will be kept going as long as I have the time and energy for this. I would appreciate it if you just leave out your name or details like your country’s name or other information so that the donations will totally be anonymous. This is a labor of love and I intend to keep it that way for as long as I can. Ric.

1 Comment (+add yours?)