
Hello, everybody! This is my first article in 2020! 2019 started off great for me career-wise but it quickly turned sour by the end of the last year, it was difficult for me and I had to take things slow in this blog. 2020 is a new year, it brings with it new hopes and opportunities, I have high hopes this year so please send me your well-wishes and let’s all have a fantastic year. Since we are on the topic of something fantastic, I’ll show you a fantastic lens in this article. Something that I think every landscape photographer should own if they shoot with Nikon or mirrorless.
Introduction:
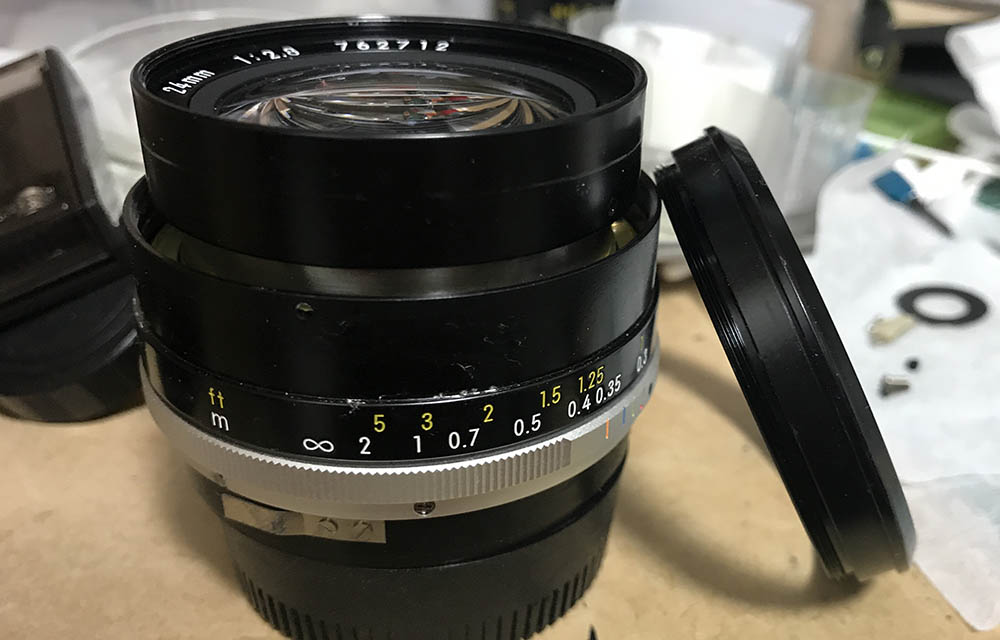
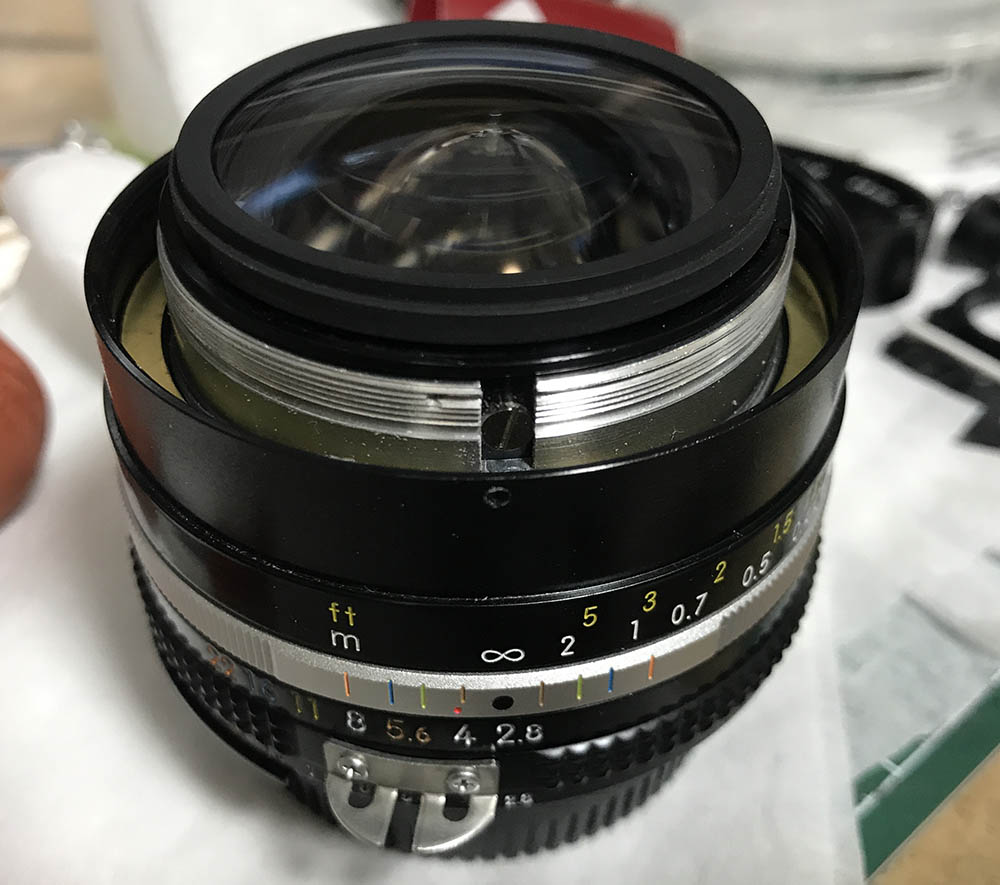
The Nikkor 24mm f/2.8 Ai-S debuted in 1981 to replace the aging design that was pioneered by the then-ground-breaking Nikkor-N 24mm f/2.8 Auto. The optical design didn’t change from that point until the Nikkor 24mm f/2.8 Ai. The older design is great but it is clear that it had to be given a new optical formula in order to keep this lens line competitive in the years to come and they have succeeded. This is still being produced today, you can buy it new. This is how good this lens is and a testament to the engineers’ efforts.

It’s a compact lens, not much bigger than the Nikkor 35mm f/2.8 Ai-S but it’s packed inside. The build quality isn’t as good as the older Ai series but it is a lot better than what we’re used to seeing these days. It will withstand plenty of beating from professional use and it will outlive any plastic lens.
This one inherited the newer 9-elements-in-9-groups design from the Nikkor 24mm f/2.8 Ai which is a departure from the original optical formula. It also benefitted from better coating technology, better manufacturing techniques and optics calculation precision, it’s a true masterpiece. It is something of a technical high-point for Nikon that it out-performs even its more expensive counterpart, the Nikkor 24mm f/2 Ai-S in practical use. This says a lot about this humble lens. Despite being manual-only, it’s trivial since 24mm is easy to focus despite the very short focus throw.
This is a perfect lens for travel as it’s compact, light and it takes 52mm filter attachments. It’s great for amateurs and professionals alike. You’ll never go wrong with this lens. It’s a classic and it has a cult following, just search the internet and you will see how much people love this lens. It’s fantastic and I love mine a lot. It’s a great companion with Nikons of any size, from smaller ones to professional-grade bodies.
It’s perfect for videographers, too. The 24mm focal length is great for telling stories as it’s wide-enough to give you the foreshortening that you need but it’s still a bit “long” so as not to make your subjects look distorted when they are close to your setup.
Let’s now see some sample photos from this lens. I took these from f/2.8, f/4, f/5.6 and f/8 (left-to-right). It’s important to see these photos so we will know how it performs in the most important f-stops. This will help us know how to exploit this lens’ strengths and workaround its weaknesses.


(Click to enlarge)
Vignetting is kind of heavy wide-open, it improves by f/4 and is negligible by f/5.6 and shouldn’t be a problem from f/8 on. I would shoot this from f/4 just in case, I have seen worse examples but you want to be safe specially if you have the sky in your background.

This is how much distortion you should expect from this lens. It’s high but it is not unusual for this kind of lens anyway, the profile looks rather simple. I wouldn’t bother too much about this but I won’t use this lens for shooting a scene where I need the lines to be straight.


(Click to enlarge)
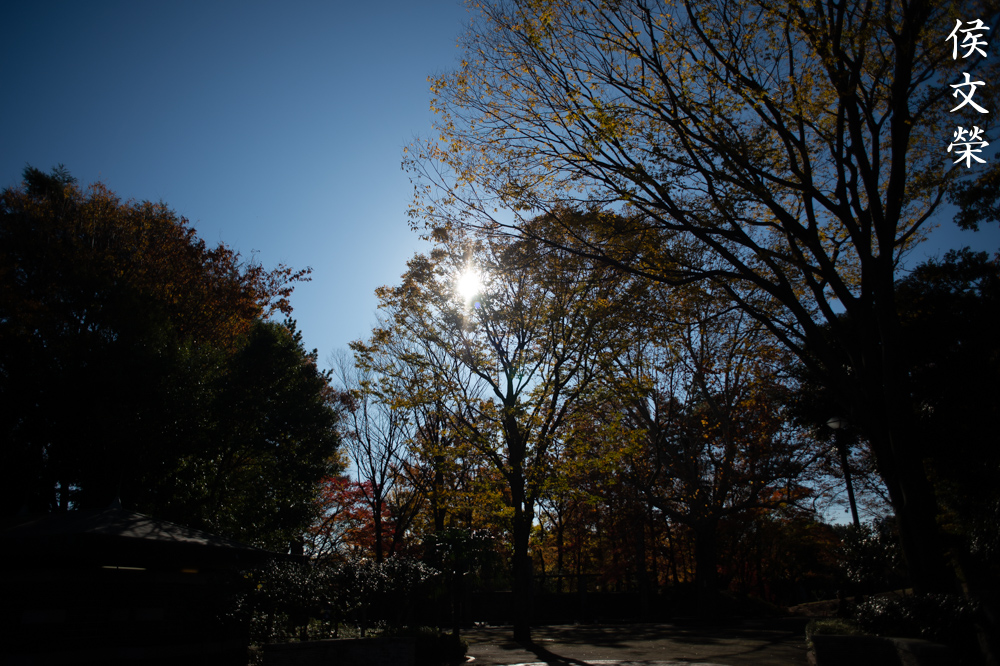
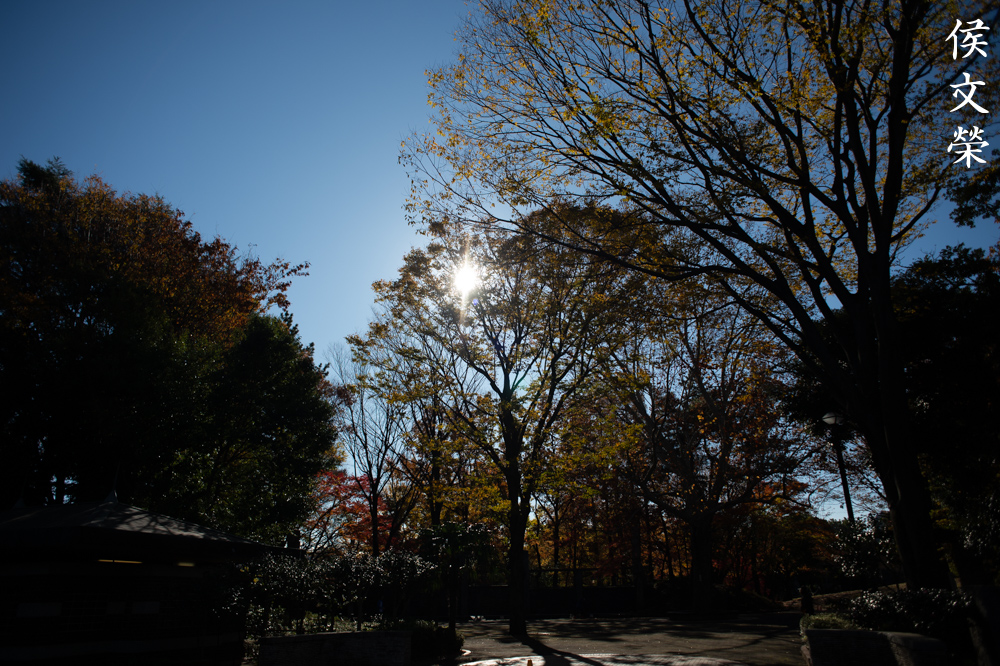
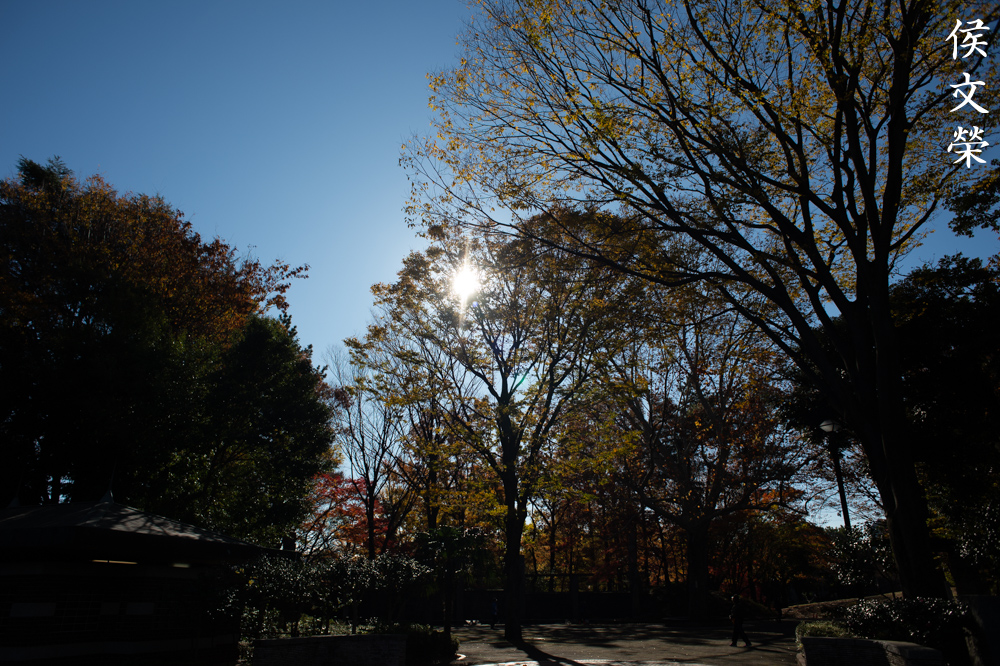
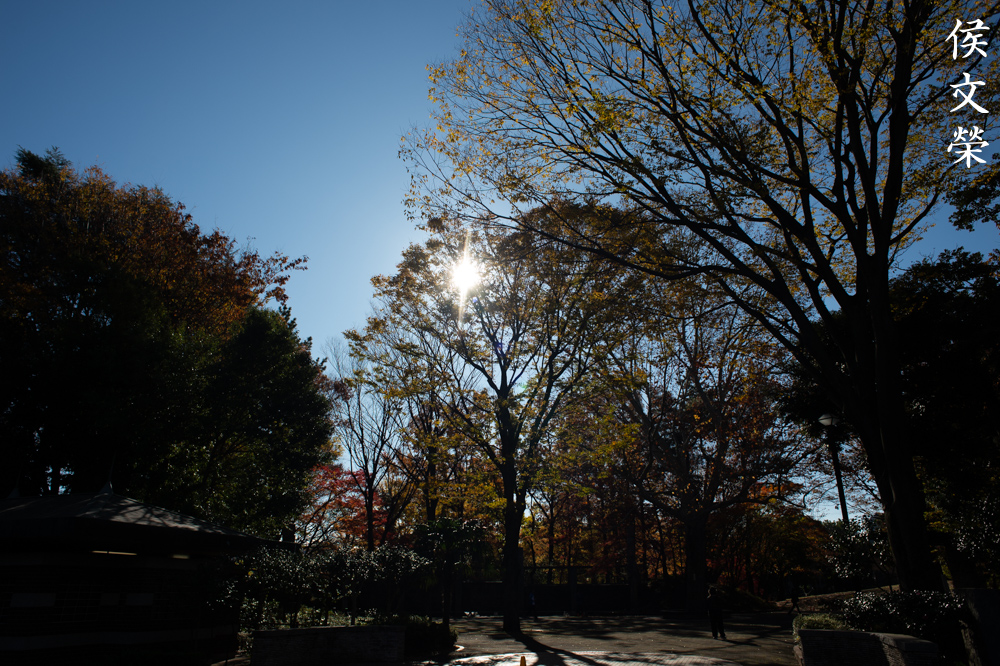
This lens seems fairly-resistant to flaring even wide-open, which is good. It’s a great lens for shooting with the sun in the frame but you will get it if your framing has the sun just outside of the frame but it’s not bad at all.
You will get internal reflection in the form of blobs or ghosts, I find this a bit surprising because this lens should have better coating applied to it. You are going to notice that the blobs look diffused wide-open, which is good since it is easier to conceal them but they get more defined after stopping down the iris, this depends on the situation and where your light sources are coming from.
Chromatic aberration seems high at this distance when shot wide-open but it improves upon stopping the iris down, it should be much better from f/5.6 and beyond. This is probably an extreme example that will trigger it easily, I took the 3rd set on purpose just to show you that.


(Click to enlarge)
You don’t shoot this lens for blurry backgrounds or the bokeh quality but it’s decent in this regard, not bad at all considering that this is a wide lens. This is not the focus of using such a lens but it won’t disappoint you.


(Click to enlarge)
One of the highlights of using this is how close it can focus and how CRC is a good thing at helping keep the image sharp at closer distances. You will see its benefits the most at the corners of the frame. A non-CRC lens won’t give you corners as sharp as ones that do have it. It’s amazingly-sharp, specially if you look at the center even wide-open. Stopping it down only makes this even better. The resolution is great even wide-open but it peaks at f/4 or so. I will use this at f/5.6 if I want critical sharpness and resolution but it’s great even wide-open. Contrast is also pretty good and the colors look vivid. Some people don’t like this and prefer a more “muted” look but I don’t mind at all. The corners look great, the difference in performance from the center is not that great at all, maybe less than a stop’s difference at the most.


(Click to enlarge)
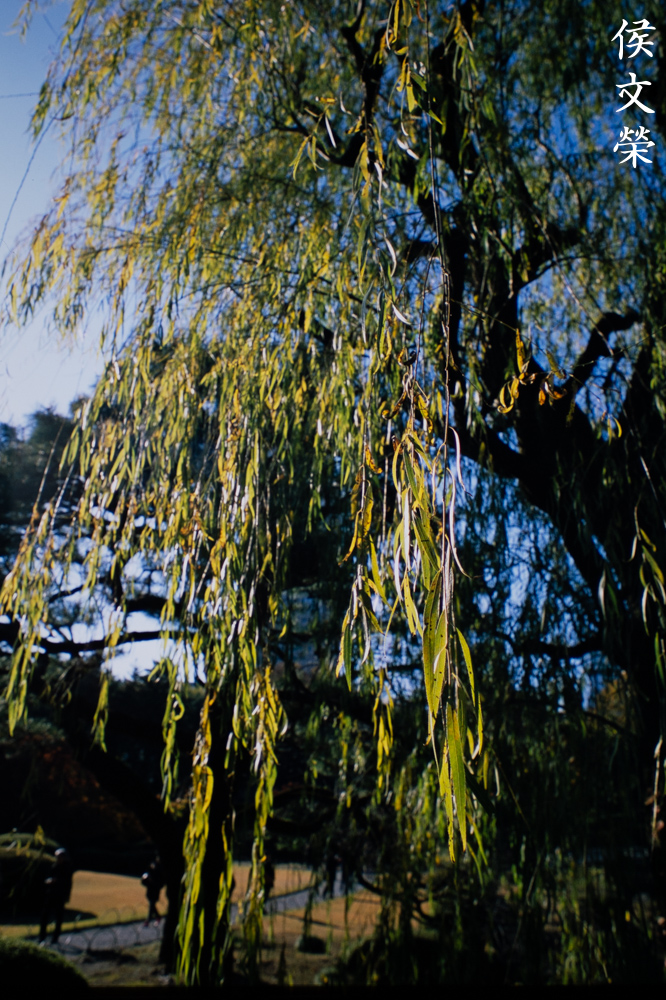
Shooting subjects that are further into the frame shows that lens is capable of taking sharp photos with plenty of detail wide-open but it really make an impression once you use it from f/4 to f/5.6. Stopping this lens down is not a good idea if you want sharpness but you do it for more depth-of-field. Your pictures will look saturated and the contrast looks nice, this seems to be the character of this lens, it feels that this was calculated for taking pictures like these, it’s a landscape photographer’s best-choice for a compact 24mm lens.
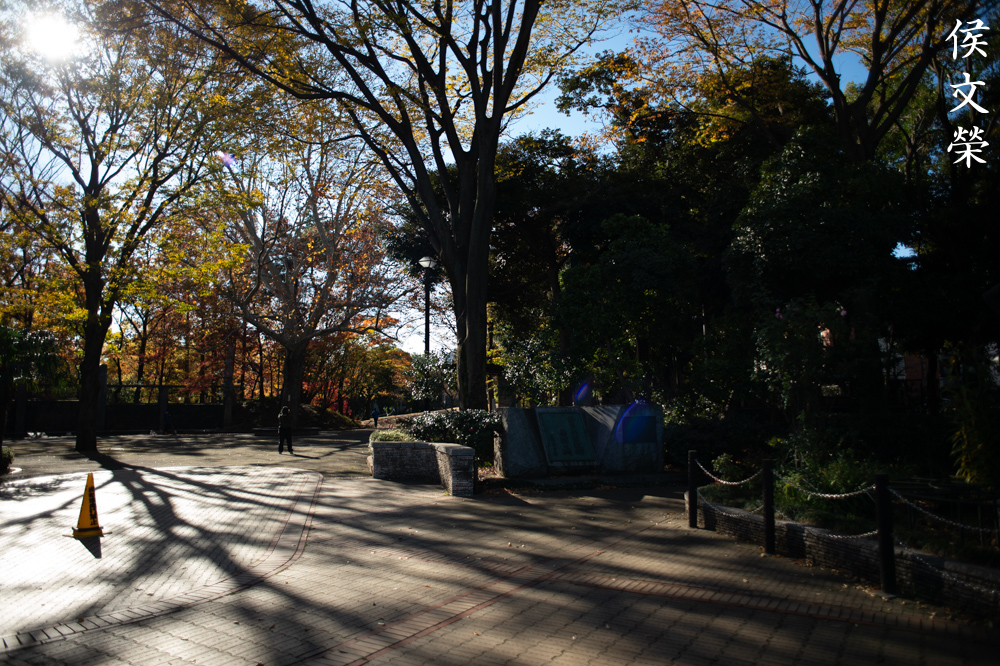
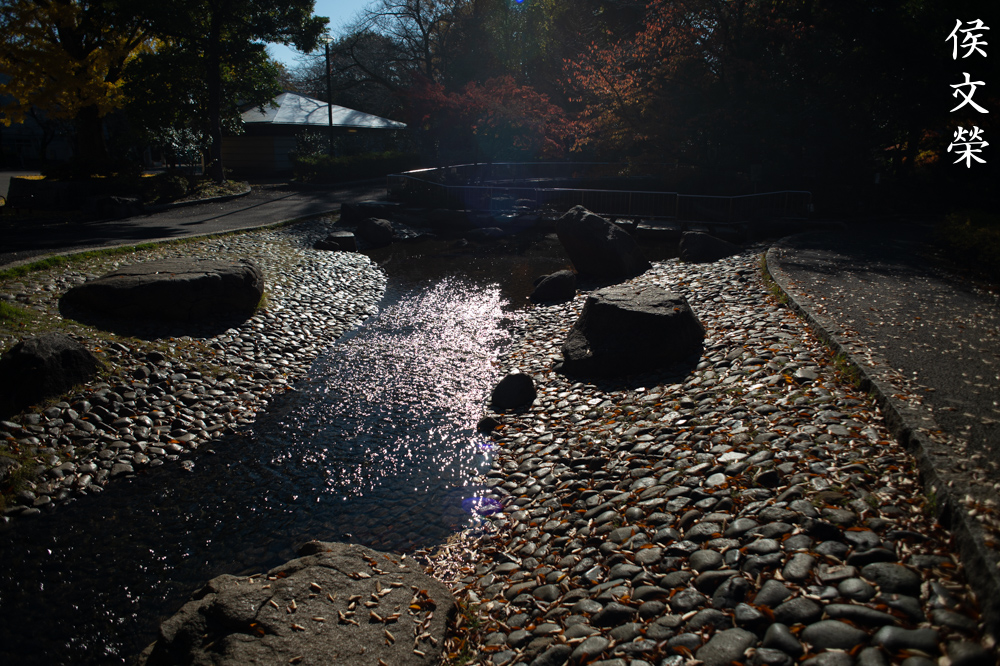
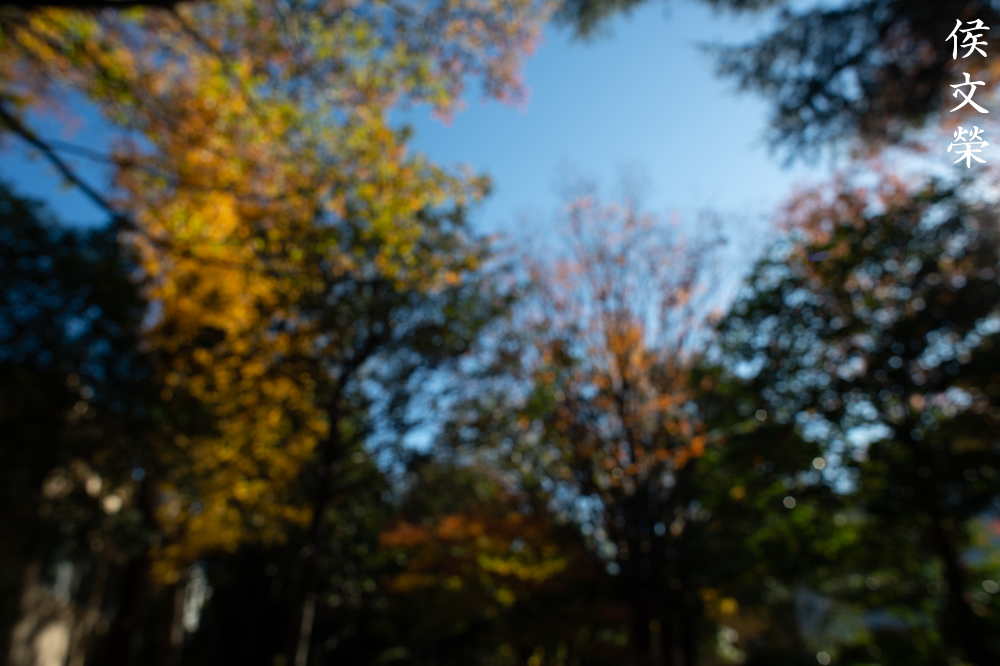
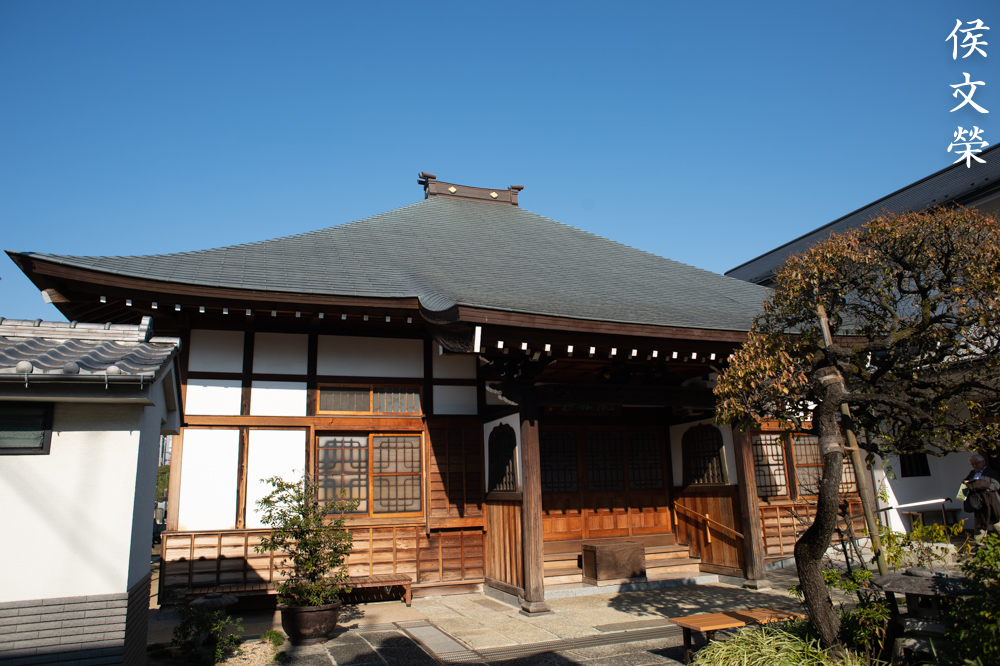
Let’s now see some practical examples from this lens. I base my opinion on how a lens performs in practical conditions rather than boring tests. This is so I can get a more holistic view of how this lens performs.

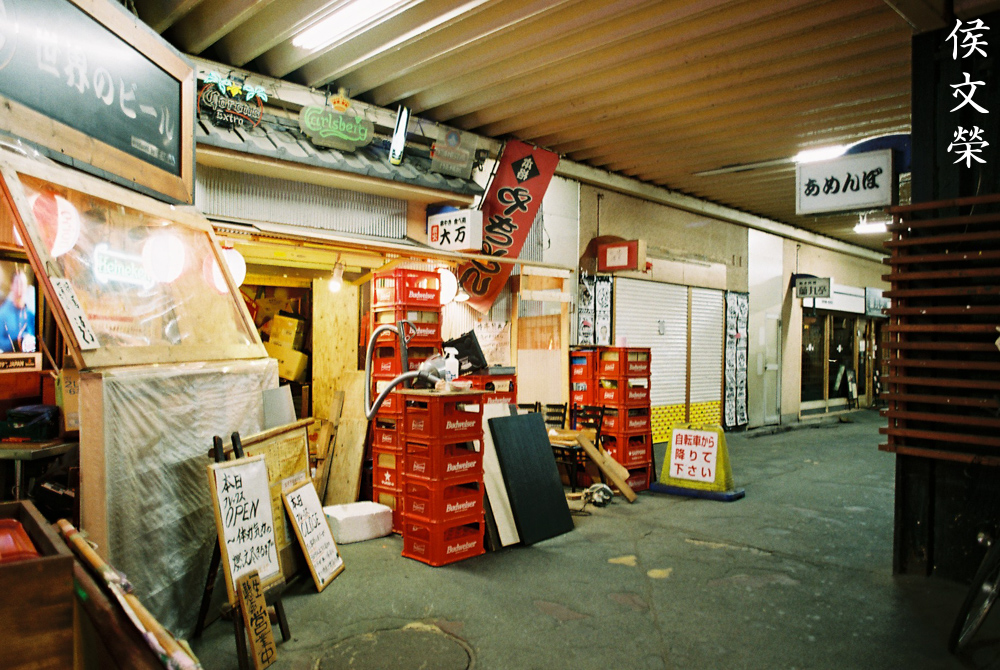
This lens is great as a travel photography lens, while 35mm will be a better option since it gives you a bit more reach, 24mm is just right for things like this. This may be too-wide for most applications but it’s perfect for scenery.
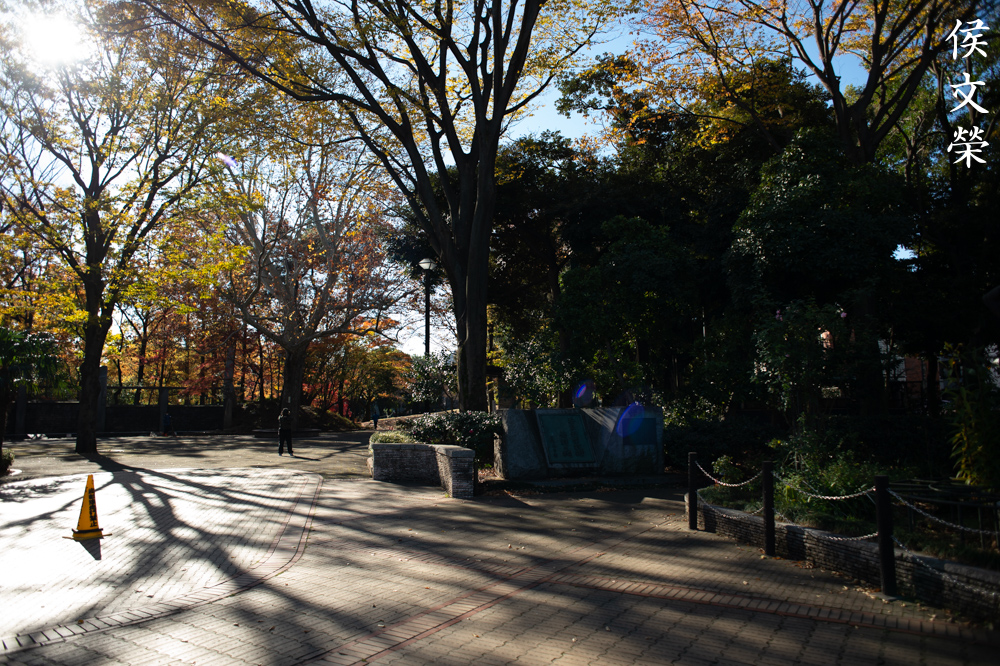
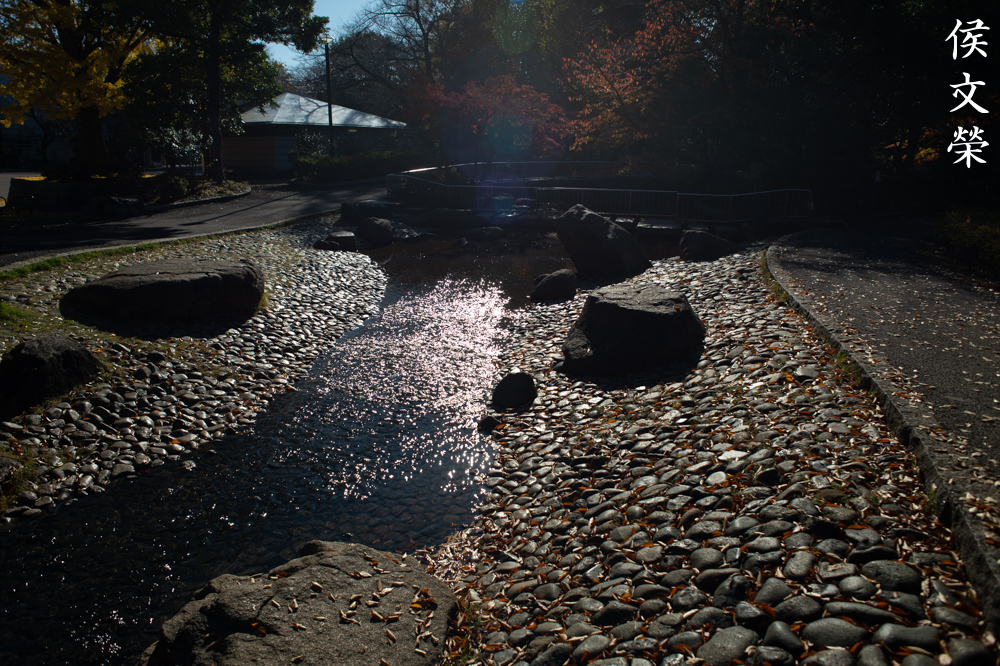
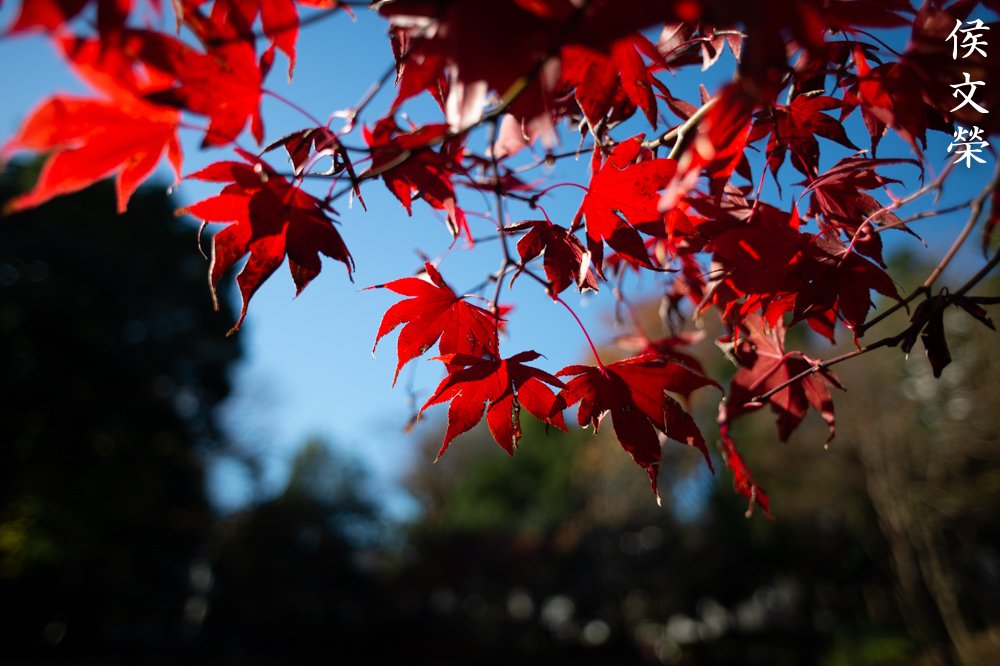
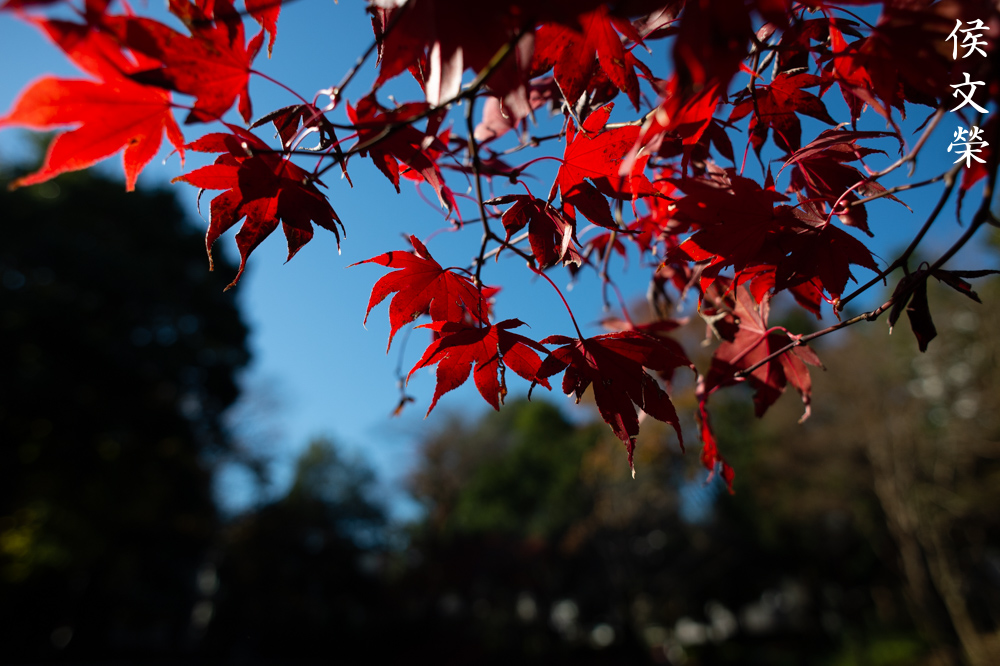
I love the saturated look that I get from the photos that were taken with this lens in good light. Chromatic aberration isn’t present here because this is a more-balanced scene compared to the example I have in the test shots. That example was taken intentionally to trigger horrible chromatic aberration.

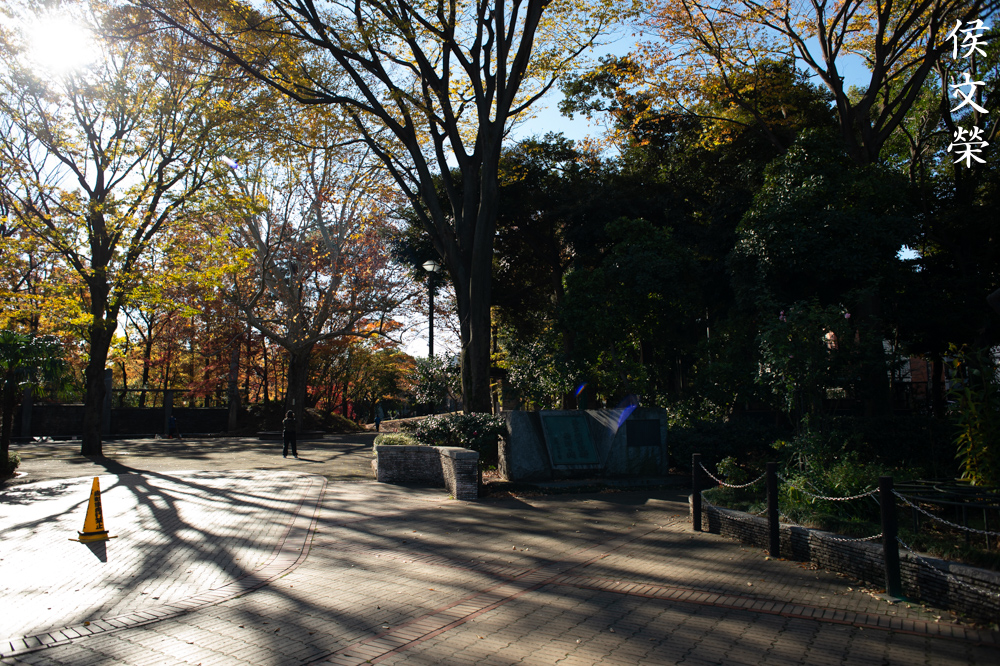
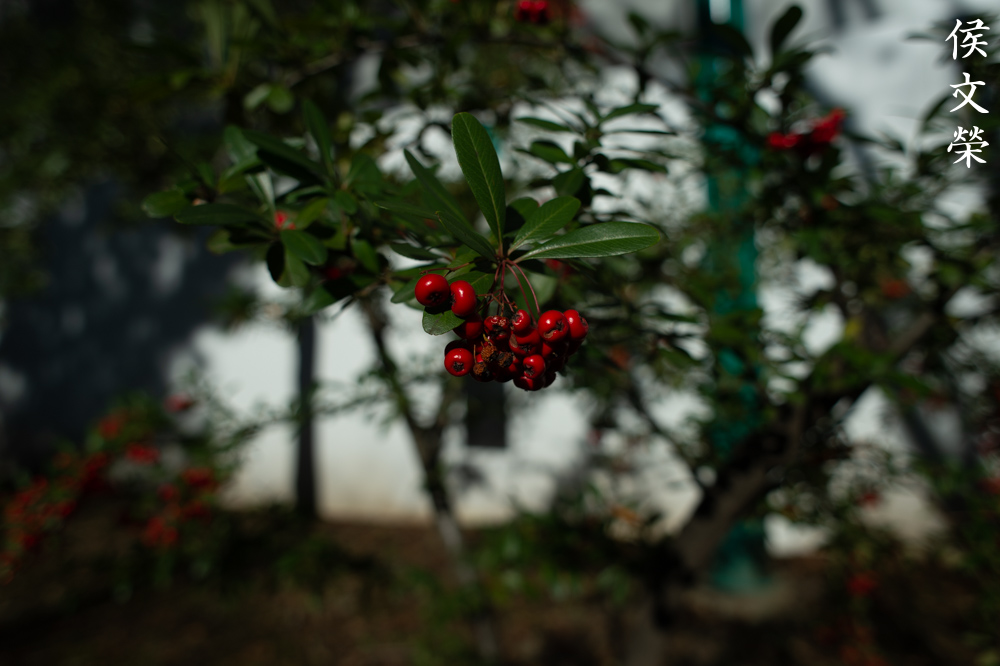
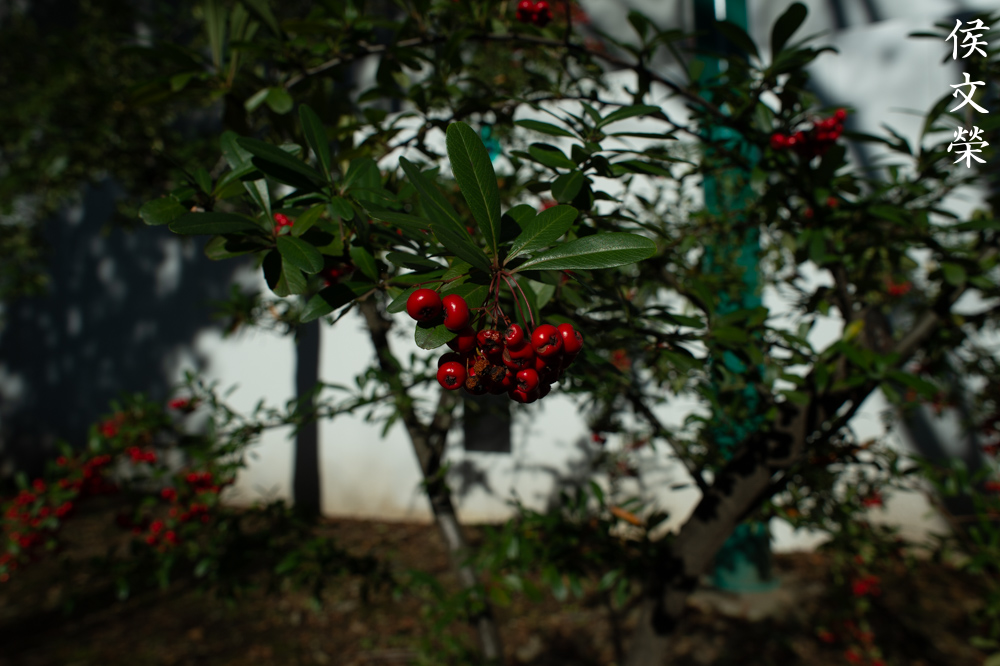
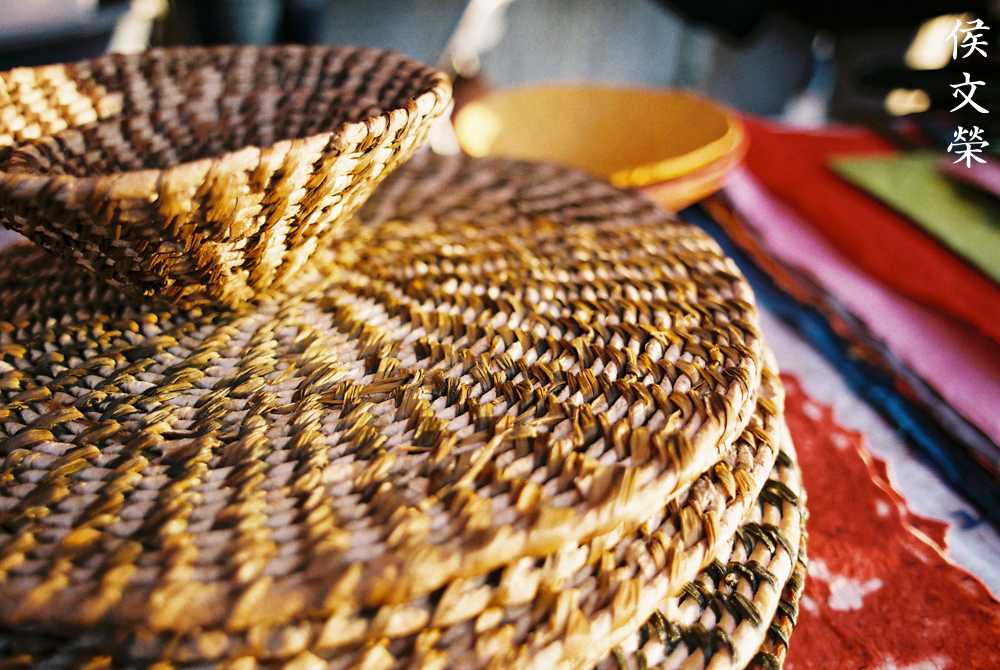
This is a more reasonable example if you want to see chromatic aberration. It’s not bad here but it’s still present in small amounts in the basket. This is a great lens and I am loving this more and more.
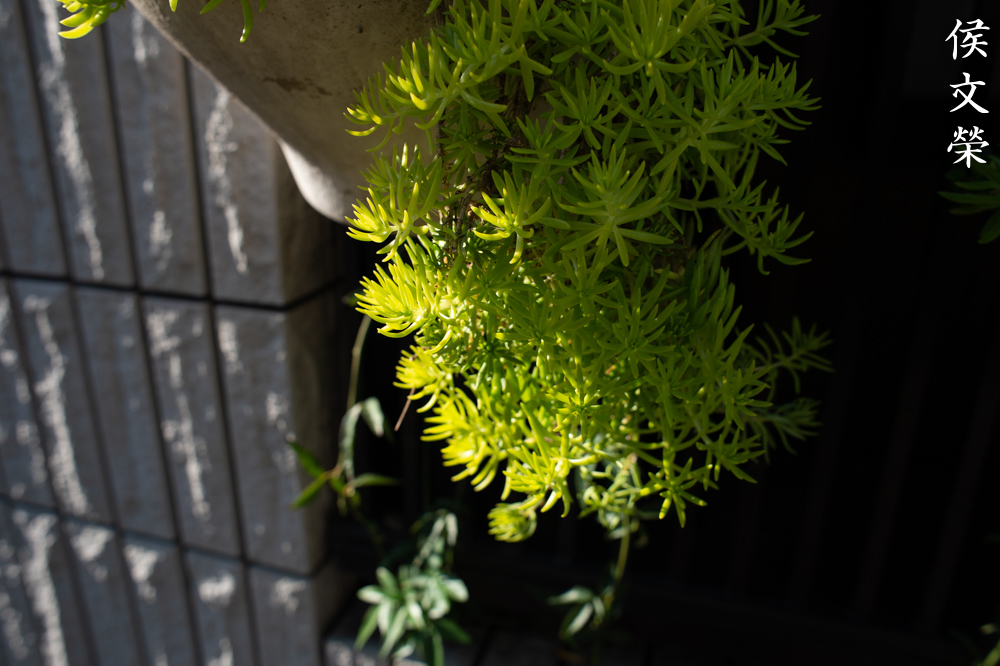
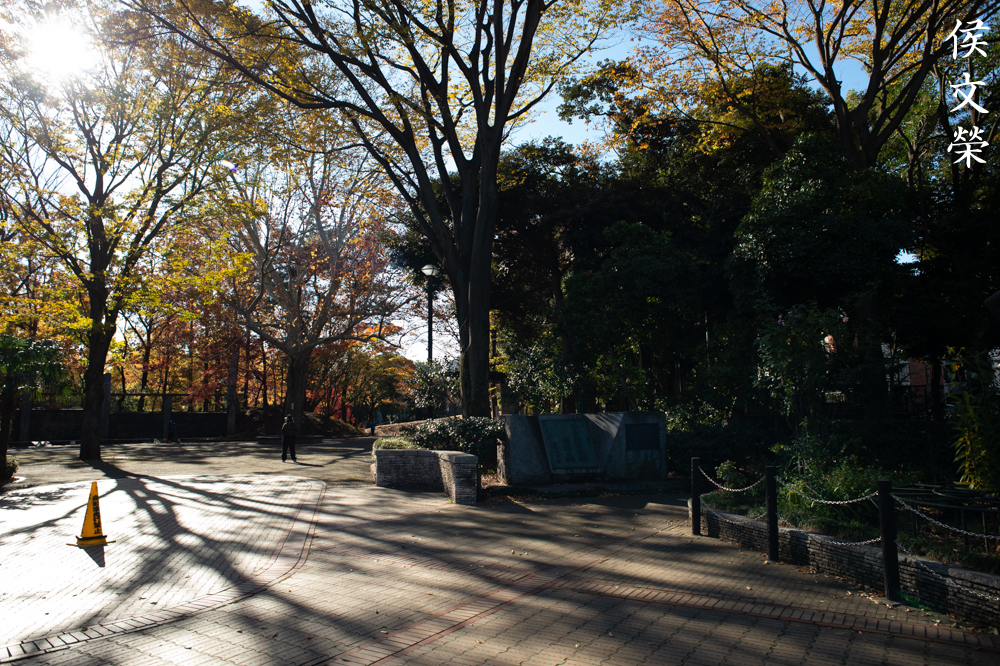
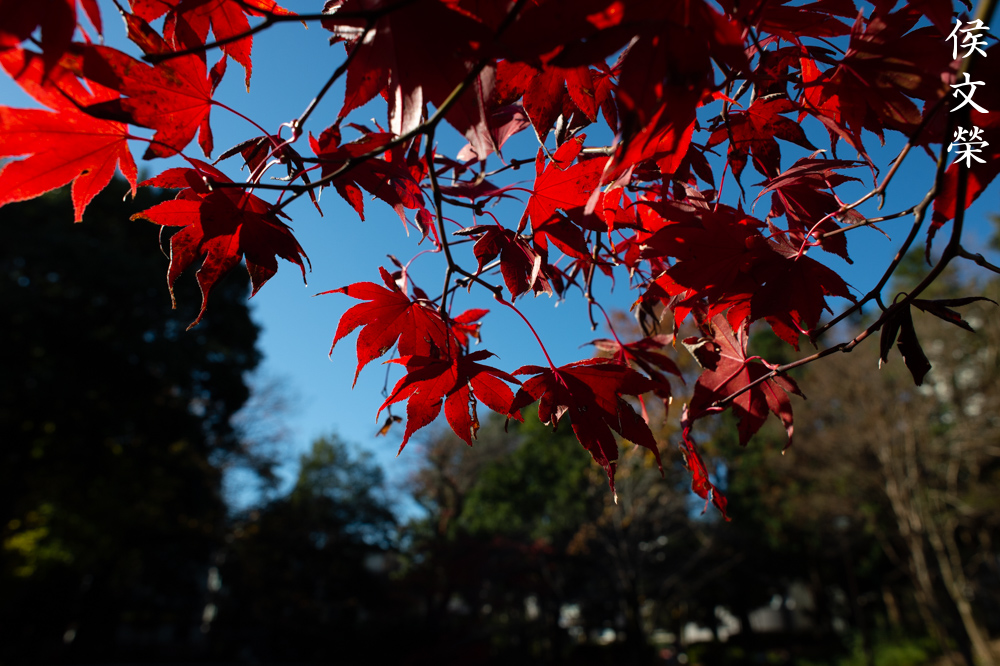
Here’s another example of a close-up, it’s not the best example but it shows how close this lens can focus. I think my sample shots in the previous part demonstrates this better than this lame photo.
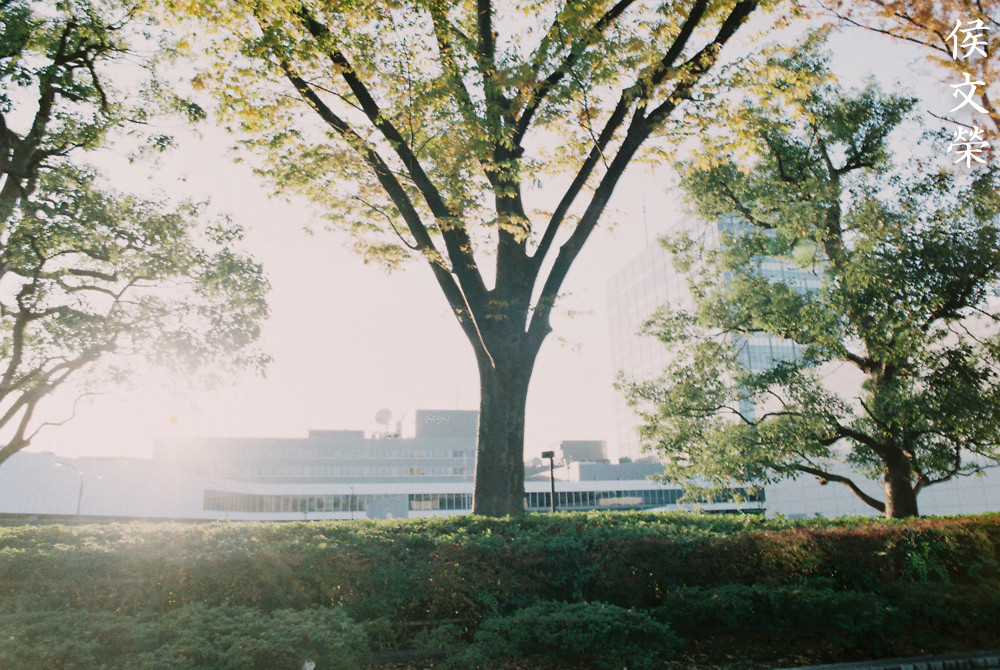
Let’s now see some sample photos that were taken with film. This lens was designed for use with film. Film has a distinct look, it’s hard to duplicate it with digital because of film grain. It’s only fair that we judge this lens using its intended medium so we can give it a better assessment.


(Click to enlarge)
These are more practical example of how flaring and ghosts look like when shot with film. It doesn’t look so bad but it’s still there if you look for it. Film isn’t as reflective as a digital sensor so it looks more tame.


(Click to enlarge)
This example shows you how it looks like when you shoot it wide-open and stopped-down. Sharpness and resolution are great even wide-open and you won’t see much of an improvement by stopping this down except that you’ll get more things in-focus due to the greater depth-of-field.

This was taken with a very slow shutter speed of around 1/8s or so. It’s great how I could take this photo with such a slow shutter speed. A wide lens will be more forgiving in terms of shutter speed compared to a lens that’s longer than 35mm.

This is how slow you can drag the shutter with this lens. Journalists will like this lens a lot for taking news photos.
Using a 24mm lens enables you to get greater foreshortening effects, you’re going to make subjects that are closer to you look bigger and ones that are a bit further look much smaller. You can use this for storytelling, it’s a trick I use at work to highlight the significance of a subject compared to what is in the background or a secondary character. Determining which lens to use is a skill that you can only get through experience.
Here’s a close-up photo showing how nice it is for pictures like this. This is a perfect example for this application. This lens is also great for taking photos of extreme-magnifications when mounted in reverse alone or using a relay telephoto lens and even with bellows.

You will have to get really close to your subjects if you want to take people photos to have them fill the frame. This lens will force you to get closer, like really close. I was standing around less than a meter from the person at the front.


(Click to enlarge)
Here are more practical examples that were taken with film. It’s really nice, I enjoyed shooting with this lens a lot.
How about some photos taken with Fujifilm Provia? I was shooting with an expired roll so the results aren’t optimal but it’s better than nothing. Taking photos with slide film is unforgiving, good thing I have the Nikon F6 and its amazing meter to help me out with the exposure.
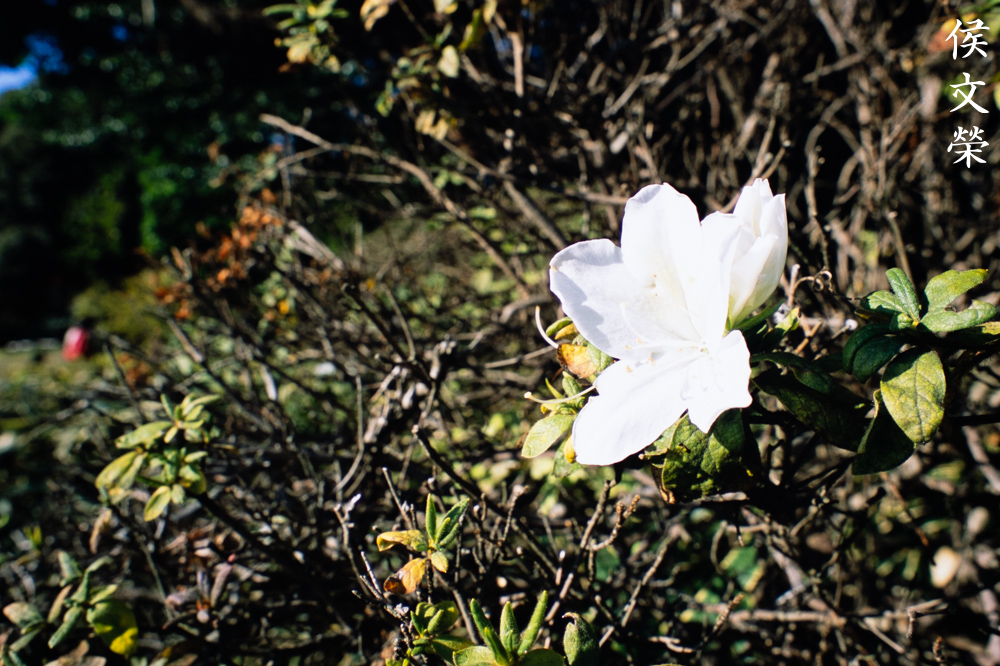
Slide film is unforgiving due to the lower dynamic range it has compared to negative film. Notice that the flower is over-exposed, I should have used my Nikon F6’s spot-meter for this.

This is under-exposed by 2/3 of a stop, I think. It’s sharp when you stop it a bit and it’s even better at f/8.

Well, at least the ghosts don’t look as bad with slide film.

Being able to take photos like this will help you creatively. This allows for a more intimate photo of your subject due to the foreshortening. It makes the viewer a part of the scene or puts him inside of it, so to speak. A longer lens won’t give you this.

This is a nice photo because the subject is sharp but it’s also a good example of how bad the chromatic aberration can be, look at the leaves and you will see what I mean.

This photo shows just how bad chromatic aberration can get with this lens. I hate this a lot but we can’t do much about it except stopping the iris down to around f/5.6 or so.
This is a difficult scene to focus because there of the frequency of details. It is a good photo for demonstrating if a lens has poor bokeh quality since it’s a photo with lots of linear details at the defocused area but this lens did not exhibit any ugly artifacts at all which is impressive.

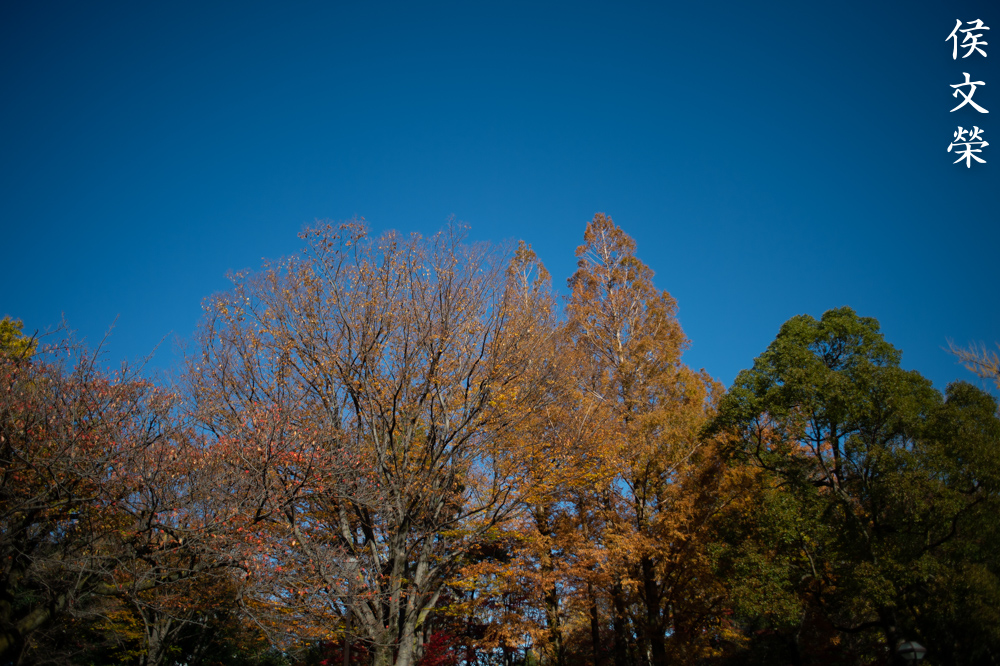
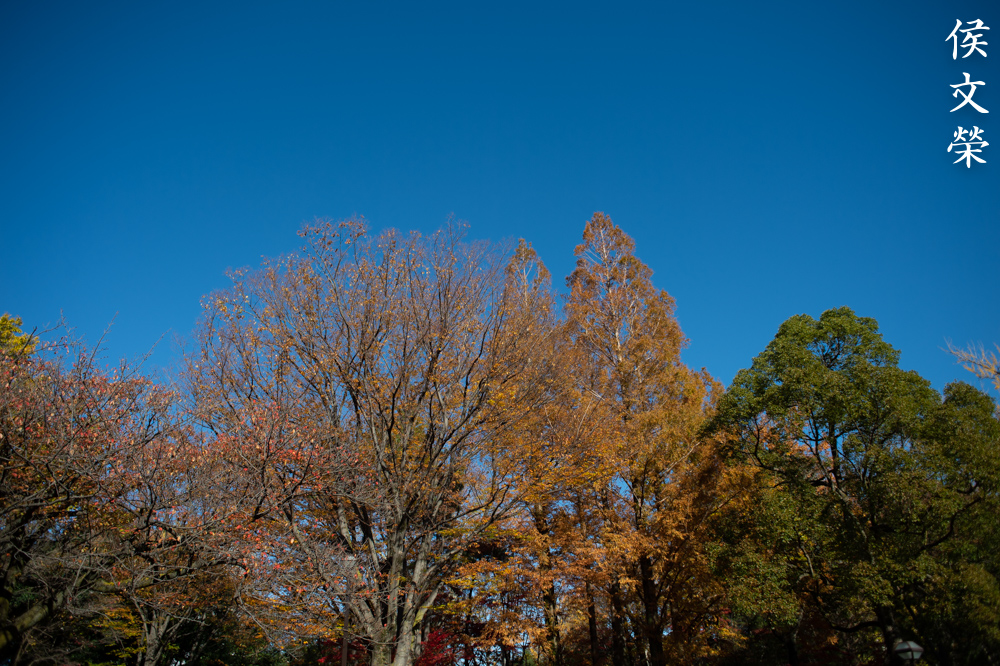
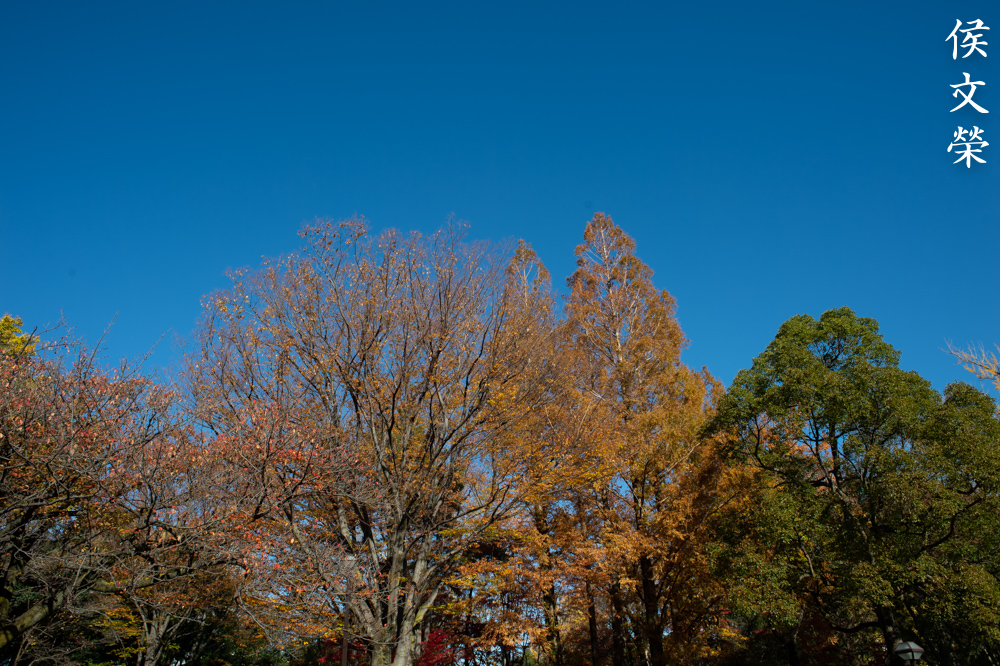
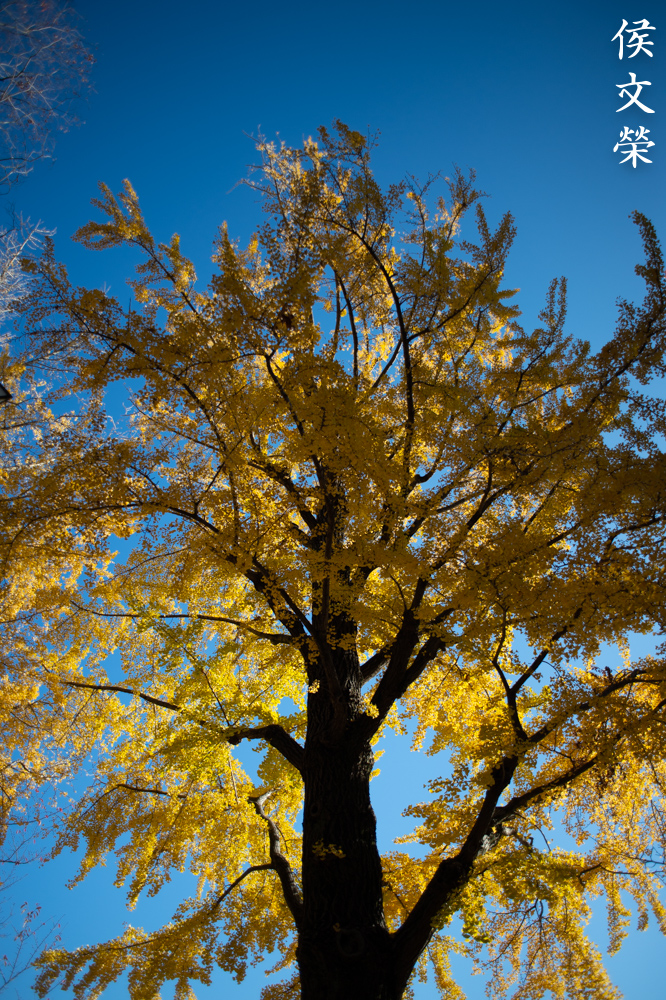
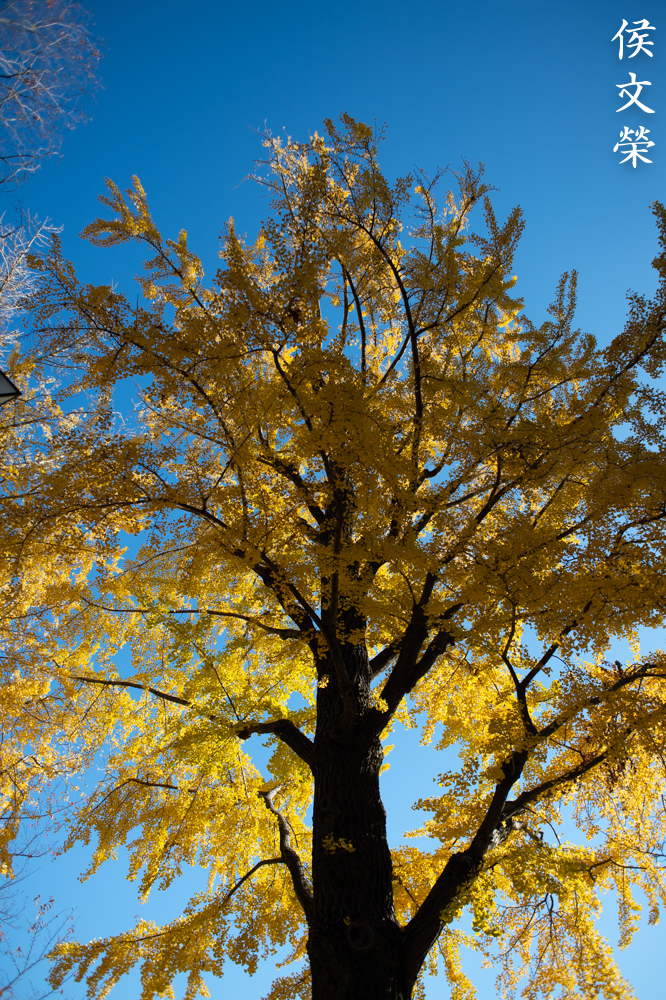
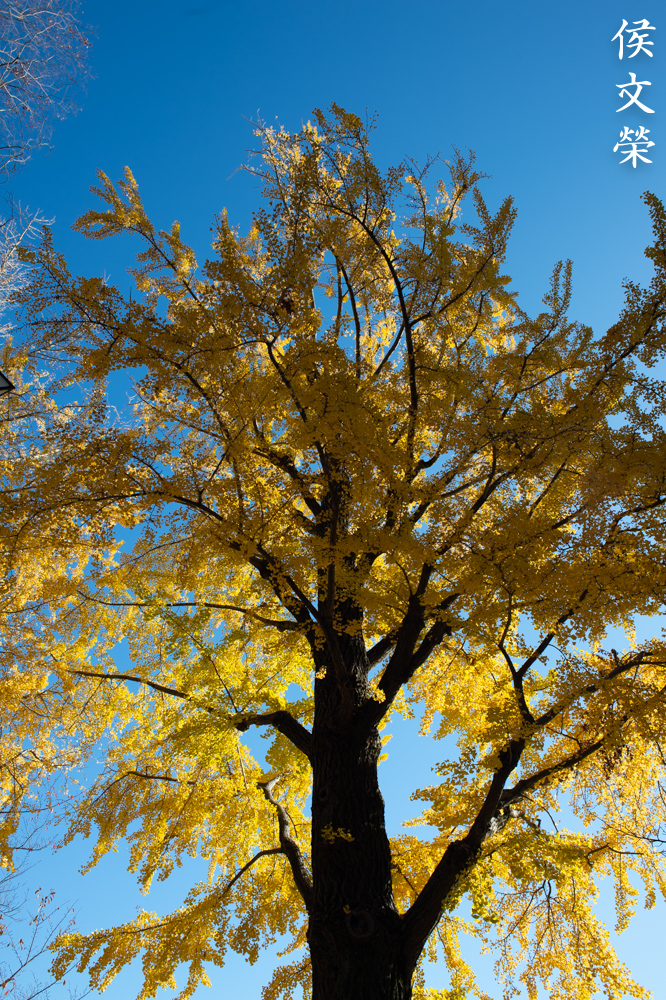
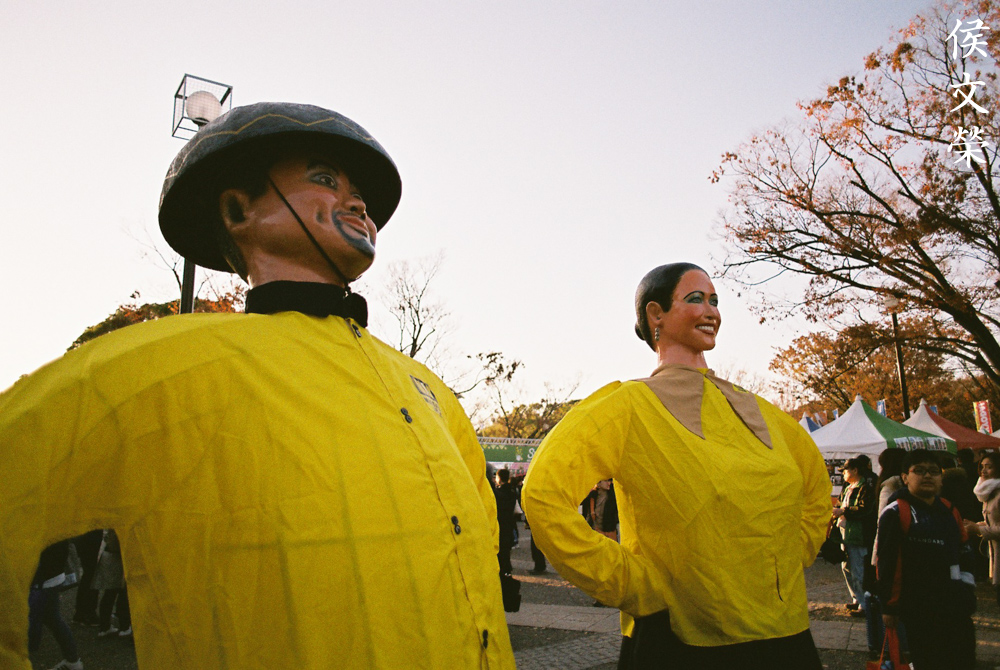
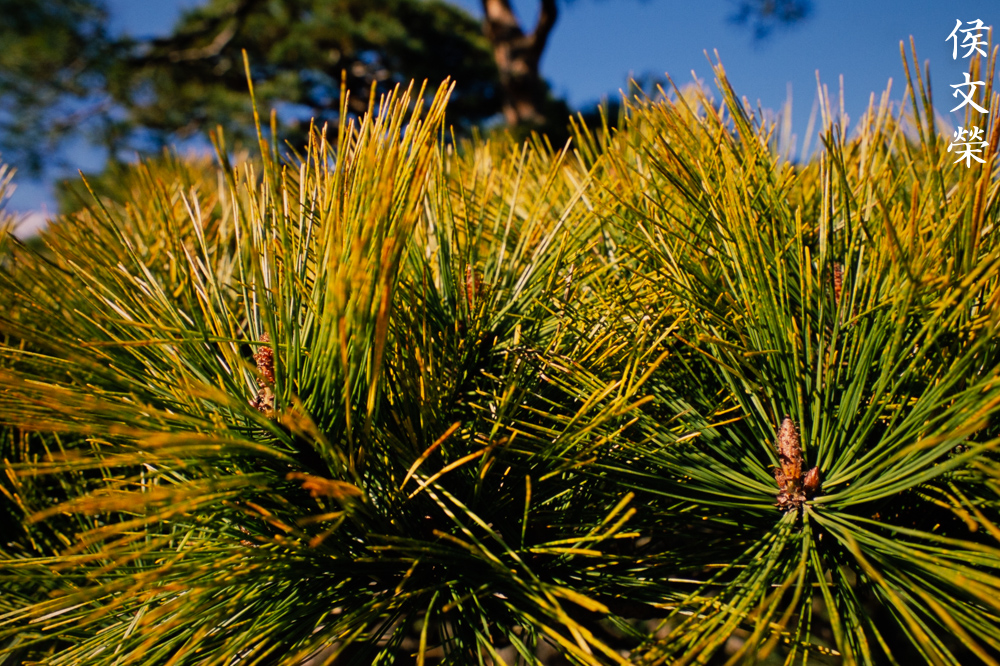
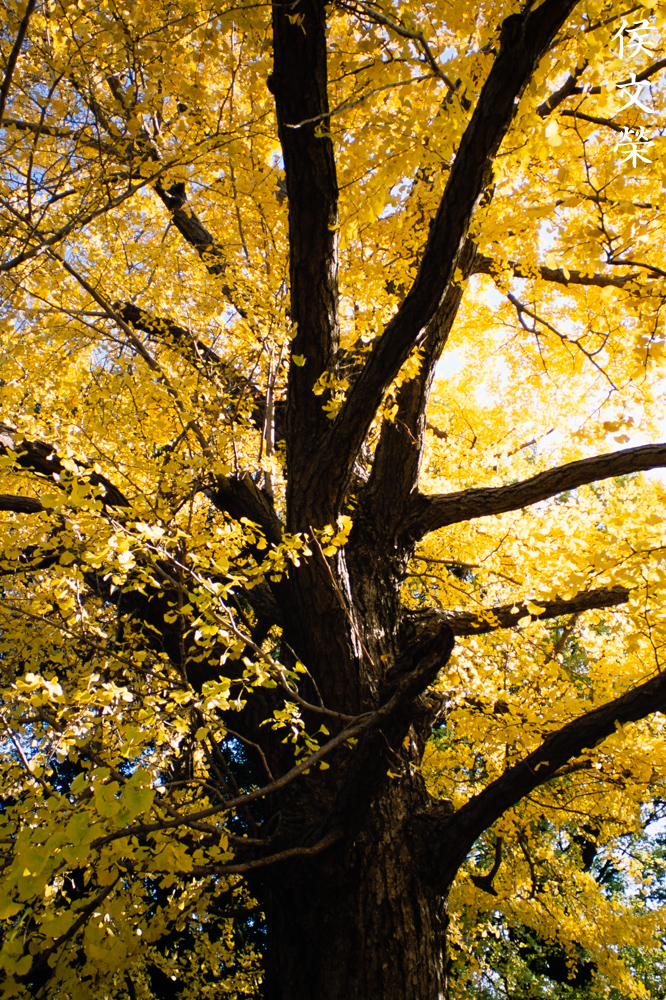
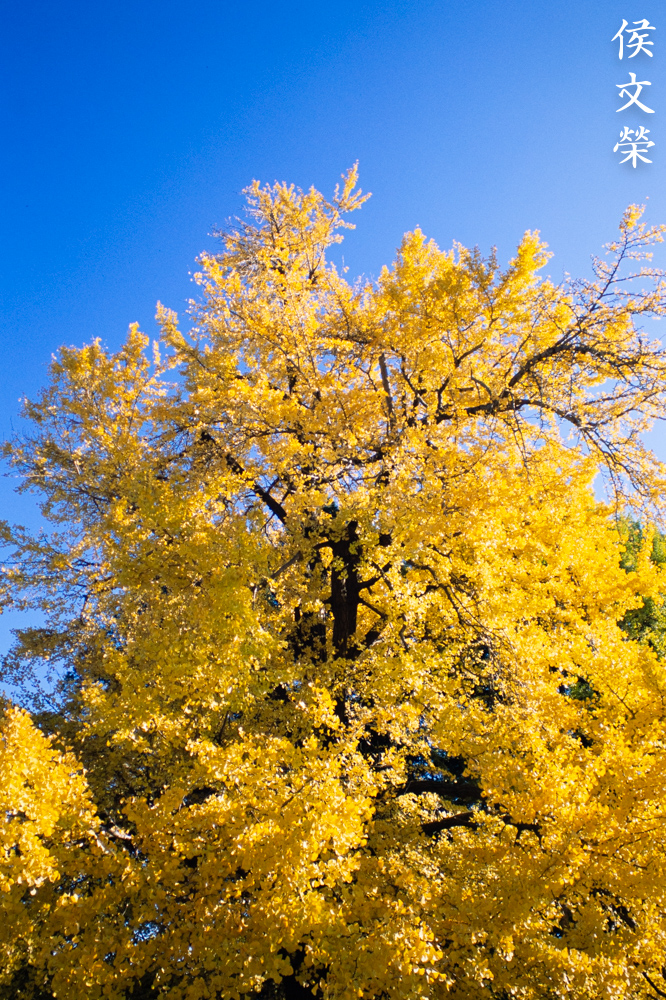
I love this photo because it’s sharp, vibrant and the colors compliment each other. Yellow is an opposing color to blue so they look great together.


(Click to enlarge)
Check these pictures out. The high-saturation that you get with this lens is a great combination with this film for shooting vibrant-colored scenes. Maybe Fujifilm Velvia will be better for this but I don’t like how it makes the scene looks at times, too unrealistic.
I highly recommend this lens to anyone, it’s one of those lenses that you will be using a lot if you love to take landscape photos. These aren’t cheap, you’ll be surprised at how expensive these can get since these are still made new but you can get lucky and find a beater like I did for not a lot of money. It’s a favorite of many photographers and many people don’t want to let-go of it, I won’t. The Nikon HN-1 hood is pointless because this lens is too-wide but it’s still something that you should consider when buying one of these. If you’re hunting for one of these online, make sure that the iris isn’t oily, the barrel is not stiff and there are no scratches in the glass. It’s best that you look for one in person so you can inspect the lens better. If you don’t want to spend a lot of money, the older Nikkor-N 24mm f/2.8 Auto is still a good buy but it’s not as good as this lens from my experience using it. If you want to save on money, you can look for the Nikkor 24mm f/2.8 Ai, it has the same optics but it has a longer focus throw, something that other people will prefer. You can not go wrong with either. This one is something I can highly recommend to everyone.
Before We Begin:
If this is your first attempt at repairing a lens then I suggest that you check my previous posts regarding screws & drivers, grease and other things. Also read what I wrote about the tools that you’ll need to fix your Nikkors.
I suggest that you read these primers before you begin (for beginners):
Reading these primers should lessen the chance of ruining your lens if you are a novice. Before opening up any lens, always look for other people who have done so in Youtube or the internet. Information is scarce, vague and scattered (that is why I started this) but you can still find some information if you search carefully.
I highly recommend that you read my working with helicoids post because this is very important and getting it wrong can ruin your day. If I can force you to read this, I would. It is that important!
For more advanced topics, you can read my fungus removal post as a start. This post has a lot of useful information and it will be beneficial for you to read this.
Disassembly (Main Barrel):
The main barrel is pretty standard as far as smaller Ai-S prime lenses go. It’s easy to take-apart for people who are familiar with lens repair, it reminded me of the Nikkor 85mm f/2 Ai-S so if you’re familiar with that lens this this is something that should be easy for you. The main difference is this one has a gimmick in the form of CRC, this means that you should take care when you remove the objective from the barrel. I will show you how to do that later.
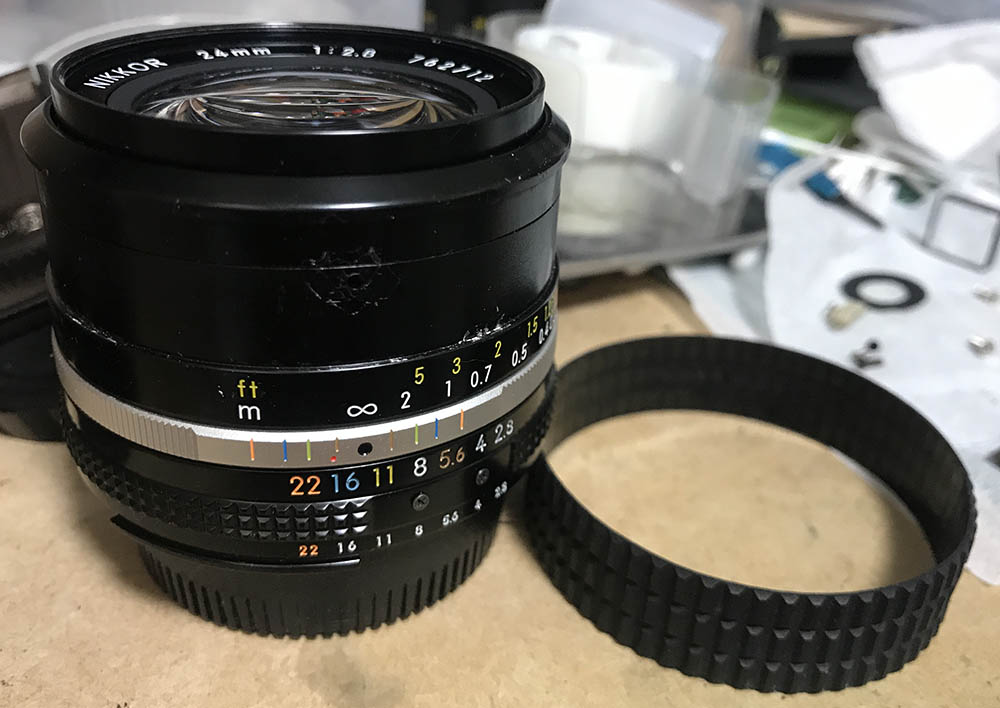
Carefully remove the rubber grip by running a toothpick under it to lift the rubber from the cement, make sure not to tear it.
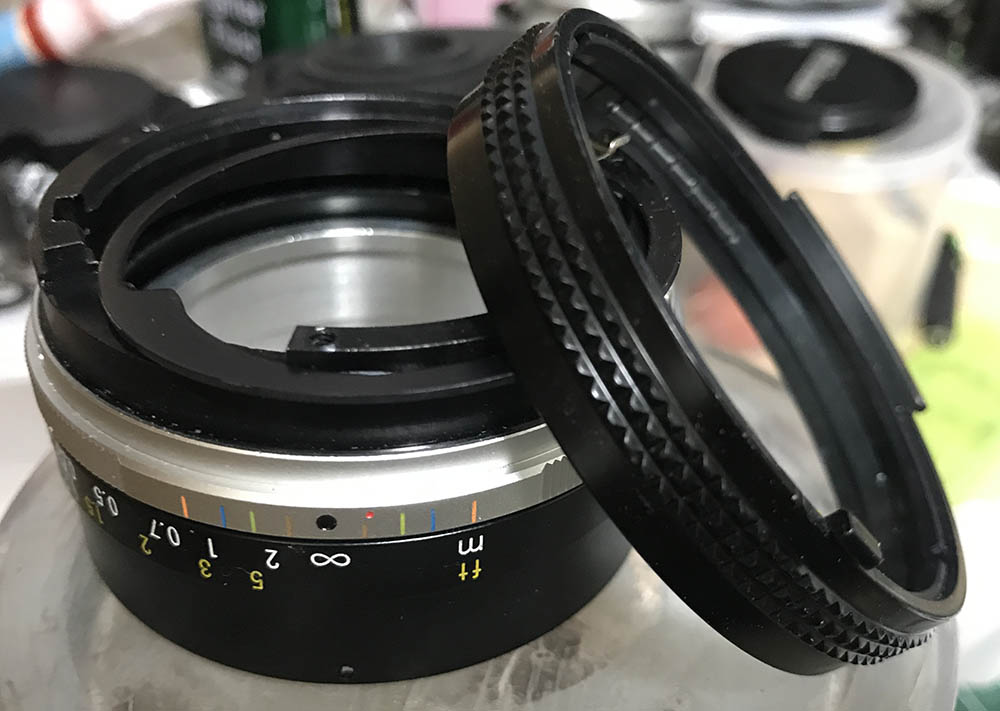
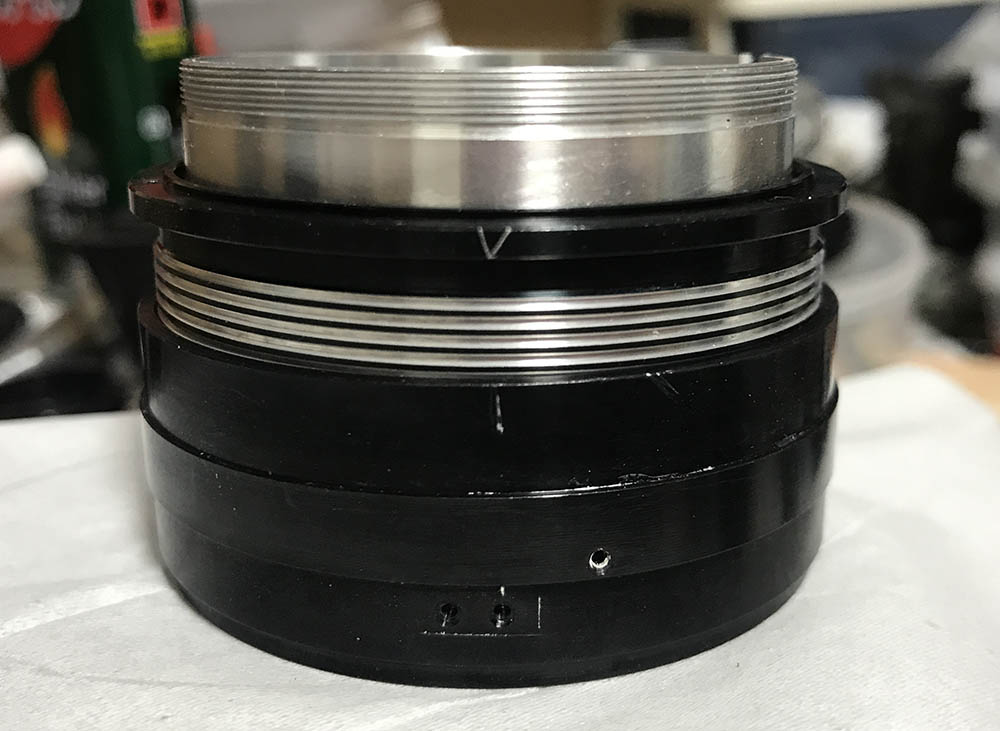
The front part of the focusing ring can be unscrewed but you’ll need to put a few drops of alcohol into the seams to soften the seal. Ignore the fact that the aperture ring is not in the lens.
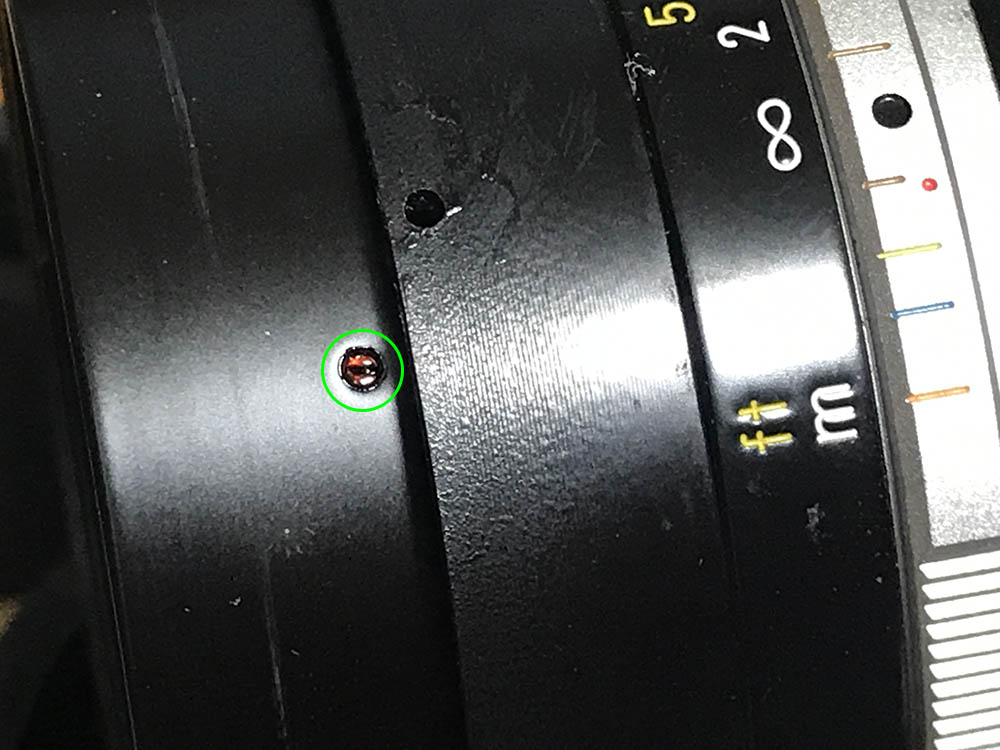
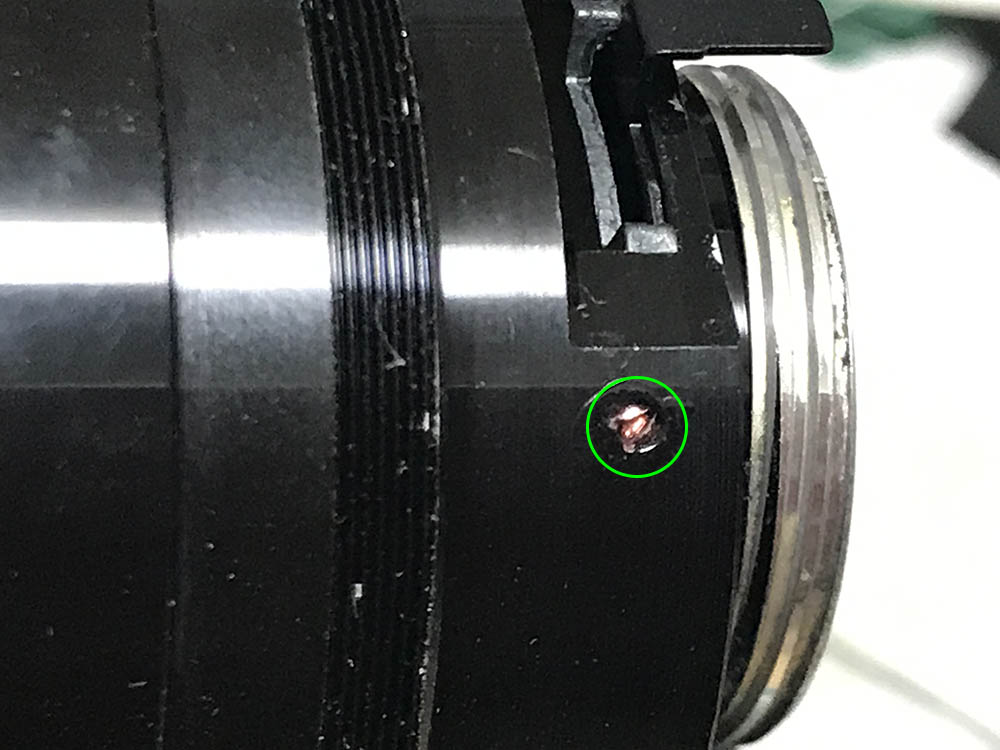
This set screw can now be accessed, carefully unscrew it after dissolving the seal with alcohol. Never unscrew it while the seal is there as it is a sure way to strip the head of the screw. Once the screw is gone you can now unscrew the front barrel off.
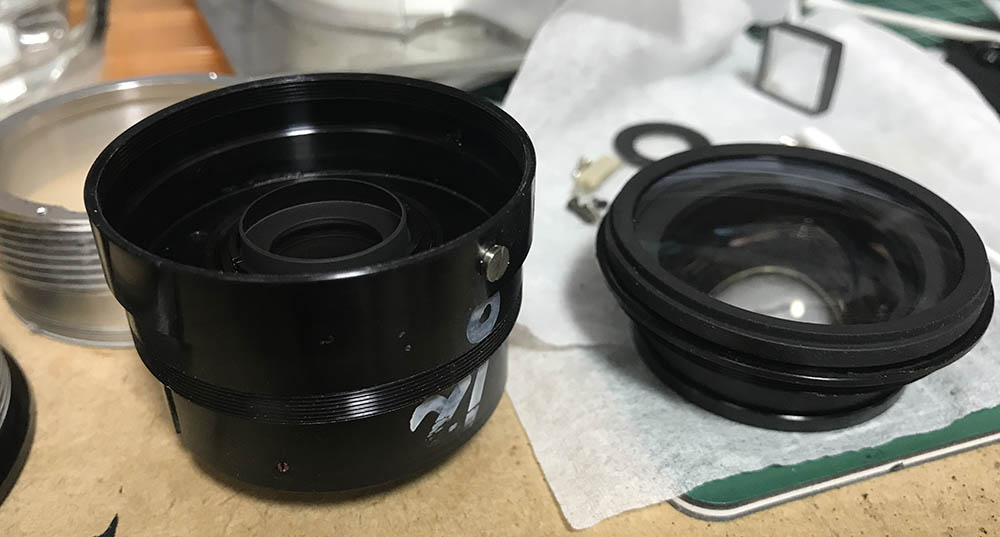
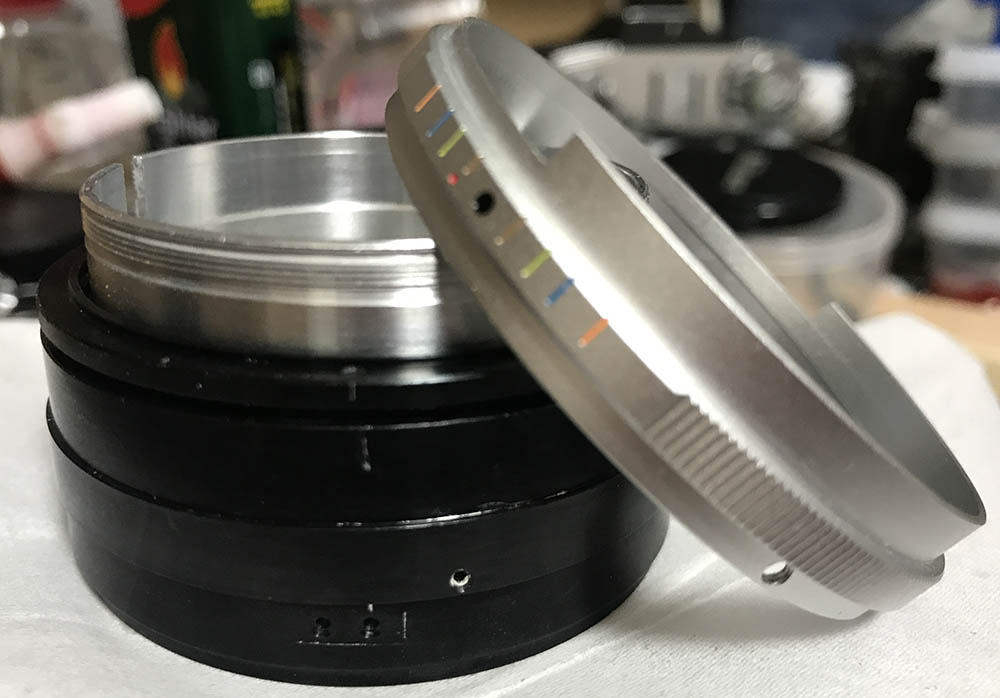
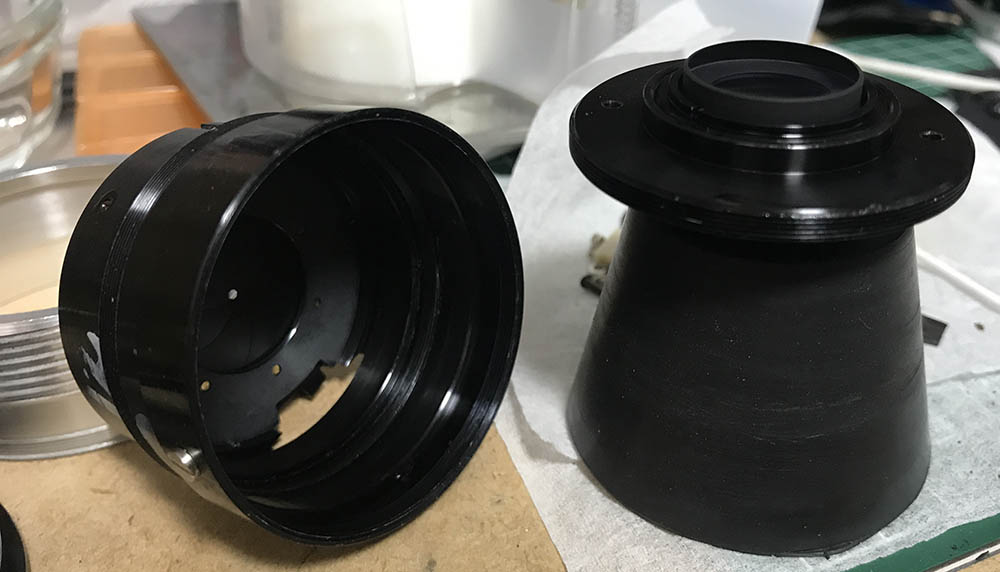
Turn the focusing ring to infinity and carefully pull the objective off. Do not disturb it, the CRC unit at the rear of the objective has to be intact so you can note its position. The front elements assembly can be unscrewed just but for safety’s sake it’s best to attach it back to the casing of the objective.
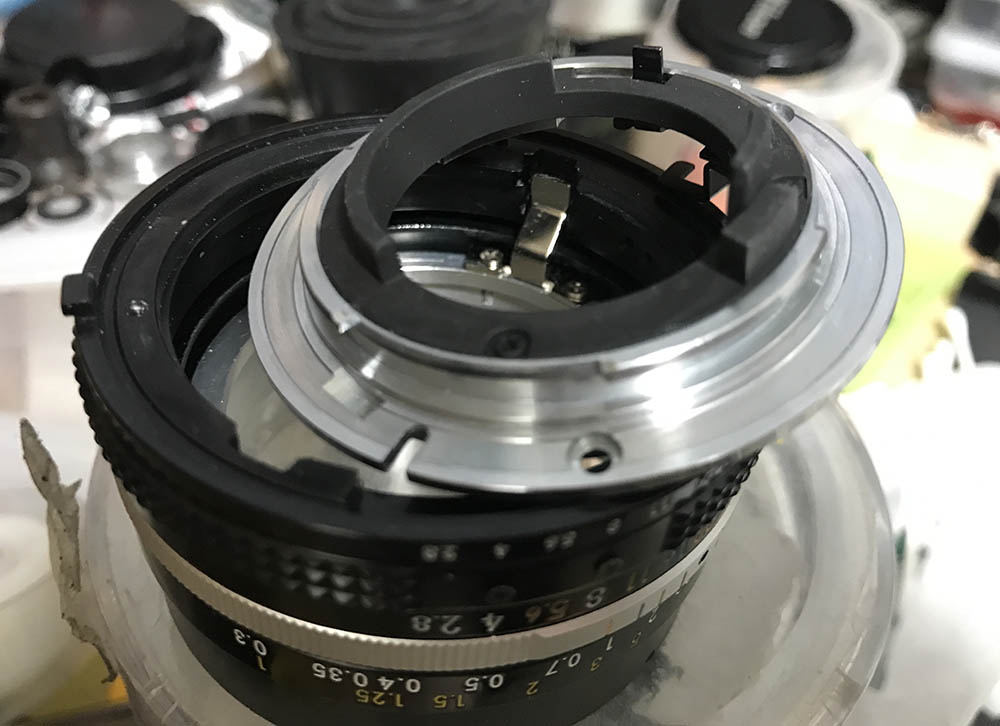
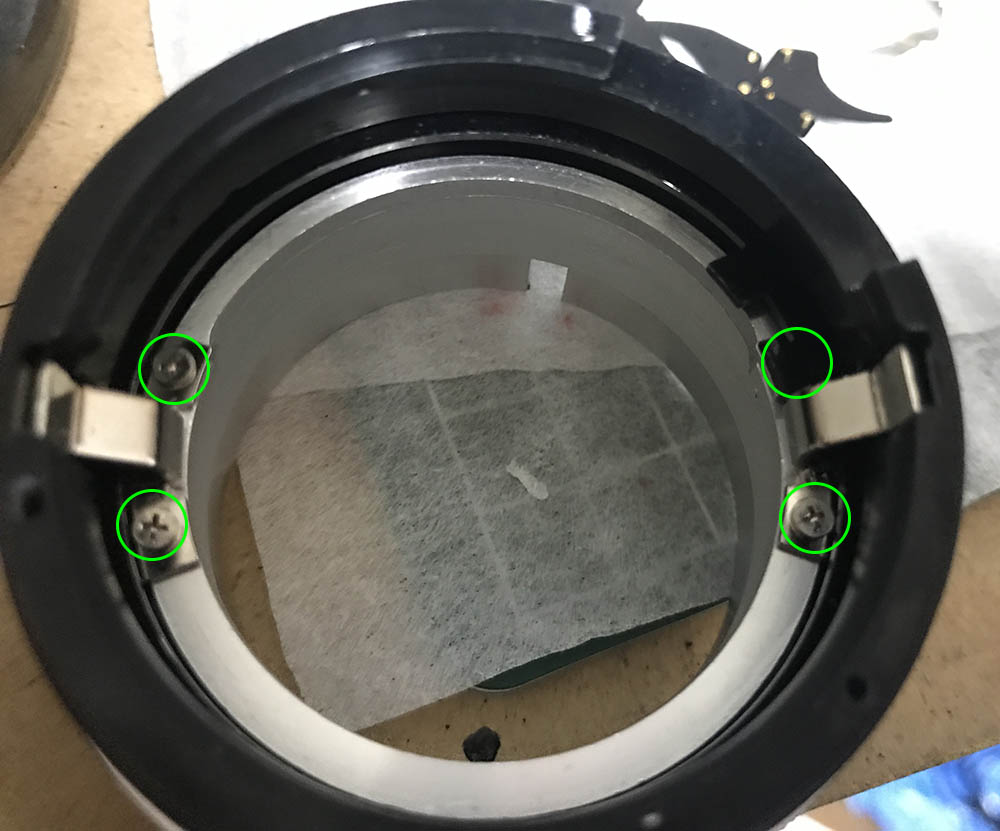
The bayonet can be removed after extracting its screws. If you’re new, read my article on how to remove bayonet screws. Many people get this wrong so they end up with stripped screws, following my tips will help prevent that. I suggest that you also read my article on screws and drivers, too.
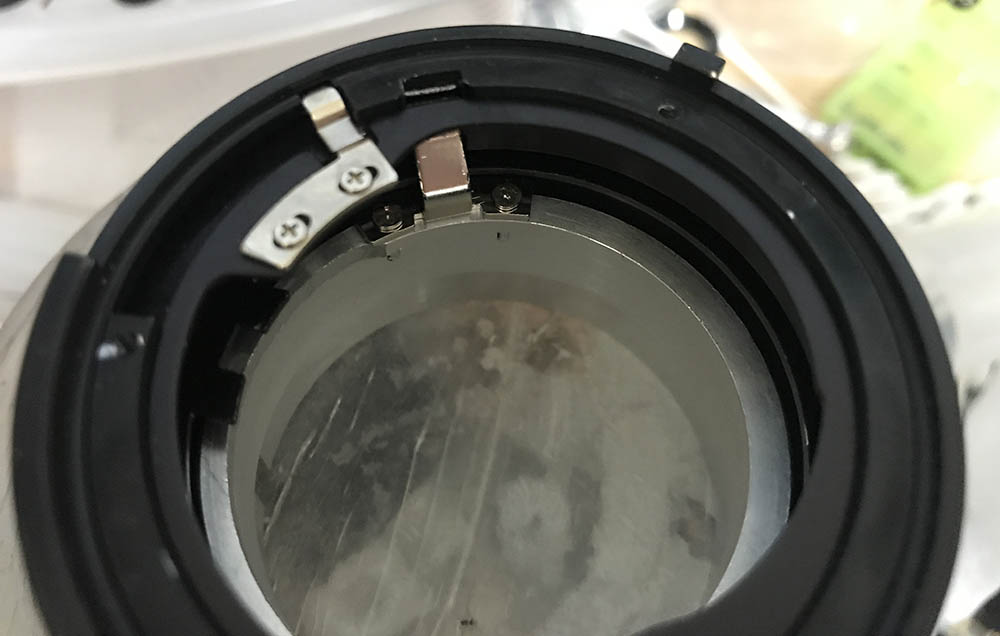
Note the position of this ring and its tab. This is the iris regulator ring and it is a delicate part, don’t dismantle this.
The aperture ring can now be safely removed.
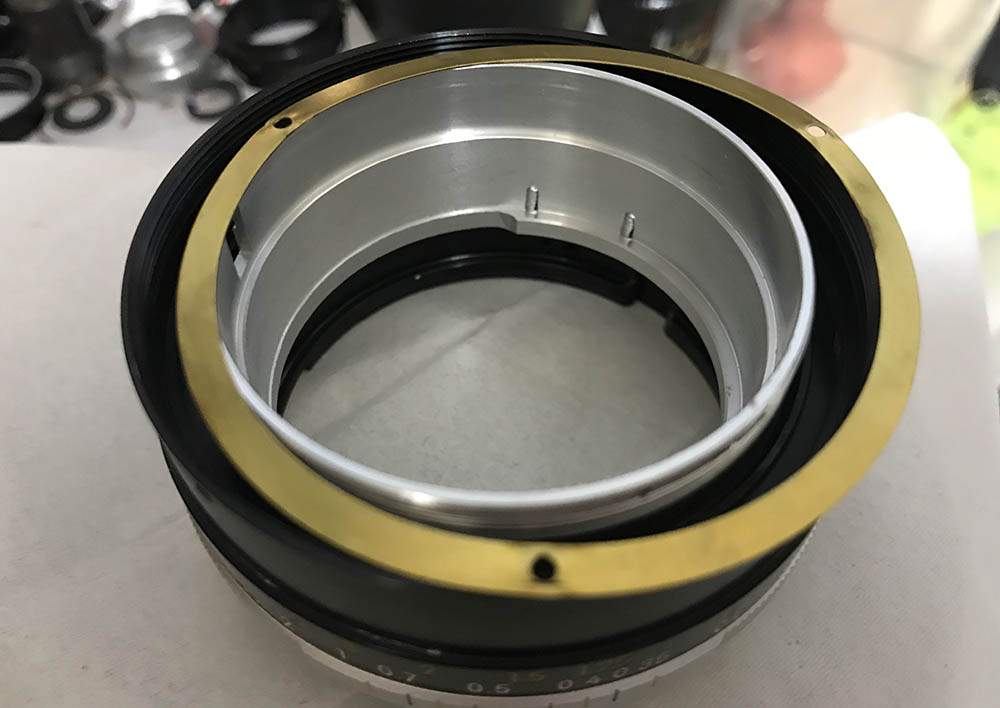
The focusing ring can be removed after extracting its 3 screws. This part is the only thing securing the focusing ring and it does it by pressure, you can think of it as a pressure plate. It’s sometimes sealed to the inner wall of the focusing ring with lacquer.
Remove the focusing ring but make sure that you don’t disturb the barrel, it should be kept at infinity at all times so you’ll have a point of reference.
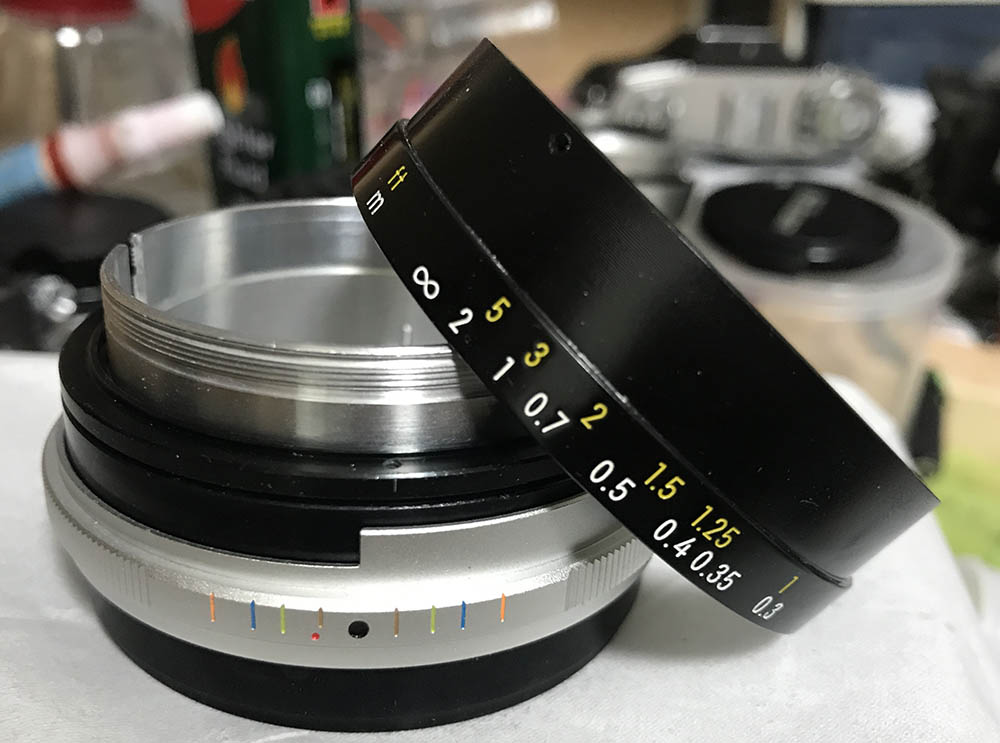
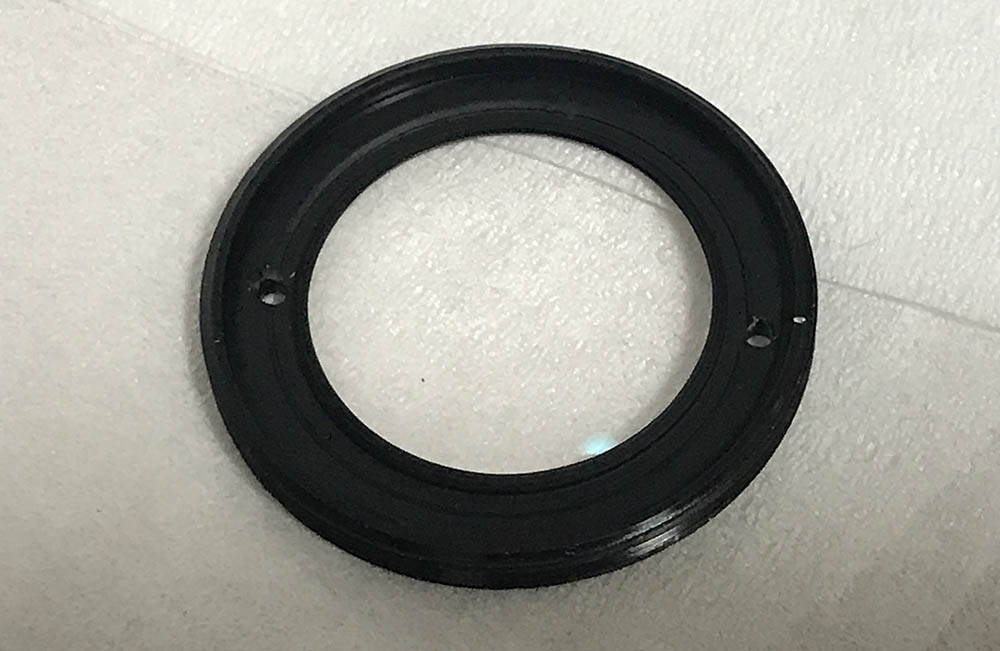
The grip/depth-of-field scale can be removed after extracting its 3 screws. It is important to use the right-sized driver so you won’t scar the surrounding metal of the screws.
Time to separate the helicoids. There are 2 keys in this lens and you should not mix-them-up, you should put them back to their own slots later. Before you remove them, note their positions while the barrel is at infinity so you will know if you got everything right later by referencing their positions.
Separate the central helicoid from the outer one and don’t forget to note the location where they separated as this is also the same place where they will mate. If you are new to lens repair, read my post on working with helicoids, many people get stuck here because they don’t know the proper techniques.

Separate the inner helicoid the same way you did with the previous one.
Clean the helicoids really well and don’t leave any residue, this lens benefits from a thicker-type of grease because of its short focus throw so use grease that’s slightly thicker than your regular one but not so-thick that it will end up being too stiff. Remember, the CRC unit has its own set of helicoids and it will also add to the resistance that you’ll get later.
Disassembly (Objective):
The objective is pretty straight-forward but you will have to be careful since there are many small retainer rings found in this lens. If you are not careful you may slip and scratch the glass. Before removing anything, make sure it is not sealed and if it is, apply a bit of alcohol to soften any seals first.
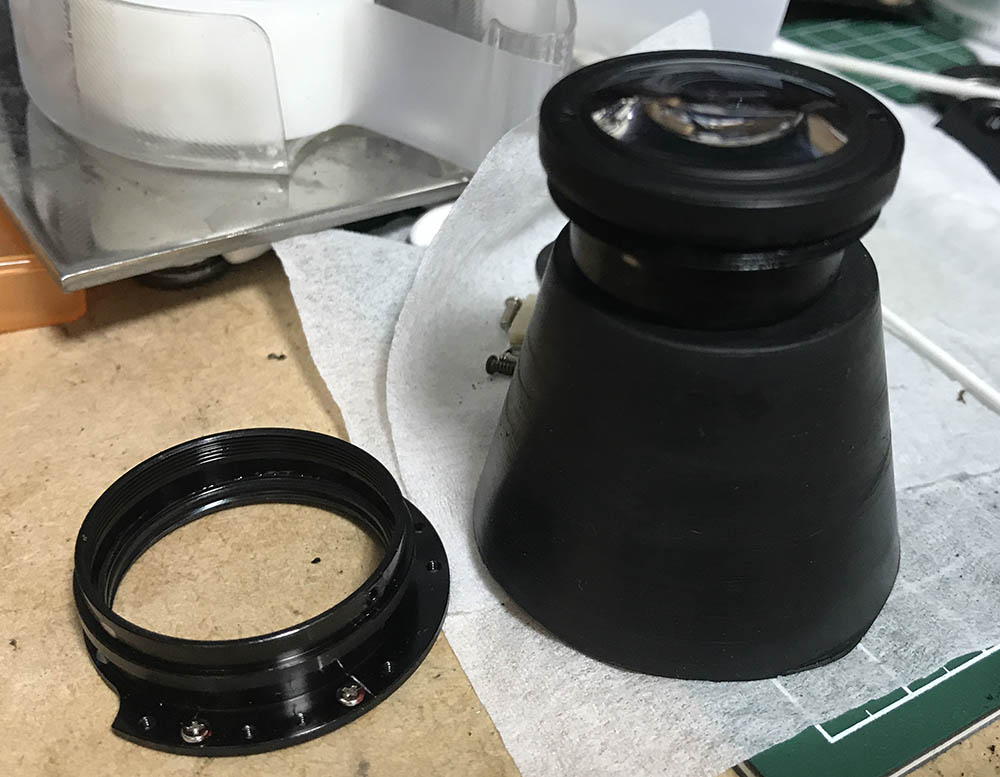
The front elements assembly can be separated from the casing just like this.
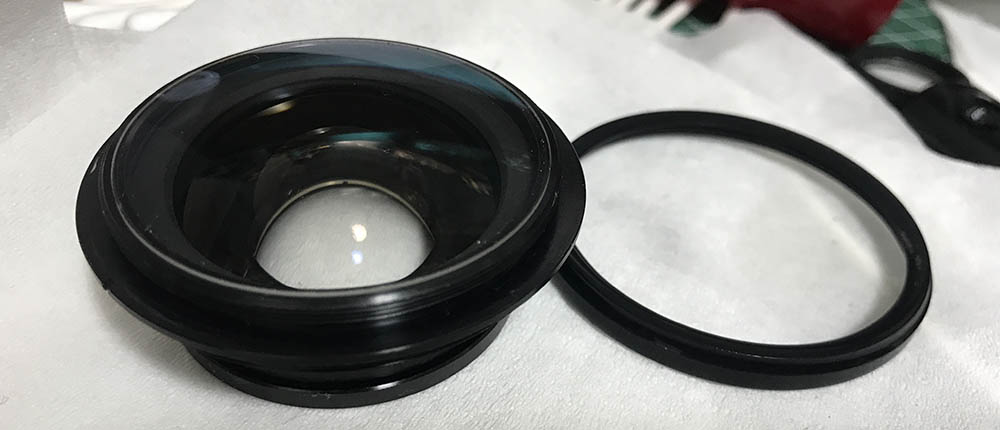
The front element is secured with this ring, apply some alcohol to its thread to soften the seal and unscrew it.
Extract the front element carefully.
You can unscrew this using a lens spanner to access the 3rd element’s inner surface.
The 2nd element is secured by its own ring. Only remove it if you have to, if it has severe fungus infection or if it’s filthy and you need to clean it well.
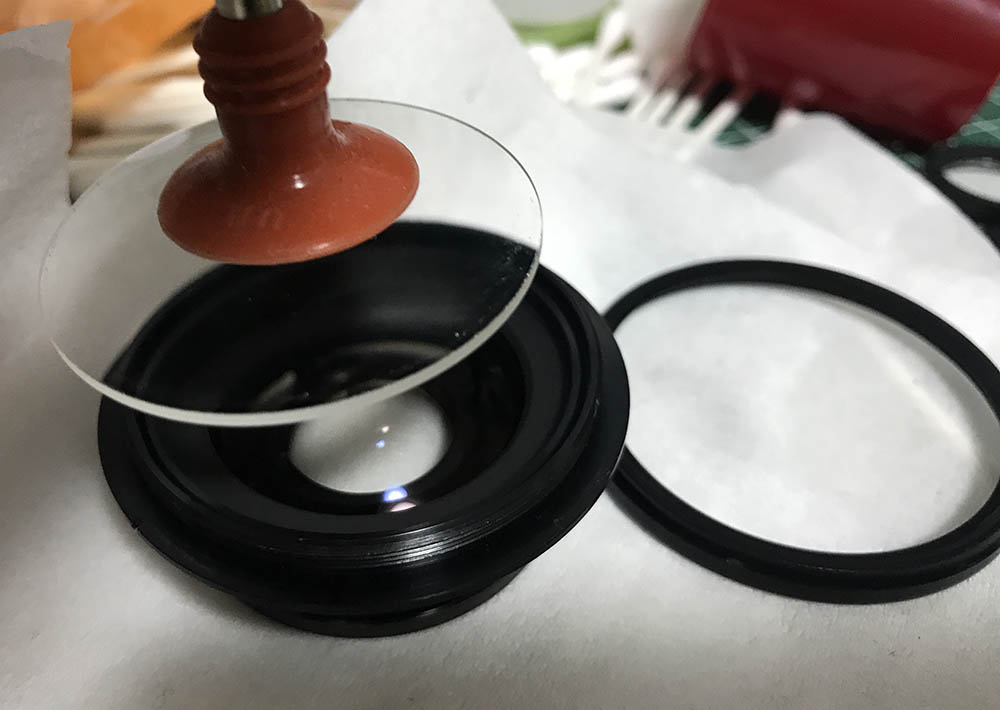
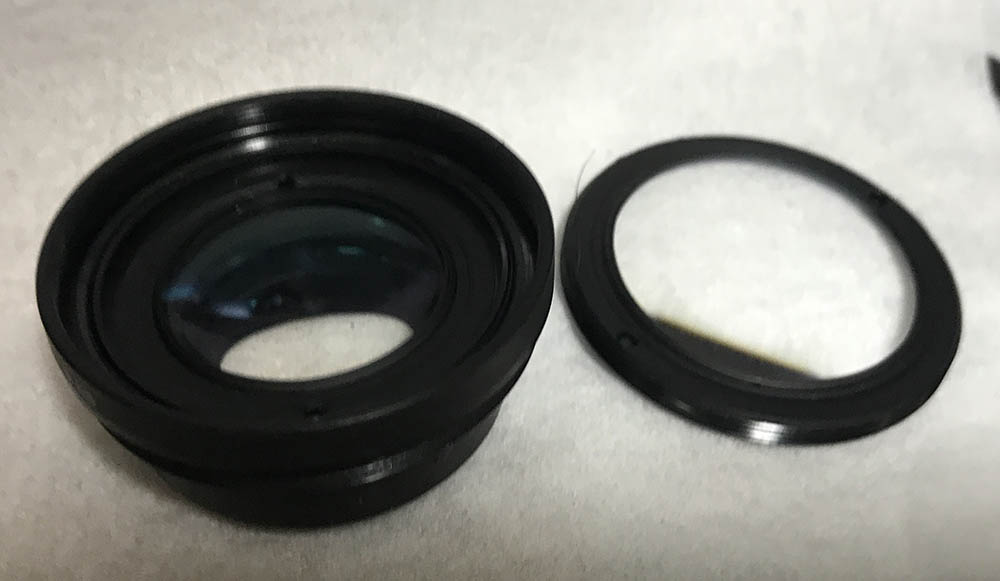
The central elements can be accessed once you remove its housing. You can use a lens spanner to help you remove it but a rubber cup is enough in most cases. Not that it was sealed at the factory as evident by the lacquer. Apply a bit of alcohol to soften the seal.
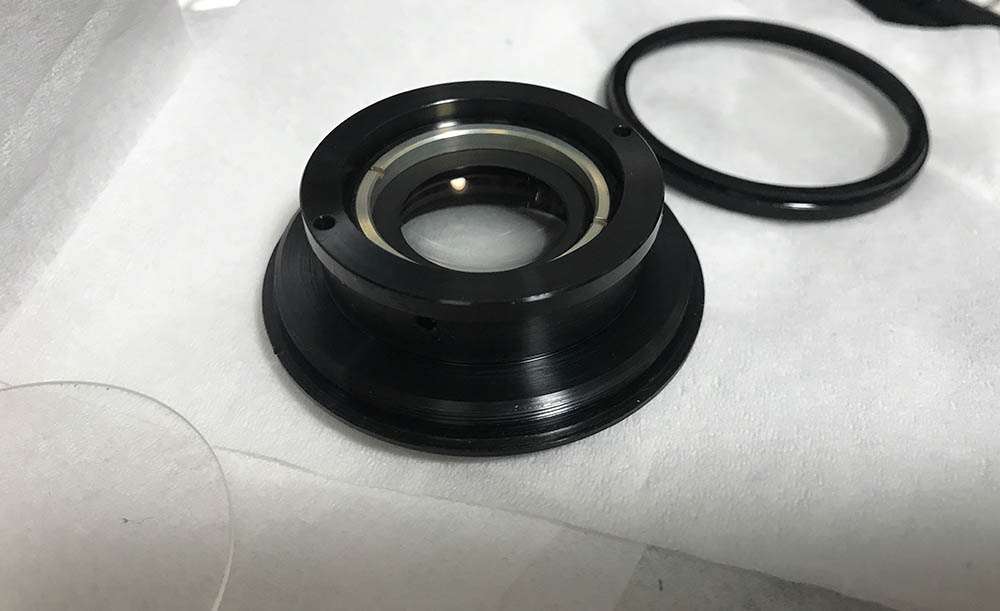
And here it is, I didn’t have to disassemble this any further.
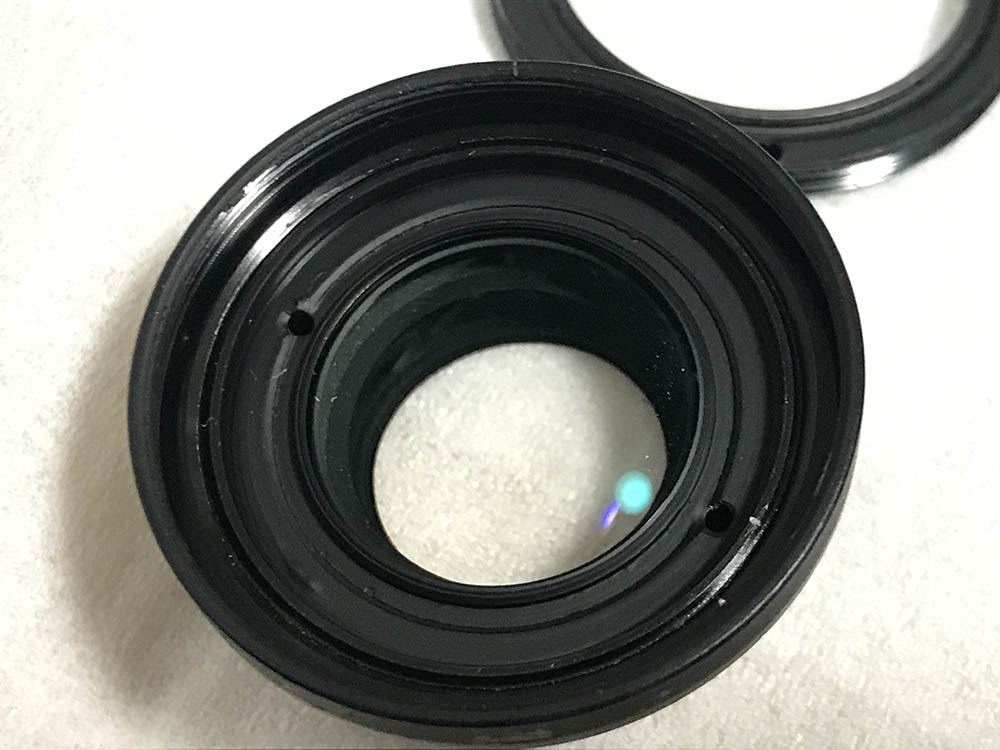
Carefully remove the CRC assembly and note where it separated, the casing has a helicoid. The rear elements housing can be unscrewed. Be careful not to scratch it, the rear element is very important in this lens. You will have to remove the key of the CRC mechanism but before you do it, make marks. It’s important to know its exact position so you can put it back again later.
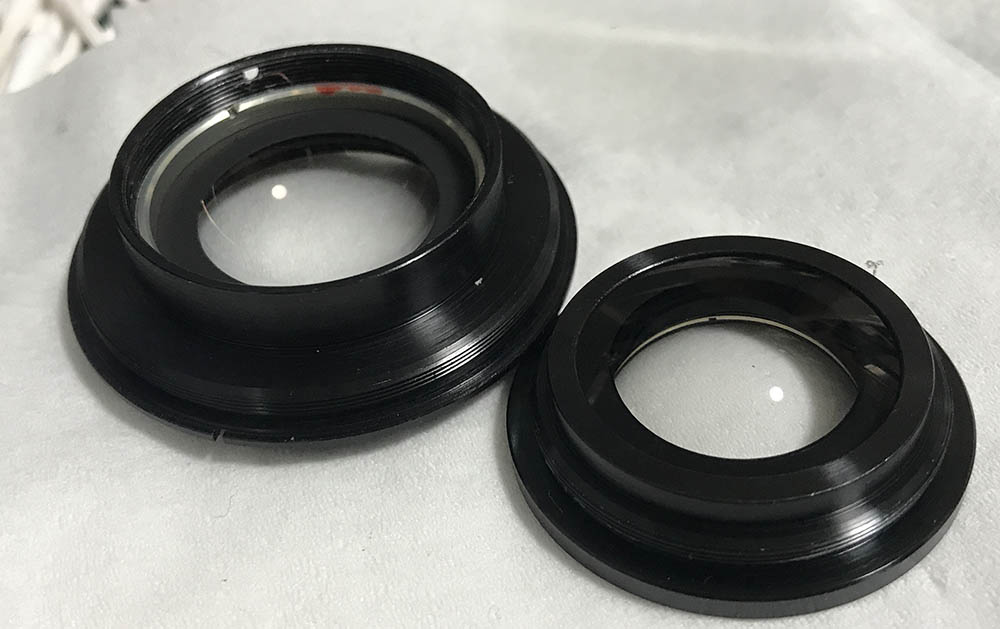
You can remove this element by unscrewing its housing.
You can remove this one with a lens spanner.
Be careful not to scratch it.
Carefully clean each element and make sure that you put them back again properly. Some of the elements were adjusted at the factory so you’ll have to put them back correctly, this means that some of the elements shouldn’t be tightened all-the-way. It’s easy to see which ones these are, if they have a dab of lacquer to seal them then it’s most likely an adjusted part. Note their positions before you remove them so you’ll know how to put them back.
Disassembly (Iris Mechanism):
The iris mechanism is typical of many Ai-S Nikkors, you should note how it was installed first before you remove it since it’s an adjustable mechanism. I doubt that you would have to go this far when repairing your lens but you may have to consider it if your lens got oily iris, this is the only solution to it and a complete overhaul of the iris mechanism is the right way to go. Don’t simply wipe-away the oil from the blades, the problem may be fixed but the oil will come back sooner or later since there’s still some oil hidden within the mechanism.
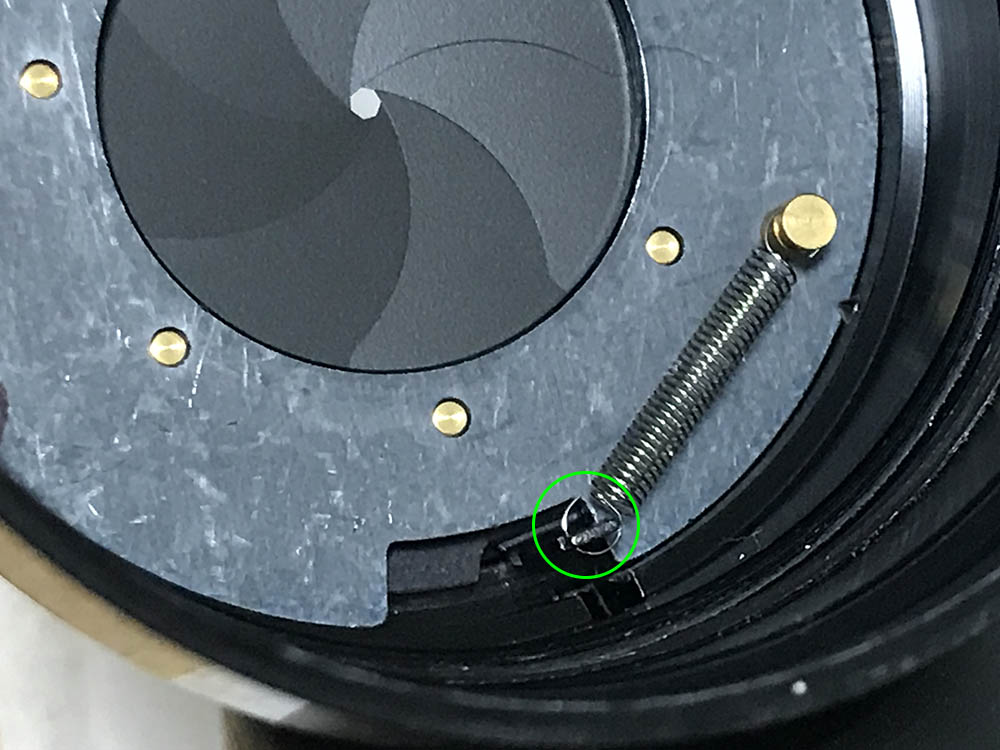
uncouple this spring before you work on the iris.
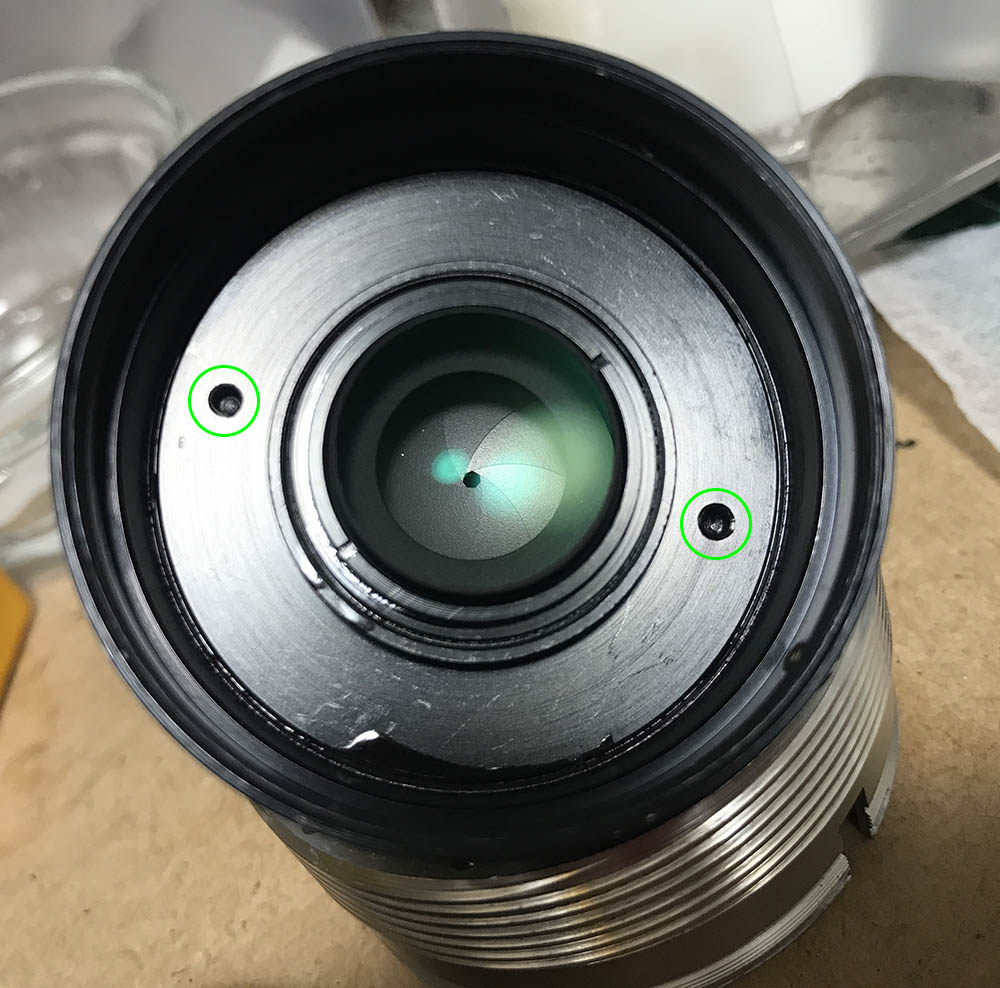
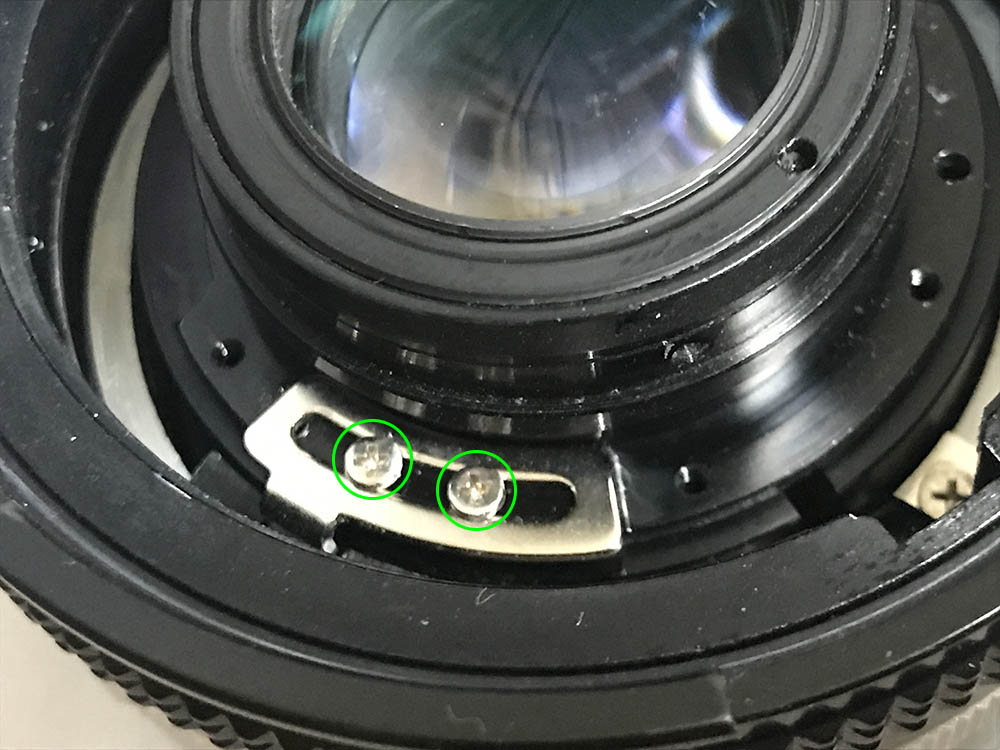
The iris mechanism is being secured by these screws.
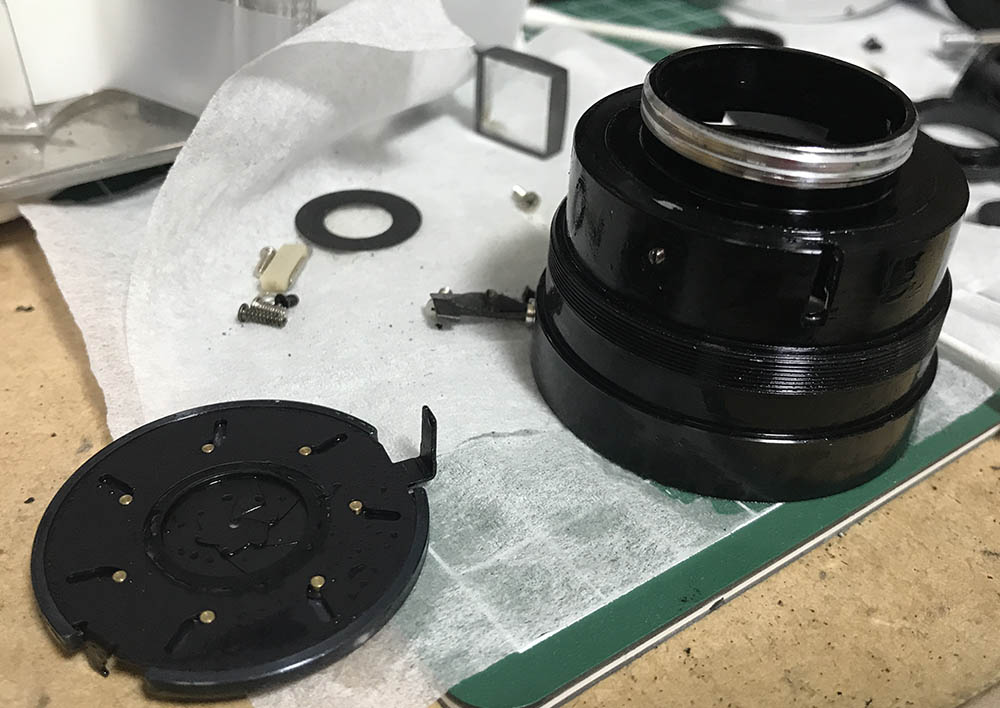
You can remove the iris mechanism as a single unit if you’re careful.
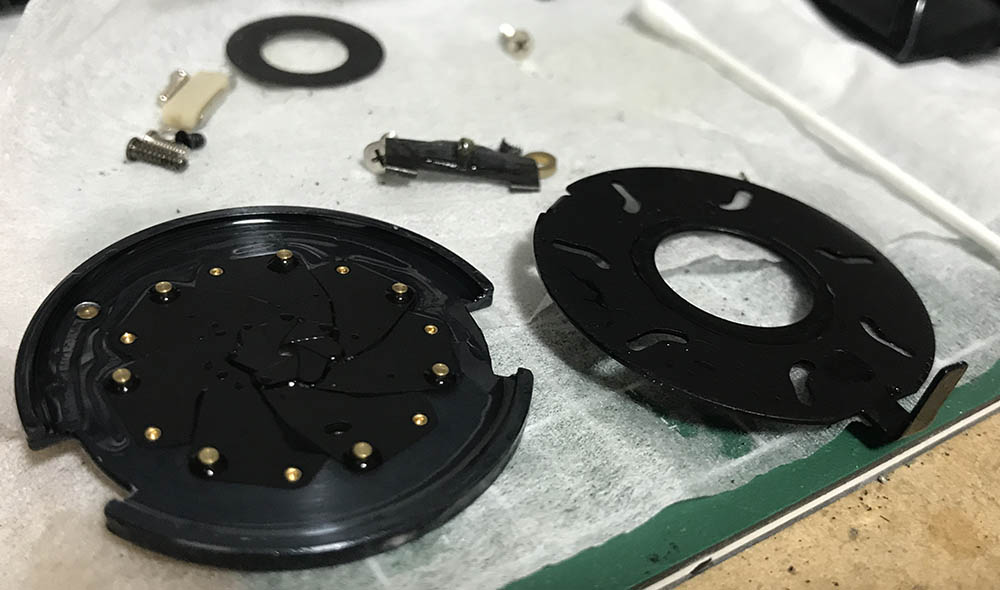
Separate the iris mechanism to reveal the blades inside. Don’t forget to note which side should be facing where, the lever should be put back to its own slot later.
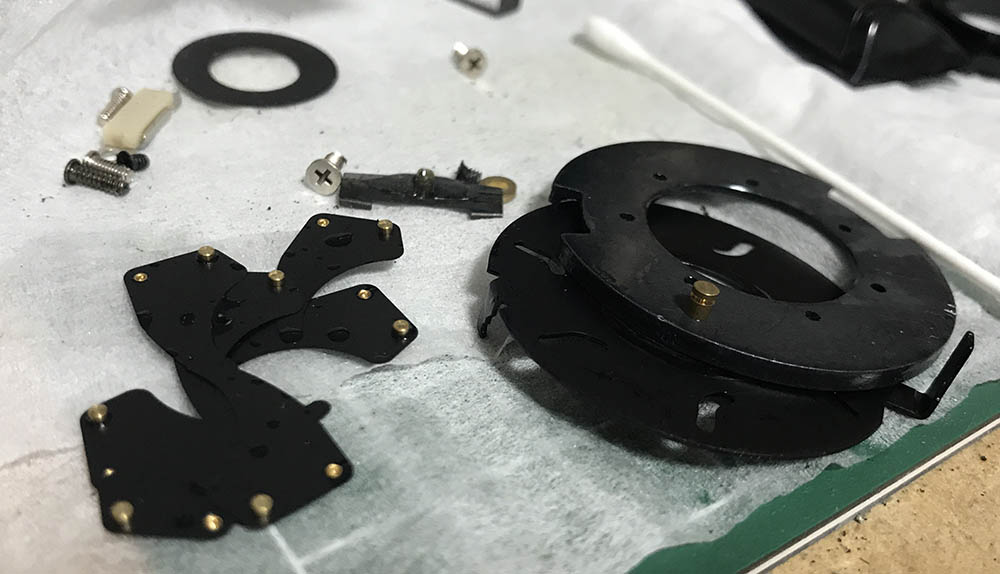
Carefully remove the blades and clean them carefully. I use lens tissue with naphtha to wipe these clean.
Putting the iris mechanism back can be a bit of a challenge but I will show a simple way of doing it in the next section.
Conclusion:
This lens took me more time than usual since it has more moving parts due to the implementation of CRC. The objective took me more time to clean, too. It’s not really a complicated lens but it will provide you with a challenge, an experienced repairer will enjoy working with this but this is beyond what a beginner can handle. If you lens needs servicing, send it to a repairer, make sure that he is competent as there are many incompetent repairers as I was told by some of my readers and friends. True, even the best of us can have a bad day and make mistakes but a reliable repairer won’t do as many things in the wrong way as a shoddy one.
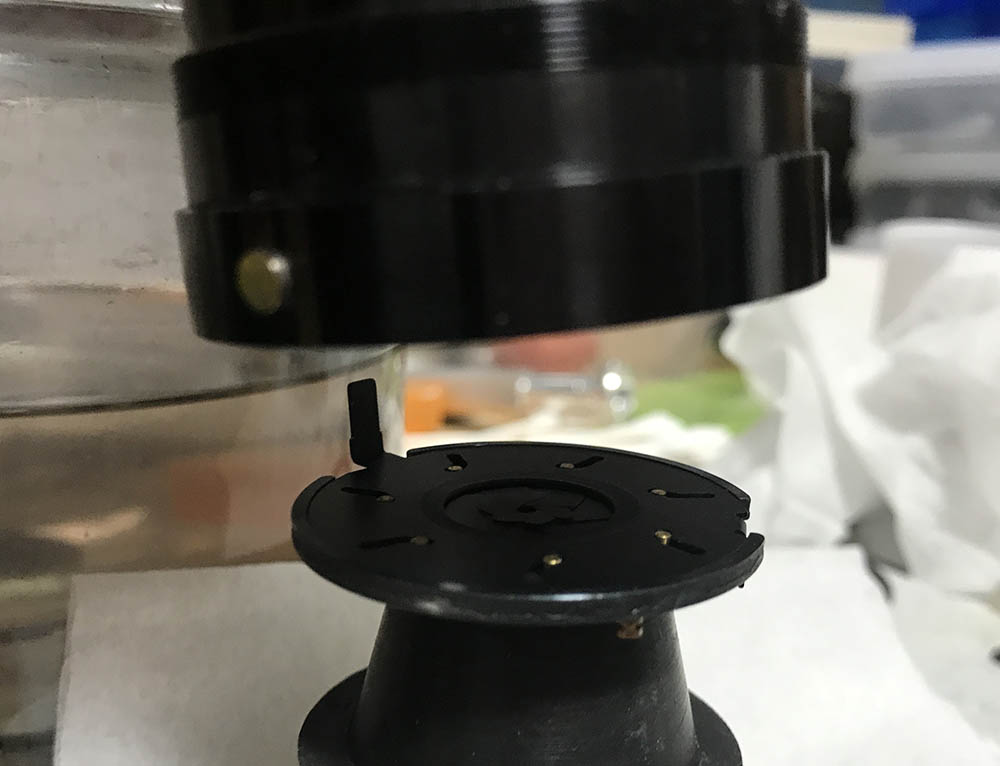
To put the iris mechanism back, put it on top of an object that will fit inside the housing of the objective then carefully lower the housing. Do not install the spring at this moment, reinstall it after you have secured it.
If you removed the key for the CRC, make sure that you returned it the right way as this adjustment is sensitive. Before I removed it I made scratches to help me determine its correct position.
It’s time to calibrate the focus, put the lens back to this state and read what I wrote about focus calibration. It’s easy for this lens and it shouldn’t take you a long time to do it.
That’s it for the repair section, did you enjoy it? It’s a popular lens and this article should help educate you on what’s really happening inside the lens. Thank you very much for supporting the blog, you help ensure that it will continue to help people for more years to come. It’s now 2020 and this blog is still here thanks to you and it’s now one of the best resources around for Nikon-related things. See you again next time and have a happy 2020!
Help Support this Blog:
Maintaining this blog requires money to operate. If you think that this site has helped you or you want to show your support by helping with the site’s upkeep, you can make a small donation to my paypal.com (richardHaw888@gmail.com). Money is not my prime motivation for this blog and I believe that I have enough to run this but you can help me make this site (and the companion facebook page) grow.
Leave me some tip?
Thank you very much for your continued support!
$2.00
Helping support this site will ensure that this will be kept going as long as I have the time and energy for this. I would appreciate it if you just leave out your name or details like your country’s name or other information so that the donations will totally be anonymous. This is a labor of love and I intend to keep it that way for as long as I can. Ric.

Jan 07, 2020 @ 23:02:48
Richard, thanks to your blog I discovered last year, I have enjoyed restoring 5 lenses, starting from scratch. My final lens was the big 8mm f2.8 fisheye, and I did it based on the principles I learned from you. I did a long unedited YouTube video of it here, and the credits include my thanks to you. https://www.youtube.com/watch?v=DcSzip2nBCk
Jan 15, 2020 @ 17:58:46
Hello, Richard,
I am unable to access the photos in this article, they do not show up when I click on them. I think my system is fully up to date, I wonder if there is some problem with your links?
Mar 26, 2021 @ 11:13:40
Nice repair article, Can I follow this article’s steps for cleaning the Nikkor 24 mm AI version or is it a different design internally?
Regards
Peter
May 22, 2021 @ 10:41:25
Repaired thanks to you Fungus front element, superb little lens and the manual focus is sweet
Jun 11, 2021 @ 12:55:58
thanks a lot Richard! you encouraged me to try and I successfully managed to overhaul my copy of this lens. thank you for sharing your insight, great that your site exists! BR, Christian