
Hello, everybody! My head hurts due to stress at work so I am taking some medications to help me with this problem. I’m looking for a better option and I was advised to use CBD (cannabis oil) which you can buy from many wellness stores here. I was told that it’s great for a lot of things so I’m doing some tests to see if that’s true. I assume that it is less harmful than the pills, I have always wanted the natural option because nature knows best, cannabis is nature’s gift to man. While we’re on the topic of alternatives to mainstream option I would like to introduce to you an amazing alternative to the electronic lenses that are mainstream these days, it’s old but it’s not a bad lens at all even by current standards, it can also teach you a thing or two about patience that photographers these days forget about.
Introduction:
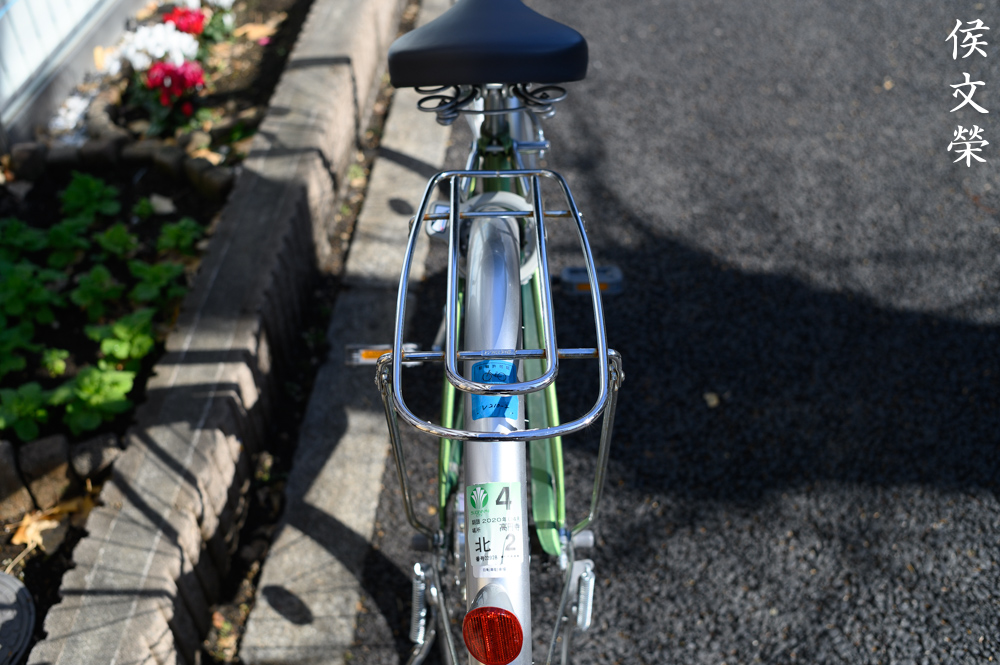
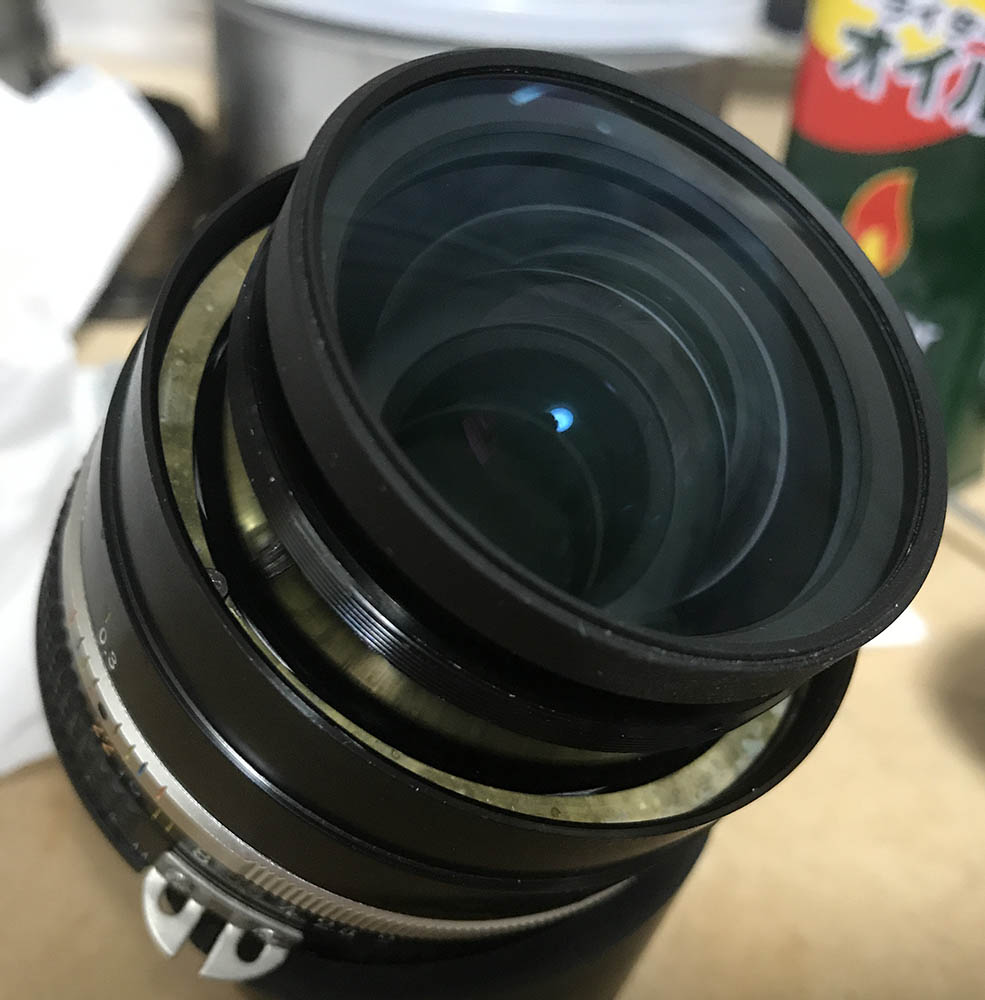
The Nikkor 35mm f/2 Ai-S is a favorite of many photographers. The practical features of this lens makes this perfect for everyone. The decent speed will cover everything from low-light photography to landscapes. This is a really popular lens and it remains in production from 1981 to 2005, an eternity as far as lenses go. It replaced the venerable Nikkor 35mm f/2 Ai, making this a viable lens for the Ai-S generation, allowing you to use full-automatic modes with it using compatible cameras. This lens incorporates Nikon’s better coating technology, SIC or Super Integrated Coating which helps quite a bit.
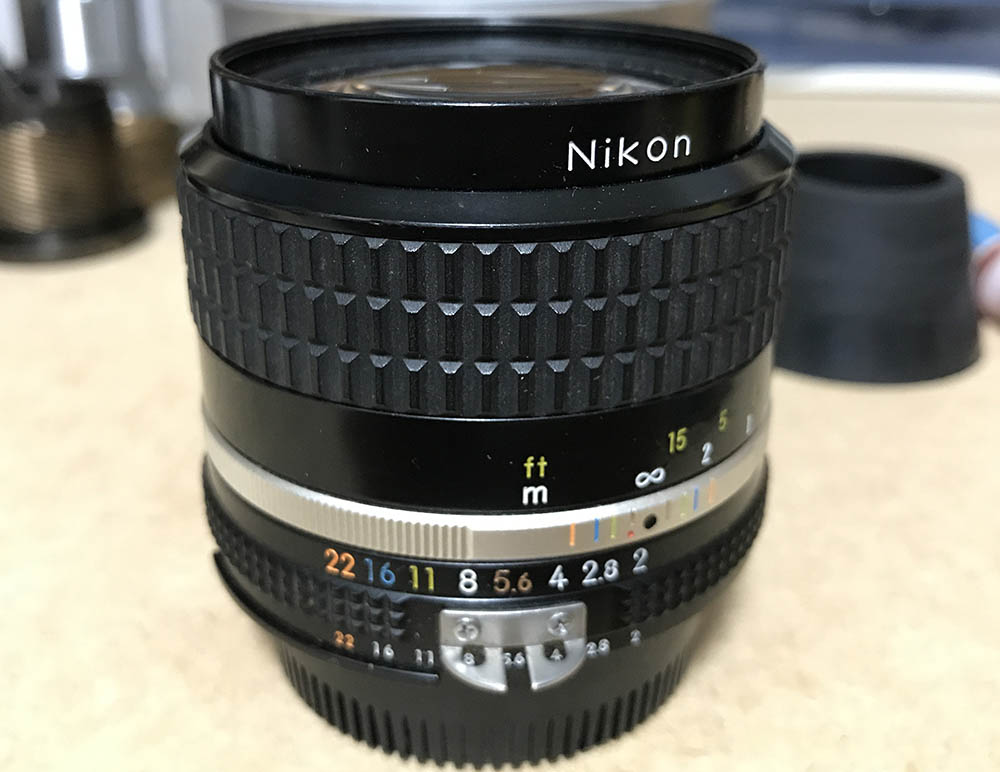
The build is typical of Ai-S Nikkors. It’s mostly all-metal, it will outlast all of the plastic lenses made today. This is a professional tool that’s made for abuse in the field. The only thing I don’t like about it is the rather shorter focus throw compared to the older Nikkor 35mm f/2 Ai. I prefer a lens with a slightly longer throw but this is all due to preferences.
The optical design didn’t seem to change from the Nikkor-O 35mm f/2 Auto’s as far as I can tell but I assume that Nikon tweaked the formula a bit. Since the original lens from the 1960’s is excellent you can bet that this one is also just as good or even better thanks to better coating technology. The older 8-elements-in-6-groups design sure made Nikon a lot of money.
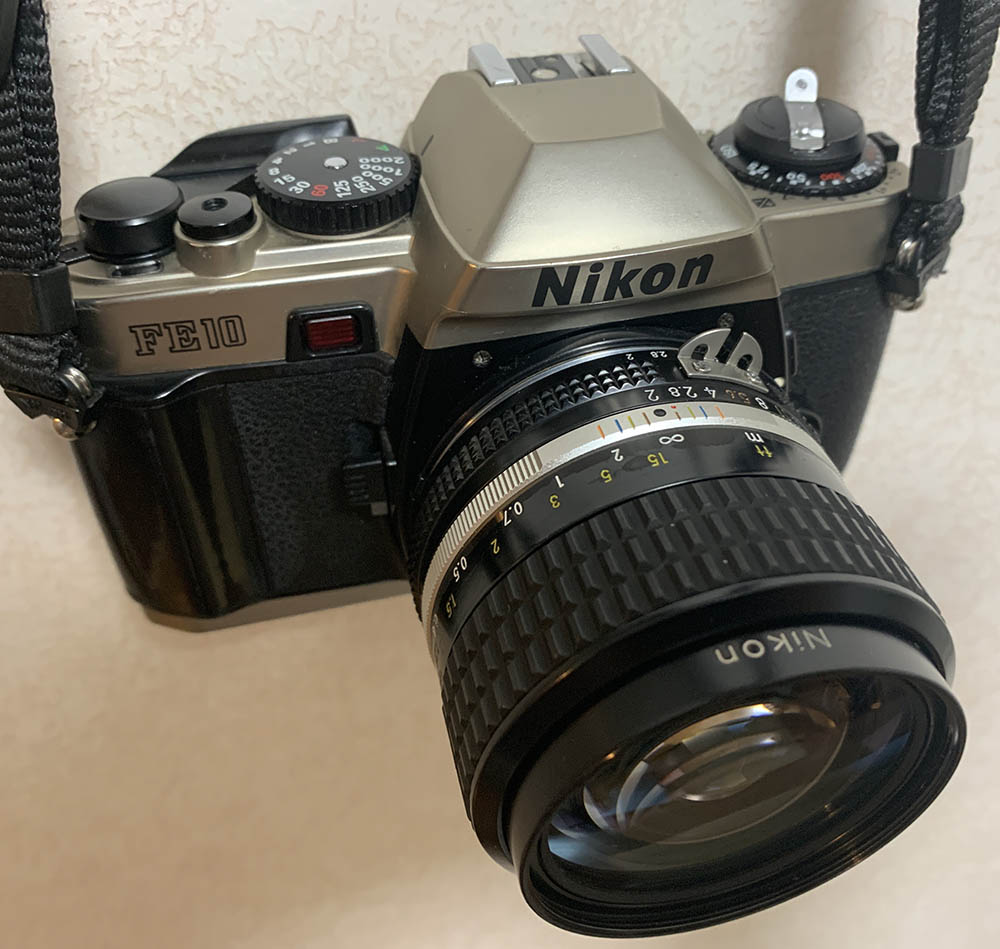
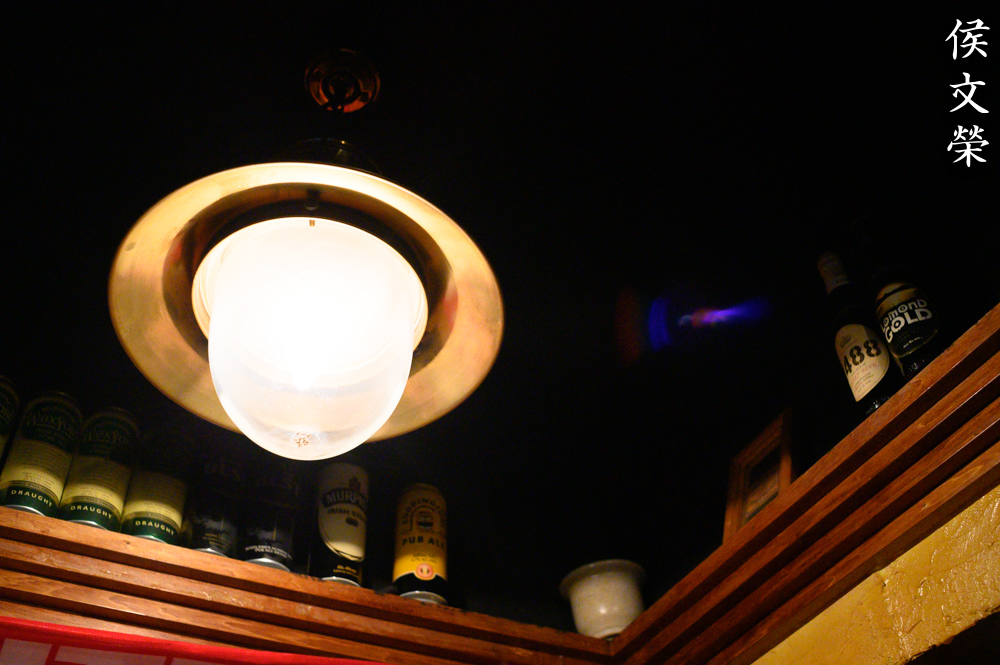
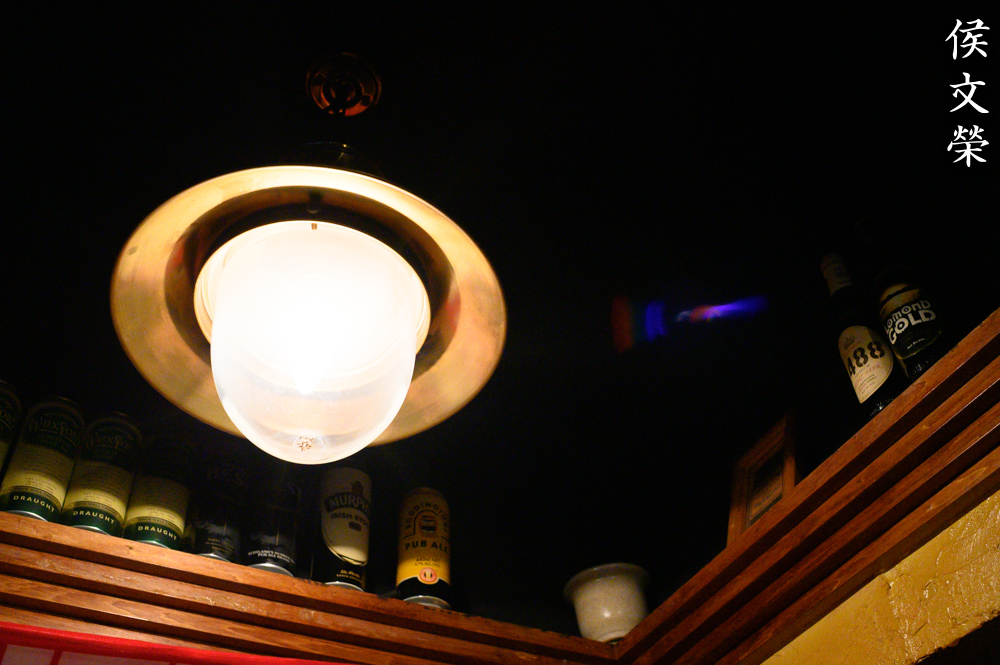
It balances perfectly with a Nikon FE-10. The handling is perfect, any Nikon will make a good match for this. It’s one of those lenses that you’ll enjoy due to its simplicity and practical specs. I highly recommend that you purchase the screw-in hood for this lens. It’s going to be very helpful because this lens is prone to ghosts and flares.
It’s important to see how a lens performs, even if it’s just simple tests. These photos were taken from f/2, f/2.8, f/4 and f/5.6 from left-to-right, I chose these apertures because these are the f-stops where you’ll see the most changes. It is safe to assume that people will want to shoot with this at these apertures. I took these photos with a Nikon Z6. If you are interested you can also check my article on the Nikkor 35mm f/2 Ai, it’s older but the optical formula looks to be the same. The coating on this one is better but you won’t see much of a difference to be honest.


(Click to enlarge)
Vignetting is quite pronounced wide-open, it improves considerably by f/2.8 but will still be present until f/5.6 which is a shame. The good news is you’re not going to see this affecting you’re photos unless you have the sky in your background or an even-colored wall.
(Click to enlarge)
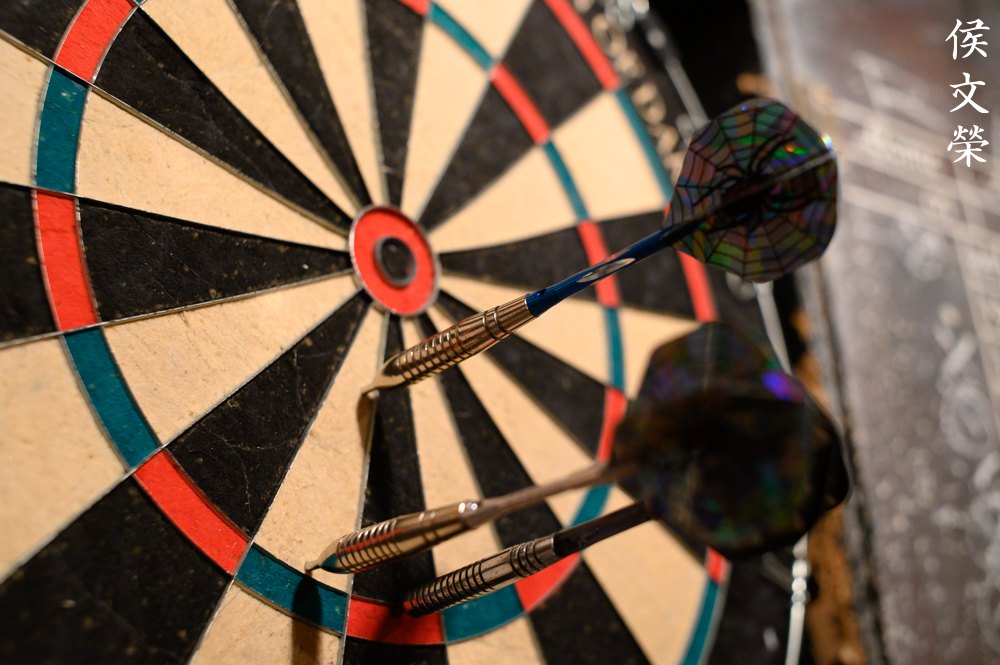
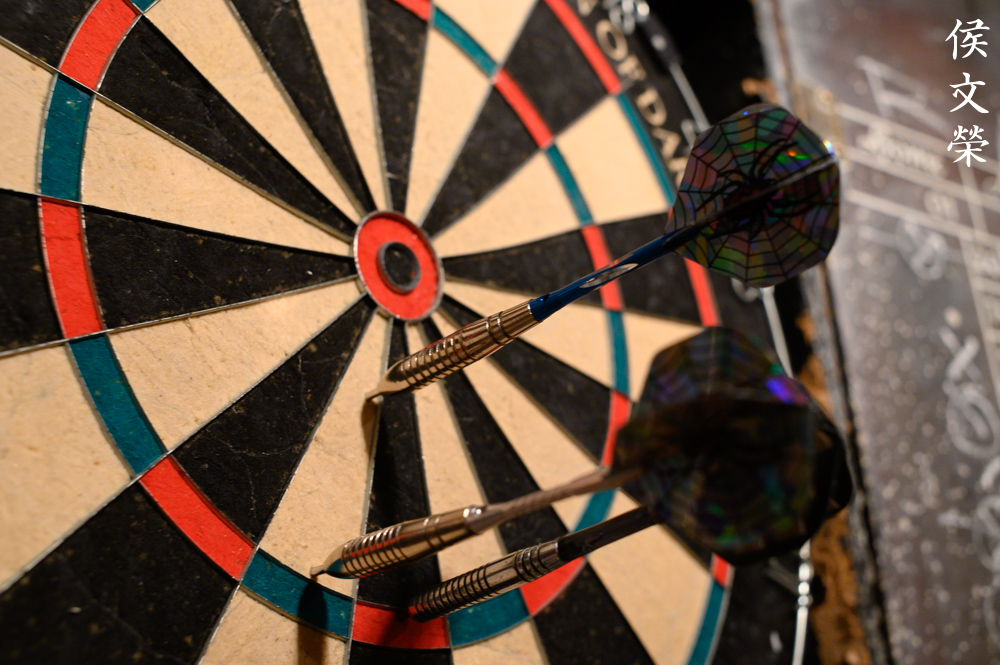
Ghosting is another weakness of this lens which has been its achilles’ heel, it has been like that since the Nikkor-O 35mm f/2 Auto which shares the same optics. Chromatic aberration is handled well but you may see some if you have over-blown highlights. It gets better after stopping it down a bit. It seems to handle flares well but you’ll still get it in demanding situations. It’s not bad at all and you can even say that it adds a special feel to the photos. I love how the sunstars look, they’re sharp and well-defined. There are seven blades in the iris which makes this happen.


(Click to enlarge)
The the quality of foreground and background bokeh isn’t the focus of using this lens it’s nice to see how the discs look. They look even and clean at f/2, I can see some outlines but it’s not as bad as what other lenses produce. Your going to get nice 7-sided discs as you stop the iris down. The set showing the cables isn’t the best example to show foreground bokeh quality but I added it here anyway.


(Click to enlarge)
The ability to focus really close is a nice feature of this lens but it could have been better if this could focus even closer. Sharpness is nice wide-open, it is more than enough and you should get great results from this. Its contrast is also nice wide-open. It has a tendency to produce some busy-looking bokeh but it’s smooth in general. Stopping this down to f/2.8 makes the center look a lot sharper due to better resolution and deeper depth-of-field. By f/4, you’re going to notice that it’s starting to reach its peak. It seems that f/5.6 is going to be the best aperture if you want tack-sharp photos.


(Click to enlarge)
This performs equally well at farther distances but it seems that it performs just a bit better at close-ups. The corners seem to be behind by just around a stop or so but it looks decent overall. This is a great performer and I can see why Nikon did not design a new optical formula for this lens. It holds up pretty well despite its age.

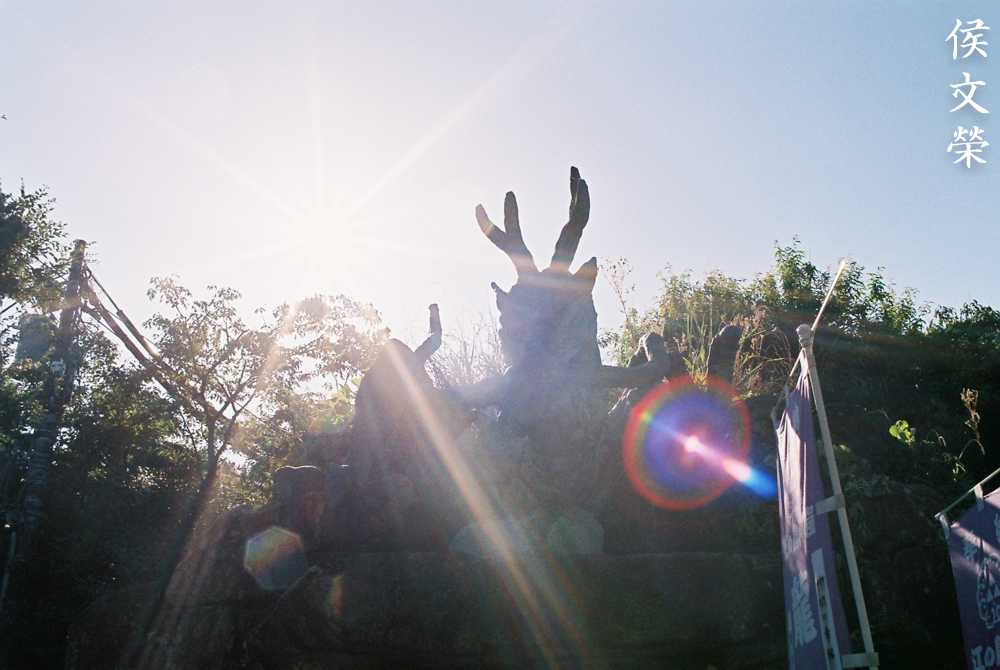
This may appeal to some filmmakers. I don’t like this much but at least the lens flare looks neat when you stop the lens down. This is one of the few weaknesses of this lens, other than this and the amount of distortion this lens is hard-to-beat for its price.

(Click to enlarge)
It’s sometimes hard to avoid the ghosts and flare even if you’ve framed the sun outside of your shot, you will just have to live with it. There are more things to celebrate about this lens, the issue is rather minor compared to the other benefits you’ll get from it.

(Click to enlarge)
You can shoot really close with it but it’s no replacement for a true macro lens. The performance up-close is decent specially if you stopped it down to around f/5.6. This ability is rather handy specially for wedding photographers since it allows you to shoot some detail shots of the cake or rings without bringing another lens with you. For a lot of people, this is better than nothing.

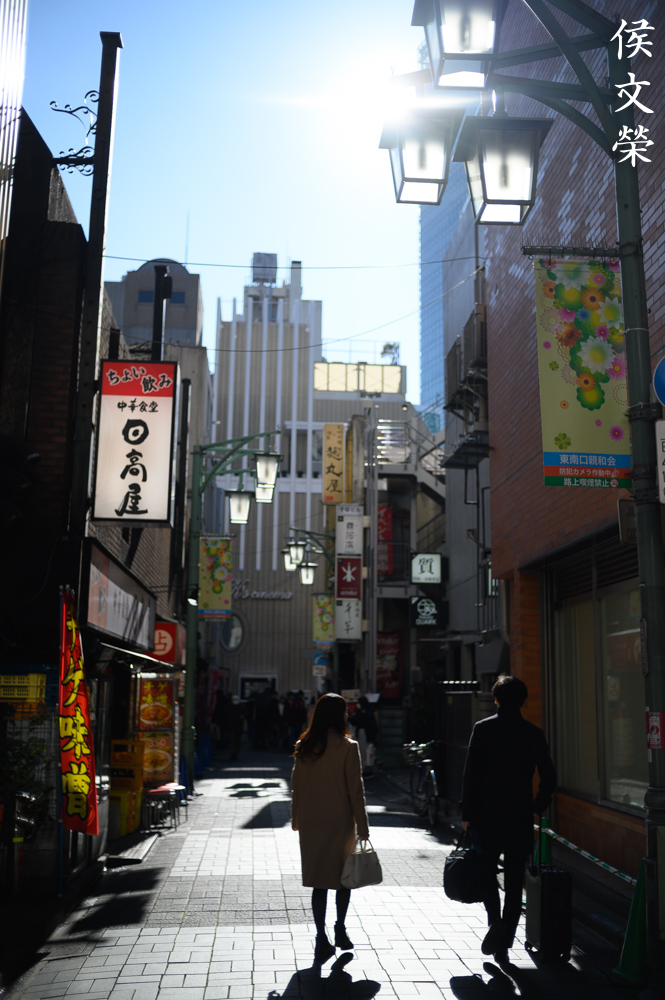
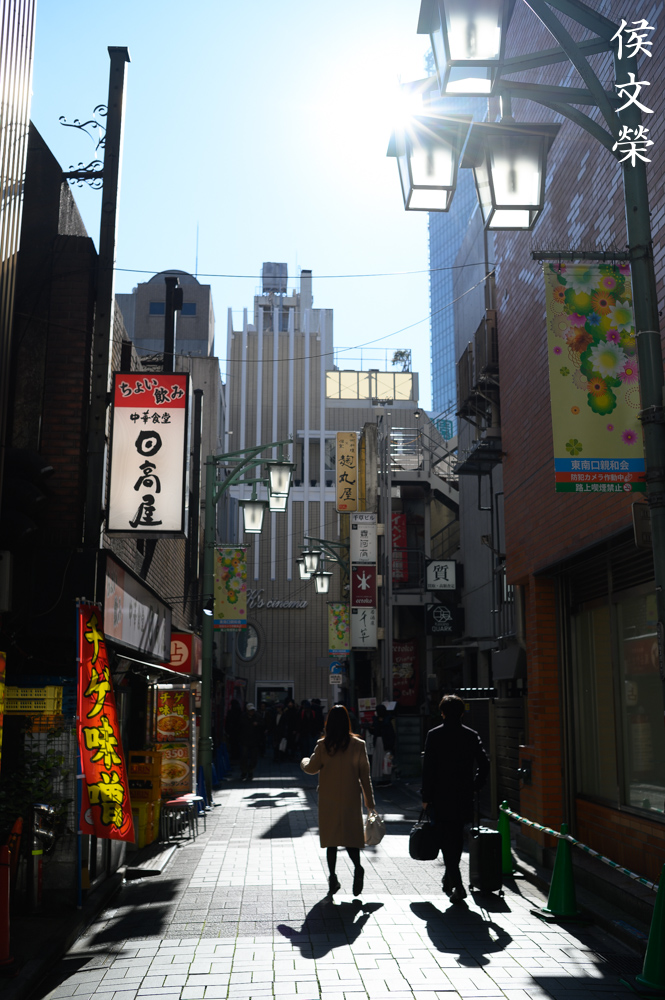
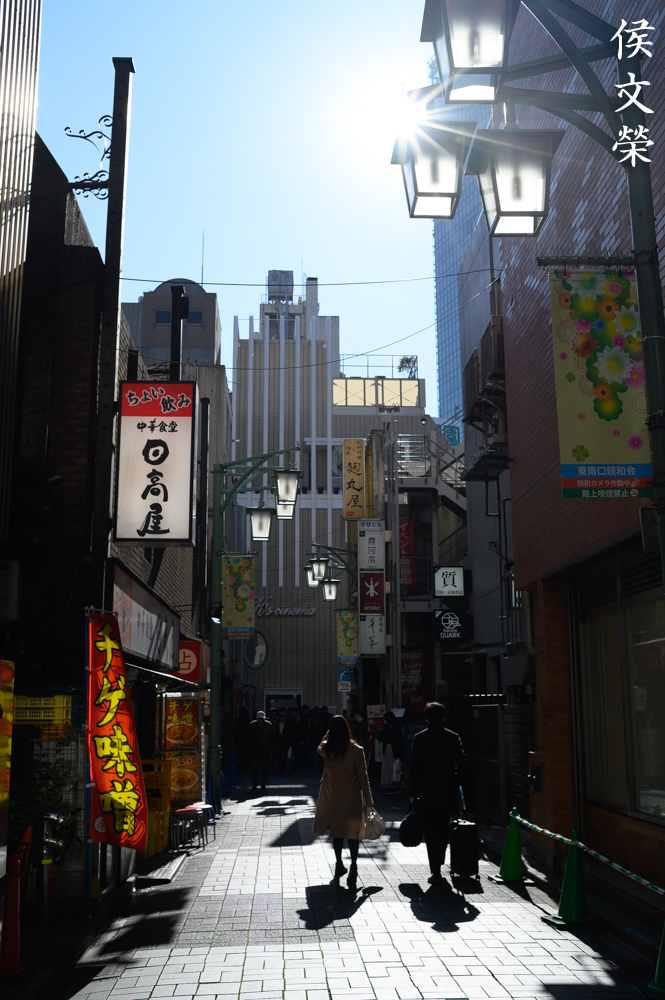
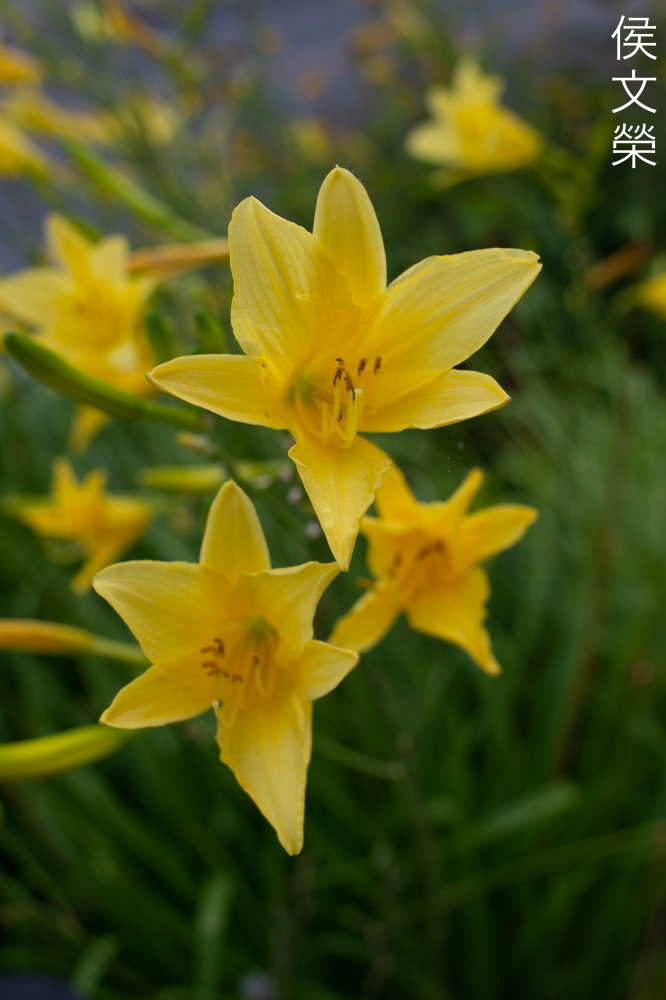
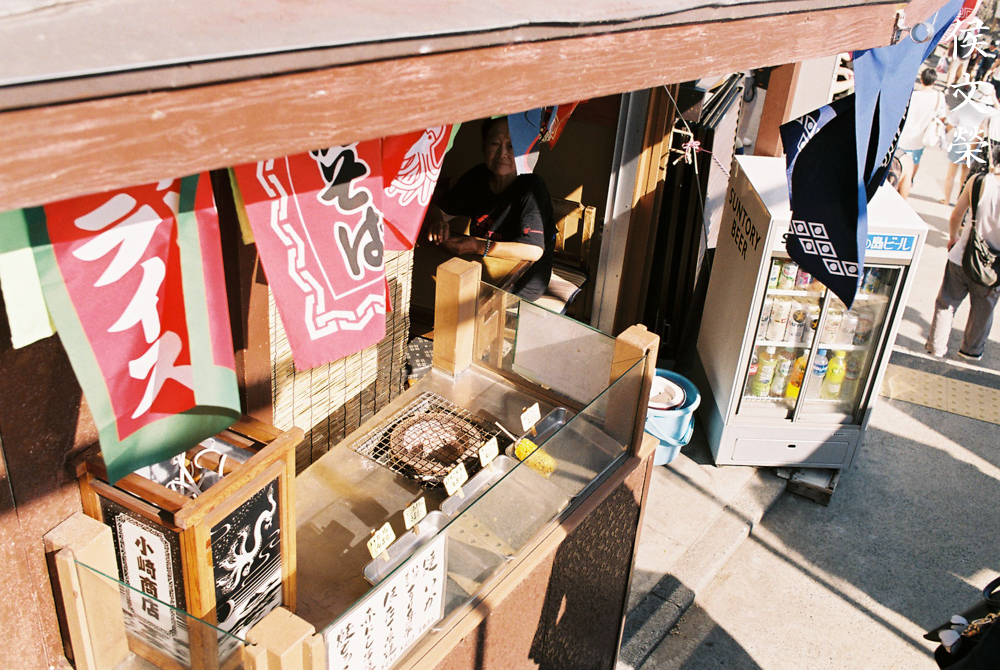
This is a practical lens for shooting around town. You will have a great time using it for street photography. The reasonably-fast f/2 maximum aperture is going to be helpful in lowlight situations.

The 35mm focal length is wide-enough for shots like this but you’ll probably want the Nikkor 28mm f/2.8 Ai-S for things like this.

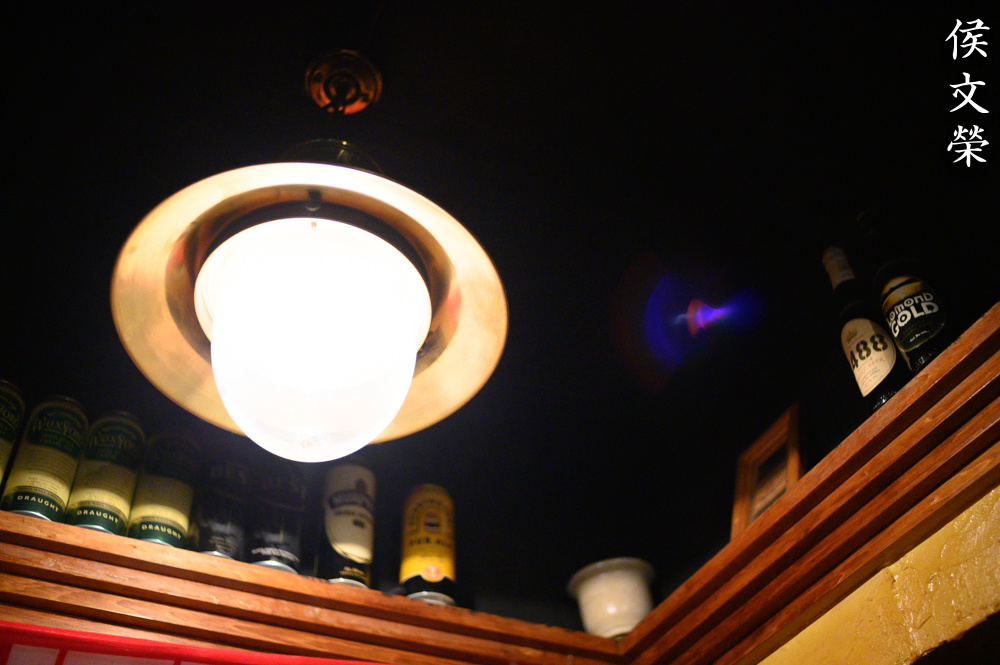
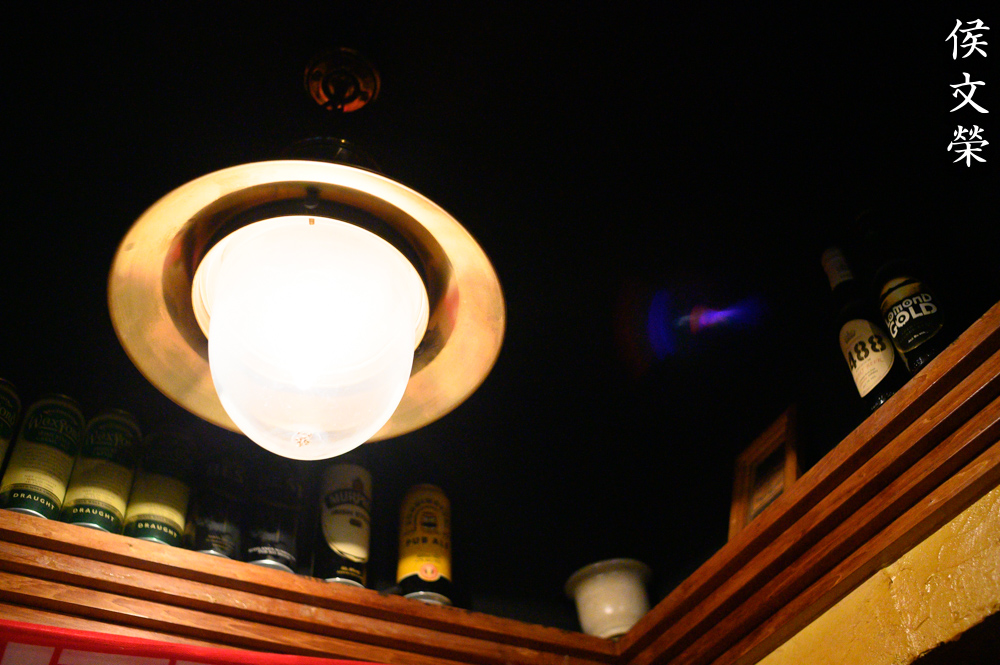
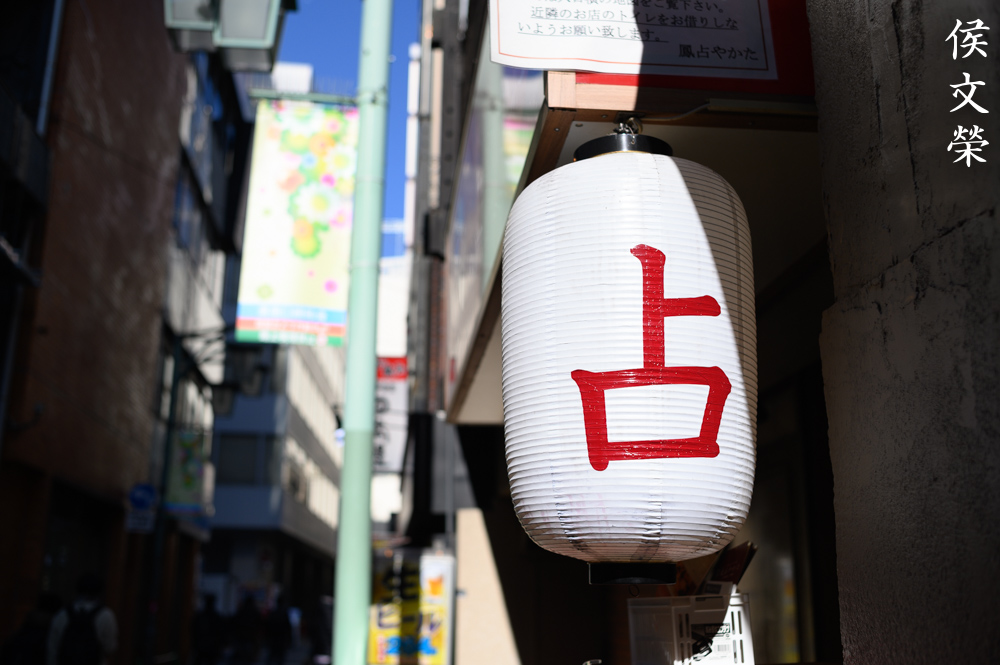
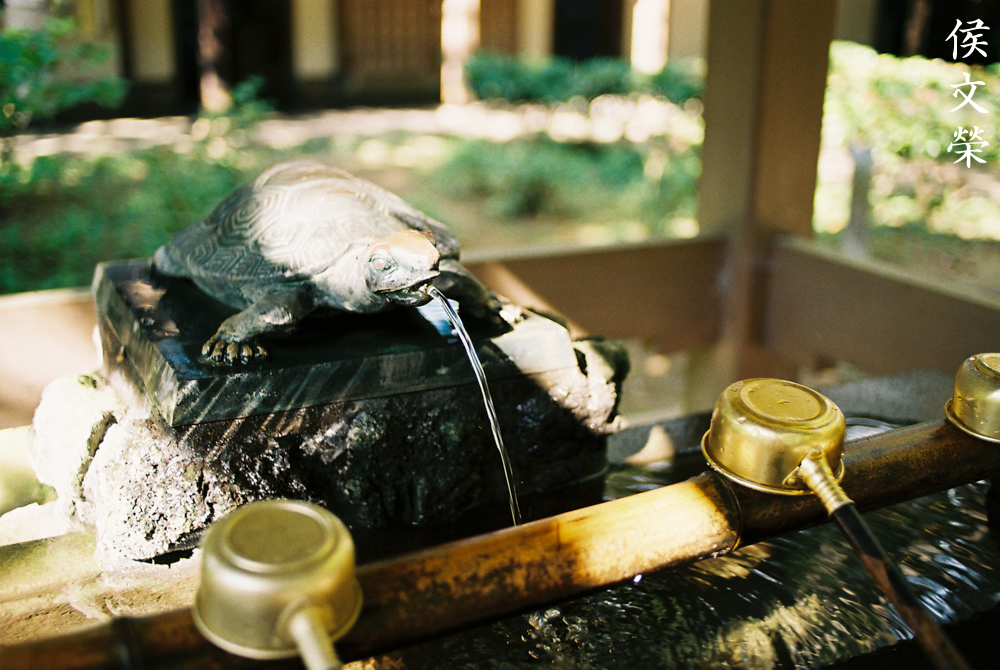
Chromatic aberration can be observed in the lanterns, this is a problem for shooting night scenes but it can’t be helped.

The subject isolation properties of this lens is limited due its wide nature. It is sufficient enough to blur what’s not in your focus plane, though. This is a nice feature of this lens that can come in handy but you should not overdo it and be tempted to shoot with this lens wide-open every time, you should choose your aperture carefully to suit your vision of the shot.
This was shot wide-open, see how nice the contrast is? This is a great lens, I can highly recommend this to everyone.

This is a great example of using the ability to isolate certain parts of what’s in the frame. If this was taken at f/2.8 you’re not going to focus on the ramen because the depth-of-field is much wider.


(Click to enlarge)
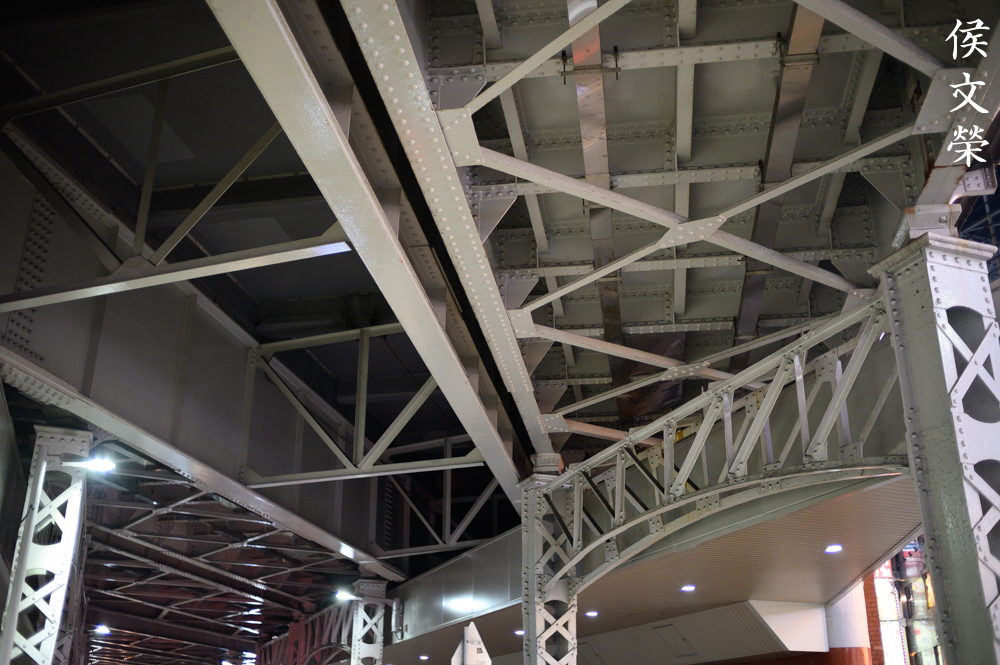
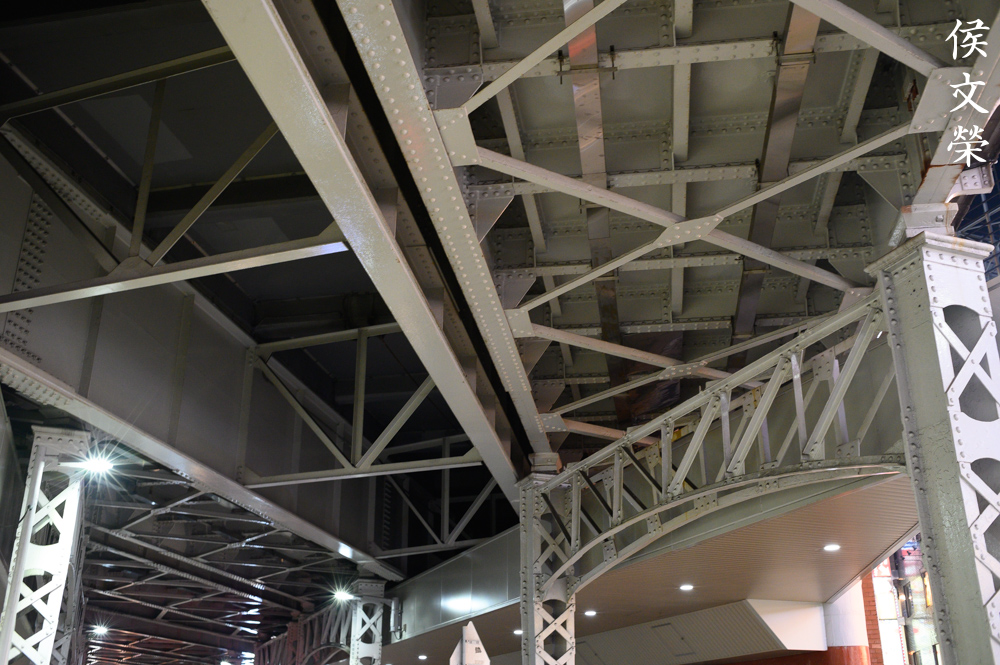
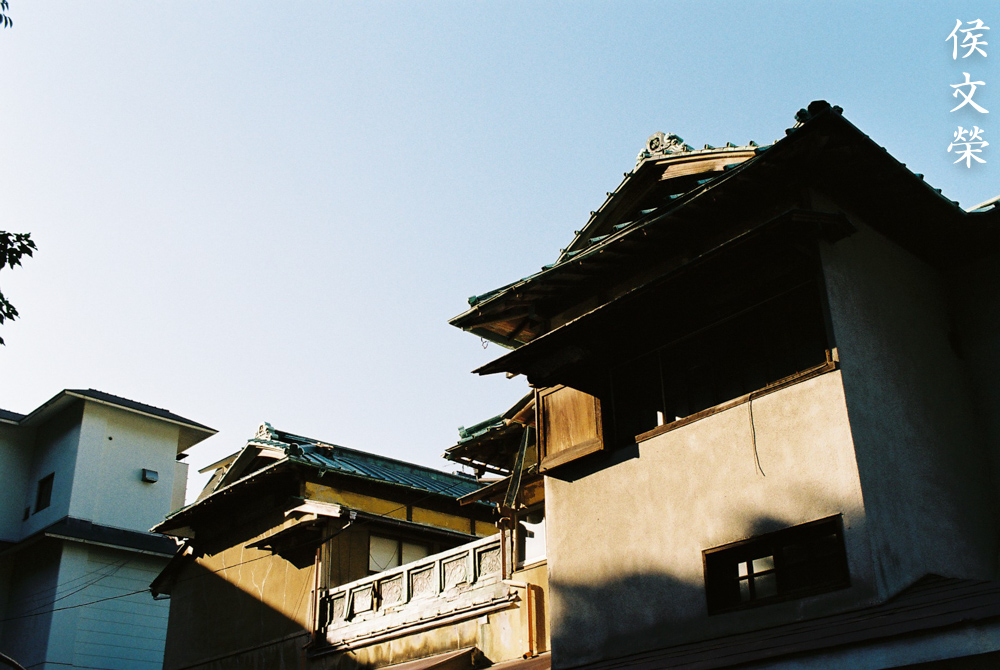
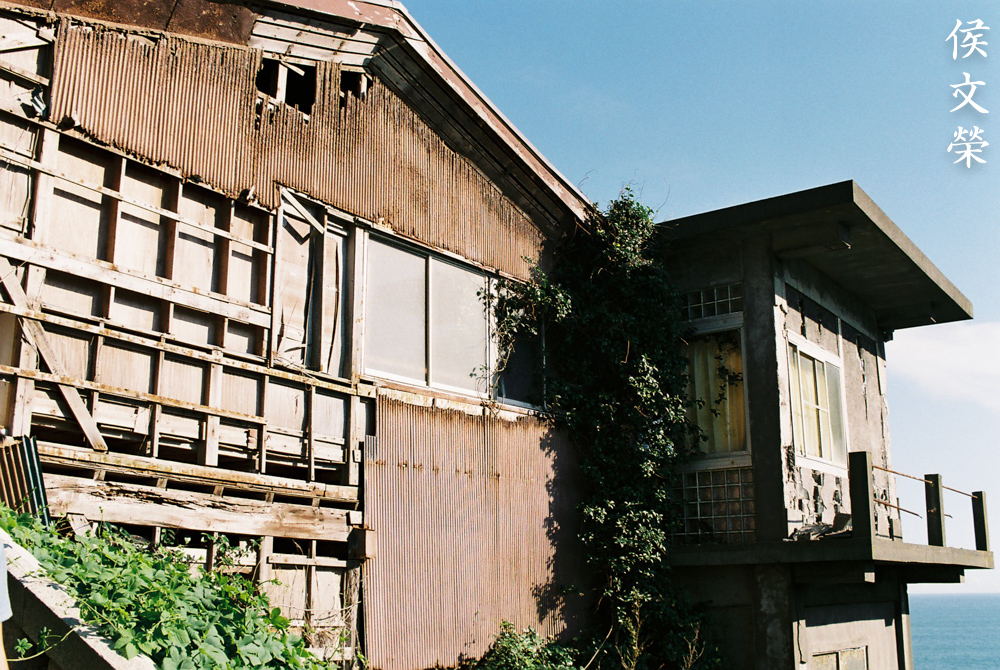
While this lens was not made for shooting architecture it’s not a bad lens for when you have no alternatives at all. So long as you know how to angle your shots so you won’t have any parallel lines to the edges of your frame you will be able to avoid making the distortion look obvious.


(Click to enlarge)
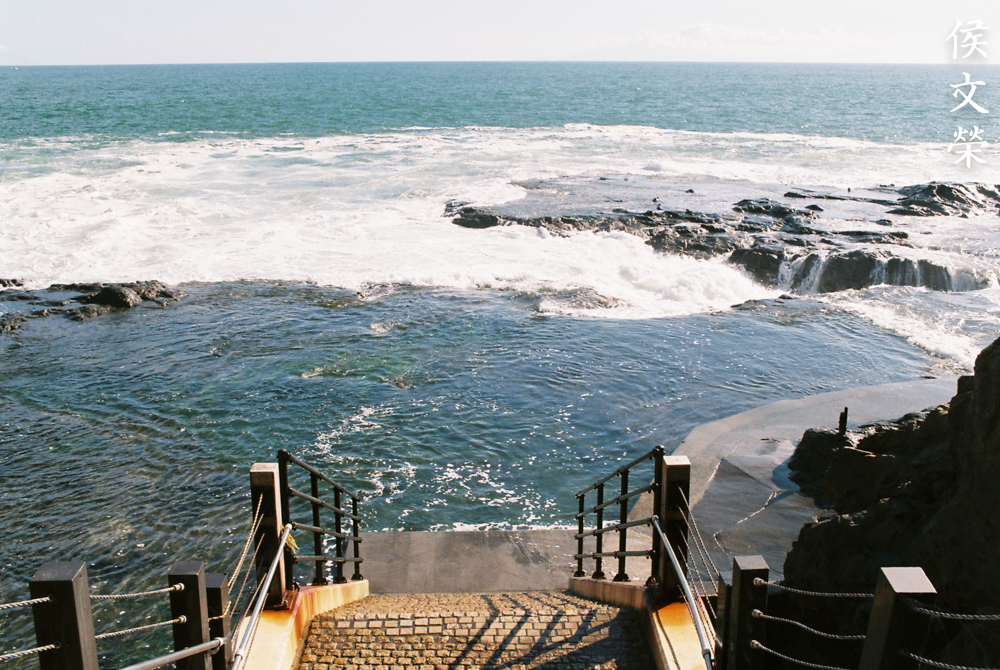
Here are more photos that were shot in practical conditions, you should get a good grasp of how this lens performs and what it’s able to do. I love this a lot, it’s the best choice for a manual 35mm Nikkor if you ask me.
Let’s now see some photos that were taken with film. It has a distinct look, it is all due to film grain and how it reacts with light. It can help mask a lens’ imperfections or amplify some problems. This lens was originally designed for use with film so it’s only fair that we judge it with its intended medium. I took these with a Nikon FE2 loaded with Kodak Color Plus 200.
This is how ghosts and flares look like with film. I’ve expected it since this lens family is known for this issue, even the improved coatings did little to negate the problem. You can use this for your creative freedom if you wish.

You can hide the ghosts if you know how to modify your shooting angle. It’s not as bad in this picture but it’s there, in fact, it made it look interesting.
This lens is capable of achieving very sharp photos even when moderately stopped-down. Use this to your advantage.
The 35mm focal length may be too-long for this kind of shot but it will do in most cases.
This is how sharp it is wide-open. This photo also shows that this lens has a tendency to produce busy-looking details if you gave it the chance to do so. I don’t see this as a problem since you don’t shoot this kind of lens for that.

This is not so bad for landscape photography, too. I love the contrast, it has a nice, warm feel to it which may be attributed to the film.


(Click to enlarge)
Here are some more photos that were shot with film. This can certainly give you that “vintage-look” that some people love and many people hate. This is a very good lens for both digital and film.
I love this lens a lot. You can’t go wrong with this one, all you need is to look for a nice one with no oily iris problem. These are a bit expensive, they can start from $140 and top at around $250 depending on the condition. If your budget is limited you can consider the cheaper Nikkor 35mm f/2 Ai, it’s the same lens but with a different barrel and longer focus throw. If you need a faster lens then the Nikkor 35mm f/1.4 Ai-S will be the better choice but it’s even more expensive. The cheapest option is the Nikkor 35mm f/2.8 Ai-S. It’s not as fast but it gets the job done, the f/2.8 maximum aperture may not be a lot of help in low-light situations and you should think about and what film you should use with it. The Nikkor 35mm f/2 Ai-S is the best option of the 3, I love its practicality and it’s easier to use compared to the Nikkor 35mm f/1.4 Ai-S when focusing. At the end of the day your budget will decide which one will be the best lens for you.
Before We Begin:
If this is your first attempt at repairing a lens then I suggest that you check my previous posts regarding screws & drivers, grease and other things. Also read what I wrote about the tools that you’ll need to fix your Nikkors.
I suggest that you read these primers before you begin (for beginners):
- Essential tools
- Best practices 1
- Best practices 2
- Best practices 3
- Ai conversion
- Working with Helicoids
Reading these primers should lessen the chance of ruining your lens if you are a novice. Before opening up any lens, always look for other people who have done so in Youtube or the internet. Information is scarce, vague and scattered (that is why I started this) but you can still find some information if you search carefully.
I highly recommend that you read my working with helicoids post because this is very important and getting it wrong can ruin your day. If I can force you to read this, I would. It is that important!
For more advanced topics, you can read my fungus removal post as a start. This post has a lot of useful information and it will be beneficial for you to read this.
Disassembly (Main Barrel):
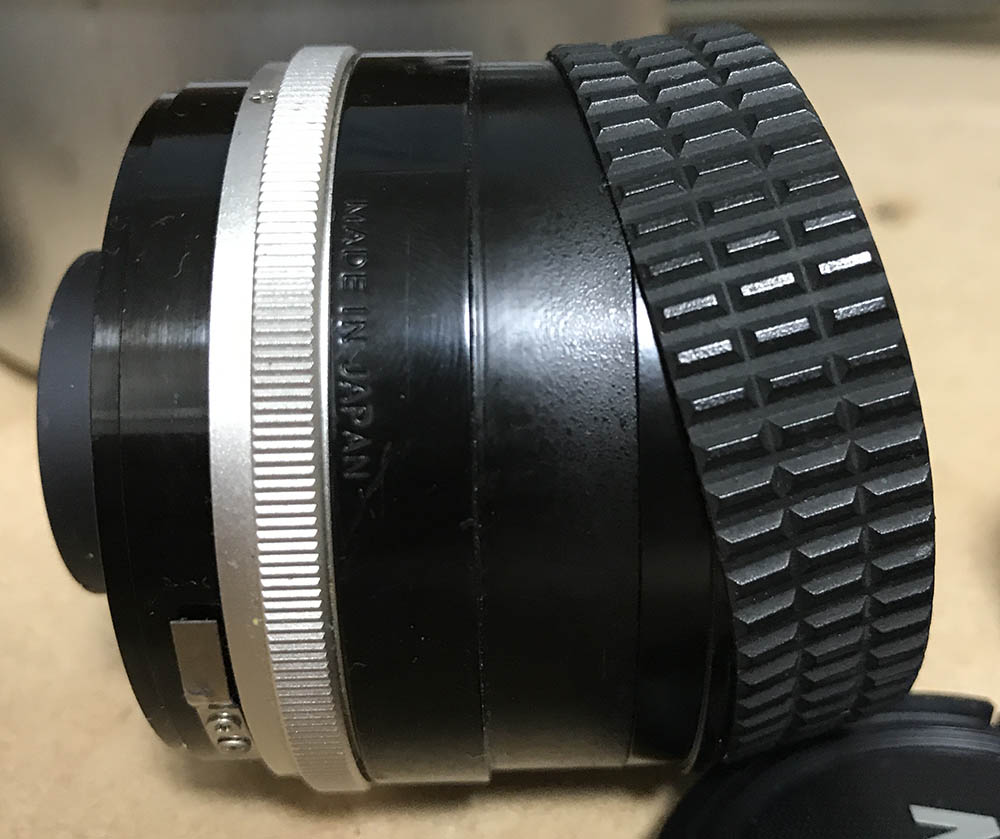
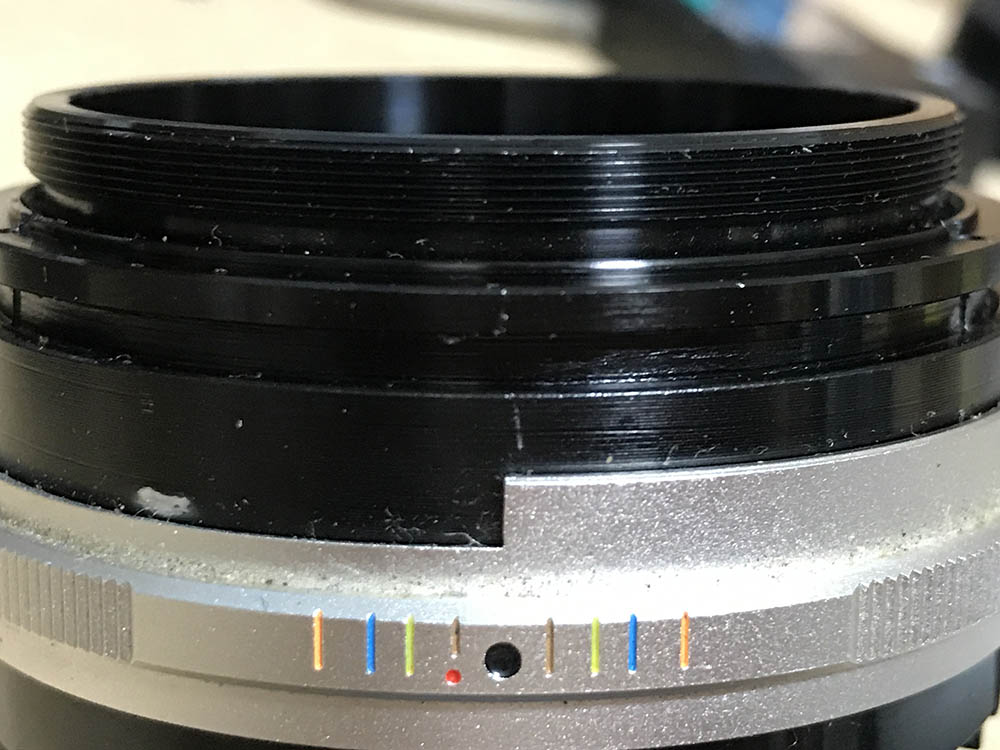
The main barrel is simple and if you’re familiar with Ai-S lenses then this is an easy task for you. Unlike many pre-Ai-S lenses, this one doesn’t have the objective in a separate housing. Instead, the housing of the objective is also the same part as the inner helicoid. This makes this vulnerable to oil, you’ll see some of this with the oily iris problem and this is the main cause. This is not a lens that’s suitable for beginners, they’ll require the tools and skills to work on this and that requires time and money. If your lens needs repair it is best that you send it to a competent repairer.
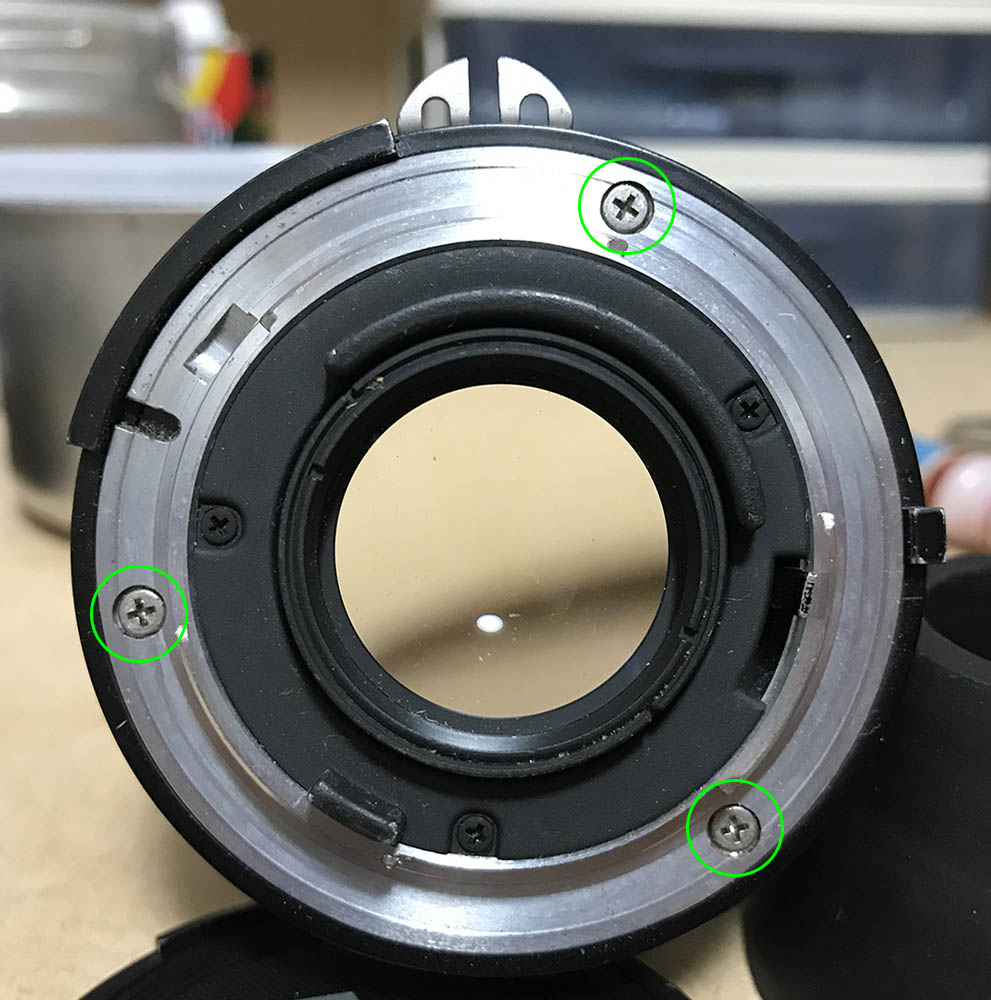
Extract these screws to remove the bayonet. If you’re new to lens repair, do yourself a favor and read my article on how to remove screws. Many people don’t know how to do this so they strip the heads of their screws. Only use a screwdriver that’s JIS, these are not regular screws.
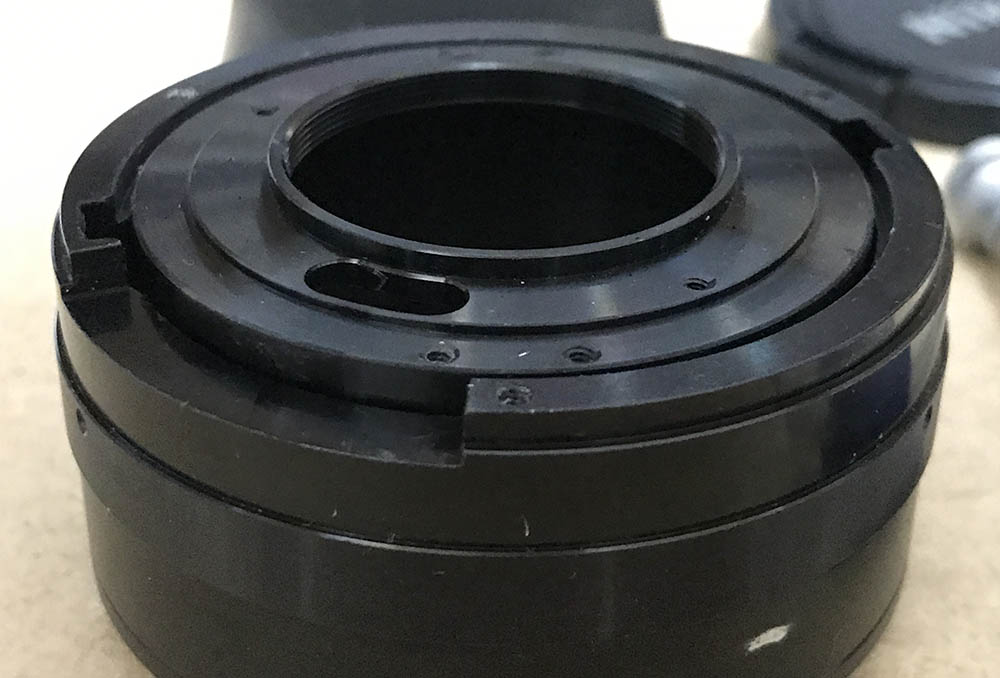
The bayonet should come-off rather easily.
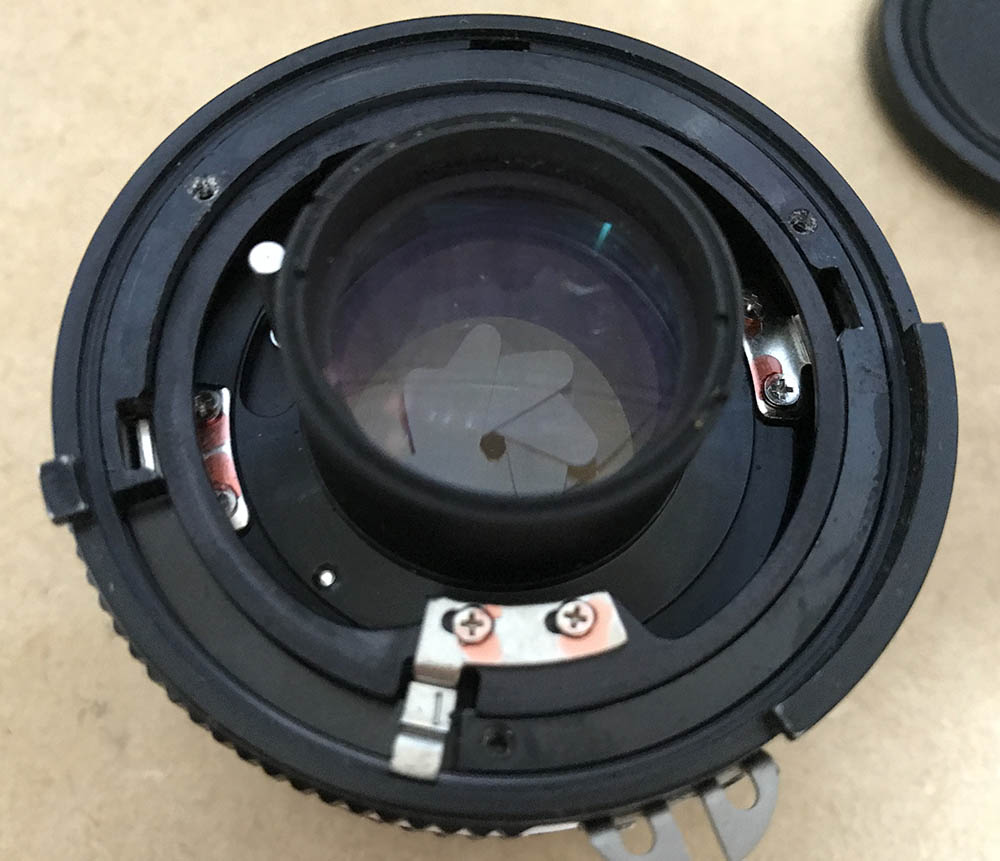
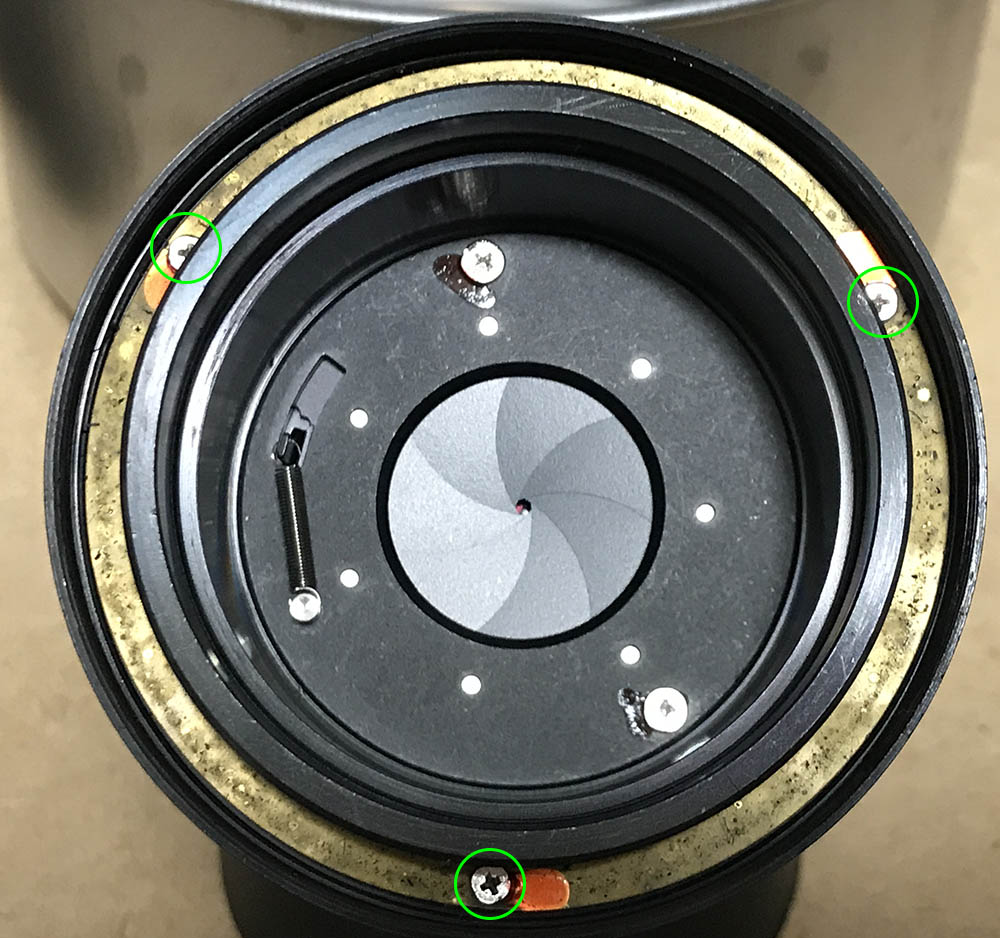
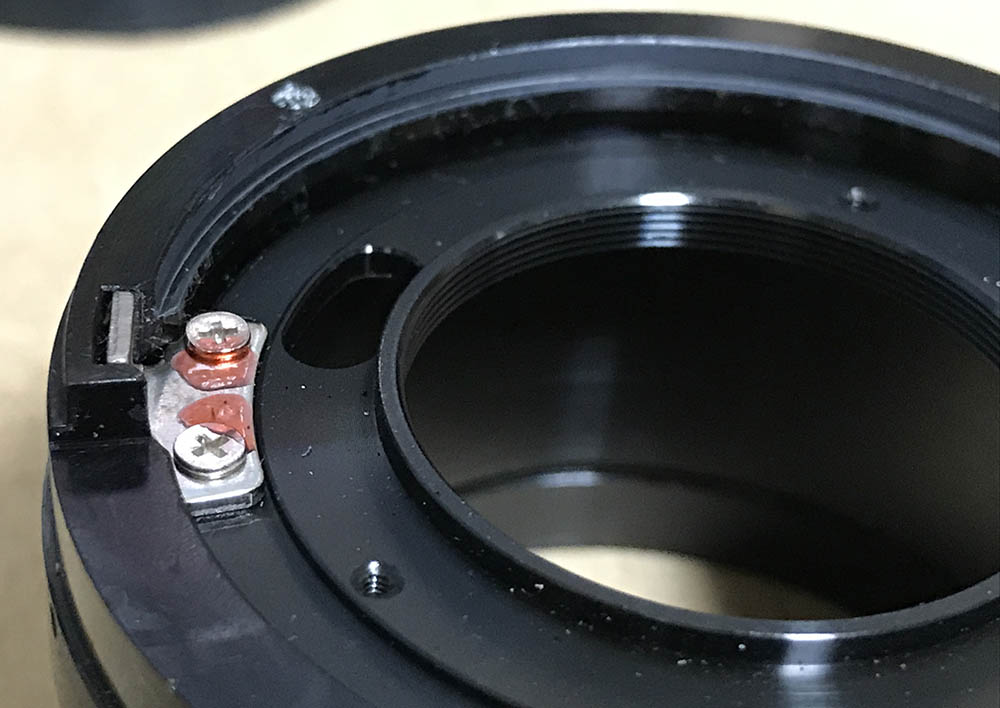
Study how the aperture regulator ring and its mechanisms work and how a rod in the iris mechanism couples to the stop-down mechanism’s fork work. It connects to the fork in the bayonet.
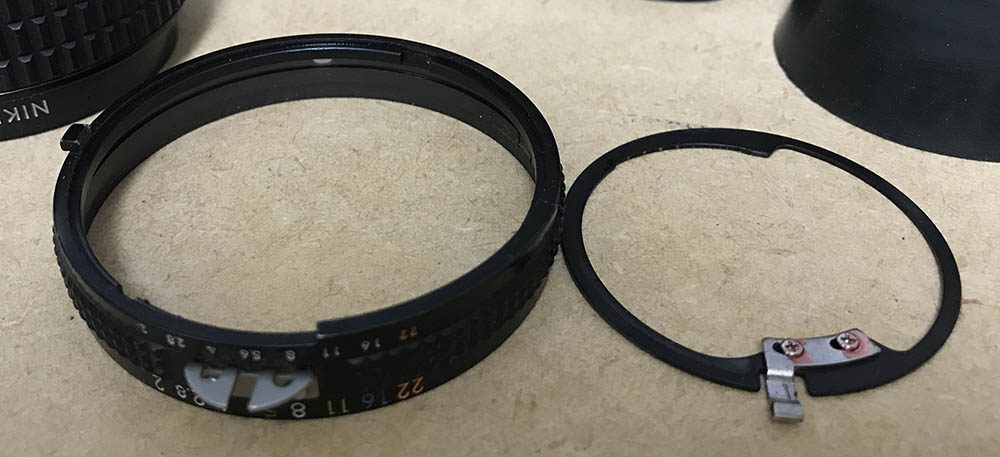
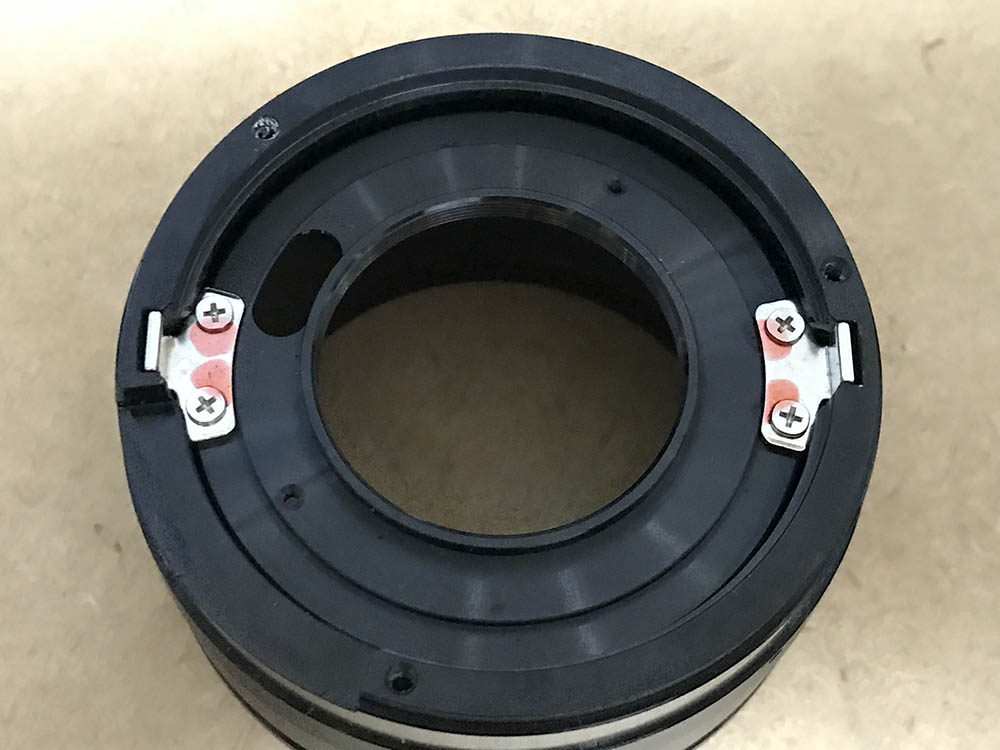
The aperture regulator ring and the aperture ring can easily be removed.
Carefully remove the rubber grip, making sure not to tear it.
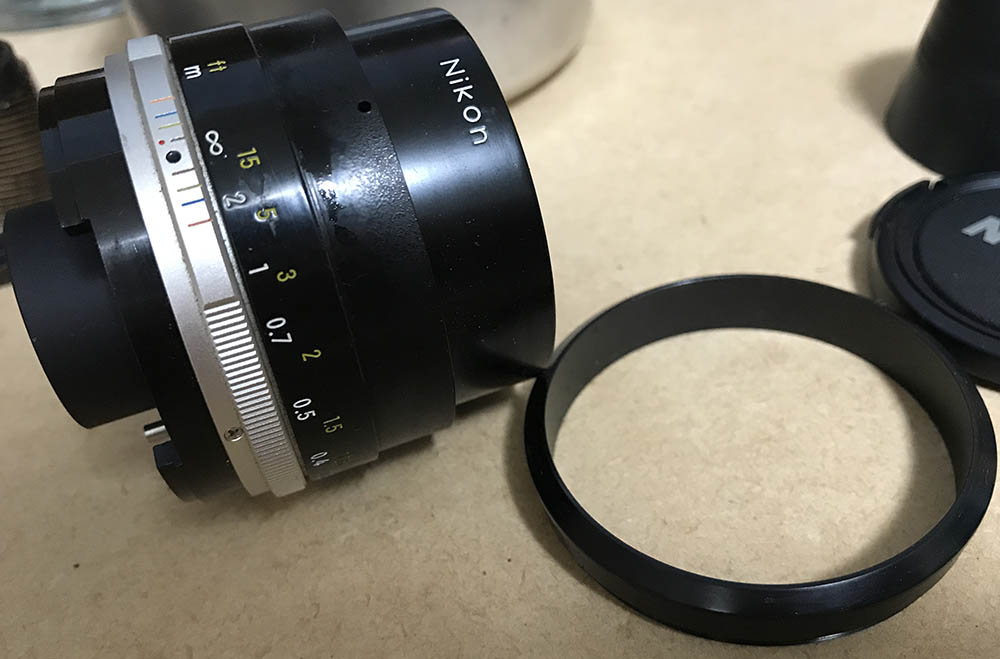
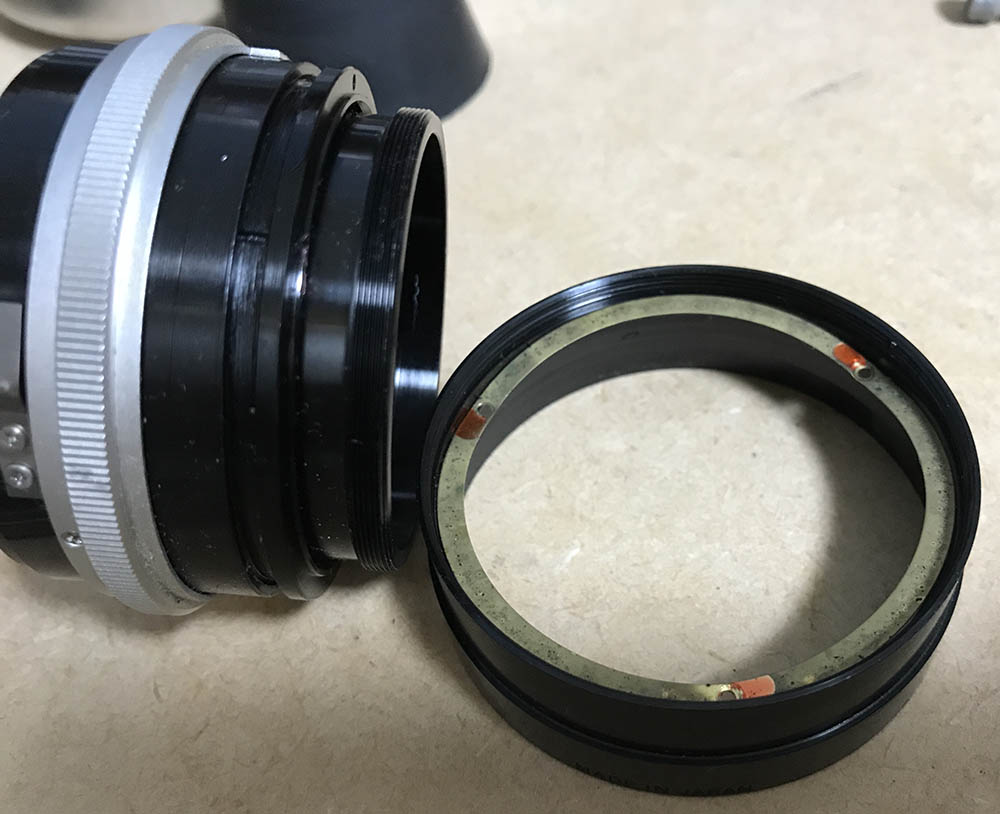
The bezel of the focusing ring can be removed like this but you should put a lot of alcohol on its threads to remove the seal before you can unscrew it.
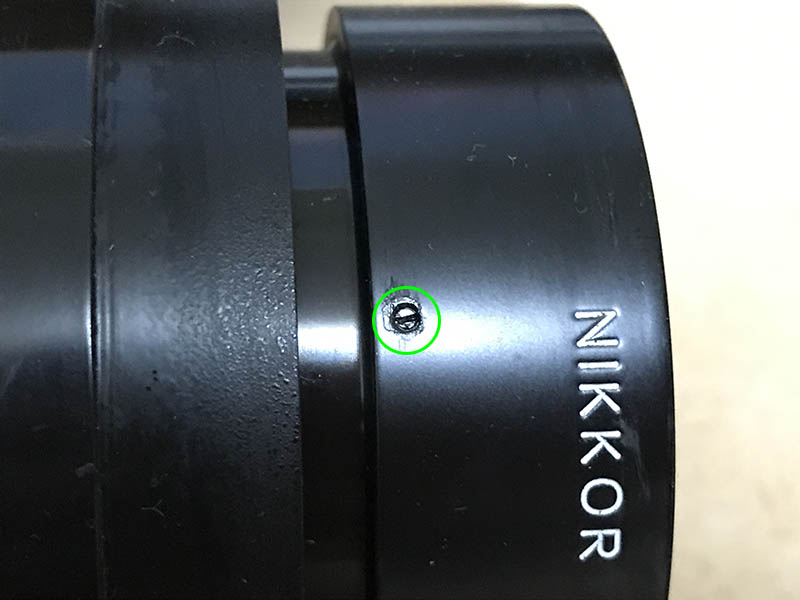
Locate the tiny set screw securing the front barrel. Dissolve the seal using a bit of alcohol. Carefully remove it and make sure not to strip the screw.
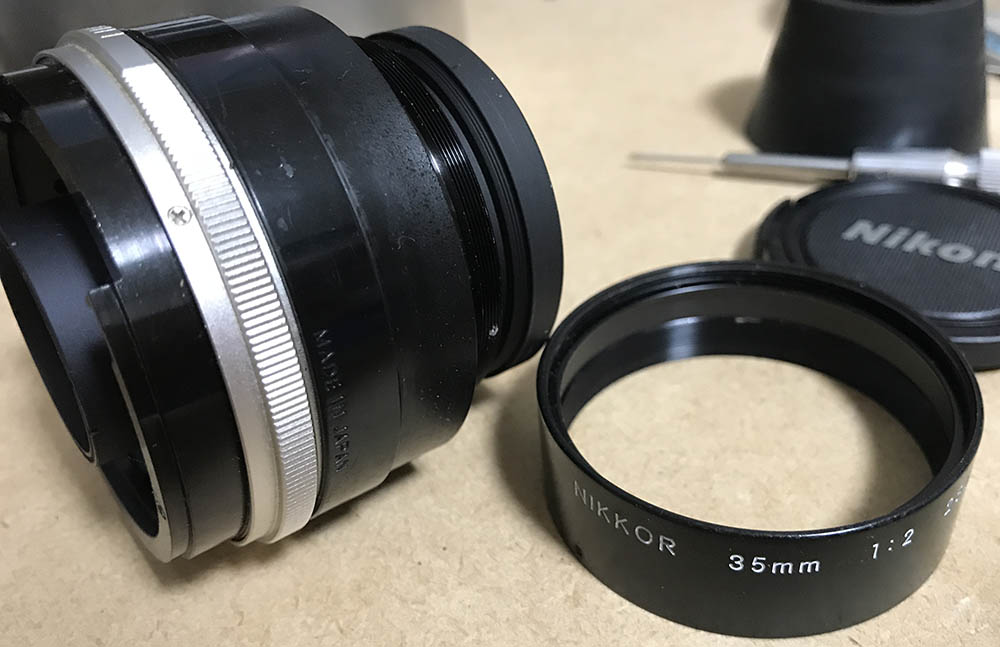
It should be easy to unscrew the front barrel. If it’s stuck, just do the alcohol trick on it.
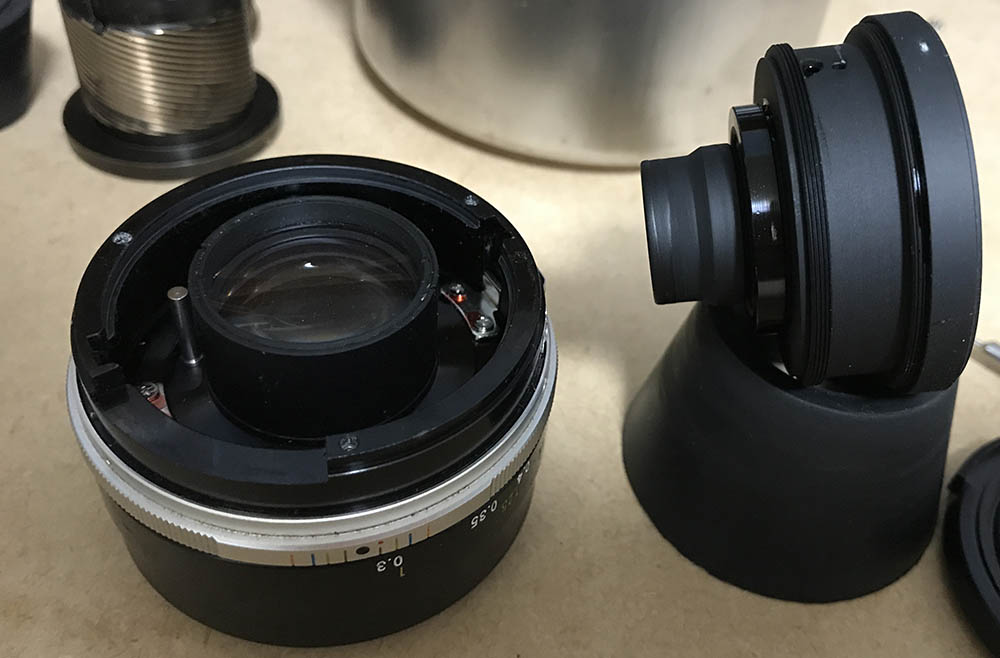
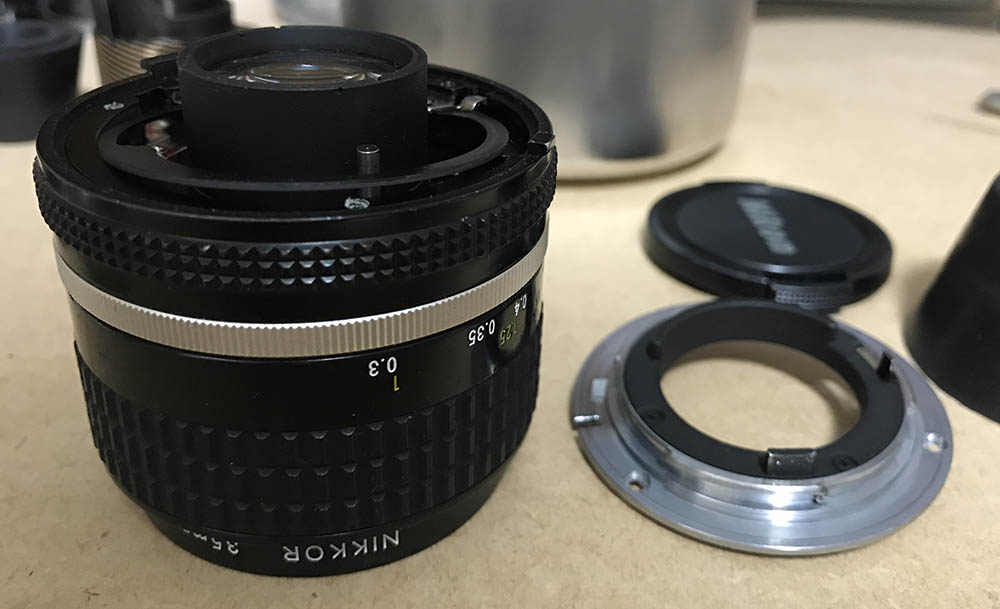
The front optical assembly can now be removed. Store it in a safe place and make sure that it doesn’t roll-off the edge of the table.
The focusing ring is being secured by these screws.
Extracting the screws will allow you to remove the focusing ring.
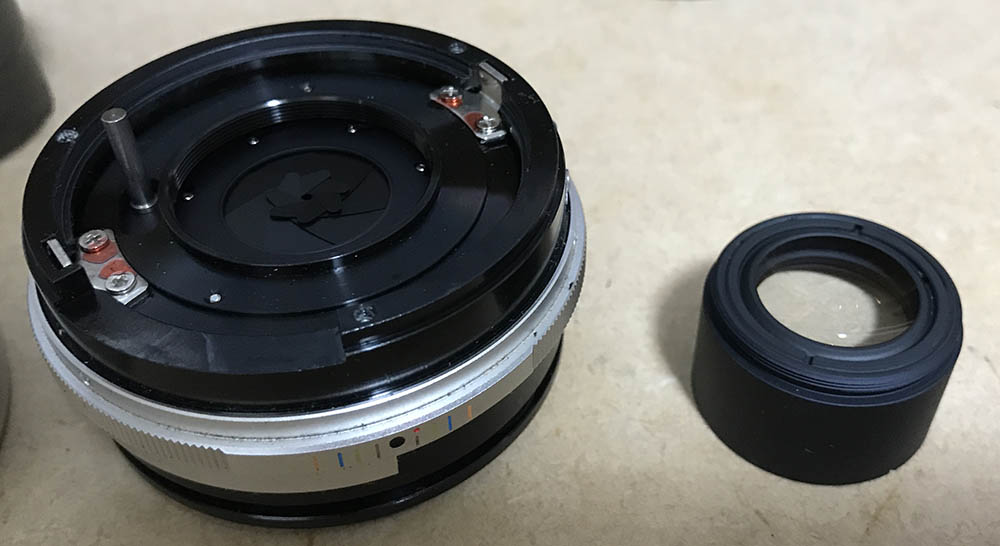
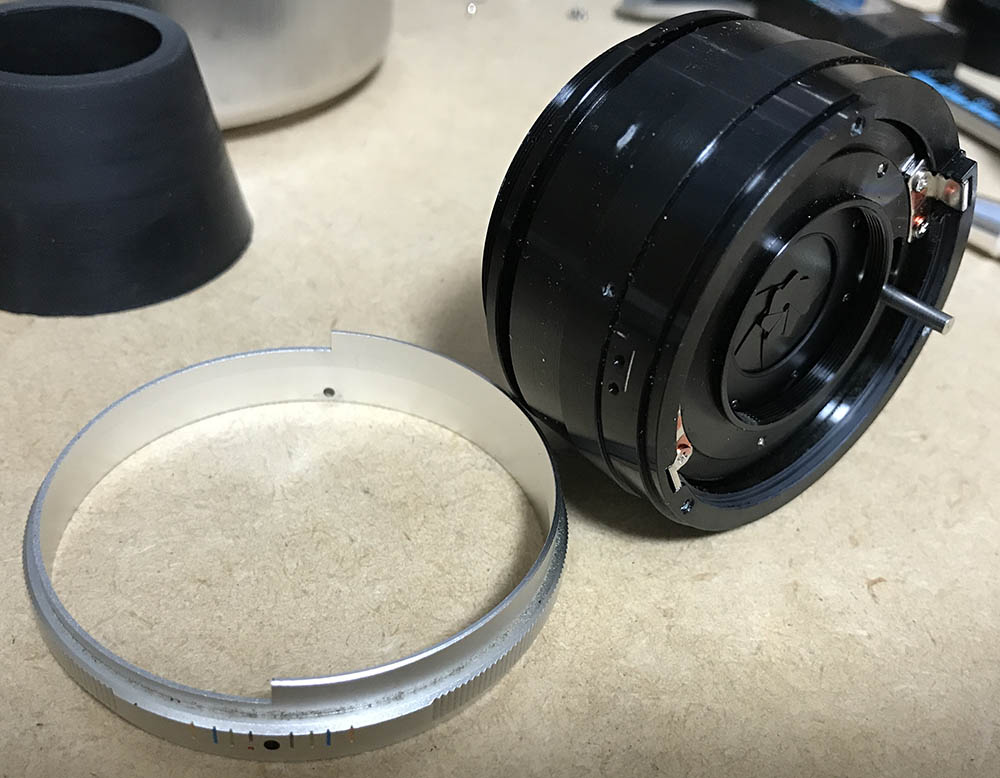
The rear optical assembly can be removed like this. You should do this early on and not wait for this step.
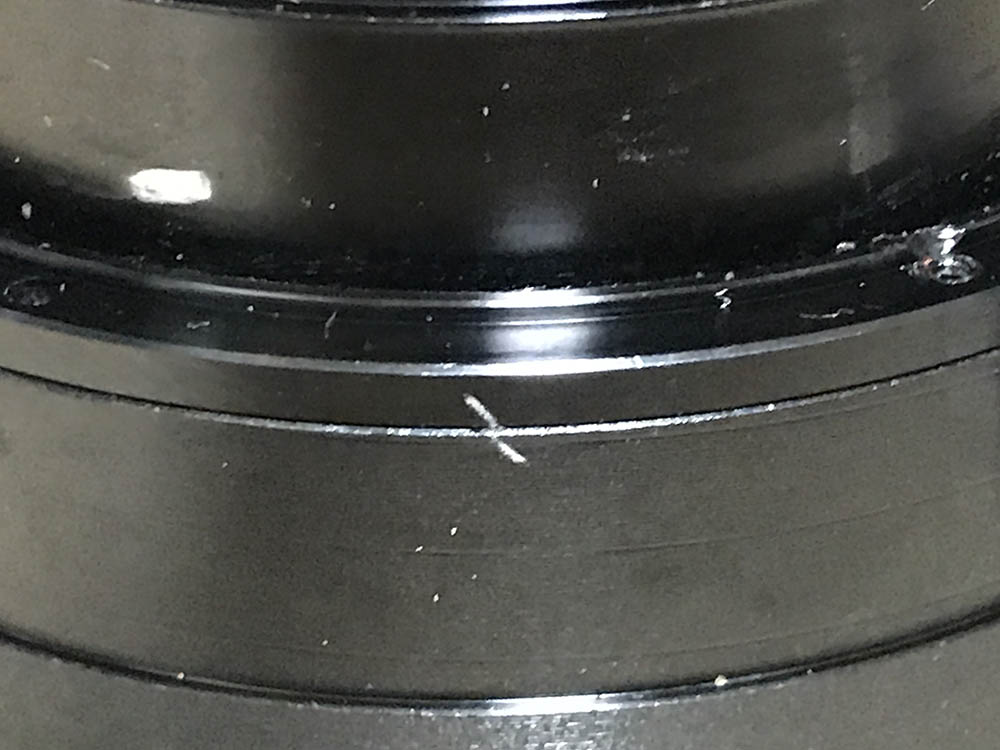
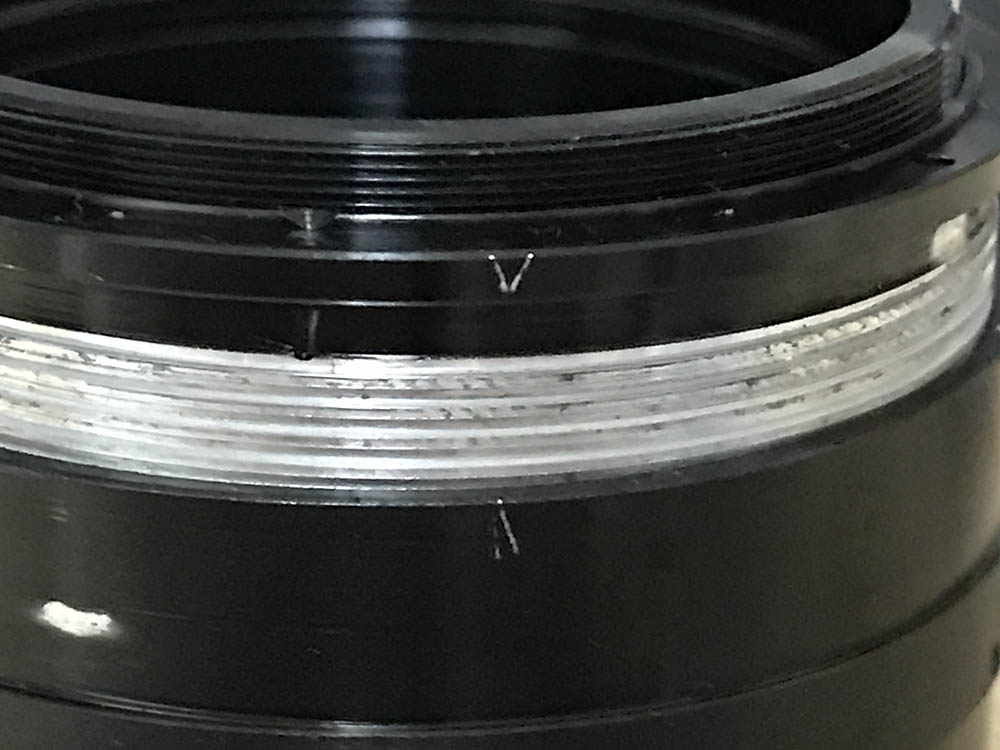
While the barrel is at infinity, make marks and take notes so you will know how the helicoids should align.
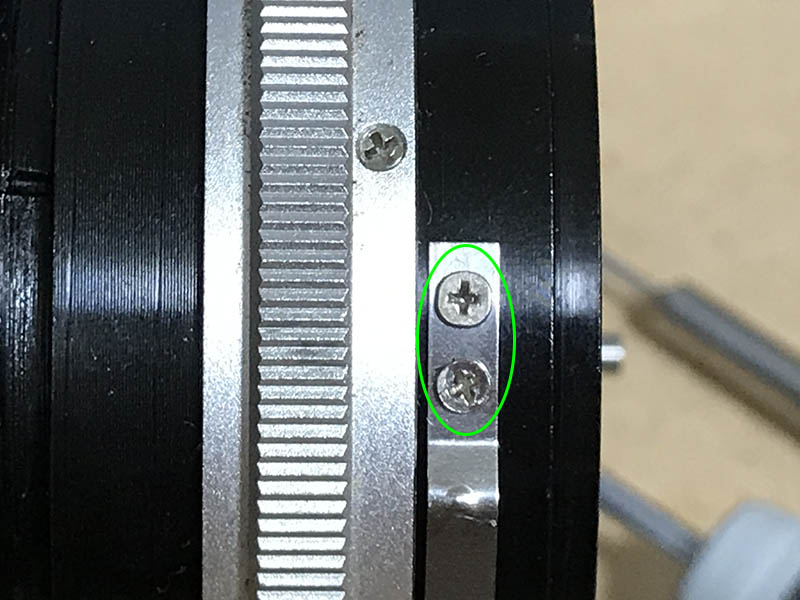
Carefully remove the screws of the spring, make sure to note its position so you can put it back the right way later or the clicks won’t be accurate.
The grip can be removed after you extract its 3 screws.
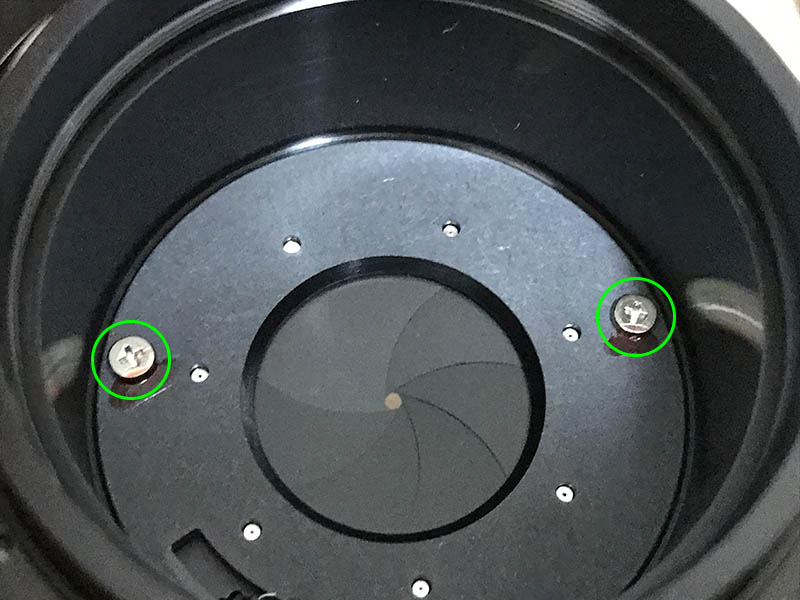
The iris mechanism can be removed after you extract these screws. This is a fine adjustment point so make sure to mark its alignment before the screws are removed. You will have to put this back the same way later.
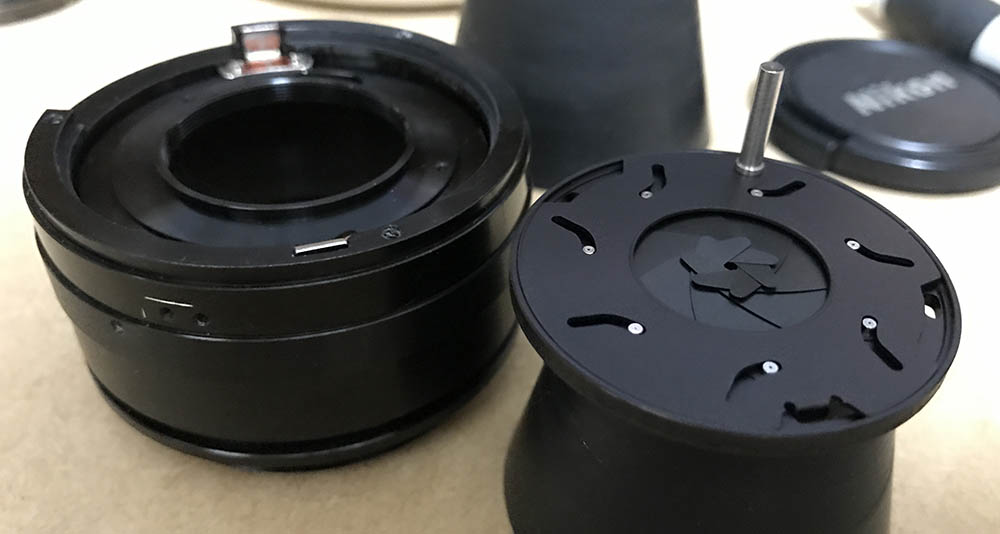
If the iris mechanism hasn’t been serviced yet you can remove it as a single unit.
Before you remove the helicoid keys, study how they travel, their positions at infinity and take plenty of notes.
When you’re satisfied with your notes, remove the helicoid keys. Be careful to put these back again at their respective slots later.
Once the keys are gone collapse the central helicoid and create a mark, this will help you determine if you got the helicoids’ alignment right later.
This is how it looks at the rear.
Separate the central helicoid from the outer one and don’t forget to make a mark to note where they separated. Many people forget to do this and they end up stuck. Read my article on how to work with helicoids to prevent this from happening to you.
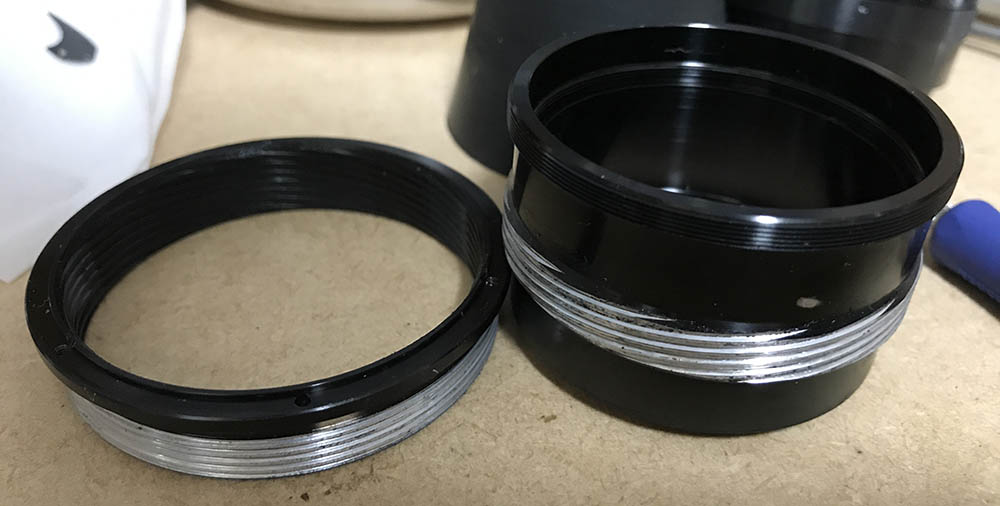
Do the same for the inner helicoid.
Clean the helicoids really well and don’t leave any residue. Some people do not do this and they simply flush or wipe the old grease and then apply new grease while there’s still residue on the helicoids. Never do this, if you have gotten this far you might as well clean it really well by scrubbing it clean. It is best to clean it with a strong detergent and then soak it in solvents. Don’t make the same mistakes as what many people on the repair videos do. This is not good practice, it’s misleading. This lens benefits from a thick grease, I love the feel and how precise I can turn the focusing ring because of it.
Disassembly (Iris Mechanism):
The optics of my lens isn’t dirty at all and only requires a bit of cleaning. It’s still clean despite the filthy barrel so I won’t do anything with the objective. I trust that my readers are now familiar with dismantling them, the objective is of conventional design and it should be easy to dismantle for a seasoned repairman. The iris mechanism on my lens is still clean but I took the time to clean it just to make sure that it’s clean.
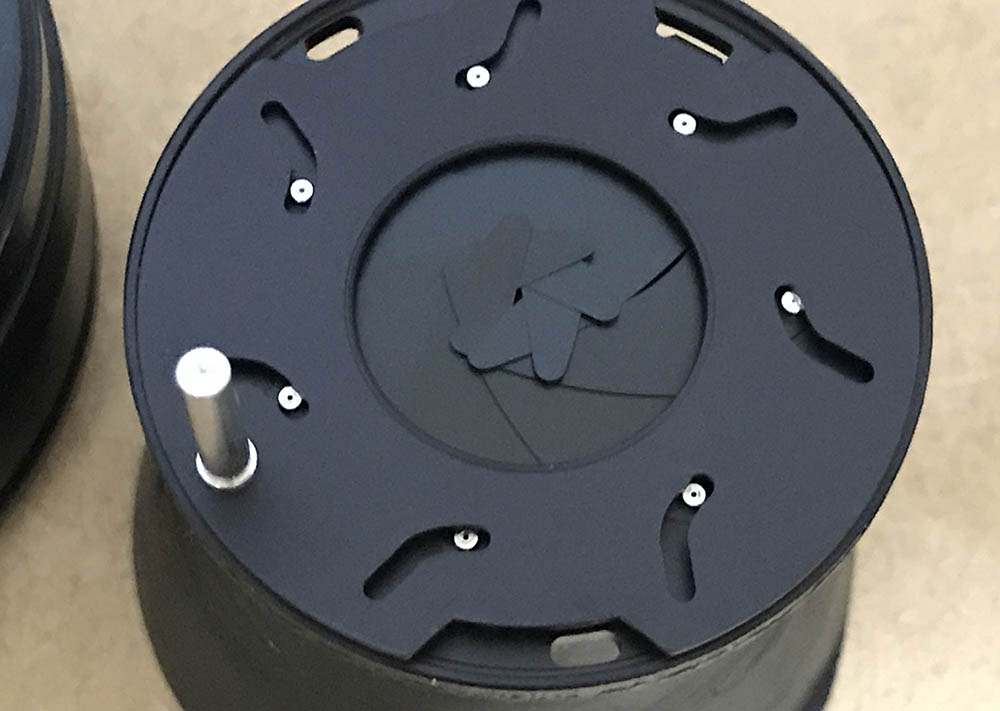
The iris mechanism is delicate, it’s spring-loaded and it can dismantle itself, sending parts flying across the room.

Before you do anything, uncouple the spring to make sure things don’t jump across the table.
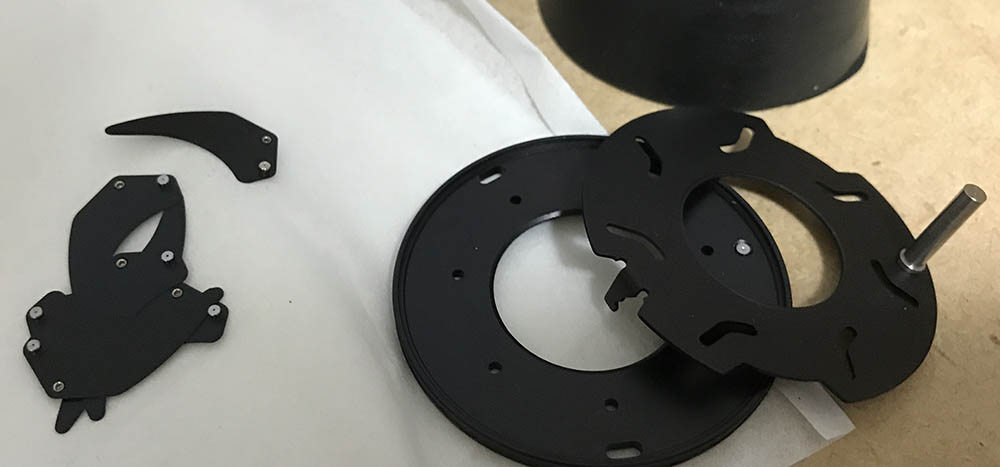
The iris is now dismantled.
Clean the iris mechanism really well, wipe the blades individually with lens tissue moistened with spirits. Putting this back can be a challenge, you can read my Nikkor 85mm f/2 Ai-S article to see how I did it as it shares a similar design. All you need is patience.
Conclusion:
This one took me around 2 or so hours to clean with most of that time spent cleaning the parts really well. This is important, you only get to do this once and you’re set. Don’t make the mistake of getting lazy and doing a bad job. I don’t cut-corners when it comes to cleaning.
Assemble the lens back until you get to this state and calibrate its focus. See my article on how to adjust your lens’ focus to know how to do this under a DIY setting. It’s not difficult but you should take your time to do this.
That’s it for this article. Please help this blog by supporting it, your help will make sure that this page stays alive for more years to come! It helps me by offsetting the cost of maintenance, film development and other things. The blog has helped a whole generation of amateur repairers so help spread the word by sharing the blog with your friends. Thank you very much, see you again in the next article, Ric.
Help Support this Blog:
Maintaining this blog requires money to operate. If you think that this site has helped you or you want to show your support by helping with the site’s upkeep, you can make a small donation to my paypal.com (richardHaw888@gmail.com). Money is not my prime motivation for this blog and I believe that I have enough to run this but you can help me make this site (and the companion facebook page) grow.
Buy me a roll of film or a burger?
Thank you very much for your continued support!
$2.00
Helping support this site will ensure that this will be kept going as long as I have the time and energy for this. I would appreciate it if you just leave out your name or details like your country’s name or other information so that the donations will totally be anonymous. This is a labor of love and I intend to keep it that way for as long as I can. Ric.

Nov 03, 2021 @ 10:14:01
Thanks was about to throw away my otherwise excellent 35/2 AIS because of a very rough / grinding aperture ring, but after following the first steps of your instructions – basically removing the mount and aperture ring only, cleaning up the latter, it runs great. Not sure if I should add any grease, but for now I have not.
Mar 24, 2024 @ 17:00:57
hello Richard
it’s perfect description and analyz. Thank you and Congratulations 😃
kind regards, Oliver, France