
Hello, everybody! It is with profound sadness that I announce to you the parting of miss Dolly Parton. She is one of my favorites, her voice is excellent, cheerful, and uplifting. But what I love most about her is she has a beautiful pair. Those were great jugs and in the 1980’s when plastic surgery was uncommon, having a natural pair like that was really something. I do not know who Jolene is but she must have been one hell of a woman for miss Dolly to be jealous of! Just to be clear, by pair I mean her boots, what else would it be? Today, I will share with you my own “pair”, they’re just as big and valuable, I’d imagine that they’re the envy of many people, too!
Introduction:
The Noct-Nikkor 58mm f/1.2 Ai is the predecessor of the Noct-Nikkor 58mm f/1.2 Ai-S, both are legendary and not cheap just to say the least. This former is the original, a hallmark of 1970s engineering just to make a statement. It was sold from 1977-1981, a short run compared to its successor which was made from 1981-1998. Both share the same optics as far as I know but the barrel design and construction is totally different as you’ll soon see. This one is a bit heavier, and is more durable in my opinion. We can say the same for all Ai-S Nikkors that have an Ai counterpart. Why choose one over the other? It’s a toss between handling and how you’re going to use it and for what. You choose the newer lens if you need the automatic features that an Ai-S enabled camera offers, you really won’t notice anything significant otherwise. The biggest difference apart from the obvious is the older one has a longer focus throw which enables you to make smaller adjustments. In general, Ai Nikkors (and many earlier ones) have longer focus throws if you compare them the their Ai-S versions.
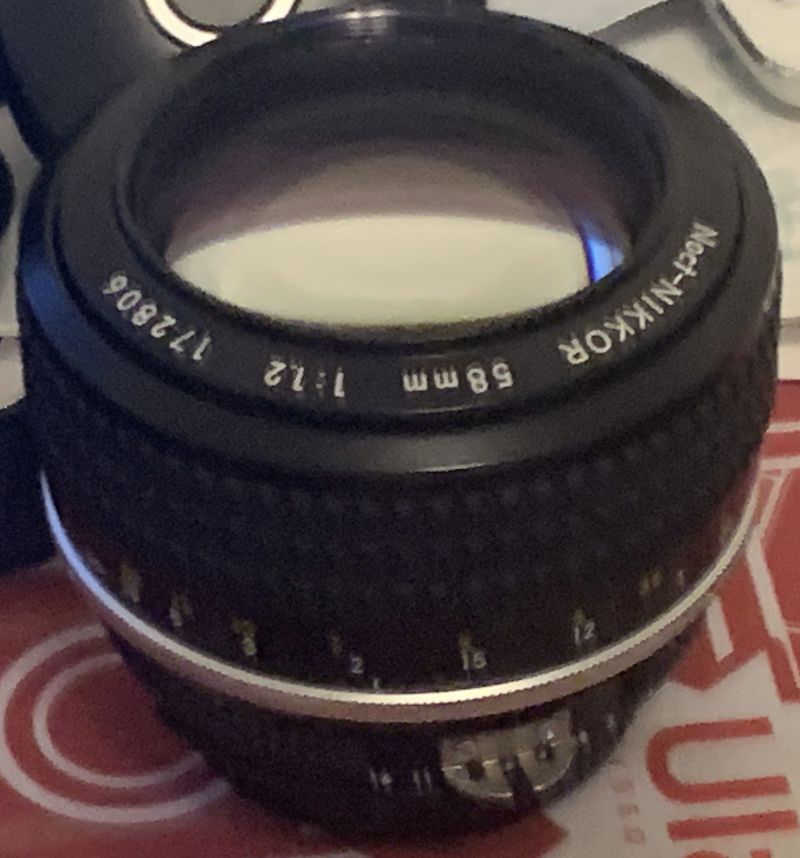
Like all of the Ai Nikkors, this one is built exceptionally well, much better than the Ai-S ones. It has a longer focus throw which allows for finer focus adjustments. This may be the only reason why you would prefer this over the Noct-Nikkor 58mm f/1.2 Ai-S since the optics are identical.
The optical formula is a 7-elements-in-6-groups design which is identical to the Noct-Nikkor 58mm f/1.2 Ai-S so I won’t be saying anything more about it as you can read that article instead. You can also read this amazing article as well by Ohshita-san who is an authority in Nikkors. Please enjoy reading both.
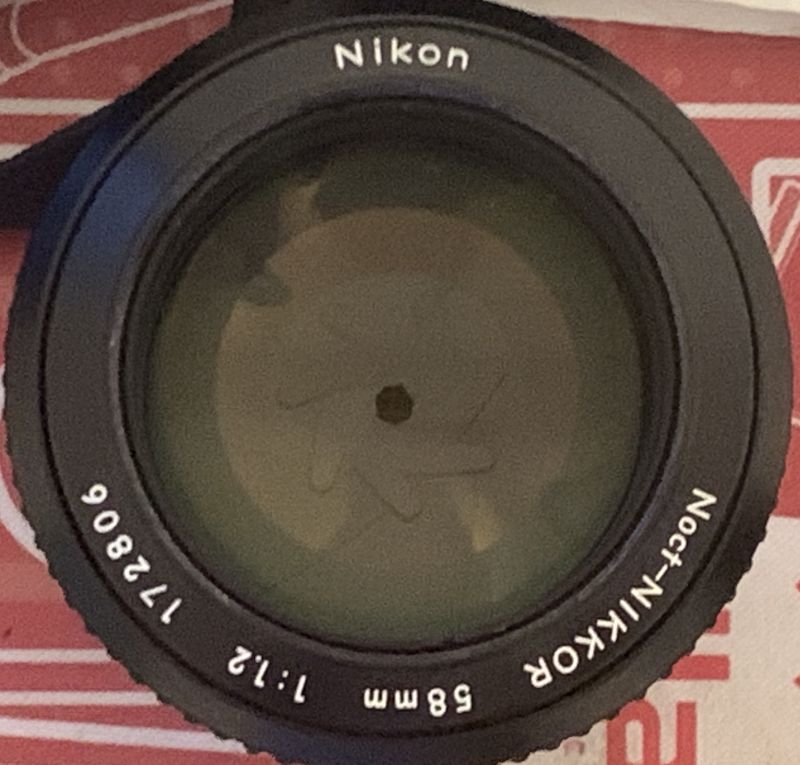
The front element is huge and aspherical. That makes it very expensive to manufacture because it’s done manually, contributing to the overall expense of purchasing one of these brand new.
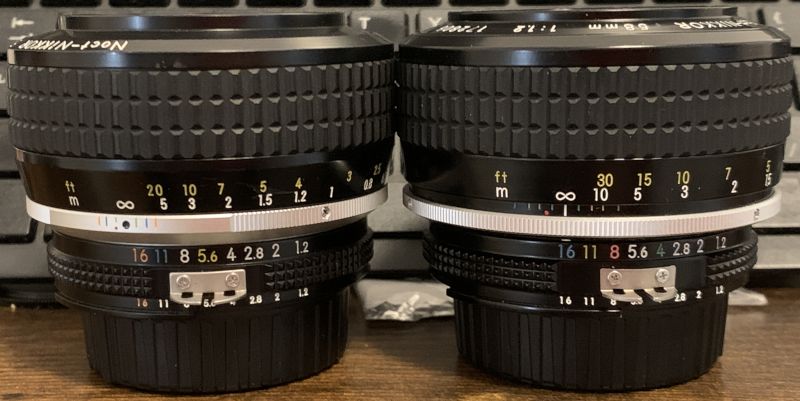
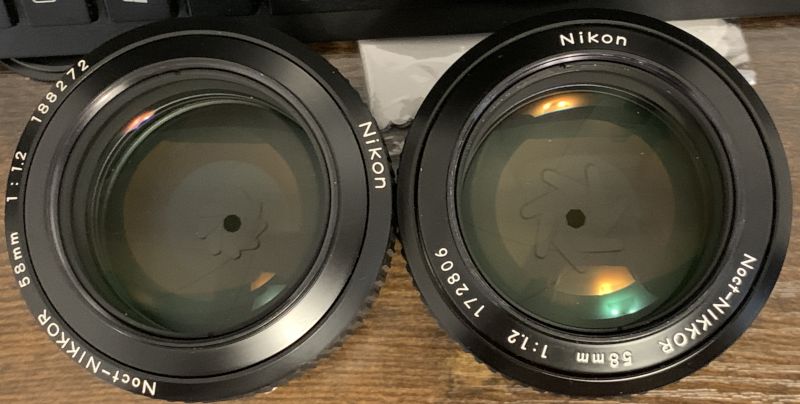
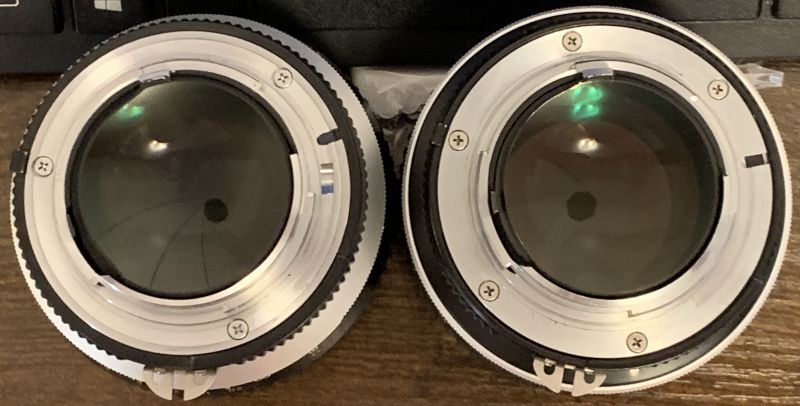
(Click to expand)
Everything is comparable to the Noct-Nikkor 58mm f/1.2 Ai-S in terms of dimensions. It’s just my preference that I favor the older Ai version due to the better build quality and longer focus throw.
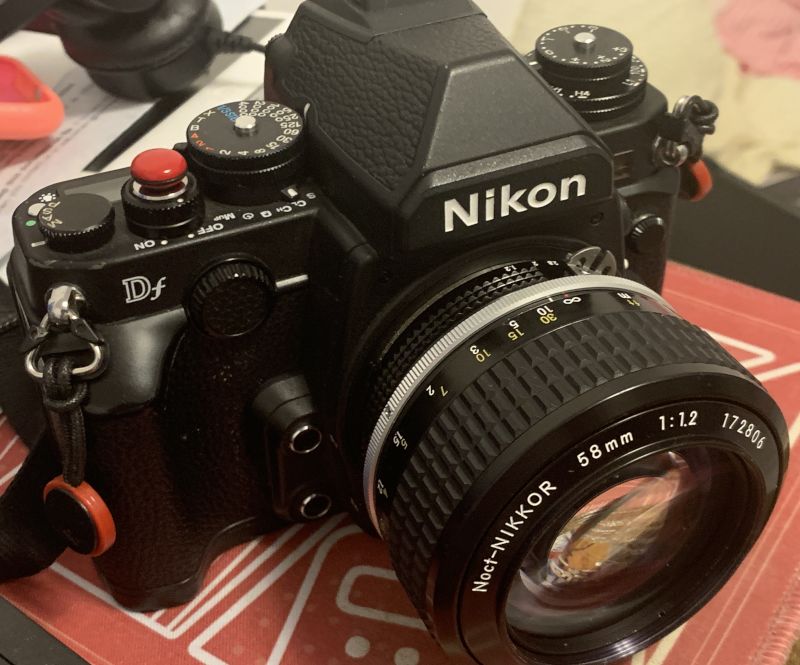
If balances really well with the Nikon Df. The focus indicator dot helps a lot but it won’t always be accurate especially if shooting at f/1.2. What I really like about this setup is turning the aperture ring will also change the aperture setting of the camera because there’s a mechanical link. If you’re looking for that film camera experience with a digital camera, this is the only way to go.
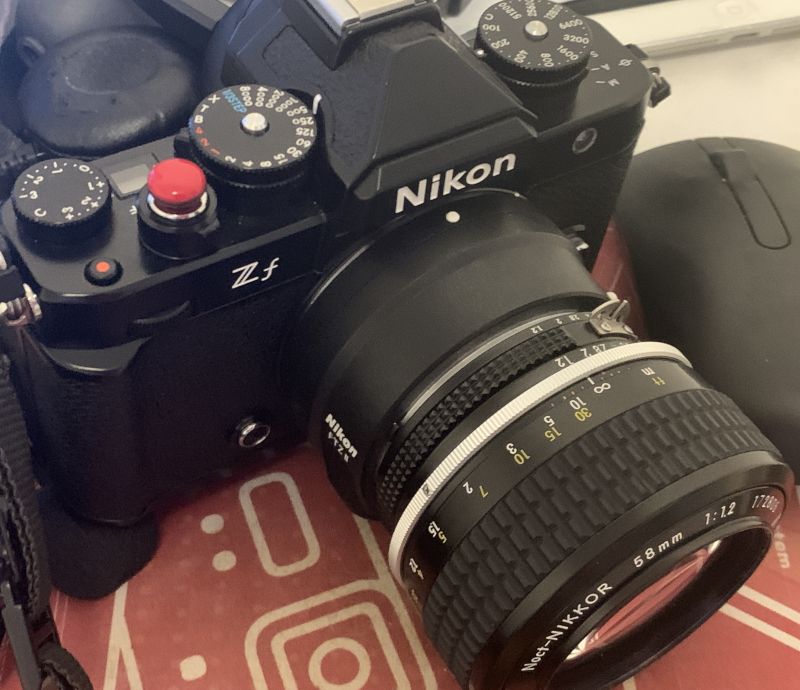
The Nikon Zf is great if you want to shoot with a mirrorless camera. The manual controls help give you a nostalgic experience as if shooting with the film camera except that the aperture ring won’t communicate with the camera. This means that your view gets a bit darker (and noisier) as you stop the iris down because it has to boost the image in order to compensate for the smaller aperture. The biggest merit of this setup is you’re able to magnify your view, enabling you to focus more precisely. If I’m able to shoot it like a DSLR where the aperture remains open until it’s time to expose the picture, this will make it the perfect camera for me.
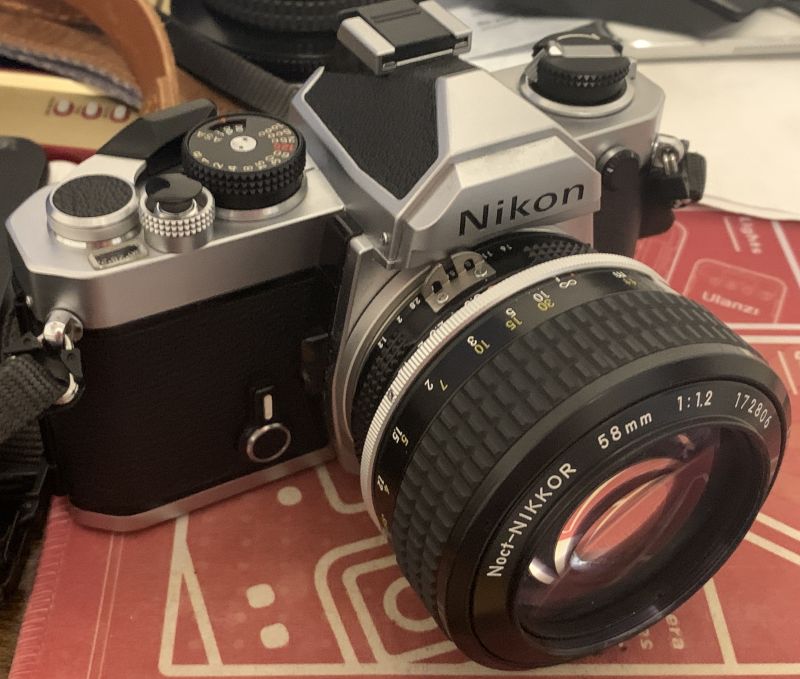
Of course, shooting with a film camera like this Nikon FM is way to go if you are a purist. Nothing will ever replace the feeling of shooting with a (manual) film camera.
I won’t be doing any breakdowns like I usually do since you can read the Noct-Nikkor 58mm f/1.2 Ai-S article instead. They’re the same optically so what is written there is also applicable here, no need to repeat myself. But, I will show you some sample photos to give you guys a preview. Along with that I will be giving commentaries about how different it will be when shooting this using a mirrorless camera compared to shooting it with a DSLR.
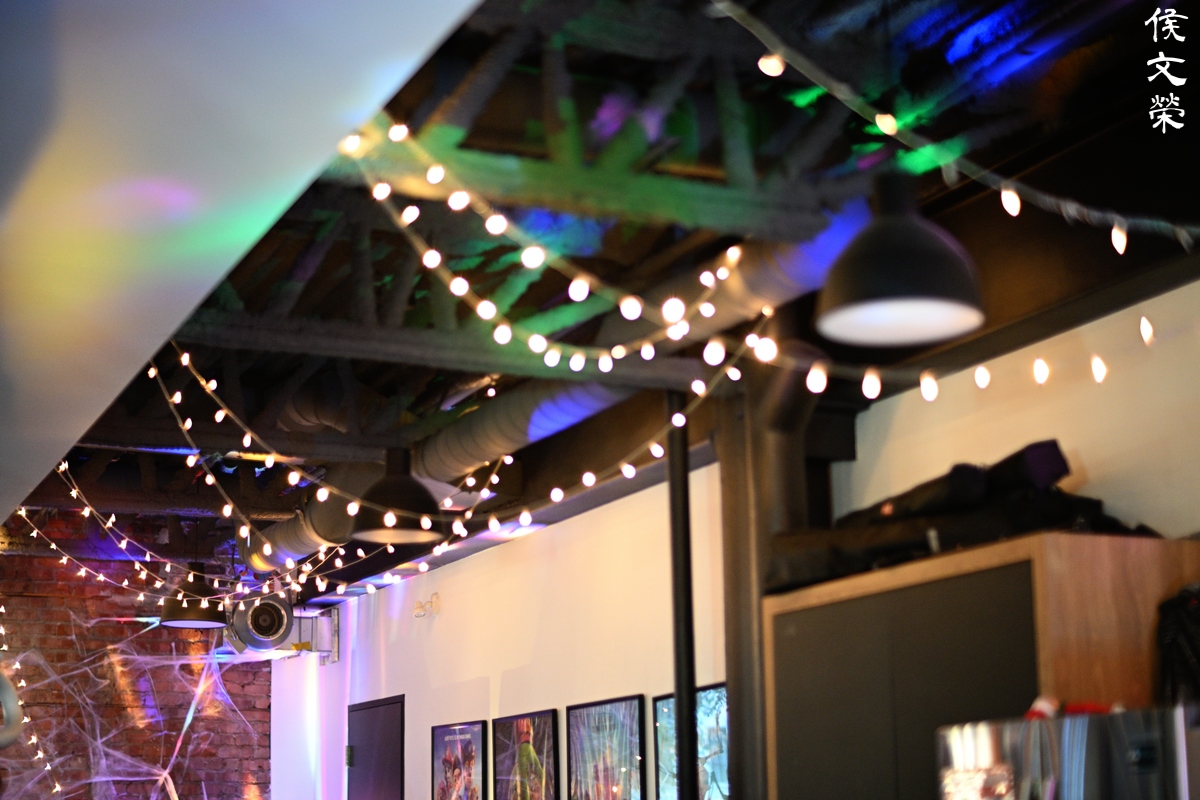
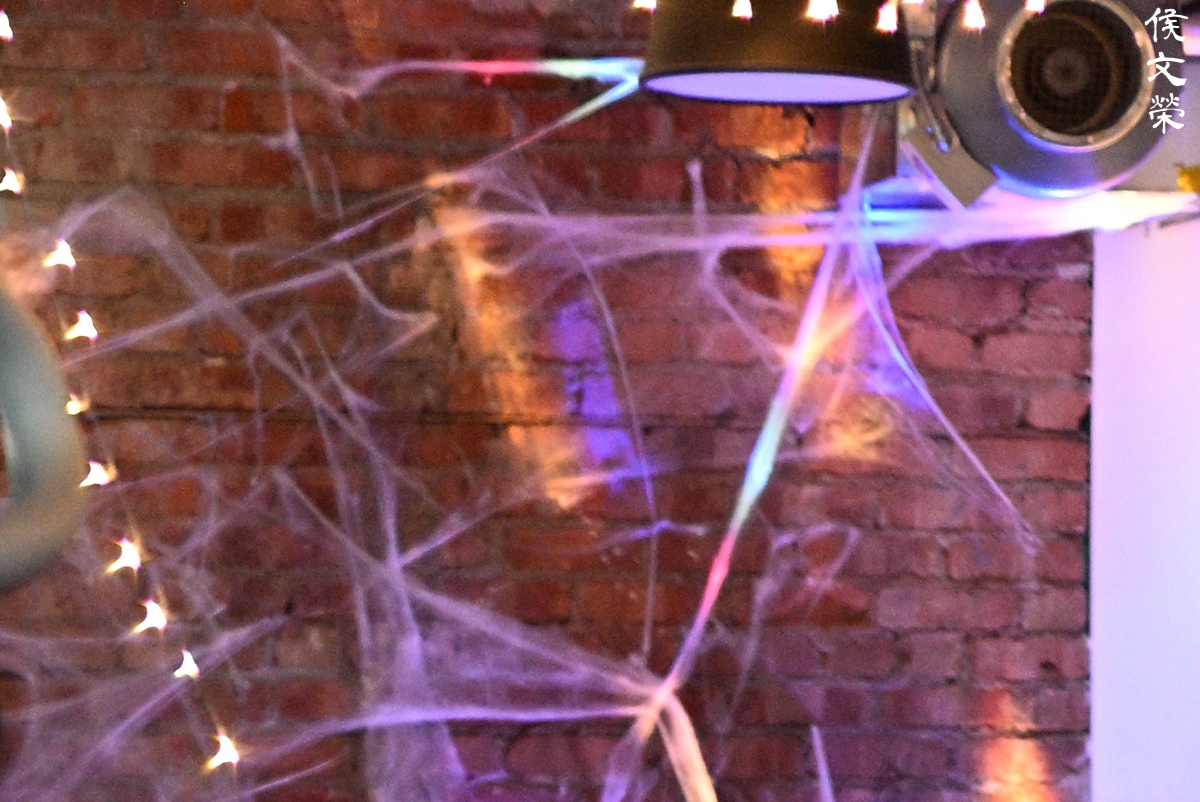
(Click to expand)
This lens was made for the correction of coma, while it’s still there the effect is greatly diminished, it’s 1-2 stops better than usual.
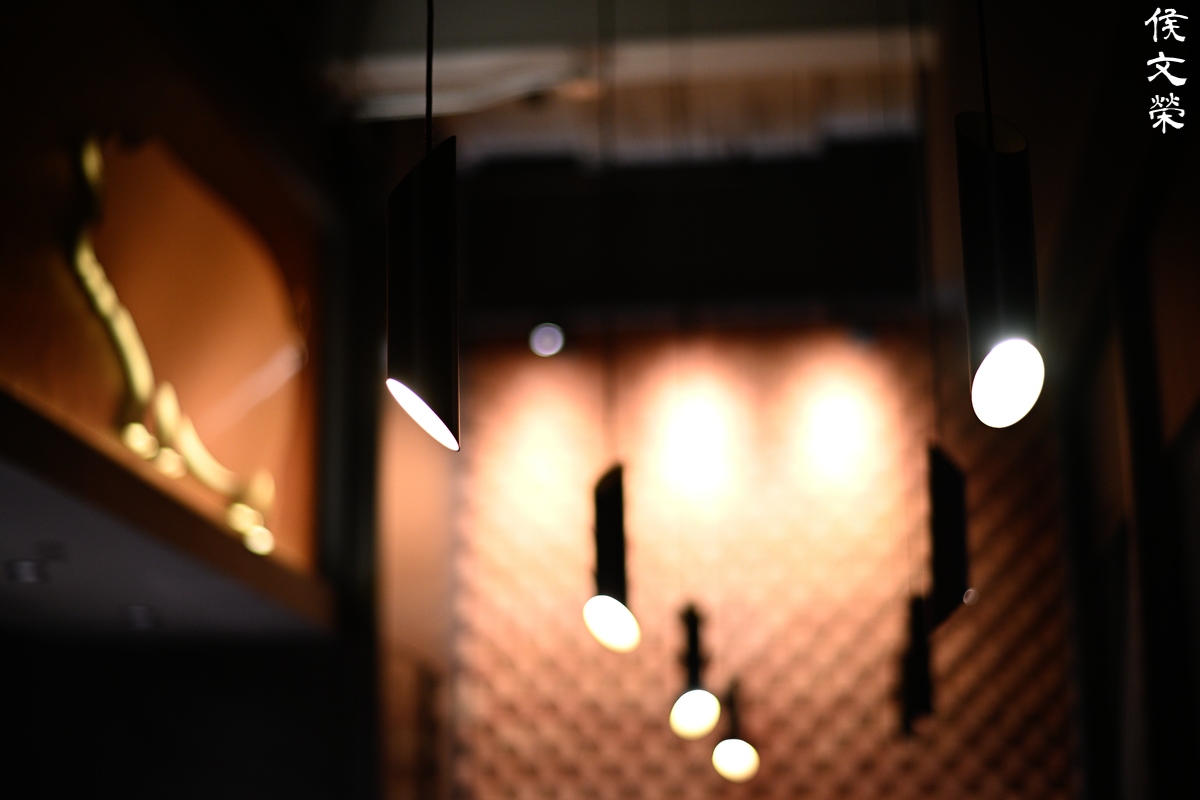
This is how thin the depth-of-field is when shooting wide open even at moderate distances. In this picture, the closest lamp is the one in focus. While this can easily be achieved with similar lenses, won’t be able to get something as good as this when shooting at f/1.2 or somewhere around that. This is true at least for a long time until more recent advances in optical engineering enabled it to be rivaled or exceeded.

This is how it looks like when shooting at something that is further back into the frame. You can use it for creative license, which allow you to shoot portraits that looks like it was taken with an 85mm lens but with the compression (or lack of it) of a 58mm lens.

The shallow depth-of-field could work against you if you’re not careful especially if your subject is near. This was taken near the minimum focusing distance and I had to take a few shots to make sure I got at least one that’s focused. There’s a lot of room for creativity from this lens.

Here we are with miss Audrey to help us illustrate how it looks like when used for portraiture. While 58mm works it’s kind of wide for this kind of application, you will want a flatter perspective in general so and 85mm lens works better but don’t let that stop you! I have shot similar photos that works with a 50mm lens so it will all depend on your vision.
It’s also important to note that even with a cooperative subject it’s difficult to nail the focus perfectly because the focus peaking can deceive you into thinking that what you want is focused perfectly when in fact it’s off by a bit specially if you’re shooting with the iris stopped-down. This is one of the things that I dislike with mirrorless cameras. The magnifier helps but it’s more of a distraction more than anything since you’re spending more time trying to focus with it rather than thinking of creative things to do.

It helps to have the face of your subject a bit further from the background or whatever is immediately behind since the separation will help you judge your focus a lot better.
Shooting with a mirrorless camera won’t allow you the luxury of having an automatic aperture which means that you view with the iris stopped down to the actual settings as you would make an exposure with it. That makes it difficult to judge your focus since it’s going to harder to determine what’s focused as the depth-of-field is wider. This is the only downside of shooting with a mirrorless camera as far as focusing is concerned. The convenient focus confirmation dot is also absent or at least not as handy, you feel like you’re handicapped. What’s even more annoying is you’re looking at a tiny television screen through an orifice, it feels unnatural, it makes my eyes tired, too.
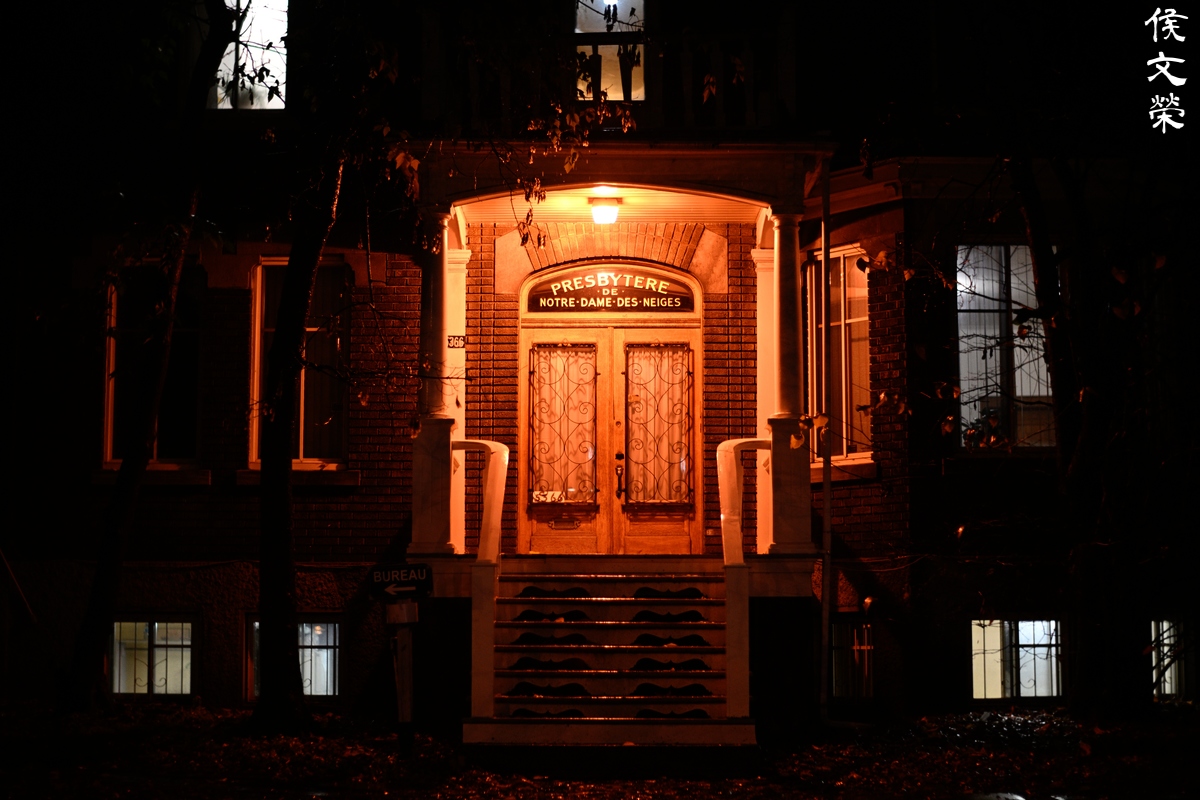
It won’t keep your straight lines perfectly straight as it has a little bit of distortion but it’s not so much of a problem to prevent you from taking beautiful photos of architecture.
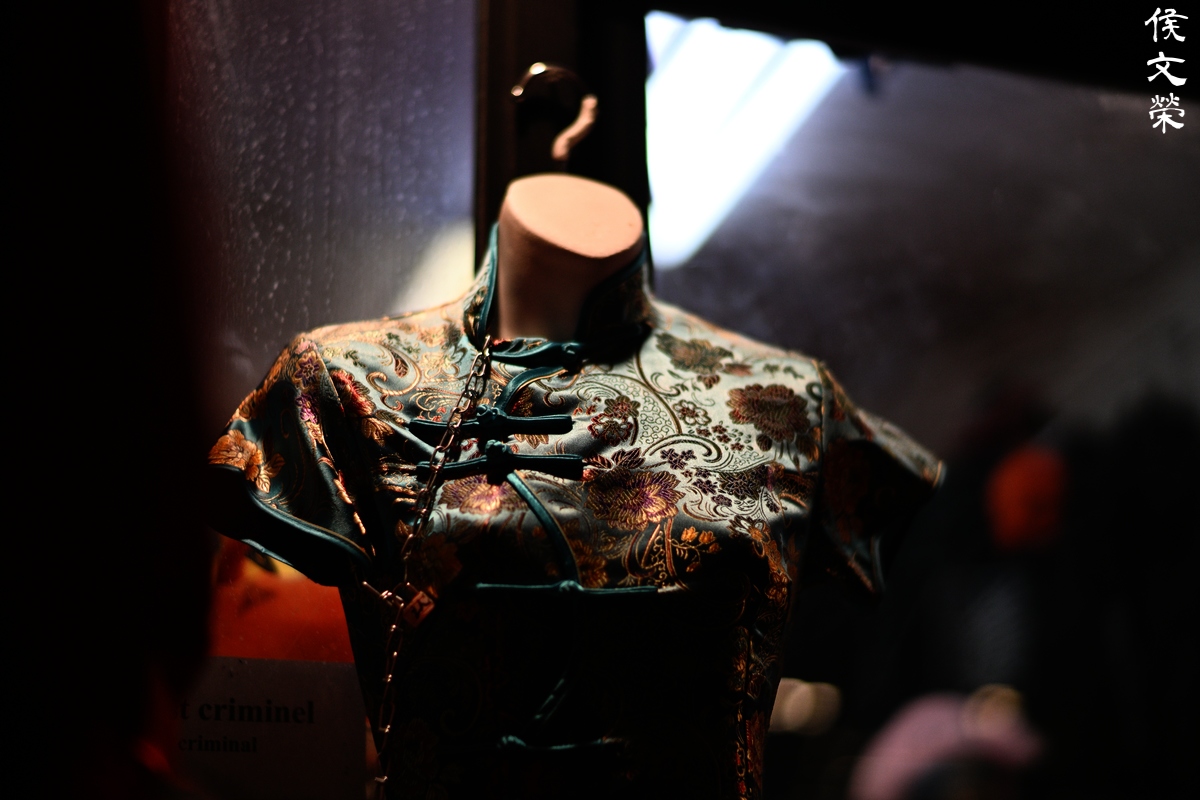
One of the biggest appeal of shooting with this lens is its ability to capture sharp photos even at f/1.2. It’s not obvious here because of the jpeg compression but the center looks great at this distance.

Not only is it sharp at f/1.2 it also has enough resolving power so you’re able to get crisp details not only at the center but also in the areas surrounding it.

The resolution is insanely good at f/1.2 that it’s able to sustain this much level of detail. This is a tight crop of the center, around 100%. I don’t recall my Noct-Nikkor 58mm f/1.2 Ai-S performing this good, maybe I got a better copy this time or shooting with a mirrorless camera makes focusing more precise.

Here’s a more practical application for the ability to resolve small details at f/1.2, I wasn’t able to get close to the drag queen so I just cropped the hell out of the picture just to get a usable frame. This is probably around 25% of the original resolution. Since it’s difficult to nail your focus perfectly with a manual lens of this type, moving subjects will be challenging but not impossible.

Its ability to blur out anything that is not in focus comes in handy when you want to isolate your subject from a busy background. I do not believe this lens was originally made for this type of application but it’s probably something that the designer was thinking about when he was calculating it.

Of course, it performs excellently when shooting in the dark since that’s the intended use case for it. For a long time, it has been the best that Nikon has for this type of photography. I’d even go so far as say it’s better at shooting in the dark than on a sunny day, it just works differently as per my experience with my Noct-Nikkor 58mm f/1.2 Ai-S which is optically identical to this one.

Chinese Jesus never looked this good. This photo is insanely sharp when viewed with a large monitor. It’s the best “standard” lens that I have for shooting indoors.
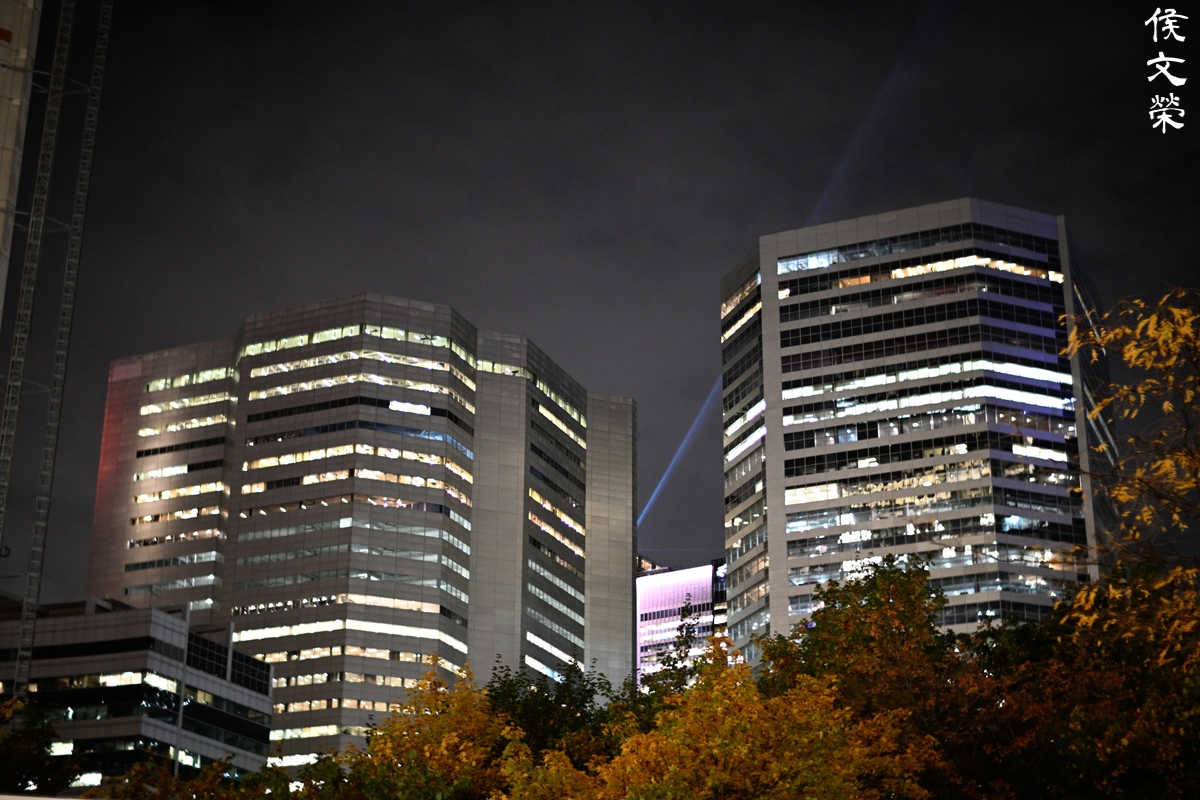
Distant objects are also rendered beautifully but my copy performs slightly better with closer distances. I am not saying that it’s crap at infinity, it’s still great and you will only notice the difference at 1:1.
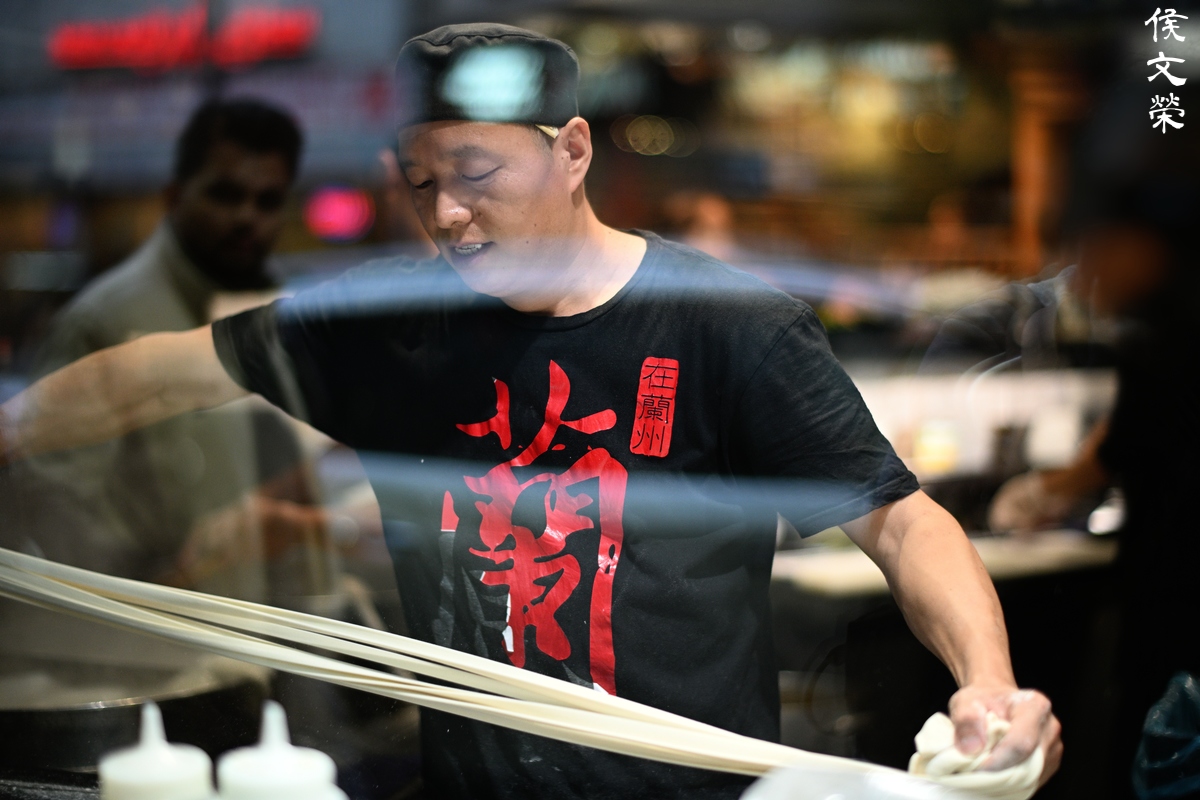



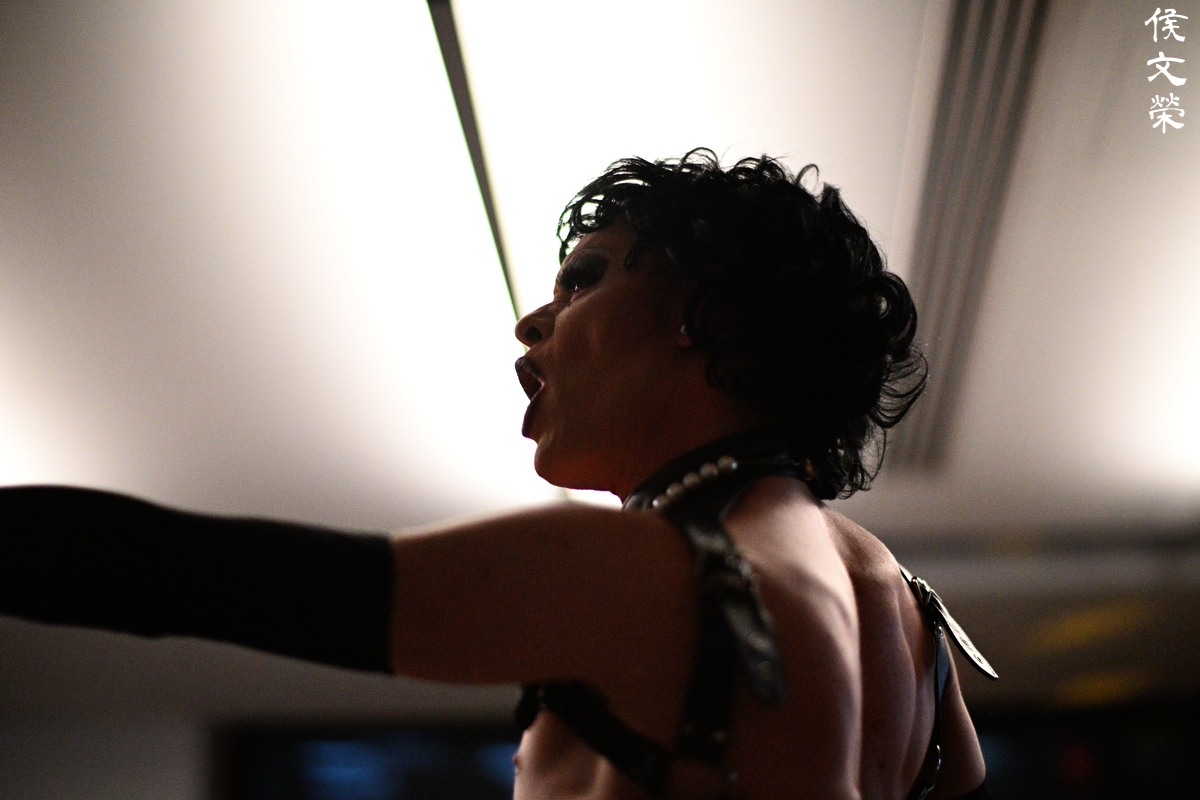
(Click to expand)
Here are more pictures for you to understand how will it performs. My older article about the Noct-Nikkor 58mm f/1.2 Ai-S should be enough to give you a better idea of how it looks like in several scenarios, even when shooting with film. I thought that I knew this lens completely but this copy definitely showed me its true abilities! This is one of the most formidable lenses that I’ve ever used, it deserves everything about it being a legendary lens.
If already have the Noct-Nikkor 58mm f/1.2 Ai-S then there’s no need to get this one unless you’re just collecting. Both aren’t cheap and on the slightly rare side since people usually don’t let go of their lenses that often, it’s one of those things that you keep for the rest of your life and maybe even give them to your kids as heirloom when it’s time to say goodbye. These are usually rarer for the obvious reason because the Noct-Nikkor 58mm f/1.2 Ai-S was sold longer so it may be slightly more expensive. One can buy them for just under $2,000.00 a decade or more ago but the prices have almost doubled in recent years but you’re still able to get one for a bargain if you’re patient or lucky, I was both. I paid attention to the same listing for 2 years and waited for it to go down in price and then I offered the seller something reasonable and I was able to get this one for a reasonable price and I am happy because it’s in very good shape. If you’re looking for one be sure that the iris works perfectly, that’s one of the things that’s fussy about this lens because the coupling arms and levers inside can easily get bent. It’s easy to fix if you know what you’re doing. The optics shouldn’t be dirty, damaged, nor infected with fungus! I have never heard of balsam separation developing with these lenses but you should make sure that yours doesn’t have it. The focusing ring should feel smooth when turned and the aperture ring should be precise. It’s not unusual to have the aperture forming a sightly irregular shape but if it looks abnormal, skip it! Take it out for a shoot and see if it’s able to focus perfectly at infinity. Trying to fix the focus will be problematic if the helicoids aren’t in the right configuration. It’s just like any other lens, test it first before you buy and make sure that you’re able to return it if something isn’t right. I hope you are able to get the lens of your dreams, happy hunting!
Before We Begin:
If this is your first attempt at repairing a lens, I suggest that you see my previous posts regarding screws & drivers, grease and other things. Also read what I wrote about the tools that you’ll need.
I suggest that you read these primers before you begin:
- Essential tools
- Best practices 1
- Best practices 2
- Best practices 3
- Ai conversion
- Working with Helicoids
Reading these should lessen the chance of ruining your lens. Before opening up anything, always look for other people who have done so on the internet. Information is vague and scattered but you can still find some information if you search carefully.
For more advanced topics, you can read my fungus removal article. It has a lot of useful information, it will be beneficial for you to read this. I also recommend that you read the working with helicoids article so you will not get stuck because you couldn’t reassemble the helicoids back properly.
Disassembly:
This is an interesting lens to take apart just because there’s some differences in its construction that you won’t find with the newer version along with other Nikkors of similar vintage and type. It was done because there’s not a lot of space and everything needs to fit inside a barrel that can be reasonably held. While it’s not complicated to take apart at all, care has to be made when taking apart the helicoids since it has 2 threads. This is an expensive lens so don’t work on it if you’re not comfortable with repairs, go and find an expert and show him this article so he will know how to service it the right way.
Since this lens seem to have been serviced not long ago as apparent from the scarred screws and clean glass I won’t go into taking the objective apart.
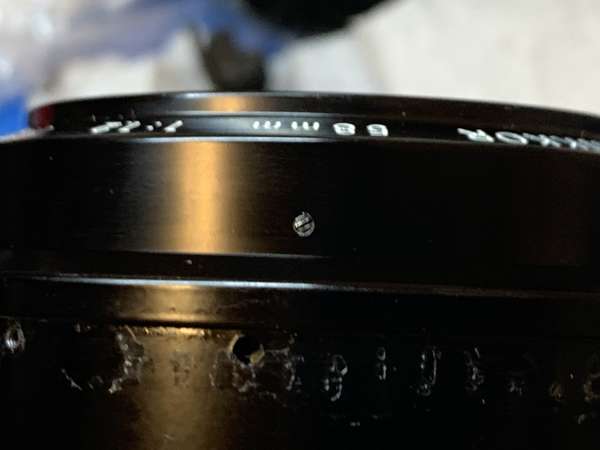
Turn the focusing ring until you’re able to access this screw, extract it carefully. If it’s stuck, just apply solvents until the seal is soft enough for you to proceed.
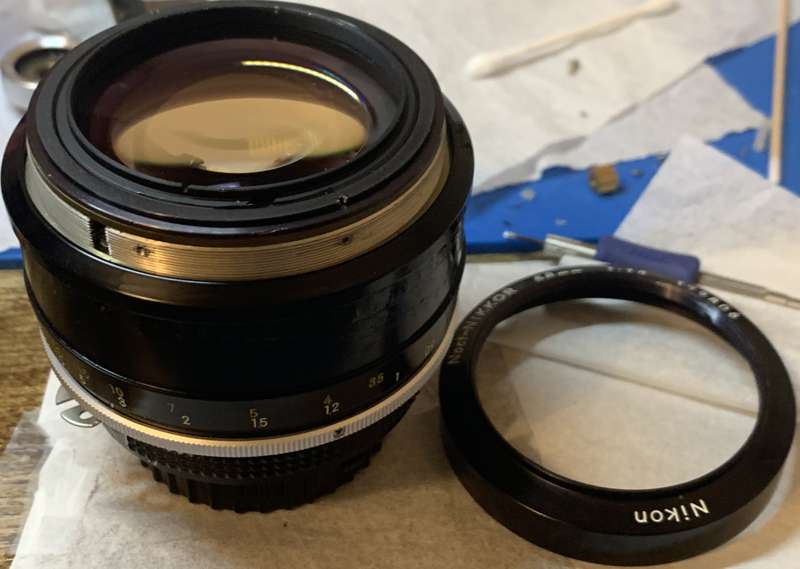
Turn the front barrel until it’s out. At this point, the objective is loose so be careful!
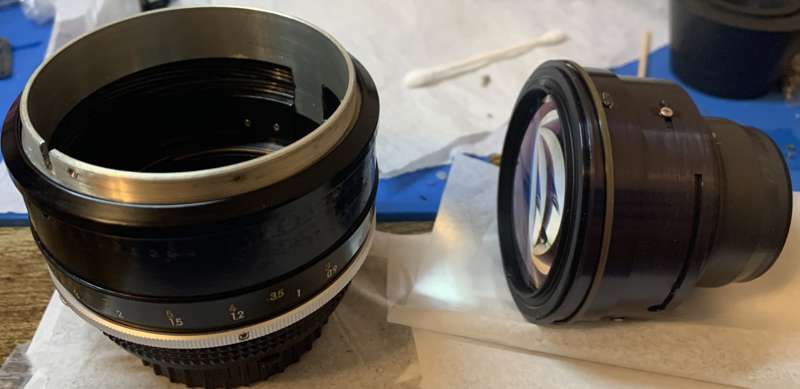
Pull the objective off carefully and keep it in a safe place.
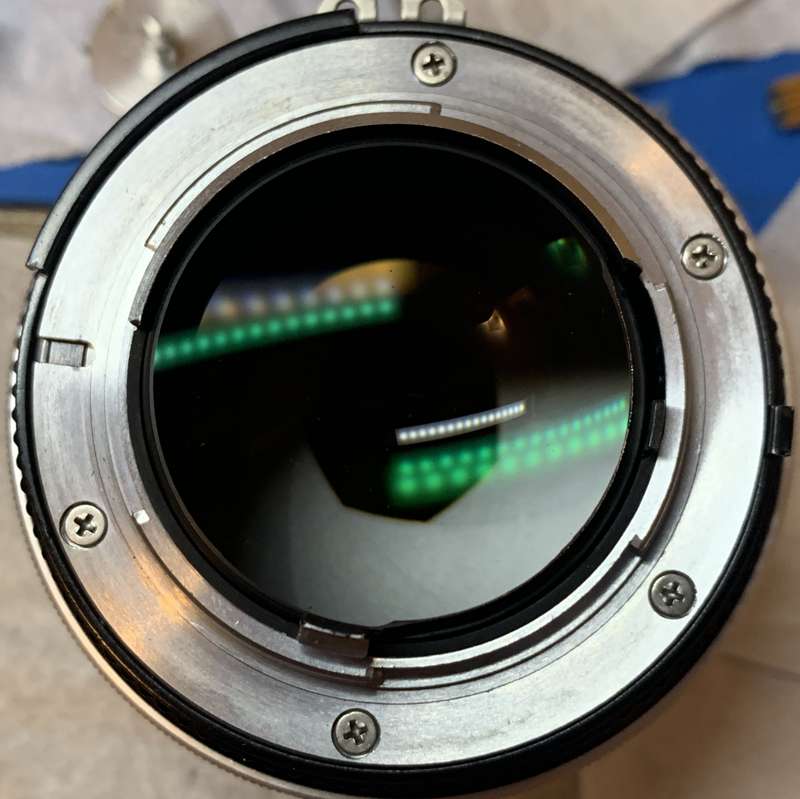
Carefully remove the baffle with your fingers. Next, extract the bayonet screws. Read my article on how to remove screws so you will know how to deal with these. Many people strip them because they lack the tool and savoir-faire to tackle this.
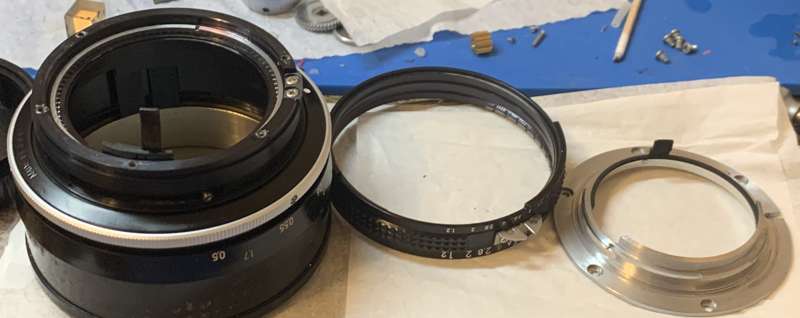
Carefully remove the mount and the aperture ring.
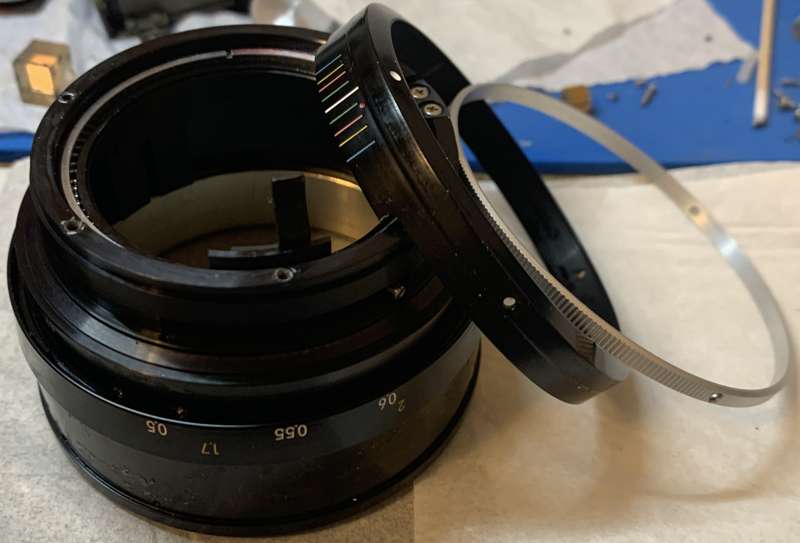
Use the correct sized driver and to extract the knurled grip while being careful not to scratch it. Pull it off together with the sleeve. The aluminum part is soft and thin so be careful when handling it as it could bend and stay permanently warped!
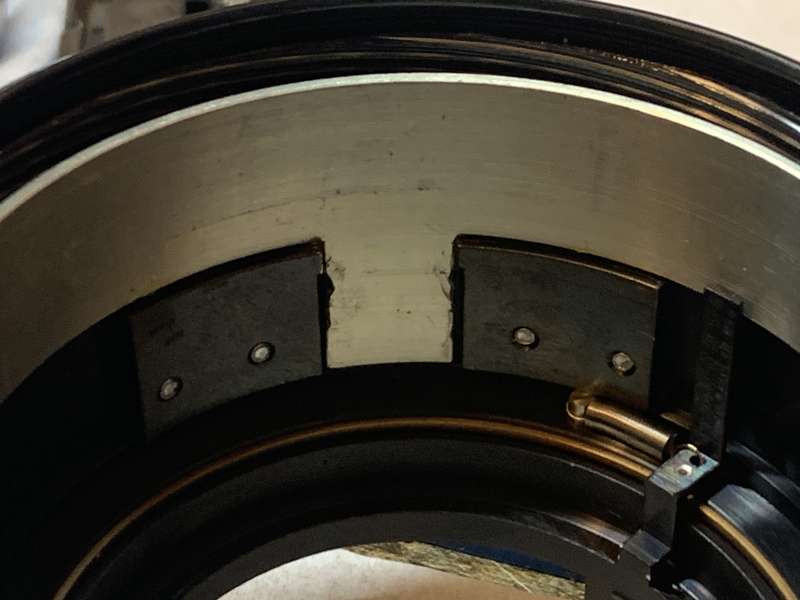
The sleeve restricts the range of the focusing ring so you’re able to collapse it all the way. This is how mine looks like, be sure that you take enough notes because you should be able to reproduce this later. It’s easy to mess this up later as I soon found out myself!
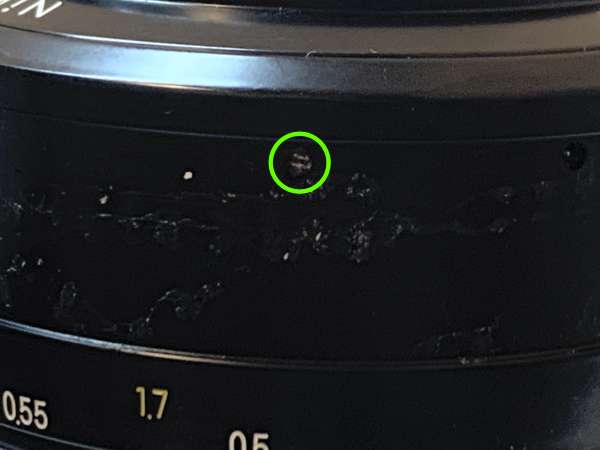
Carefully remove the rubber grip by running a thin toothpick underneath it then pulling it off gently like a sore foreskin. Look for these screws and extract all 3 of them. They’re for securing the focusing ring as well as allowing you to adjust it so the numbers all align and agree with how the lens focuses.
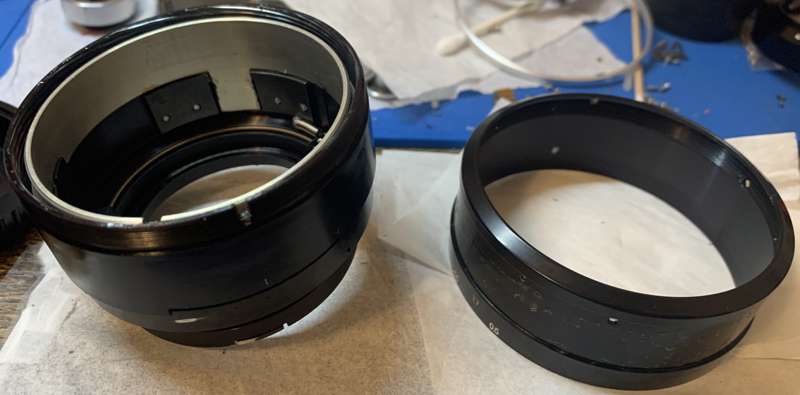
Turn the focusing ring until it comes off. Now that I thought about it, it’s probably better to do this earlier.
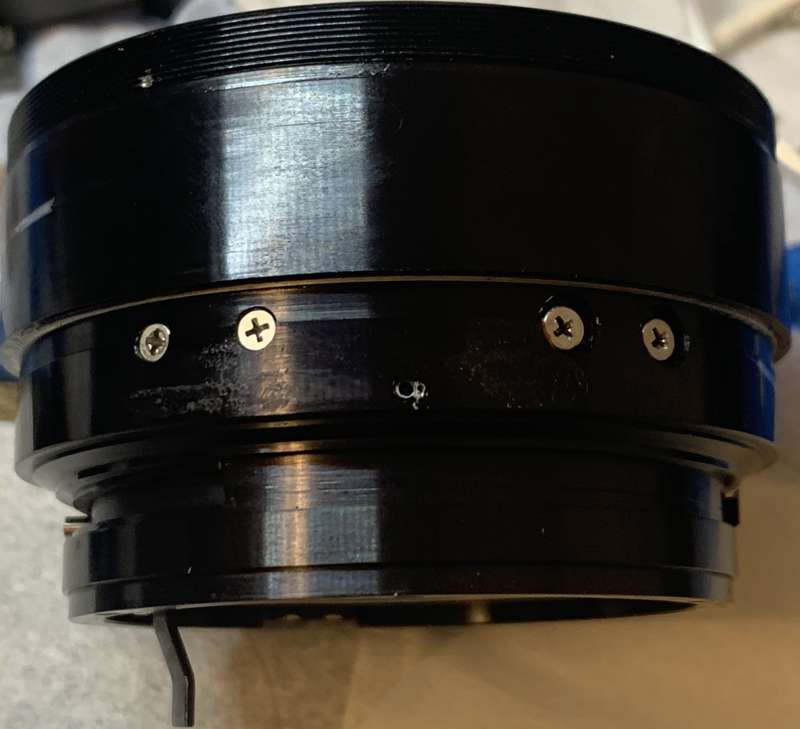
These screws secure the helicoid keys, they’re not at all identical since some of them are countersunk. Keep that in mind and take notes and mark the helicoid keys so you’ll know which one came from where. Extract these screws to remove the keys.
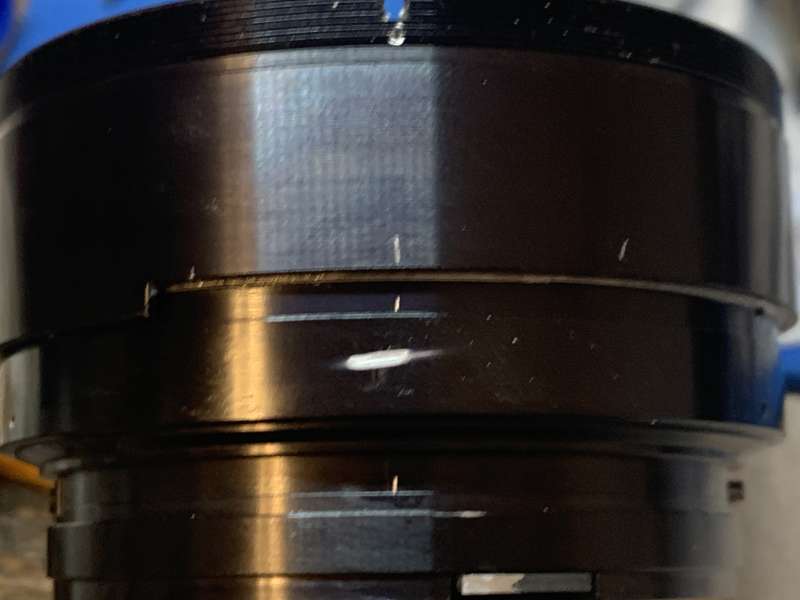
As usual, make small marks so you’ll know how everything should be while the barrel is collapsed all the way through.
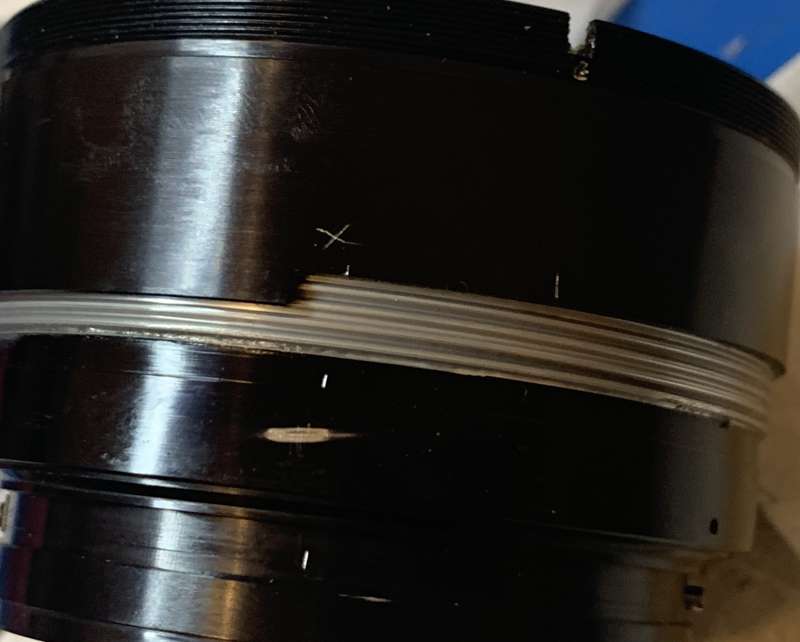
Unscrew the main helicoid until it’s off. Don’t forget to mark where they’ve parted since it’s also the same spot where these should mate. Many people forget to do this so they get stuck guessing where these should mate. To prevent this from happening read my article about servicing helicoids and follow my guide to the best of your ability. It has a double thread which makes it even harder to figure out because you’re not able to see the both threads at the same time, you’ll get used to it.
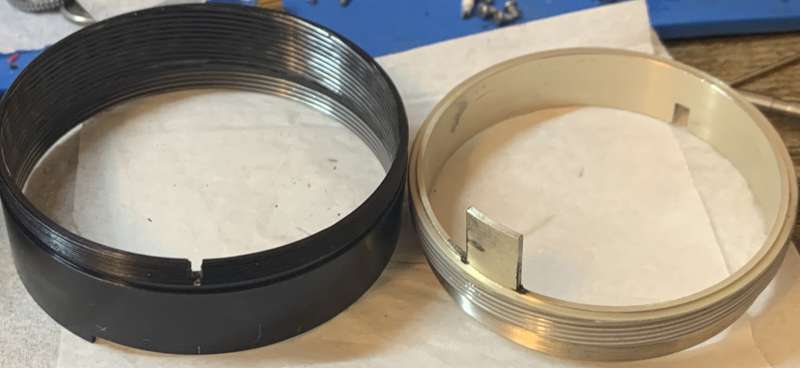
Do the same for the inner helicoid and be specially careful because this one is tricky, it’s easy to miss the correct entry point of the helicoid and you’re going to end up guessing the correct one later!
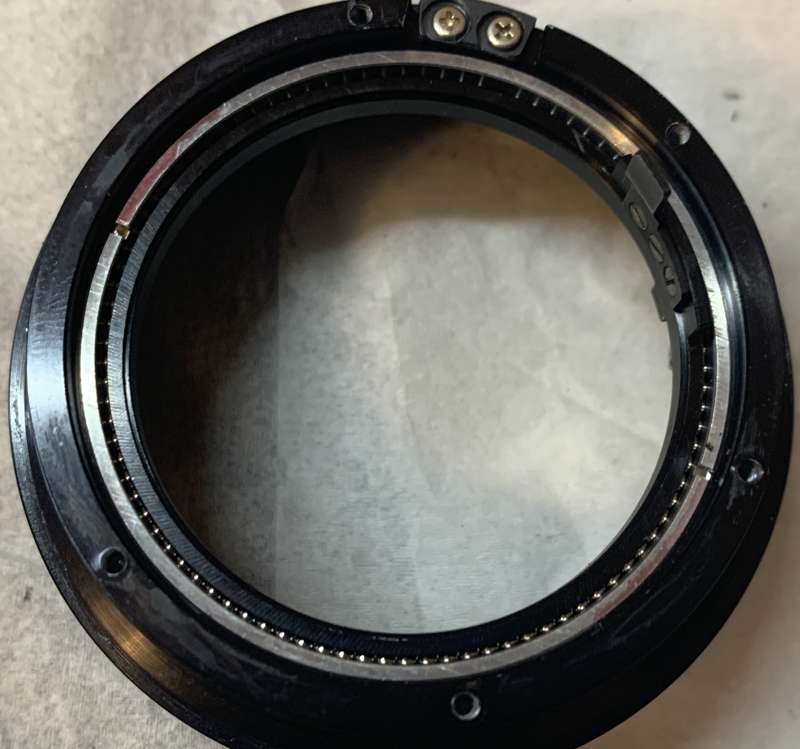
Only do this if you’re crazy or if the lens is absolutely filthy. The bearing balls are secured by this retainer, removing it will let all of the tiny balls loose and scatter all over the floor so only do this on top of a container.
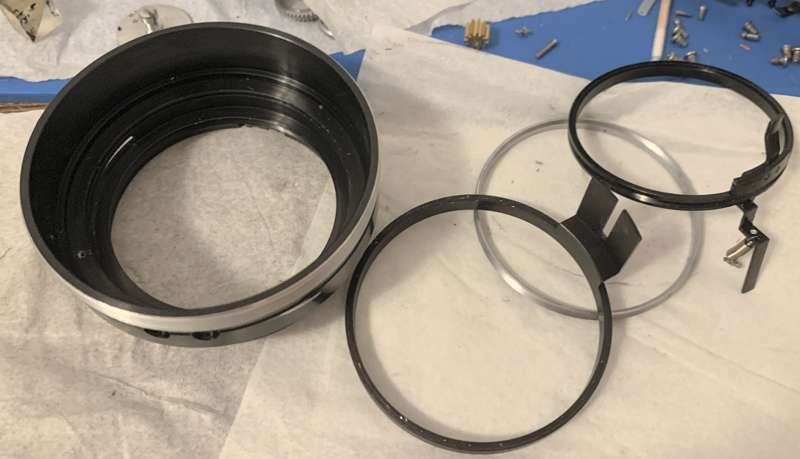
This is the lower barrel with everything disassembled. I wanted to clean everything perfectly so I took it all apart. You normally should not have to go this far but I am the ultimate masochist and I enjoy being slapped by a mistress in leather while I put all of the tiny bearing balls back by hand.
If your lens has fungus, read my article on how to clean lens fungus, just make sure that you dilute it with distilled water so it’s not going to be too strong as it may damage the coating.
I cleaned all of the big parts with a strong toilet cleanser – the grainier, the better. I scrubbed everything using a brush then rinsed them all very well with hot water before making a final rinse with alcohol to remove any remaining residue. Pay special attention when cleaning the helicoids or the other threads, they are fine in some places and they can be caked with gunk, using a toothpick helps here for stubborn deposits. Dry them well before you continue. When lubricating, be sure not to apply too much, all you will need is a thin film of fresh grease. Combine the helicoids then exercise them by turning several times, it will ensure that the grease is applied evenly then wipe off any excess oil. If you have applied too much grease it will settle in the iris mechanism eventually, necessitating the need to open it again just to give everything another overhaul.
Conclusion:
What a pain, most of the time spent on this things was putting back those tiny balls, was it worth all it? I can’t imagine cleaning the helicoids without removing everything, it’s just not right. I wasn’t able to put everything back and I have lost a dozen or so but I am able to get it done since the ring is only suspended by these tiny bearing balls. I am just glad that I got everything done so I’m able to show you what’s inside.
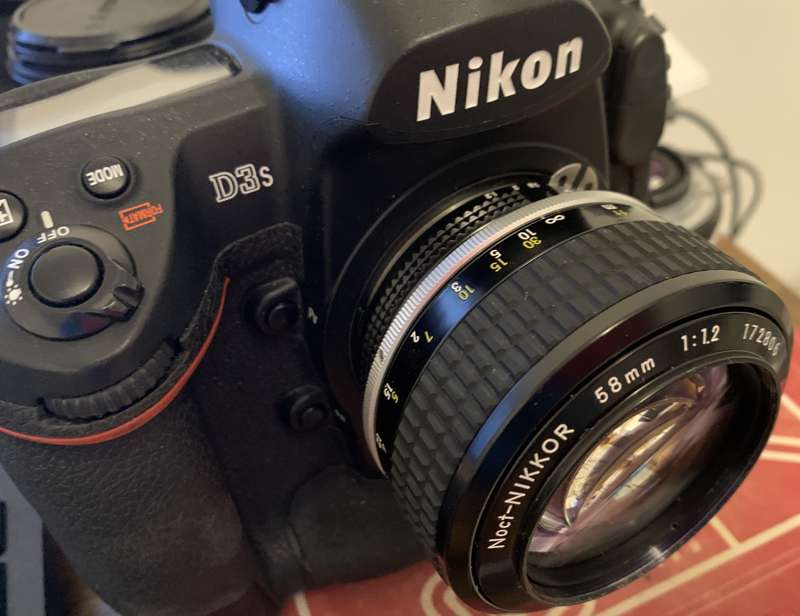
This is one of those things that you will only buy once and cherish for the rest of your life, you only live once so why not take it to the limit? Who cares what the wife thinks? Just tell her that the stupid designer bags costs just as much and all they do is carry her trinkets, that’s the manliest clap-back you will ever give.
And that’s it! Another legendary lens covered nowhere else but here. If you like my work, please consider leaving me a little tip. I am very thankful for your help since it enables me to offset the cost of maintaining this website. The cost of film isn’t cheap and it is even worse when it comes to having them processed and scanned, it’s unbelievable how expensive this hobby has become! The people that say shooting film is infinitely cheaper are living in 2007! Our humble blog is not so humble anymore since we’re now the default suggestion in any search engine, from a little blog that helped people by giving advice on tools and grease to the large database that contains hundreds of repair articles, that’s the collective effort of us all! Thank you everyone for your support, come back again for more articles and jokes. The next article will be another first and you’re only going to see that here so stay tuned!
Help Support this Blog:
Maintaining this site requires resources and a lot of time. If you think that it has helped you or you want to show your support by helping with the site’s upkeep, you can make a small donation to my paypal.com at richardHaw888@gmail.com. Money isn’t my prime motivation for this blog, I believe I have enough to run this myself but you can help me make this site grow.
Leave me some tip?
Thank you very much for your continued support!
$2.00
Helping support this site will ensure that it will be kept going as long as I have the time and energy for this. I’d appreciate it if you just leave out your name or details like your country’s name or other info so that the donations will totally be anonymous. This is a labor of love and I intend to keep it that way for as long as I can. Ric.


Sep 02, 2026 @ 12:27:58
It was
Sep 02, 2026 @ 12:35:05
It was a pleasure to read the article on repair of this gem. I am a lucky owner of both the Ai and Ai-S version and as mentioned I enjoy and use the Ai version rather than the Ai-S ( which is the nocf batch ! ) and therefore I consider that as a collectors item. One difference I notice is that there is a tiny free play with a hard end feel ( less than 1mm ) of the focus ring before the helicoid is engaged in the Ai version. I wonder if that is normal?
Sep 24, 2026 @ 15:49:12
Hello everyone!
Thank you very much for the review and for your work.
I would like to share how I use the Noct with all the functions that my mirrorless Zf camera offers, including the eye focus confirmation feature.
You will need:
· A Nikon FTZ or FTZII adapter (I use the FTZII, it’s more compact).
· A chip for pairing Nikon F lenses with the camera
· A Nikon D digital SLR camera (this may not be necessary, I’ll explain below)
· A set of small screwdrivers, thin wires, and basic soldering skills. The last item can be replaced by a visit to any phone repair shop, if you can explain to them what needs to be done.
Attention! After the modifications, the FTZ adapter can no longer be used with Nikon F lenses that have a contact group. But you can easily revert everything back if you don’t like it.
The chip with contacts can only be used once; it cannot be restored.
Now that I’ve warned you about the consequences, let’s move on to what needs to be done.
As you know, you couldn’t use a contact chip with your 50 1.2, 55 1.2, and 58 1.2 lenses on DSLR cameras because of the huge rear lens. You could of course file down the lens, but you risked losing the entire lens, and it wasn’t worth it.
With the FTZ adapter, you no longer need to place the chip on the lens itself! You can place it inside the adapter (there’s enough room there). All that remains is to connect the chip’s contacts to the adapter’s contacts using wires and a soldering iron. This is not a complicated operation.
You need the contacts that are on the adapter’s flex cable, on the F-mount side, on the back side of the connector – they are large and convenient to solder to.
I used the Russian Lushnikov chip, but I know there are Chinese equivalents.
I was never able to enter the chip’s settings from a Nikon Z camera. For this you need a Nikon D camera and a lens without contacts, or a macro ring, or a teleconverter, or another adapter to which you can temporarily glue the chip in order to pair it with your camera and set the correct aperture and focal length parameters.
In our case, this is a focal length of 58mm, a maximum aperture of 1.2, and selecting focus-priority shutter release. For how to flash the chip, see the chip’s instructions.
Then you need to solder one wire to each contact of the chip. Then you need to carefully disassemble the FTZ adapter, detach the contact pad together with the flex cable, and solder the other ends of these wires to it. Insulate the chip (I used heat shrink) and reassemble everything in reverse order, placing the chip inside the adapter’s body (next to the main board there is enough room).
If you did everything correctly, your FTZ adapter will now always be recognized by the camera as a Nikon 58 1.2.
I don’t think the cost of an additional adapter, especially a used one, matters against the cost of the Noct.
You will get:
· correct data recording in Exif
· the ability to control the aperture from the camera, as you do on any modern lens
· the ability to focus accurately on the eye, if your camera supports this function
· the ability to focus at fully open aperture (actually this is not quite true, because the aperture control logic on Nikon Z is somewhat different, but almost so).
I set the camera to eye-priority shutter release and became happy with my Noct and the modified adapter.
I simply compose the shot, press the shutter button, and turn the focus ring until the camera itself recognizes the eye as in focus and releases the shutter. Sometimes I don’t turn the focus ring but simply step closer or step back a little, and the shutter will still fire when the eye is in focus. By the way, this also works if a person is walking or running toward you.
I was shooting a children’s party and for every 100 frames, I got about 95 frames usable in terms of sharpness!!! And these are children, who move very fast!
I wish everyone excellent shots with your amazing lenses!
I hope my story will be useful to you; I would have attached photos of what needs to be done, but I don’t know how to insert them into a reply. And such a reply with detailed explanations would have turned out much too long. The main thing is that you now know what can be done and what you can get from it.
Oh yes! I insulated the contacts of the FTZII adapter on the F-mount side, because I don’t want to find out what happens if someone accidentally puts a lens with contacts on this adapter and the camera tries to read two chips at the same time 😛
I dream that Nikon will one day make the same adapter but with an aperture follower. Then I could use all this functionality, but control the aperture with the lens’s native ring. That’s what I really want!
Best wishes, Andrey Gorobets aka Captal