
Hello, everybody! Hello, everybody! Do you know that there are times when doing less is more? There is an old Taoist concept of wuwei (無為) which literally means “doing nothing” in the sense that you’re just waiting for things to unfold on its own. This can sometimes be translated as “inaction” depending on who your reading. Doing nothing does not mean you are lazy, it can mean that you are just waiting for the right time to take action, if any opportunity ever comes at all. The closest thing I could think of is just saying “the kids will be fine” in the anglophone world. Sometimes, doing less or doing nothing is actually doing more. It isn’t risky and you won’t be blamed for anything. This can also be applied to engineering as well and you shall soon see why I said that.
Introduction:
The 1 Nikkor 11-27.5mm f/3.5-5.6 is the predecessor of the 1 Nikkor 10-30mm f/3.5-5.6 VR but it wasn’t produced as much so you don’t see them as much as the latter. As far as I remember, this is the first kit lens for the Nikon 1 system and a cheap one at that. It has quite a following because its simplicity means that there’s less things to break. The lack of vibration reduction means that there are less mechanical parts that move which means that the optics stay in place, resulting in better optical quality even if you are not able to see it without magnification. In this aspect, we can say that “less is more“, or is it? As mentioned, it was replaced by a lens with vibration reduction not long after it was introduced because a kit lens should showcase what a systems is capable of in a small package and a lens without it in the late 2000s to the early 2010s just won’t do.
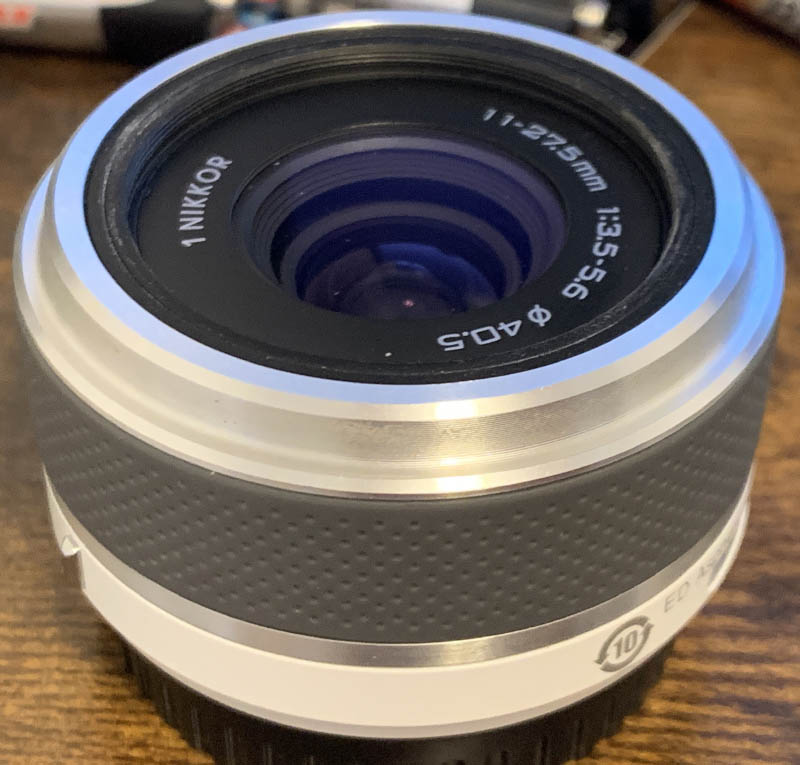
Everything is made up of plastic except for the glass and some of the internal fittings and parts. Despite it being a plastic lens it feels solid in terms of construction as there’s not a lot of play and slop. It’s also very light and compact which makes it ideal for travel and everyday carry. The interface is simplistic because it only has a zoom ring with a lock for you to operate.
It has an 8-elements-in-6-groups design, and quite surprising because it has an ED (Extra-low Dispersion) element as well as an aspherical one incorporated. This makes it a tiny premium lens, pretty impressive for such a cheap and small thing. I am not sure if any of the elements are made of plastic, it’s common to find polymer elements in modern lenses of this class specially if they are of the aspherical type. There’s nothing bad but it’s still something of a turnoff to some people.
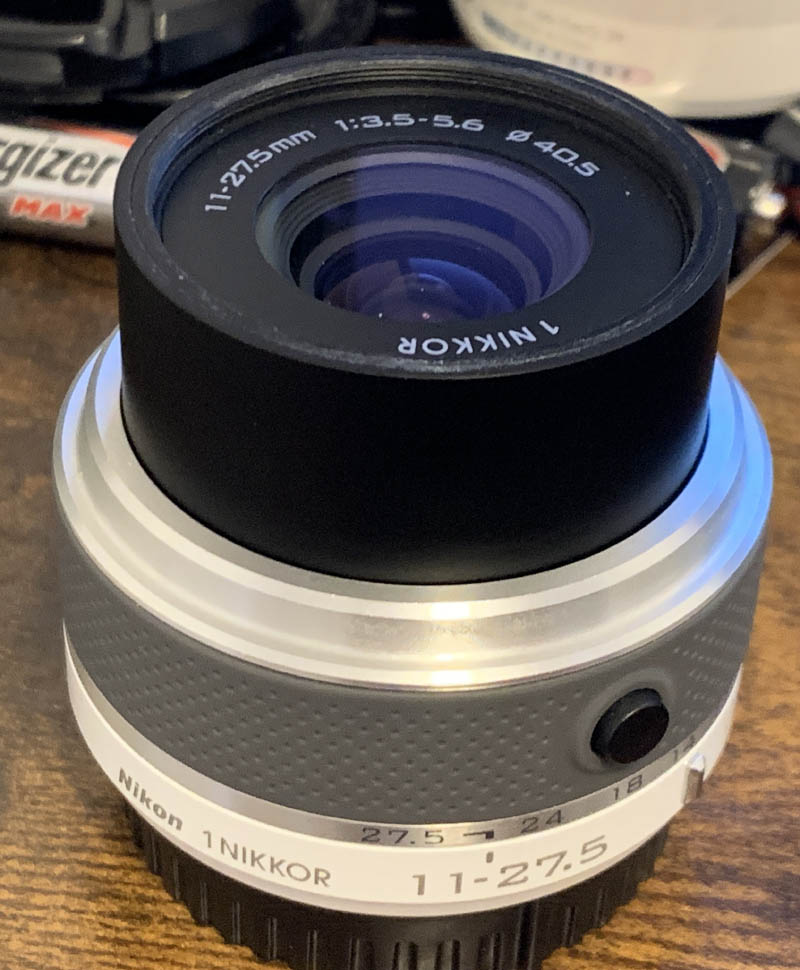
This is how it looks like when fully extended. You must be careful because you can easily damage the lens if you knock it while it’s extended. Things can easily get misaligned or warped because it’s plastic but you will also get some form of assurance because plastic will just bend back into shape, unlike metal which is rigid so it will forever be deformed.
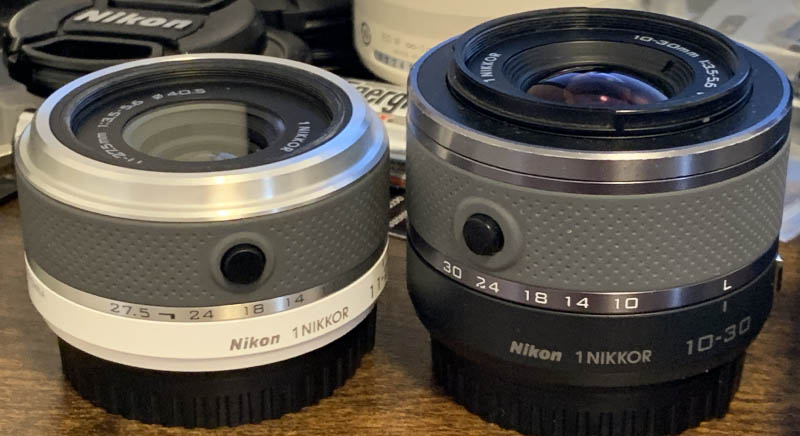
This is how tiny it is compared to the 1 Nikkor 10-30mm f/3.5-5.6 VR. It’s easily the tiniest zoom lens for the Nikon 1 system. It may not see much here in this picture but you can definitely notice the difference when you have these in front of you.
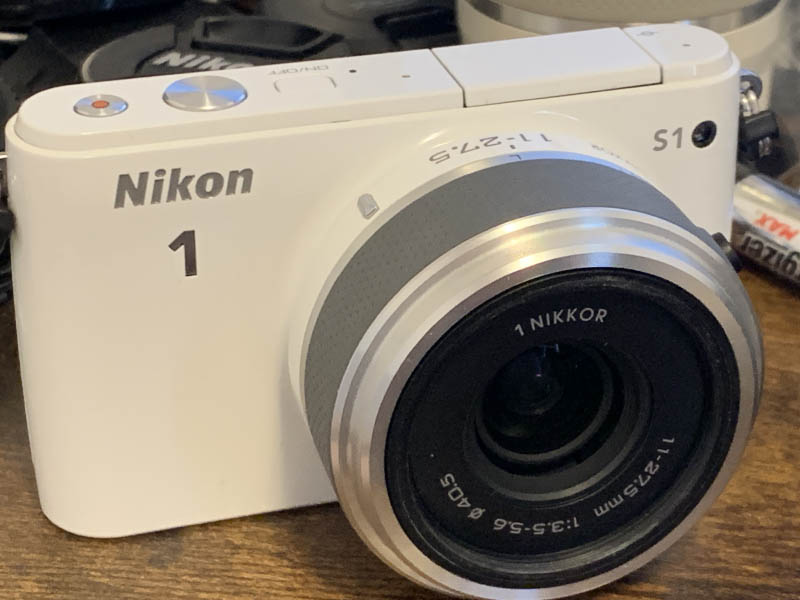
The cheap Nikon 1 S1 is the perfect companion for this lens because it’s small and light. This makes for a great travel setup if you are not fussy about image quality and other things a larger system provides. It is also unassuming and people will think of it as a toy camera. You can put Hello Kitty stickers on it and your setup won’t be taken seriously by people who have nothing better to do.
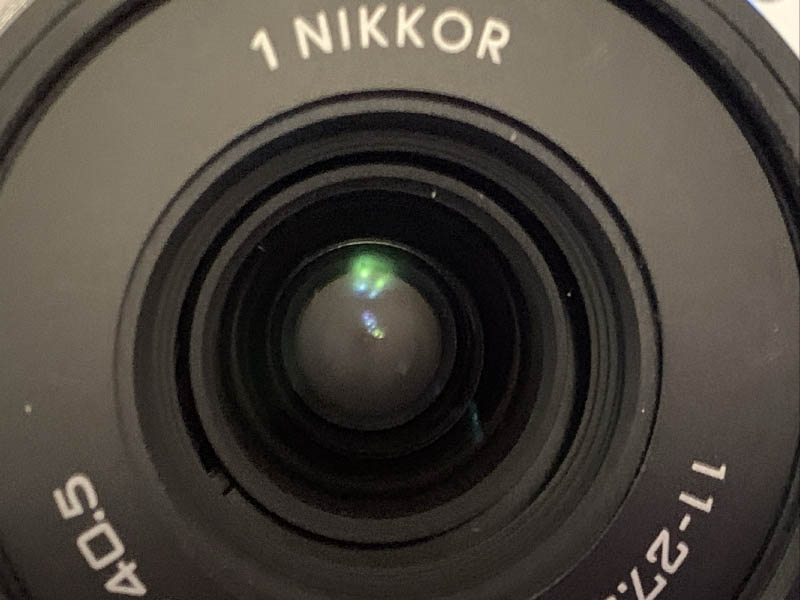
The most common issue with this lens is its faulty aperture. It can be easily seen by turning the camera on and unlocking the lens and observing if the aperture opens or not. Shooting a photo without flash is also going to be an indicator of a faulty aperture mechanism because your photos will always be really dark. It should be done indoors or in a place where there’s no strong lights and by shooting with a low ISO value.
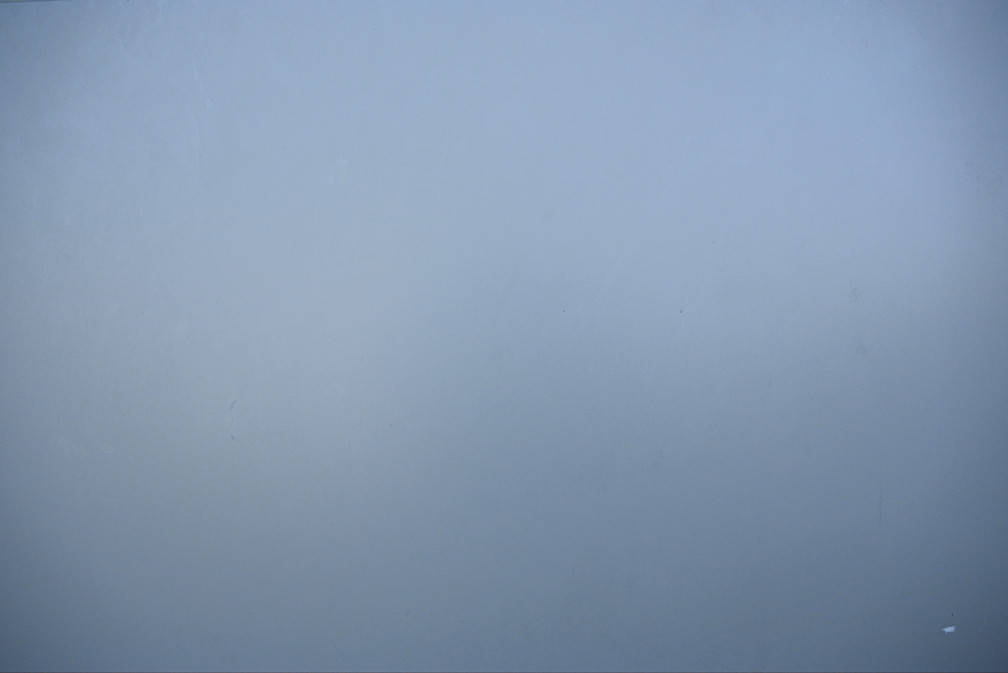
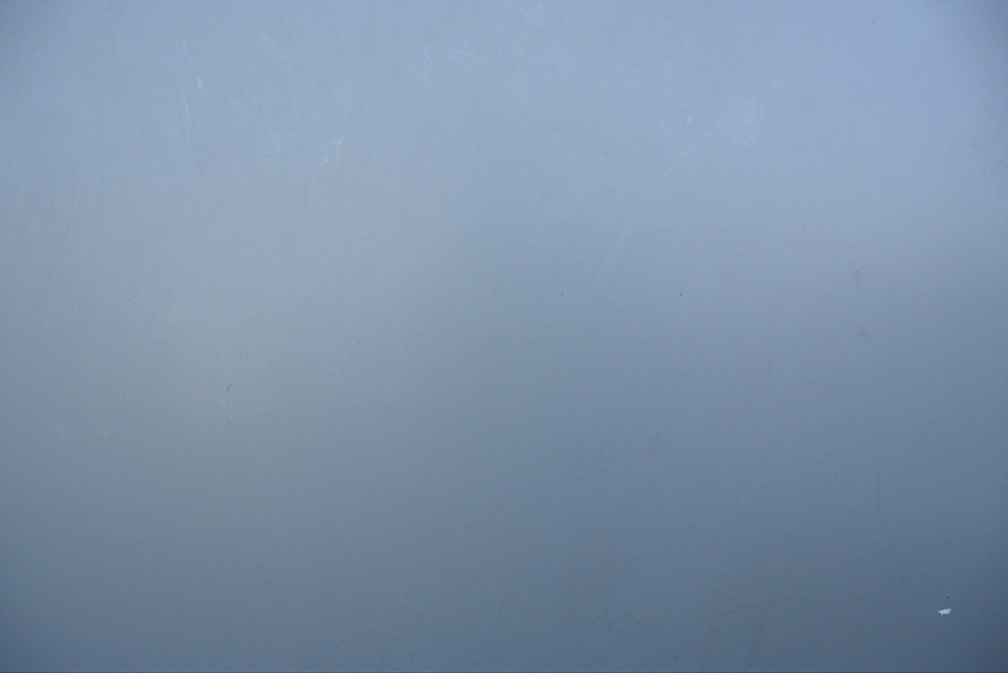
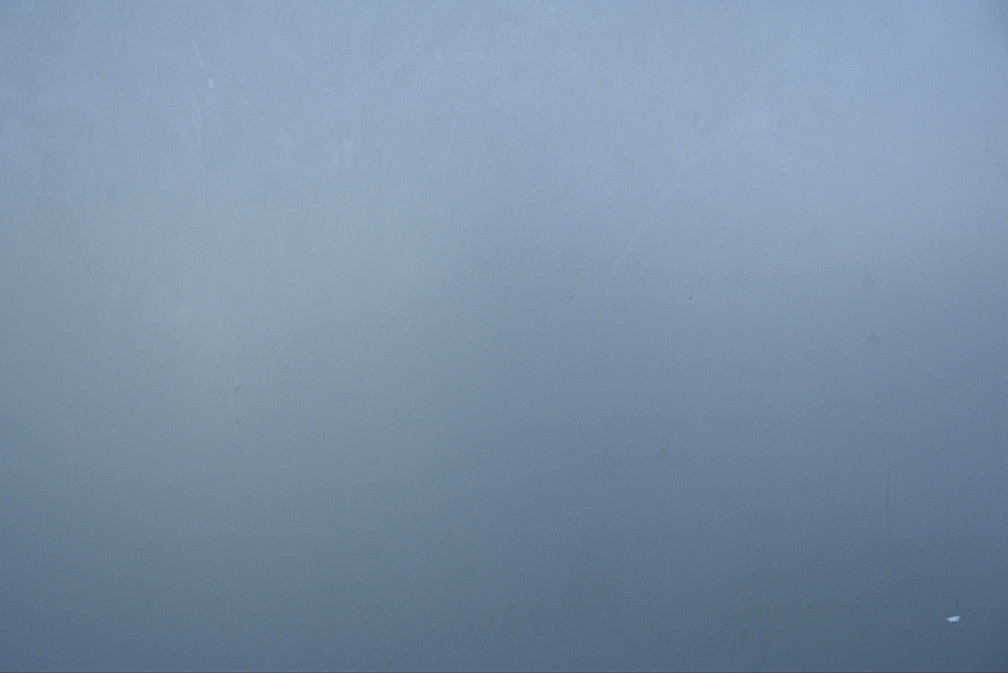
(Click to expand)
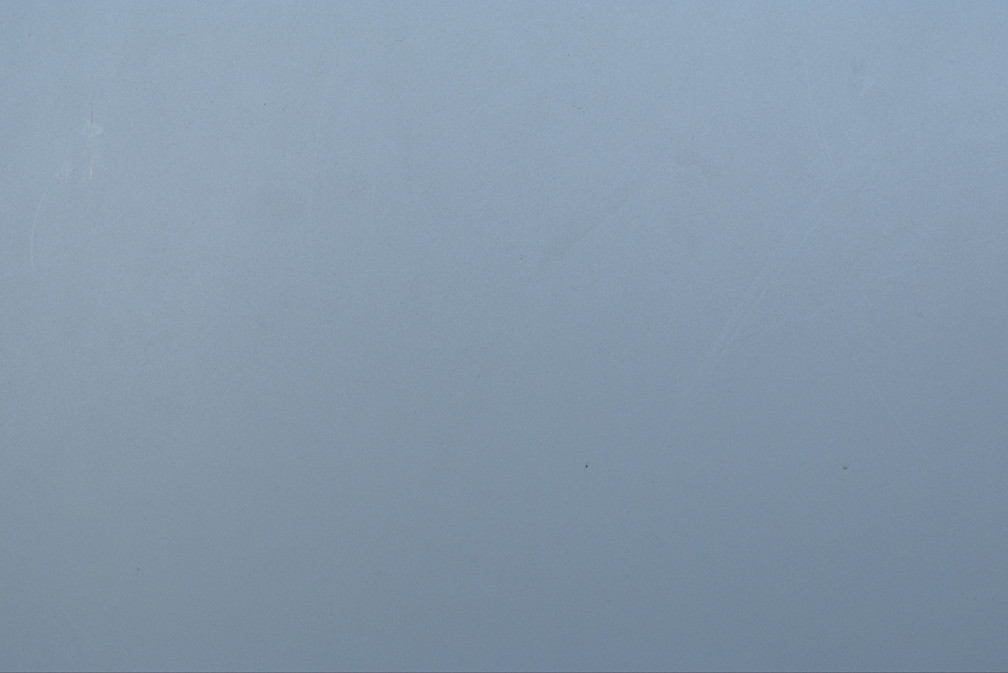
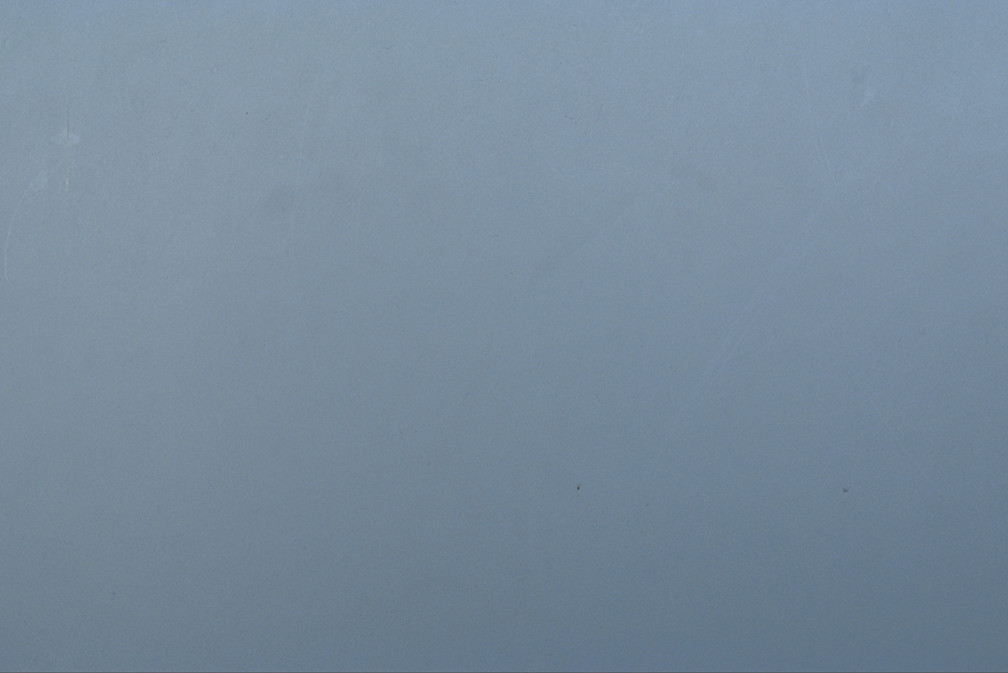
This is how much vignetting you’re going to get. It’s hard to see from my sample photos but it looks like the wider-end is the weak part of the whole range. The middle part of the focal range looks better and the long-end performs better than the wide-end, which I think is the worst and we shall confirm that later.
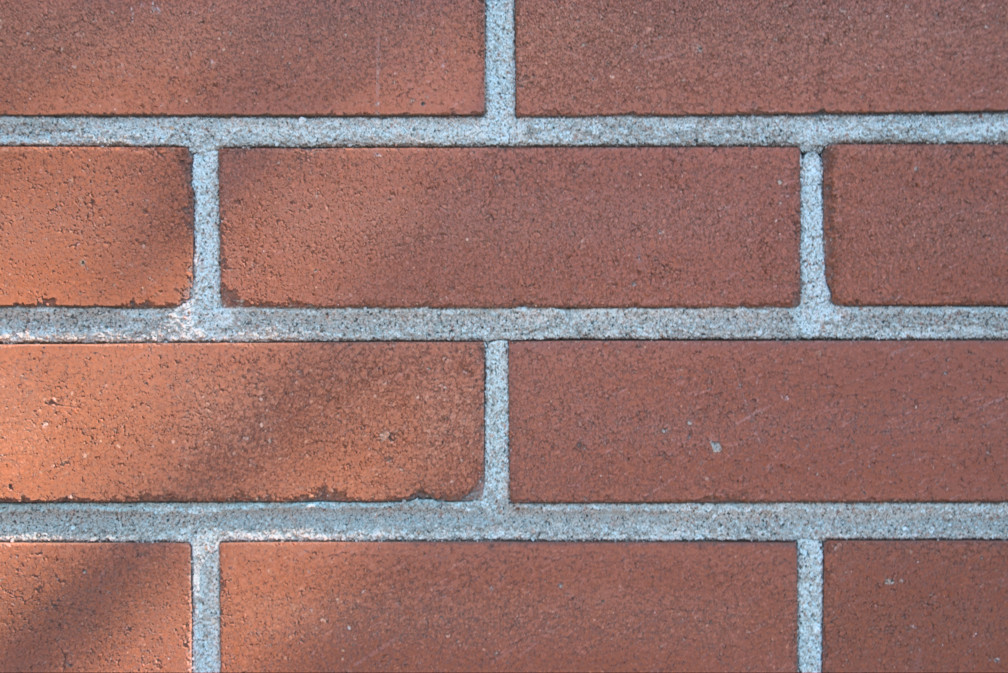
(Click to expand)
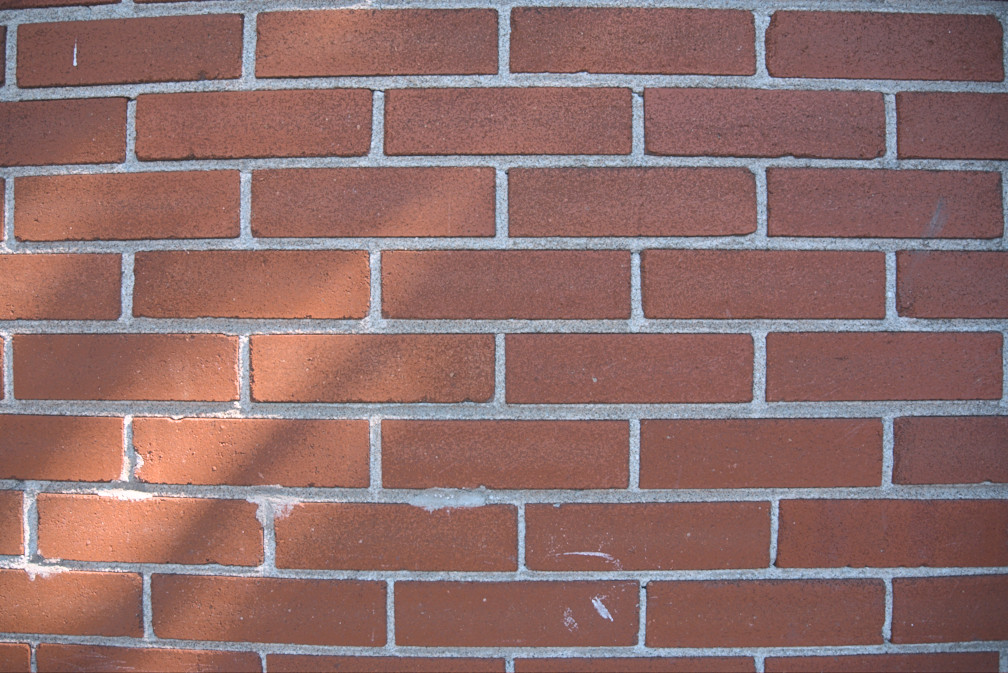
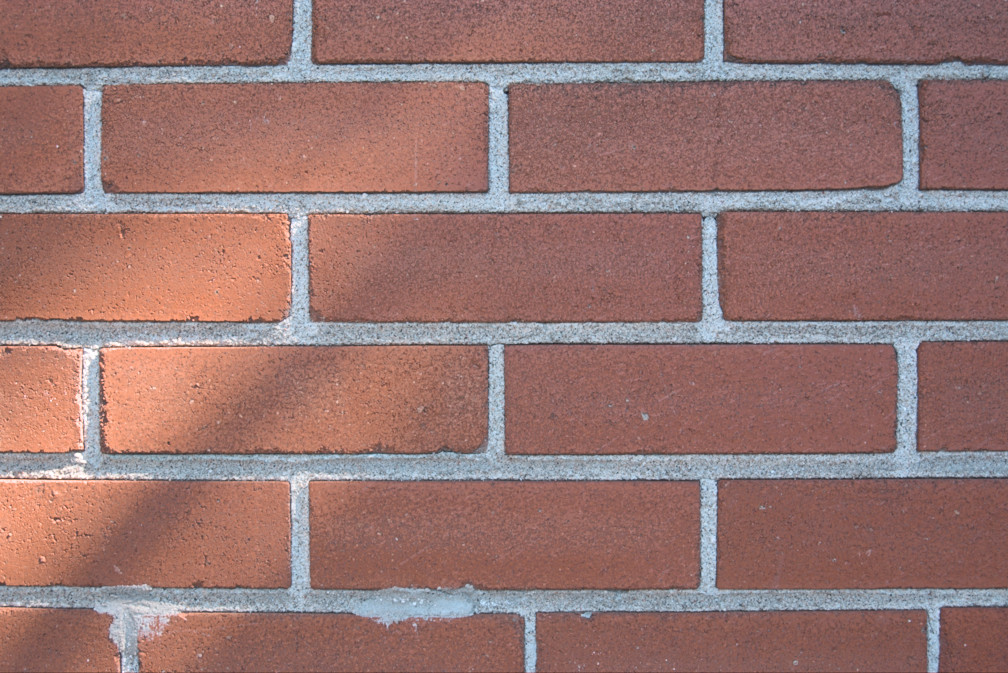
Distortion is worst on the wide-end with a significant bulge that’s difficult to avoid without software correction and the profile isn’t going to be easy to fix, too. It looks better at the middle and at the opposite end.


(Click to expand)
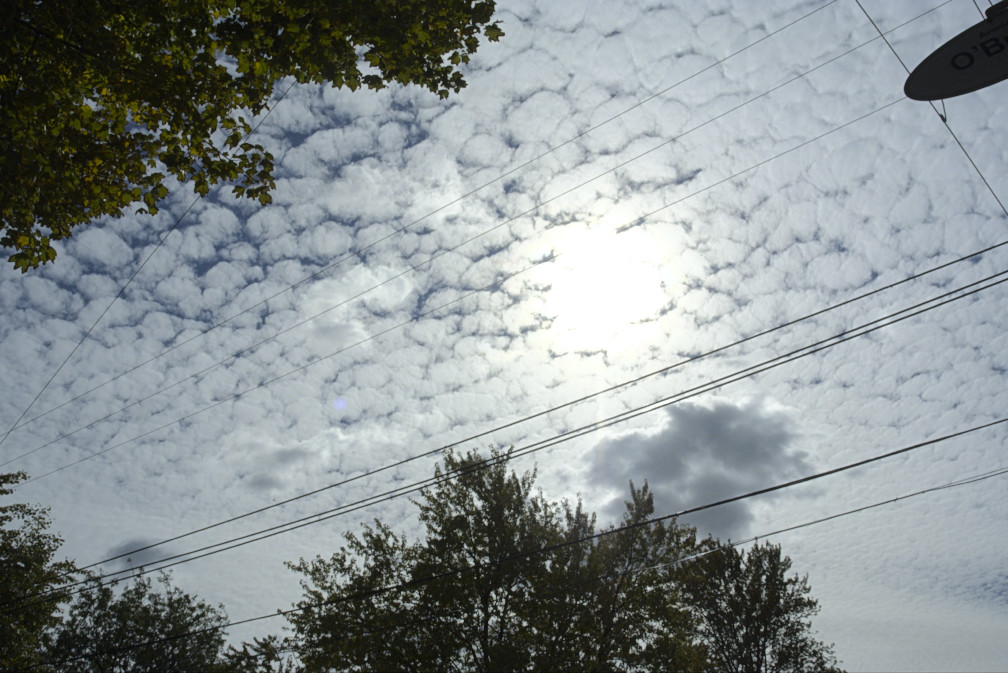
It has poor resistance to flare which is surprising for such a modern lens. Bur it’s cheap anyway so corners were cut?
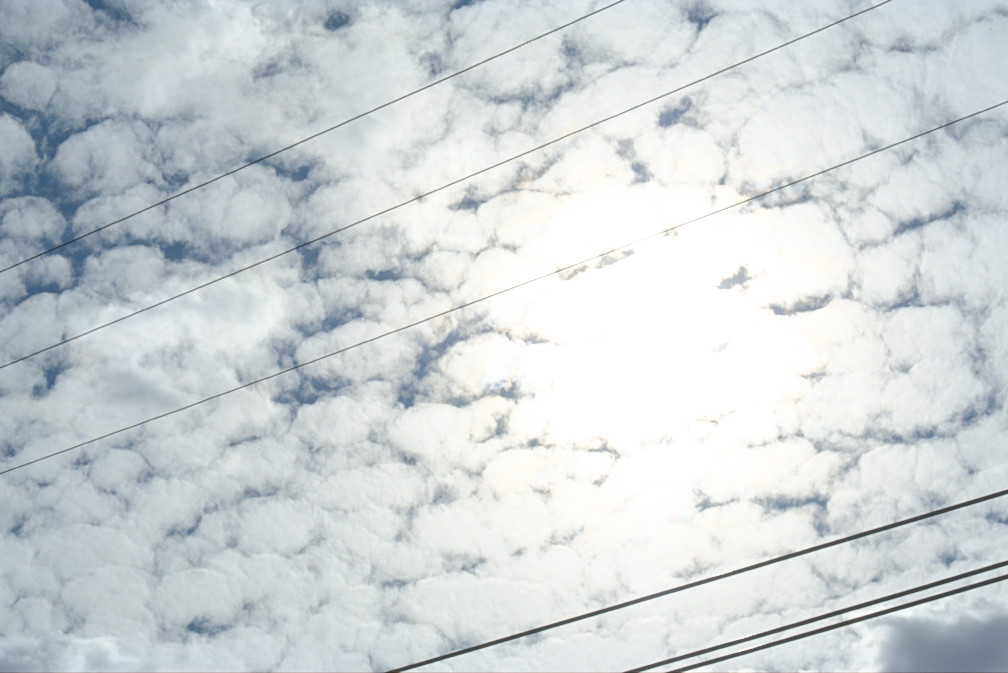
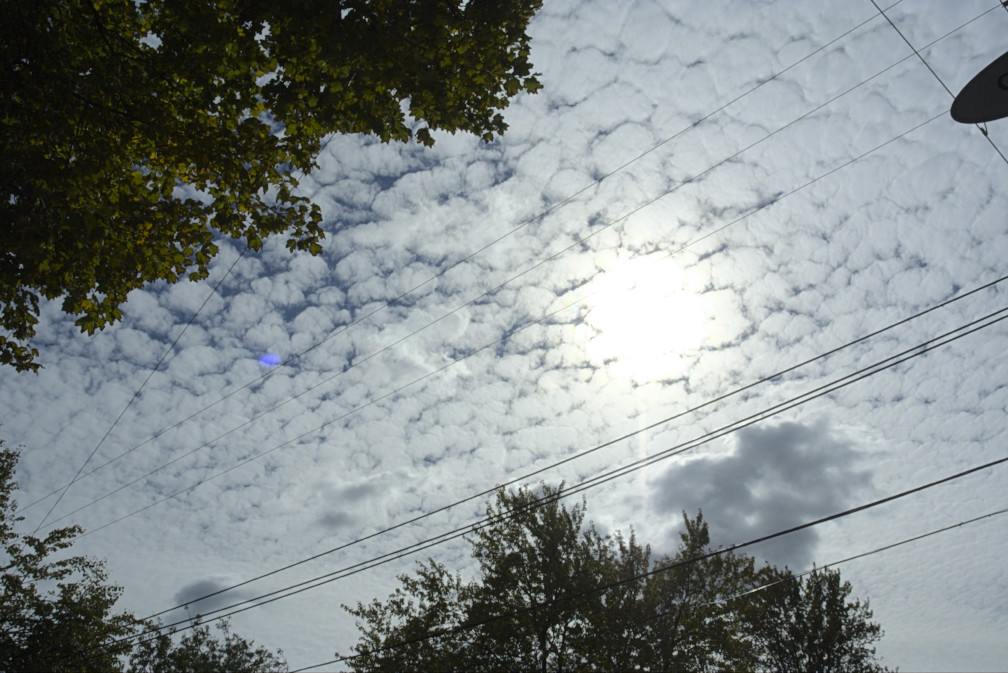
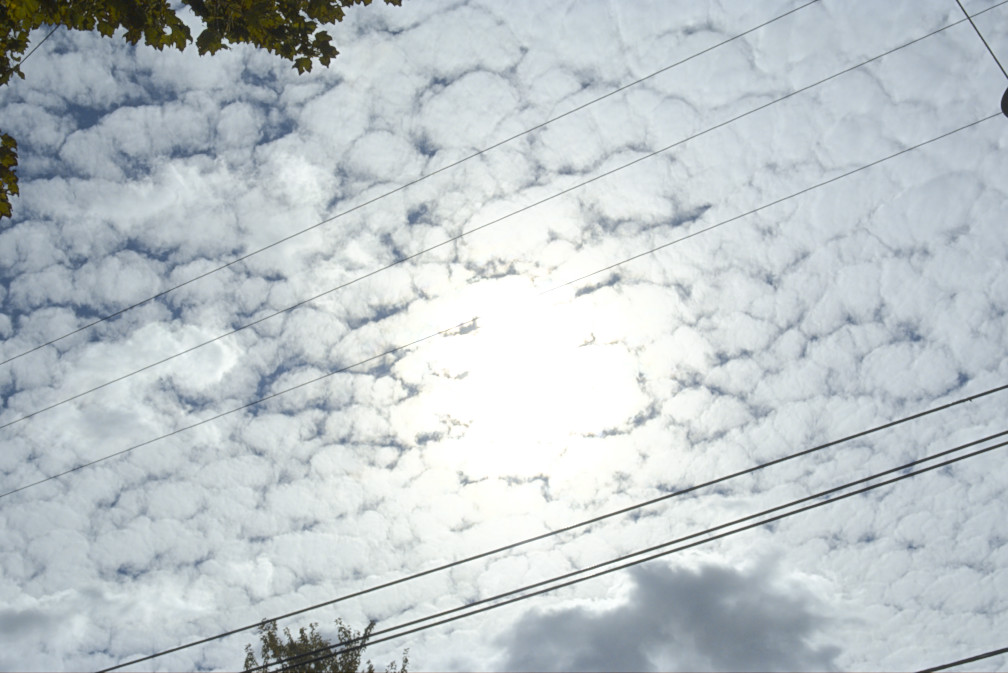
(Click to expand)
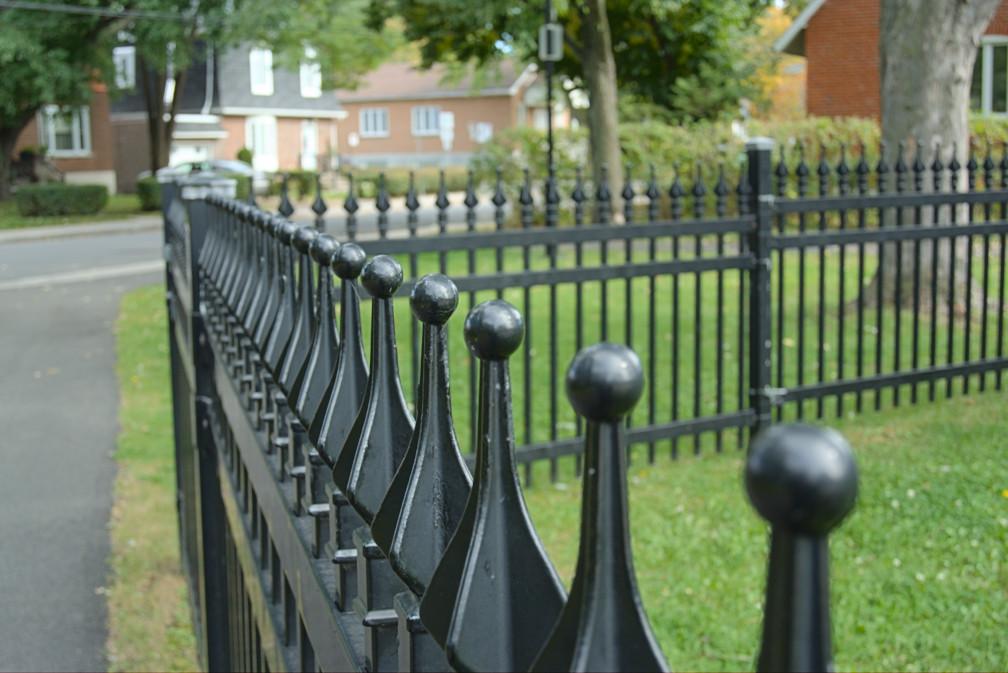
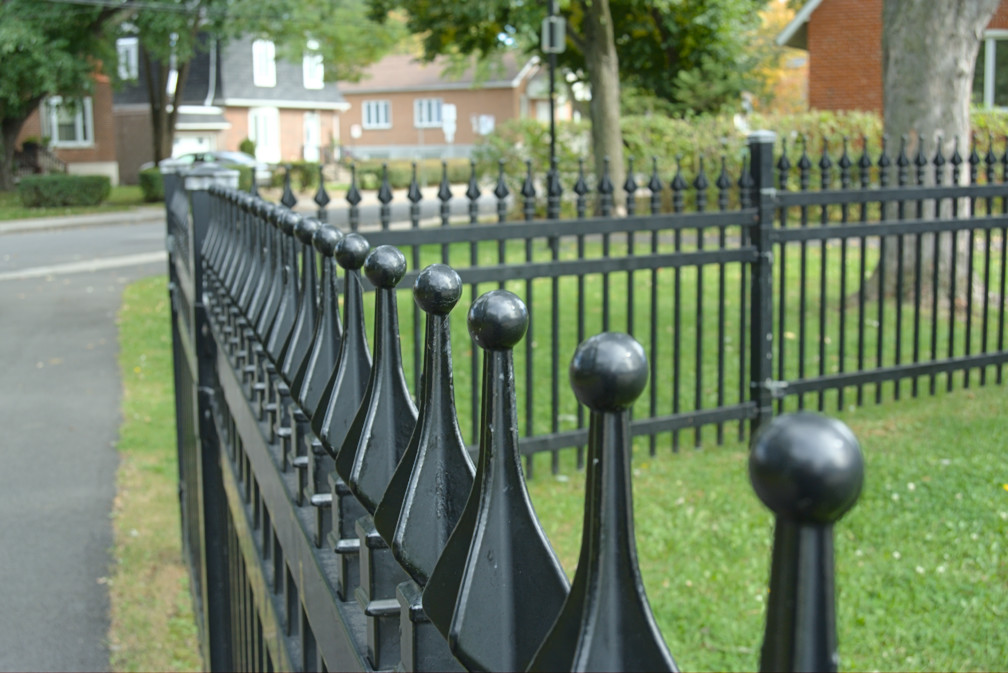
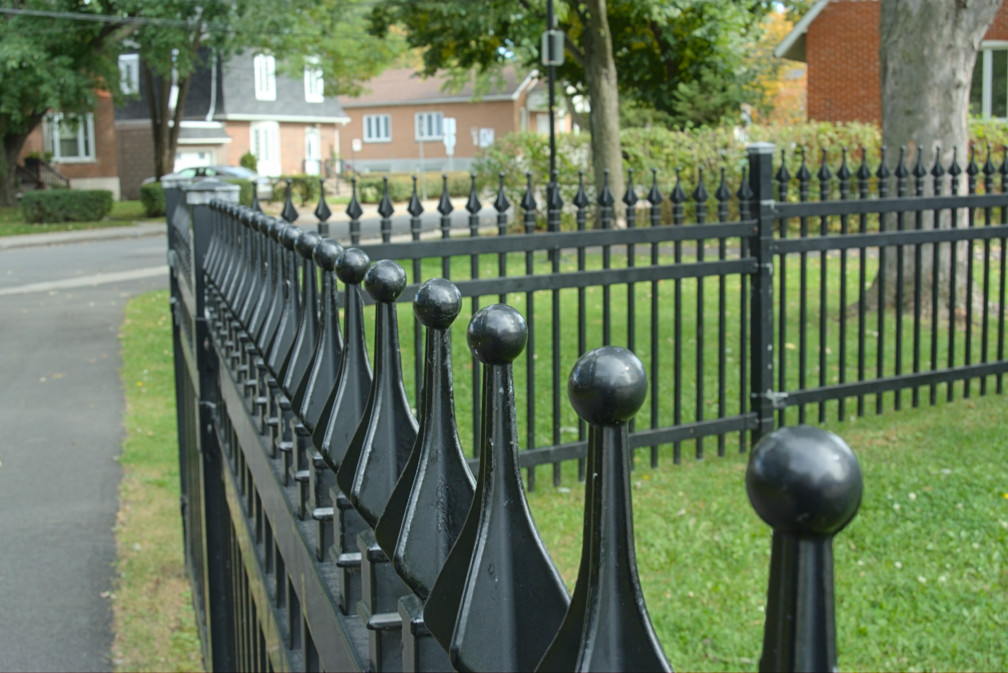
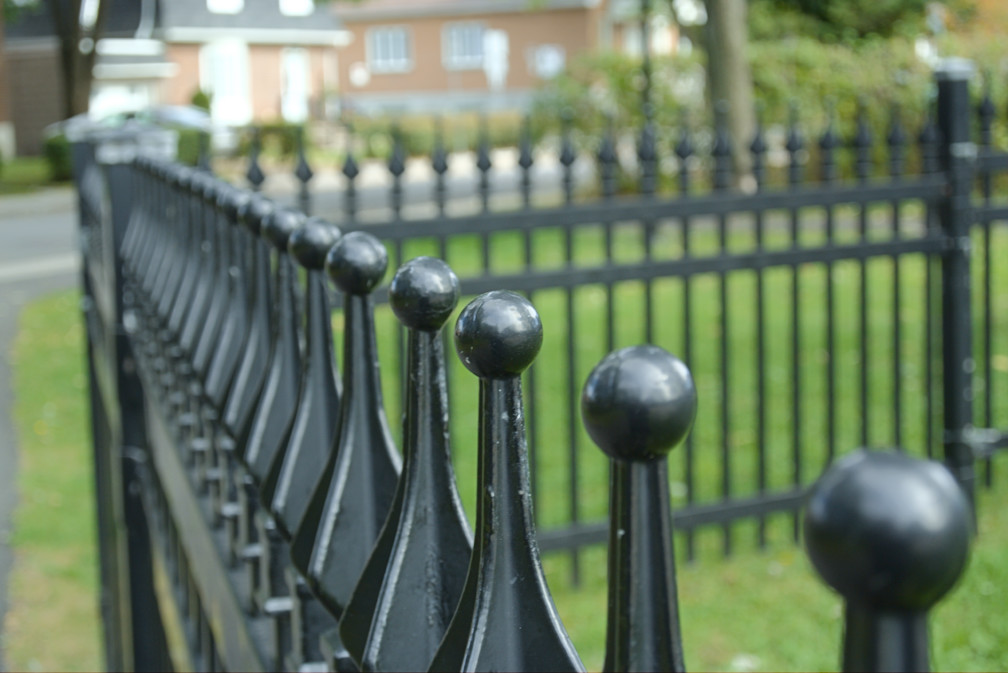
Interestingly, it does not produce as much ghosts as I was expecting and they look modest even in extreme situations. Flare will be your biggest problem as it’s going to affect your photos the most, it’s easy to trigger it when you are shooting against the sun or just have any bright lights outside of the frame hitting the front element at an angle, the latter is easily suppressed with a hood.
(Click to expand)
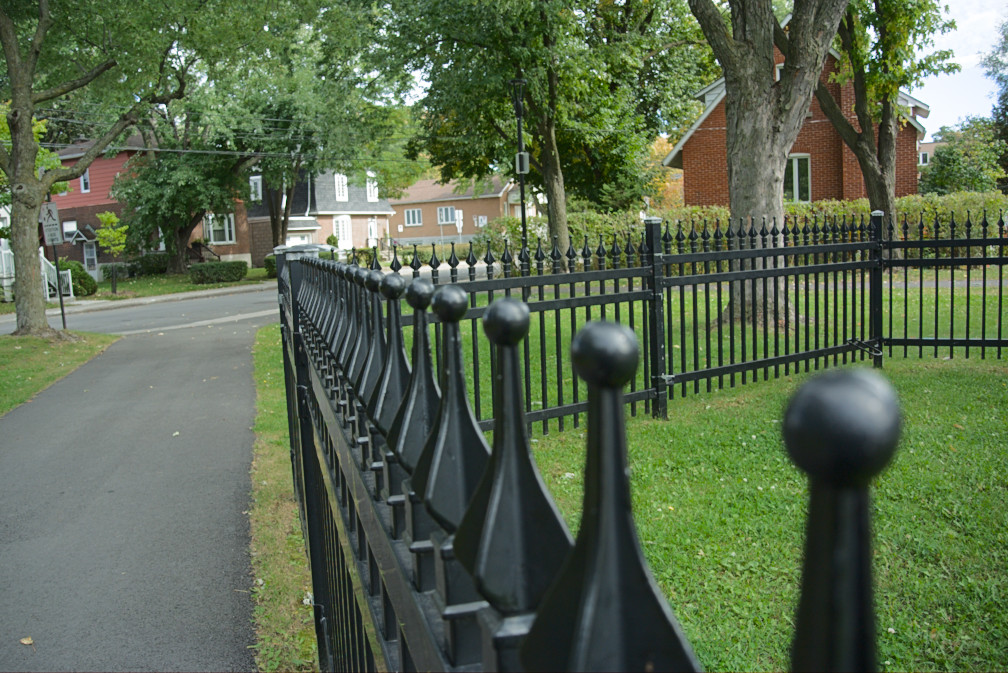
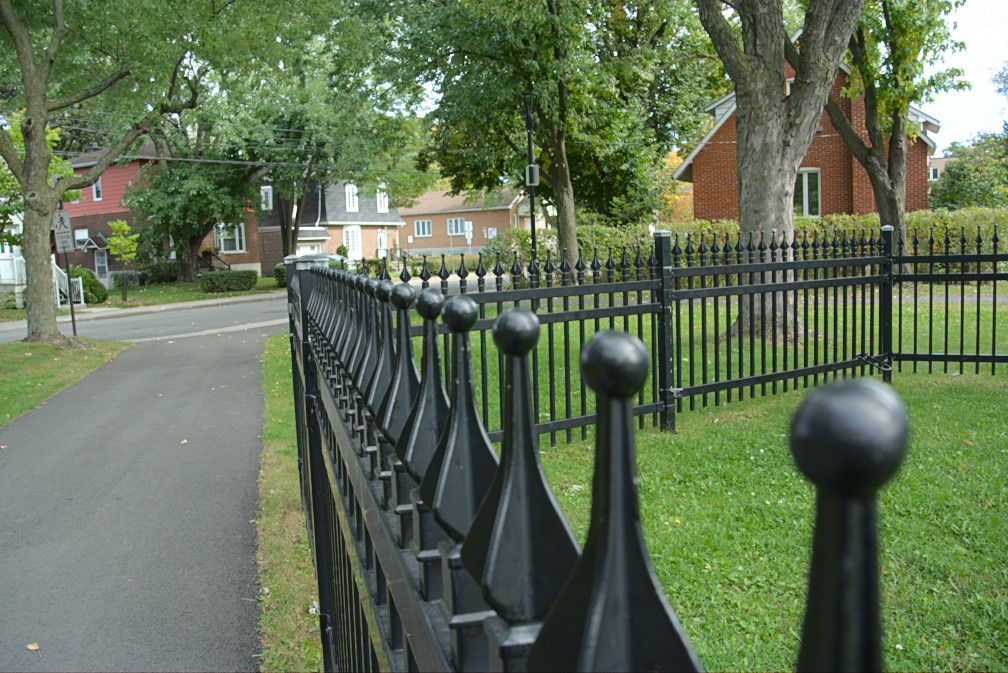
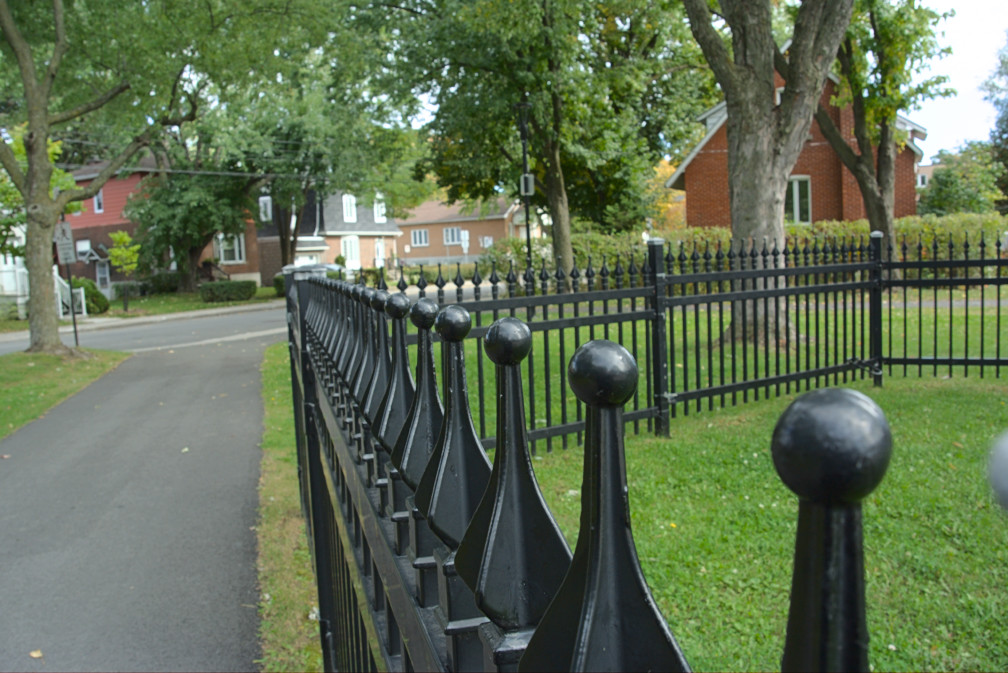
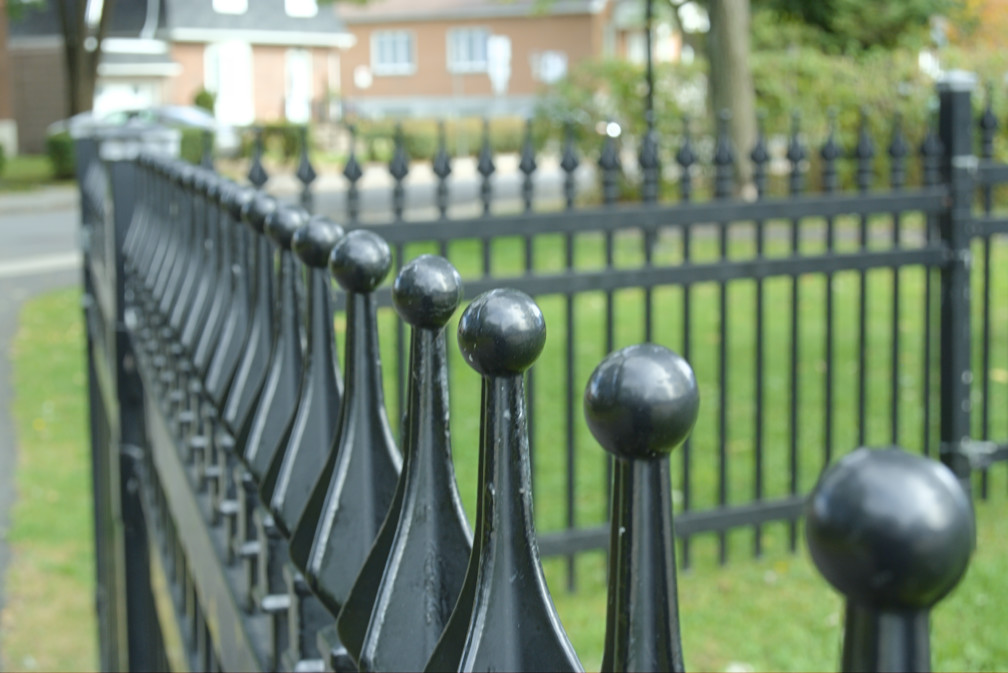
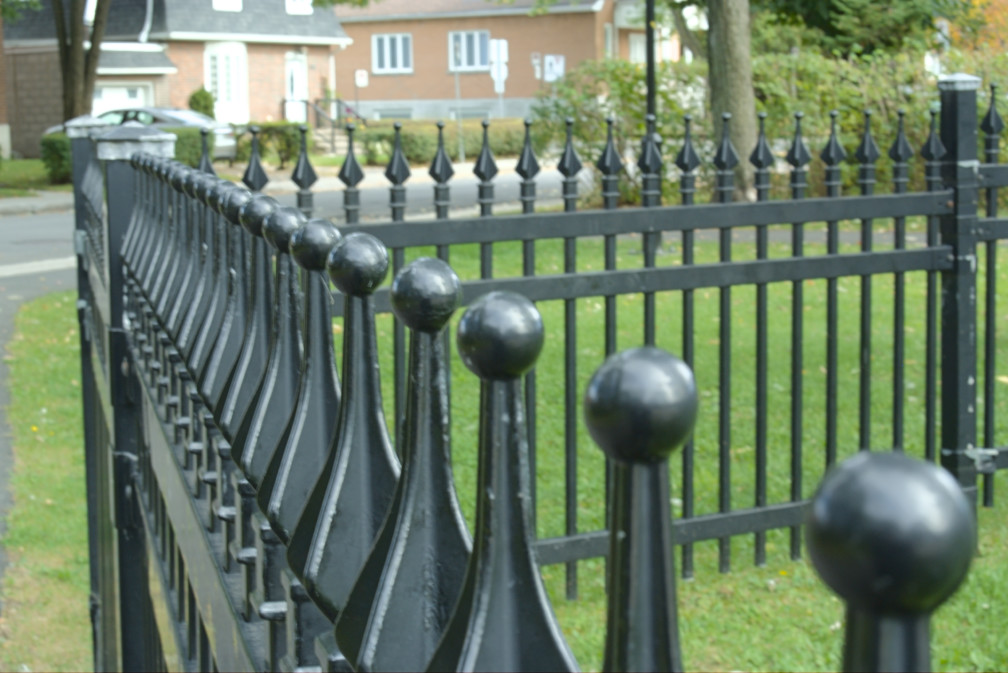
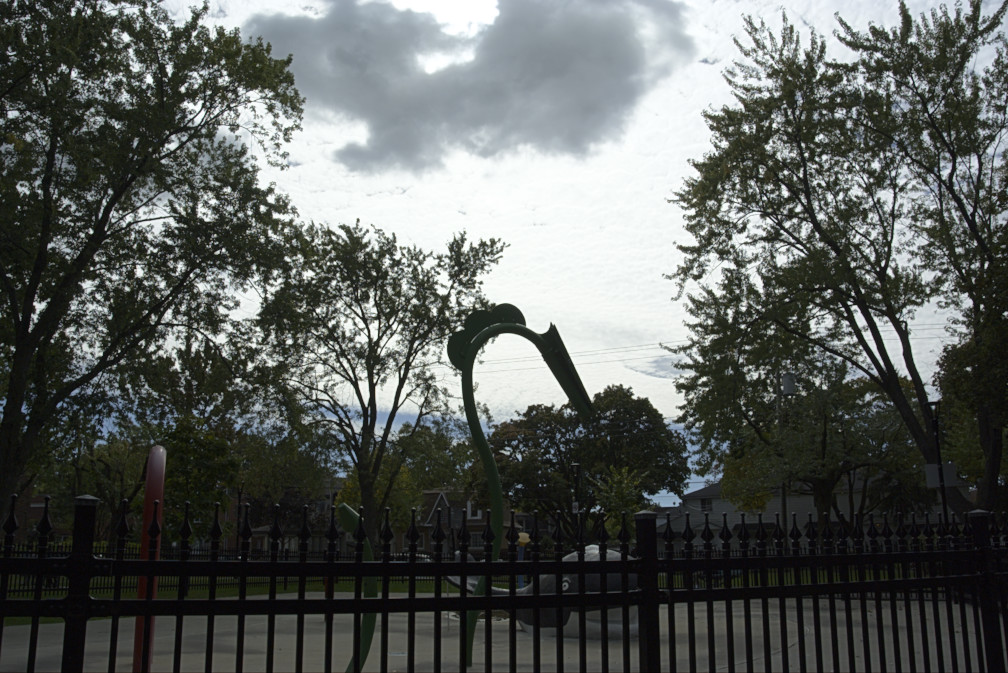
One doesn’t expect to get good or smooth looking blurry parts from a lens of this type and price. It doesn’t look particularly good at all nor does it look repulsive. You can say that it performs below the usual expectations we have of such lenses. I have seen photos that were shot from a phone that looks better than this.
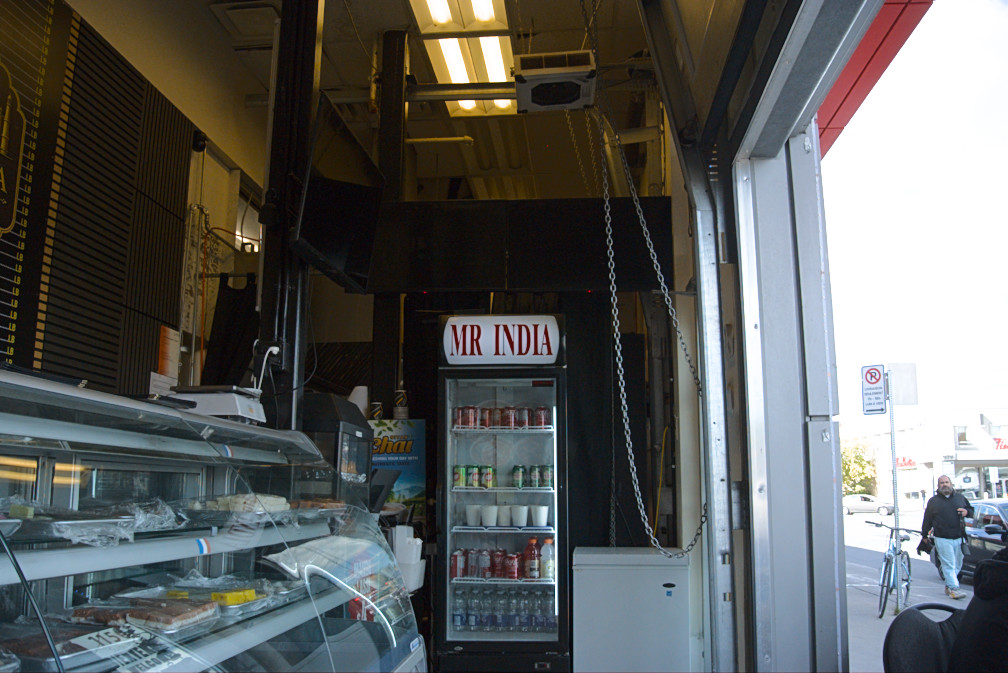
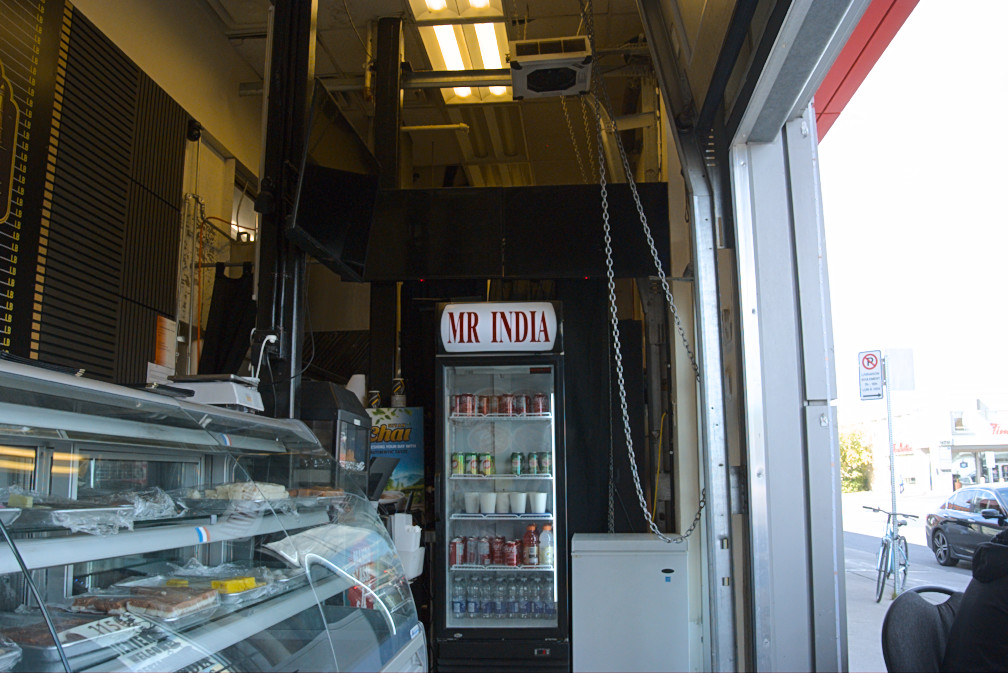
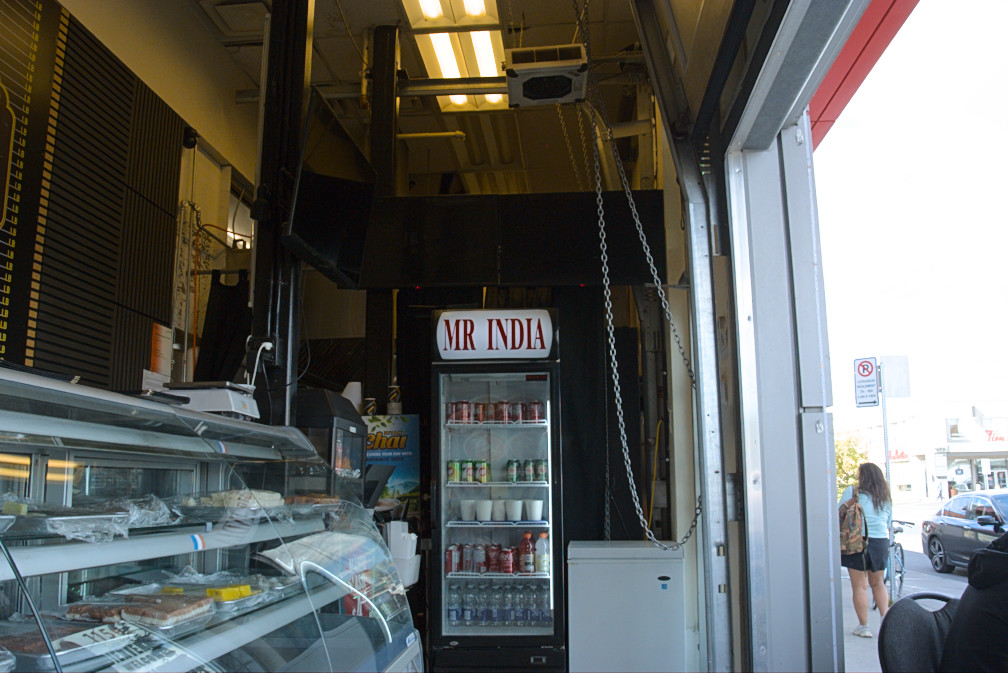
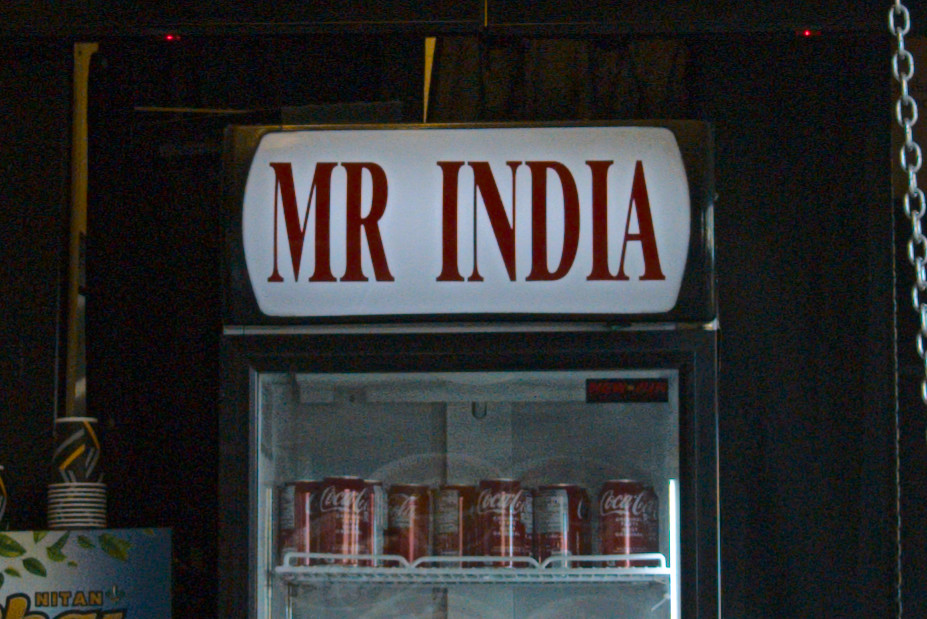

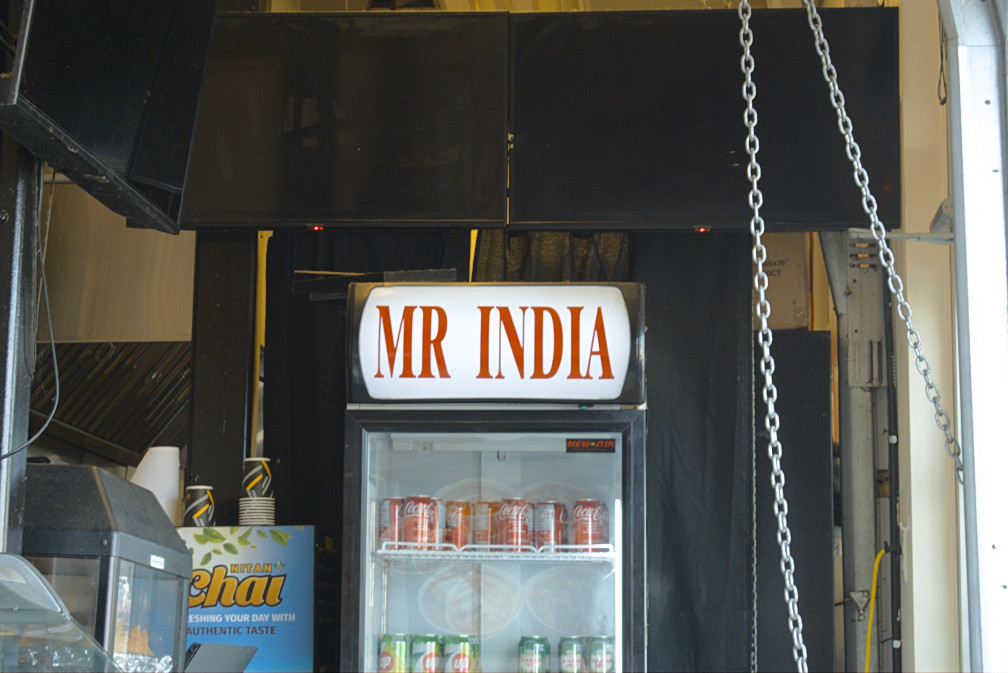
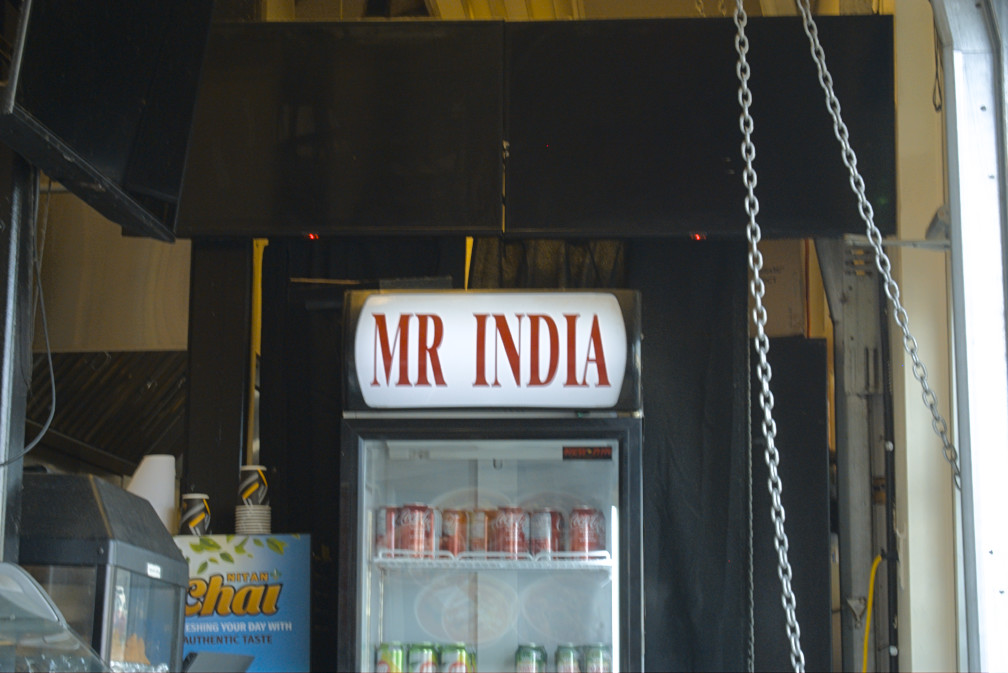



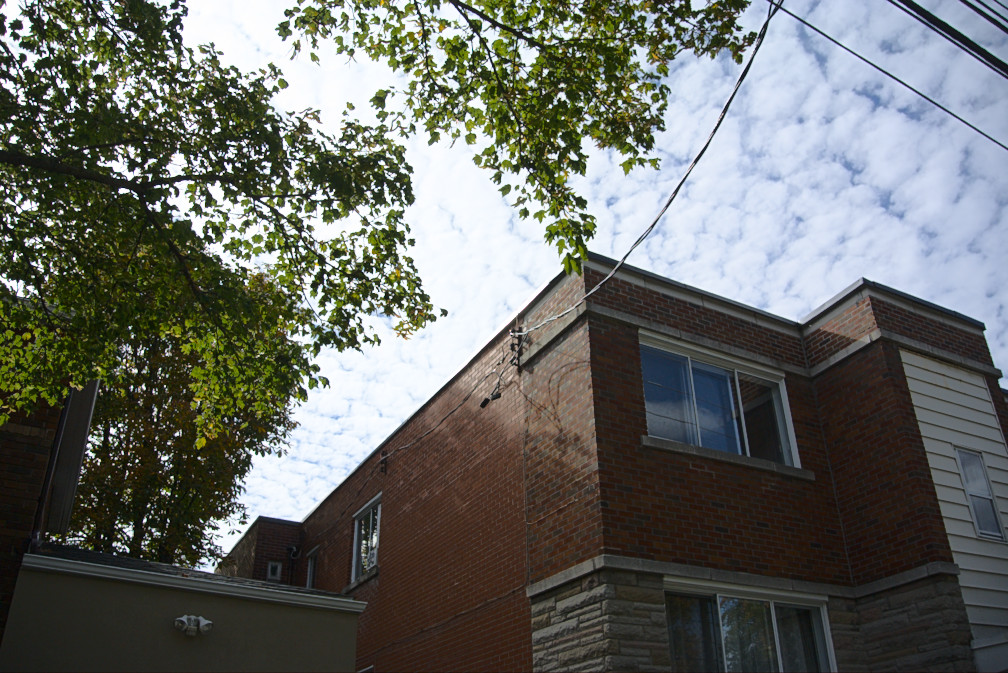
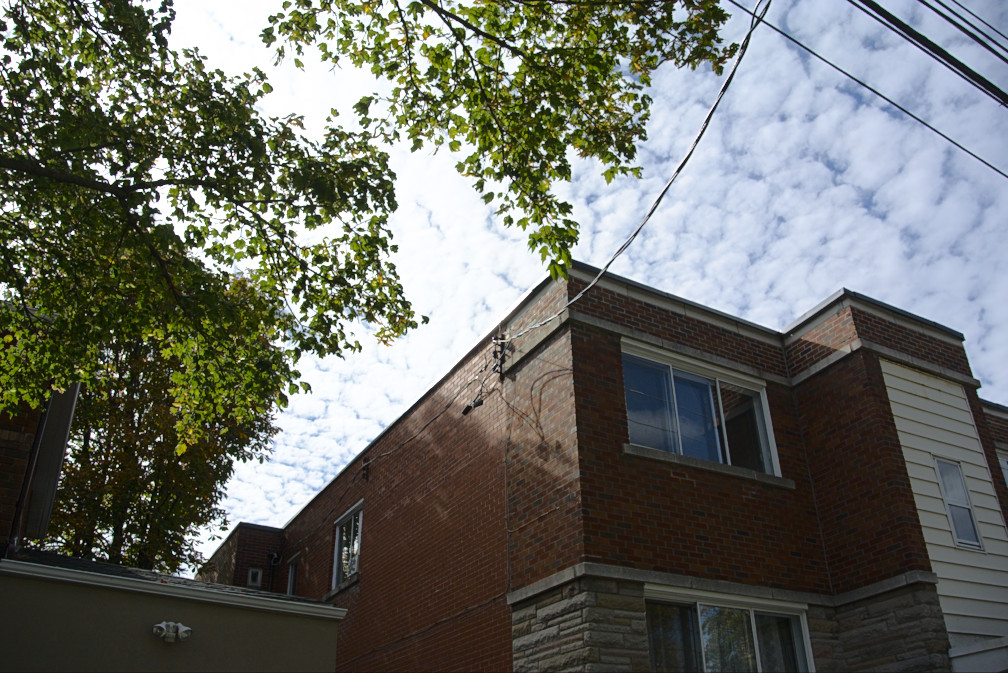
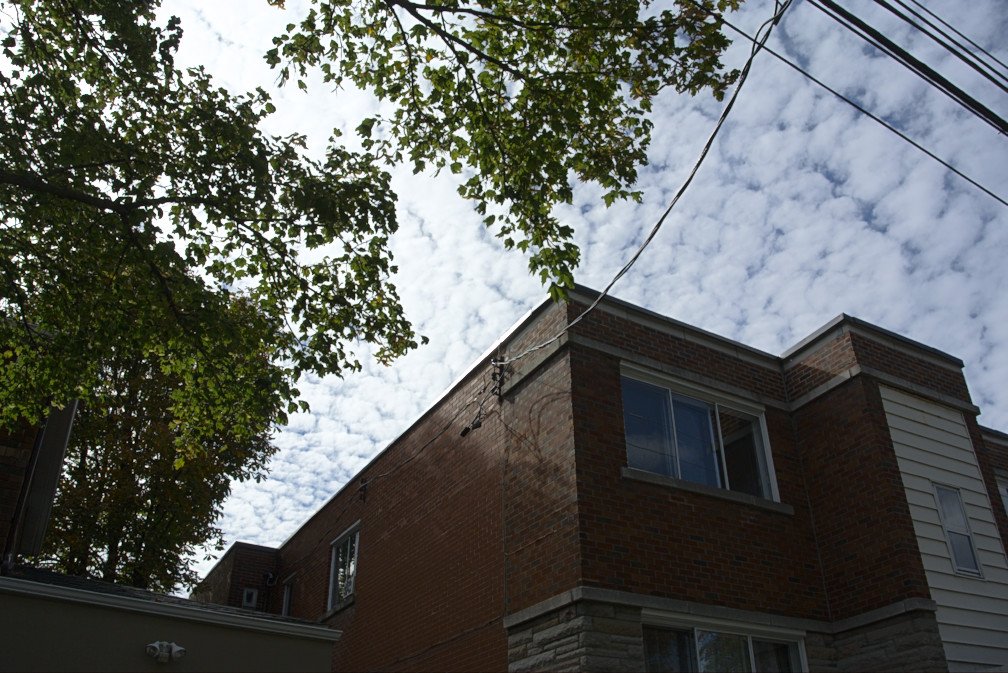
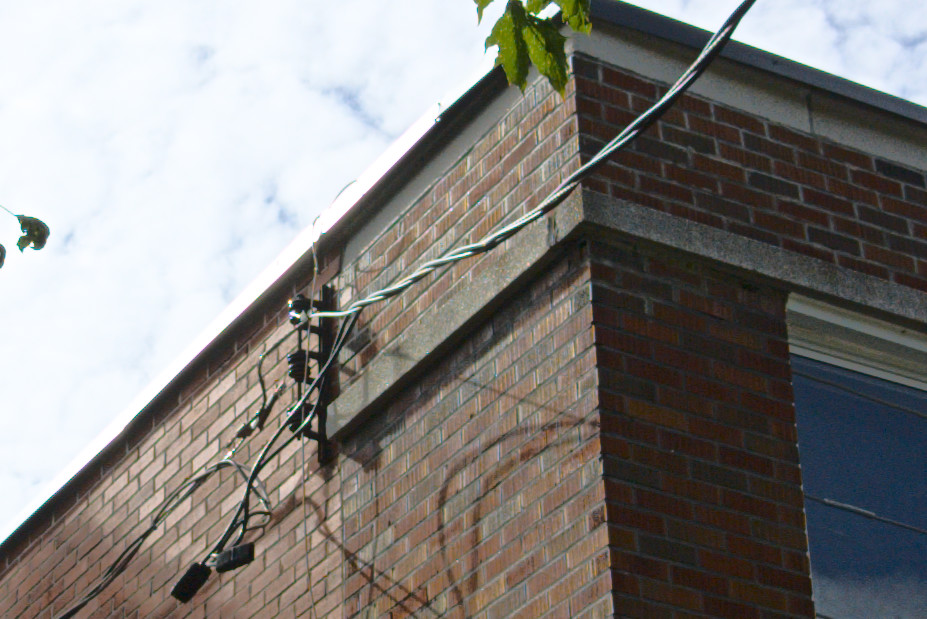
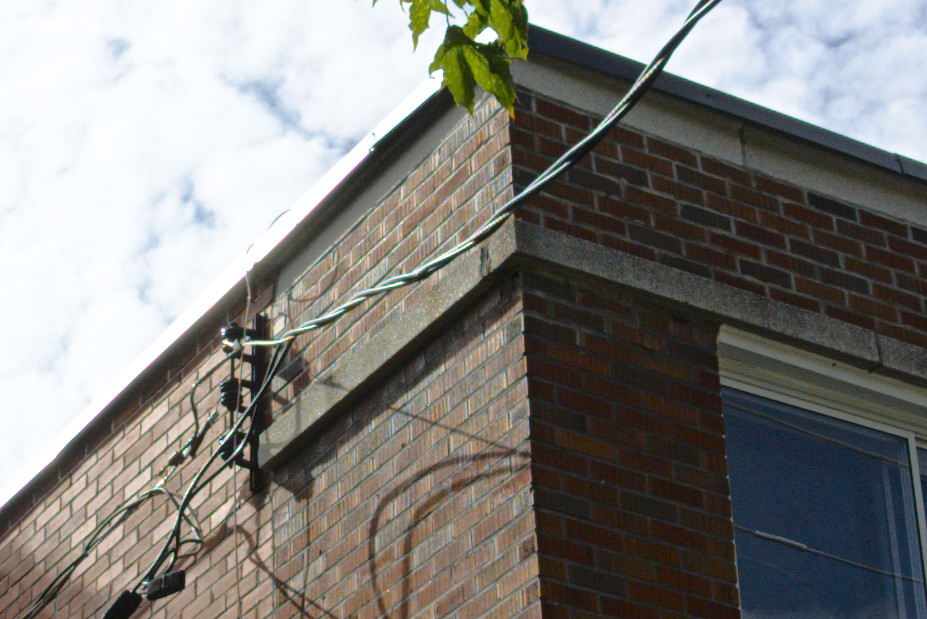
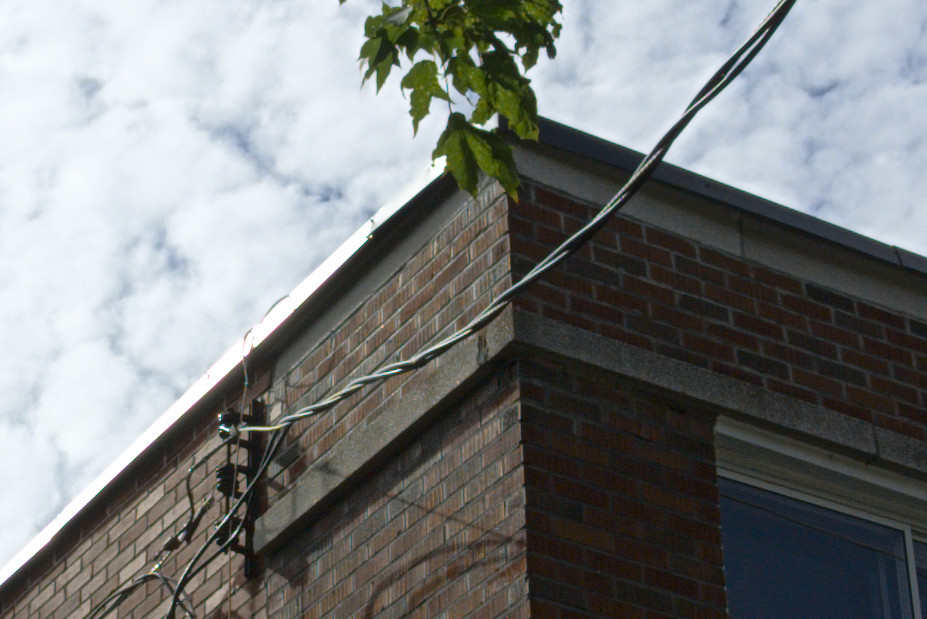
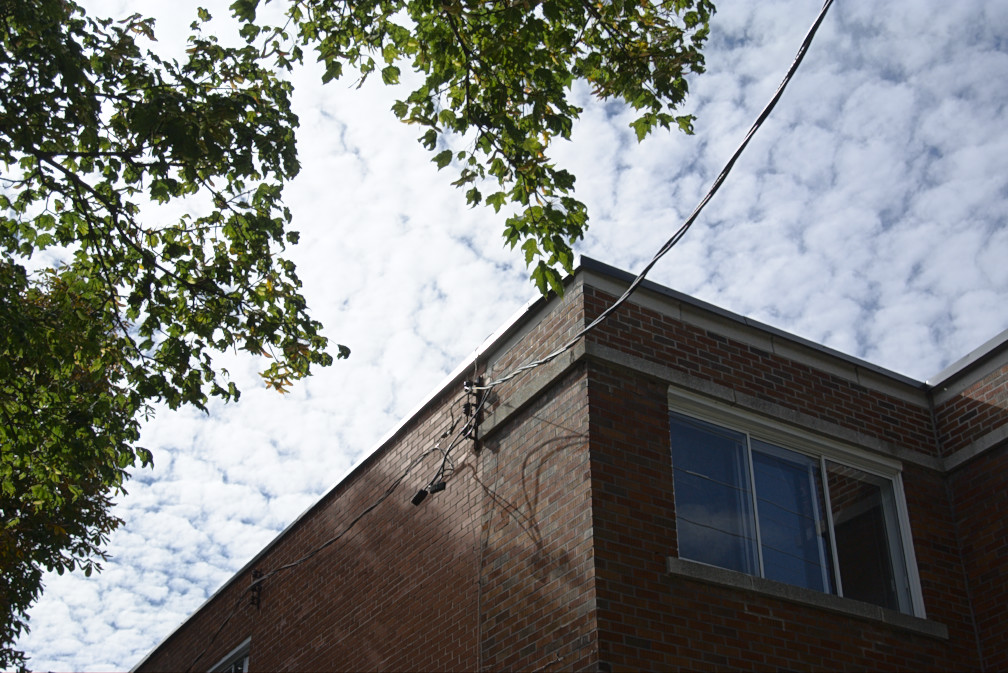
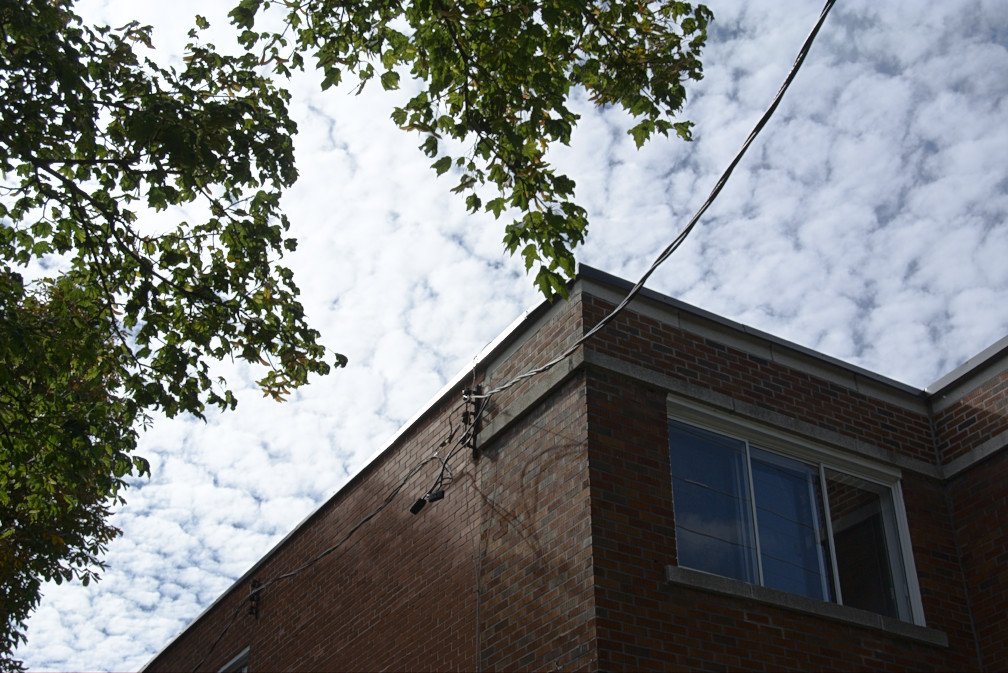
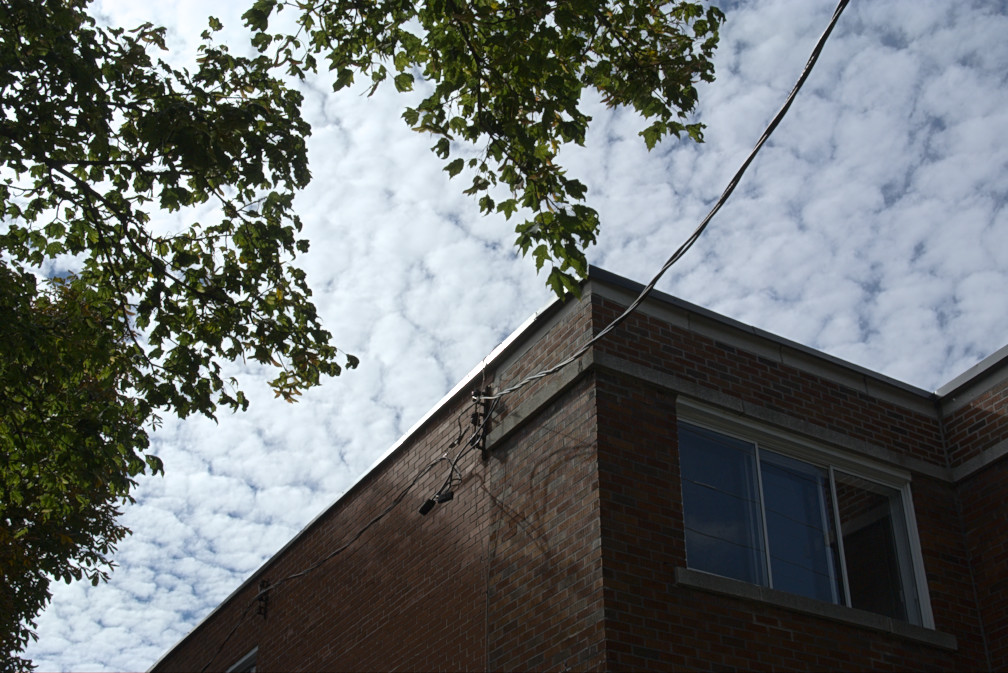
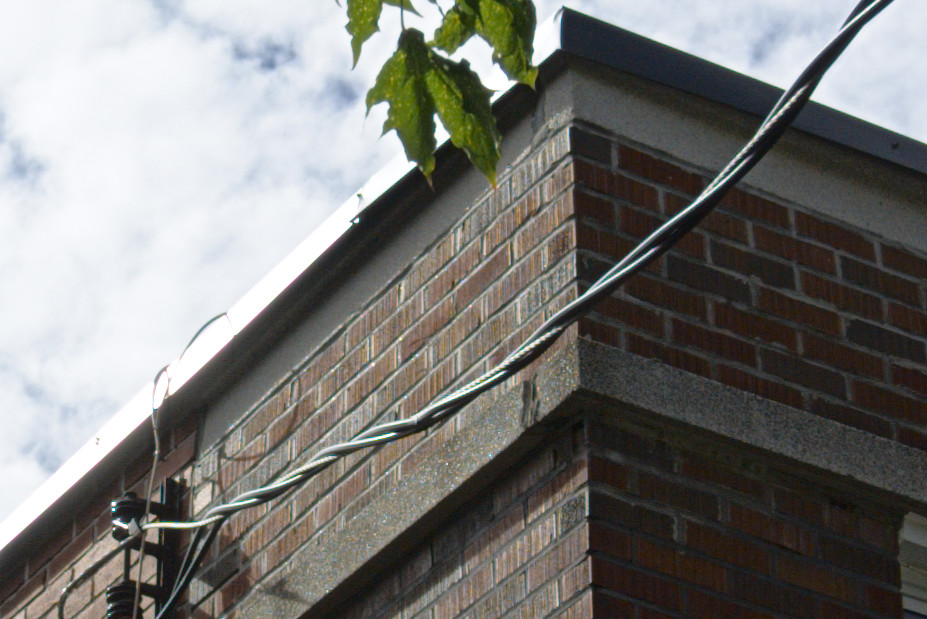
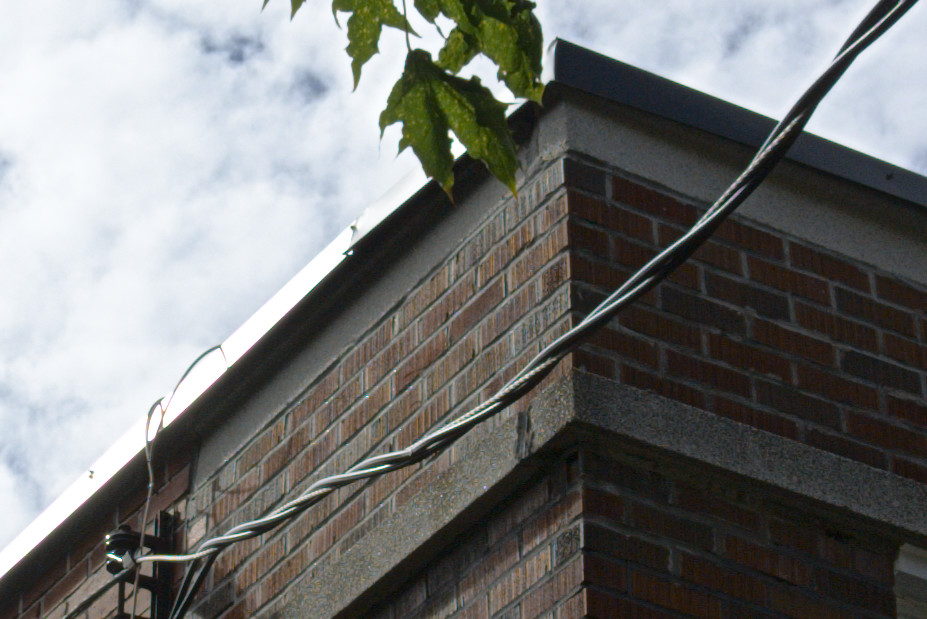
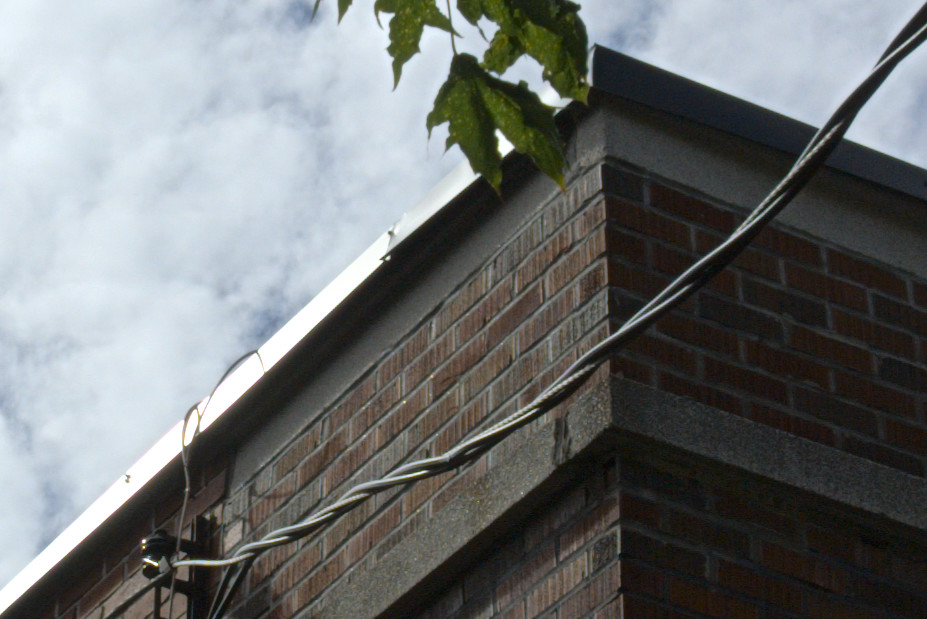
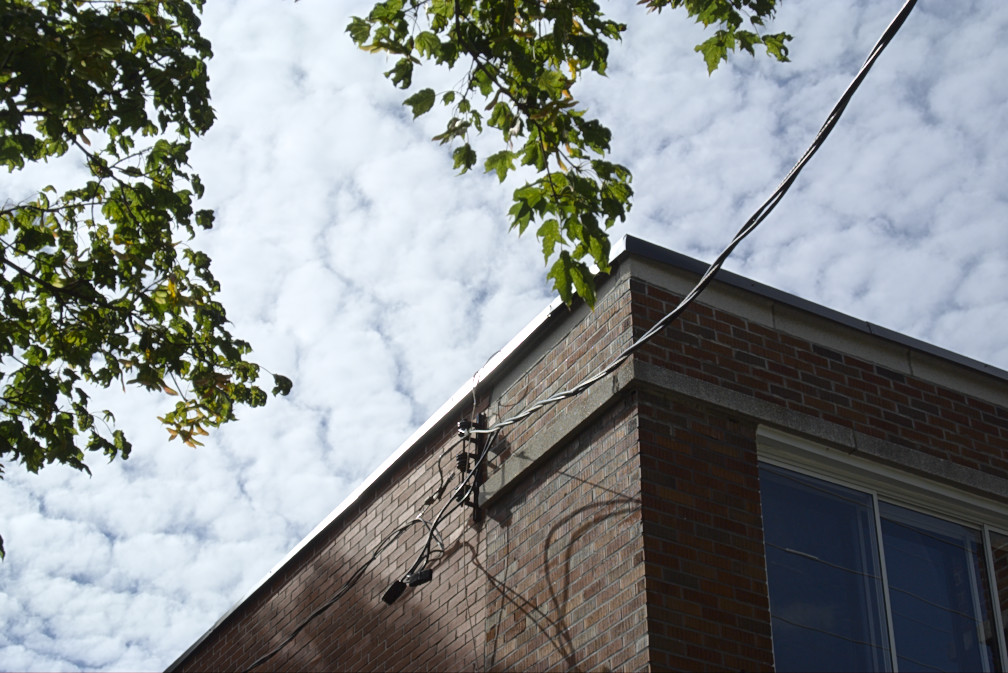
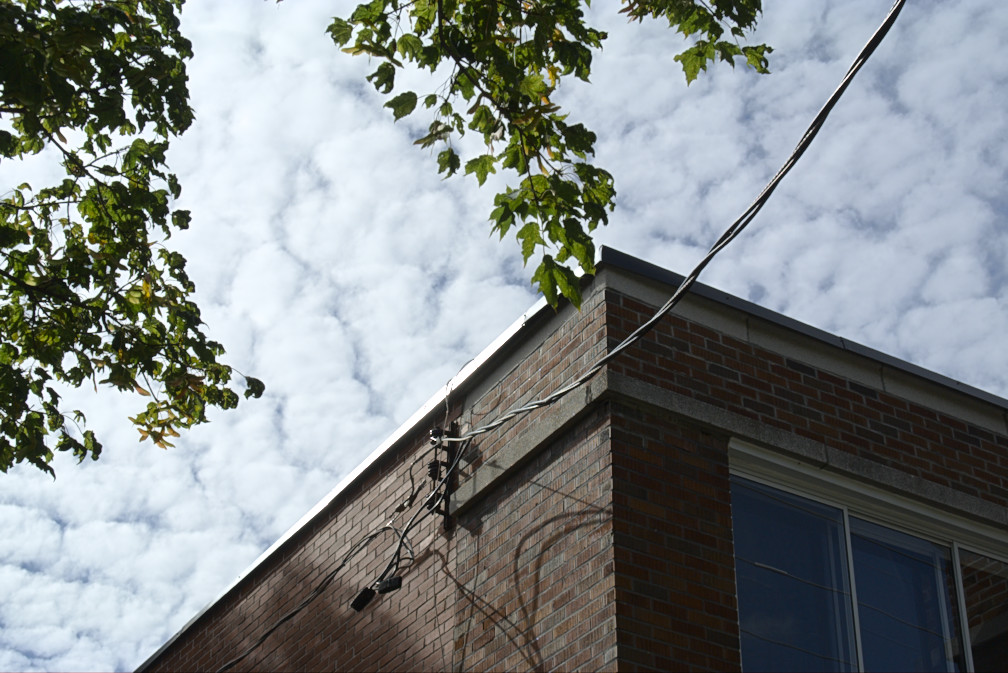
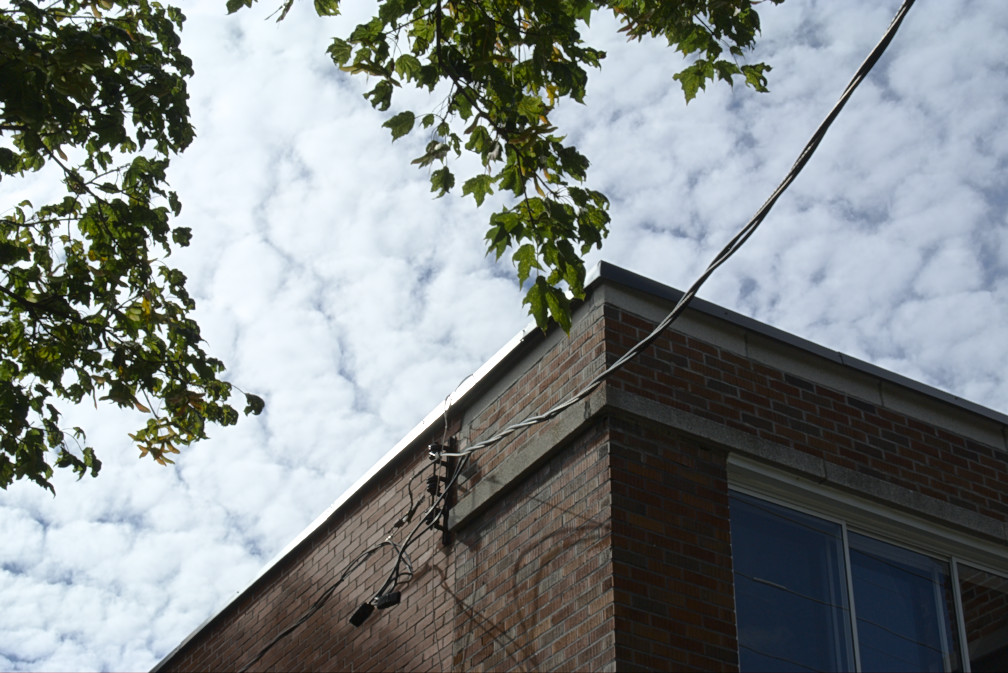
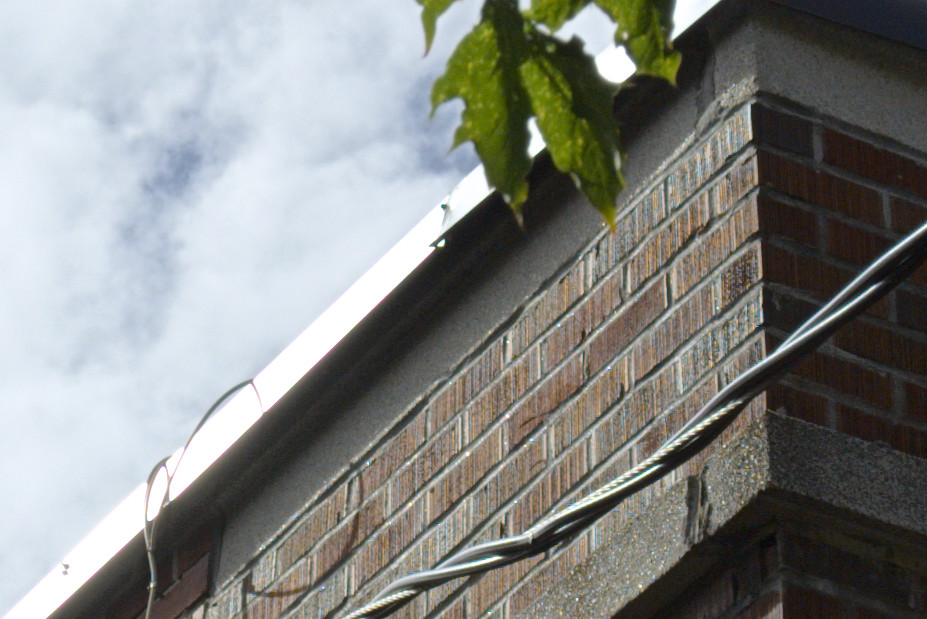
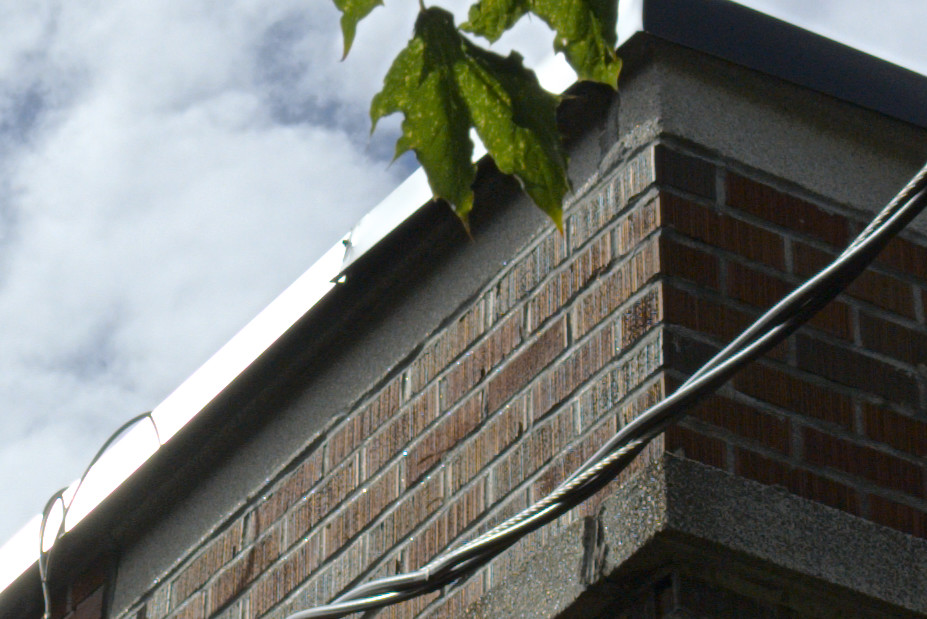
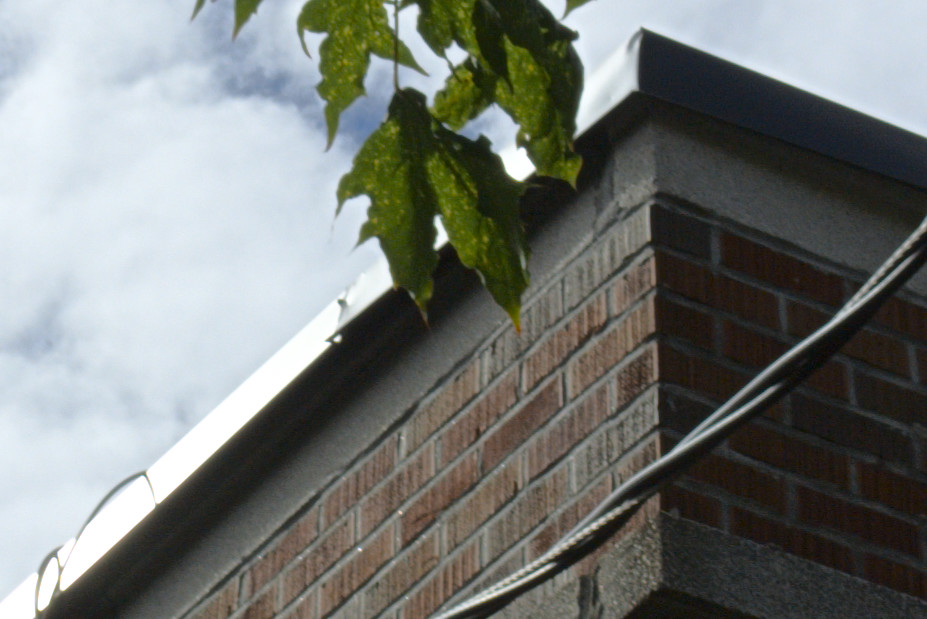
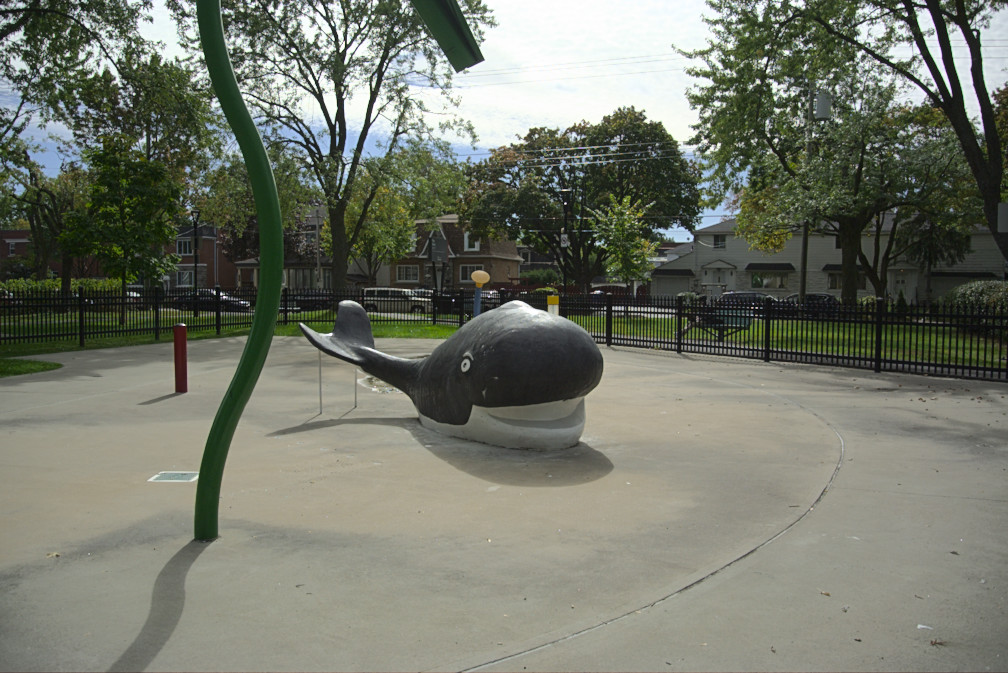
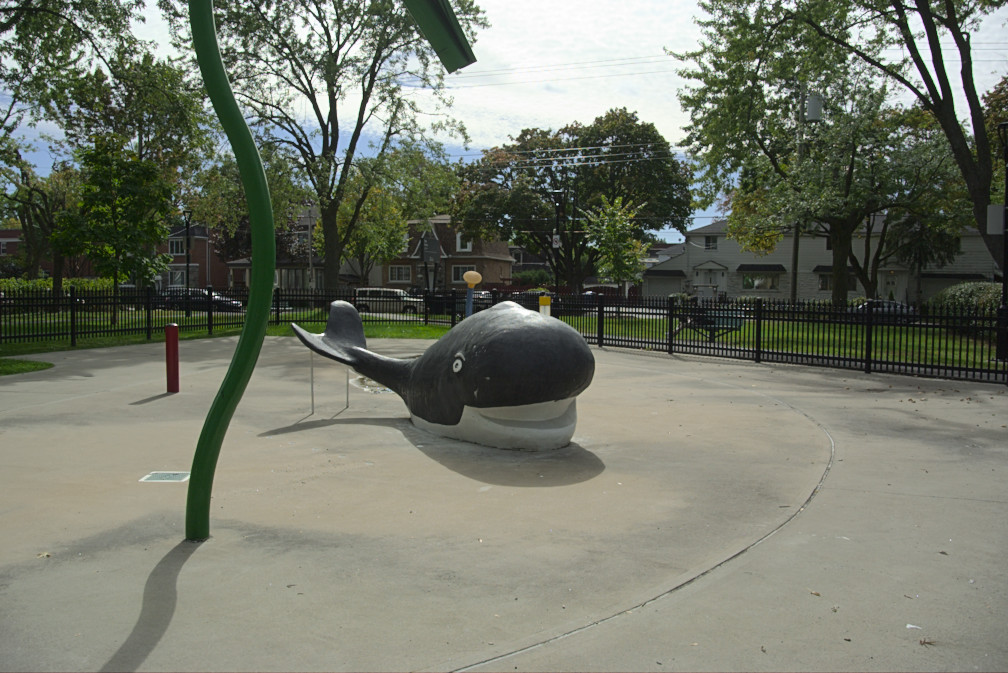
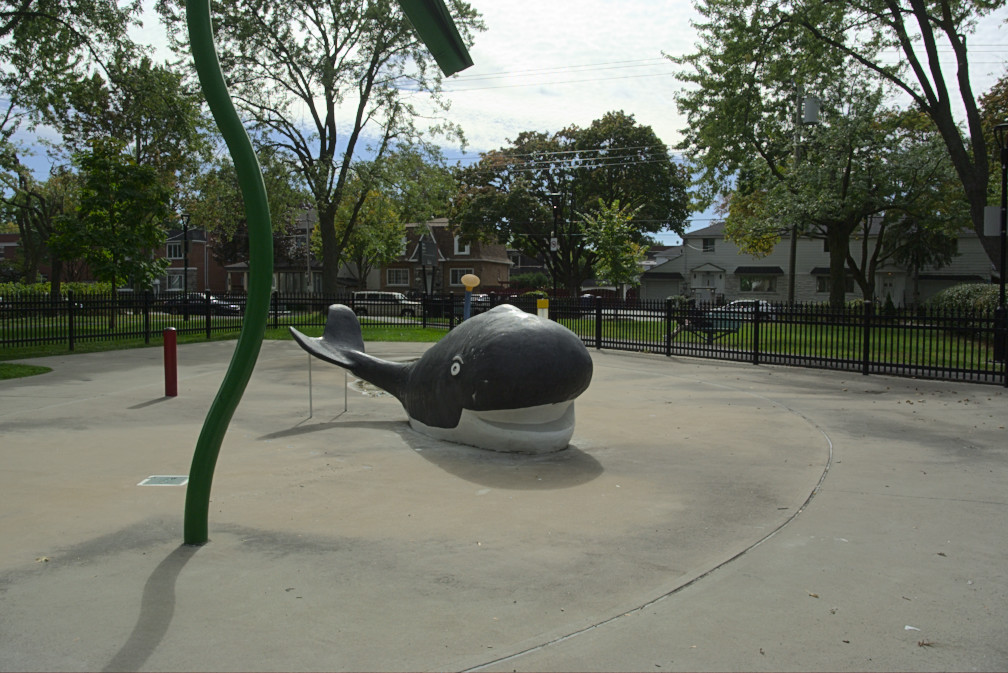
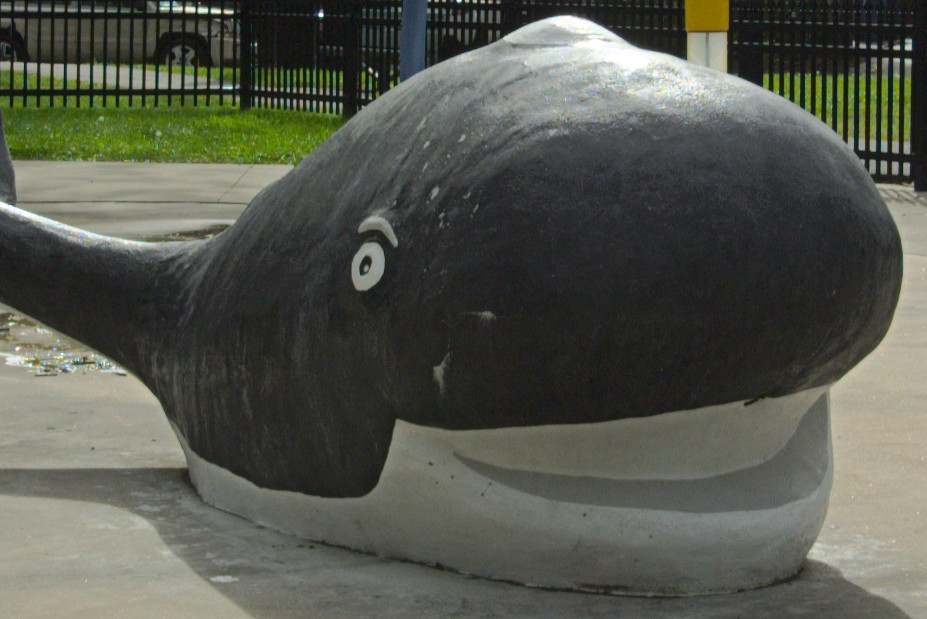
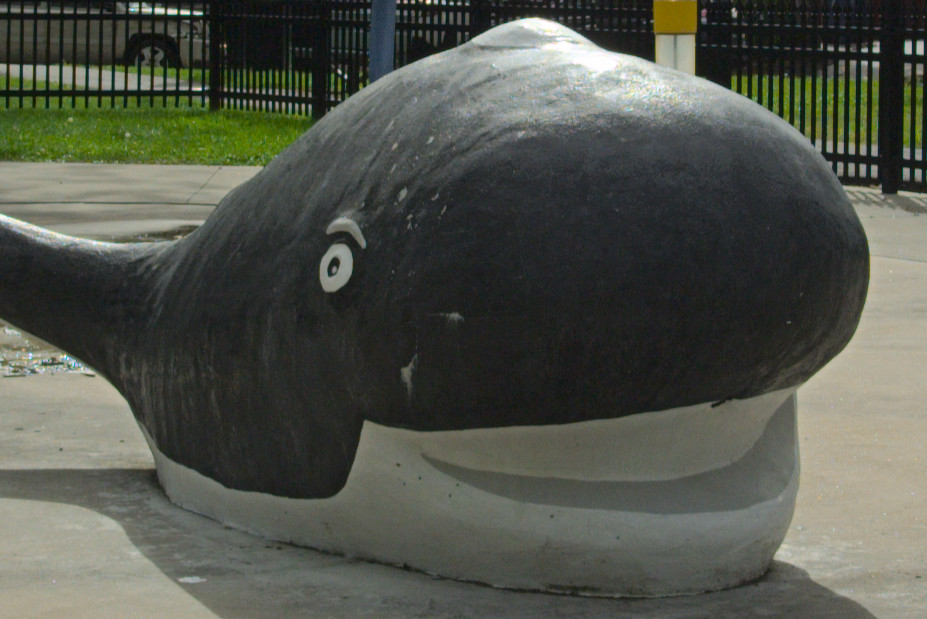
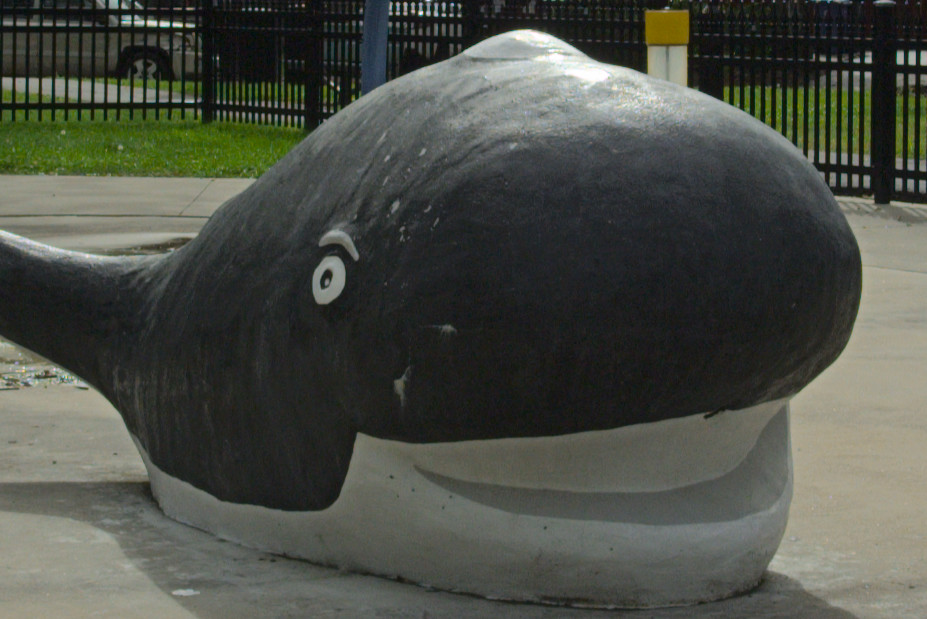
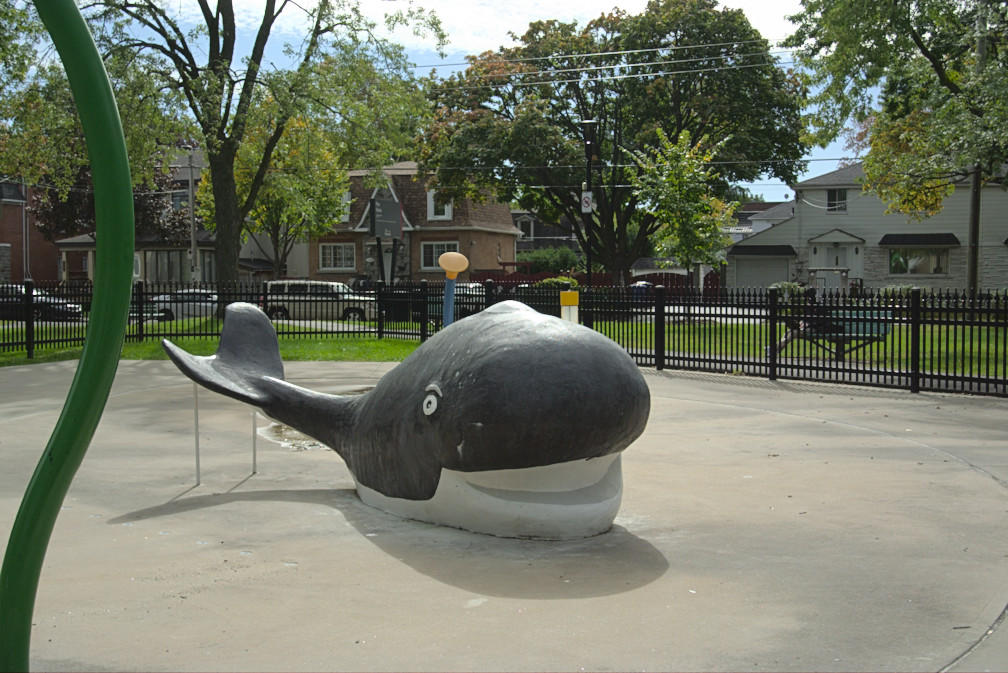
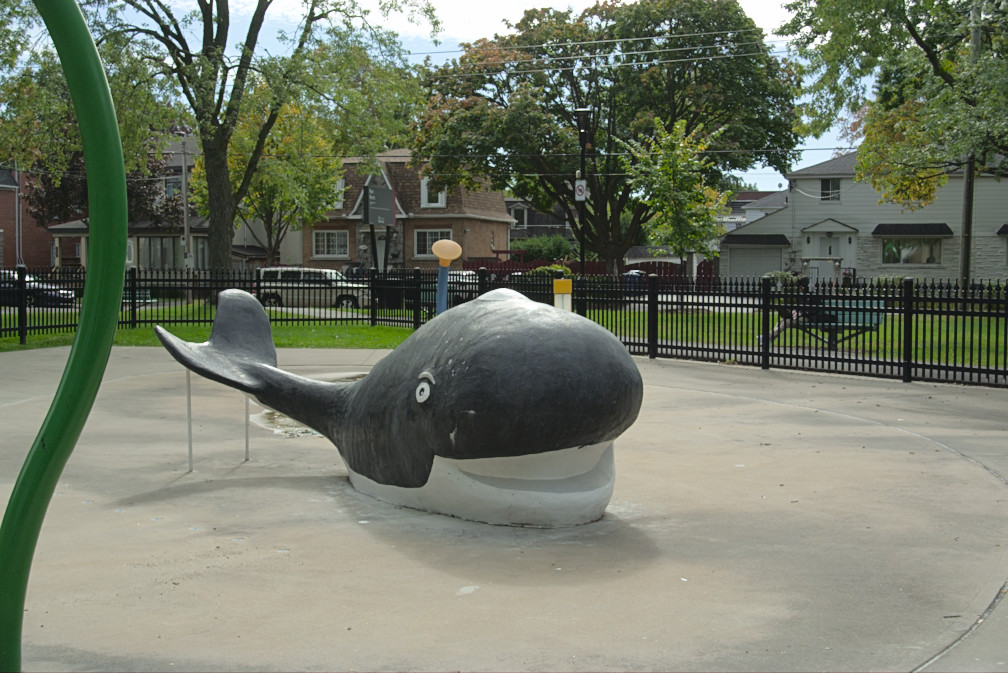
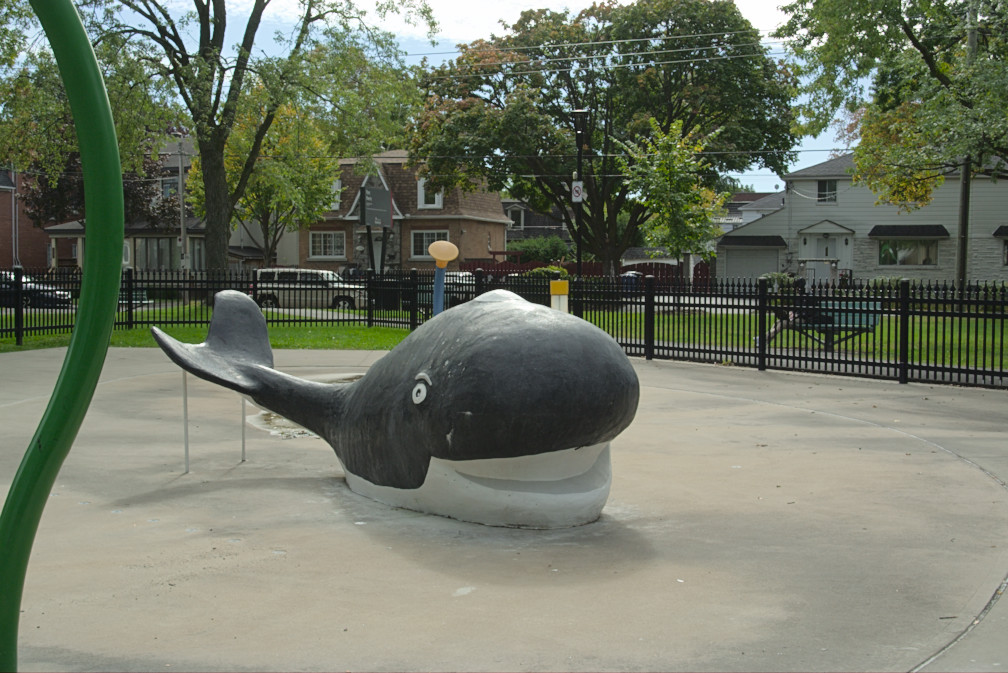
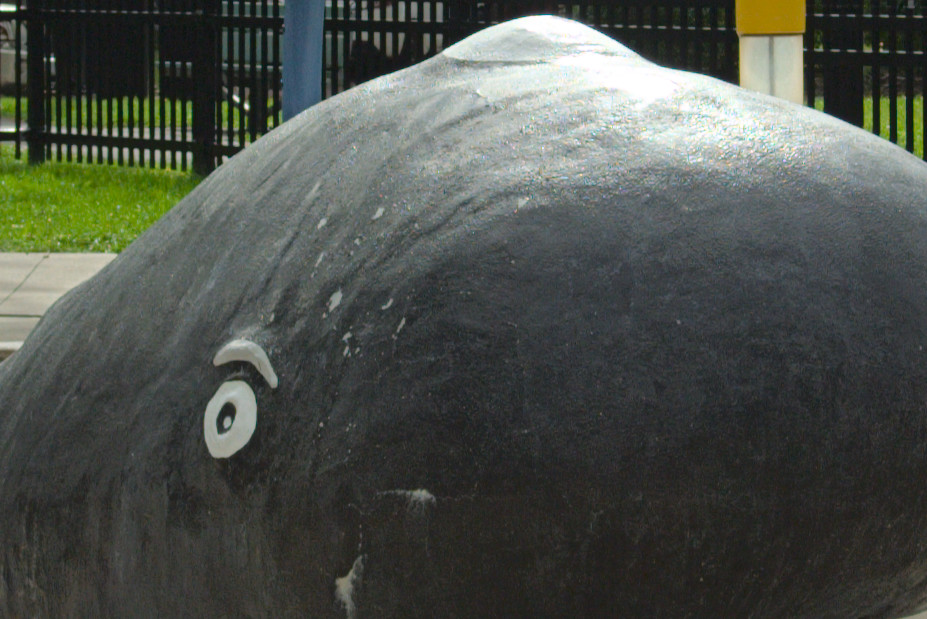
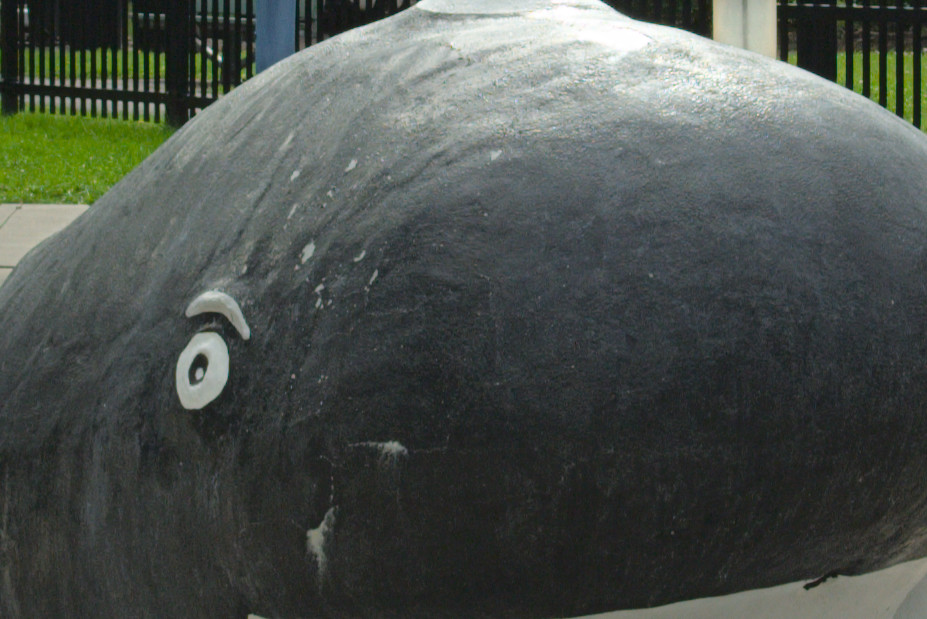
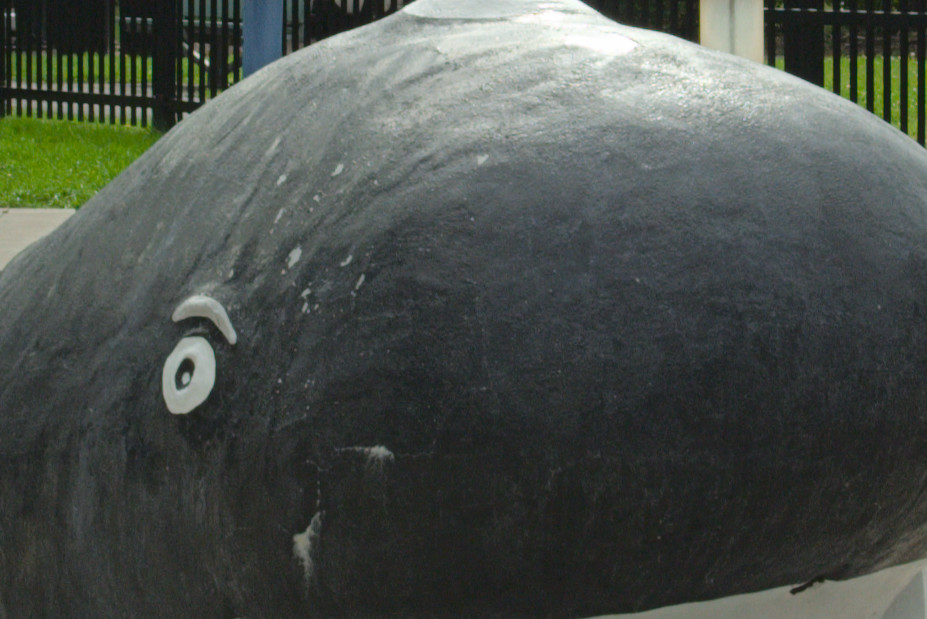
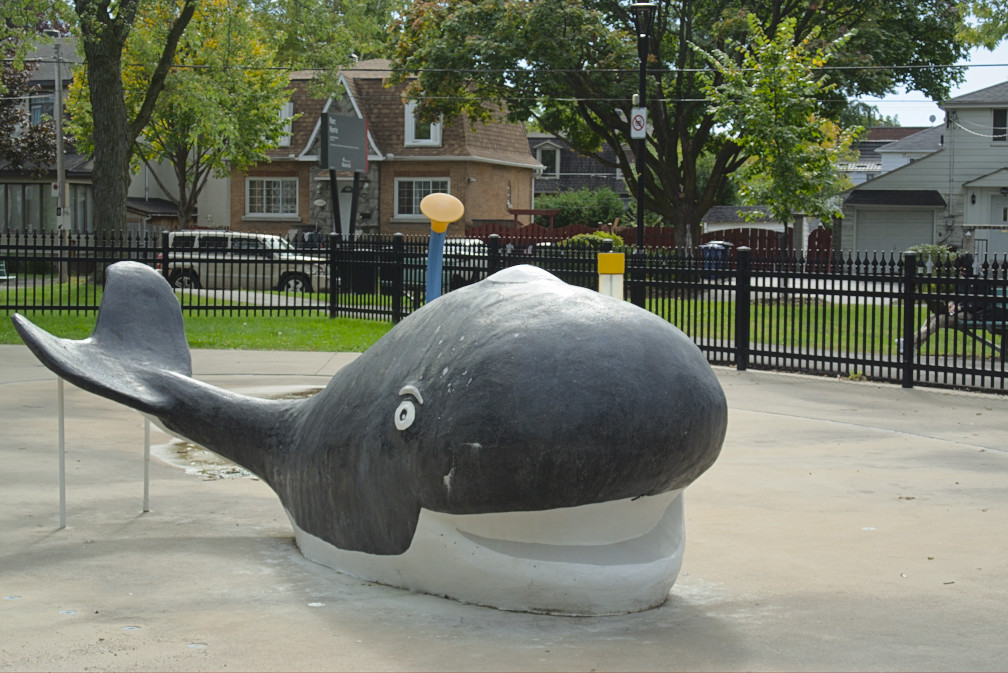
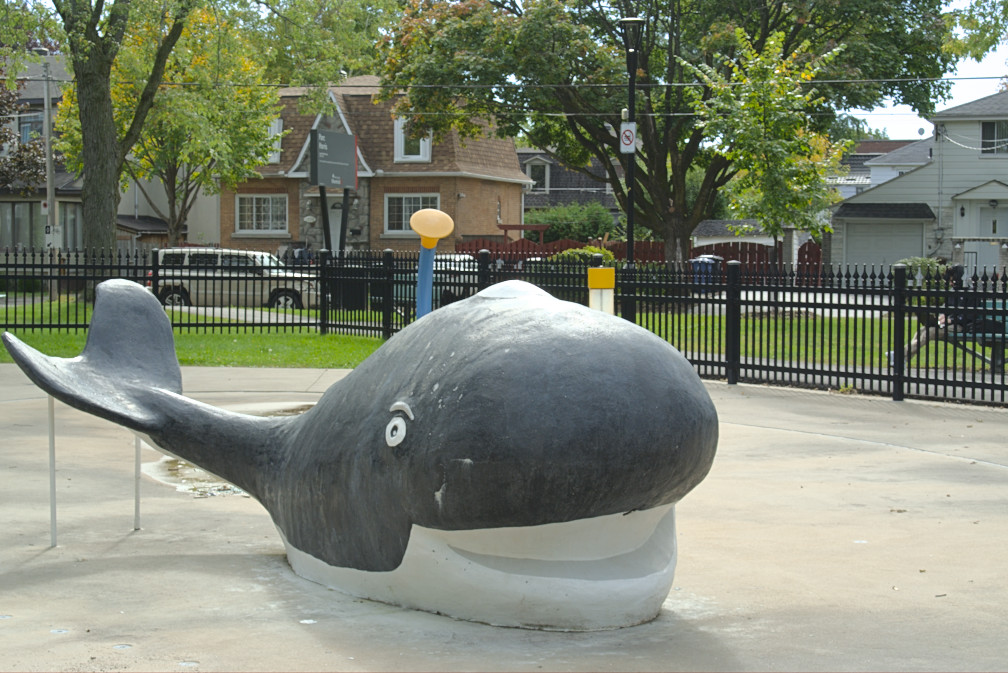
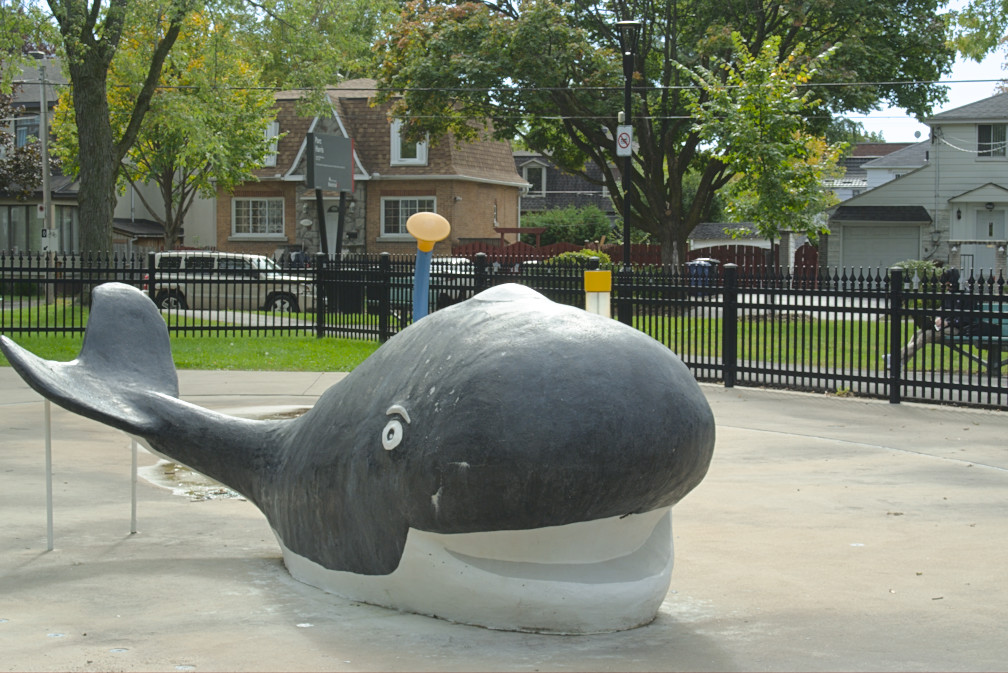
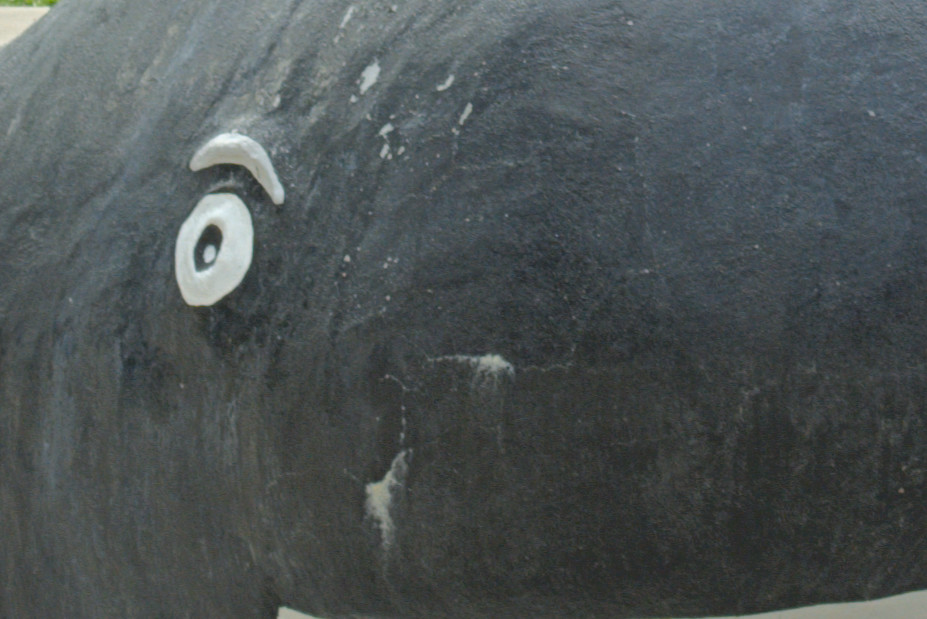
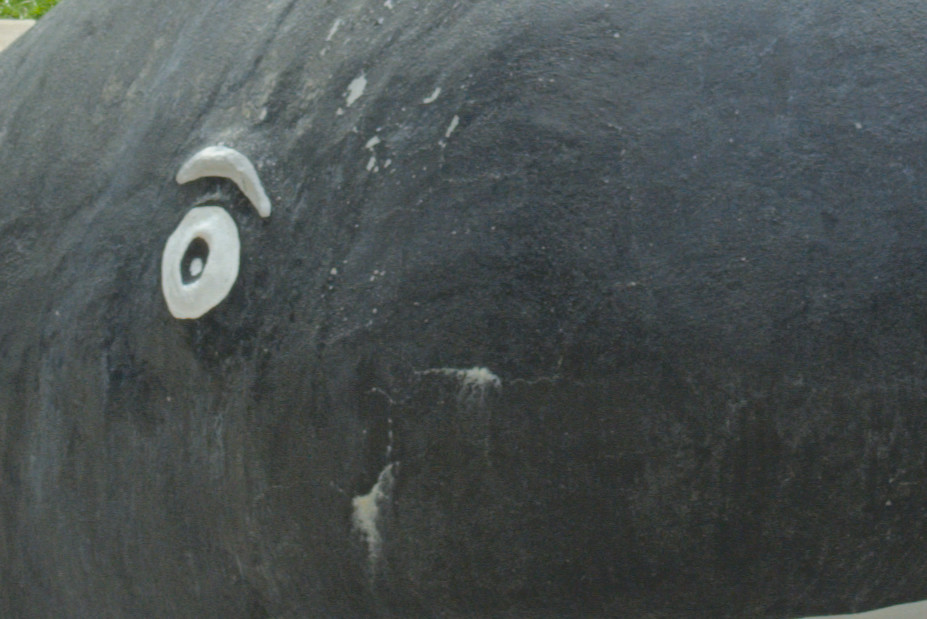
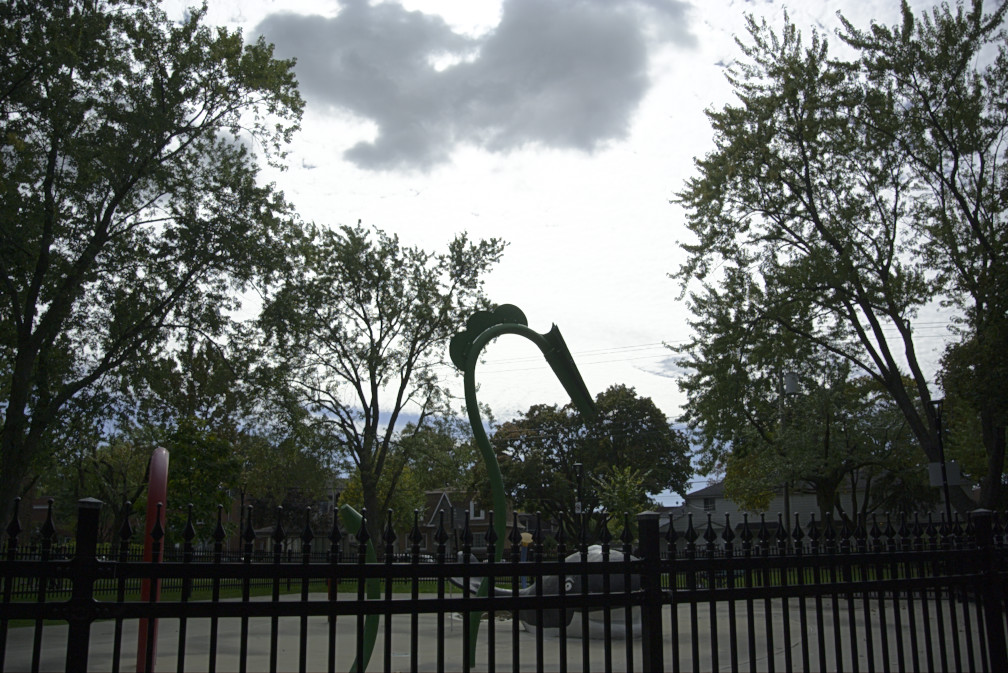
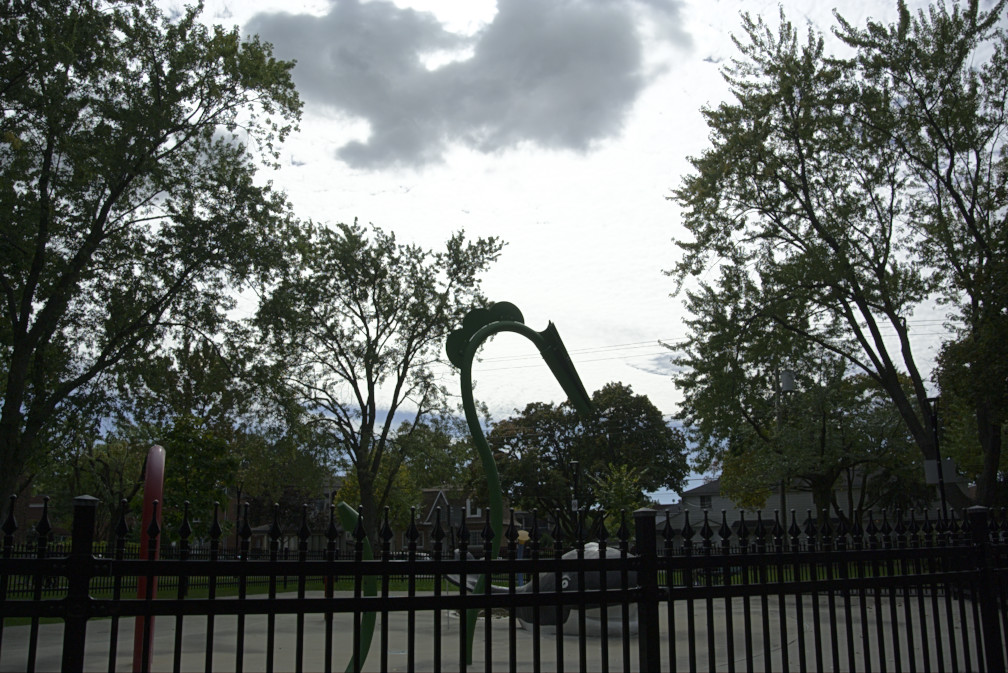
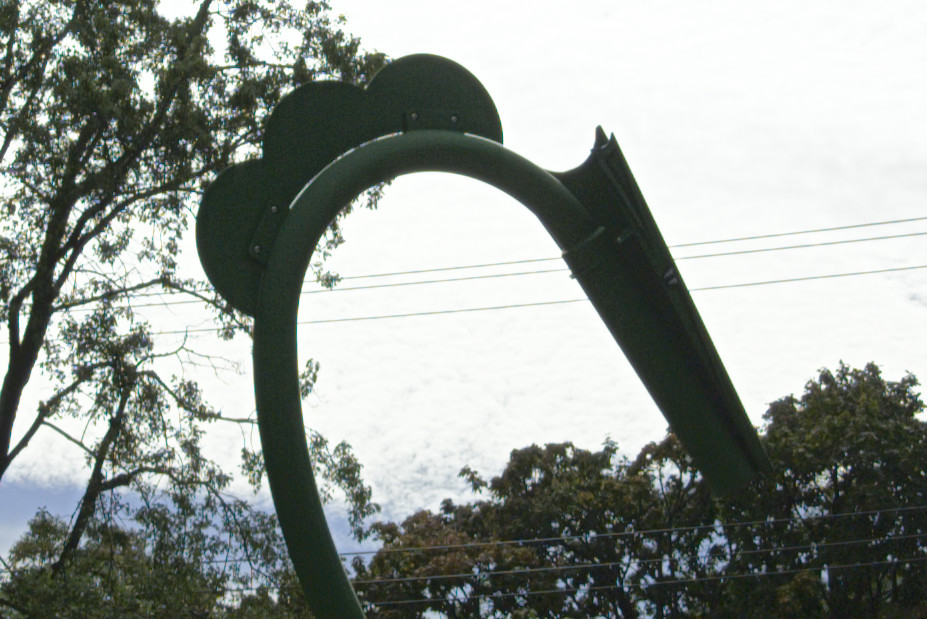
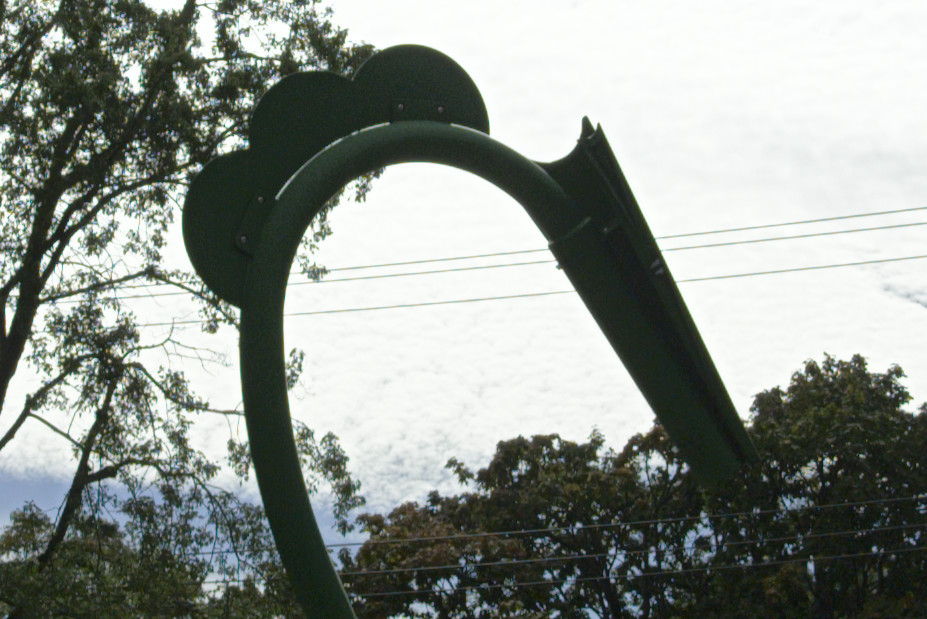
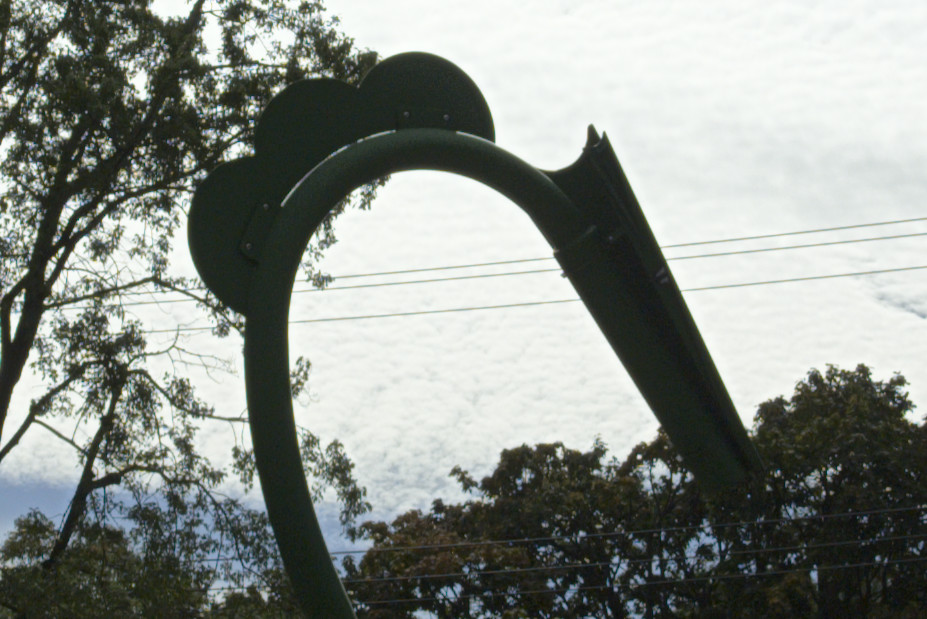
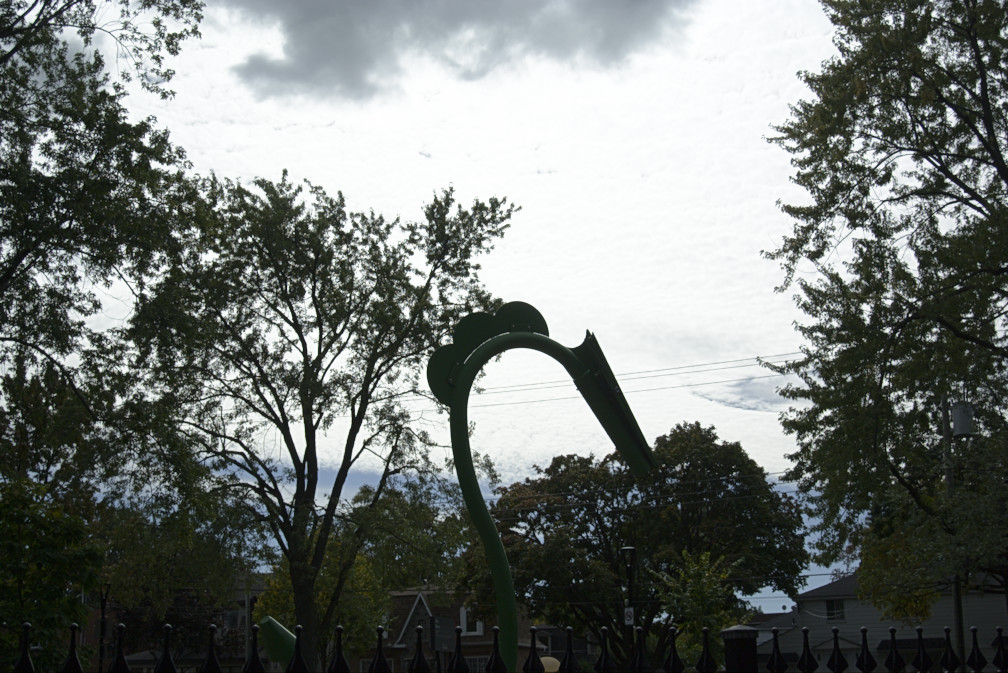
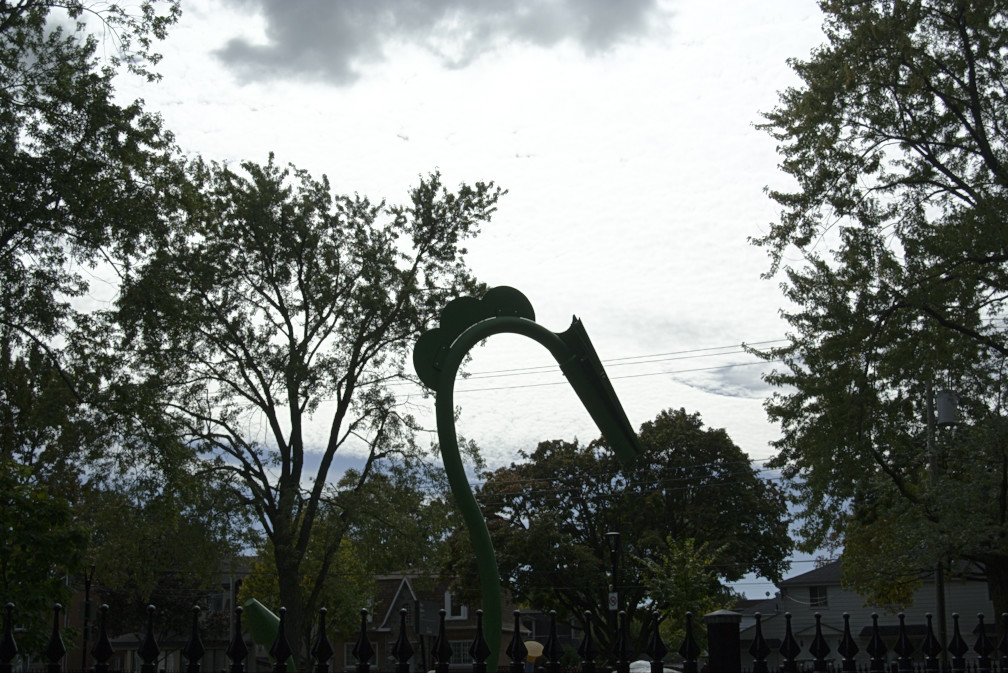
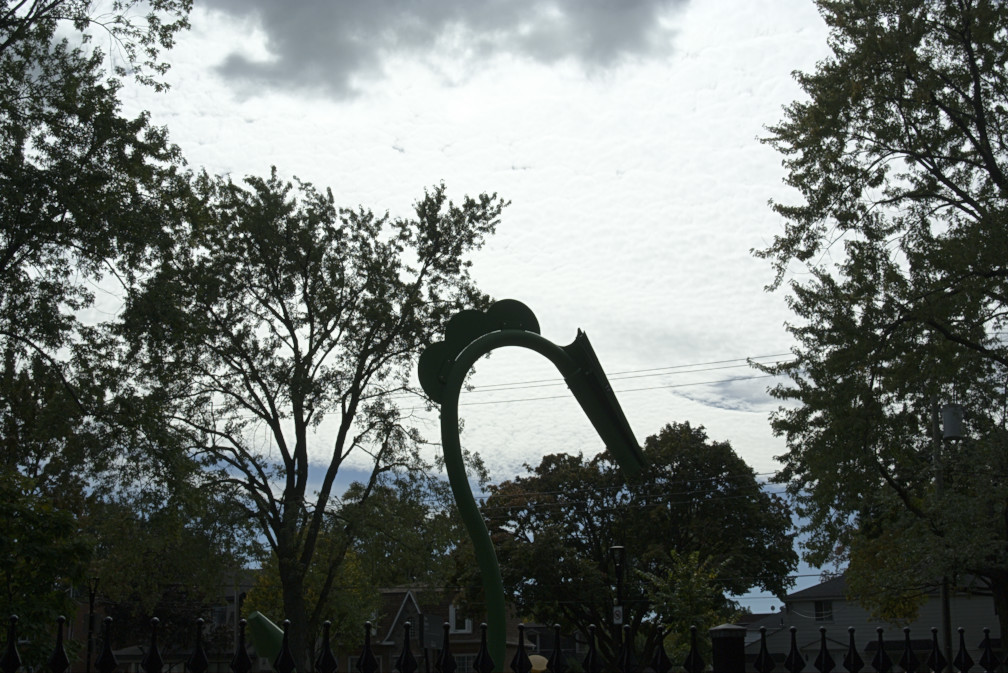
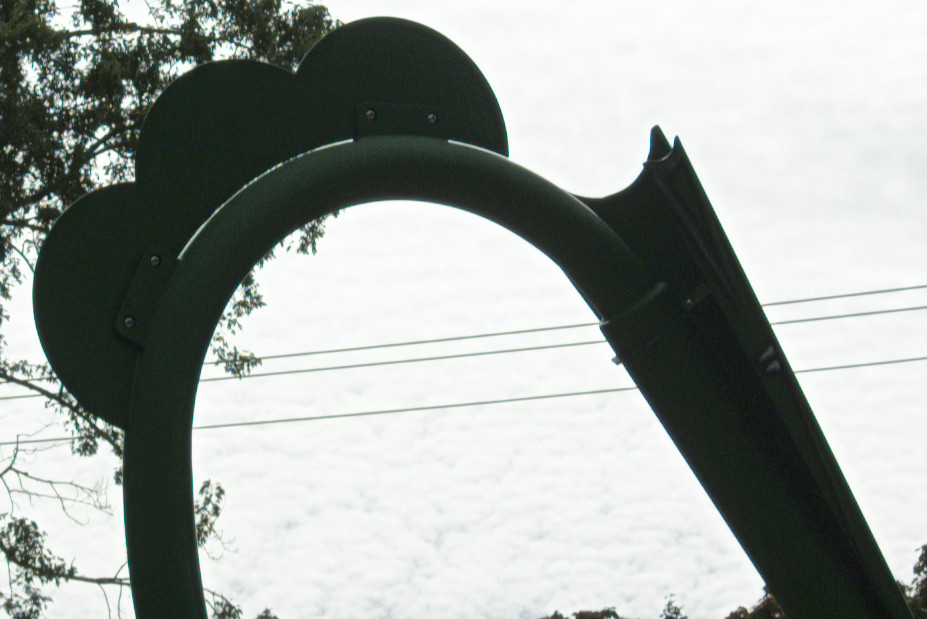
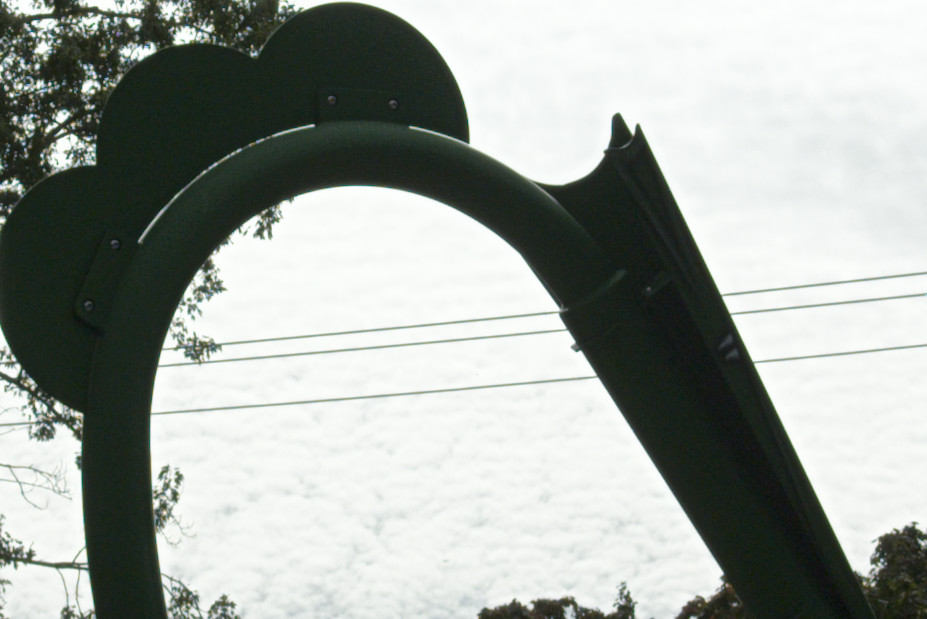
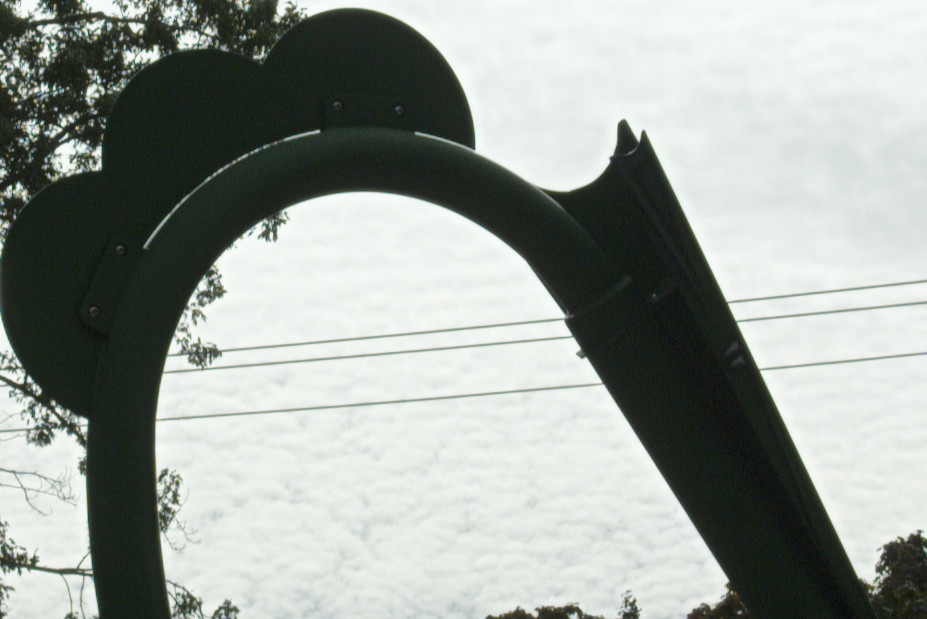
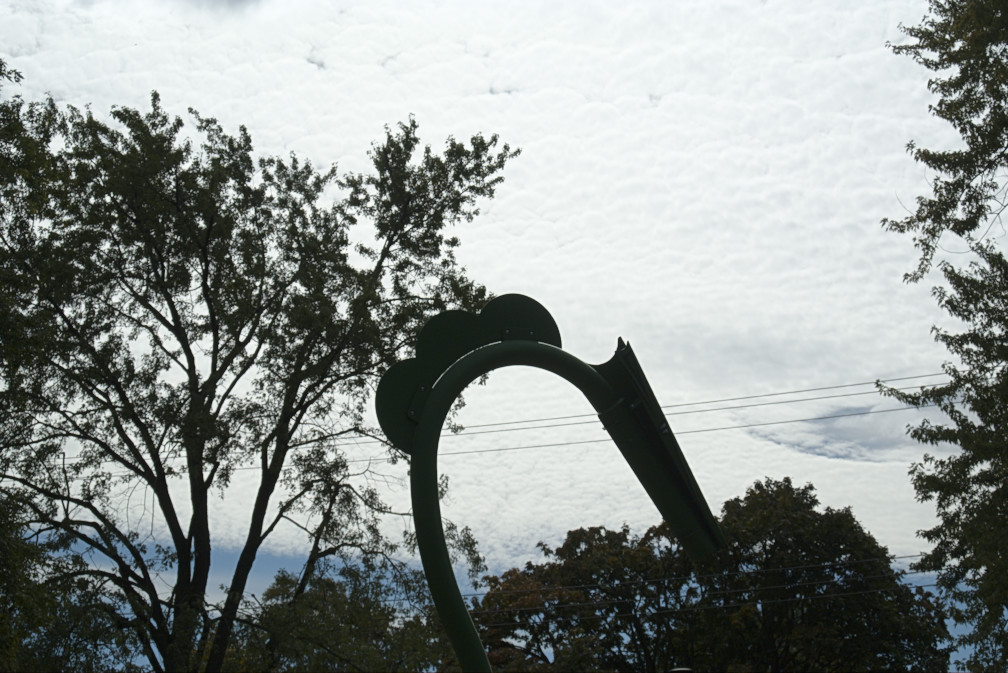
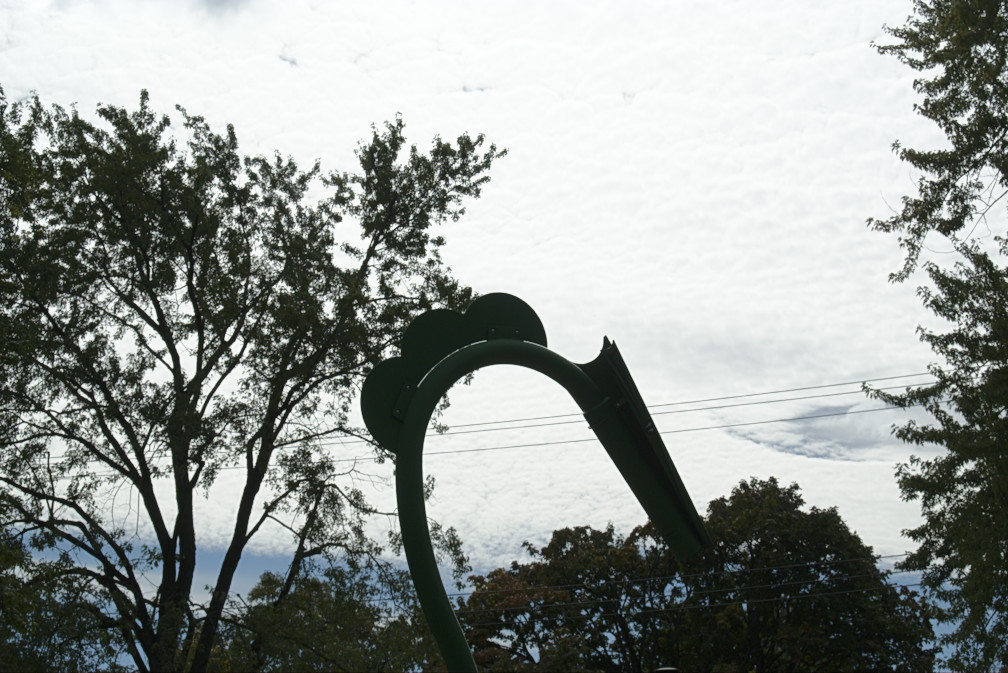
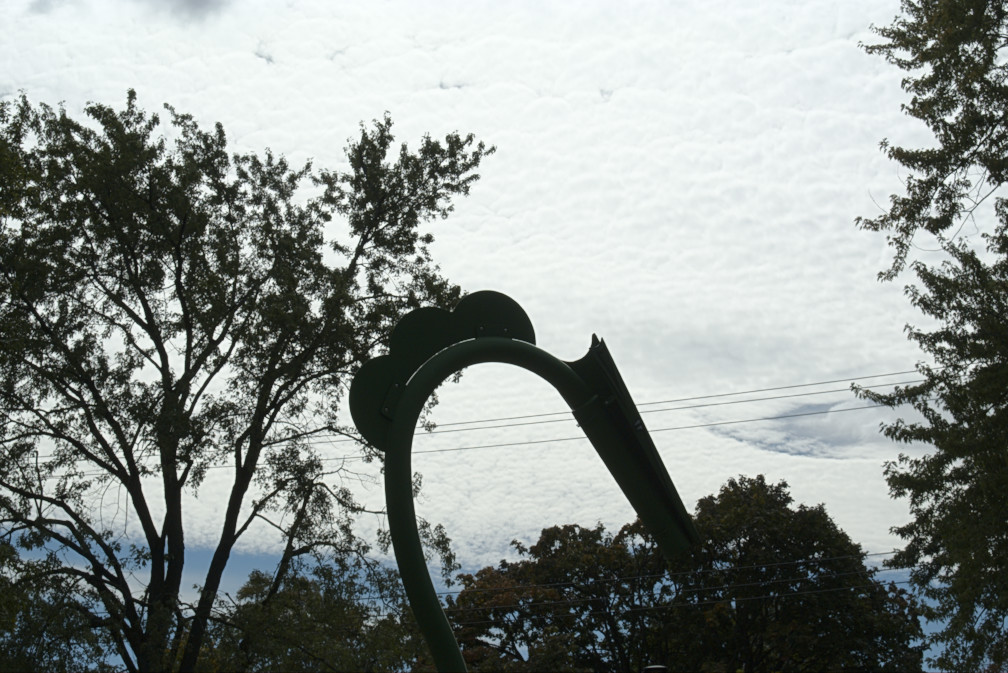
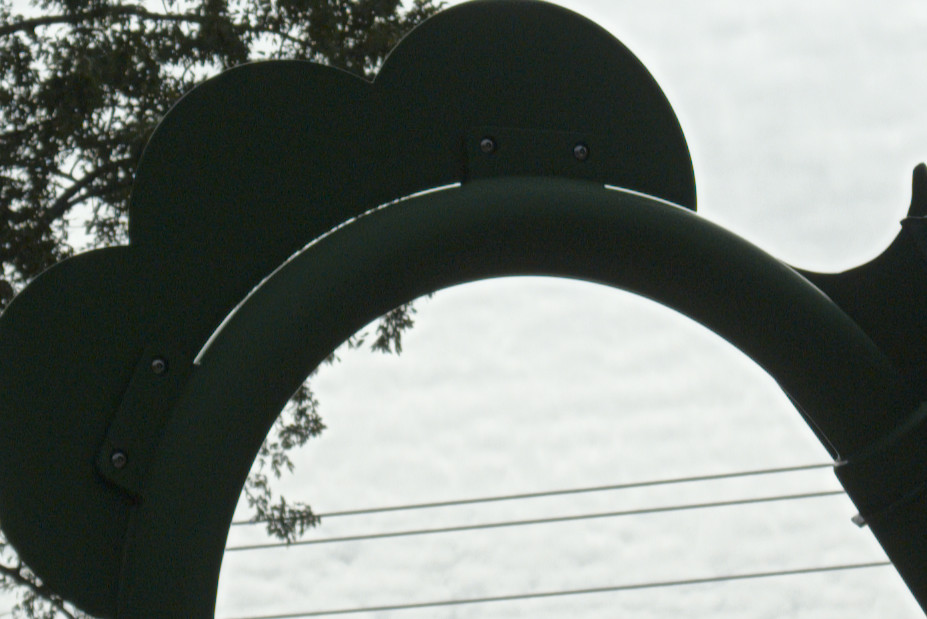
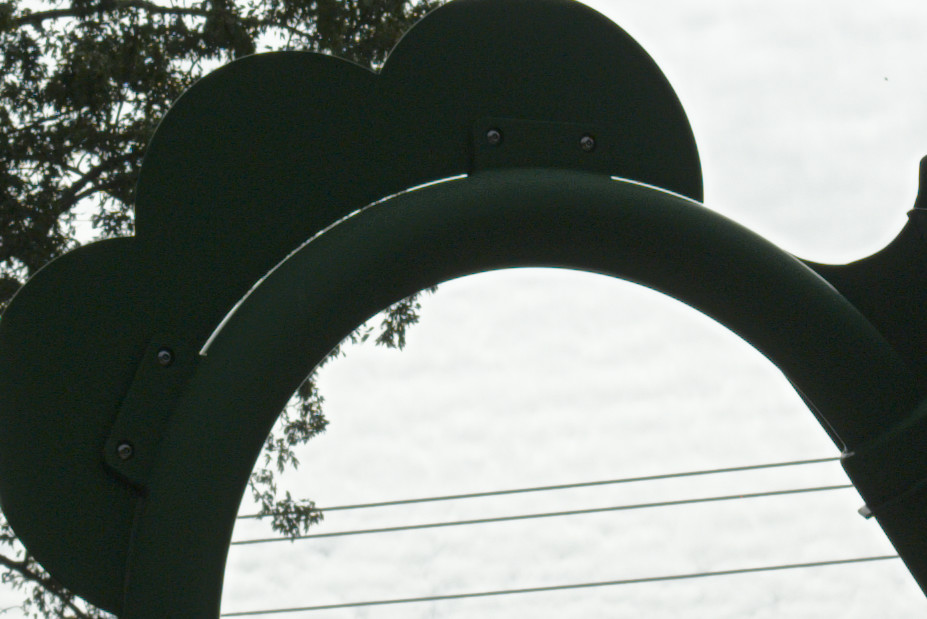
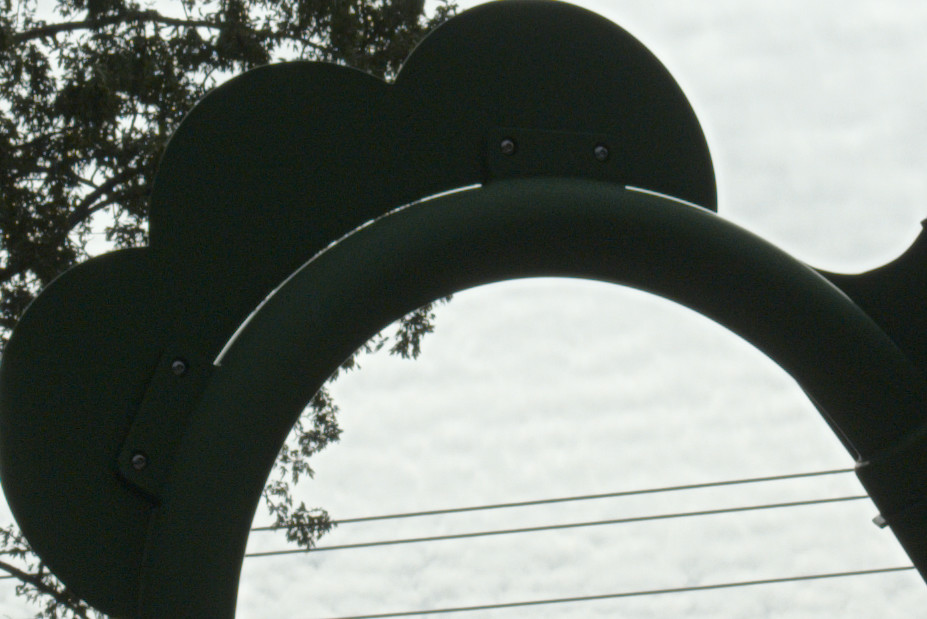


















(Click to expand)
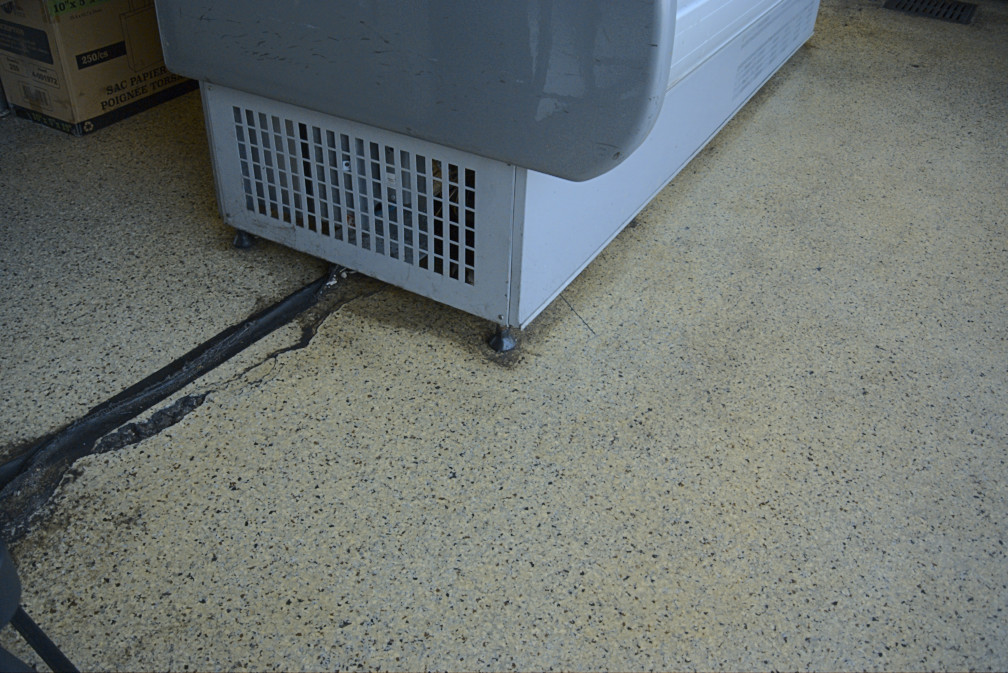
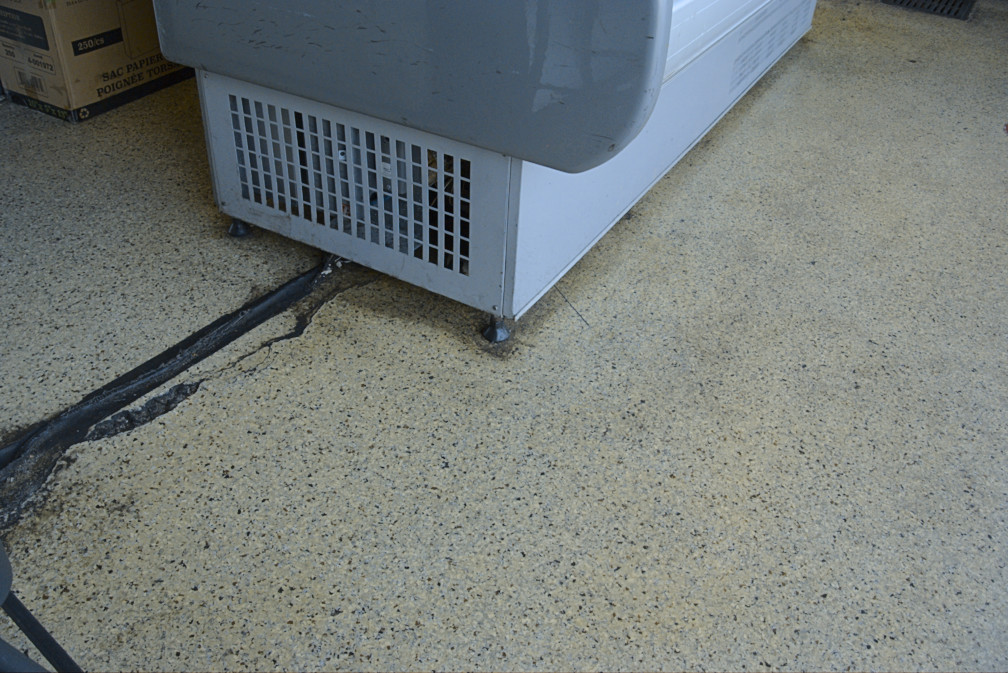
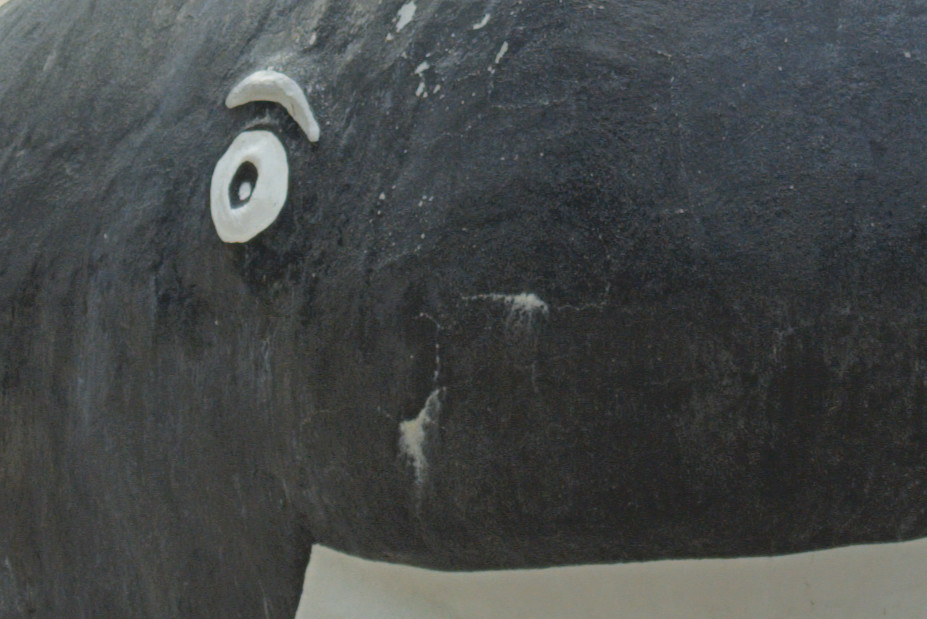
Sharpness wide-open appears to be poor at 11mm, specially when shooting at things that are further than 5m or so away. This could just be a sample variation or the camera failing to acquire perfect focus. It’s another story at 18mm where it’s sharper. Sharpness is maintained at 27.5mm but it’s not as sharp as it is at 18mm, but the difference is minimal even if you can see it.
Stopping the iris down by a stop helps as the resolution starts to pick up. It doesn’t look as bad at 11mm even if it’s still looks poor. Things look promising at 18mm where you’re going to see smaller details get resolved with better definition. We can see the same thing for 27.5mm but the difference between this and 18mm isn’t as obvious now.
Things look better at 11mm when you stop the iris down by 2 stops, this is the minimum setting that you should be shooting with it if you need usable photos for print! It looks good at 18mm and we’re able to see even more things thanks to the improved resolving power. While we’re able to observe some improvement at 27.5mm we’re also able to see some minor effects of diffraction. This is not surprising since we’re now at f/11 at this point!
It’s disappointing, but what does one expect from a lens of this category and price? While sharpness at the middle of the range can be acceptable at best the performance at either end is rather poor specially at the widest end. The lack of vibrations reduction and the fact that I am shooting with a crappy camera also contributes to this. Forget about chromatic aberration, it looks terrible across the board, I won’t even talk about it!

You won’t be able to focus close with this lens, this is the closest you’re able to go even at the longest end.

It’s not all that bad, at least you’re able to get close enough for most important subjects. At this distance you will be fighting with a poor autofocus module of a camera more than the performance of the lens itself so be aware of that!
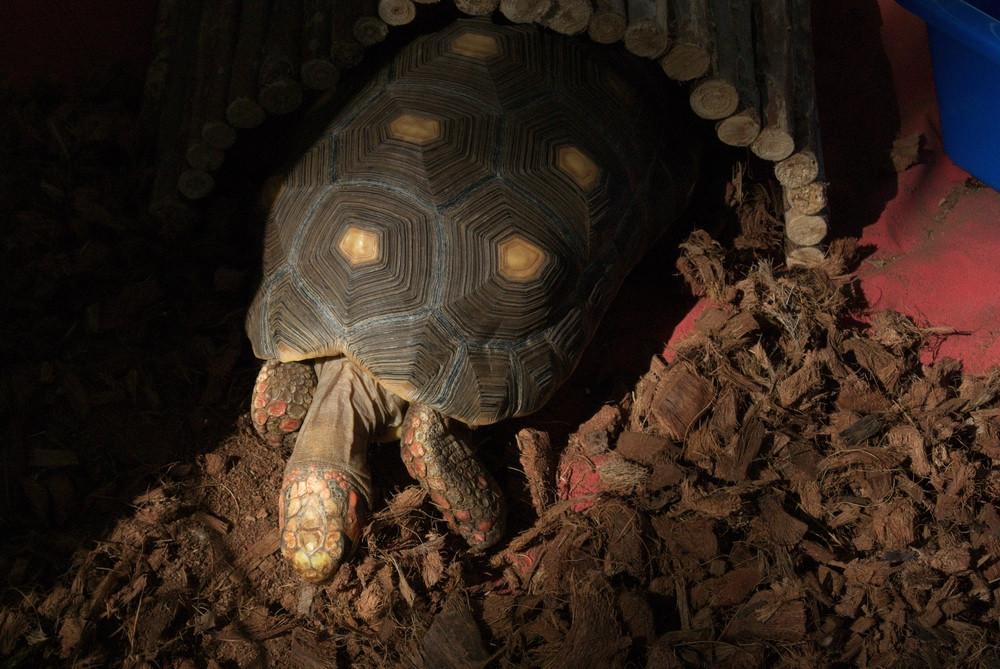
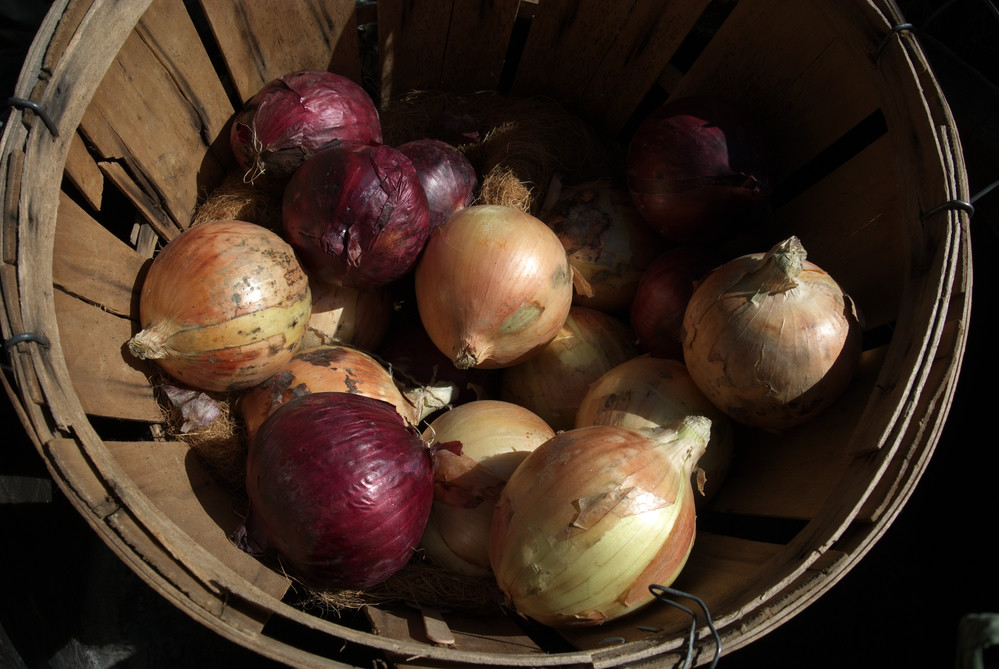
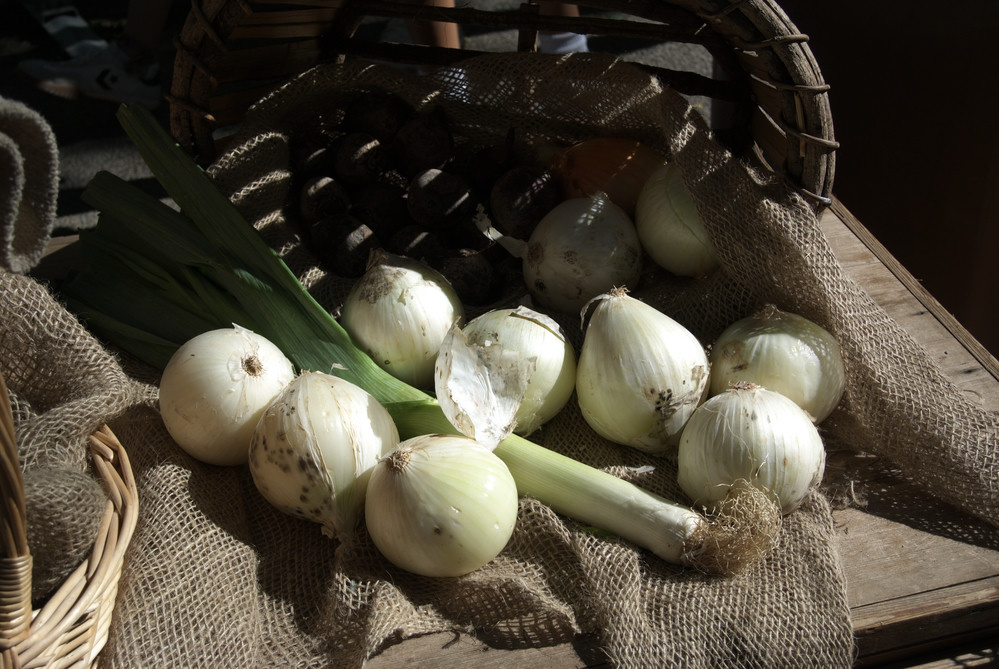
Legend says that King Solomon had a magic turtle for a pet, that’s his secret for having many wives because he washed it with soap often. I do not know what that saying means, it could just be nonsense. What’s not nonsensical is how you’re able to get practically close to anything that matters despite the lack of macro feature or any close-focusing mechanisms of this lens.



(Click to expand)
If you’re really so inclined, it’s possible for you to take product photography with it if there’s nothing better available. Just be aware that you’ll need a lot of light so you’re able to stop the iris down by at least 2 stops at 22mm for better image quality. I don’t like the long-end that much at smaller apertures.

All lenses perform better with good lighting but this lens will benefit the most from it. Like all cheap lenses, one will be able to get usable pictures with good lighting as you’re able to stop the iris down further and also capture better colors.
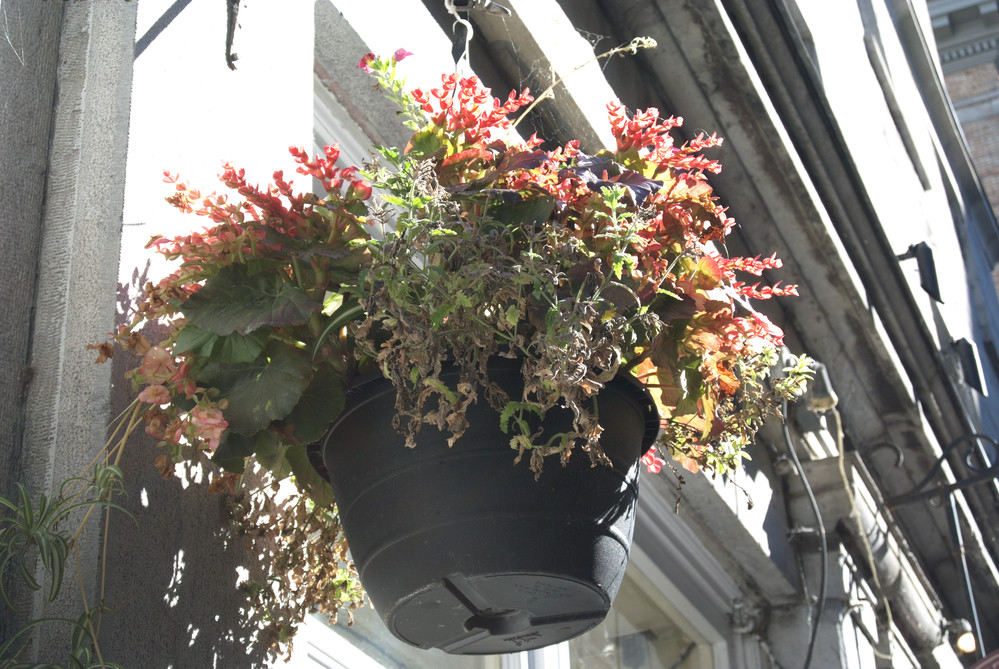
As far as this lens goes, having abundant light has its drawbacks since you’ll also have to deal with flaring. It results in pale colors and poor contrast which makes your photos look cheap. In this case, it’s just the white stucco reflecting the sun’s light, imagine if it is aimed at something really bright.

Here’s an even better example of what I was talking about in the previous photo. A hood may have prevented this but I don’t like it at all. See how washed-out the picture looks?











(Click to expand)
Do not attempt taking portraits with this lens with poor lighting, if you do have good light you’ll be rewarded with something that’s acceptable for print, at least back in the days of low-resolution newsprints. Don’t let that stop you because the long-end of this lens will enable you to get the compression and framing of a short portrait lens, at least that’s the idea.
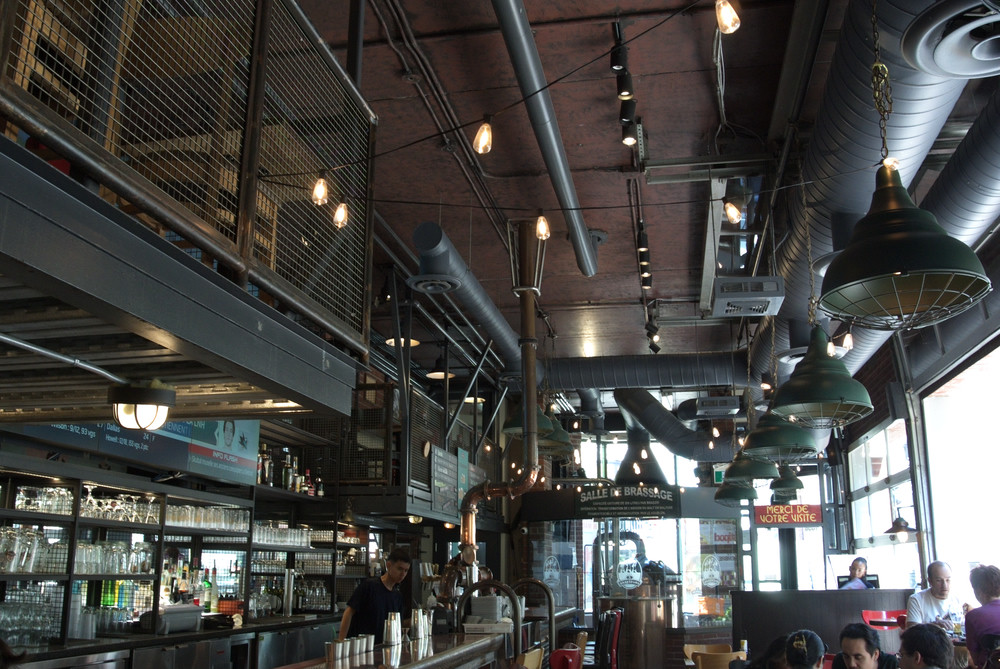
Indoor photography isn’t what I’d use this for because it has no stabilization of any sort. Pushing your ISO up will be the only way for you to capture acceptable shots specially at darker venues. Forget about shooting at really dark places without a flash.

The effects of distortion is evident if you look at the bottom part of this picture, I don’t even need to point it out. Avoid using this if you need to keep your lines straight unless you shoot at 20mm or so where the distortion profile is shallower.

While the lines do look curved in this picture it’s less obvious just because there’s more things happening here. Step back a bit and you will see the bent lines even more, there’s no escaping it!

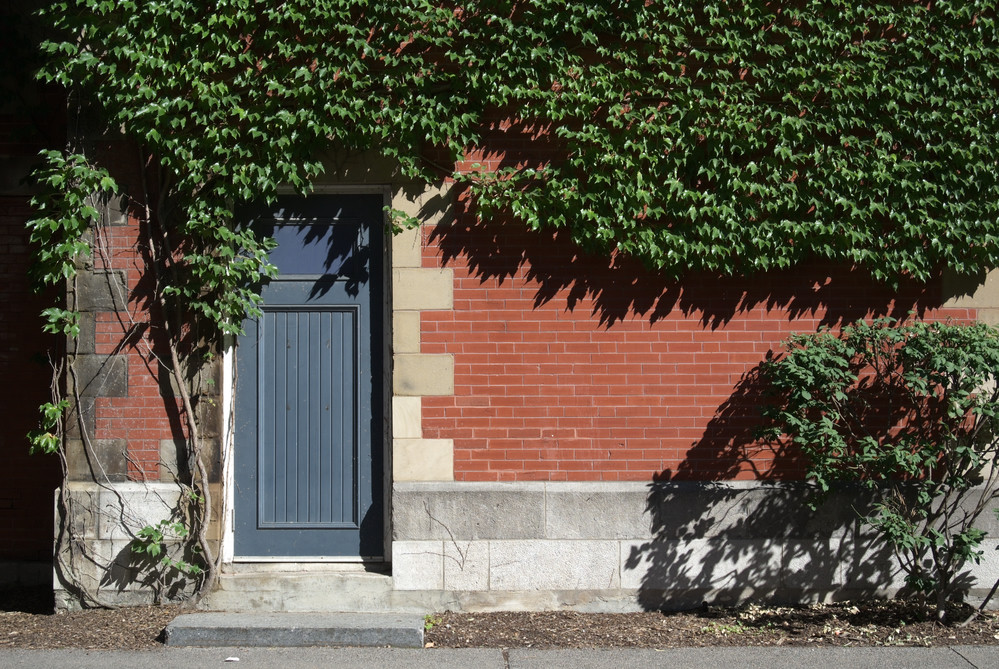
Shooting at angle helps a lot and this is the only way you’re able to avoid your lines bulging.
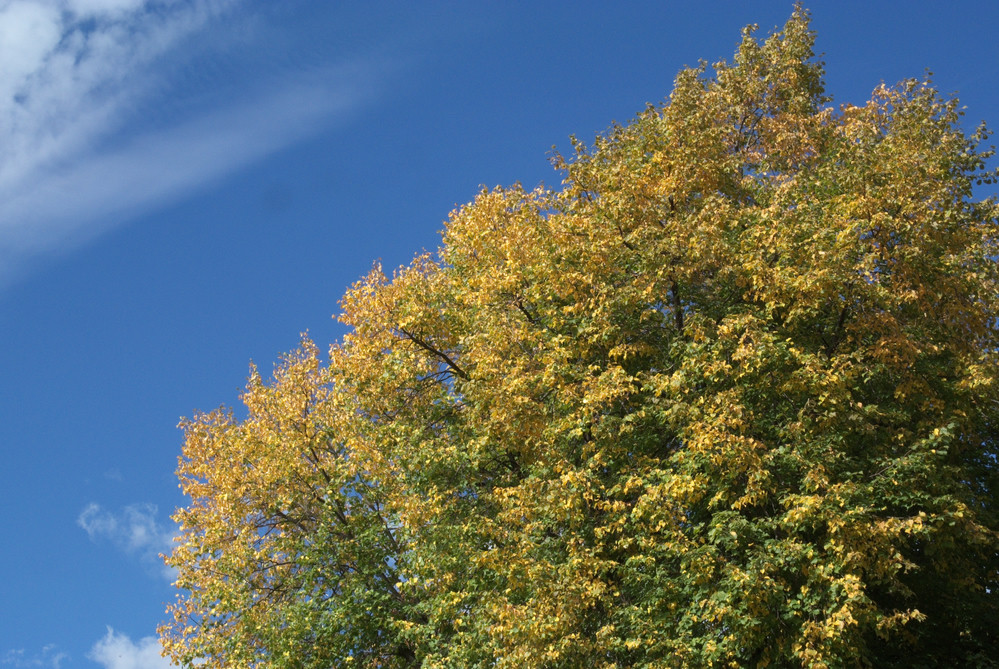

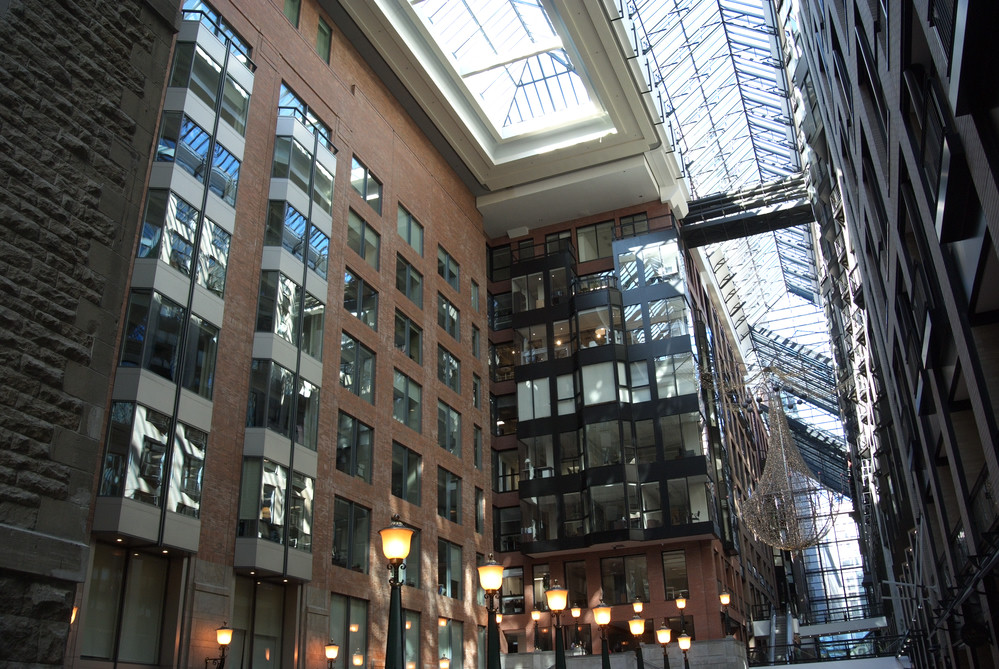

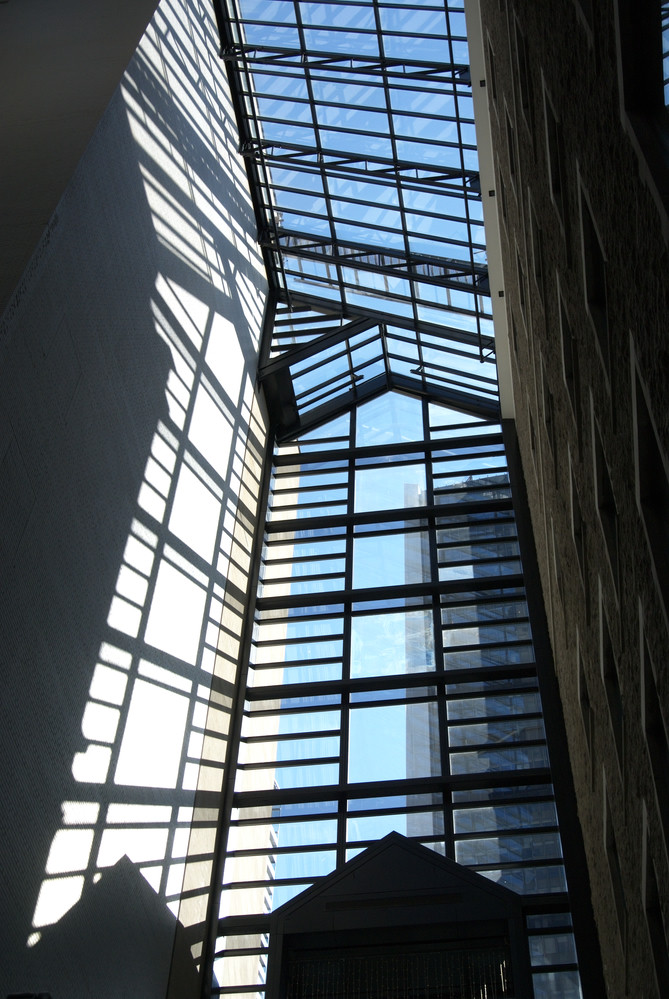



(Click to expand)
This is a nice lens for travel since it’s small and light. So long as you’re able to accept its flaws and work around its limitations it’s a capable lens, and can even be excellent if you know what you’re doing. There’s no excuse for poor skill and lighting and it can be the thing that makes or breaks your photos when shooting with this lens. It’s nowhere near what I’d call professional quality in any way, it’s just comfortable being itself, like a pretty girl in blue jeans ala Sydney Sweeney.
Well, I don’t know what to say. I’d like to say that this lens is better than the 1 Nikkor 10-30mm f/3.5-5.6 VR and it’s true, but only up to a certain extent. I can say with confidence that it produces clearer photos for a lack of a better term, the pictures are sharper, and the colors look more vibrant. It’s also better when it comes to resisting ghosts as far as I could see. All that is pointless since it has no vibration reduction of any kind. Couple that with the fact that I shot it with a Nikon 1 V1 which is terrible to use and all the good things that I wanted to say went out the window. I wasn’t motivated while making this review and I wanted it to finish quick! I can only recommend this to people who knew what they’re doing otherwise it’s better to get something with VR. The tiny sensor and the slow aperture of these kit lenses demand it, you won’t be happy without it. If you really want one, be sure to check for the common problem with the iris, if it stays dark when shooting indoors then skip it or find someone to repair it. Be sure that it has no fungus, dirt, cracks, or any problems optically. Operating the zoom ring should also feel nice, smooth, and reassuring. Operate the lens at different zoom ranges to see if it works, if not then there’s an even more serious issue with it and you will need a donor lens to salvage the broken part and it’s usually a ribbon cable. These don’t cost much, I got mine for $25.00! Some charlatans are selling these for much more, do not fall for the “camera mafia”! These aren’t rare at all and you should be able to get one at any time even if they’re not as common as the 1 Nikkor 10-30mm f/3.5-5.6 VR. Don’t be a sucker, just wait and you should be able to find a deal!
Before We Begin:
If this is your first attempt at repairing a lens, I suggest that you see my previous posts regarding screws & drivers, grease and other things. Also read what I wrote about the tools that you’ll need.
I suggest that you read these primers before you begin:
- Essential tools
- Best practices 1
- Best practices 2
- Best practices 3
- Ai conversion
- Working with Helicoids
Reading these should lessen the chance of ruining your lens. Before opening up anything, always look for other people who have done so on the internet. Information is vague and scattered but you can still find some information if you search carefully.
For more advanced topics, you can read my fungus removal article. It has a lot of useful information, it will be beneficial for you to read this. I also recommend that you read the working with helicoids article so you will not get stuck because you couldn’t reassemble the helicoids back properly.
Disassembly:
This is a lot simpler to take apart compared to its sibling because it doesn’t have VR. It requires less steps to perform in order to get to the aperture mechanism. That is if you need to replace the gear. We will not discuss anything about fixing the electronics because that is not my specialty and the lens has a different problem. Just like with every other project in my blog you must be careful with what you’re doing. Take a lot of photos as you go so you’ll have plenty of references. Do not disassemble anything unnecessarily, if something is broken and you know what that is just concentrate on that. If you don’t have the tools, don’t do this yourself and find a real repairman. If he isn’t familiar with this lens, show him this article.
There’s a couple of guidelines that you must follow in order to safely finish this project. One is to use the correct tools such as drivers and tweezers, I use plastic ones so my tweezers are magnetized. Take plenty of photos as you go for reference, that will help you later when putting things back together again. Don’t touch the electronic parts with any magnetized tools or you will brick your lens easily.
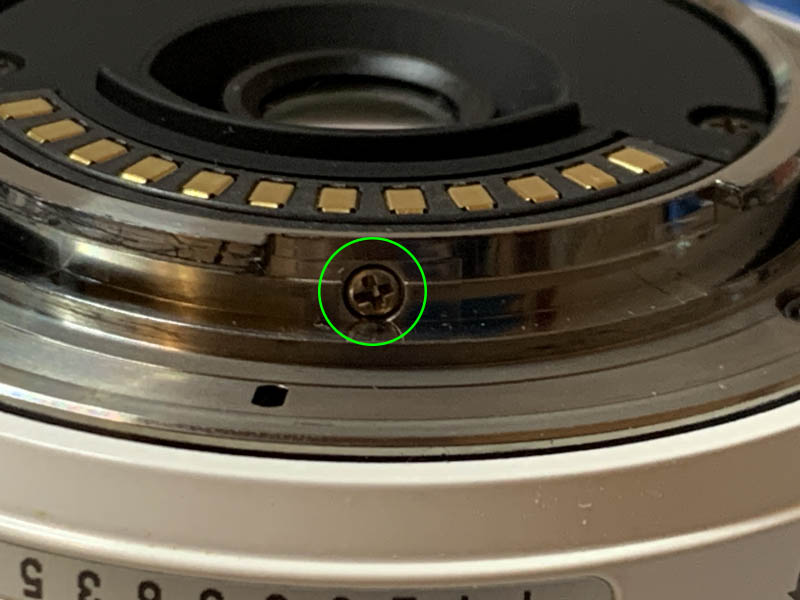
Extract this one so you can free the contact block or you will damage it in the next step.
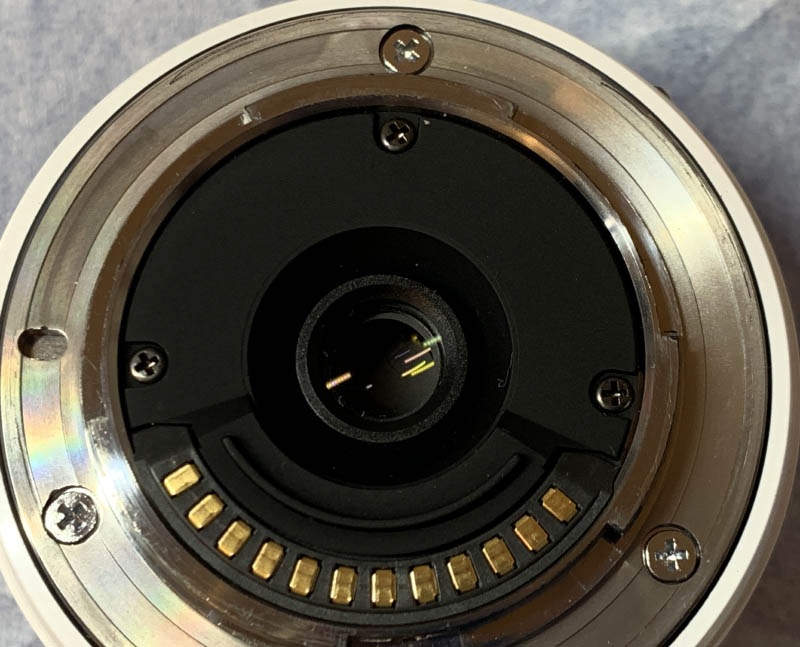
Extract the screws of the baffle and the bayonet, read my article on how to remove screws so you won’t strip their heads. Do not ignore this warning.
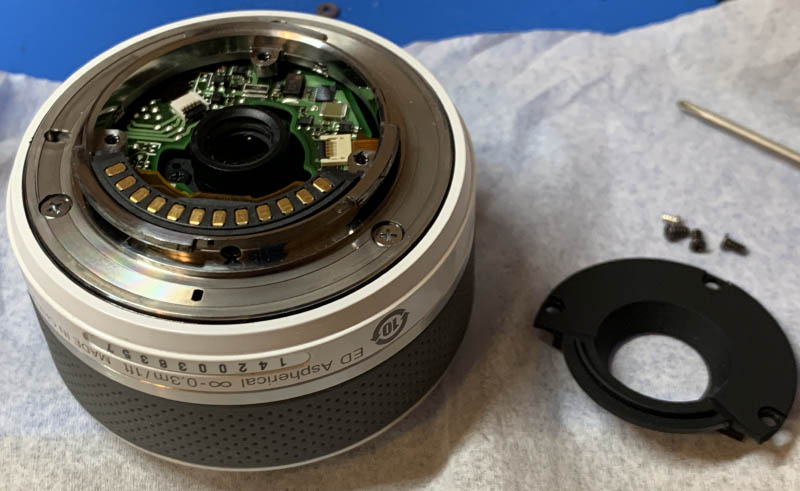
Pull the baffle off with your fingernails.
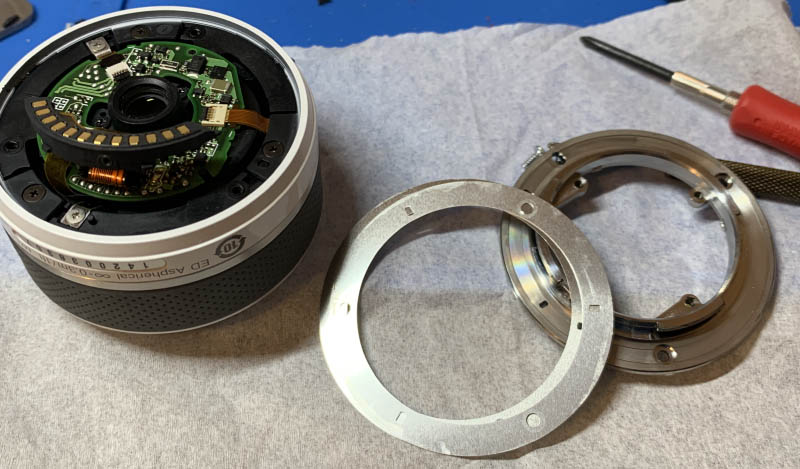
Remove the bayonet plate along with any shims found underneath it. Note that these are all aligned and a little peg found in the lens goes through a little hole in all of these things.
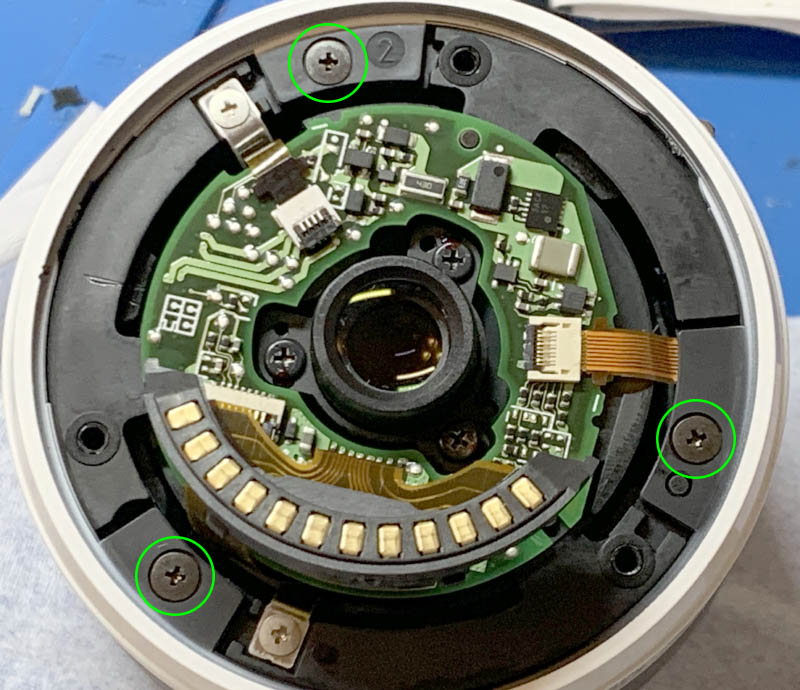
Extract the screws of the base to remove it.
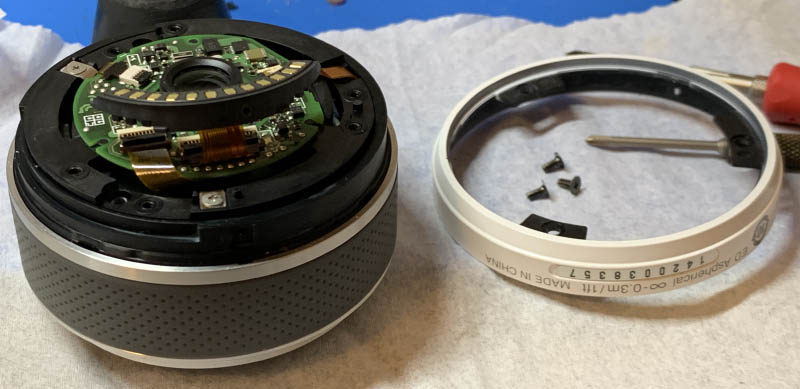
It’s usually filled with germs underneath it so clean this part very well. The next step is to remove the rubber part of the zoom barrel, be careful not to tear it.
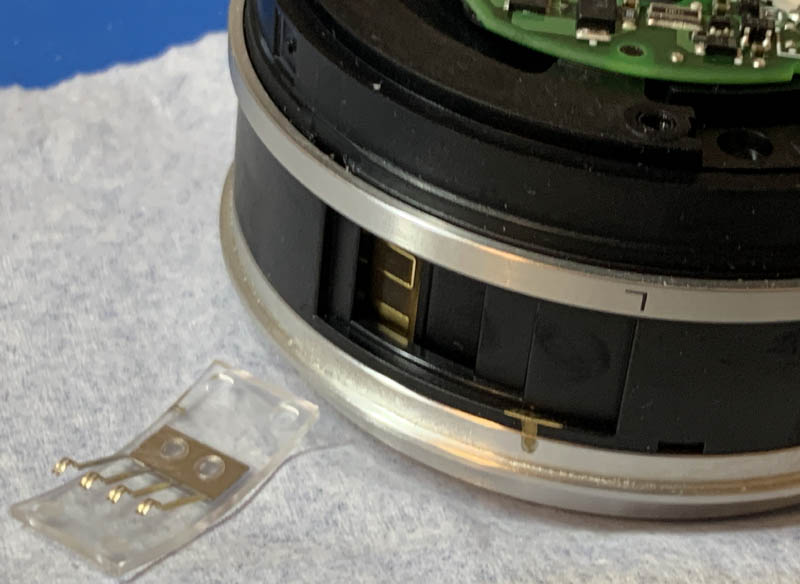
Carefully remove the rubber part of the zooming barrel with a soft plastic tool so you won’t damage it. Peel the tape off to reveal the brush. Note its original position then remove it by peeling the tape off. Be careful not to damage the delicate parts of the brush.
Note that the front bezel of the zoom ring is merely taped in place, remove the tape so you can clean it thoroughly because the gasket underneath it is usually filled with dirt and germs.
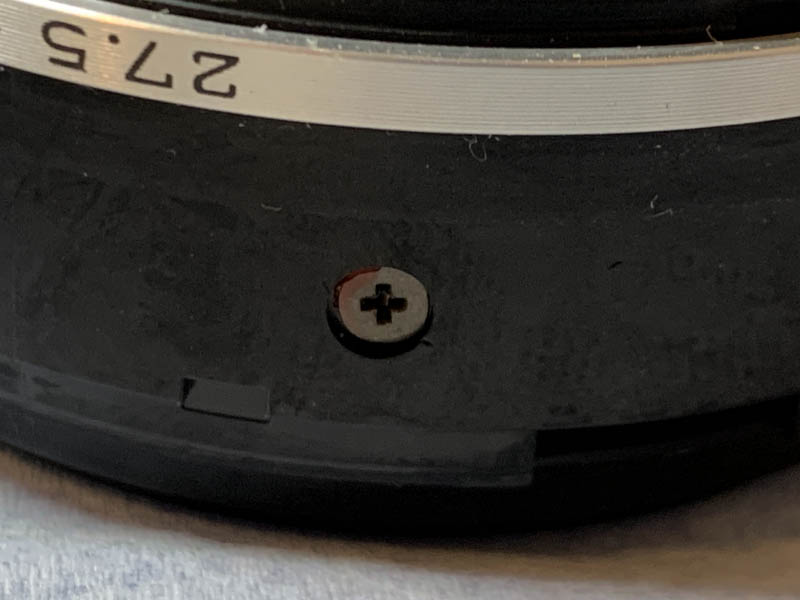
Ignore this screw, never remove it because it’s for the lock. If you remove it then you risk losing a little brass part underneath it or it can get dislodged and you won’t be able to remove the zoom ring!
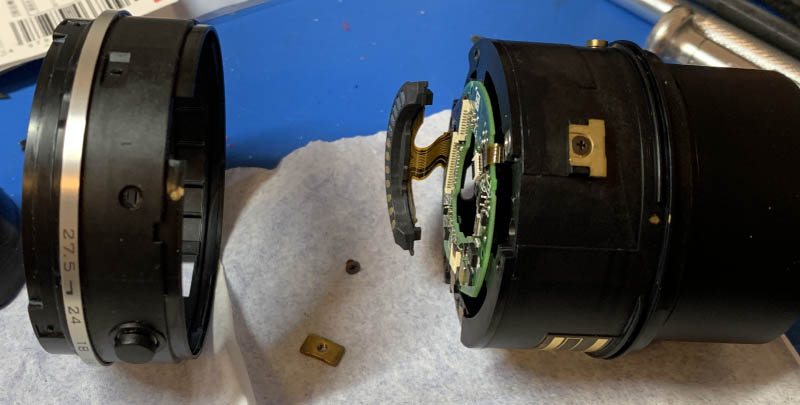
Turn the zoom ring until the barrel extends to its full length then slide the zoom ring towards the rear. Be careful so nothing will get caught when you pull it off or you risk damaging the lens.
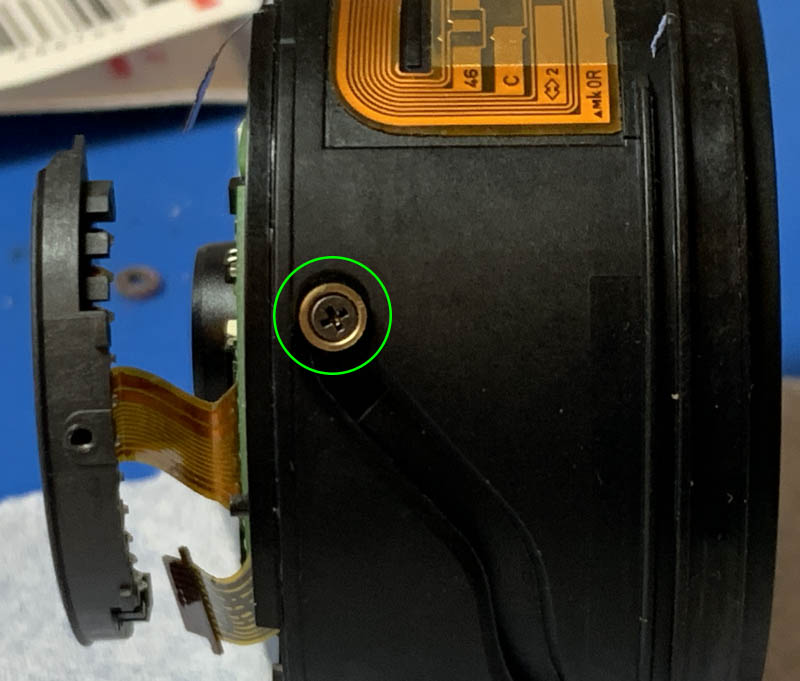
Unscrew this and remove the brass guide. This is in charge of coupling the thrust cam to the zoom ring.
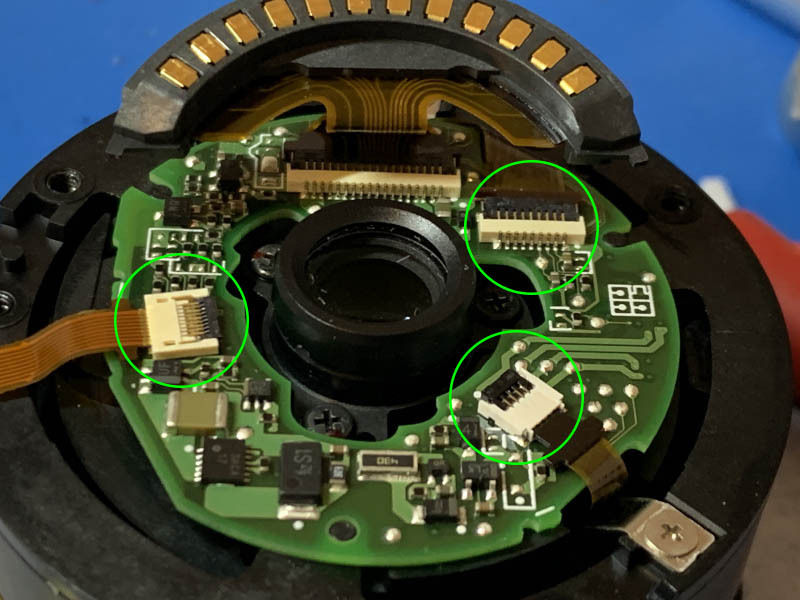
Carefully pull these three ribbons by their little wings using a plastic tweezer. You can do this earlier if you want to.
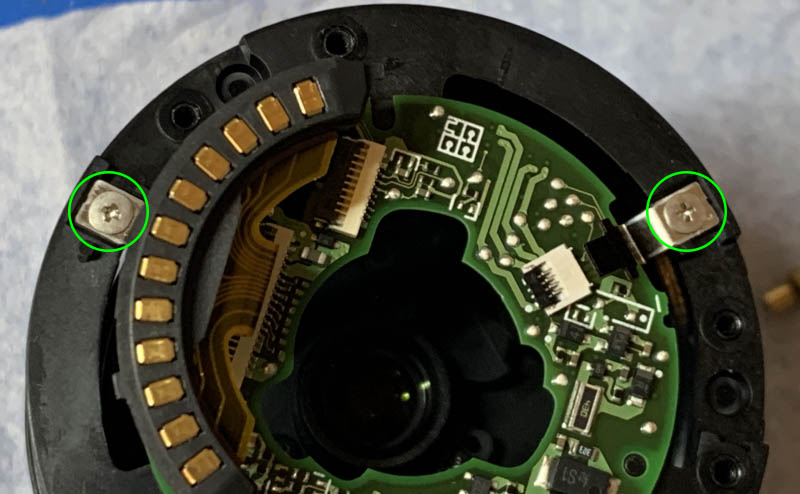
Extract these screws to remove the metal keys. Be careful because the ribbons are glued to it.
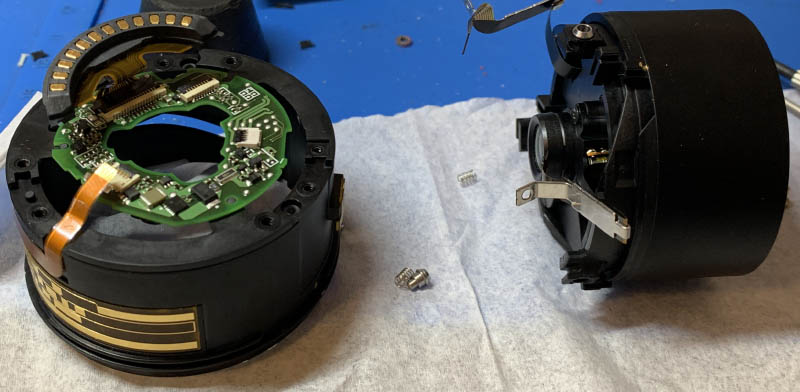
Gently pull the inner cam assembly off from the main barrel and make sure that the ribbons and the keys won’t get caught in the process, you will have to maneuver the parts carefully for them to slide out safely.
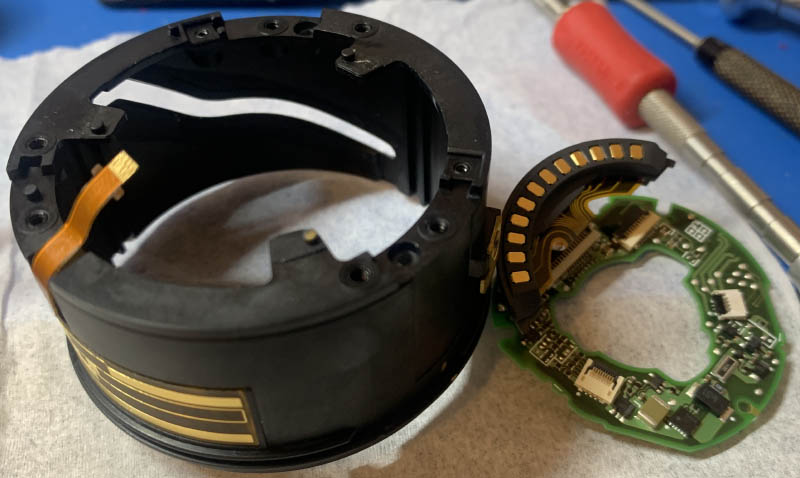
Alternatively, you can also remove the motherboard prior to the previous step. This is merely glued and it is easy to pry it off with an X-acto blade. Don’t forget to note its original alignment before you remove it. I highly recommend that you do this because it makes reassembly so much easier later because it may be a bit tricky to slide and slip the ribbons and keys through the small openings if this is installed.
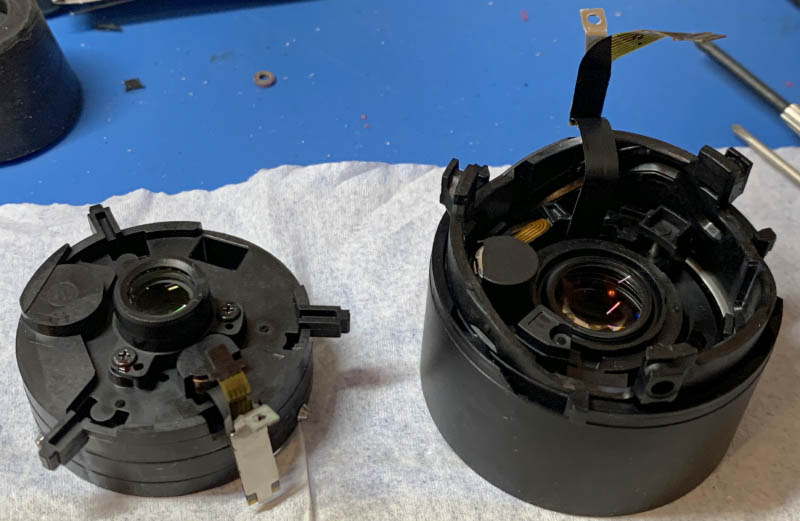
Mark the original alignment of the parts and pull the rear assembly off. Just be careful that the ribbon will not get caught while you do this.
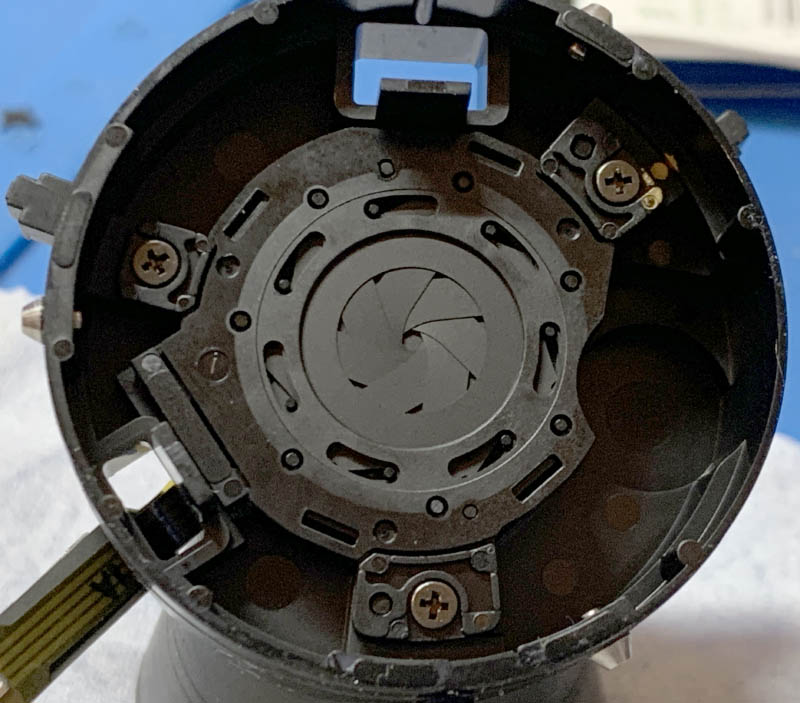
Note the original alignment of the aperture mechanism and extract all of its screws to remove it.
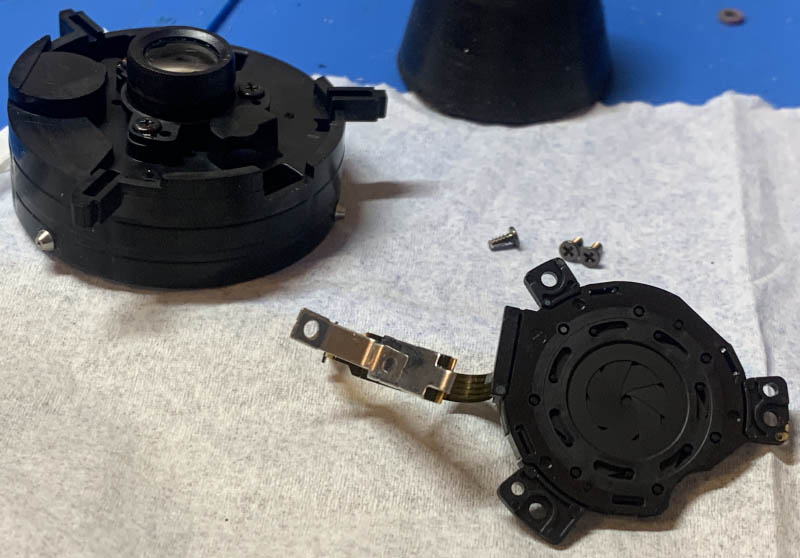
You can easily remove it with a pair of tweezers, just be sure that the ribbons and key won’t get caught.
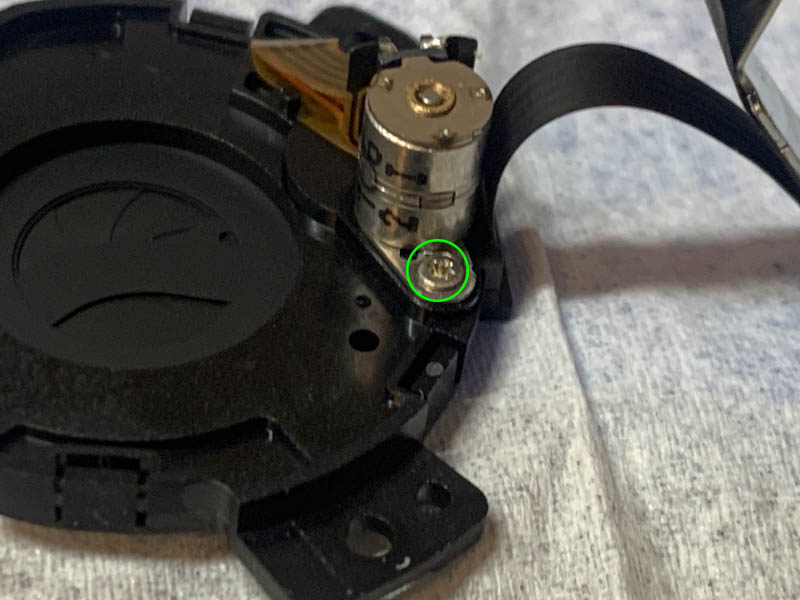
The tiny peanut motor is secured by this tiny screw, extract it and you’re all set.
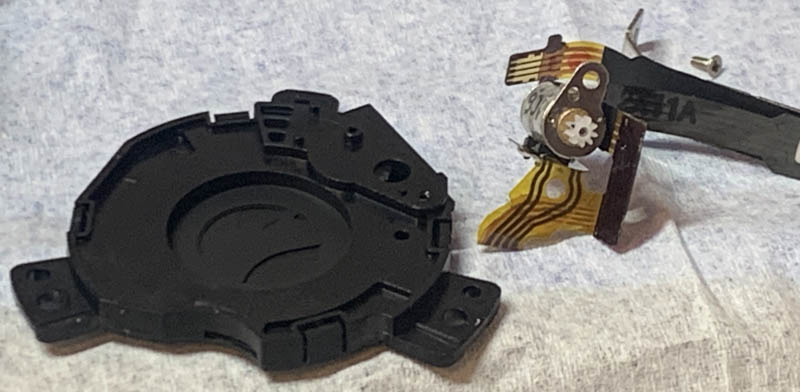
Carefully remove the motor assembly from the aperture mechanism.
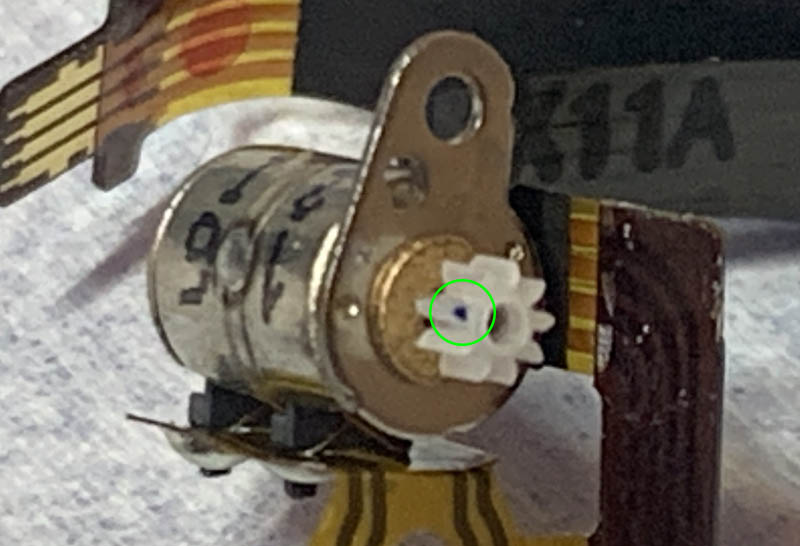
The gear is very small, it’s probably less than 2mm across! You can see a blue mark where the damage is. I don’t know why it’s blue but I suspect it’s just lubricant that got trapped in the chipped tooth of the gear. Pull it off carefully and replace it with a new part. If you don’t have any replacement parts you can just get a fine file and sand it smooth then mount the gear in reverse. I’m not sure if that will work or how long it’s going to last but at least I gave you an idea.
You can test the iris if it can actuate when you feed it some voltage using your multimeter. A low voltage is the safest bet so you won’t damage the electricals, I usually start with 3.5v and see if it responds. This is the only way to test your work as far as I know. As for the gear, I stayed with the plastic replacements just as a safety concern because I don’t want to wear out the other gear if I have replaced it with another one. If the other one breaks I won’t be able to find a replacement unless I salvage one from a donor lens. It’s a more involved and expensive process which I don’t want to do. I’d rather open this one again after a few years to replace the tiny gear.
Conclusion:
Well, the repair part is definitely more enjoyable that shooting with it! It probably took me around 30 minutes or so to get it done, I had a great time because of its simplicity even if I had to go deep within it just to access that damn plastic gear.
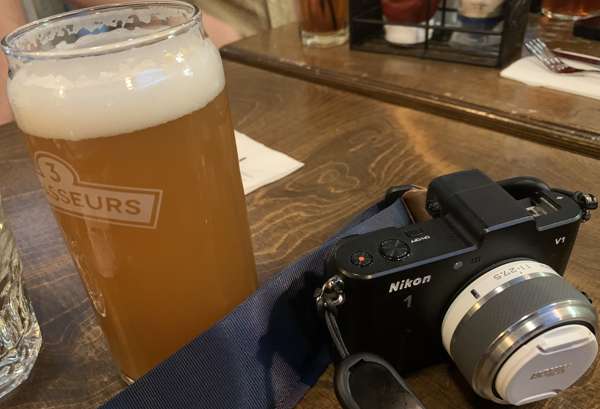
I can’t wait to grab a beer after shooting with this combo. To be fair with the lens I am more frustrated with the camera because it’s just so difficult to shoot with even if it was supposed to be for professional photographers of that time.
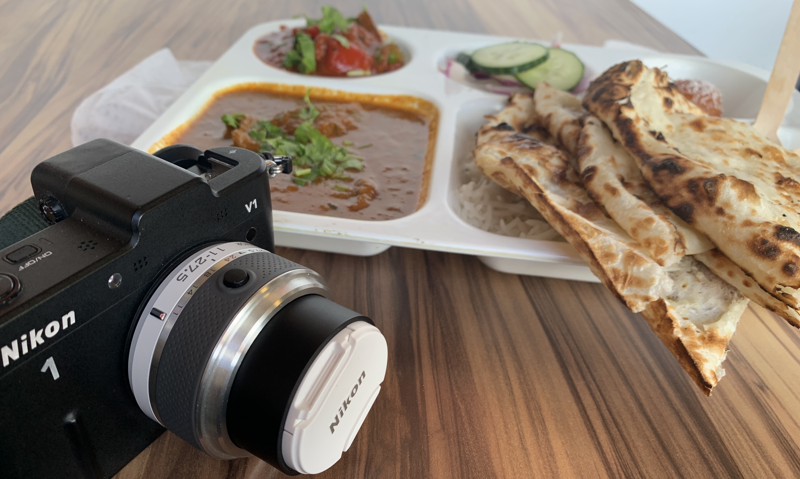
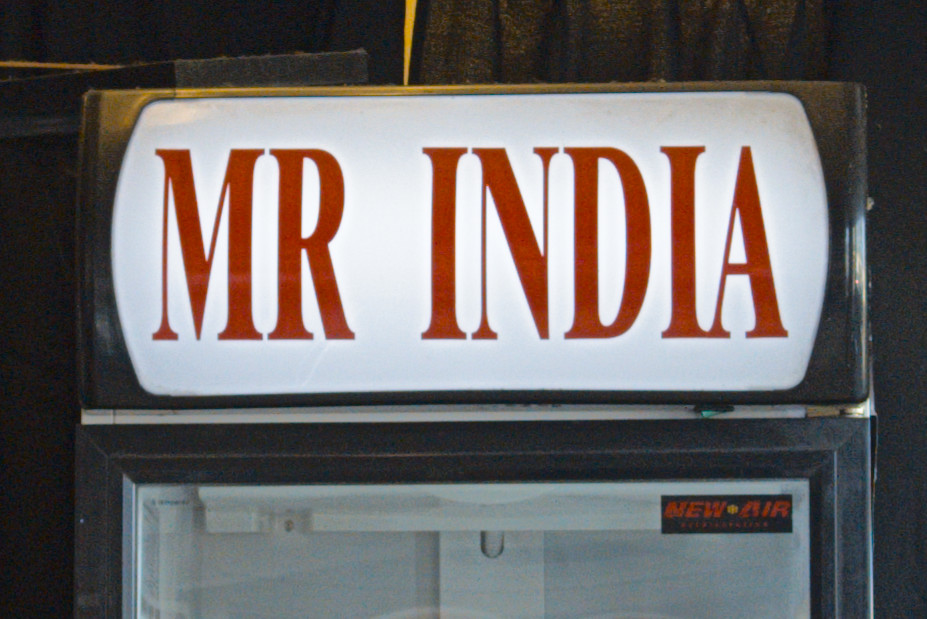
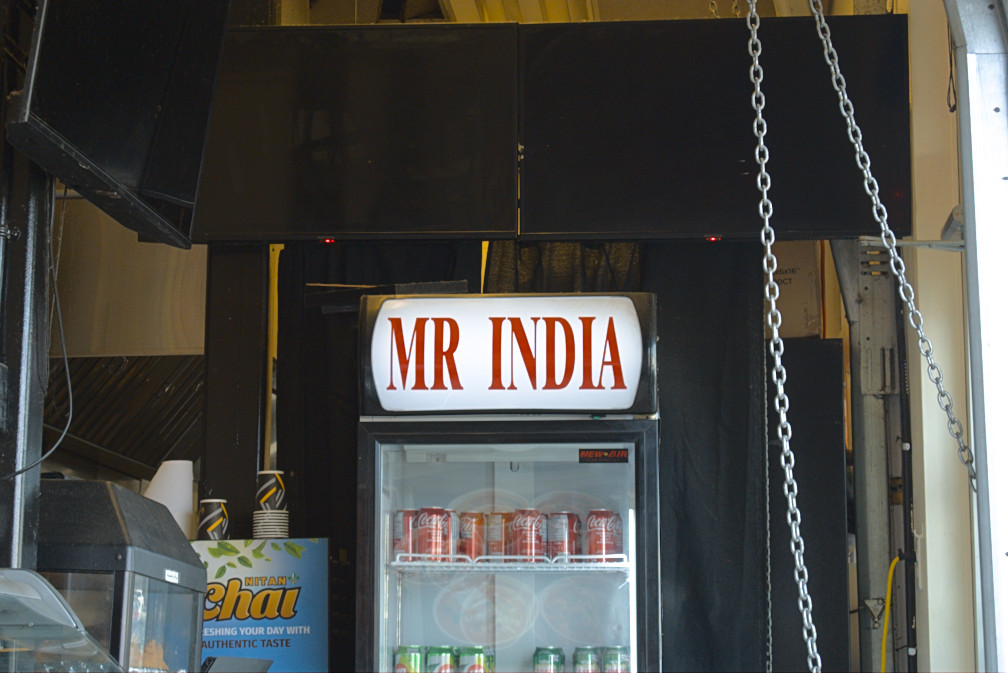
My friend told me once that Indian food is the most delicious thing the had, those were his last words. I hope I won’t get the shits after this meal. This will be a great camera for traveling to exotic places where the safety record is as dodgy as the hygiene or the lack of it. Losing this lens (and a cheap camera) won’t hurt as much. I knew people who spend more for a haircut!
That’s it, I am finally done with this article! My low motivation for this topic is only overshadowed by my love for all of you. The drive to present to you something entertaining makes every minute of shooting with it more bearable. If you like this article please do not hesitate to support my work, your help goes to the maintenance and upkeep of this vast internet resource. Unlike many sites that claim to showcase photography, this one is actually made with love which means there’s no recycled things here like AI or the usual copied/stolen content from another site. This one is all-original and it takes a lot of dedication to produce just a single article. Thank you very much and please come back for the next one!
Help Support this Blog:
Maintaining this site requires resources and a lot of time. If you think that it has helped you or you want to show your support by helping with the site’s upkeep, you can make a small donation to my paypal.com at richardHaw888@gmail.com. Money isn’t my prime motivation for this blog, I believe I have enough to run this myself but you can help me make this site grow.
Leave me some tip?
Thank you very much for your continued support!
$2.00
Helping support this site will ensure that it will be kept going as long as I have the time and energy for this. I’d appreciate it if you just leave out your name or details like your country’s name or other info so that the donations will totally be anonymous. This is a labor of love and I intend to keep it that way for as long as I can. Ric.

