
Hello, everybody! It’s really cold now as it’s the middle of winter, not a good season for birding if you ask some people but this is a good chance for me to take photos at the marsh because all plants are dead, leaving any wading birds exposed. This makes it easier for me to discover and shoot them, I won’t have to worry about anything obstructing my view. I could also get closer, too. Birding is not my thing so I don’t buy equipment exclusively for it but there’s a lens that I am fond of for this purpose. Today, I’ll show you a cheap lens that you can use for birding so you can try it for yourself and see if shooting birds is going to be exciting for you.
Introduction:
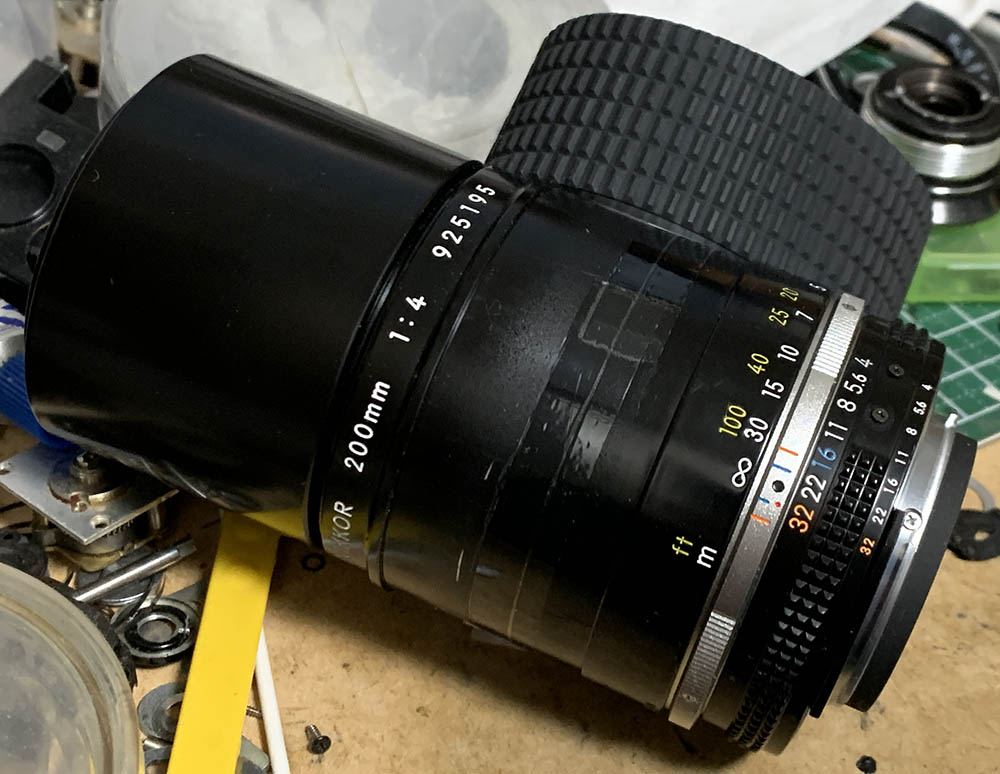
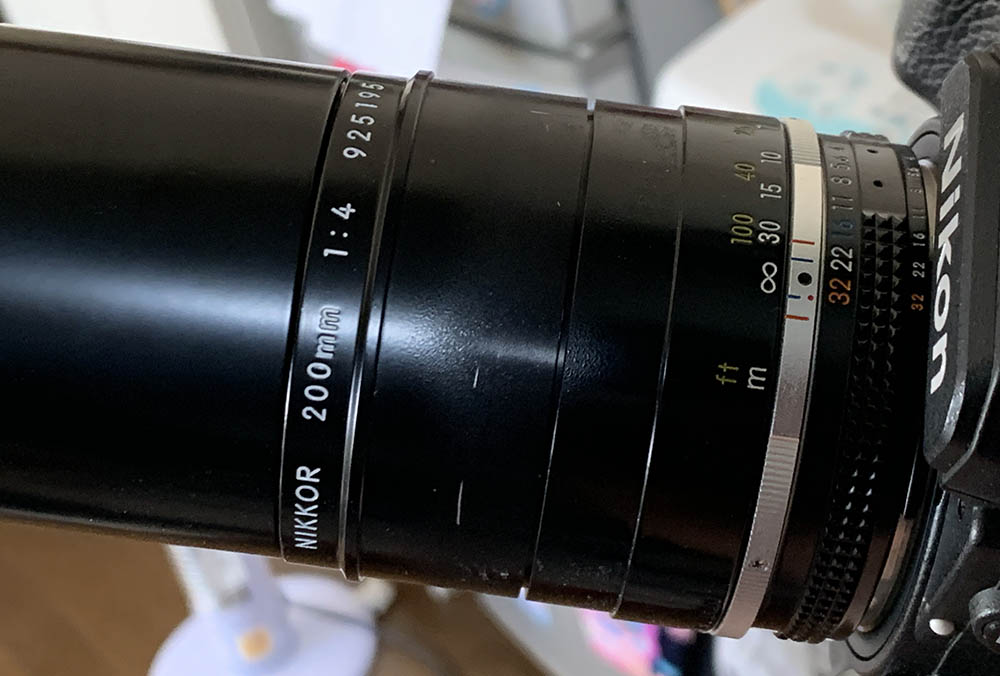
The Nikkor 200mm f/4 Ai-S was sold from 1981-1996, quite a long time for a lens from this class. This is the last of its class, it became redundant as zooms began to perform as good if not better than some prime lenses. This was one of the favorites of many travel photographers because it’s light and compact. Its optical performance is also quite good, making it an appealing substitute for bigger Nikkors. While it’s simply a refresh of the older Nikkor 200mm f/4 Ai with a new barrel and internal mechanisms the optics remained the same as far as I am aware.

It’s really well-made but not as tough as the older Nikkor 200mm f/4 Ai. Despite that, it’s able to withstand use by an amateur or professional in the field. The focus-throw is rather long which is expected from a telephoto lens but I would prefer that it’s a bit shorter. It’s not bad at all and it’s not a handicap. It has a built-in shade which is convenient so you will not worry about buying a separate accessory for it.
It inherited the optics of the Nikkor 200mm f/4 Ai which is a simple 5-elements-in-5-groups design. It is simple and elegant, the low-element-count enables it to capture beautiful tones. I love this lens a lot and I am familiar with its output, I am sure to get great photos with it so long as I have enough light to work with.

One distinguishing features of this lens family is that all of the lenses that belong here have built-in hoods. This is how long it gets when focused to its closest-distance with the hood deployed. The Nikon Z6 has sensor-stabilization, it’s handy for shooting with an old telephoto as you could stabilize your shot with it.
For those who are not familiar with this lens family, here are the major variants so you’ll be able to identify which lens I’m talking about here in this article.

These are arranged from the earliest to the last from left-to-right.
- Nikkor-Q 20cm f/4 Auto, this is the first lens in the family, an important lens.
- Nikkor-Q 20cm f/4 Auto (late), a minor update with marginally-slimmer barrel.
- Nikkor-Q 200mm f/4 Auto, it has improved optics and a new, tougher barrel.
- New-Nikkor 200mm f/4, new optics and a lot more compact.
- Nikkor 200mm f/4 Ai-S, the last variation in this lens family.
I have shot with all of these extensively and they all perform quite well for their respective eras. These were all amazing lenses and they were the best that Nikon had in this class.

It’s a great partner to the Nikon D7200, you could get more reach with this because of its cropped-sensor. This is nice for shooting sports or wildlife so you long as you have enough light to work with. The appeal of using this is its compact size which makes it a desirable backup telephoto lens while on a trip or backpacking. You’ll never know when you’ll need a long lens and this will help you solve that problem.
Learning how your lens performs is key to maximizing its use. You will learn how to utilize its strengths and avoid its weaknesses. This knowledge helps in determining which lens to bring to an assignment. I shot these from f/4, f/5.6 and f/8 as these are the most common apertures that people would want to use it and we will see the most changes happen with these values. These photos were shot with my Nikon Z6, some of the photos were cropped close to 1:1 magnification so we can see the details better.


(Click to enlarge)
Vignetting is rather heavy wide-open but is not something that I’d be concerned with at this level. It improves drastically when you stop it down to f/5.6 and you’ll only see traces of it at the corners. It’s basically gone by f/8, this is the best aperture to shoot with if you’re concerned the evenness of your exposure.


(Click to enlarge)
Resistance to flare is quite moderate and only having 5-elements means that you won’t get plenty of blobs within your frame but it doesn’t mean that this lens is immune to it. You could still get some of it when you have strong sources of light within or outside of your frame even with the hood deployed. The sun-stars look lovely at smaller apertures thanks to the large-diameter of the iris and its long blades.

It has a mild pincushion-type distortion which you won’t notice much in real-world photos. The profile is shallow and is going to be easy to correct in post.


(Click to enlarge)
Chromatic aberration is quite high wide-open on extreme circumstances. You’ll see this happen at areas which are barely-focused, I don’t see this happen much at the areas that are focused. Stopping it down to f/5.6 helps a lot but it’s still observable if the contrast is extreme. You won’t see much of it by f/8 unless in really extreme cases where you’ll still see some traces of it. You won’t see lots of spherical aberration, there’s not much of it to see from f/5.6 and on.
The examples here were shot deliberately in order to trigger chromatic aberration, you shouldn’t see this much in real-world use if you exposed your photos properly.


(Click to enlarge)
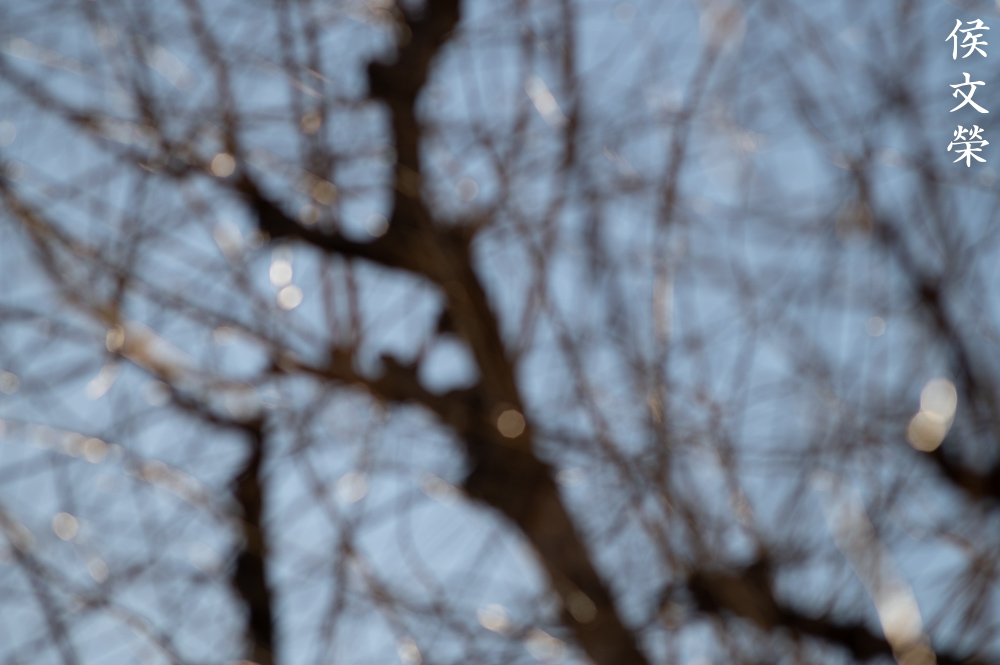
The smoothness of the bokeh is rather good in general but there are very rare cases where it could produce a mediocre-look that is characterized by uneven-blurring but it still looks rather good even with that.


(Click to enlarge)
It looks very sharp at the center wide-open and the corners look unusually-good, too. I rarely see a lens perform this good specially at the corners when shot wide-open. Only spherical aberration will make it appear soft but it looks quite good in general. Stopping it down to f/5.6 will increase its resolution so the center looks a bit better. You’ll see more improvement at the corners but they are still not as good as the center. The corners look exceptional at f/8 and the center improves just a little bit. I notice that the center is performing close to its peak by f/5.6 which is impressive. In my example, it performs very good at moderate distances but slightly soft at both its closest-distance and at infinity. You won’t really notice it unless you’re looking at it at 1:1 magnification and should not be an issue at all because even if you saw it this is not something that actually matters.

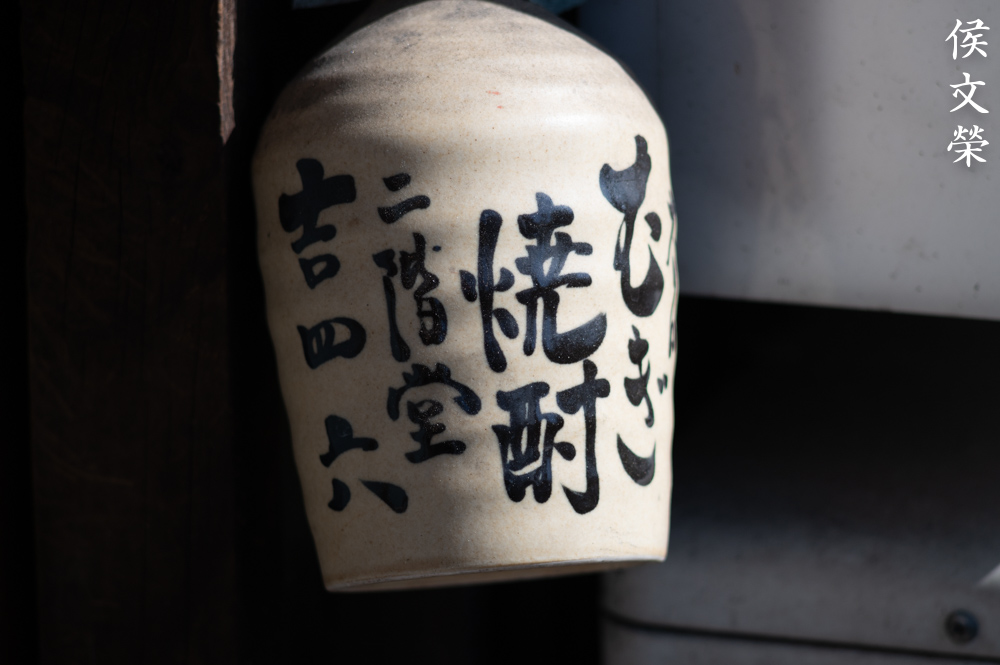
You won’t get close with it, the closest-focusing-distance is around 2m. It’s quite long compared to what many modern lenses have but it was considered normal back then. It’s sharp and the thin depth-of-field at this distance helps create a smooth background. Its ability to render exquisite photos is amplified at this distance.

Here’s a closer look. While not pin-sharp, it looks quite good specially considering that this was shot wide-open.

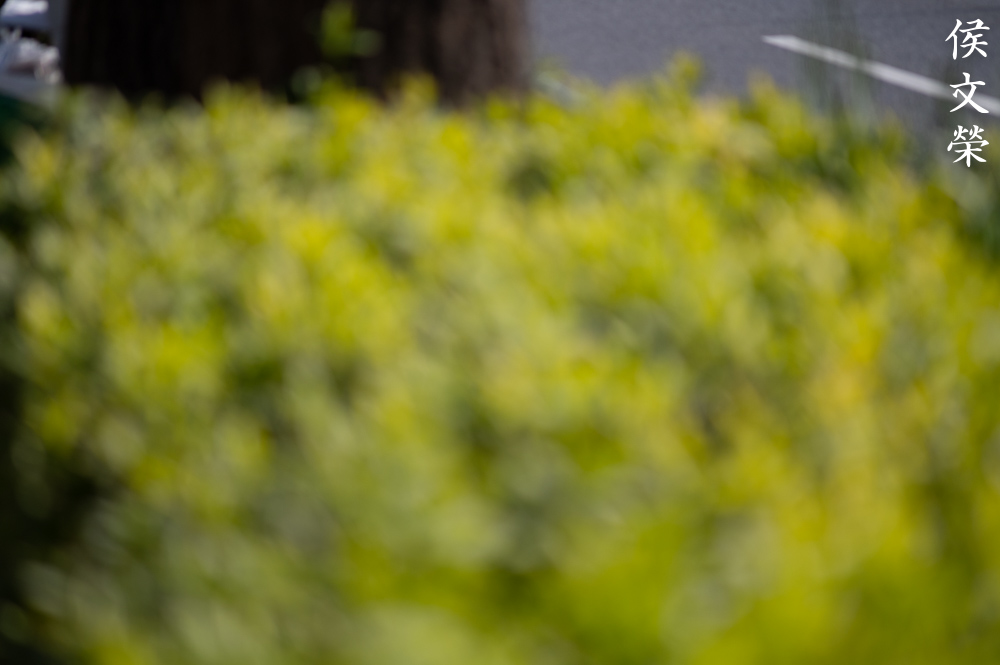
Taking photos of flowers isn’t the best application for this lens, adding an extension-tube will allow you to focus a bit closer. You’ll be able to use it like a macro-lens depending on how long the tube is.

It’s sharp but stopping the iris down to f/8 will help give you even sharper photos. This is a tight-crop and you can see that it could resolve the details barely at this aperture.
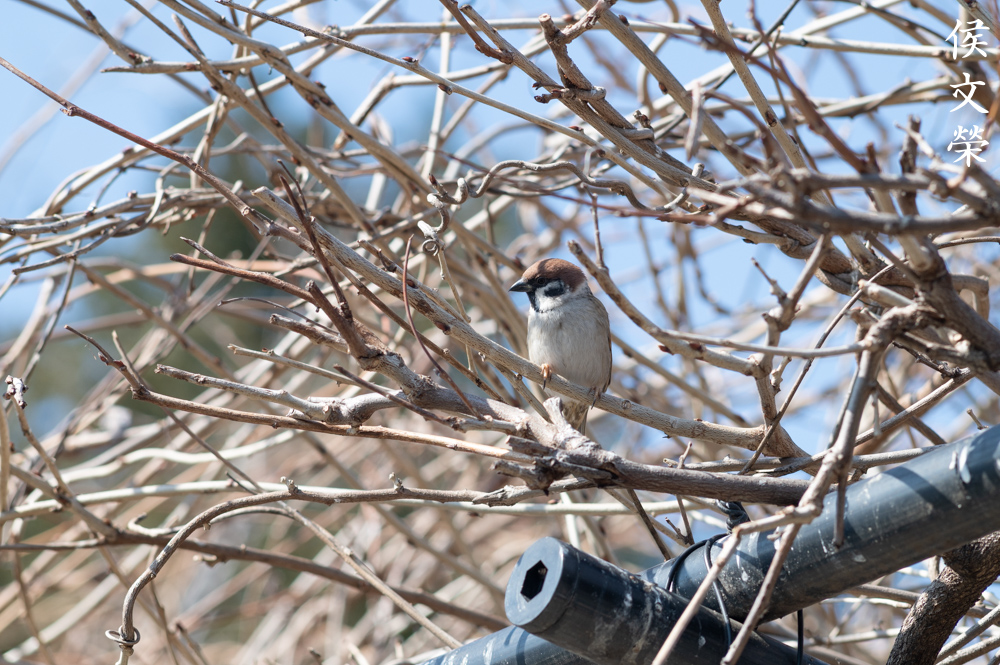
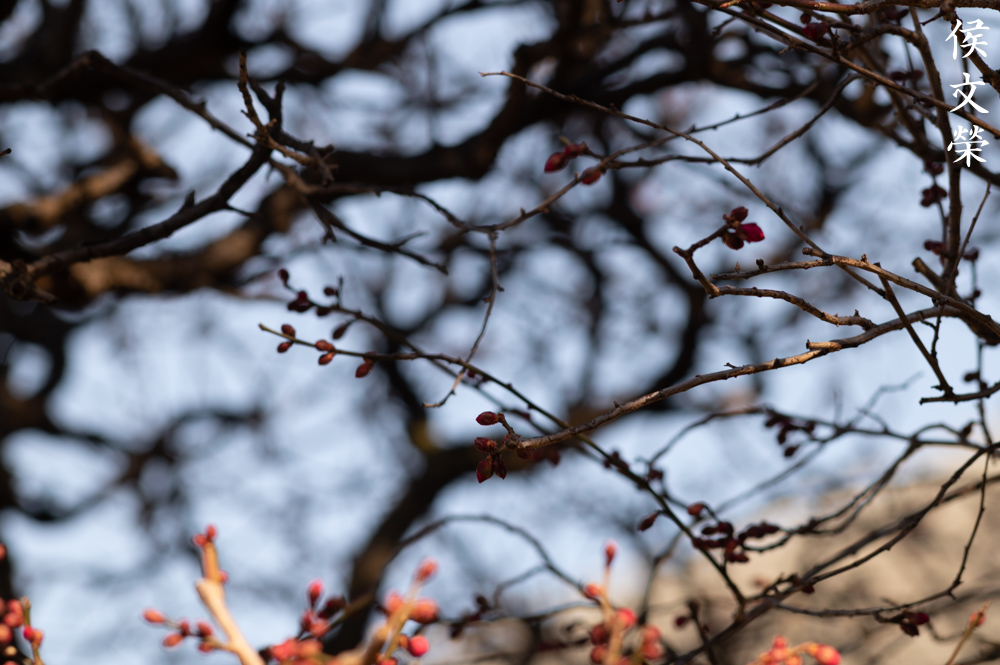
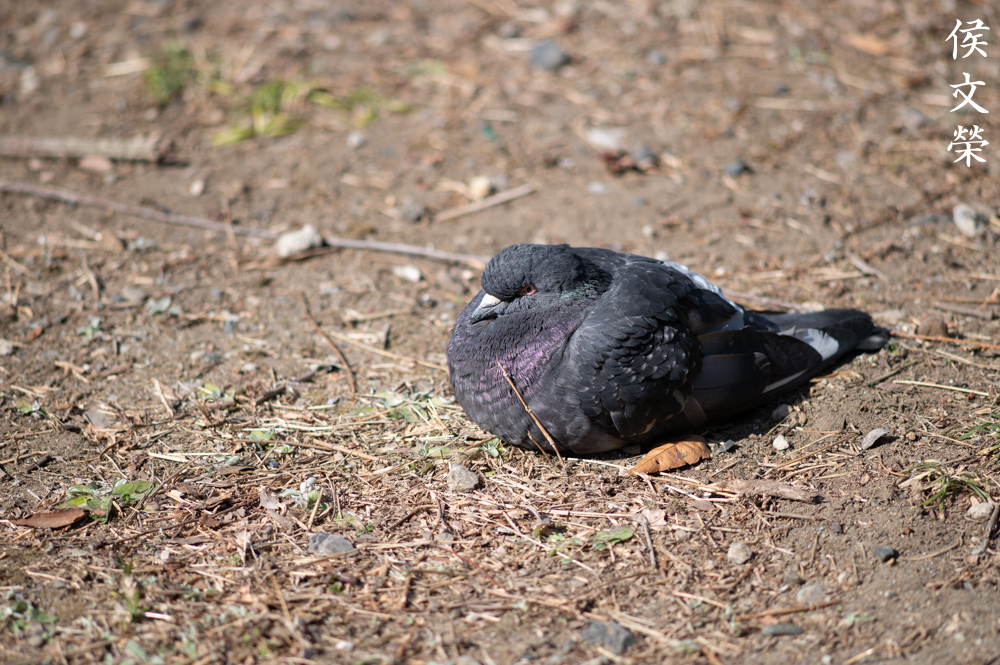
This is not the best lens for birding but it’s not bad at all if you don’t have any other options available.
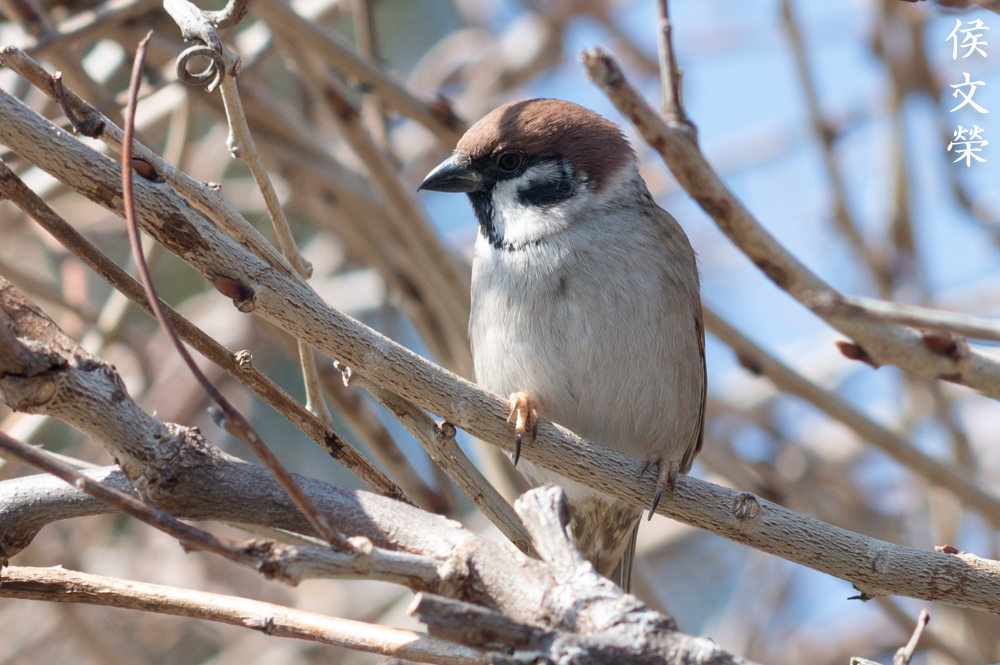
Here’s a tight-crop, sharpness and resolution is adequate, enough to render the feathers nicely. Stopping this down a but helps and I should have done that here.

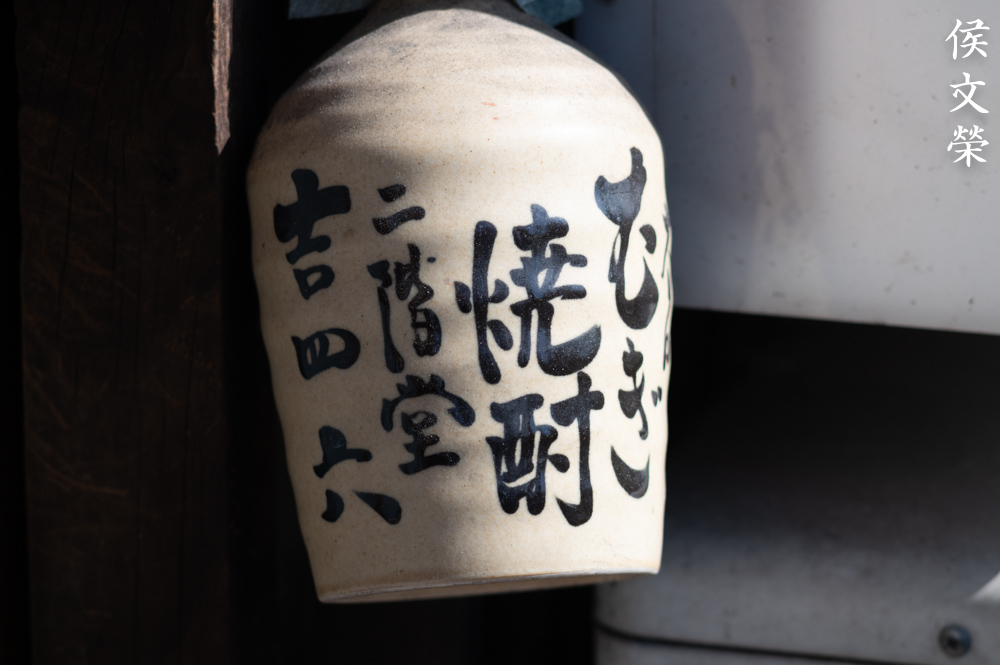
Not a remarkable shot of a water-fowl in a muddy pond but this photo shows how it renders highlights in the water.
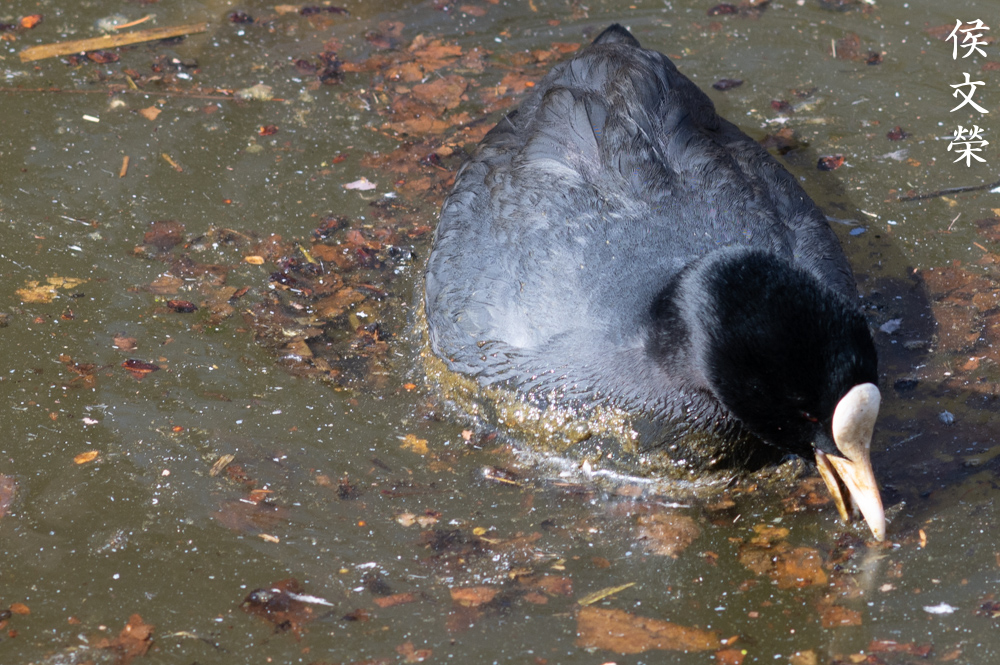
Here’s it is, you can examine how chromatic aberration looks like in this scenario. It’s not bad at all since it was shot with a smaller aperture.

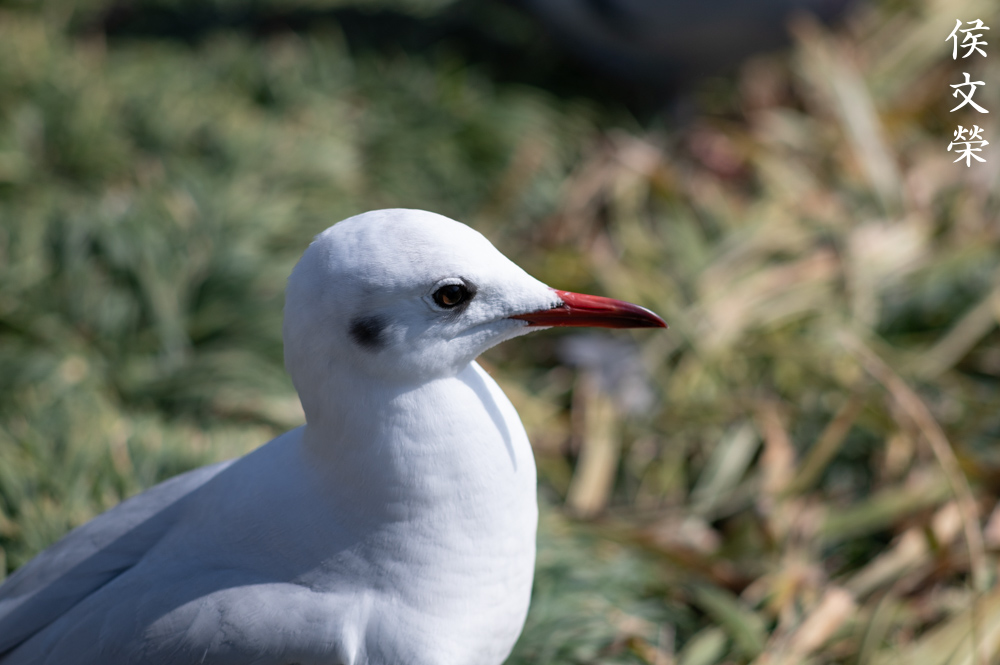
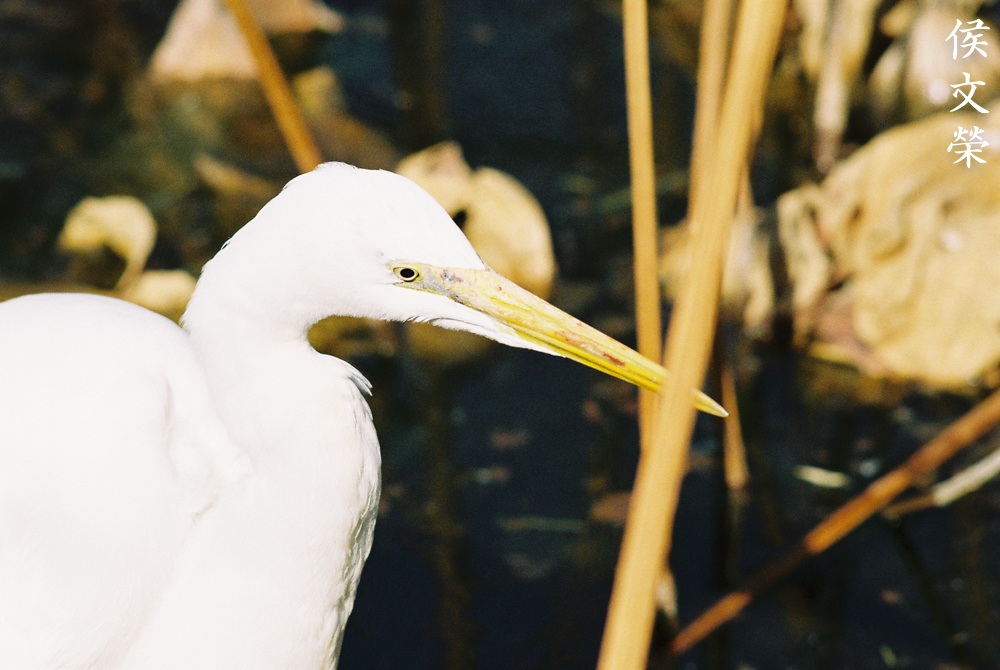
It works great for bigger birds, you’ll be able to fit a heron within your frame without the need to get too-close to spook it.

Nailing your focus is a bit difficult at this distance but stopping the iris down to f/8 or smaller helps a lot since your depth-of-field will be deeper, allowing you some room for mistakes.

Of course, this is a great lens for portraiture. This is sharp and the rendering is delicate and the quality of the bokeh is exquisite. It is difficult to focus with a mirrorless camera since the digital viewfinder won’t give you as quick a feedback as an optical one. The Nikon Z6 has one of the best viewfinders in terms of mirrorless cameras but an optical viewfinder is irreplaceable.

This is best-used for filling your frame if you could get close to your subjects or you could just use it for taking candid photos.

Here’s another photo that was cropped, it renders skin beautifully without making skin look like stucco. You could isolate the face of your subject very well with it due to the thin depth-of-field at closer distances.

That thin depth-of-field can work against you when you’re shooting multiple subjects so place your subjects’ faces along the same plane as the focus-plane to avoid making one of them look blurred.
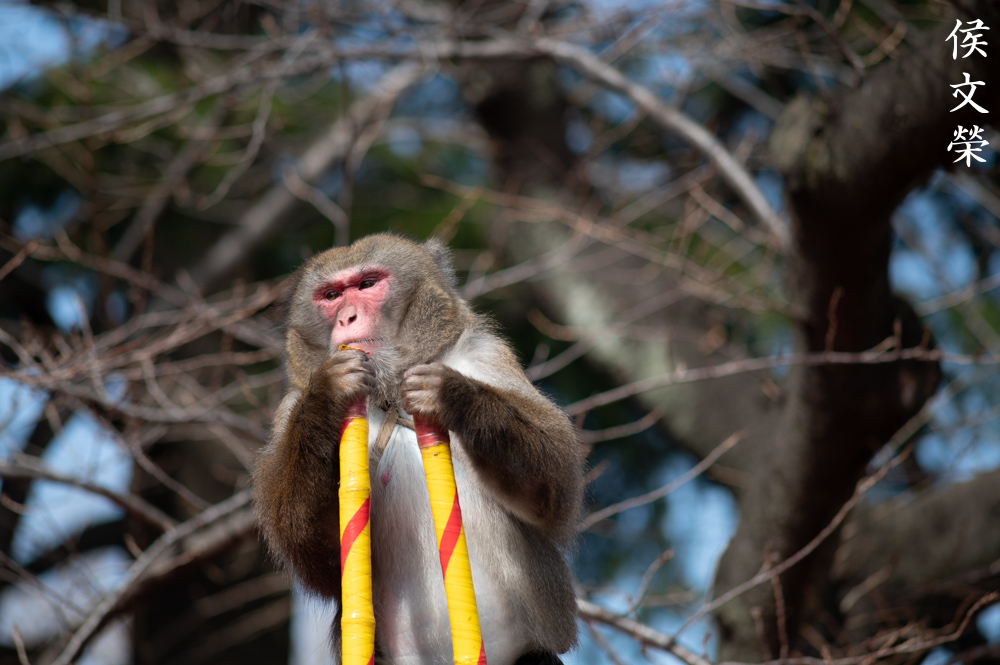
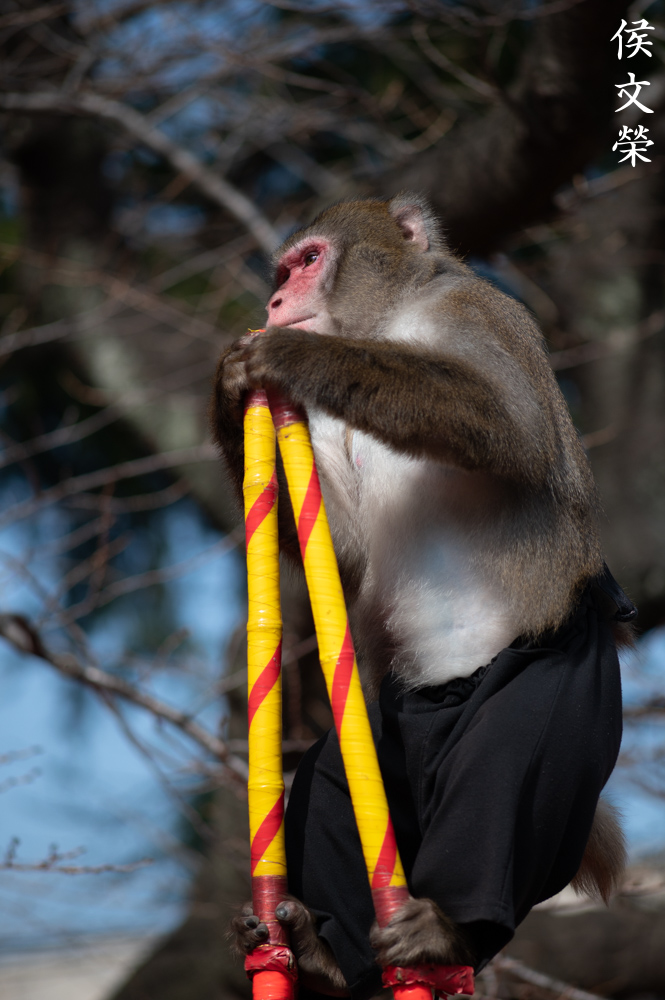
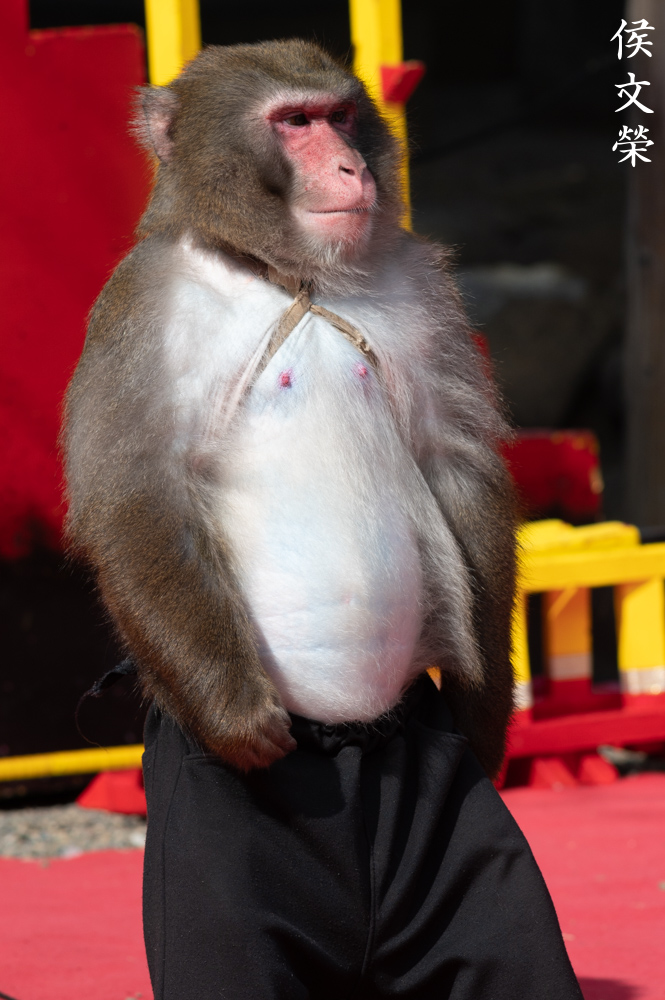
There may be times when the character of the bokeh looks a bit nervous but it’s not something that I would consider ugly.

Here’s a tight-crop, the resolution is quite high so it could render the monkey’s fur in good detail.

This was shot at about f/8, it’s sharp when shooting distant objects at moderate apertures. This is probably a good lens for shooting photos of planes or surfers.


(Click to enlarge)
Here are some more photos that I took with my Nikon Z6. It works great even with a modern high-MP sensor, I will admit that it’s barely-able to resolve anything wide-open and I suppose a higher-MP sensor will definitely out-resolve it easily. Despite that, this is still a viable option today if weight and cost is a concern.
Let’s now check some film photos. Film has a unique look that is hard to simulate with a digital camera thanks to grain. It reacts differently to light, this means that it could mask a lens’ flaws or amplify them. Since it was designed to be used with film, it’s best that we judge this using its intended medium. I shot this with my Nikon F3 loaded with Kodak Gold 200.

You will probably want something longer when shooting birds from a safe, dry location. Using a teleconverter is probably your best option if you want to stick with this. However, it will give you a dark viewfinder which I am not fond of, making it even more difficult to focus with.

Chromatic aberration can be observed in this photo but it does not look as bad with film compared to a digital camera. I believe this was shot with the iris stopped-down.

It’s not impossible to shoot birds-in-flight with it but it’s not easy to nail your focus perfectly each time. This is specially true if the bird is moving along the same plane as your setup.

It’s easier to track your subject if it’s moving across the focus-plane since it’s easier to judge what’s in-focus.

It’s actually more difficult to focus with it if your subject is closer to you since the depth-of-field is shorter. The bird was moving at a slow, stalking pace but even in that condition it wasn’t easy to track its eye.

You’ll be rewarded with nice, sharp photos if you have the patience for it.


(Click to enlarge)
Here are more photos that I shot that morning. The Nikon F3’s meter is heavily-biased towards the center, I should’ve compensated my exposure by 1/3 to get a better exposure. I enjoyed shooting with it, this is a nice lens for shooting with film and is something that you should consider on your next shoot.
I highly recommend this lens. The older Nikkor 200mm f/4 Ai is nearly-identical to this in terms of performance and handling, that is a cheaper option compared to this if budget is an issue. The only real reason to buy this one instead is for use with some Nikons that could shoot with it in full PSAM modes such as the Nikon FA where the Ai-S feature could be used to its full potential. You’re not going to have a hard time looking for these today as they’re common and not really expensive. A nice one will cost you about a few dollars up from $60.00. I always get these for a lot less since I almost exclusively buy junks. When buying one, be sure that it has a clean, dry iris. Actuate it and it should be snappy. The glass should also be clean and clear, too. Turn all of its rings and make sure that they all operate properly. There’s really no reason for not buying this one since they’re not expensive and they offer a lot in terms of performance, happy hunting.
Before We Begin:
If this is your first attempt at repairing a lens then I suggest that you see my previous posts regarding screws & drivers, grease and other things. Also read what I wrote about the tools that you’ll need to fix your Nikkors.
I suggest that you read these primers before you begin (for beginners):
Reading these should lessen the chance of ruining your lens if you are a novice. Before opening up anything, always look for other people who have done so in YouTube or the internet. Information is scarce, vague and scattered (that is why I started this) but you can still find some information if you search carefully.
I highly recommend that you read my working with helicoids post because this is very important and getting it wrong can ruin your day. If I can force you to read this, I would. It is that important!
For more advanced topics, you can read my fungus removal post as a start. It has a lot of useful information, it will be beneficial for you to read this.
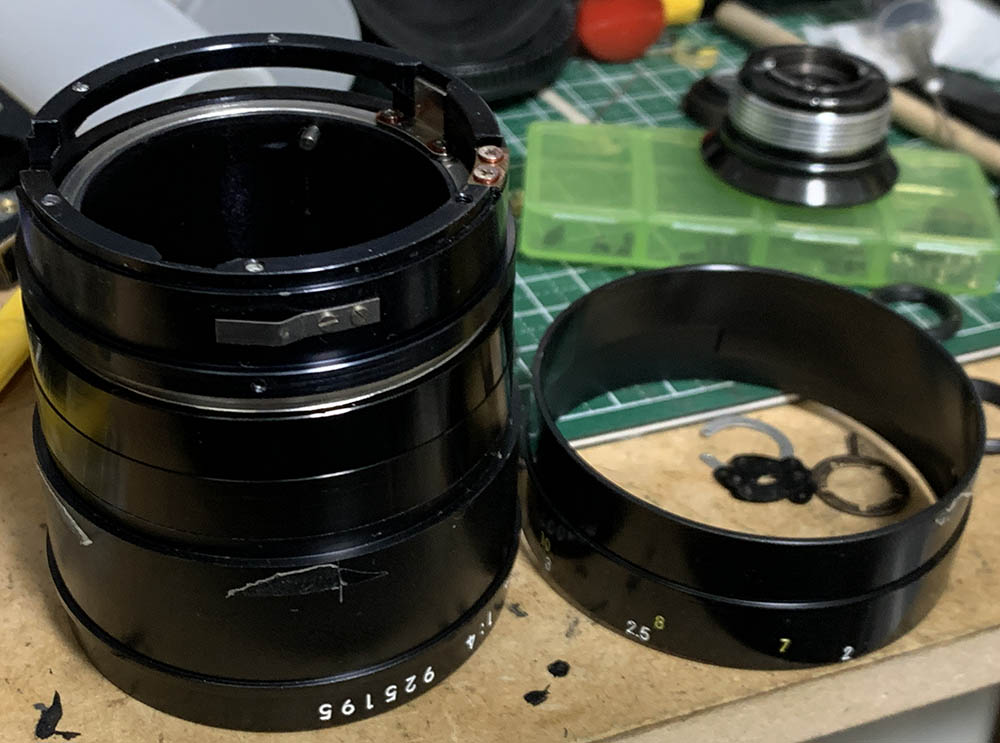
Disassembly (Lens Barrel):
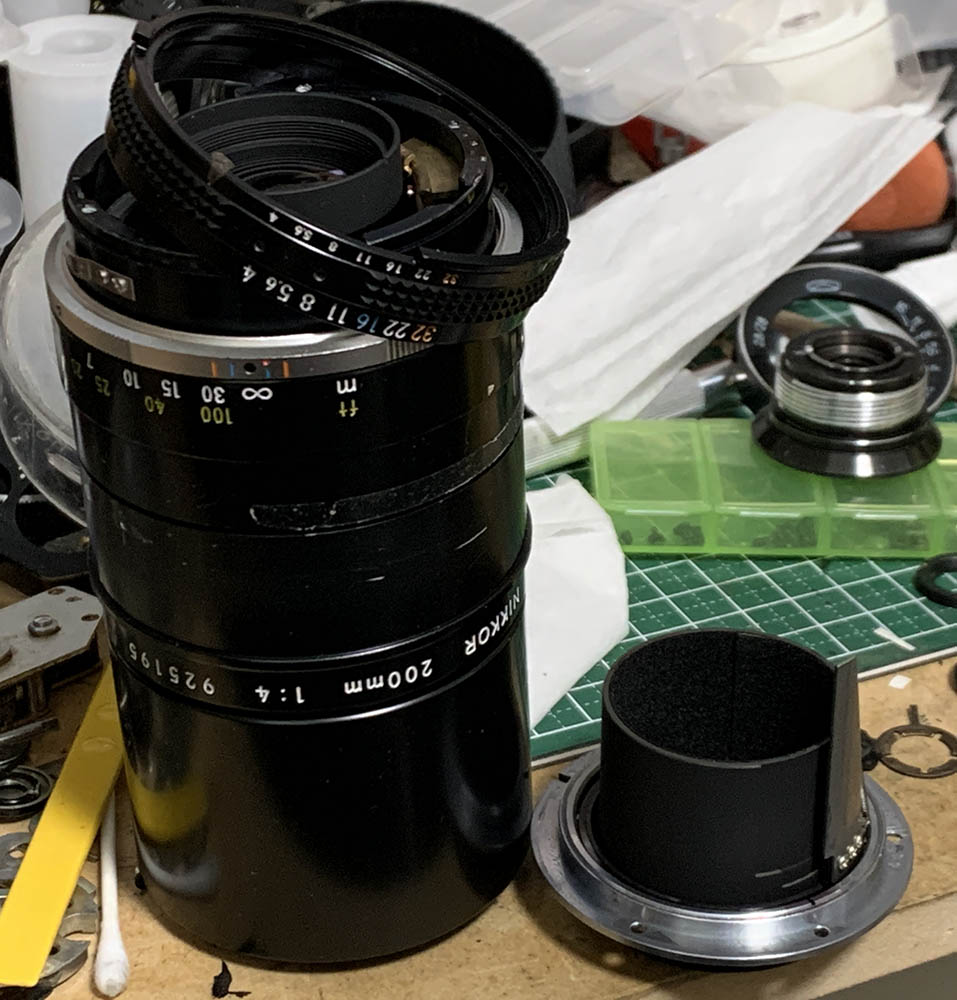
This isn’t a difficult lens to service for an experienced repairer, this is the 3rd time I’ve done this so I know all about repairing it. Its construction is simple but removing some of the parts can be stressful since some of the retainers are situated close to the glass. I’m lucky that I did not have to clean the glass since it looks great, all I had to do was to overhaul the barrel, it’s clean but it needs fresh grease. I won’t show you how to service the glass or the iris mechanism, if you need to do that, read my other articles to get hints.
Carefully remove the rubber grip and be careful not to tear it. Run a thin, rounded rod underneath it to lift it from the adhesives.

Extract the screws of the bayonet mount so you can remove it. Many people get stuck here because they don’t have the right tools and strip the screws. To prevent this from happening to you, read my post about how to remove bayonet screws. Follow my guide and that should help educate you on how its done and which drivers you should use.

Carefully extract these, heat these with a soldering bold to soften the epoxy used to secure it. These secure the aperture fork inside, it couples the aperture ring to the iris mechanism inside. You couldn’t remove the ring if these screws weren’t extracted.
Carefully remove the bayonet and aperture ring.
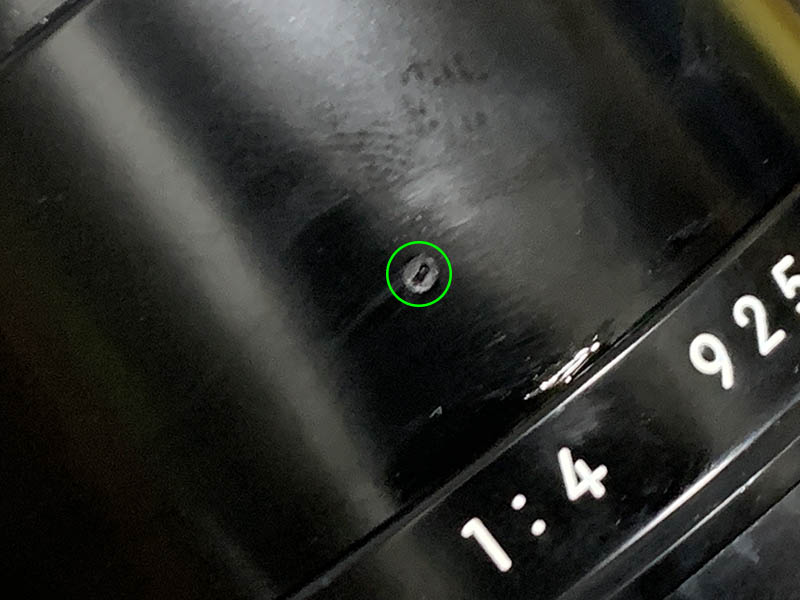
Locate and extract this set screw to remove the front barrel.

Unscrew the front barrel once the screw is gone.

Carefully remove the aperture mechanism’s housing along with the rest of the inner-tube containing the rear element.
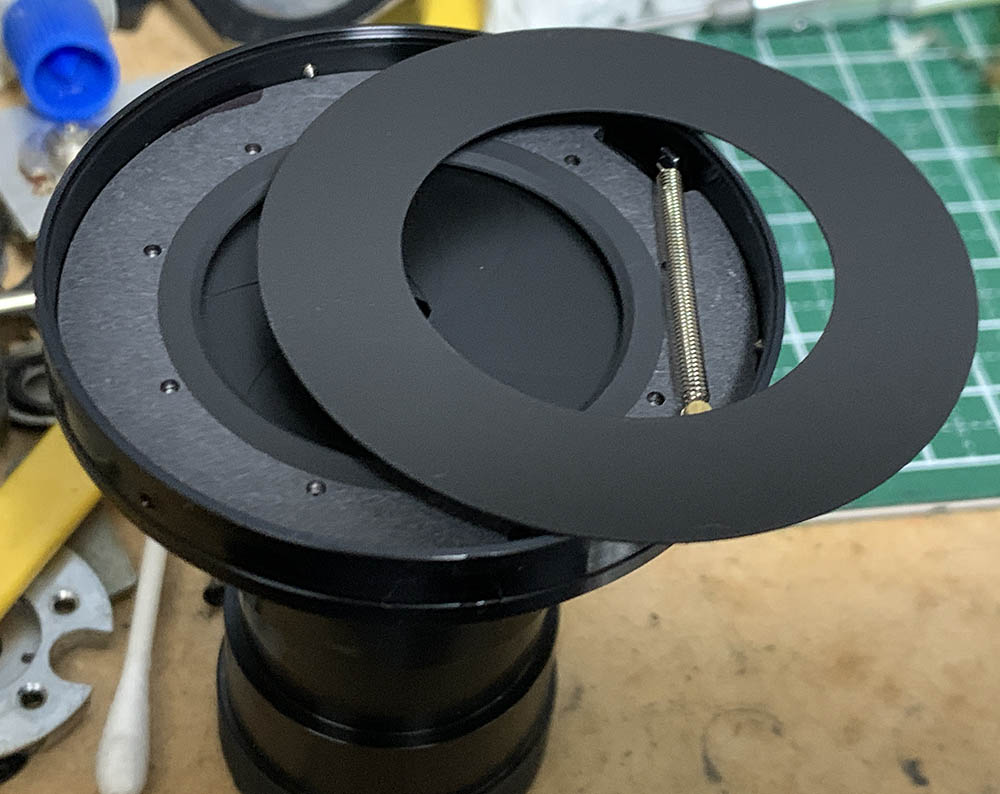
This disc covers the iris mechanism, carefully remove it and never warp it since any damage to this is visible from the front of the lens, magnifying even the smallest flaw.
Carefully remove the aperture fork. It’s easier to remove now that the inner-tube is gone. Never dismantle this any further, this was adjusted at the factory so the iris could be regulated accurately.

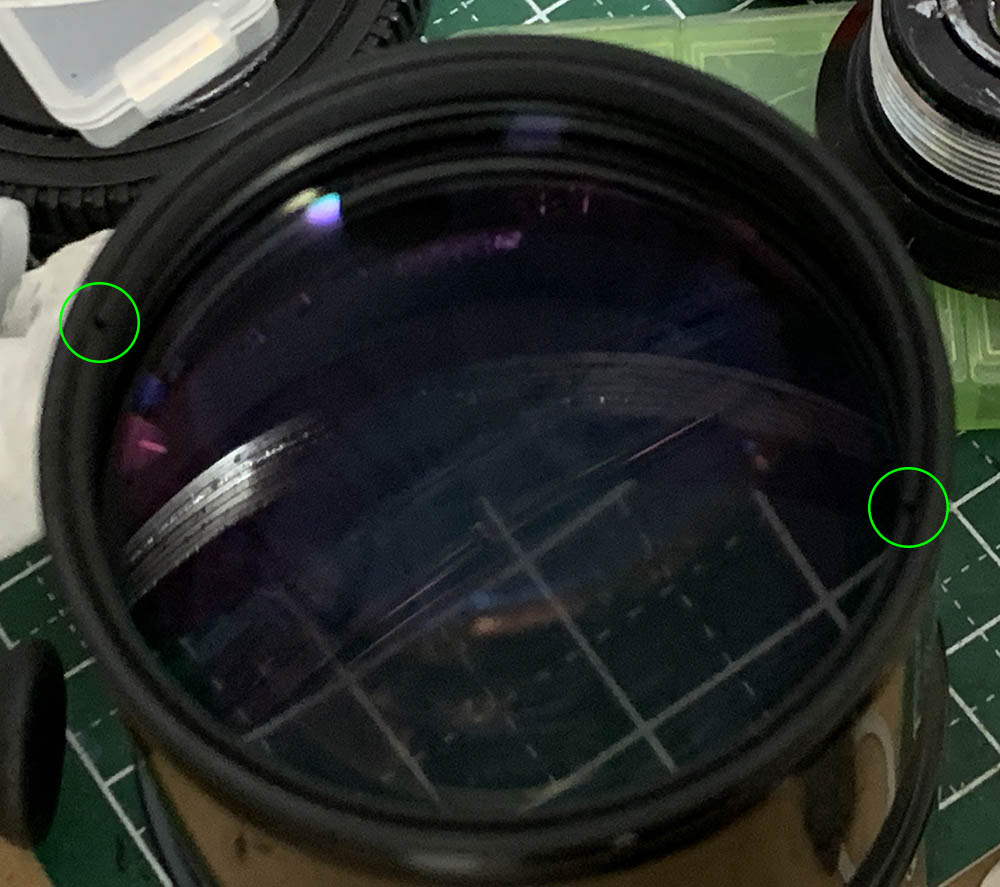
Extend the hood, locate and extract these to remove the front ring. Mine has 2 of these, yours may have more or maybe just only one. These are delicate so carefully extract these with a driver that fits the slot perfectly.

Unscrew the front ring with a rubber tool. It may be difficult to remove, alcohol will help soften its seal. Drop a small amount of alcohol to its screw-hole, that should help soften the seal.

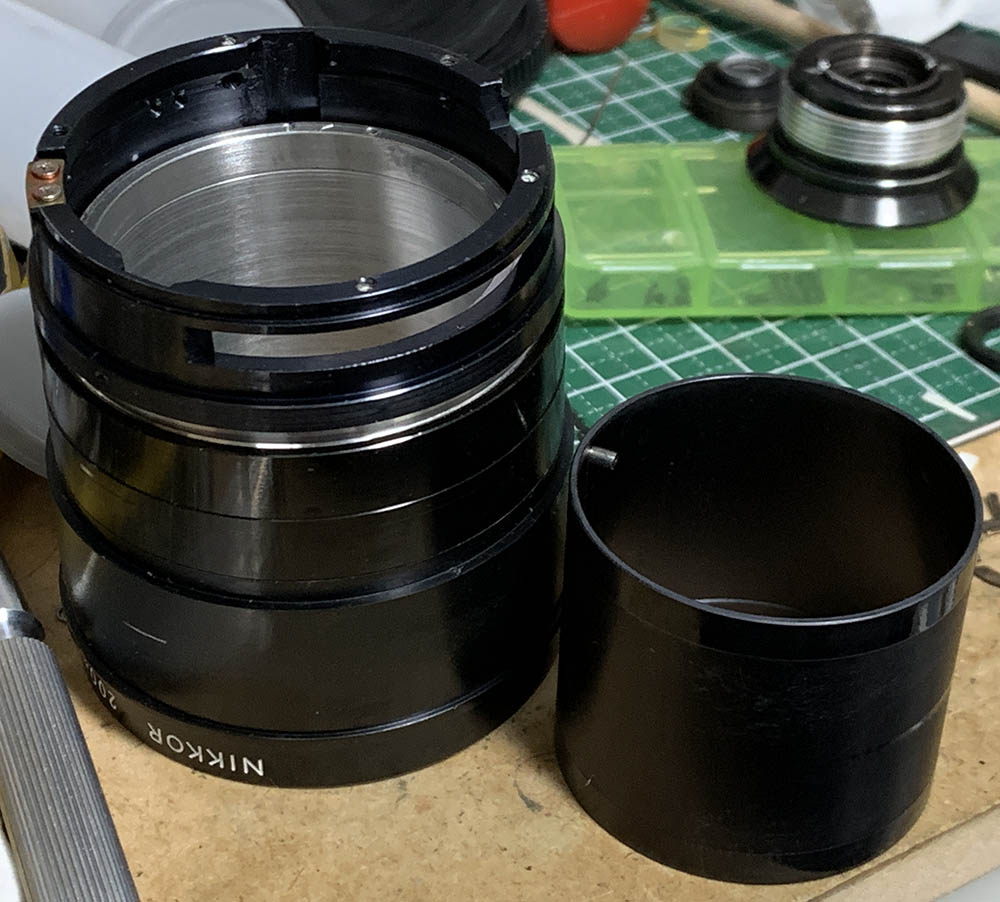
Pull the hood off and brush the felt with a stiff brush to clean it.
The front element can be removed with a lens spanner. Mine’s clean so I left it alone.

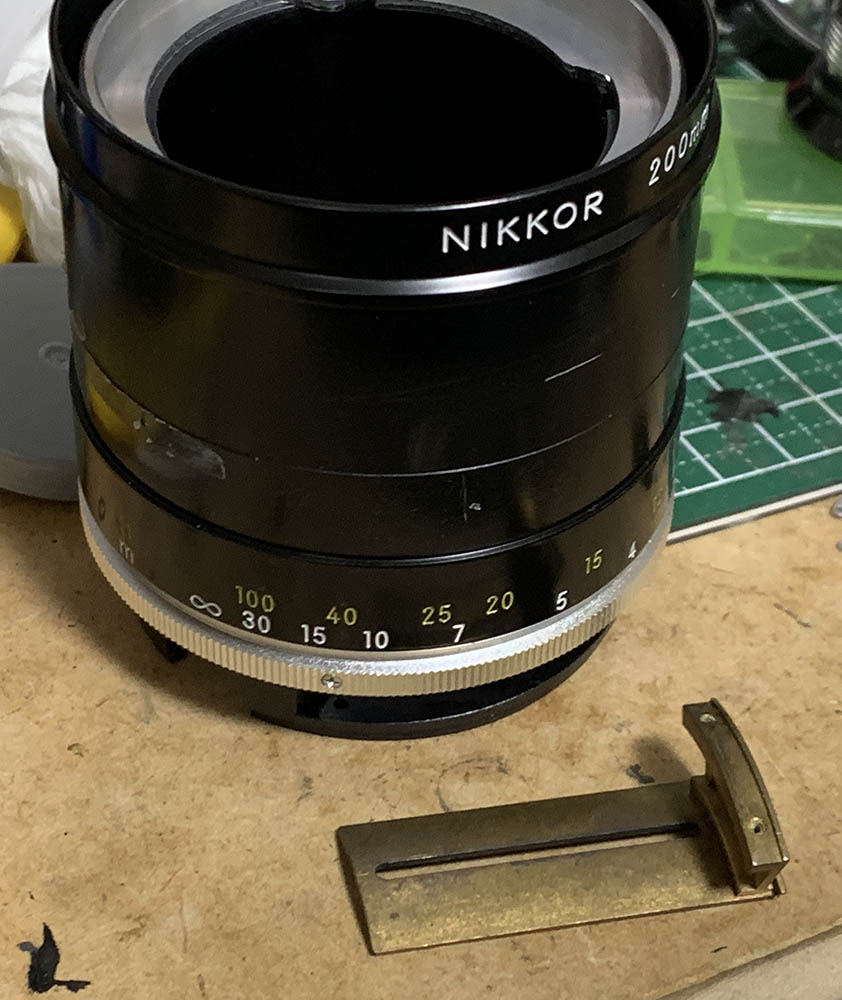
Carefully extract the screws of the grip to remove it. Use drivers that fit perfectly to prevent scarring the surrounding metal. It has a raised part that limits the range of the focusing-ring. You will need to depress the detent spring in order to get it off or remove the spring altogether if you want but note its position first so you can put it back properly later.
Once the grip is gone you’re free to remove the distance scale, it’s only secured with a strip of tape.

It has a pair of helicoid keys, carefully extract their screws to remove them.

Take notes on how deep the keys should sit, mine looks like this. You should be able to reproduce this when it is time to put things back together again.
The helicoid keys secure this tube, it couples the aperture ring to the iris mechanism.

Now that the helicoid keys are gone you can turn the helicoids beyond their range. Collapse them and make a small scratch, you should be able to replicate this later so you’ll know if you’ve reassembled this correctly.

Separate the central helicoid from the outer one. Don’t forget to note where they parted since this is also the same spot where they should mesh. People forget to do this and waste a lot of time later figuring how to put these back. To prevent this from happening to you, read my article on how to work with helicoids.

Separate the central helicoid from the inner one and don’t forget to note the spot where they parted.

The central helicoid can be dismantled even further, the front part could be unscrewed. It’s secured with a lot of cement on its thread so soaking it in alcohol overnight will help you separate it. This is not necessary but it will help you clean the parts a lot better. I should have drilled and tapped a hole for a set screw for this so it’s going to be secure without the need to apply any cement.
Clean the parts thoroughly and do not leave any residue. I scrubbed the helicoids with a strong detergent and pickled them in an alcohol bath to remove grime and other hardened gunk. Only apply a thin film of grease to the helicoids, I used something that is neither light nor thick because it has a long focus-throw. Don’t lubricate anything that’s close to the iris mechanism. Putting excessive grease will lead to a bigger mess later and you’ll have to open the lens again for an overhaul.
Clean everything that’s accessible to you while you’re at it. If your lens has fungus, read my article on how to clean lens fungus. Dilute the solution with distilled water, using it at full-strength will etch the coating and the glass will get damaged, too. If it has an oily iris problem, wipe the blades with naphtha and lens tissue. Do not damage the blades and only handle them by their pins.
Conclusion:
This one didn’t take me a long time to service since the glass is clean and the barrel isn’t dirty either. I spent a night cleaning it with most of that time spent on removing stubborn dirt. Reassembling it can be tricky, follow your notes and backtrack your steps and you should be fine.
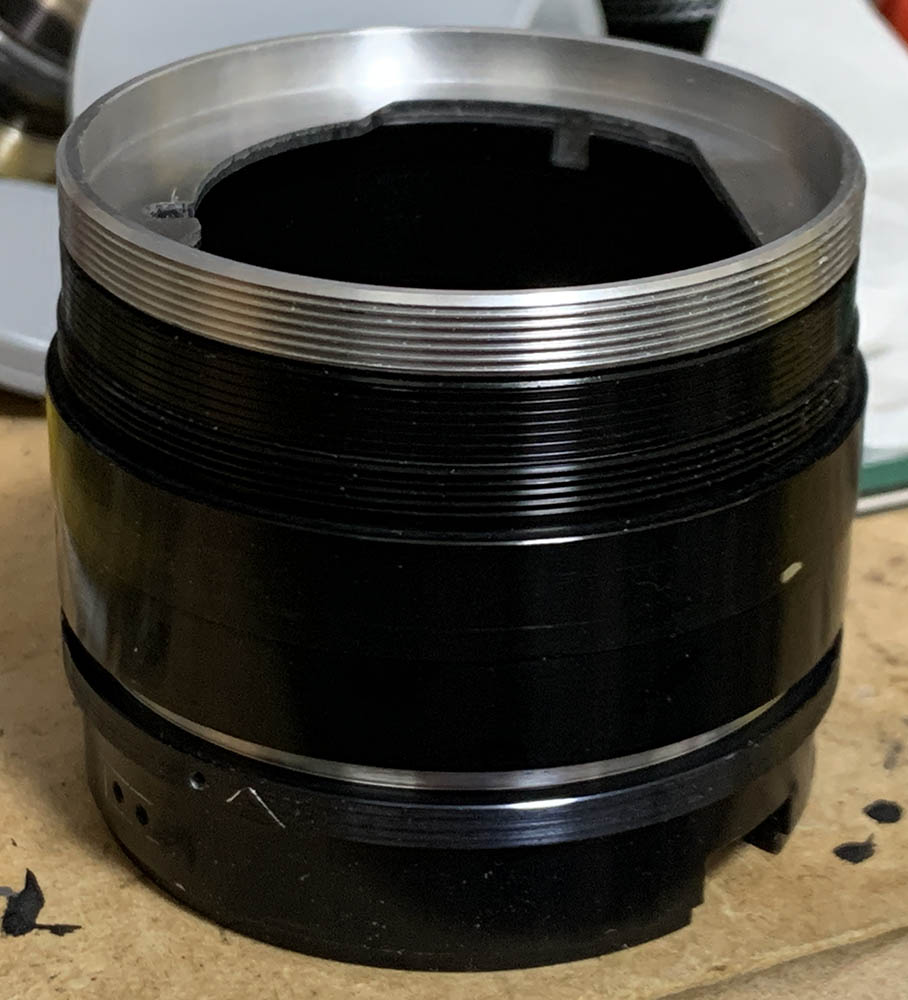
This is how the helicoids should look like after reassembling. It now looks so shiny and the grease is fresh, it’s now able to turn smoothly.
Reassemble everything up to this point. Adjust the focus and be sure it focuses just a bit beyond infinity. Read my article on how to adjust a lens’ focus to know how it’s done in a DIY setting. Finalize your adjustments with a strip of tape and reinstall the rubber grip.
Thanks for following my work, if you liked this article please share this with your friends so it will get more views. This site earns around $0.50 a day, it’s totally reliant on views. You can also support this site, it helps me offset the cost of maintenance and hosting. You are also helping me purchase, process and scan film. This site promotes the use of film so we’re all in this together. See you again in the next article, Ric.
Help Support this Blog:
Maintaining this requires resources and a lot of time. If you think that it has helped you or you want to show your support by helping with the site’s upkeep, you can make a small donation to my paypal.com at richardHaw888@gmail.com. Money isn’t my prime motivation for this blog and I believe that I have enough to run this but you can help me make this site (and the companion facebook page) grow.
Buy me a roll of film or a burger?
Thank you very much for your continued support!
$2.00
Helping support this site will ensure that this will be kept going as long as I have the time and energy for this. I would appreciate it if you just leave out your name or details like your country’s name or other information so that the donations will totally be anonymous. This is a labor of love and I intend to keep it that way for as long as I can. Ric.

Feb 13, 2021 @ 15:05:51
These 200/4’s, the 200/4 micro-Nikkors, the 180/2.8’s, and the 200/2’s…Nikon has produced so many legendary lenses in this focal length range. But it all started with this simple 4 elements in 3 groups design…thanks for the excellent review of yet another classic!
Feb 13, 2021 @ 22:04:24
I find your articles a good read…
Nov 24, 2021 @ 14:16:46
For a little while, NIkon also offered am AF-200 f/35 primarily for use with the Nikon F3AF. Awkward, but it offered internal focus and ED glass, and sharp as a tack.