
Hello, everybody! Did you play LEGO blocks when you were young? I sure did and I even went to an exhibit which was really memorable. My kid now shares the same enthusiasm that I had when I was little. She now has a lot of blocks scattered around the room which I step-on occasionally, causing me great pain in the middle of the night. These blocks are considered classic and they haven’t changed much since 40 or more years ago when I used to play with them. Some things stand the test of time and they did not change much from their original form. Today, I will show you one such classic. Despite being old and replaced by several new models it still has a huge following in the macro-photography community, specially with people who shoot coins and stamps. This is one of the sharpest lens that you could get if you have a tight budget, read this article to find out what this lens is.
Introduction:
The Micro-Nikkor 105mm f/4 Ai-S was sold from 1981 to 1983, it replaced the Micro-Nikkor 105mm f/4 Ai which is a bigger lens. This one is a lot slimmer and its design language was inherited by the Micro-Nikkor 105mm f/2.8 Ai-S that followed it. It’s a really sharp lens and many people claim that it’s the sharpest 105mm Micro-Nikkor ever until the Ai AF Micro Nikkor 105mm F2.8 came into the scene. I can see where this is coming from because the Micro-Nikkor 105mm f/4 Ai is a very sharp lens and it has the same optics as this one. The reason for this lens’ existence is the move to the then-standard Ai-S system which allows it to be used with a couple of Nikons that could meter with it in all auto-exposure modes.

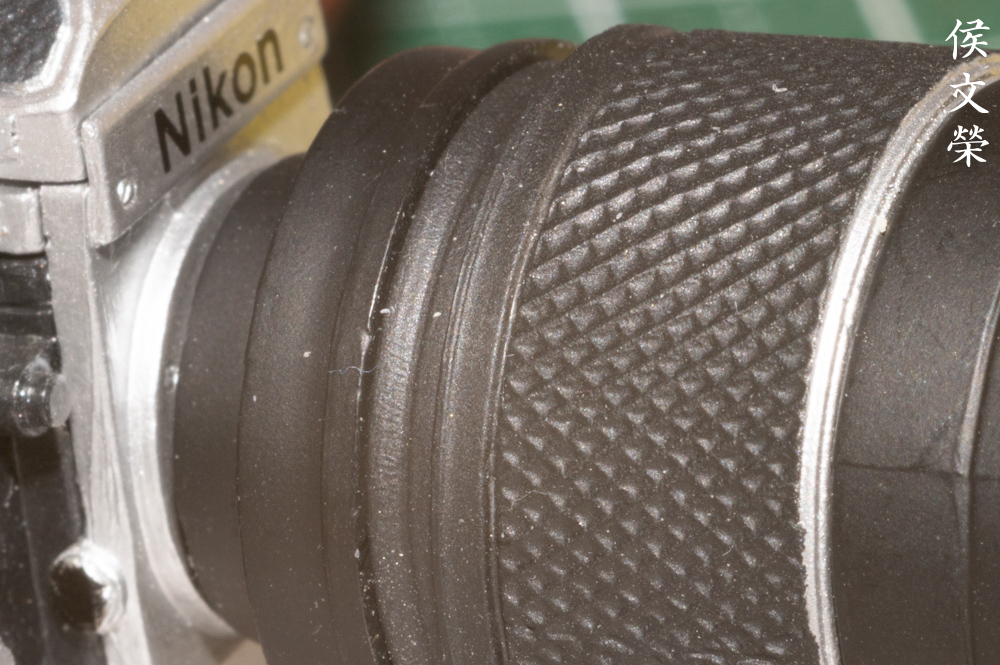
It has a helpful focus-lock to prevent accidental turning of the focusing ring. It shares the same design as the Micro-Nikkor 105mm f/2.8 Ai-S which you could easily mistake it for. Handling is great and it balances well with any camera. The build quality is great, it could withstand professional abuse in the field.
It has a 5-elements-in-3-groups design that it inherited from the older Micro-Nikkor 105mm f/4 Ai which is basically the Nikkor-P 105mm f/4 adapted to a lens focusing barrel. The latter is a bellows-mount lens which could only be focused with a bellows-unit. It has a stellar reputation for being very sharp with performance bordering on the industrial-side. This is good news because you can now use it without having to mount it to a bellows-unit, making it convenient for general photography.

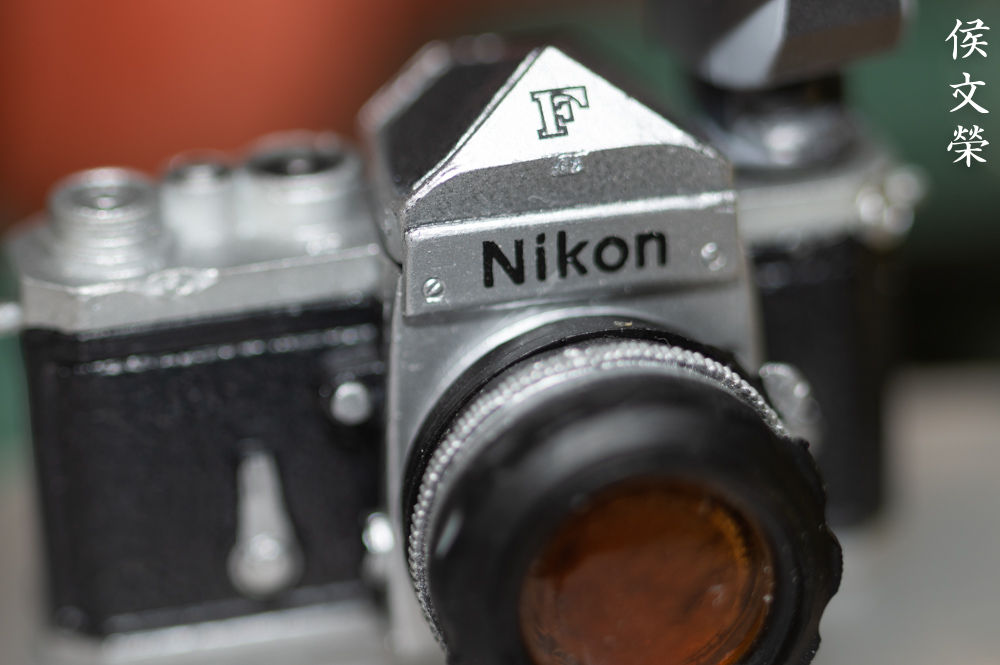
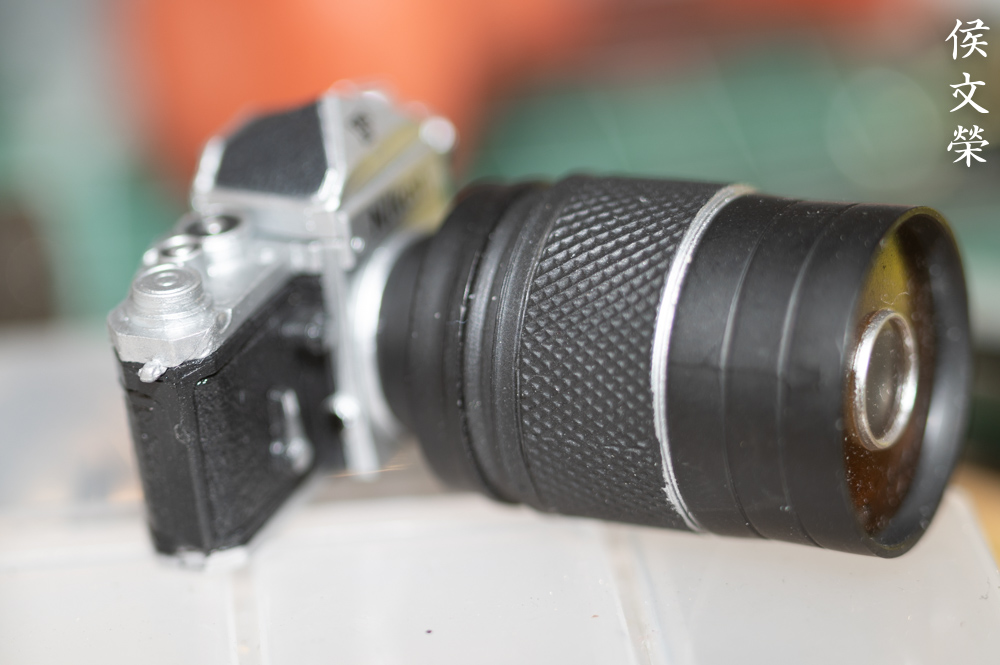
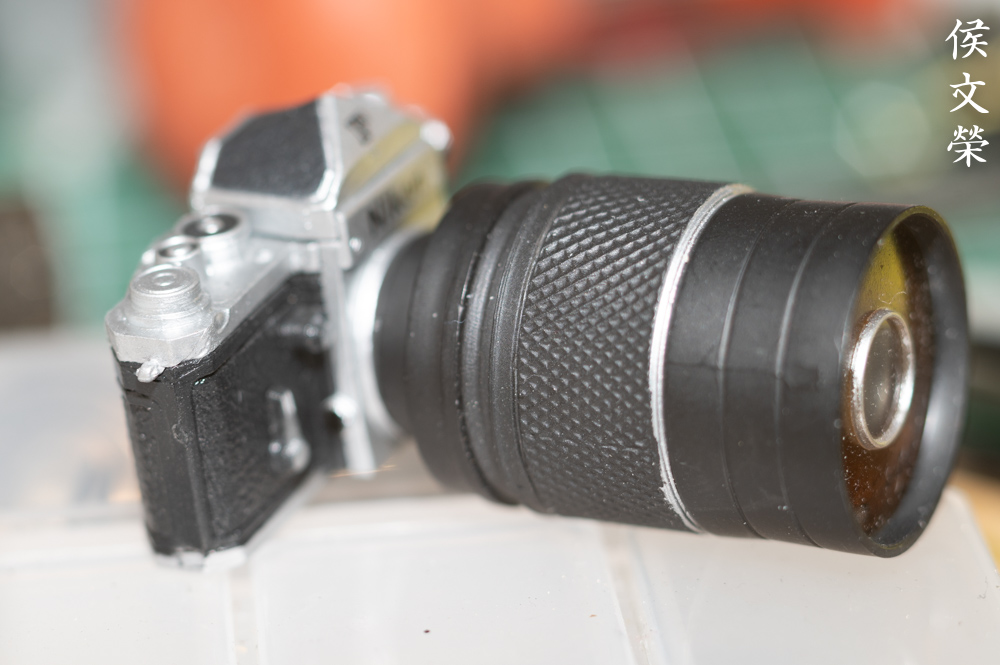
It’s great when paired with a Nikon F3. Using it with special screens help you take sharper photos since you could see your frame better. A split-screen won’t be helpful for taking macro photos since the center will appear black, a course-ground one is what you need for the task.

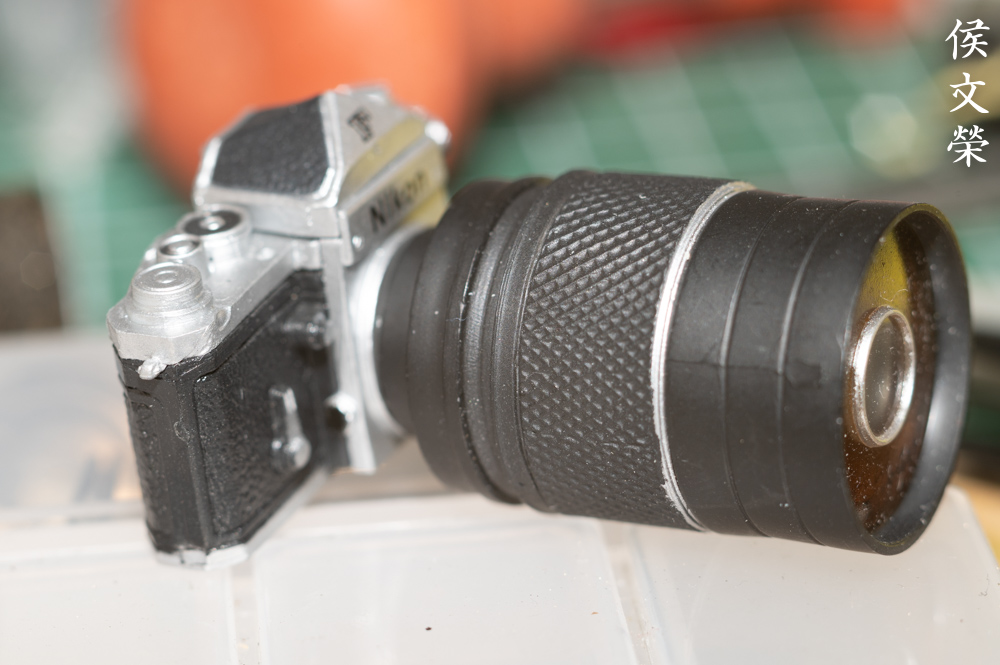
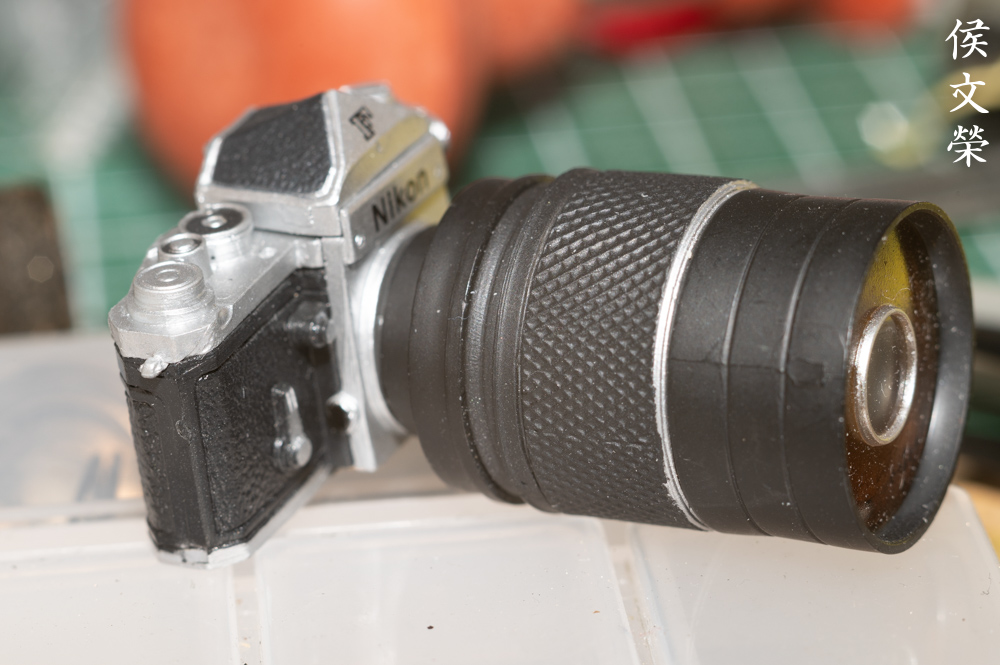
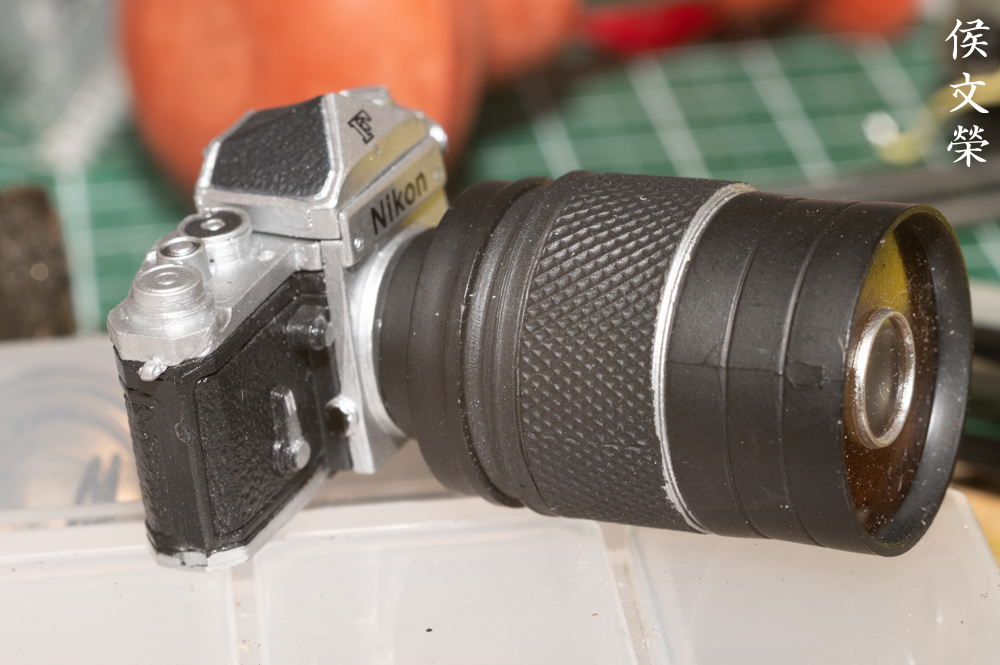
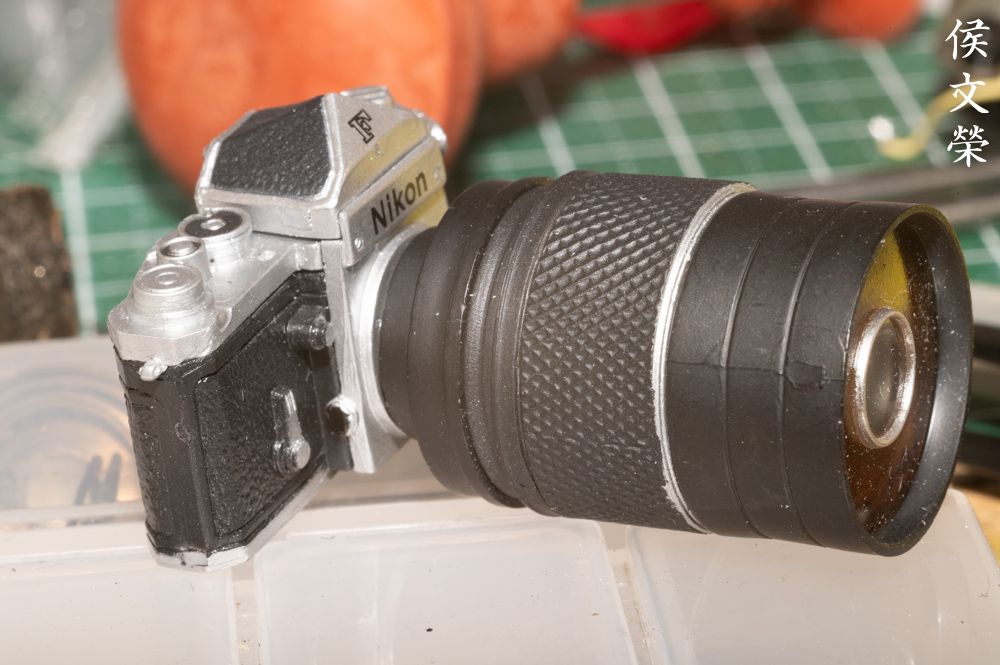
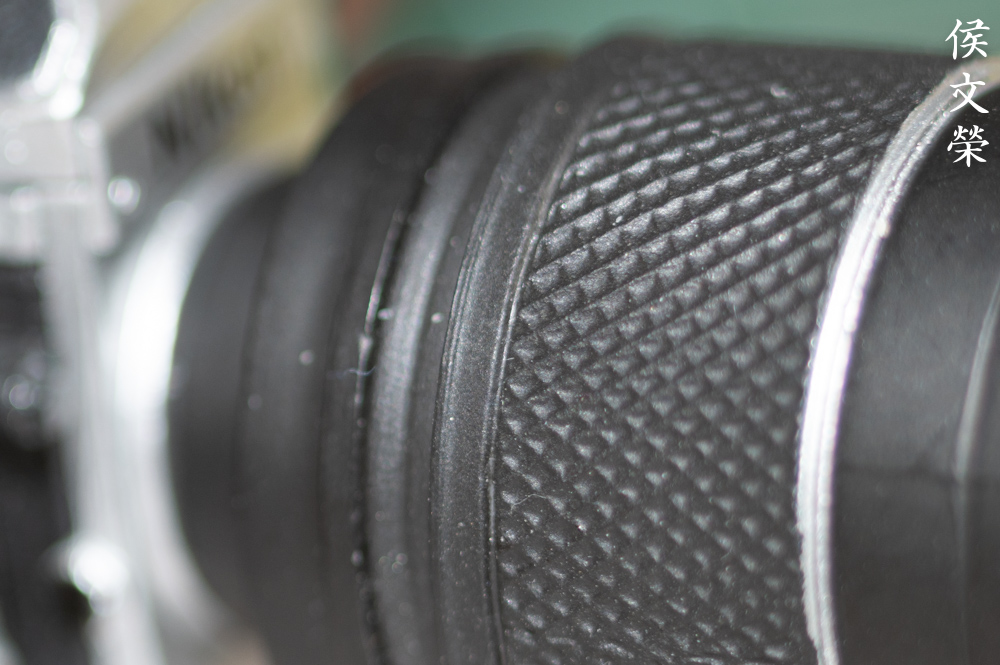
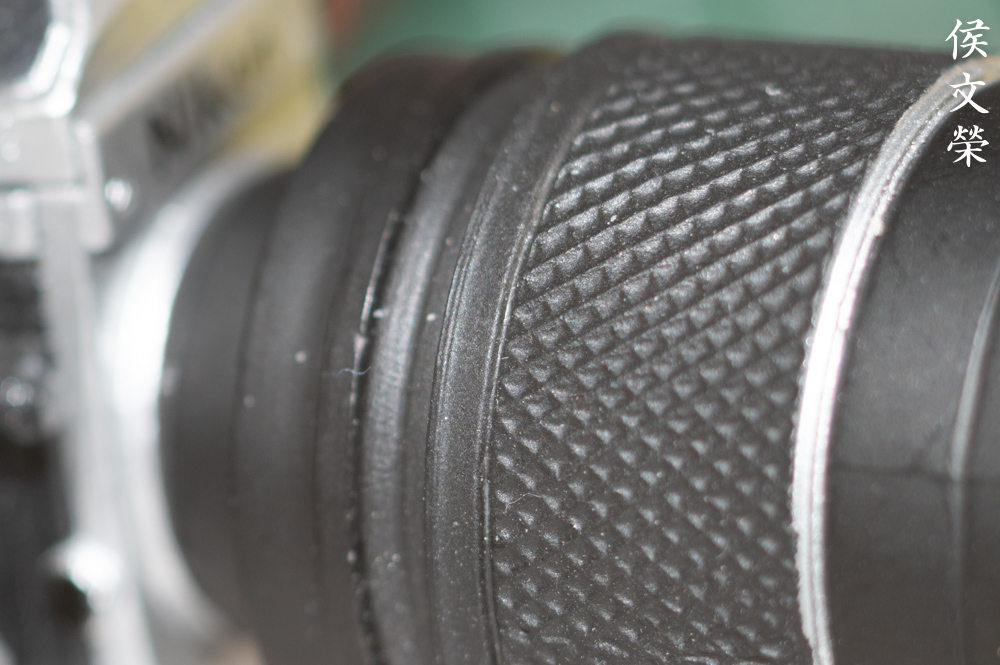
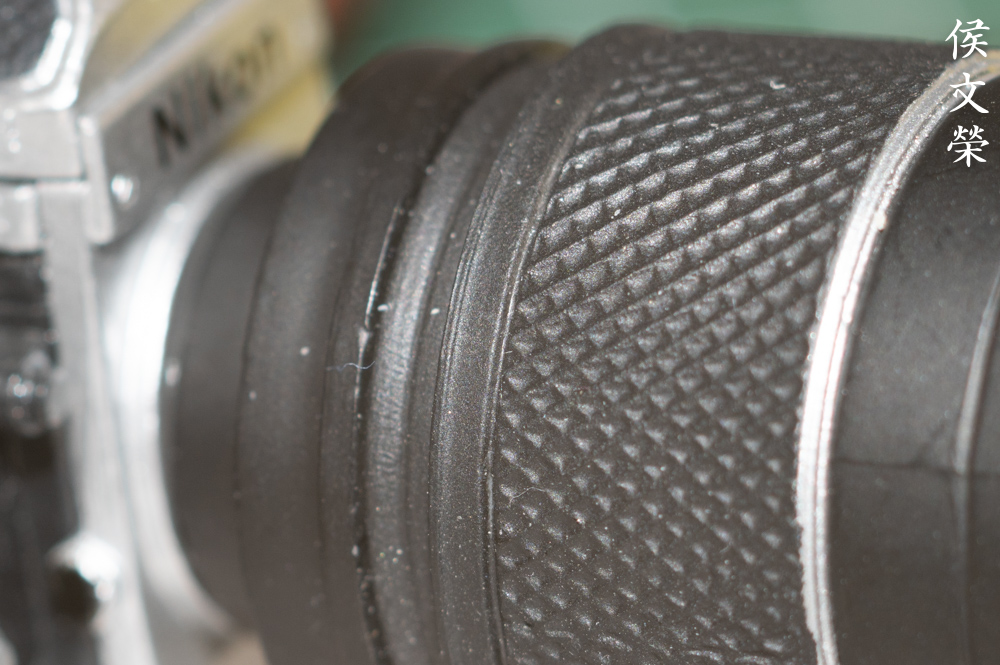
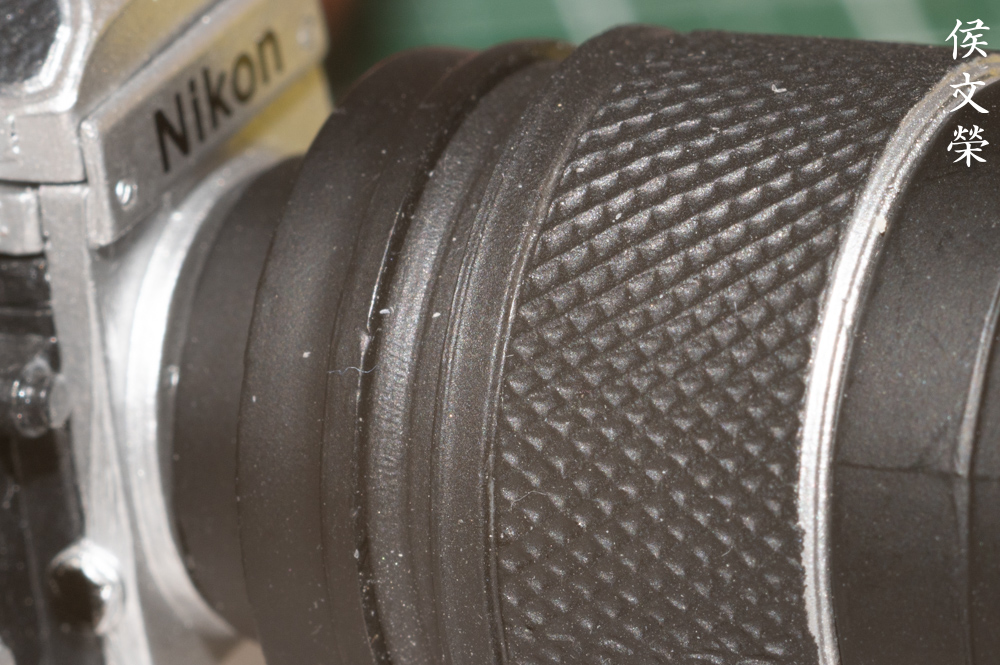
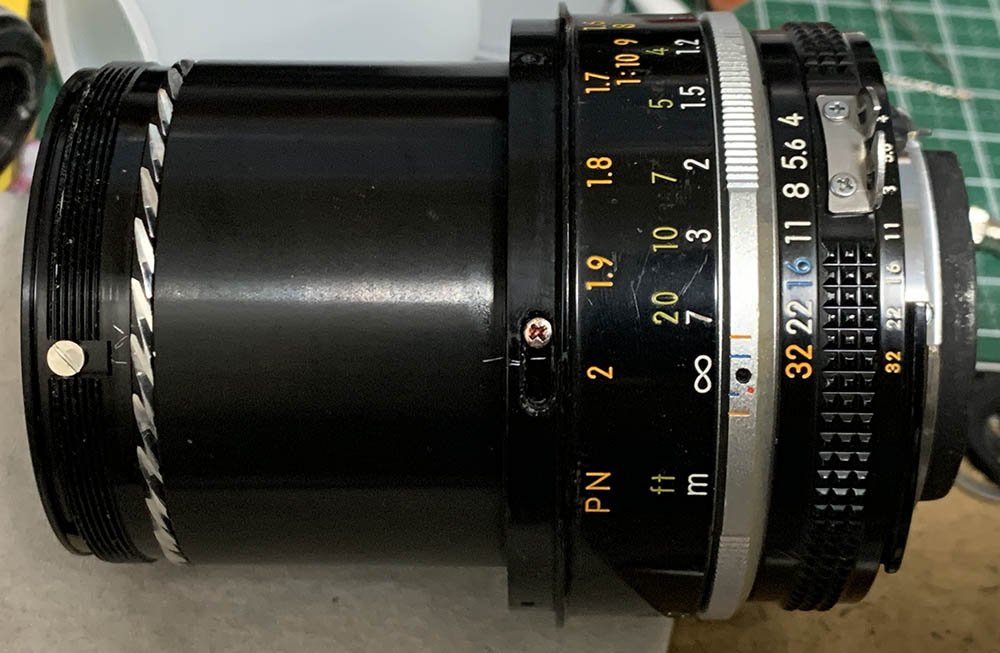
This is how long the whole thing is when focused to its closest-distance and the build-in hood is deployed. It gets even longer if it’s attached to a Nikon PN-11 when you need to get 1:1 magnification. The wide rubber part of the focusing ring is easy to identify by touch and turning it feels so good.
If there’s one thing that I don’t like about operating it that has to be the large amount of focus-breathing, this is most apparent when you’re shooting real-close to your subject and it will affect your framing to a great degree if you wish to fill your frame. You’ll need to be aware of this so compose your frame with a bit more breathing-room to help you compensate for this.
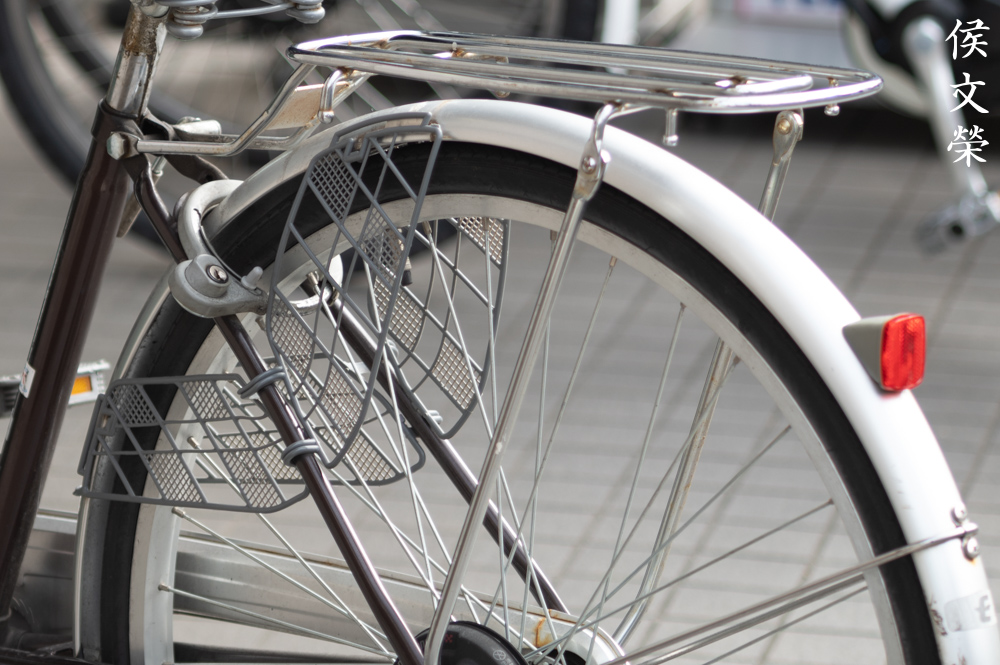
Learning how your lens performs is key to maximizing it. You will learn how to utilize its strengths and avoid its weaknesses. This knowledge helps in determining which lens to bring on an assignment. I shot these from f/4, f/5.6 and f/8 since these are the most common apertures that people would want to use it with and we will see the most changes happen with these values. These photos were shot with a Nikon Z6, some of the photos were cropped close to 1:1 magnification so we can see the details better.

Distortion amounts is close to none, I couldn’t find any obvious signs of it. Macro-lenses are generally known for performing well in this regard.


(Click to enlarge)
It’s remarkable how it doesn’t have any visible signs of vignetting, I’m sure it’s there but the amount is probably too-low to notice.


(Click to enlarge)
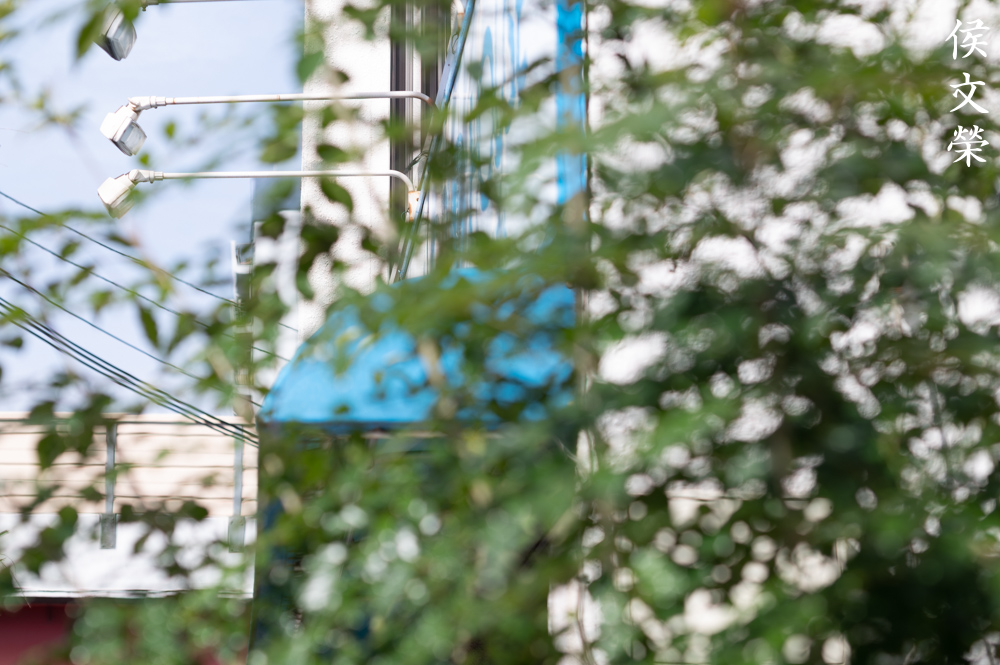
It flares terribly but the effect appears to be localized and you’ll get subdued contrast and a bit of softness. I couldn’t get any blobs to form which is fortunate since I could tolerate the latter but not this.


(Click to enlarge)
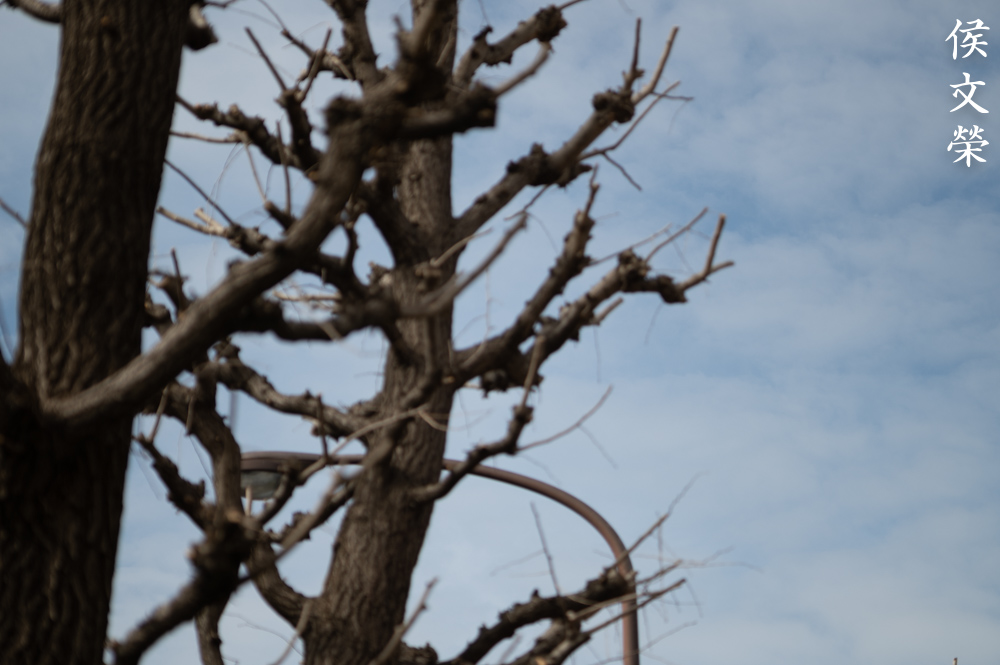
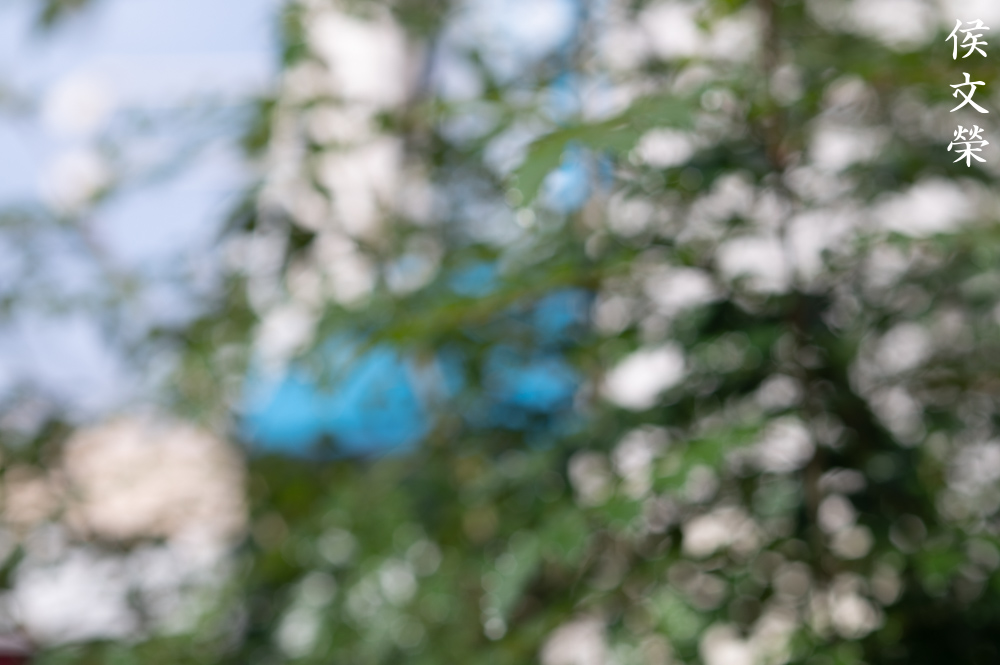
Like most macro-lenses the character of the bokeh is quite good. This doesn’t mean that you couldn’t get ugly-looking artifacts but the likelihood of that is a lot lower.


(Click to enlarge)
Chromatic aberration can be observed wide-open and in higher-than-usual amounts, it’s not too bad at all but I was expecting this to perform a lot better than this. Stop it down to f/5.6 and most of it is gone, you’ll only see traces of it in severe cases. You won’t see any by the time you get to f/8. Spherical aberration can be seen wide-open in moderate amounts, you won’t see it from f/5.6 on. I believe this is the weakest trait of this lens, maybe this lens requires an extra element to correct this?
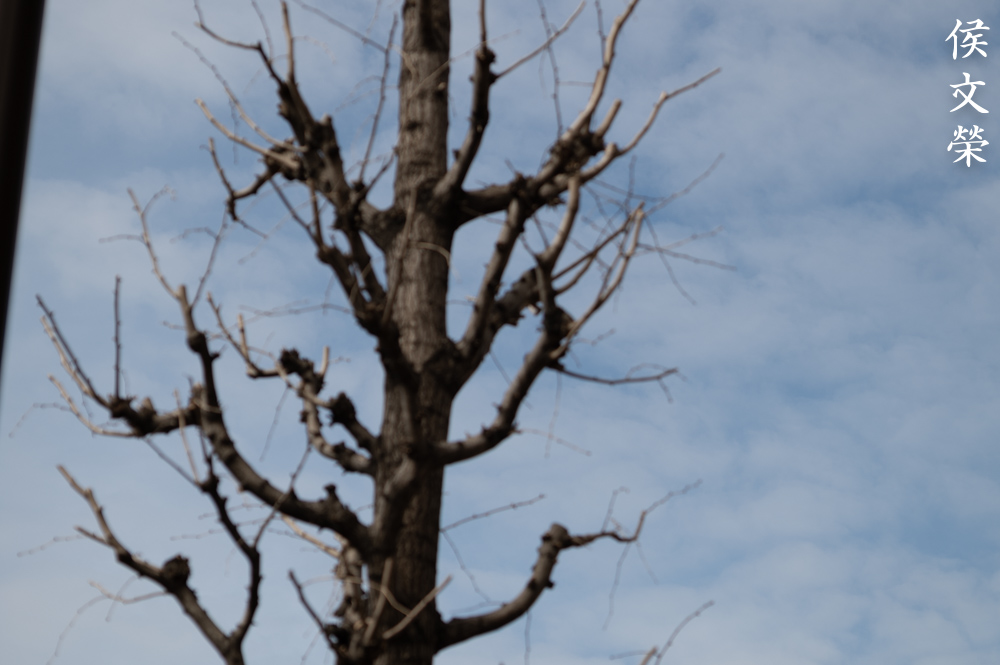
The next set of photos were taken at moderate distances so we could see how it performs when shot in non-macro applications. It’s not the ideal way to test a macro-lens but it’s important to see how it performs at these distances.


(Click to enlarge)
It’s quite sharp wide-open and the resolution is adequate but we’re not seeing its full-potential yet. Stop it down to f/5.6 and you’re going to notice some improvements in sharpness and resolution, it looks great at the center but the biggest changes could be seen at the corners. It appears to improve some more by the point it reaches f/8, this may be due to the wider depth-of-field, giving you more things in-focus. The corners look much better compared to how it did wide-open, they appear sharp and you could even see fine details rendered beautifully. It appears that my sample performs quite well at closer distances and then the performance drops a bit when you get closer infinity. Despite that, it’s quite sharp even at infinity and the corners don’t look bad at all. Whatever you see here is also impacted by chromatic aberration and a bit of spherical aberration which is rather unfortunate.
Since this is a macro-lens, let’s see how it performs all-the-way to f/22? The latter-half of this set were shot with the Nikon PN-11 installed and were taken at near-1:1 magnification. The photos were tightly-cropped close to actual pixel-size so we could see how it really performs. This set is meant to show how well it handles the effects of diffraction, which is important to know when you’re shooting with a macro-lens.


(Click to enlarge)
It’s sharp wide-open but spherical aberration, chromatic aberration and the thin depth-of-field makes things appear softer than it is. Stop it down to f/5.6 and you’ll see improvements in sharpness and resolution, most of the optical aberrations are gone by now. It’s very sharp by f/8, I think it performs the best between this aperture and f/5.6. It still looks nice at f/11 but you’ll notice a slight drop in resolution, this is the smallest aperture that I’d shoot this with and the only reason to get this small is for more depth-of-field. I’s starting to look a bit softer at f/16 since we’re now starting to see the effects of diffraction. You’ll notice a drop in resolution by the point it reaches f/22, I don’t think there’s any point in getting smaller than this as it will surely look ugly. If getting deeper depth-of-field is what’s causing you to stop the iris further than you should then you should consider doing photo-stacking unless you have no choice such as shooting subjects that won’t stay-still for you such as bugs and scientific or engineering photos.
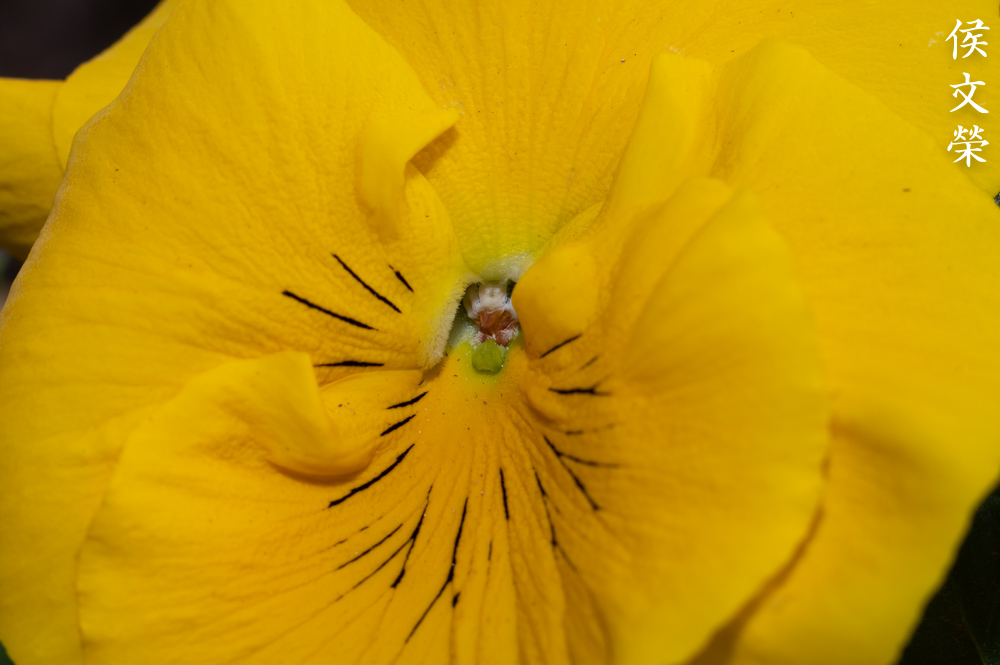
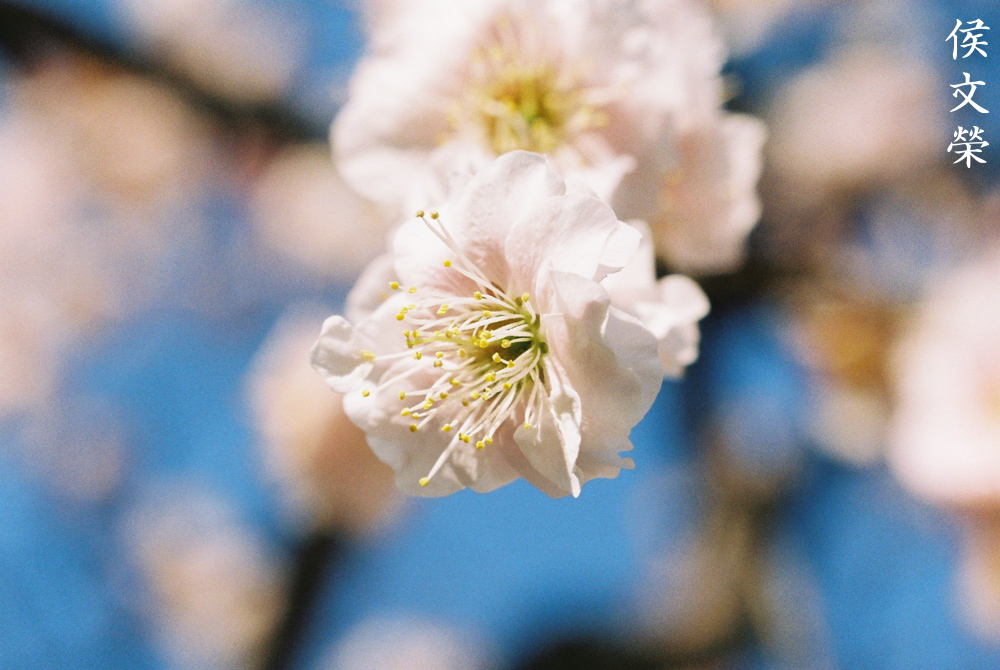
The compression made the photo look less-sharp but it’s actually quite good when viewed with a large monitor, I could appreciate the beautiful details of the pollen, the details look crisp. This was shot at f/8 and it was cropped so you could see it better.

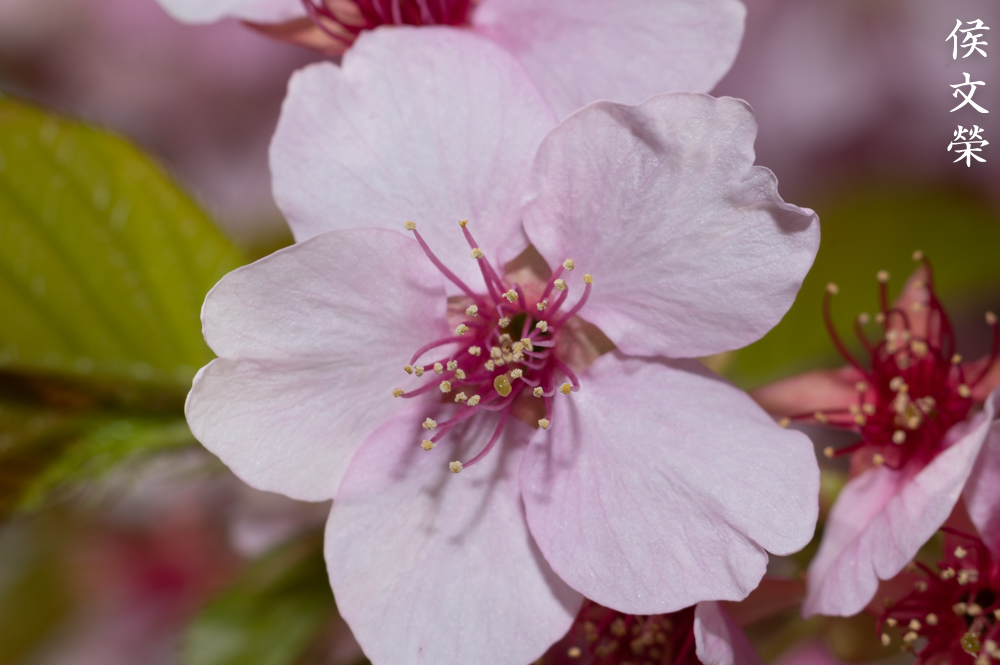
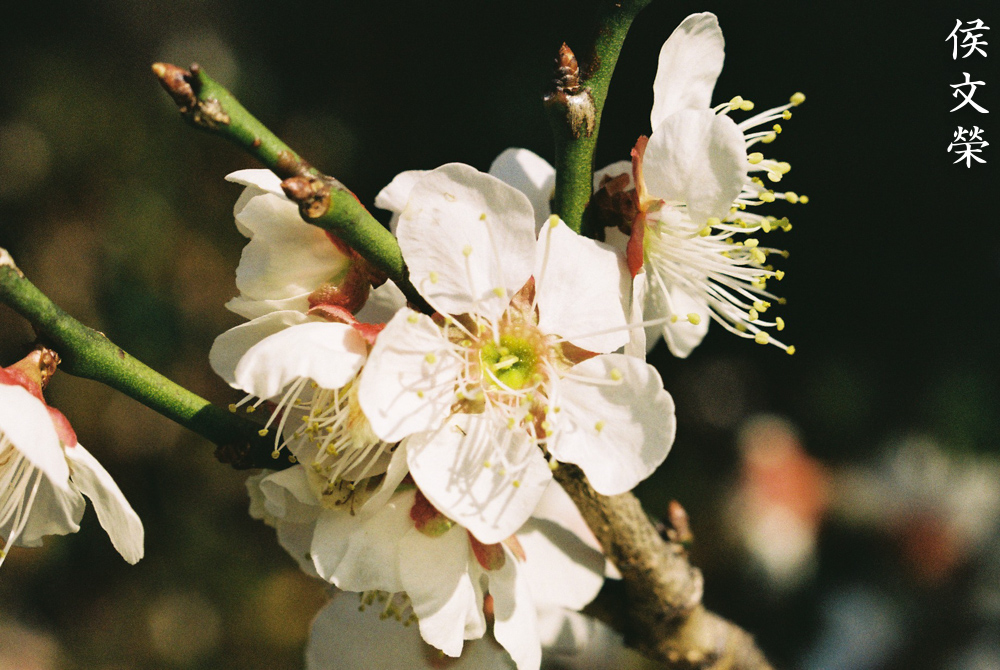
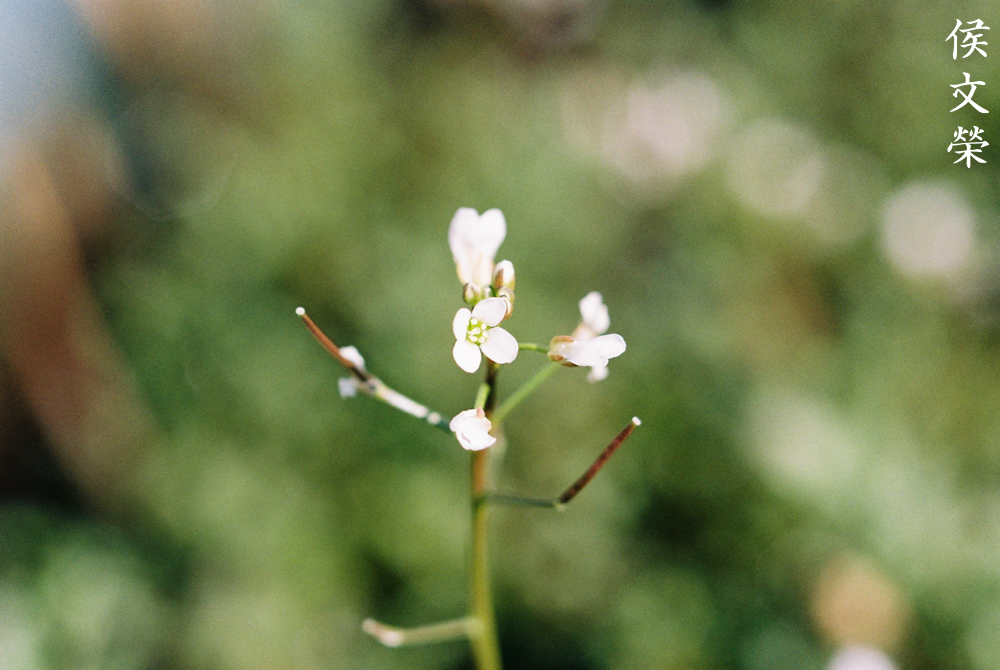
It’s capable of rendering delicate photos with nice tonality, nothing drastic and the character of the bokeh is pleasing, you’ll get the smooth falloff that’s a hallmark of high-quality Nikkors.

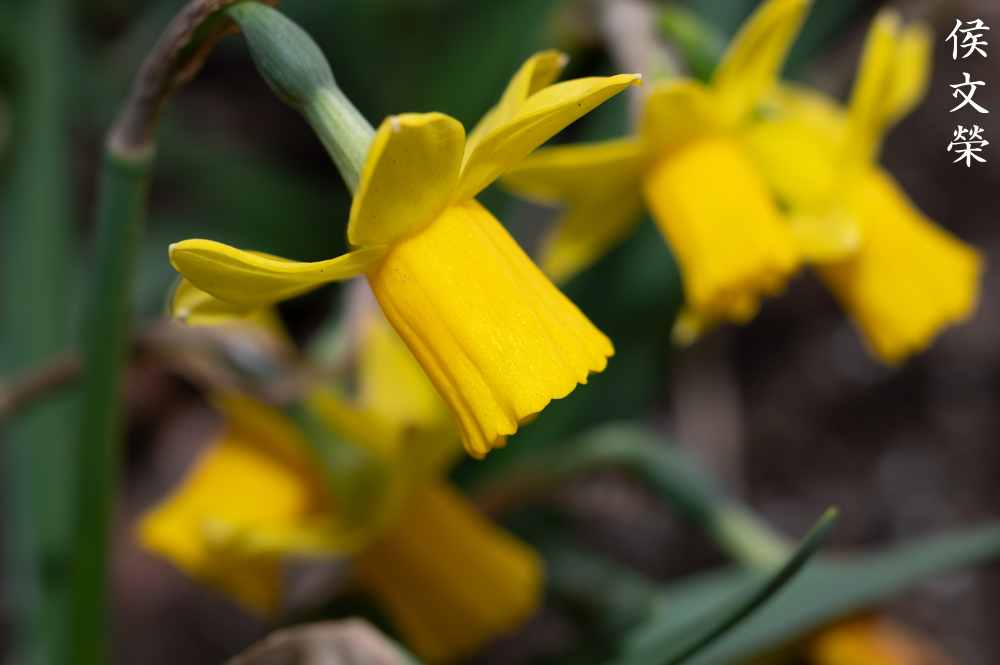
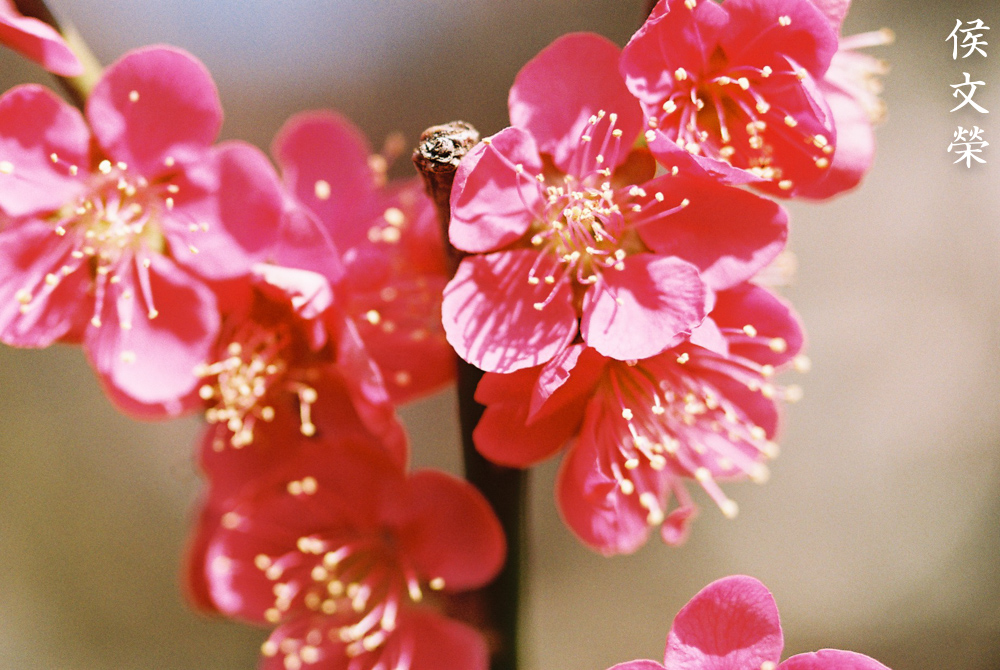
This gentle falloff enables you to take sharp photos with a nice balance of blurry areas so it looks quite natural, very pleasing if the subject is delicate such as a flower.
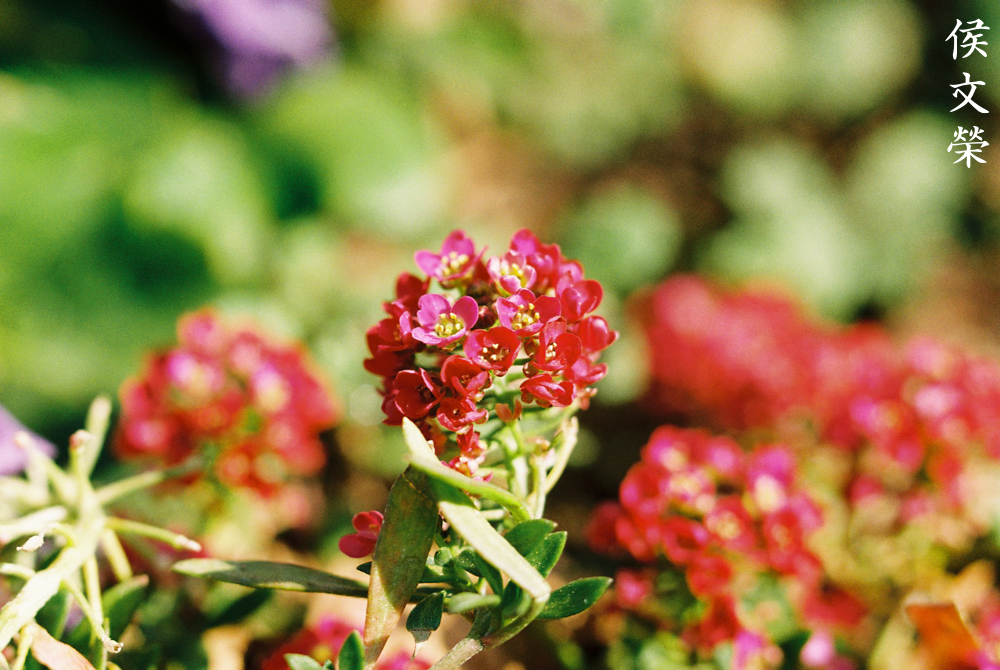
Primary colors are usually difficult subjects to capture since you’ll lose a lot of tonality, it’s most-evident when shooting with film. The lens is able to capture the subtle tones of the petals and not making them look “fake”.


(Click to enlarge)
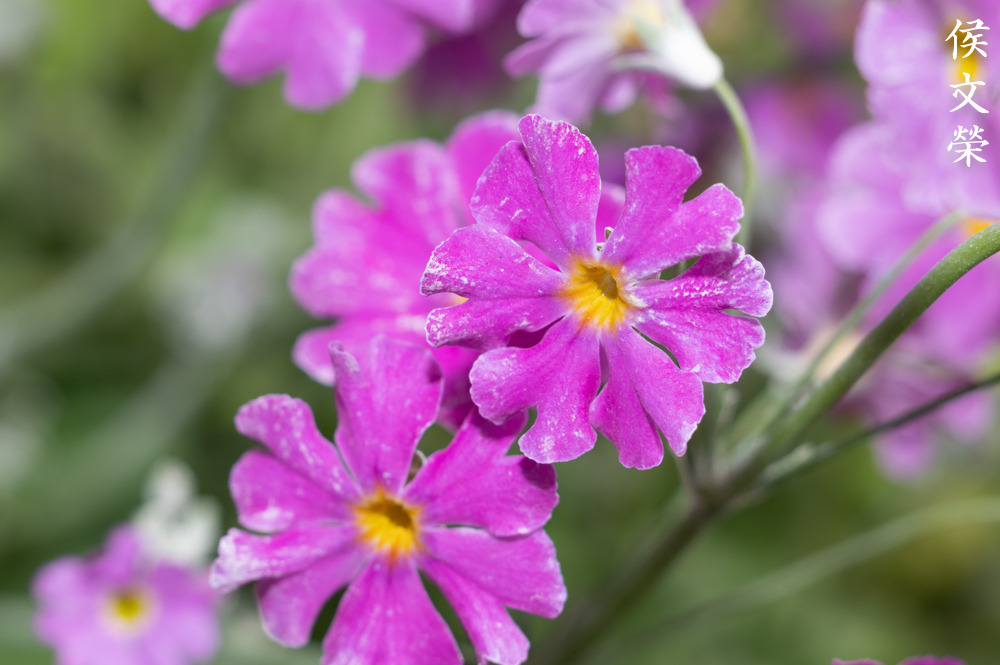
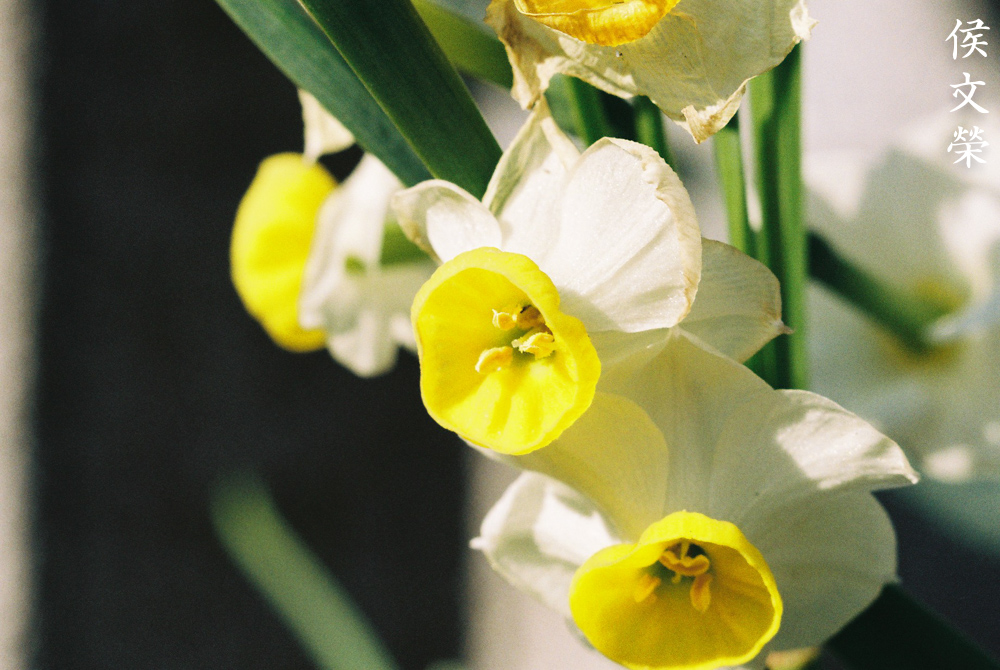
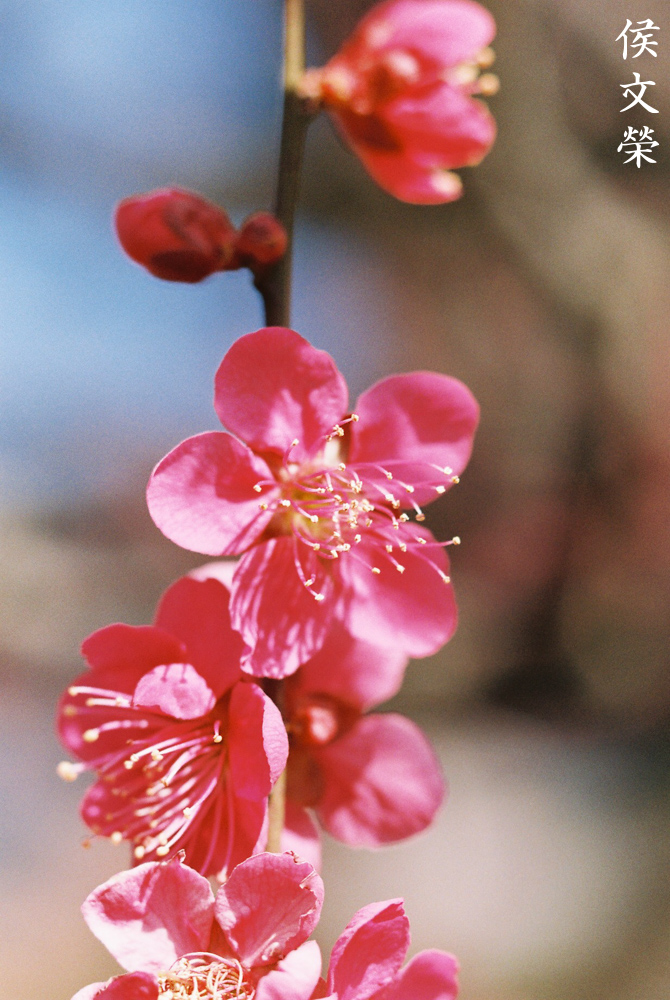
Here’s more photos that I took that morning. I usually take pictures of bugs when doing macro-photography but I couldn’t find any since it’s still winter so I had to settle with taking photos of flowers. If you don’t have a lot of money for expensive lenses this one will satisfy your needs since autofocus isn’t essential when taking photos like these. I’m pleased that it’s still able to capture sharp photos even with today’s high-MP sensors.
Let’s now check some film pictures. Film has a unique look that is hard to simulate with a digital camera thanks to grain. It reacts differently to light, this means that it could mask a lens’ flaws or amplify them. Since it was designed to be used with film, it’s best that we judge this using its intended medium. I shot these with a Nikon F3 loaded with Kodak Gold 200.
Sharpness is excellent with film. The details look nice despite being shot with a cheap film.
The tonality appears nice, you’ll be able to get sharp photos with delicate features, a true mark of a premium lens.

I was even able to capture the details of the pollen, it’s not evident here due to compression but it looks great when viewed with a huge monitor.
The depth-of-field is quite thin despite shooting with a smaller aperture. It gets thinner when you get closer, making it difficult to capture everything in-detail.

Film is not the best medium for these kinds of photos since digital cameras are sharper but this photo shows that film is still a nice medium for taking macro photos.

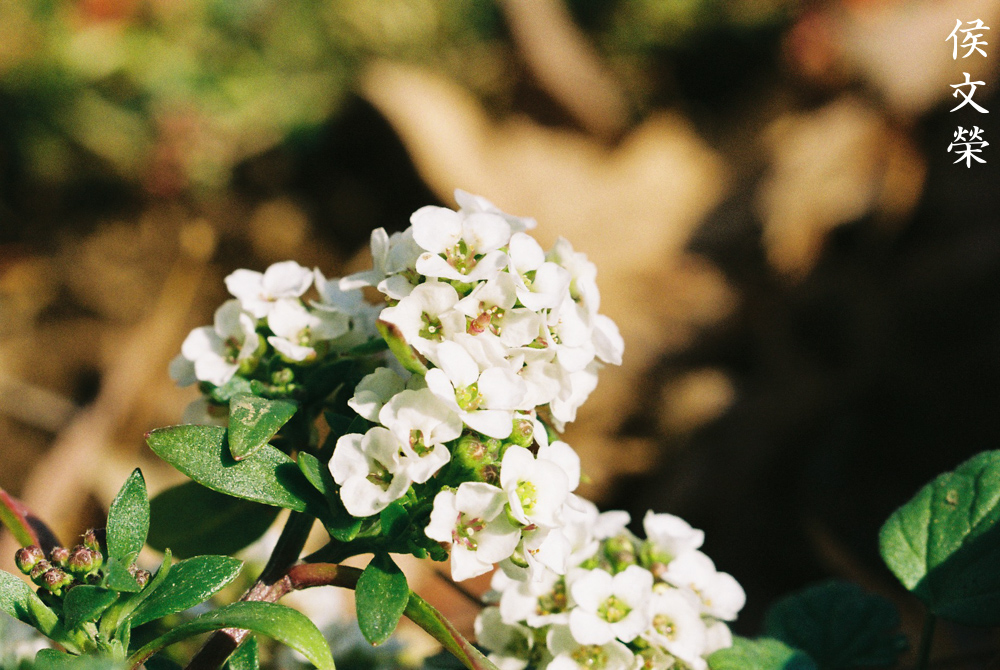
Positioning your subjects at roughly the same frame as your focus-plane helps keep them sharp. The character of the bokeh is nice and I couldn’t find any roughness in the blurred areas.


(Click to enlarge)
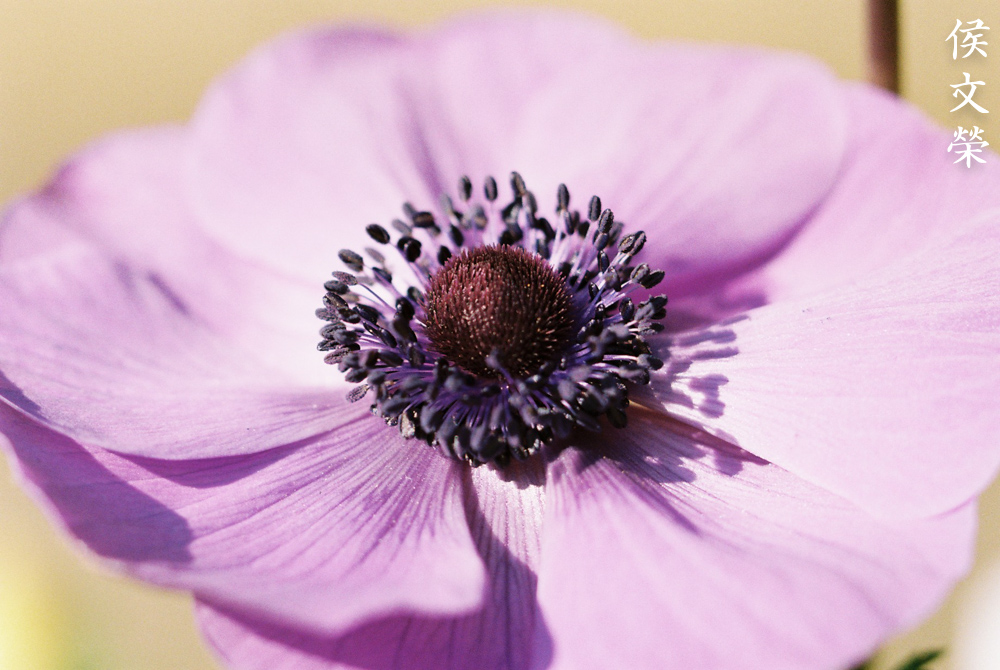
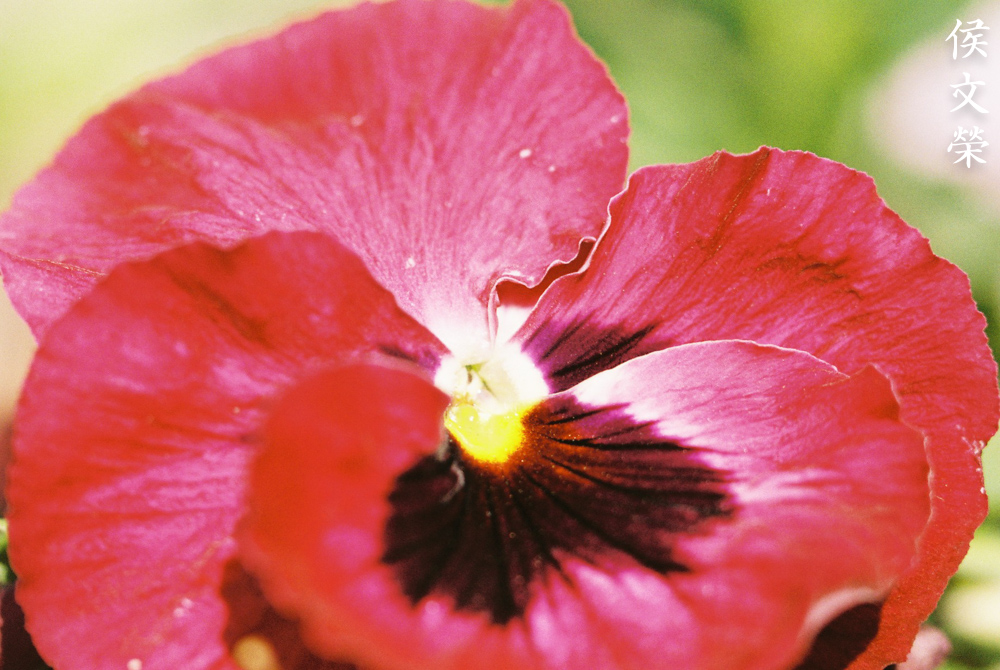
Here are more flower photos that were shot with film. Enjoy shooting with it the way you see fit, these should demonstrate that it’s still a great lens despite its age, with film or digital.
This is still a viable option for macro-photography specially if you don’t have a lot to spare. If you have an even smaller budget the Micro-Nikkor 105mm f/4 Ai is a great alternative since it shares the same optics with this one. The only drawback is its size since it is a lot fatter compared to this, it’s also a bit heavier, too. The Micro-Nikkor 105mm f/2.8 Ai-S will set you back more but you could use it more comfortably since it’s faster. Many people consider this to be a good lens but the Micro-Nikkor 105mm f/4 Ai-S is really a bit sharper in my opinion which is also shared by some people in the photography community. There’s also the added benefit of it having a longer working-distance compared to the Micro-Nikkor 105mm f/2.8 Ai-S according to some. The biggest drawback is the slow f/4 maximum aperture which limits its use specially when shooting with extension-tubes. If you have decided that this lens is for you just make sure that the iris is dry and snappy when you actuate it. The glass and coatings have to be clean and clear as well. Operate it to make sure that all of the rings turn smoothly and it focuses properly up to infinity. These are not expensive, you could get one for less than $120.00. I got mine for a lot less than that since it was sold as junk. These sturdy lenses will still stay relevant for decades to come so long as you take good care of them. Good luck looking for these, happy hunting.
Before We Begin:
If this is your first attempt at repairing a lens then I suggest that you see my previous posts regarding screws & drivers, grease and other things. Also read what I wrote about the tools that you’ll need to fix your Nikkors.
I suggest that you read these primers before you begin (for beginners):
Reading these should lessen the chance of ruining your lens if you are a novice. Before opening up anything, always look for other people who have done so in YouTube or the internet. Information is scarce, vague and scattered (that is why I started this) but you can still find some information if you search carefully.
I highly recommend that you read my working with helicoids post because this is very important and getting it wrong can ruin your day. If I can force you to read this, I would. It is that important!
For more advanced topics, you can read my fungus removal post as a start. It has a lot of useful information, it will be beneficial for you to read this.
Disassembly (Lens Barrel):
The construction is rather conventional, it shares many things in-common with the other Micro-Nikkors so I didn’t have any issues dismantling it. The biggest thing that annoyed me is the use of adhesives in some of the screws which had to be heated in order to extract them safely. This is a lens of moderate complexity but beginners should stay away from it. You will need special tools and skills in order to remove some of the parts. If your lens needs to be serviced send it to a repairman and be sure that they’re legit. It has been brought to my attention that there are bogus operators around so be careful.
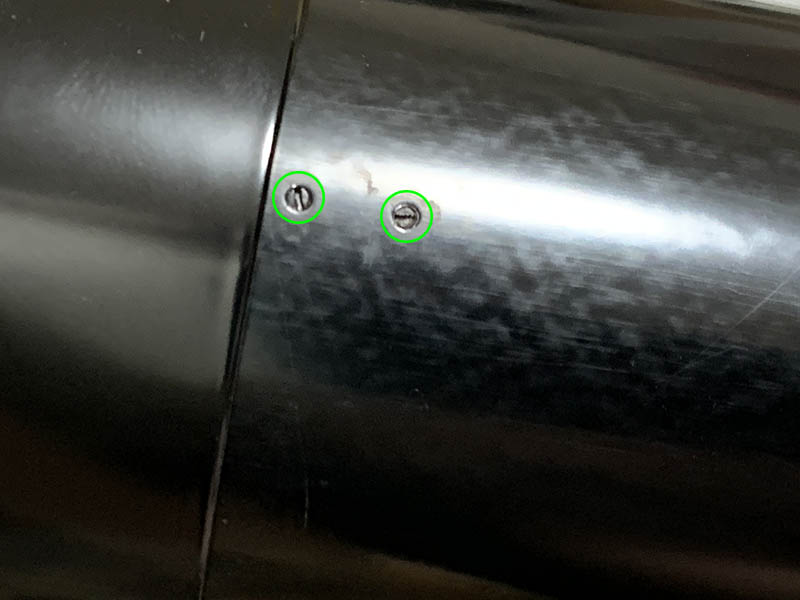
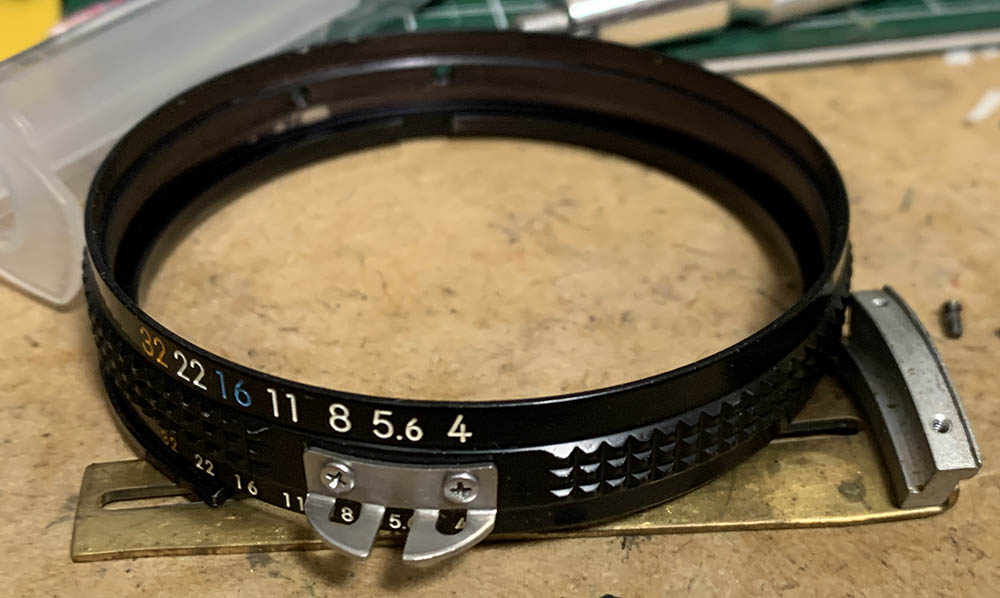
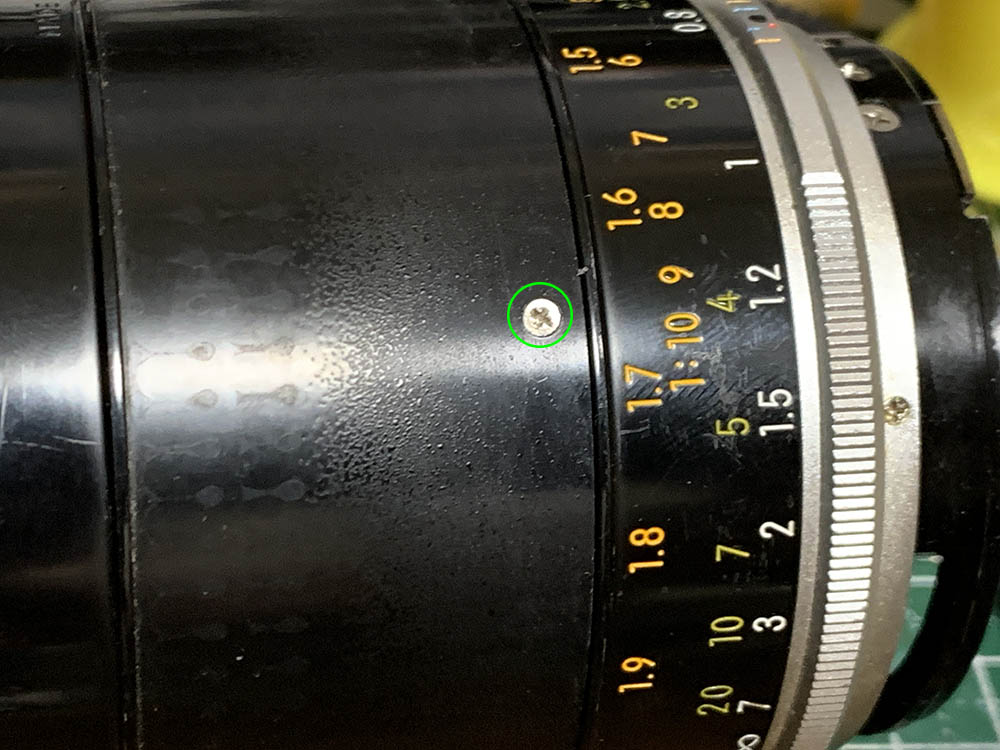
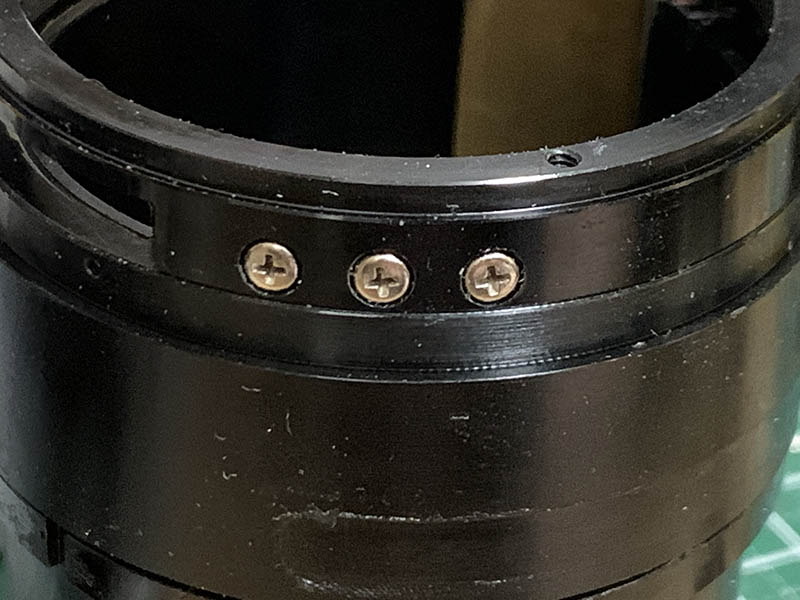
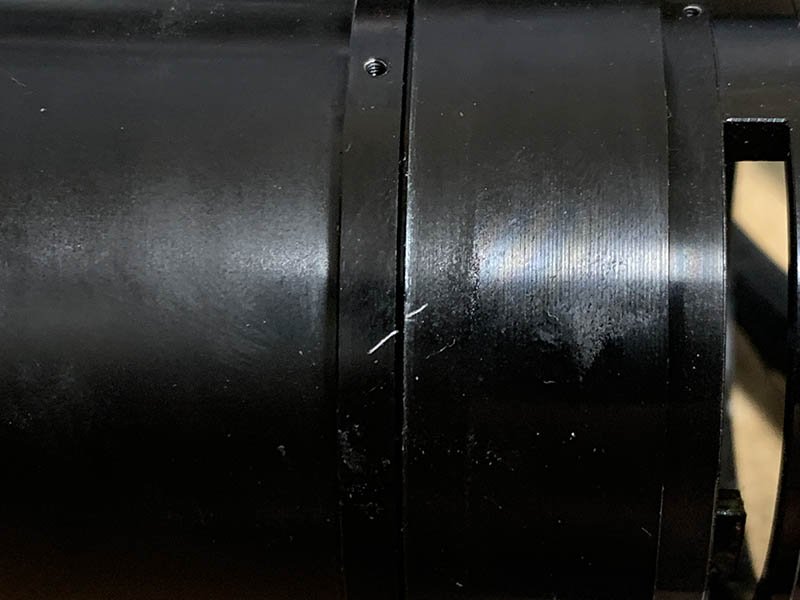
Carefully locate and extract these set screws. The lower one secures the whole front barrel to the rest of the barrel.
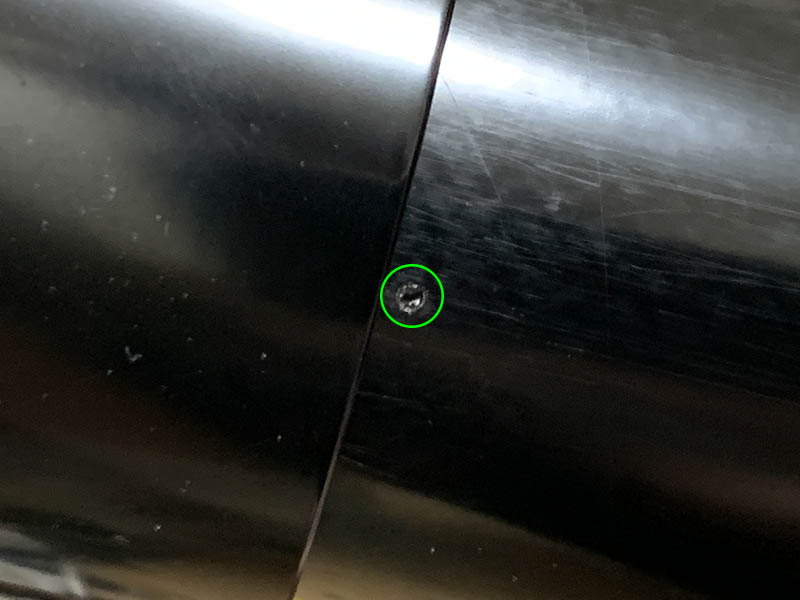
Here’s the last one. This and the previous one (front one) secures the front ring.
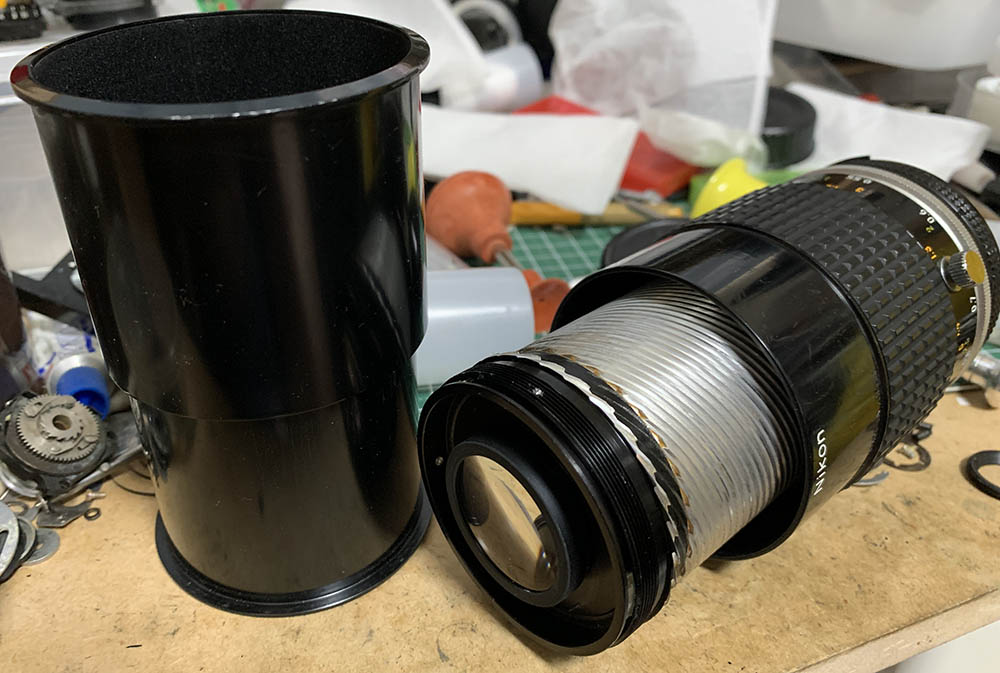
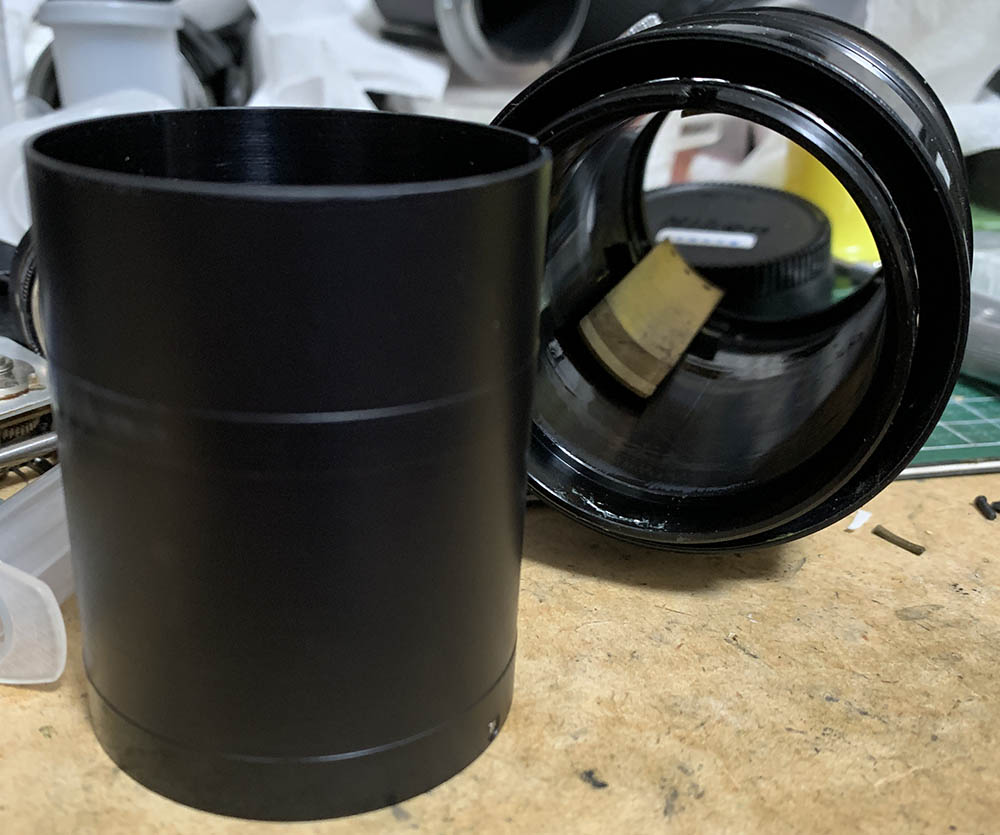
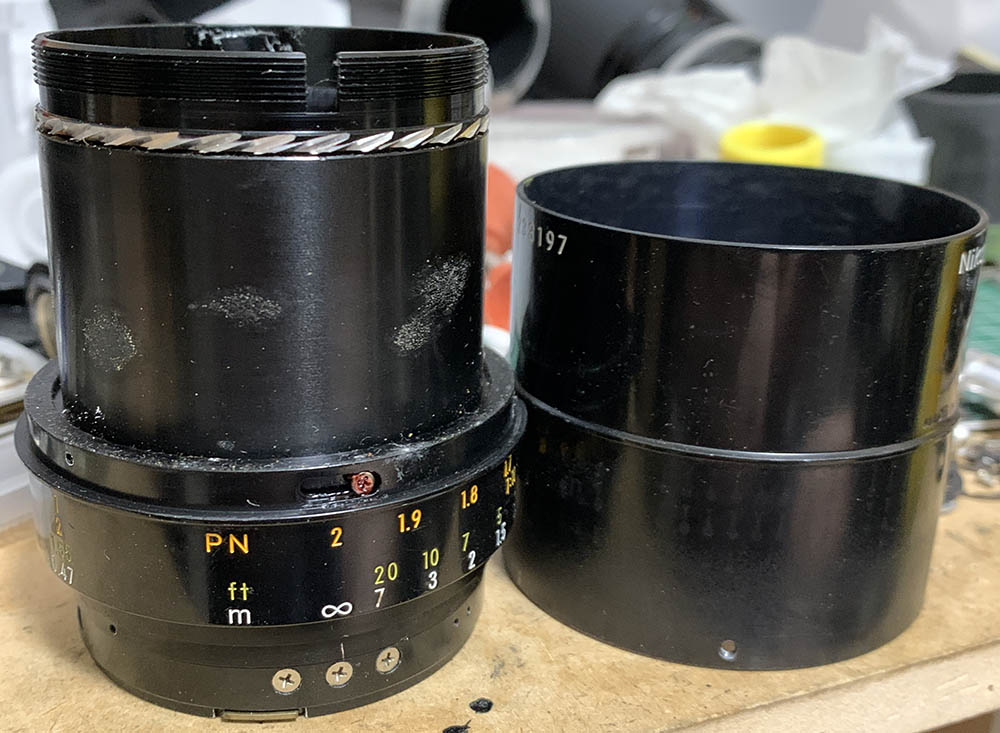
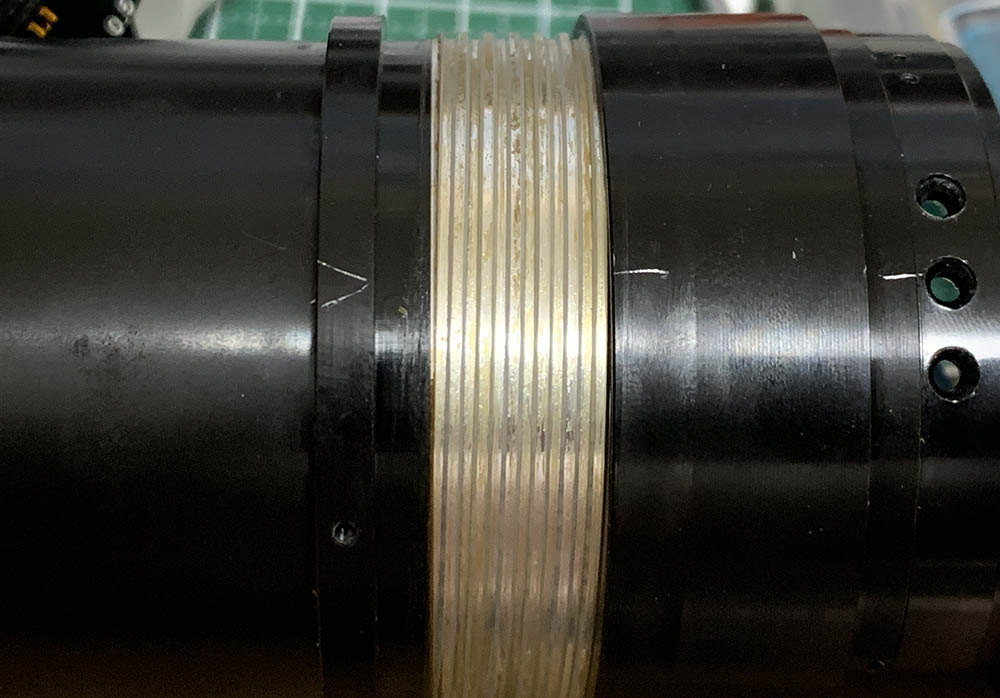
Once the screws are gone you can unscrew the front barrel. Focusing the barrel to its closest-distance will help you unscrew this.
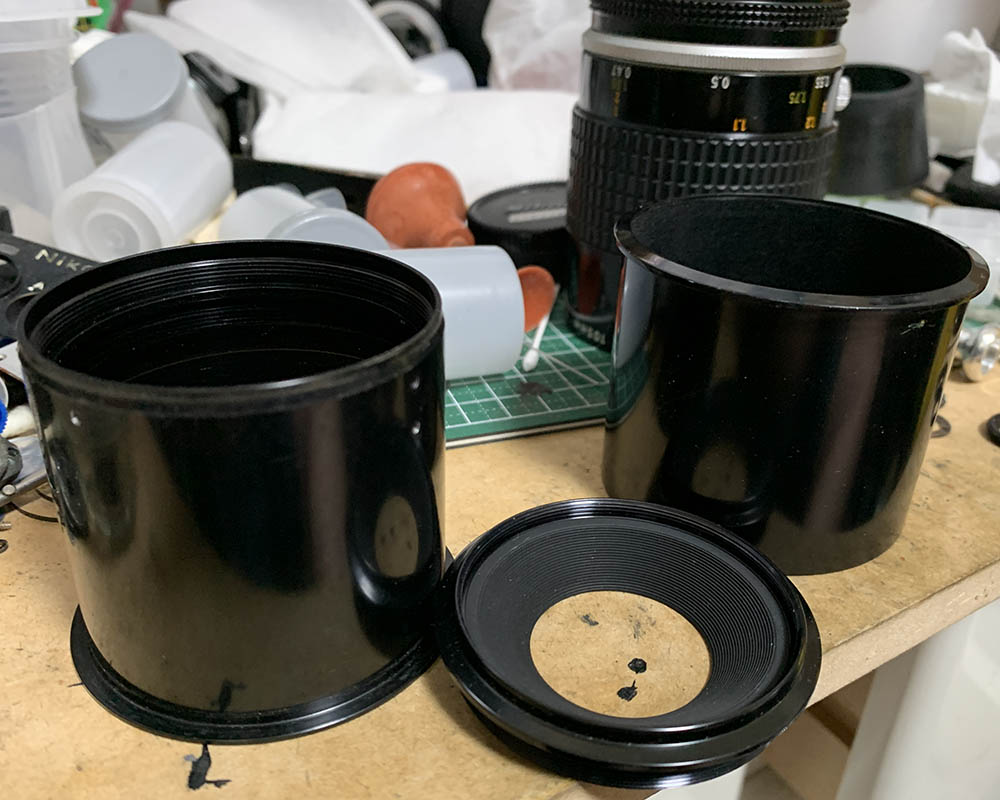
The front barrel assembly could be dismantled further for thorough cleaning.
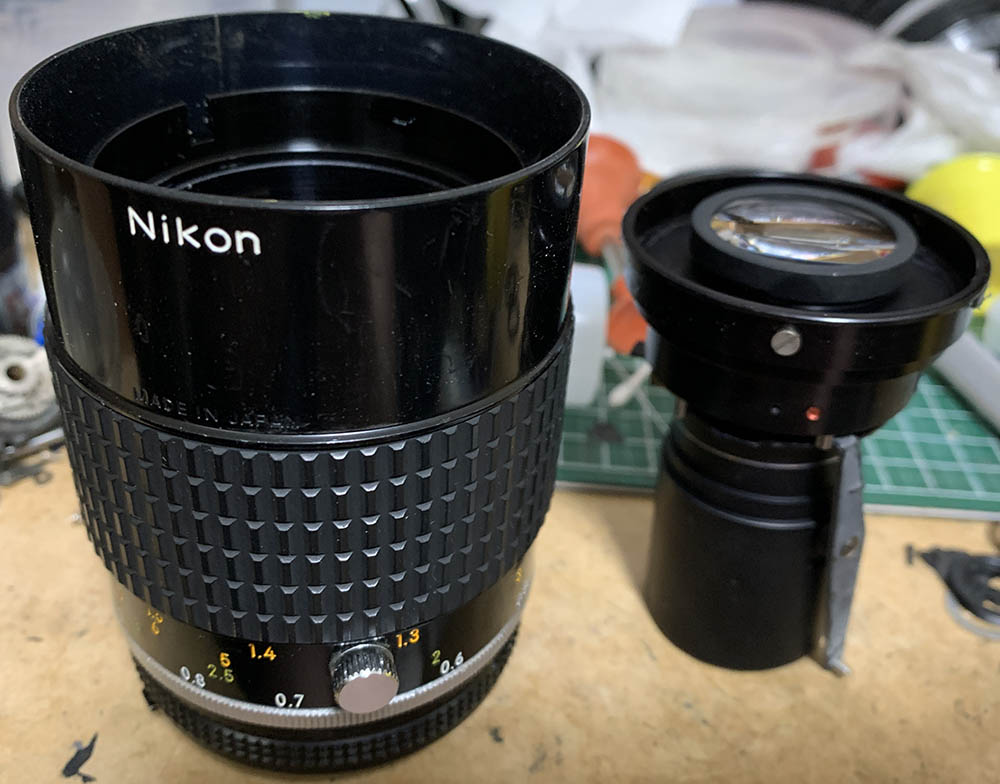
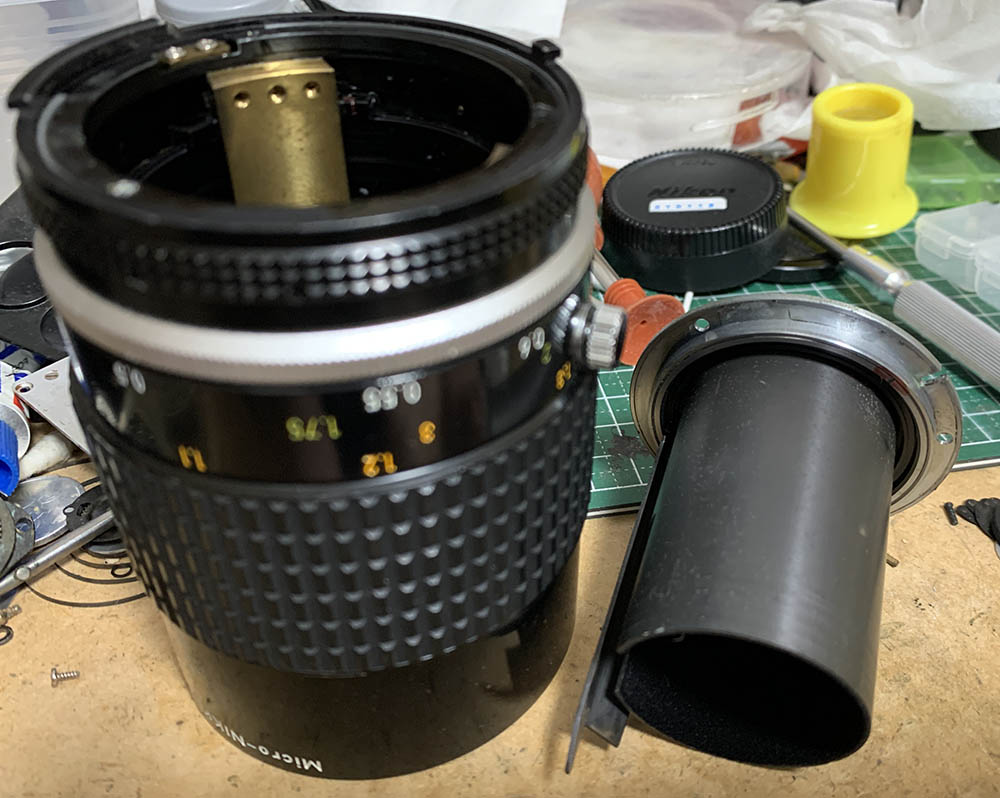
The front barrel secures the objective to the rest of the lens so you can pull it off once it’s gone but be careful so nothing will snag when you pull this out from the barrel.
You can now remove this tube. It couples the aperture ring to the iris mechanism. Be sure that the tab of the iris mechanism slides into the slot of the tube correctly when putting the objective back.
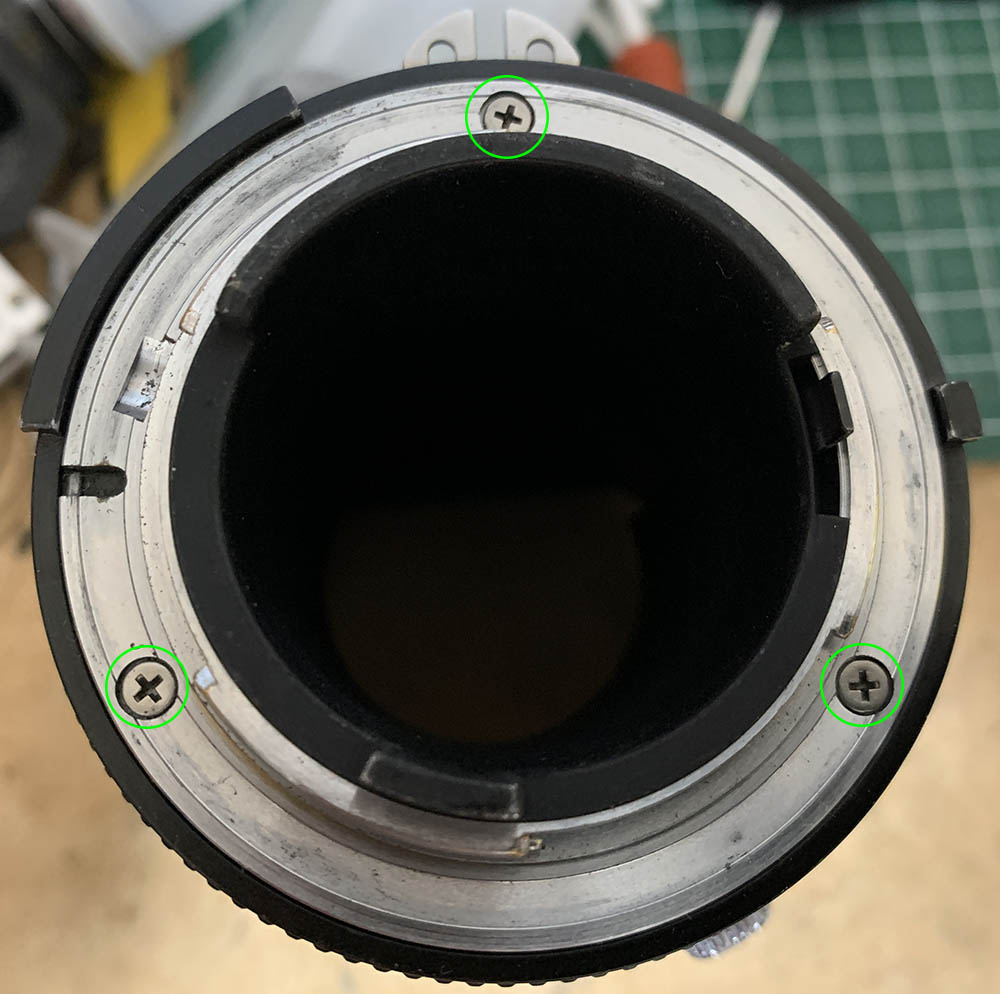
Extract the screws of the bayonet mount so you can remove it. Many people get stuck here because they don’t have the right tools and strip the screws. To prevent this from happening to you, read my post about how to remove bayonet screws. Follow my guide and that should help educate you on how its done and which drivers you should use.
Carefully remove the bayonet mount.
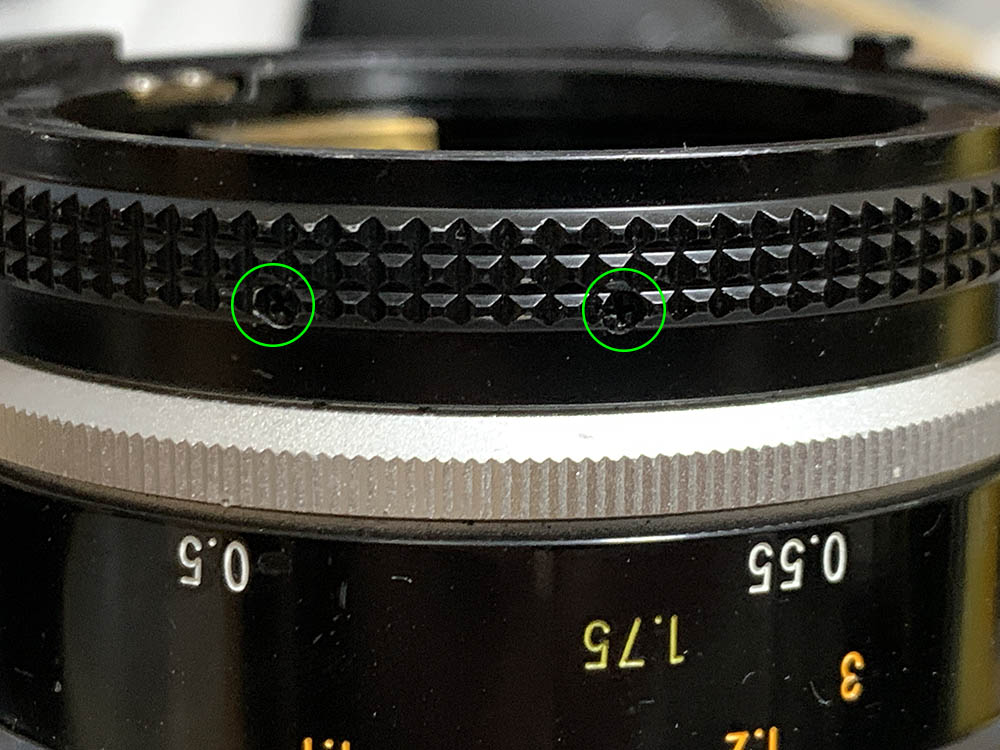
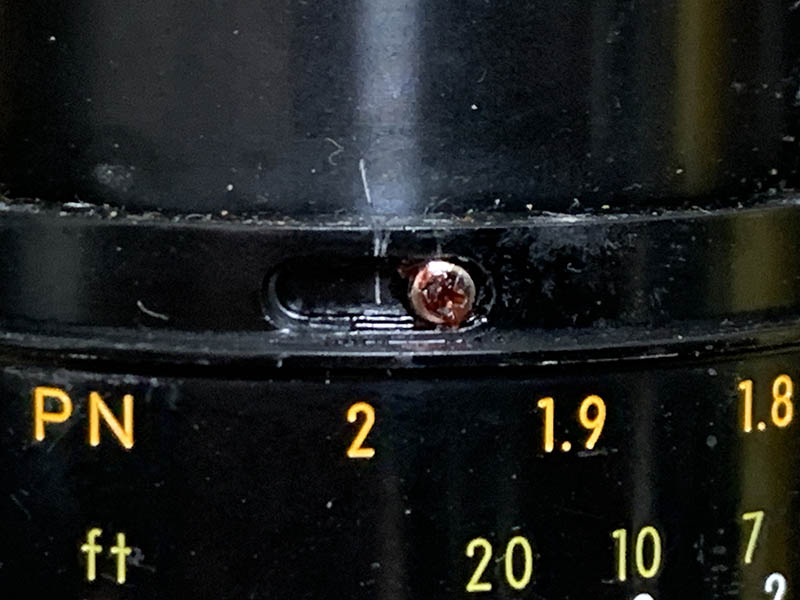
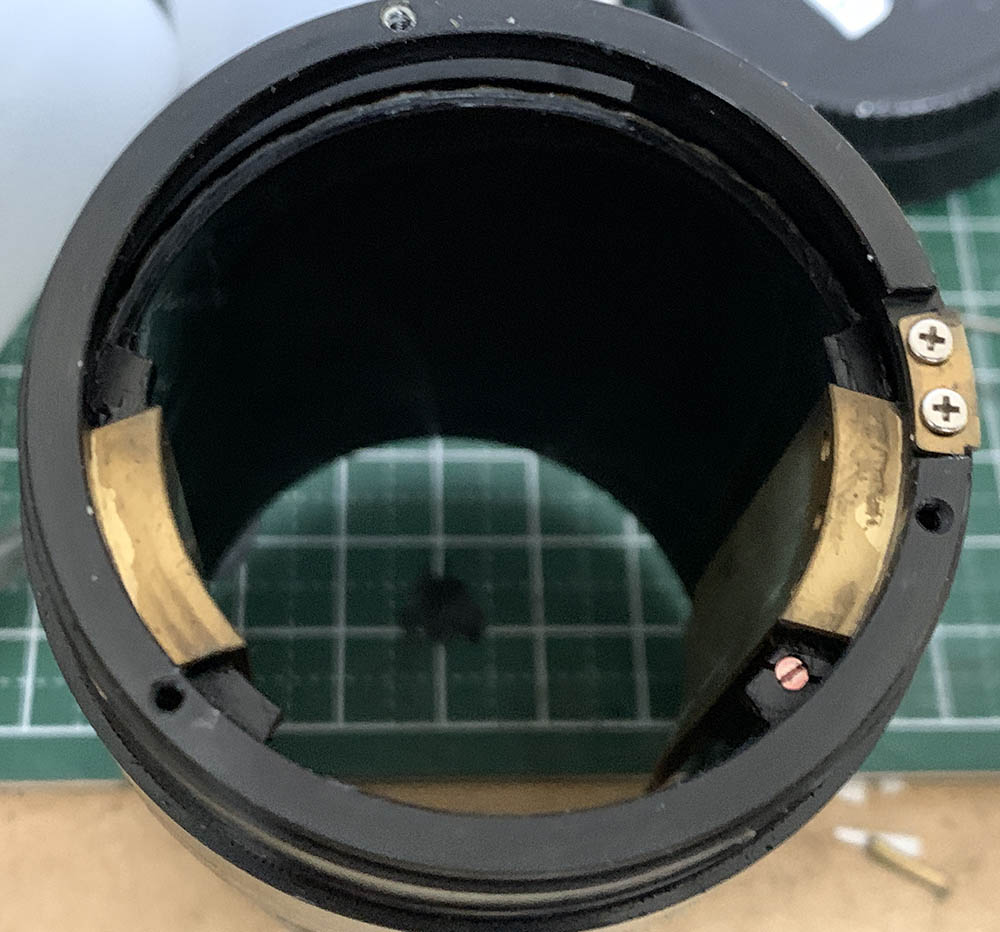
Extract these before you remove the aperture ring. Heat these from behind to make them easier to remove. These can snap easily, it is important that you use the right drivers for these.
Once the screws are gone you can remove the aperture ring and its fork.
Extract these to remove the focusing ring.
Carefully remove the focusing ring to reveal what’s underneath.

Carefully extract the screws of the grip to remove it. It has a raised part that constrains the range of the focusing ring.
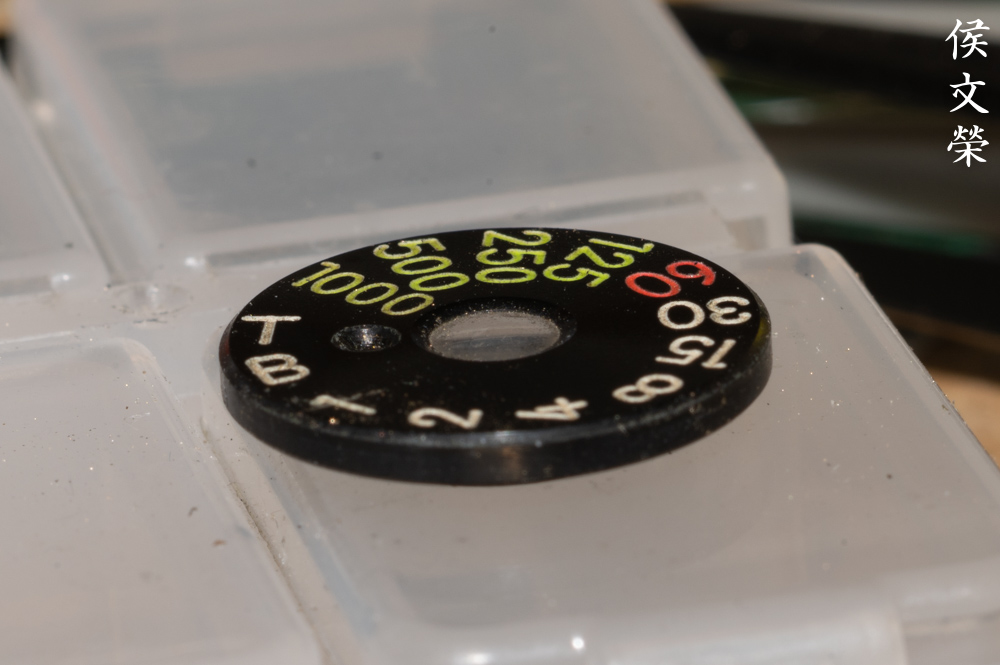
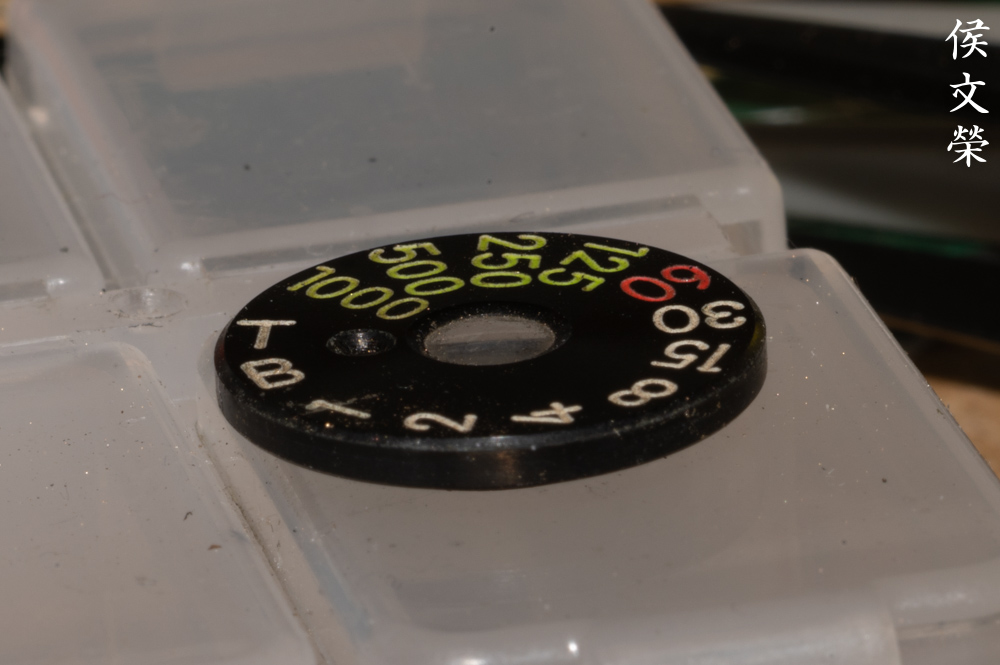
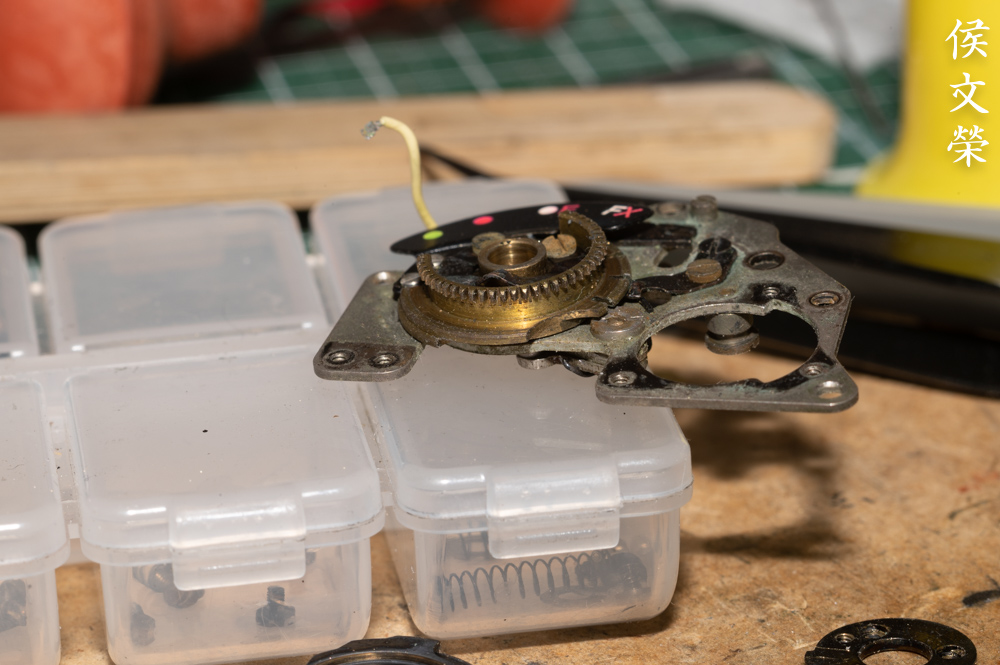
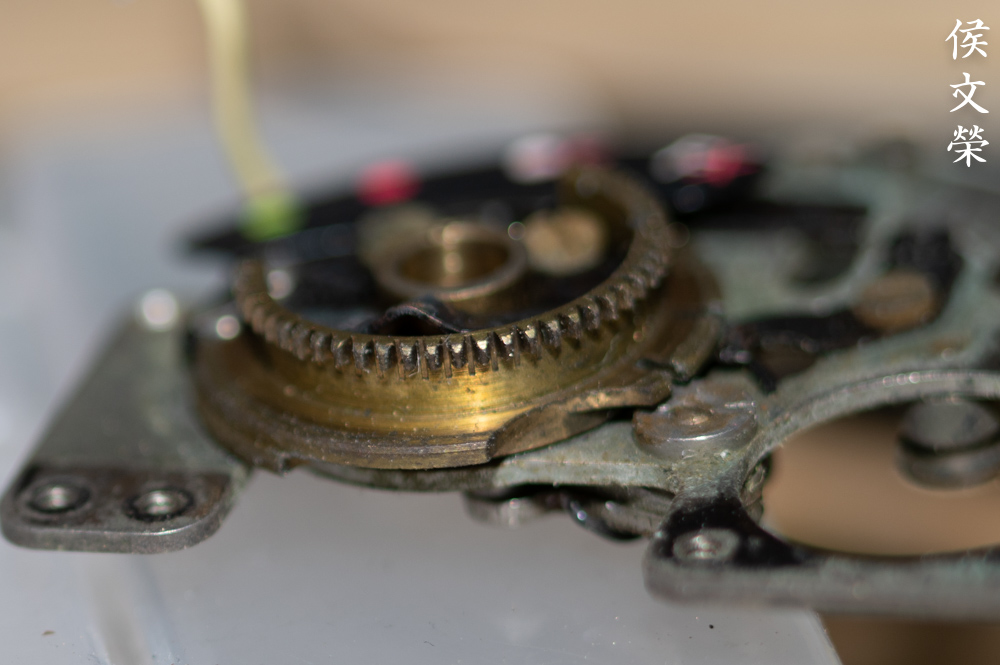
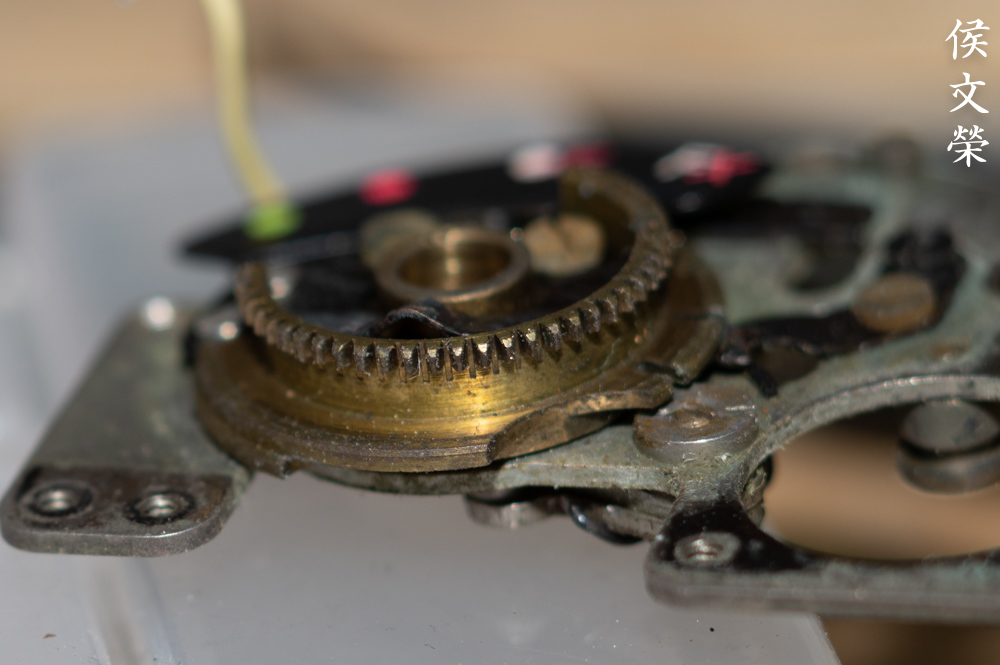
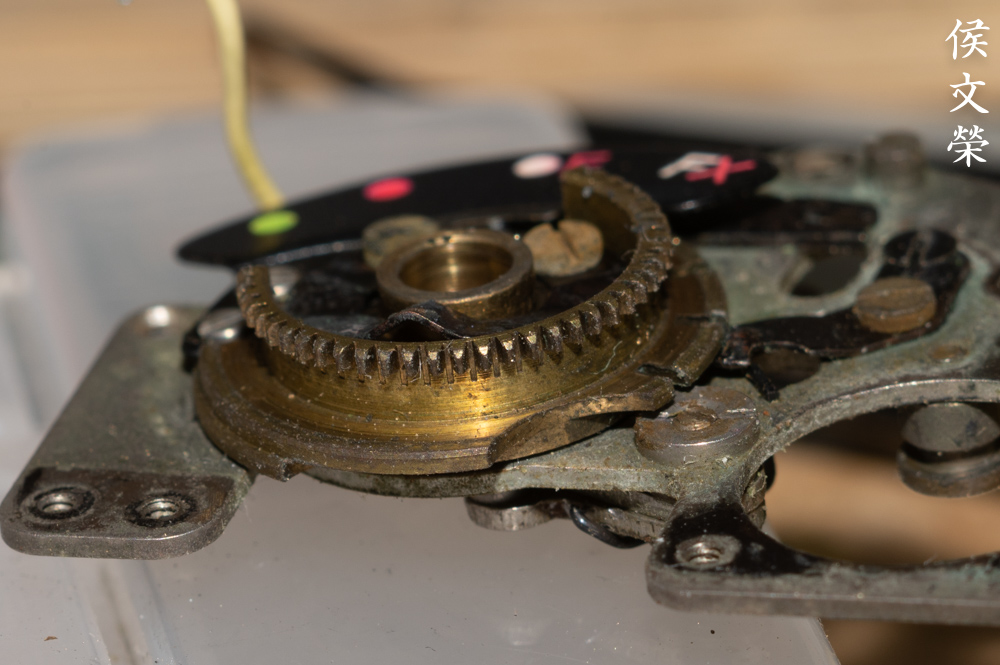
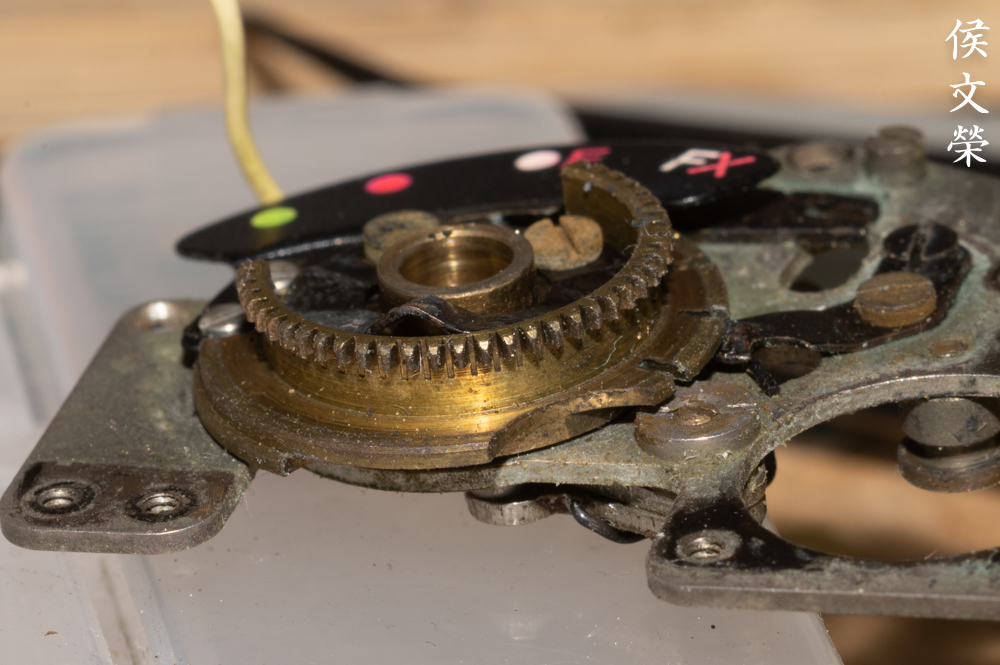
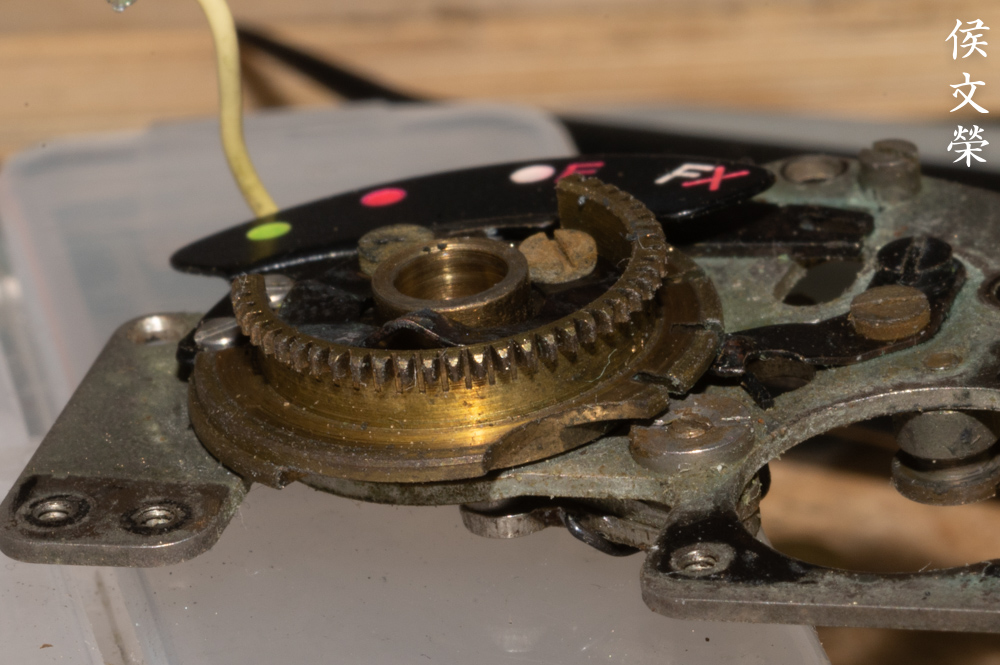
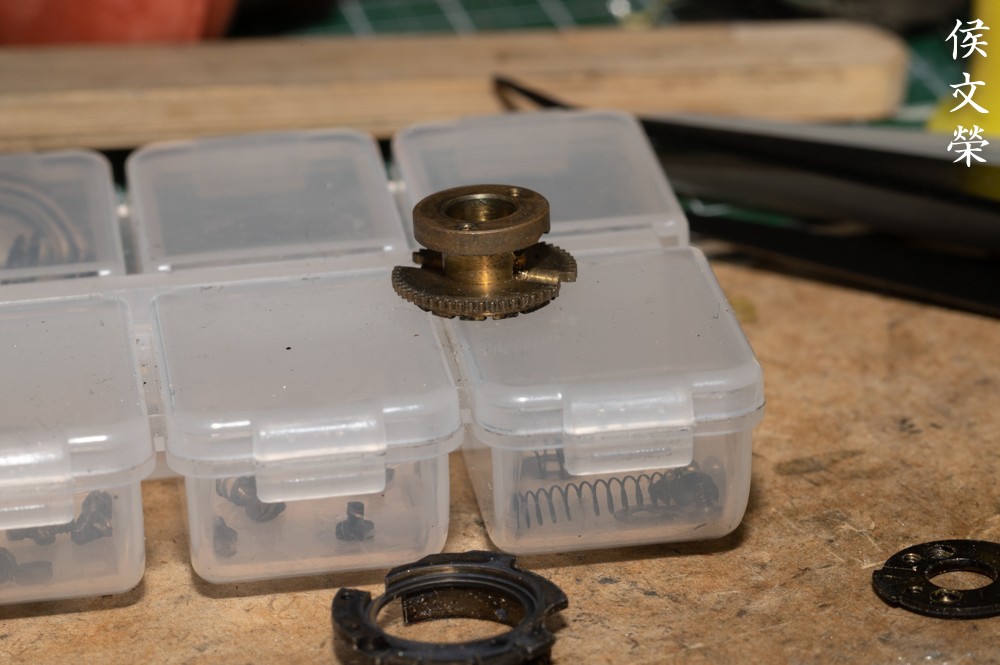
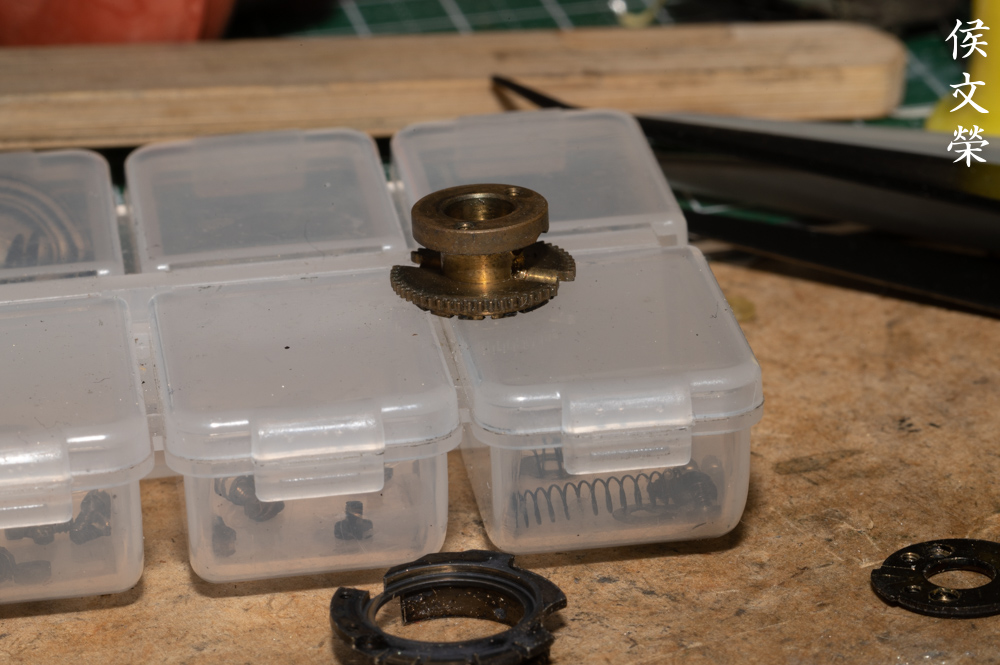
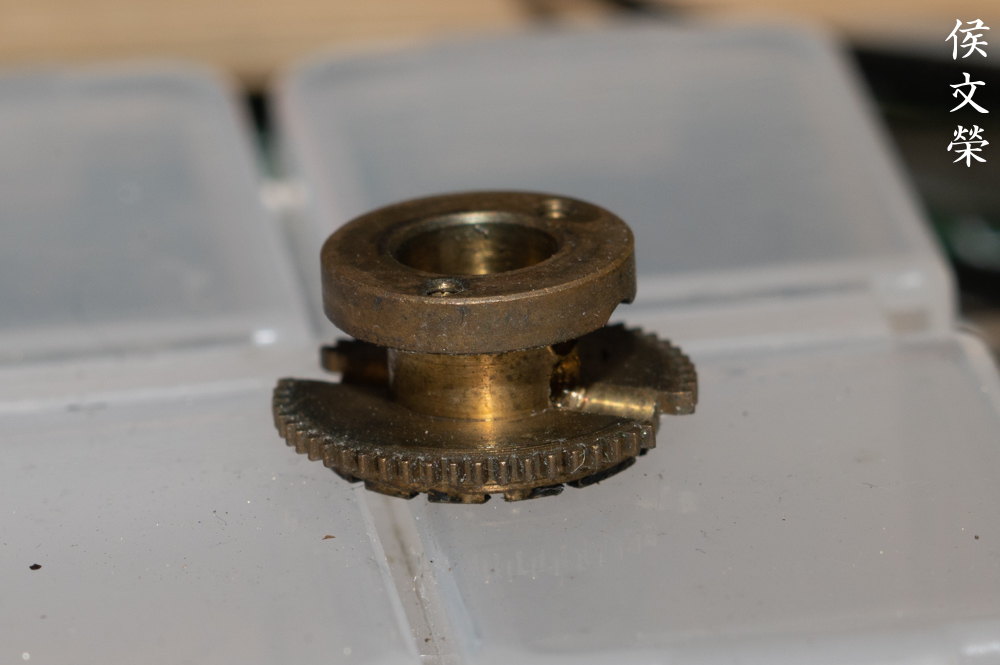
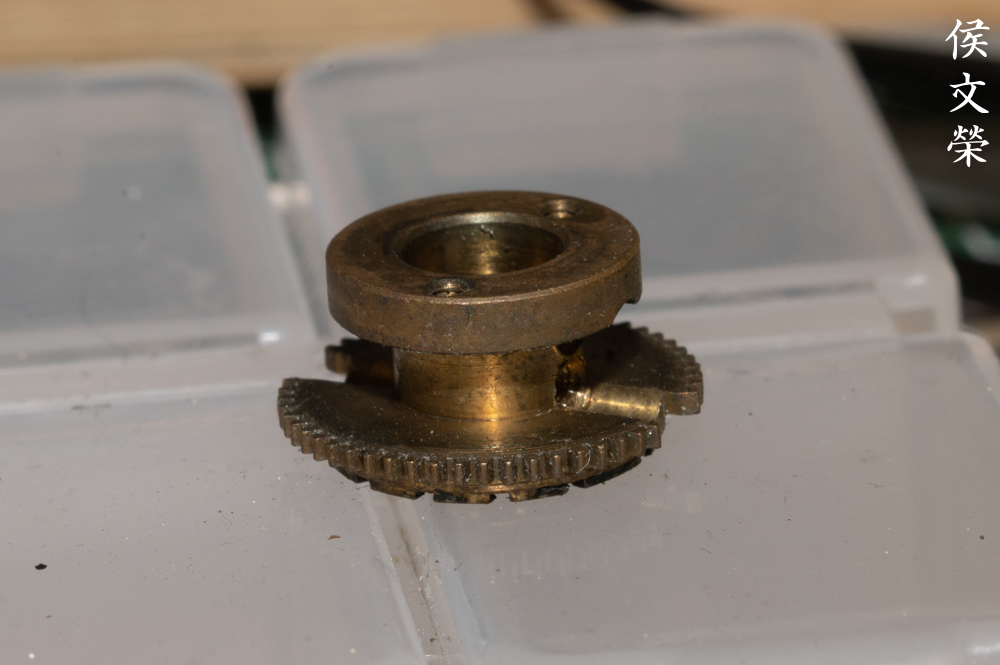
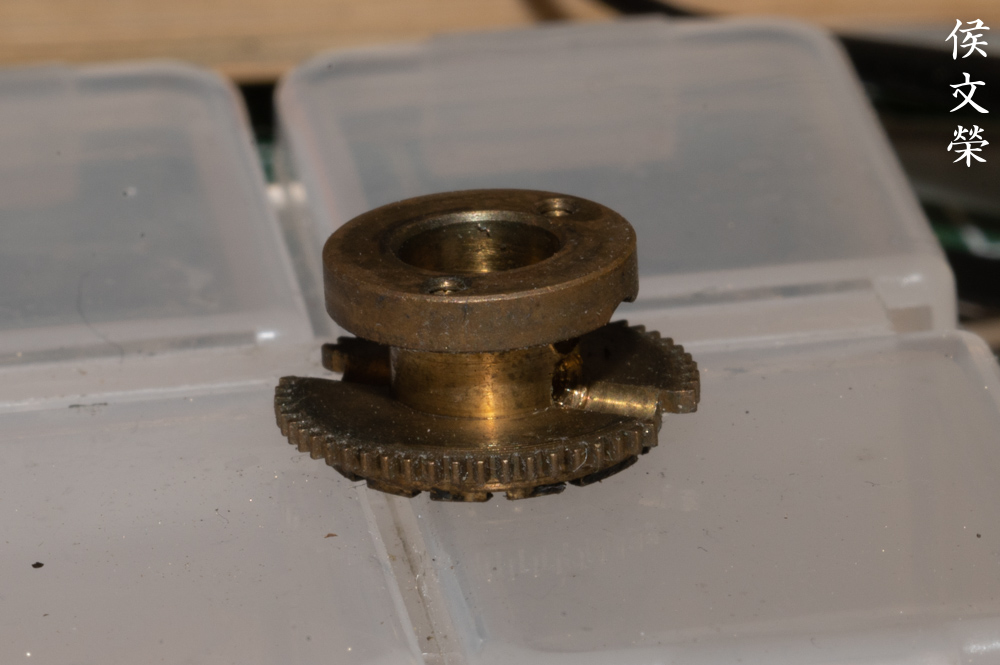
These screws secure the distance scale, this is also where you can adjust its focus. Before extracting these take plenty of notes and don’t forget to mark its alignment so you’ll know how to put it back later or at least make your job easier when adjusting its focus.

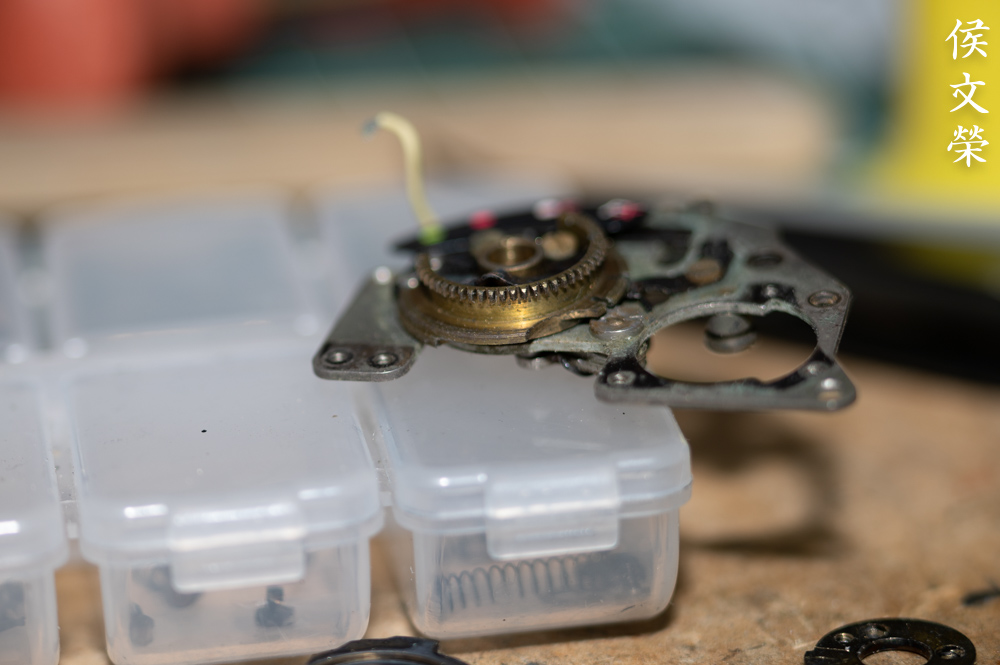
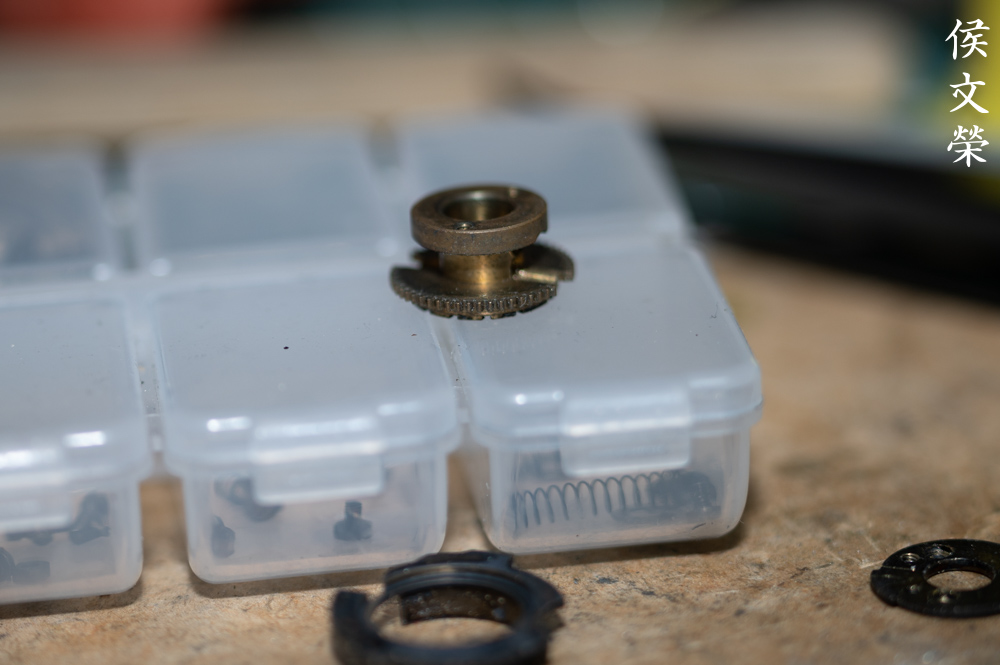
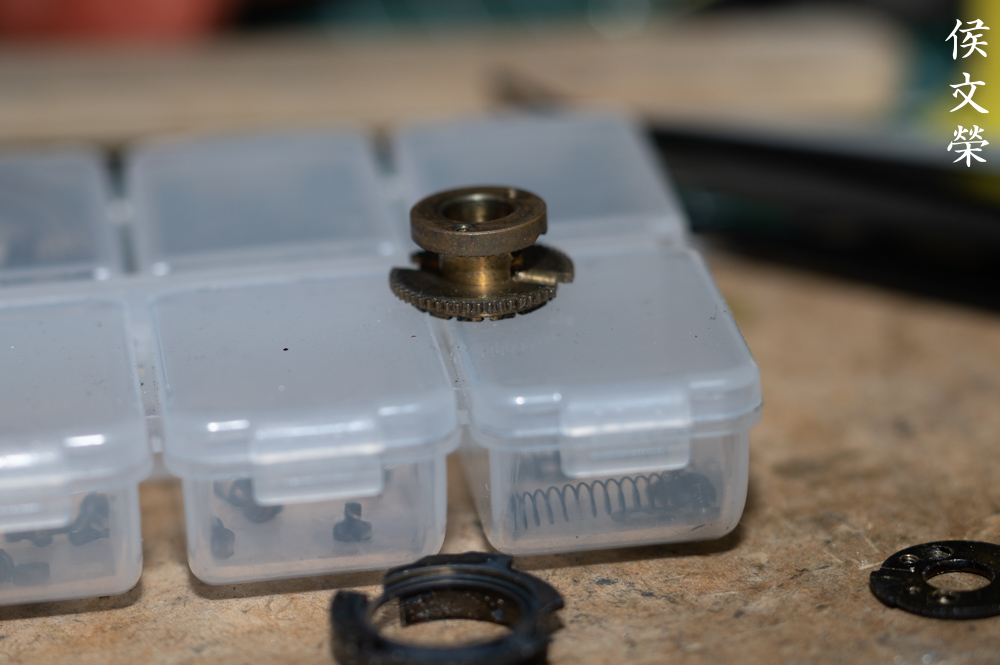
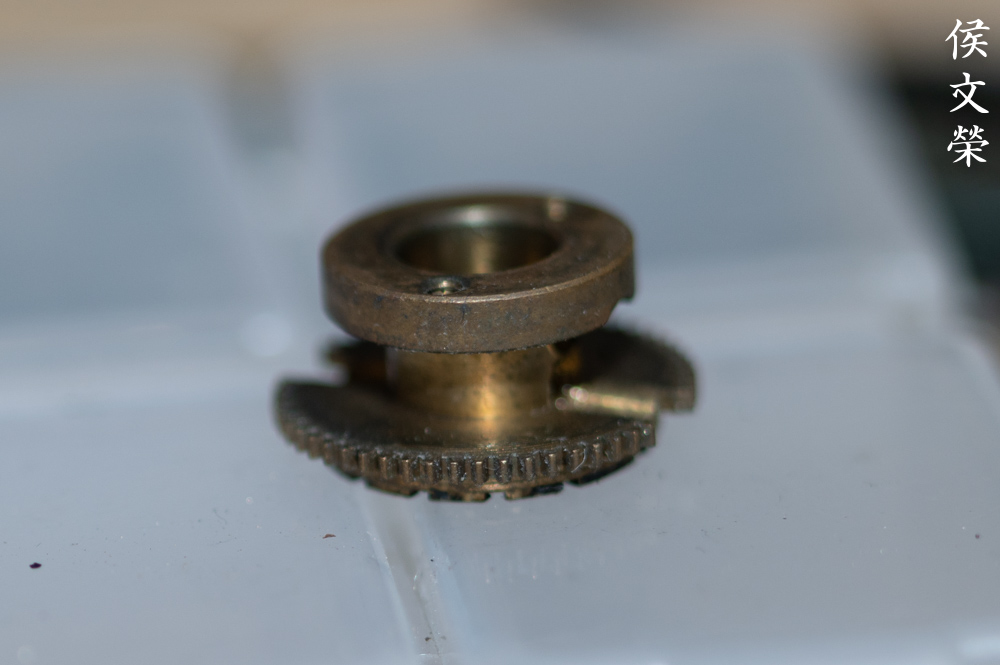
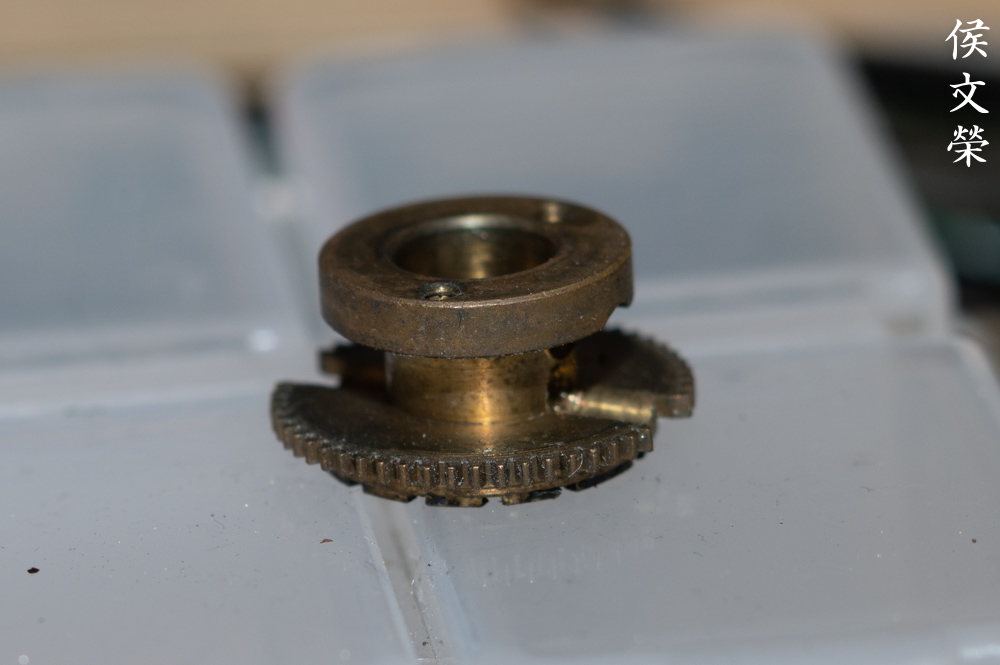
Carefully remove the distance scale along with the lock assembly.
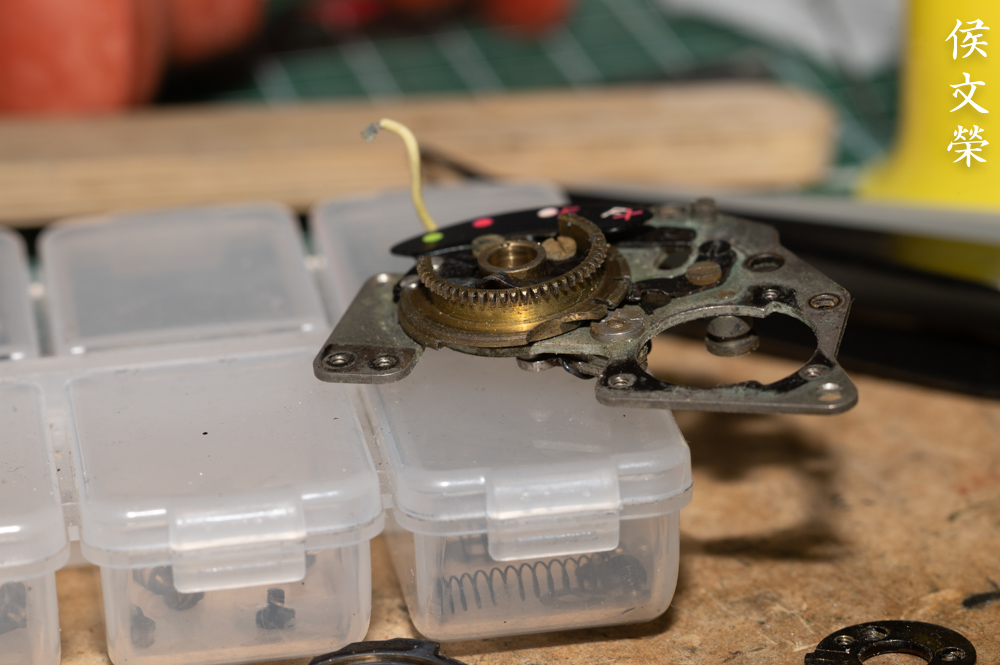
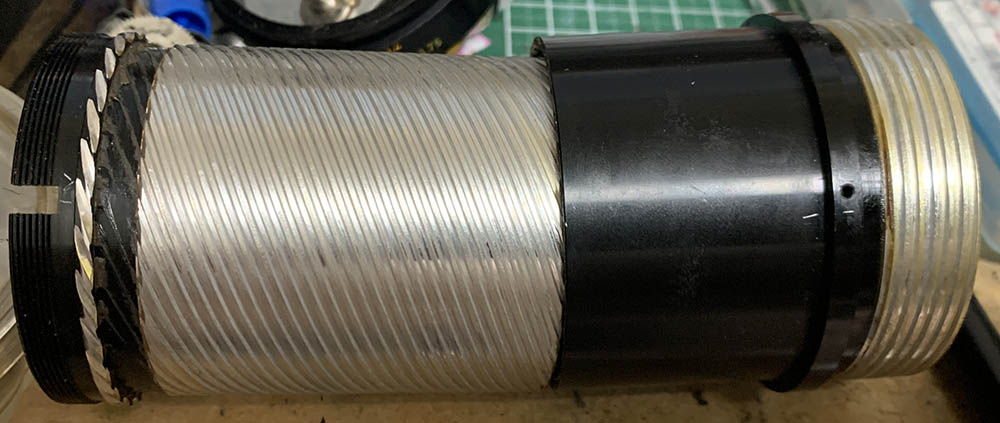
There are 2 rails for the helicoids, these serve as guides and helicoid stops so all of the helicoids turn at the same rate. They’re long since the barrel extends to almost 2x its length.
Heat and extract these to remove the helicoid keys. Note which key comes from which side so you could put it back correctly.

Here’s another one. Note that the screws aren’t identical so don’t forget to note which screws came from which key.
Once the keys are gone you could collapse the helicoids completely. Make a diagonal mark, you should be able to reproduce this.
Separate the central helicoid from the outer one. Don’t forget to note where they parted since this is also the same spot where they should mesh. People forget to do this and waste a lot of time later figuring how to put these back. To prevent this from happening to you, read my article on how to work with helicoids.
Separate the central helicoid from the inner one and don’t forget to note the spot where they parted.
Clean the parts thoroughly and do not leave any residue. I scrubbed the helicoids with a strong detergent and pickled them in an alcohol bath to remove grime and other hardened gunk. Only apply a thin film of grease to the helicoids, I used something that is light because it has a long focus-throw. Don’t lubricate anything that’s close to the iris mechanism. Putting excessive grease will lead to a bigger mess later and you’ll have to open the lens again for an overhaul.
Disassembly (Objective):
I didn’t have to service the optics except for the front optics block which is a bit foggy. The iris mechanism is also dry so I skipped it, too. If you need to dismantle the optics read my article on the Micro-Nikkor 105mm f/4 Ai since it shares a few common things with this, my other articles will also give you a couple of hints on how to dismantle the iris mechanism.
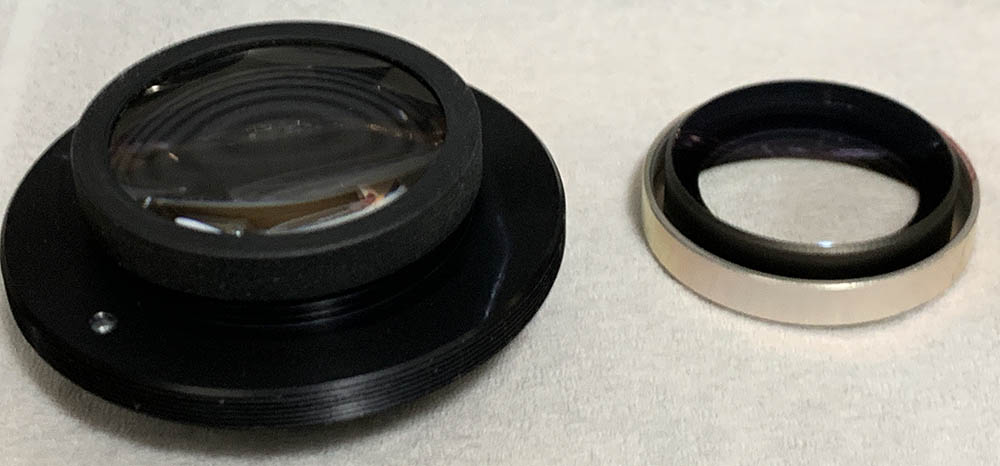
The front optics assembly can be unscrewed from the objective’s housing. Unscrew the 2nd group from the assembly, don’t extract the 2nd group from its housing since it’s sealed.
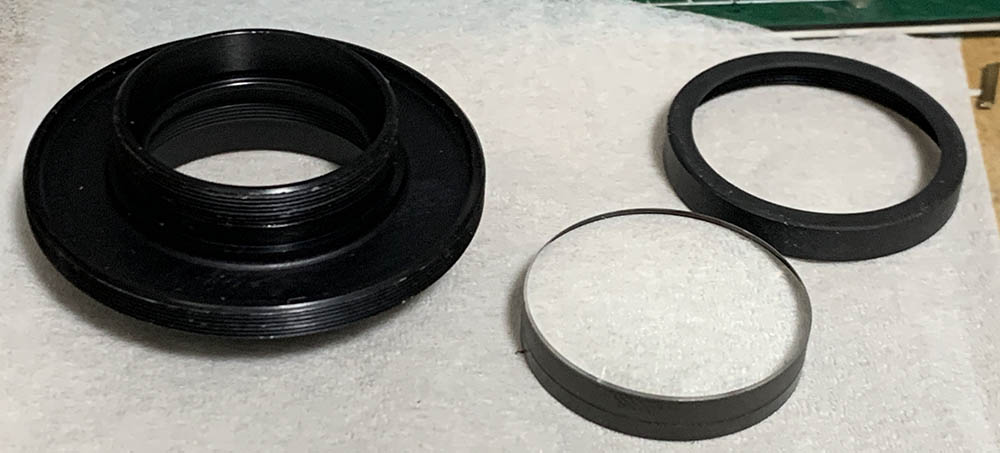
The front group can be removed once its retainer is unscrewed. Don’t forget to note its direction so you’ll know hot to put this back properly.
Clean everything that’s accessible to you while you’re at it. If your lens has fungus, read my article on how to clean lens fungus. Dilute the solution with distilled water, using it at full-strength will etch the coating and the glass will get damaged, too. If it has an oily iris problem, wipe the blades with naphtha and lens tissue. Do not damage the blades and only handle them by their pins.
Conclusion:
I didn’t take me a long time to service this since all I need to do was to overhaul the barrel and clean the front optics. Most of that time was spent cleaning the helicoids and other parts which were a bit moldy. It was a pleasant experience because everything was design very well and there were no strange construction gimmicks used on it.
Reassemble everything to this point and adjust your lens’ focus. Read my article on how to adjust the focus of your lens. This helps educate you on how this is done in a DIY setting with readily-available tools. Tighten the screws of the distance scale once you are satisfied with the adjustments.
Thanks for following my work, if you liked this article please share this with your friends so it will get more views. This site earns around $0.50 a day, it’s totally reliant on views. You can also opt to support this site, it helps me offset the cost of maintenance and hosting. You’re also helping me purchase, process and scan film. This site promotes the use of film so we’re all in this together. See you again in the next article, Ric.
Help Support this Blog:
Maintaining this requires resources and a lot of time. If you think that it has helped you or you want to show your support by helping with the site’s upkeep, you can make a small donation to my paypal.com at richardHaw888@gmail.com. Money isn’t my prime motivation for this blog and I believe that I have enough to run this but you can help me make this site (and the companion facebook page) grow.
Buy me a roll of film or a burger?
Thank you very much for your continued support!
$2.00
Helping support this site will ensure that this will be kept going as long as I have the time and energy for this. I would appreciate it if you just leave out your name or details like your country’s name or other information so that the donations will totally be anonymous. This is a labor of love and I intend to keep it that way for as long as I can. Ric.

Mar 06, 2021 @ 12:20:15
Thank you for the article. I have the ais 2.8 version and it is on my top 5 list of Nikkor lenses, wonderful optical and mechanical quality
Mar 07, 2021 @ 19:49:34
Hah! Didn’t realize there was Micro-Nikkor 105/4 AI-s. I traded my Nikkor 105/2.5 AI-s for the Micro-Nikkor 105/2.8 AI-s (to feed my macrophotography habit), and eventually came to regret that as the mid- to long-range performance of the Micro-Nikkor was just not as good as the 105/2.5. That and the fact that when using the PN-11 to get to 1:1, you’re often using the “nearly infinity” portion of the CRC-corrected focus-range which seems to give inferior results (CRC doesn’t know there’s an extension tube being used). Seems like the non-CRC 105/4 might be the better lens for many applications, and I _really_ should have kept my 105/2.5!