
Hello, everybody! Do you know that precious metals such as silver hold their value really well? It may be a good idea to invest in gold or silver in the coming years because of the unstable economy everywhere. It’s more stable to invest in precious metals these days. I’m not very knowledgeable in this field and I hope I can learn more about it in order to secure my finances. However, there’s one thing I’m familiar with and I know it holds its value pretty well, too. It looks like silver but it’s actually made of aluminum, it’s something that never went down in price and is a lot more accessible in terms of budget. Please read this article to know what kind of “silver” I’m referring to.
Introduction:
The Carl Zeiss Jena 35mm f/2.8 Flektogon is a legendary lens and there’s no need for any introduction, not only because it’s quite famous but it’s been covered by so many people throughout the years. This is a significant lens in the historical sense because it’s a pioneer in wide-angle lens design for SLR photography. Not only that, it’s also known to be exceptional in optical terms that’s why it has gained a following throughout the decades, making it a true classic that will never fade. The price you see online reflects that fact and they’re not the cheapest, they may even have become a little bit more expensive in recent times. There were made in many different versions and was revised a couple of times, one of which is the Carl Zeiss Jena Flektogon 35mm f/2.8 (Exakta) that I’ve covered a few years back. This lineage went on for decades and its legacy lasted until the later days of the film era, where lenses were still referencing its design until the advent of digital raytracing made things easier to design equivalent lenses. Despite all that I can say that it’s still a relevant lens to this day specially if you consider videography.
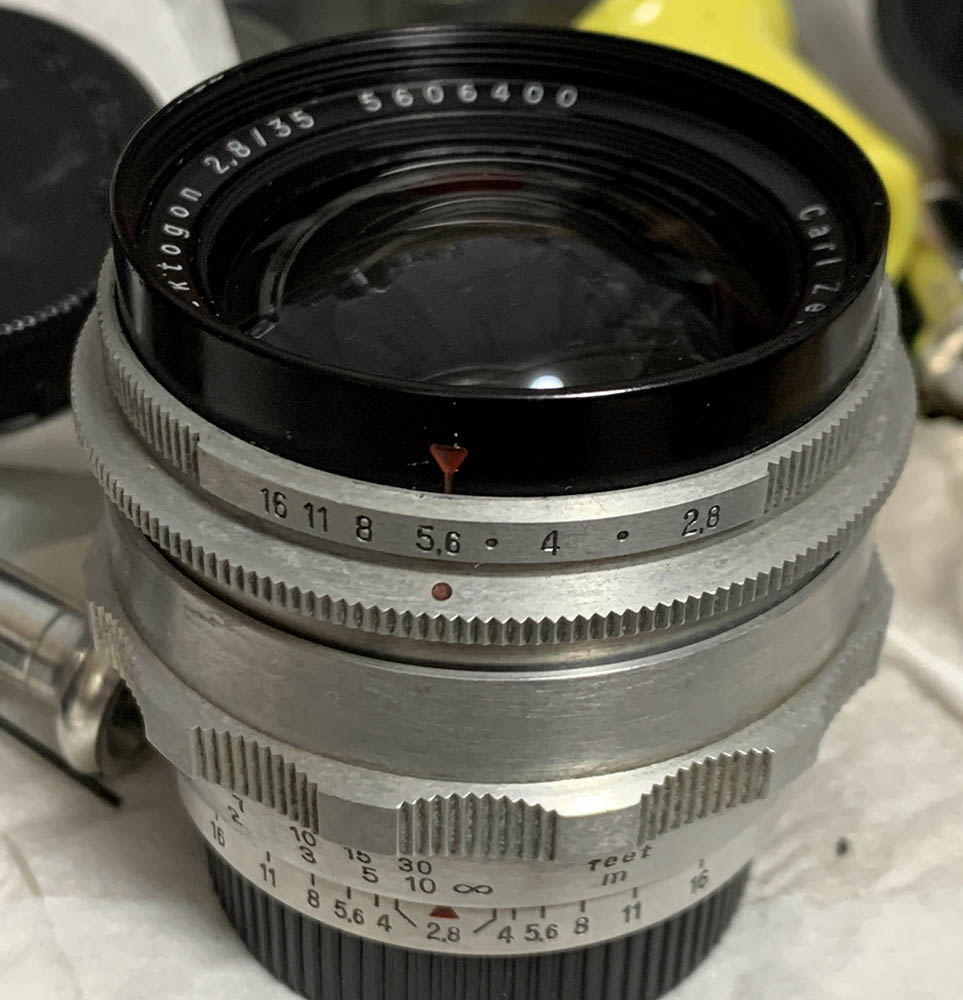
Like all Carl Zeiss Jena lenses of this era the build quality is fantastic. The aluminum barrel is beautifully milled, with beautiful engravings that exudes quality. The machining is precise and it feels great when held. The interface is minimalistic yet it gives you complete control over what you need. I fell in love with these postwar lenses many years ago because they’re so well made.
It has a 6-elements-in-5-groups design which I won’t cover at all since people could easily search for it. There are different variants to the early versions, the most obvious one being the number of aperture blades it has. The more blades it has, the more desirable it gets. I can tell you that you won’t be able to notice any differences when looking at the pictures so this is all just collector’s hype.
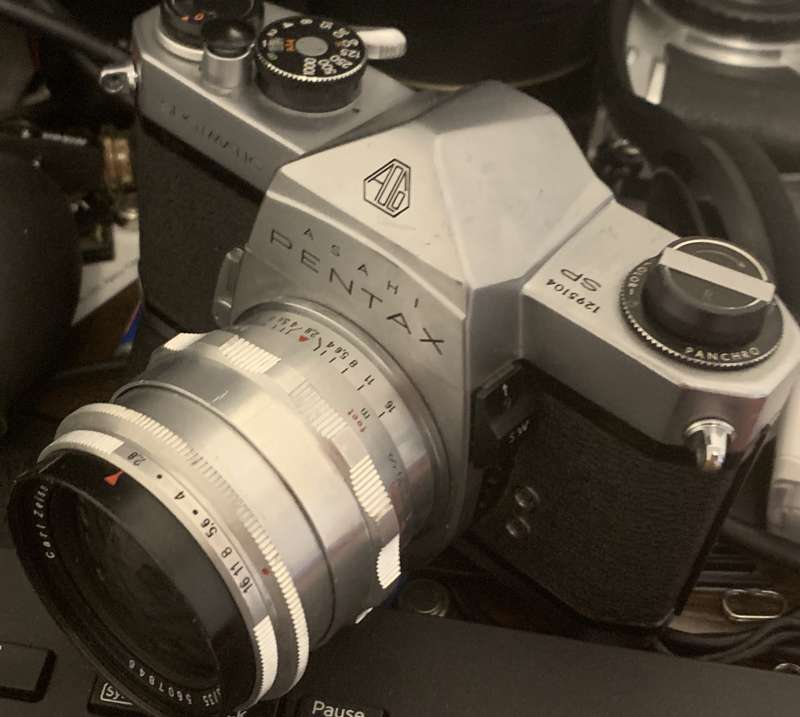
Despite not being a Contax, Pentacon, nor any other German variant of the same design, the Pentax SP is the best camera for me when it comes to shooting with this lens. Not only does it handle better, it also looks handsome. The biggest convenience for me is the automatic-return mirror which none of the earlier German cameras (Contax) had.
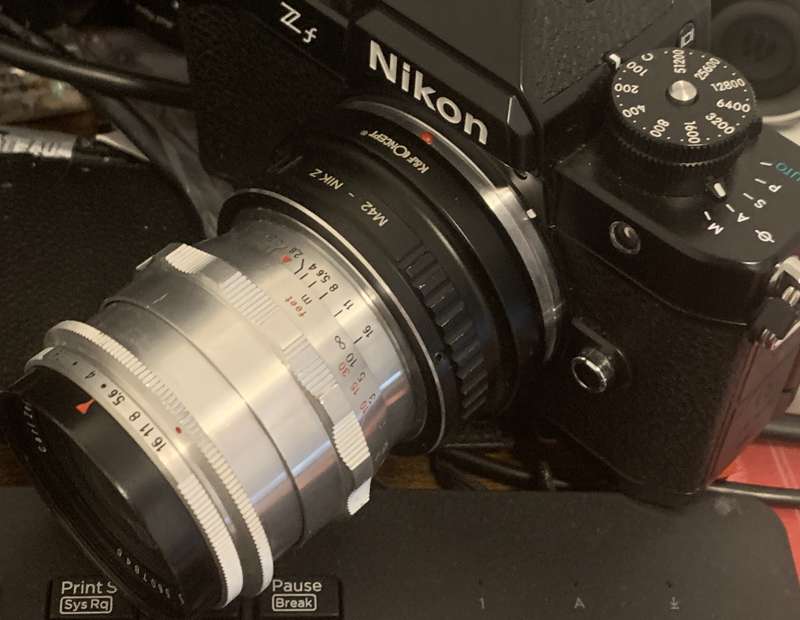
The Nikon Zf is great for adapting this lens for modern digital photography. Not only does it look good but the conveniences such as the ability to magnify and preview your exposure is helpful. The biggest advantage for me are the dials which makes it feel like I am shooting with a film camera.
The best way to enjoy it with a digital camera is to adapt it with a mirrorless camera. The Nikon Zf is amazing as it allows one to zoom into focus area and let you confirm if the focus is correct as well as having image stabilization, something that you won’t get with shooting film. In order to understand how it performs, I have taken a series of pictures from f/2.8, f/4. f/5.6, and f/8. these are the most common aperture settings you would want to shoot it with, we’ll also see the most changes happen at wider apertures so it will be excellent for us to observe what’s happening at those values.
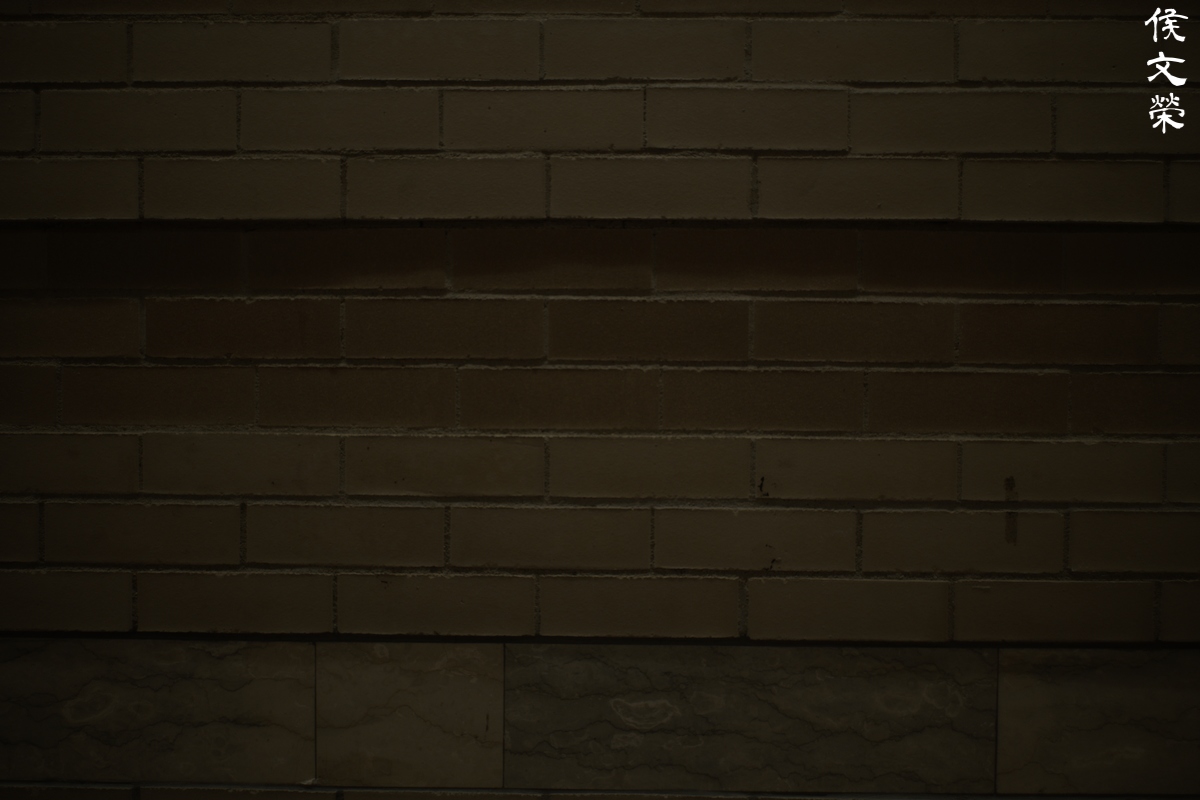
(Click to enlarge)
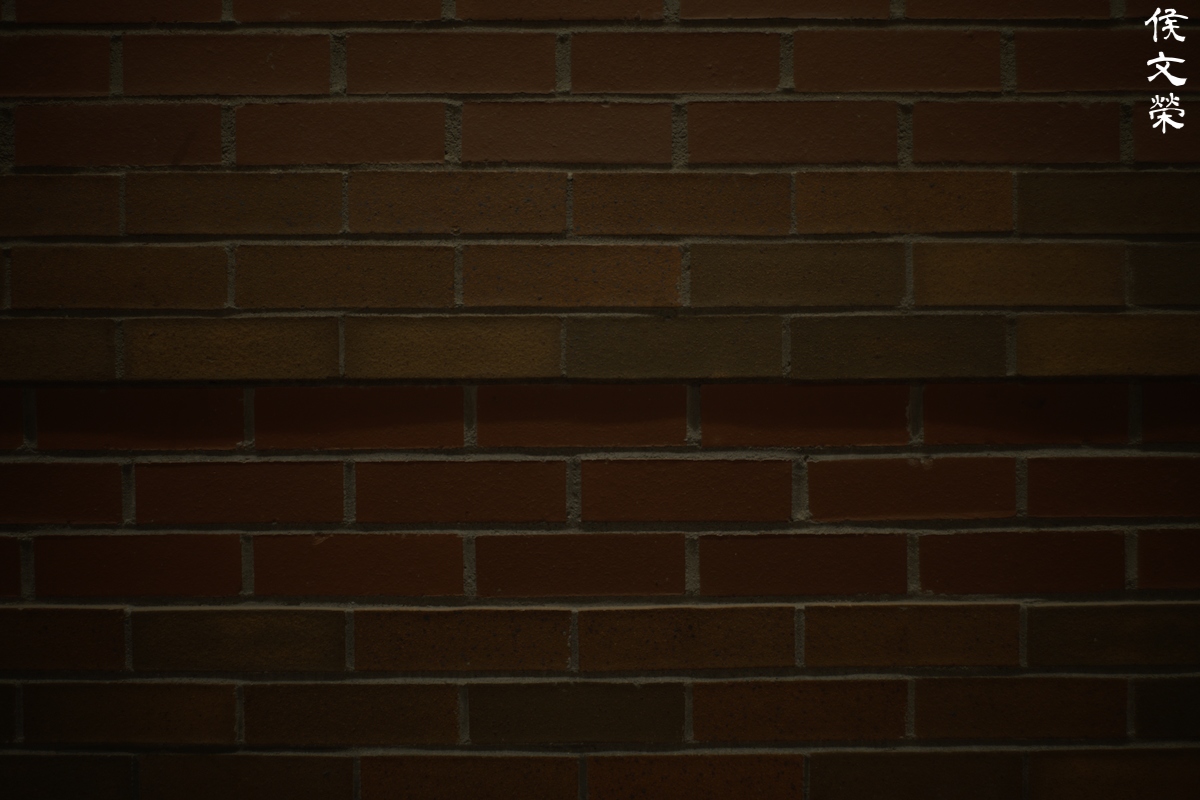
The distortion profile doesn’t look so good and it will be visible in your photos when you have straight lines that are parallel to the edges of your frame. While ugly by modern standards it’s kind of normal for a lens of this vintage.



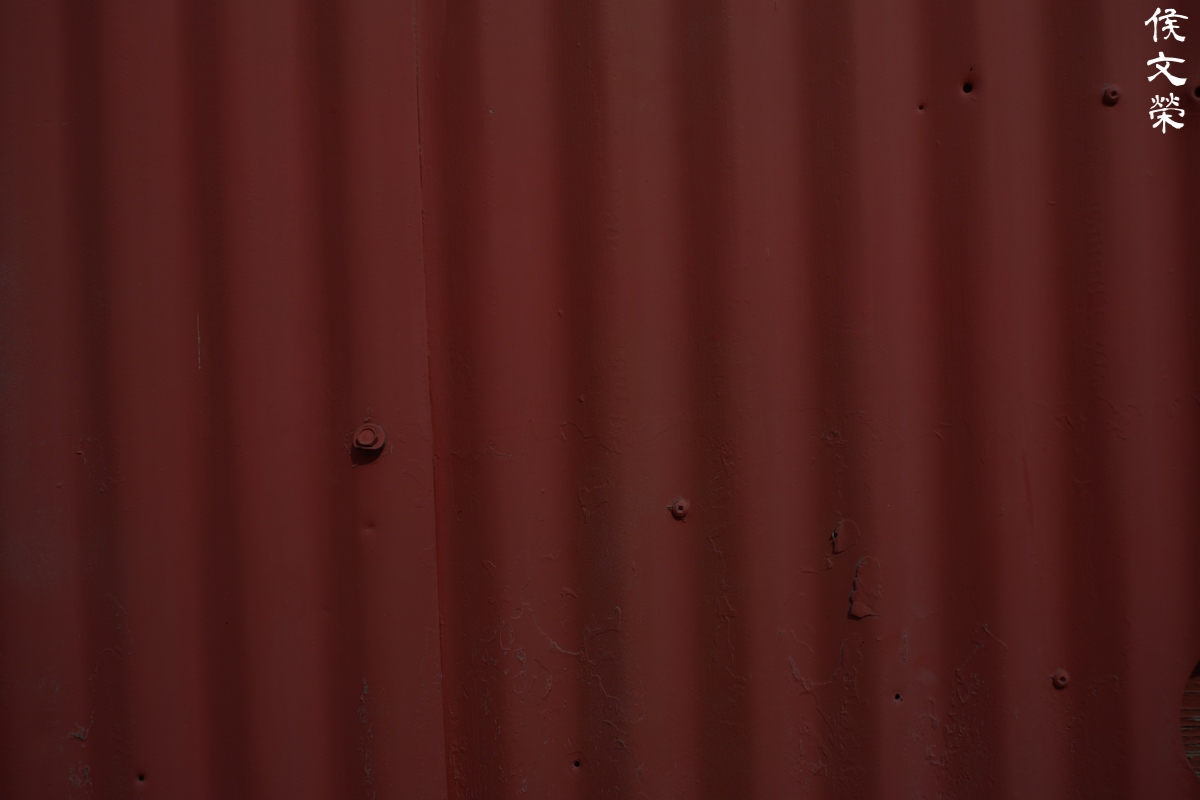
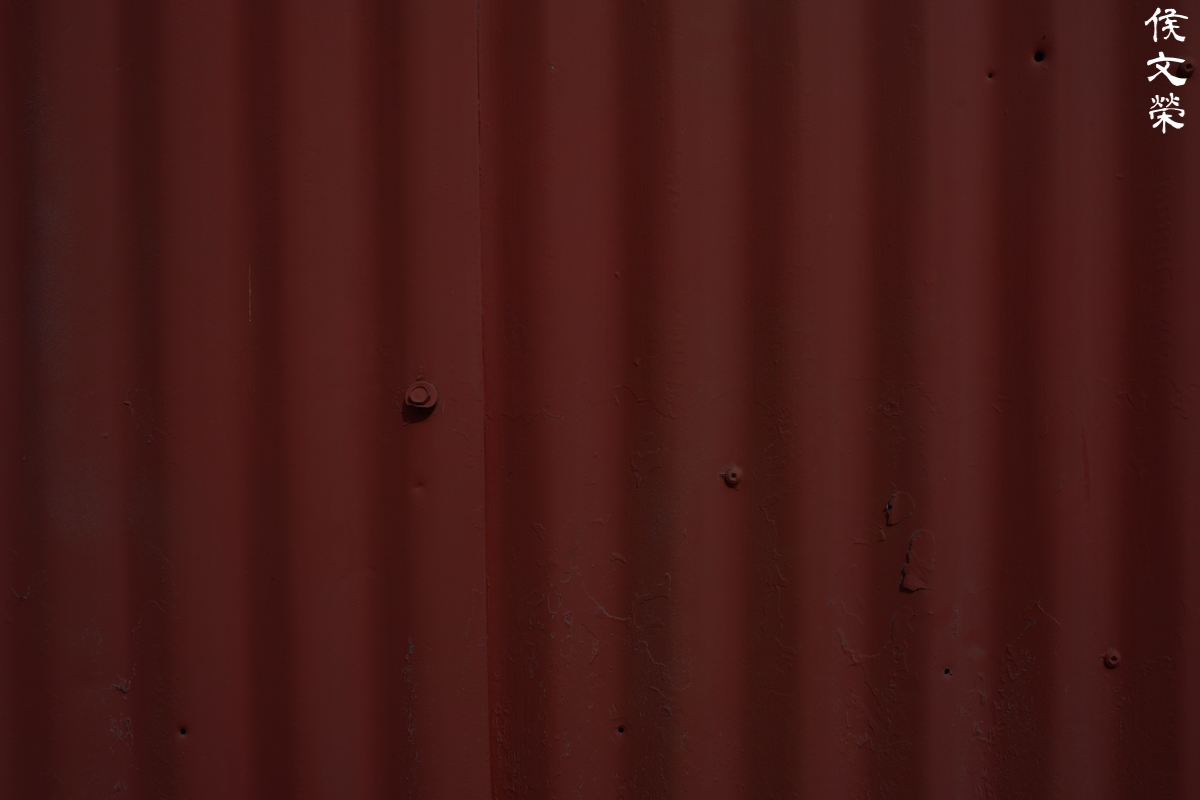
(Click to enlarge)
Vignetting is rather severe when shooting at f/2.8 and the darkness reaches close to center. Stopping it down to f/4 helps quite a lot and the dark corners won’t be as obvious unless you’re deliberately trying to show it. It’s practically gone from f/5.6 and you’ll only see traces of it in extreme cases. This hints that you’re supposed to shoot this from f/5.6 at the very least if you want to get sharp or bright photos without the ugly darkness at the corners. This also suggests that it performs at its best around these apertures.
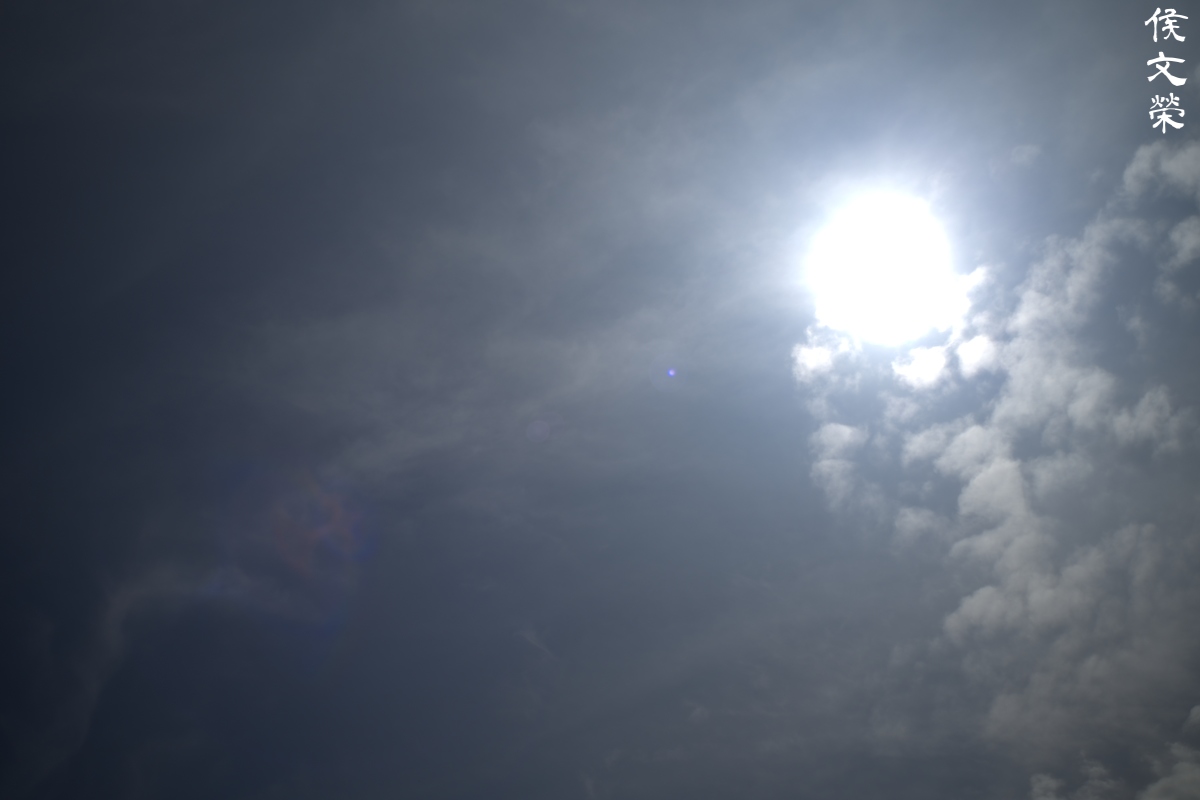
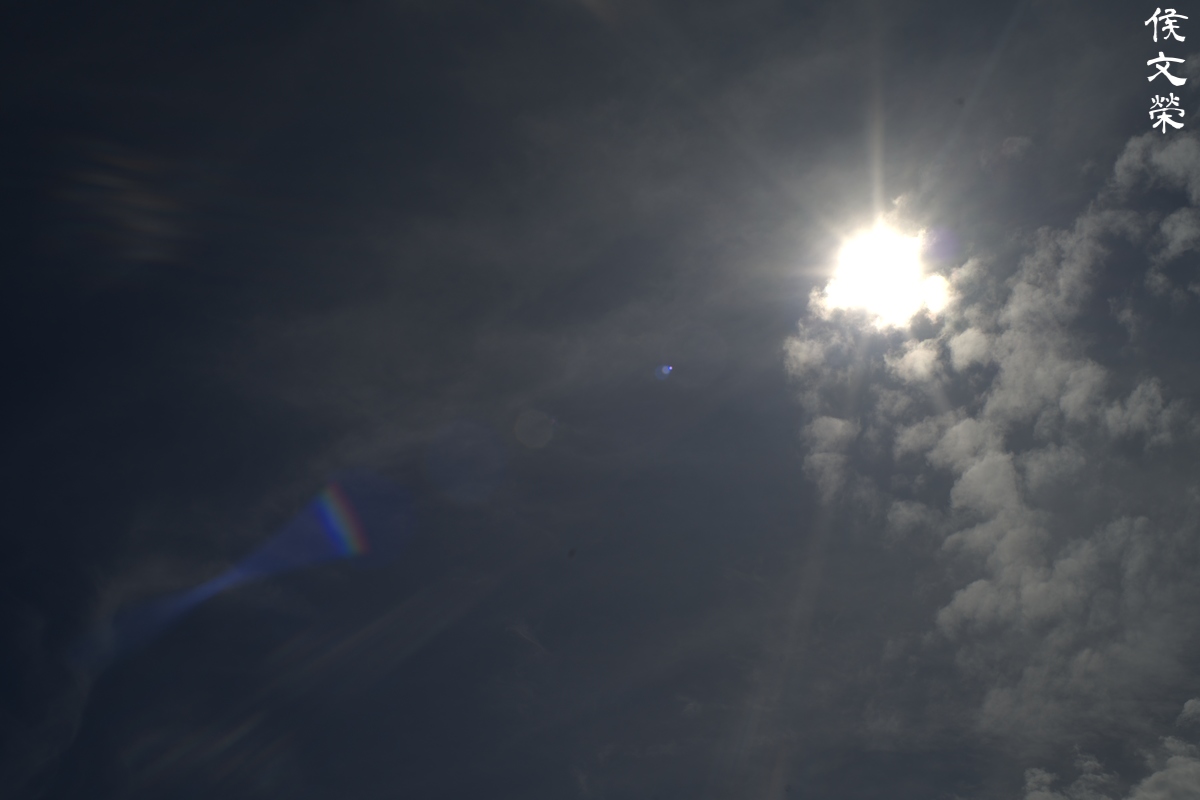


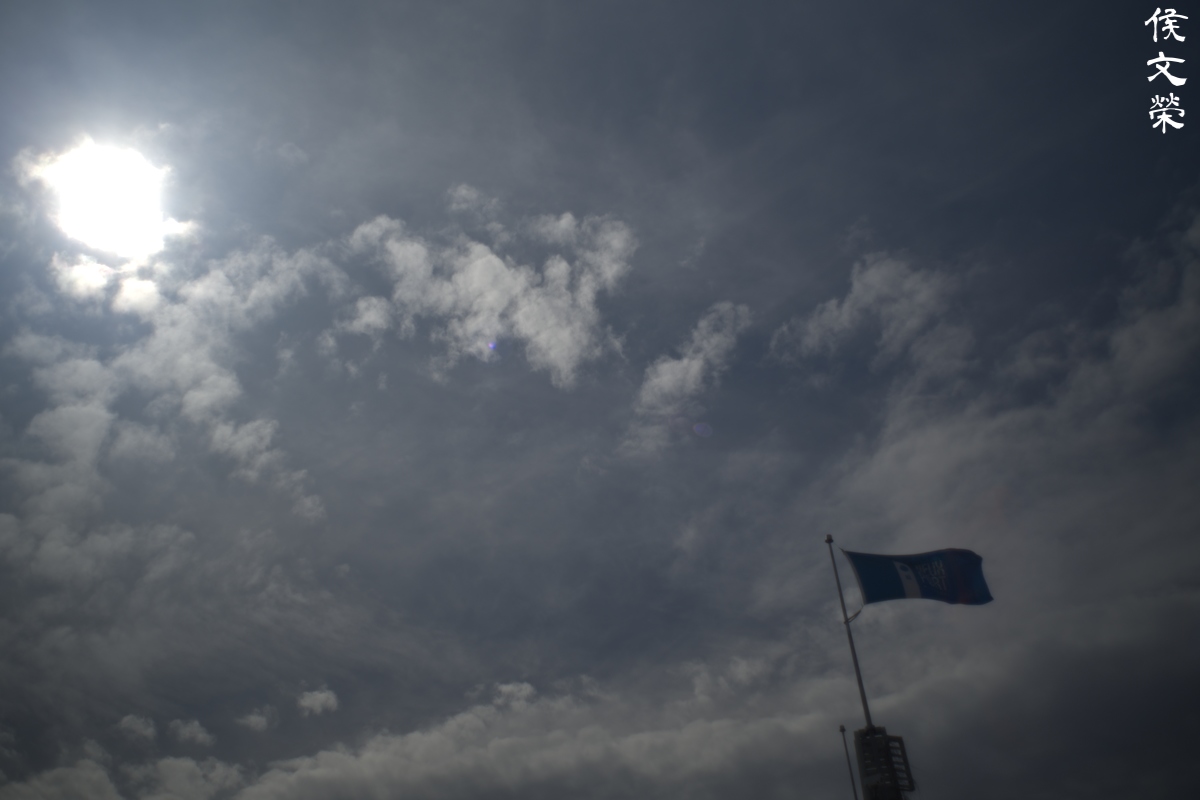
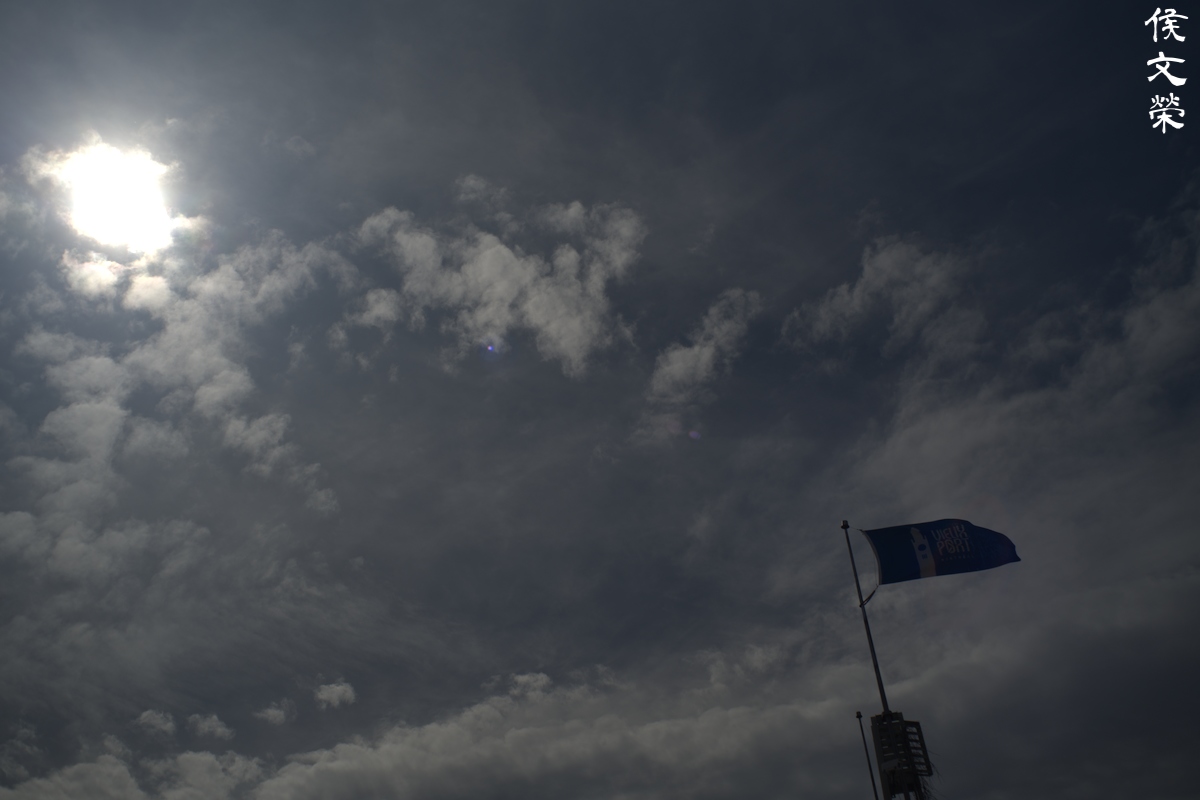
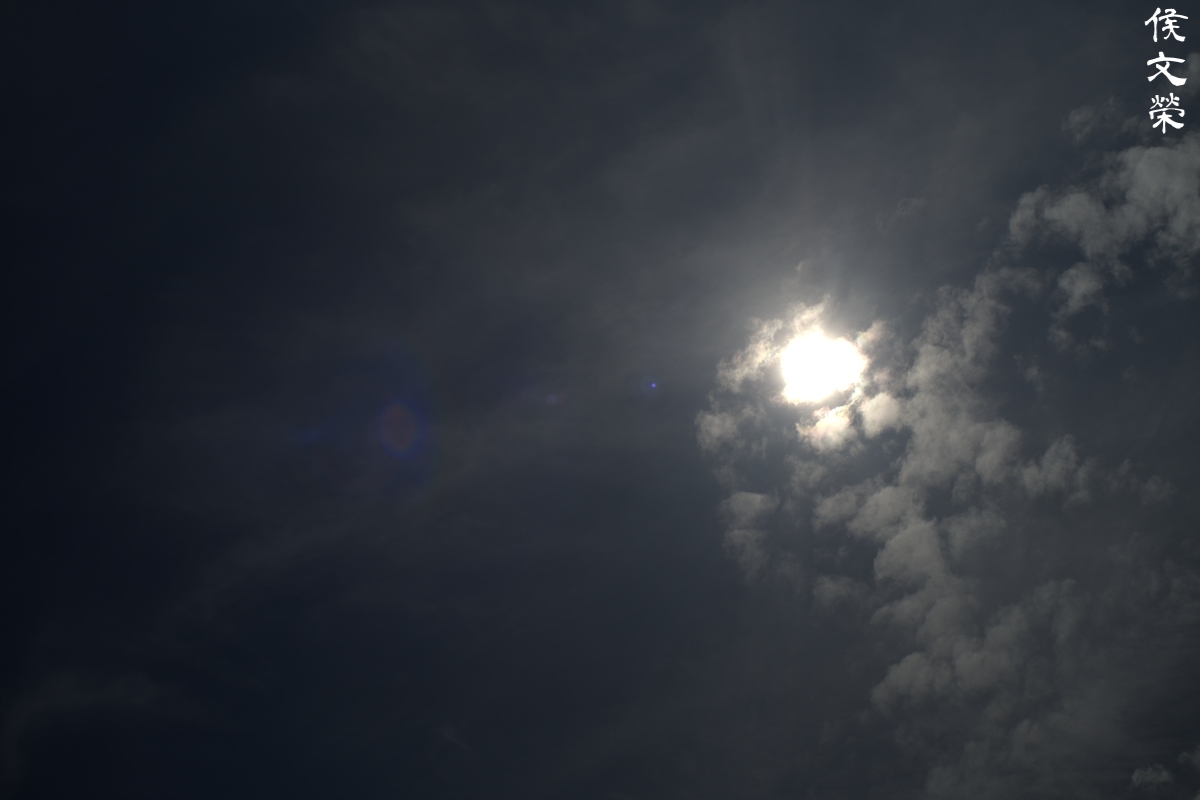

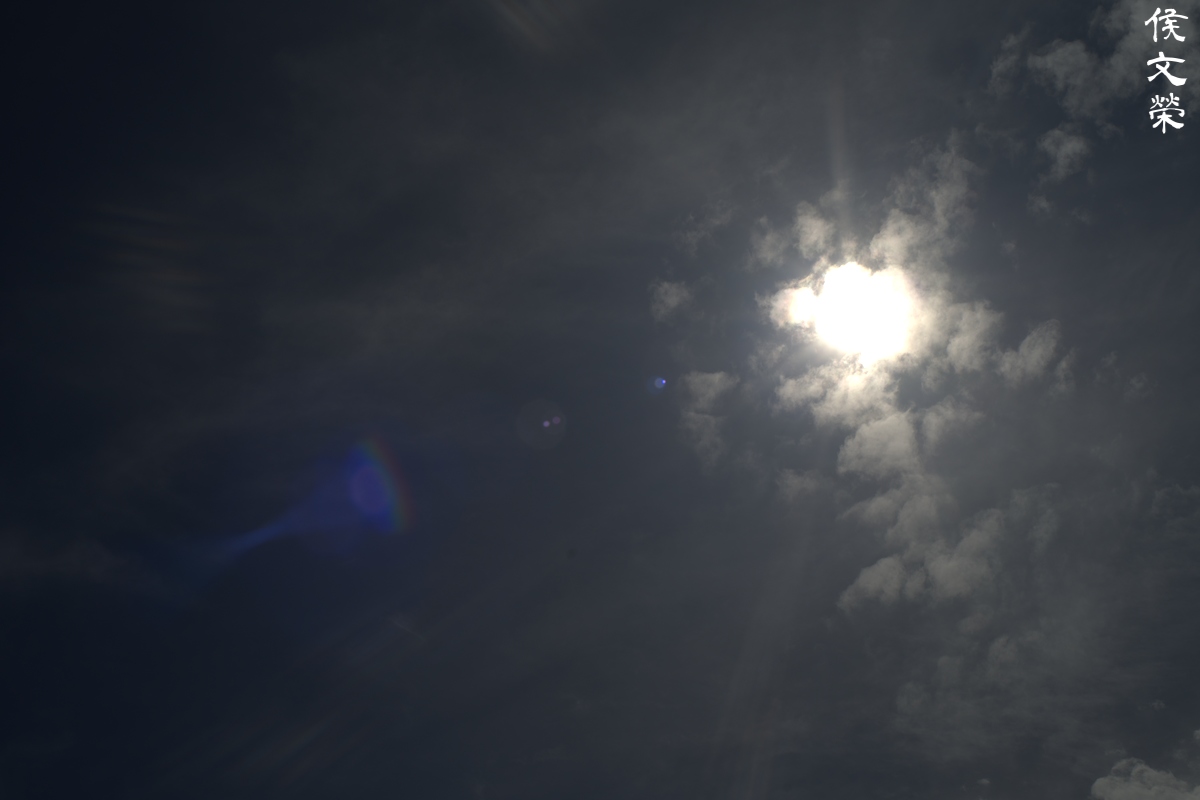
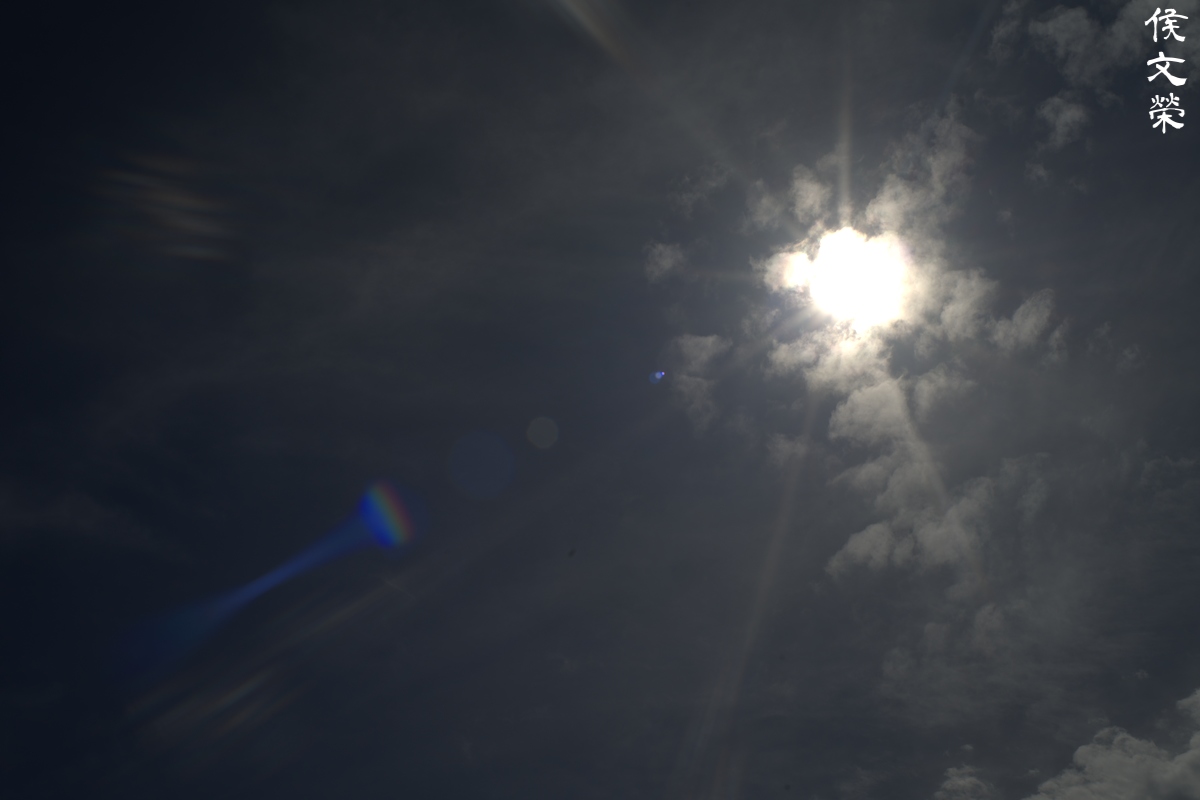
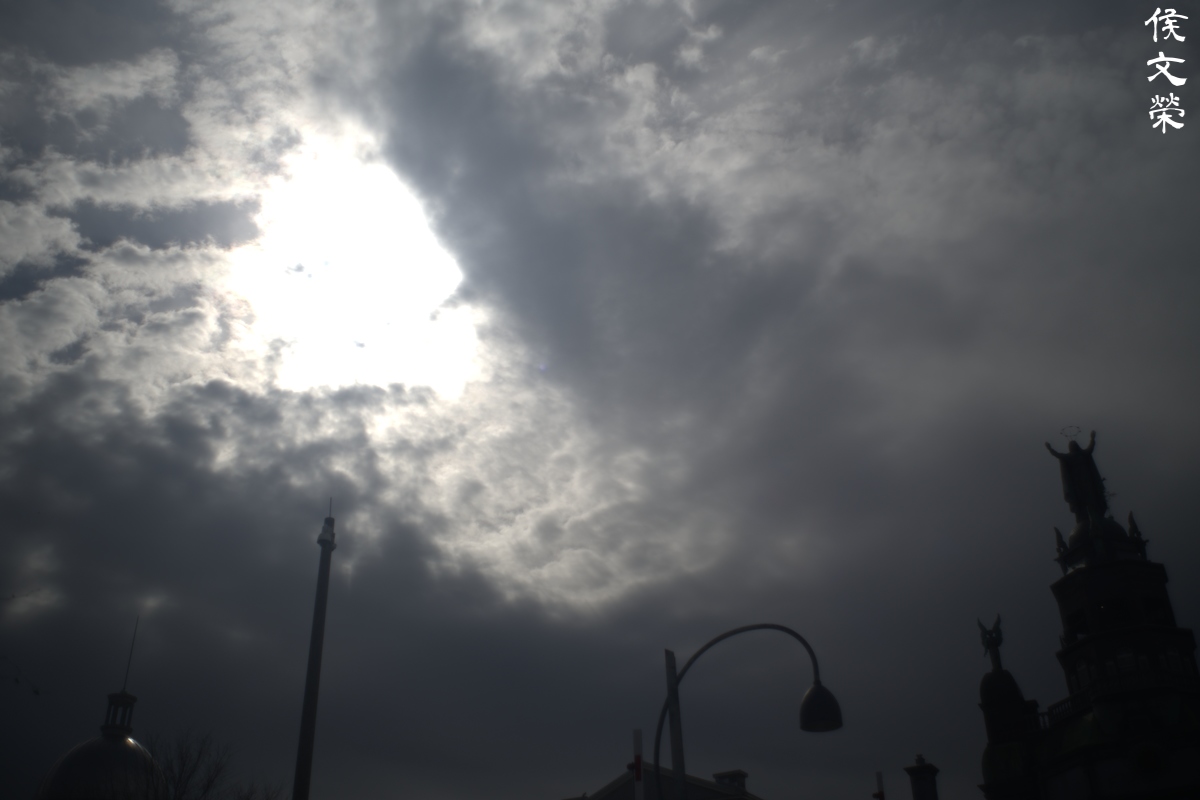
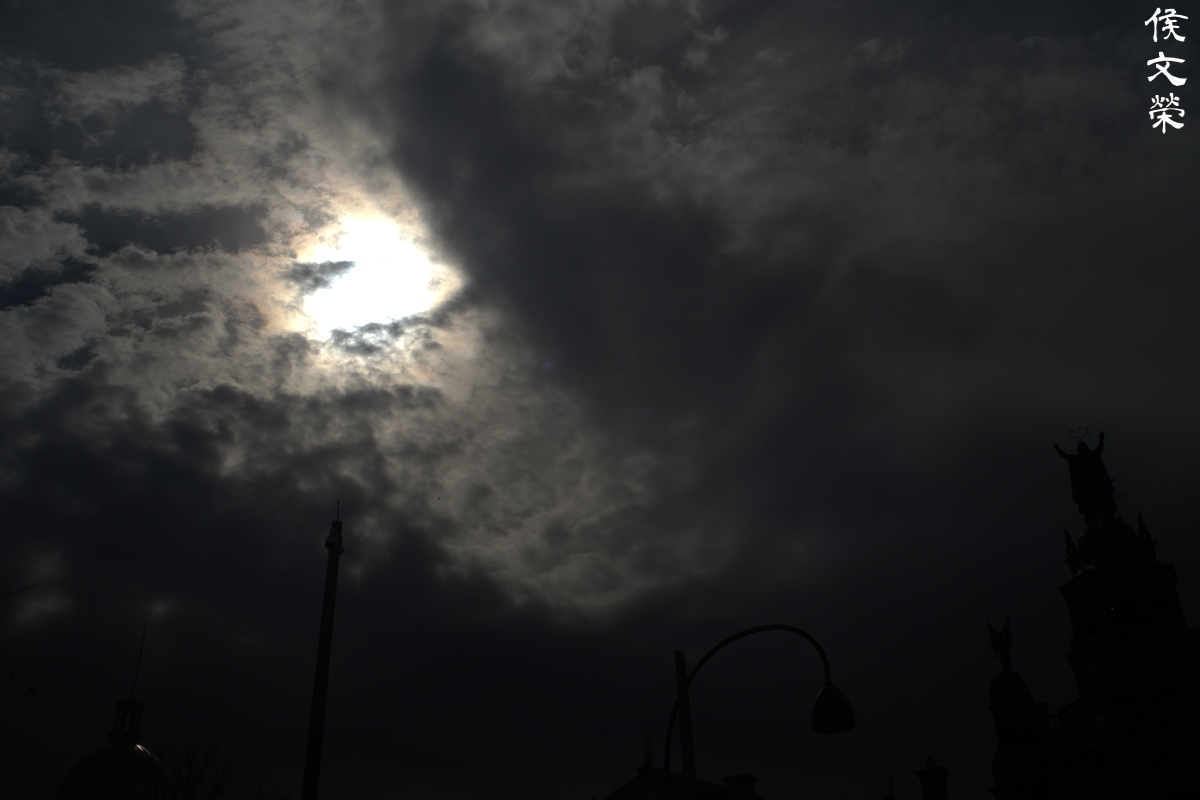
(Click to enlarge)
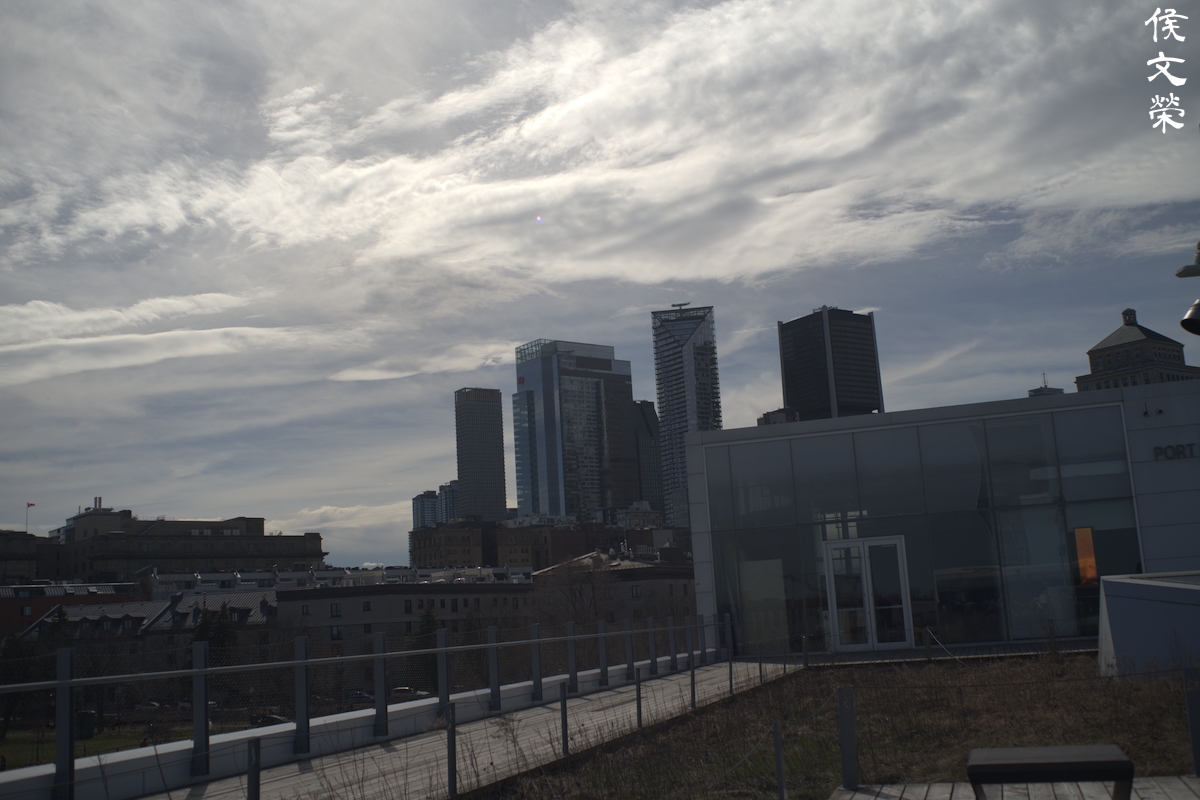
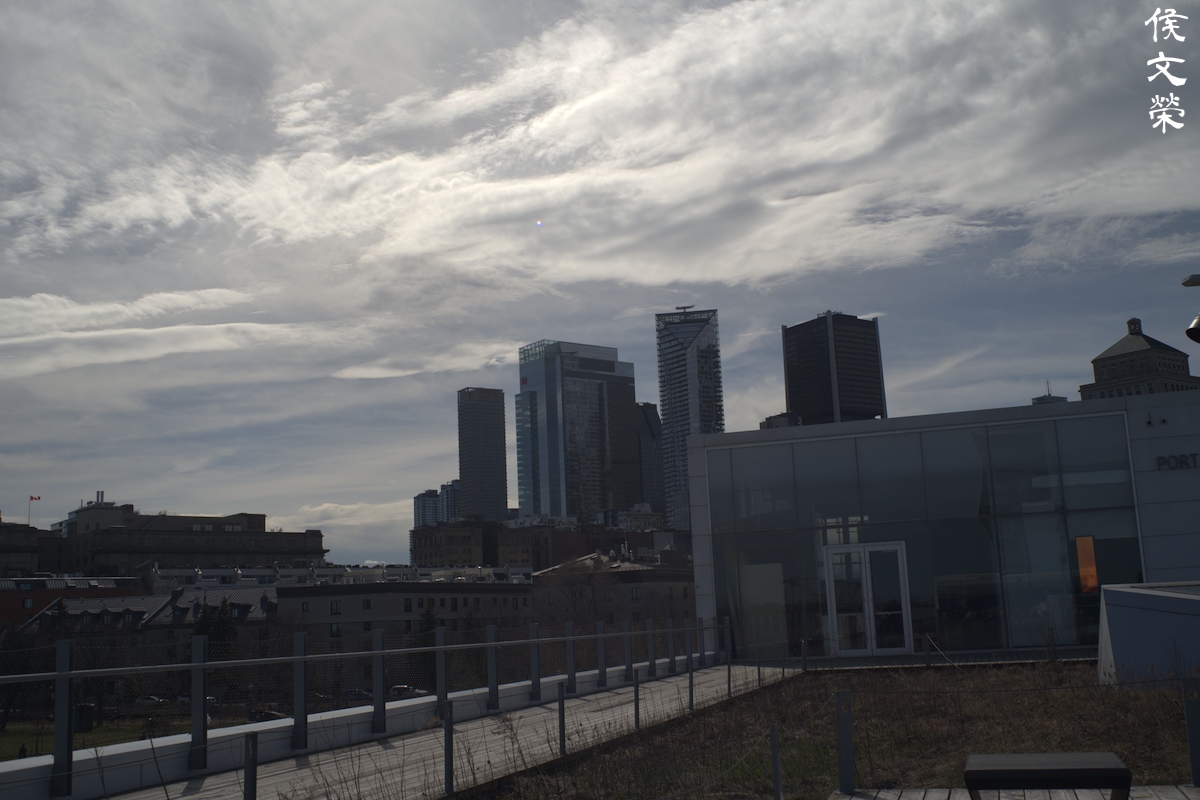
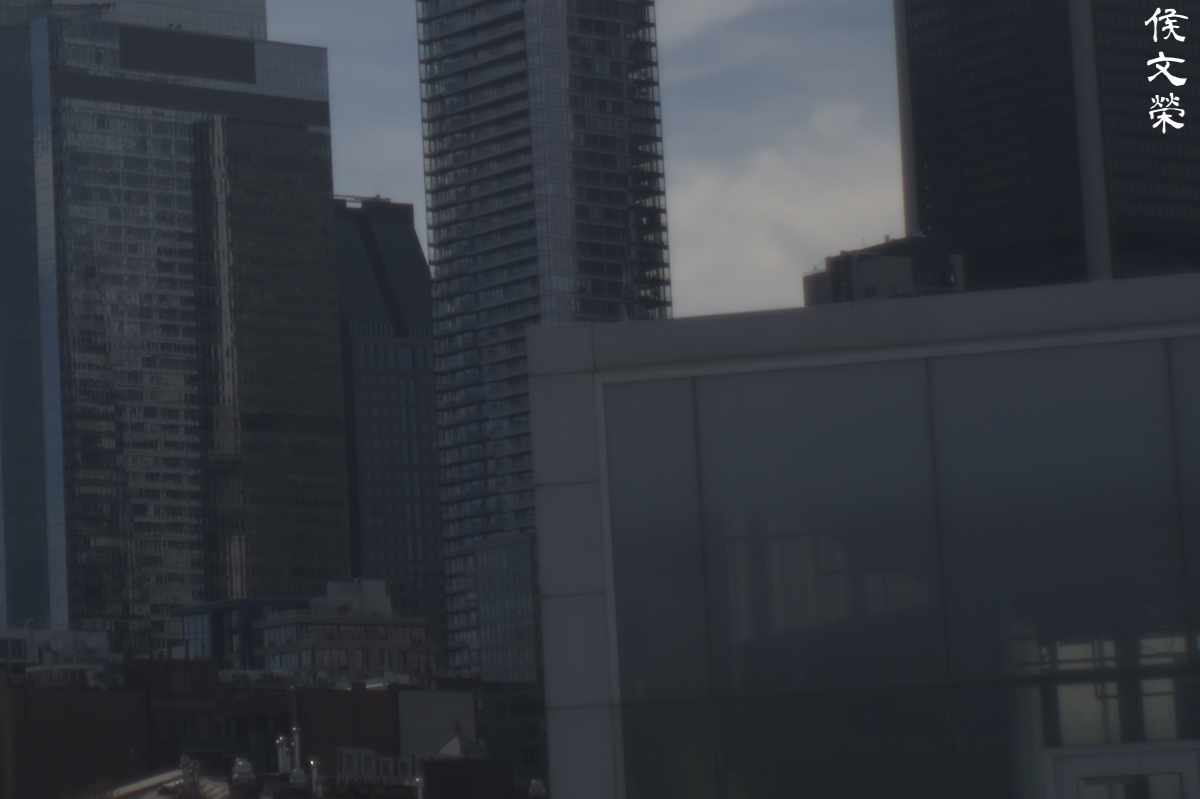
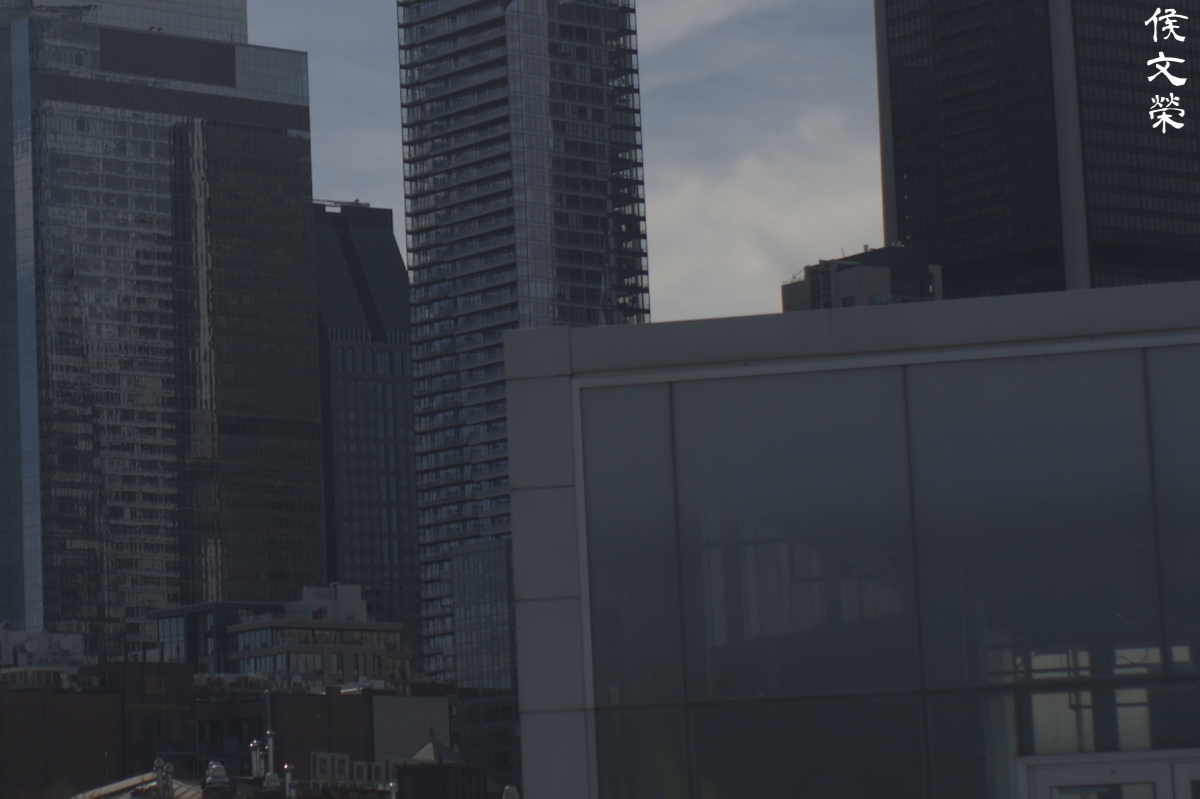
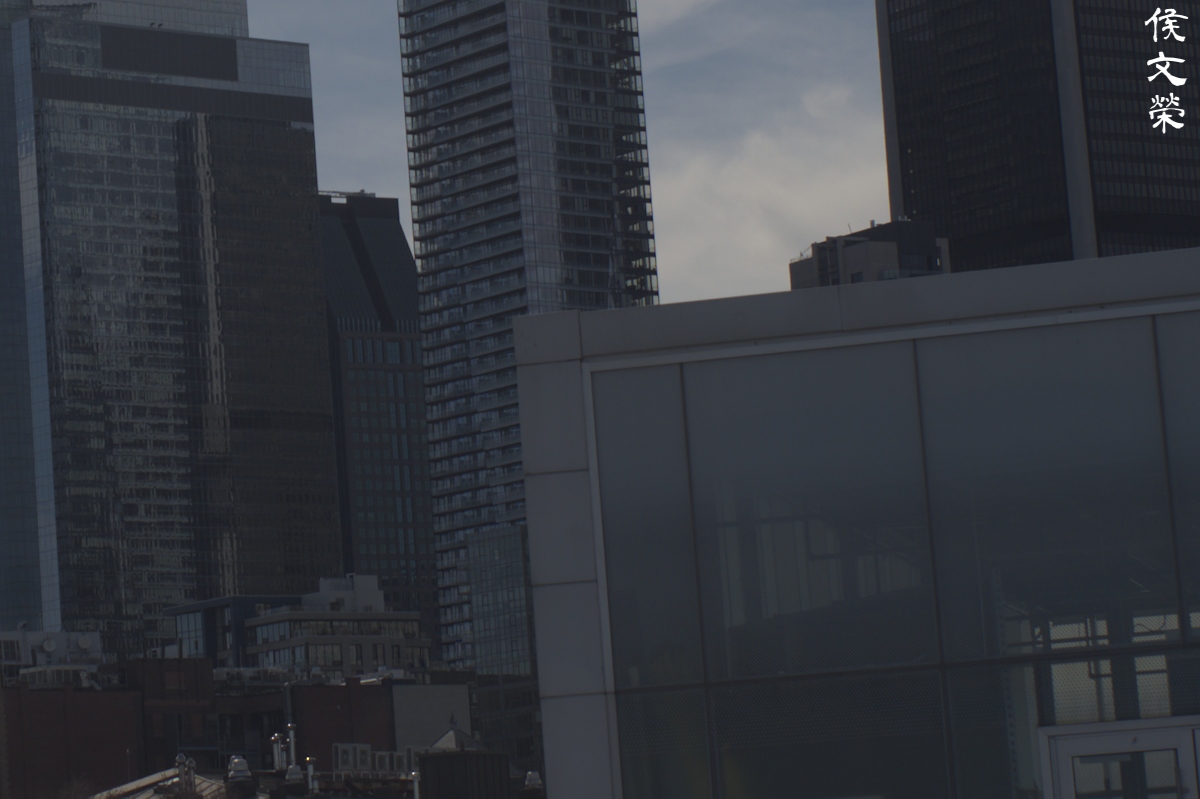
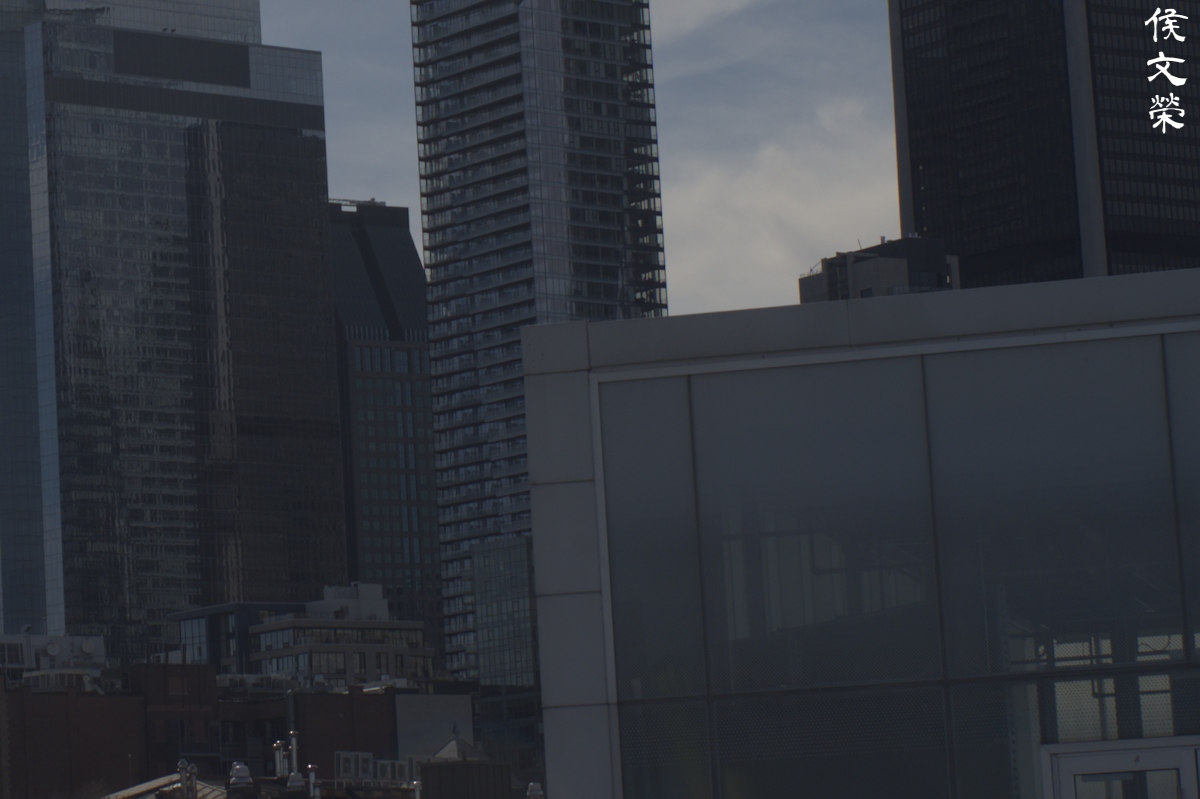
Surprisingly, it is quite resistant to flare and the coatings are good enough as to not produce any ugly blobs. Whatever you see here won’t be problematic is actual practice since I was shooting this lens with the intent of triggering any of the mentioned problems. I am very impressed by the legendary coating that made these lenses so famous.

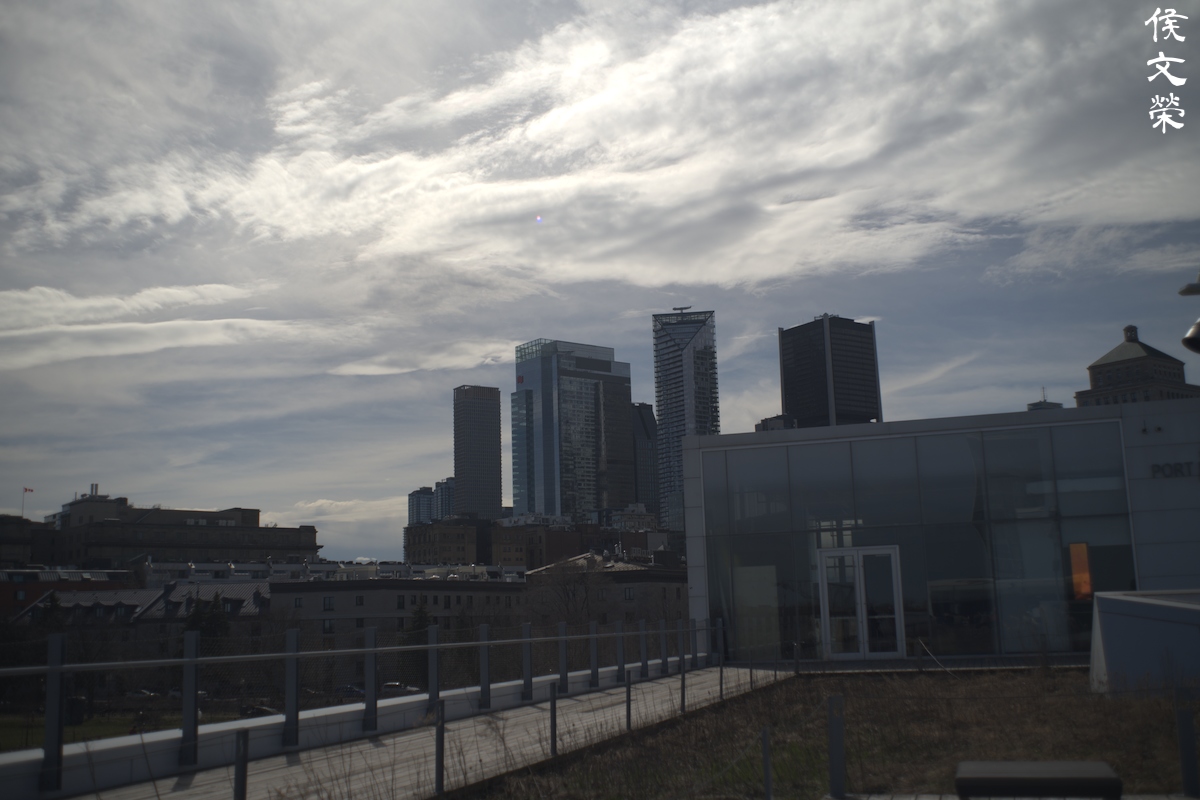
(Click to enlarge)
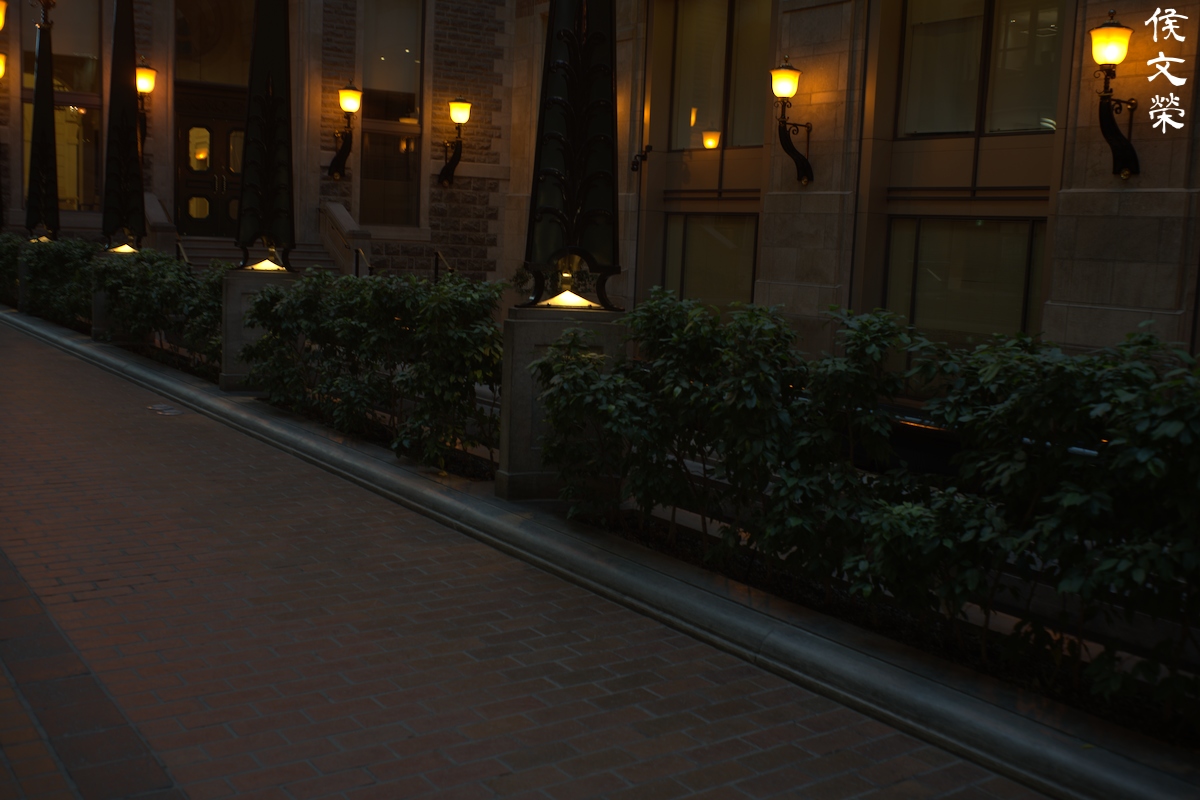
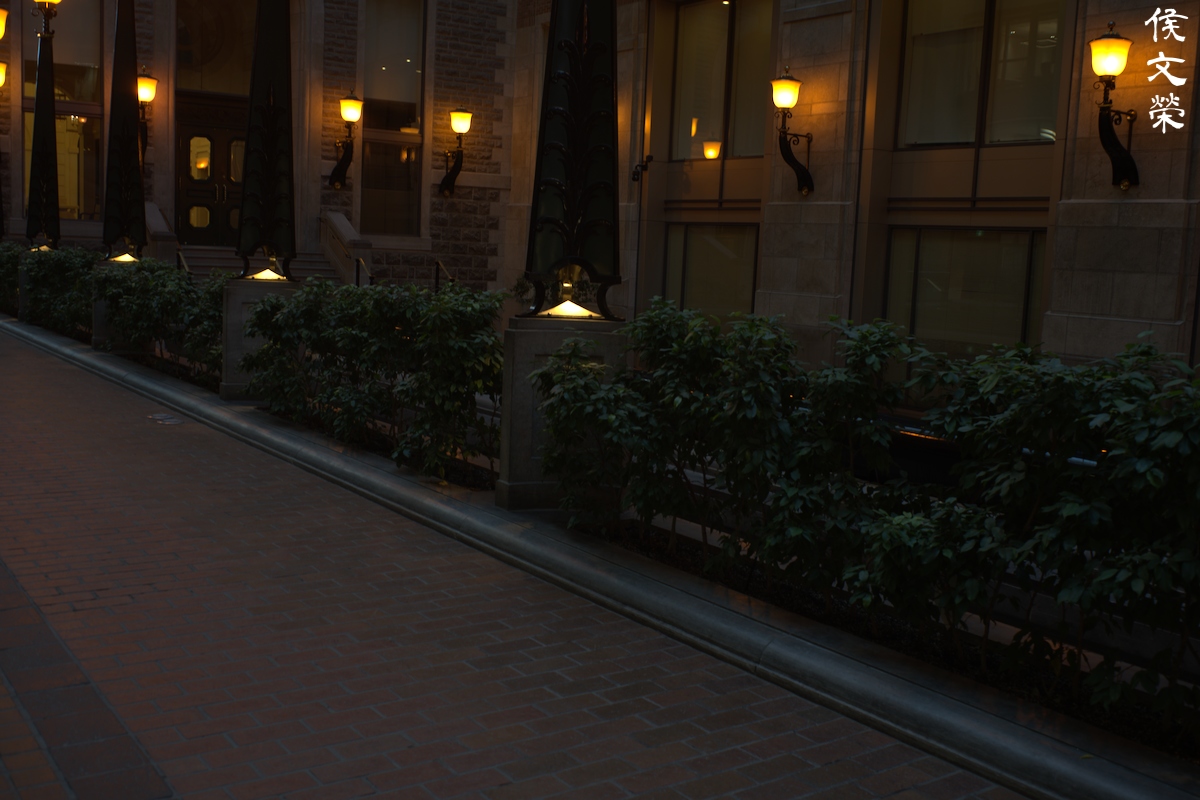
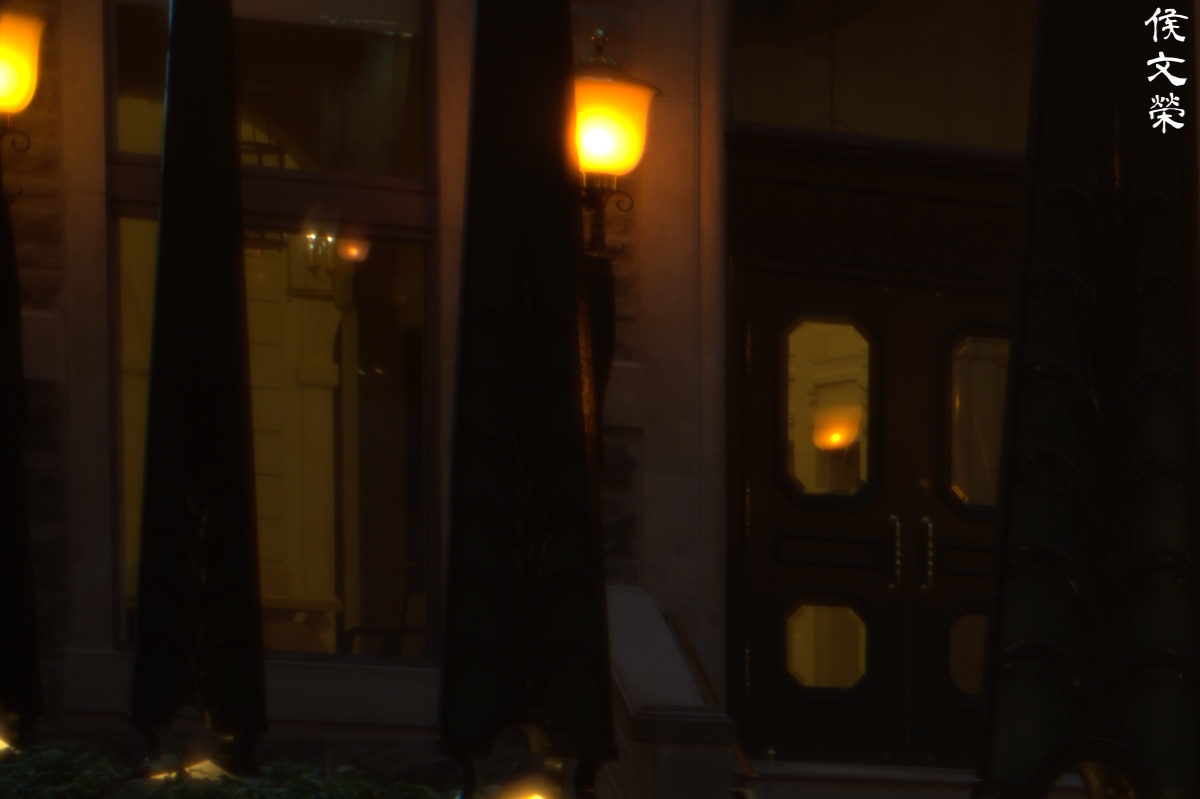
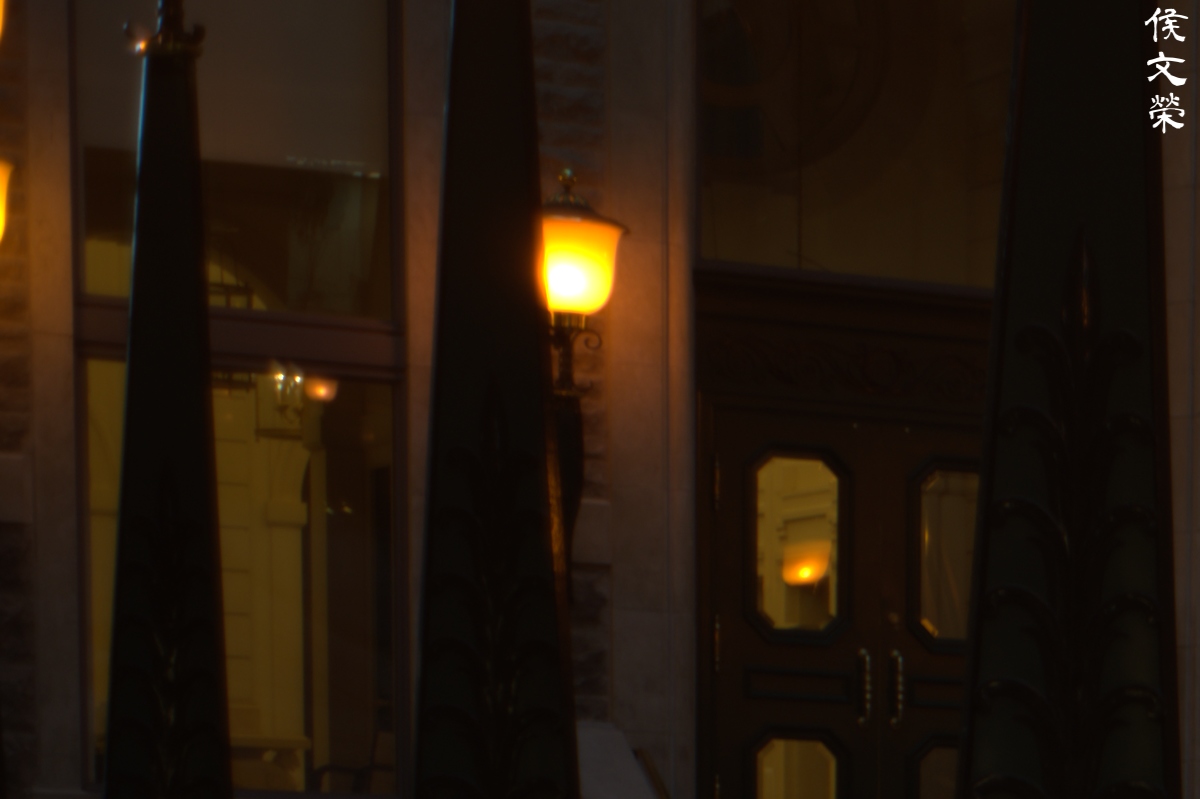
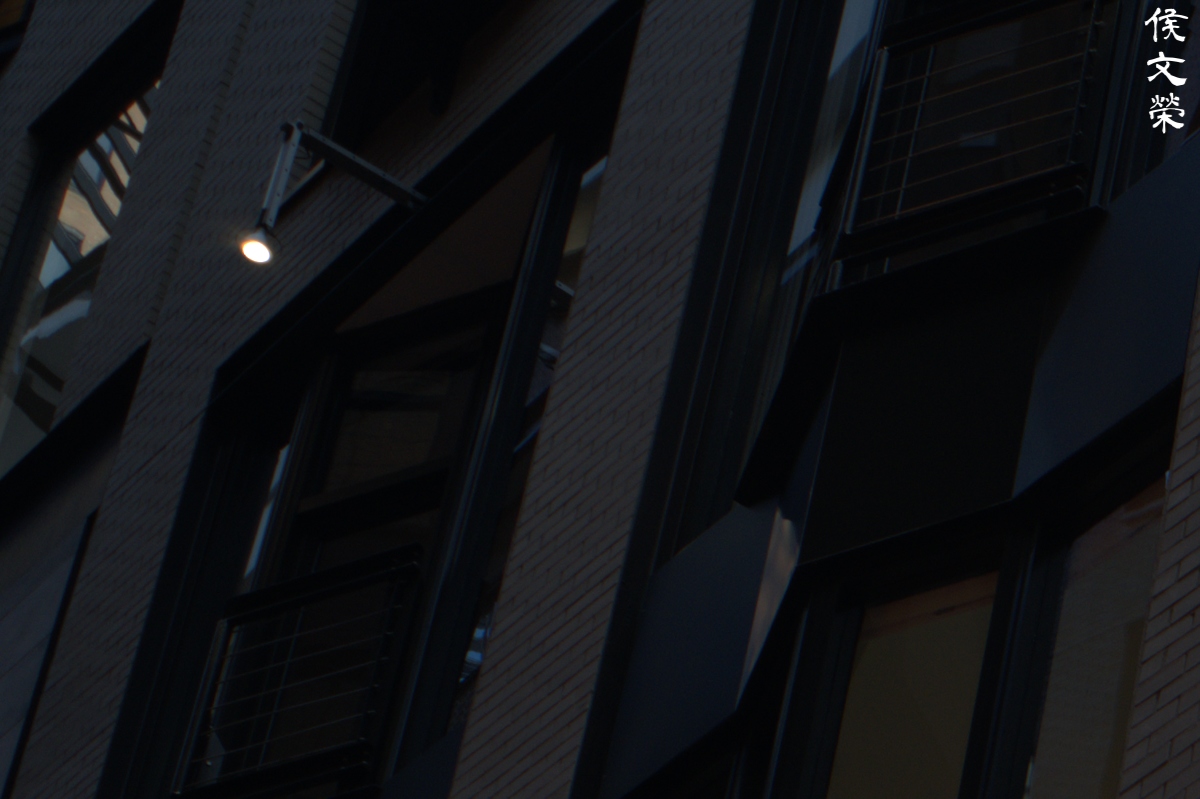
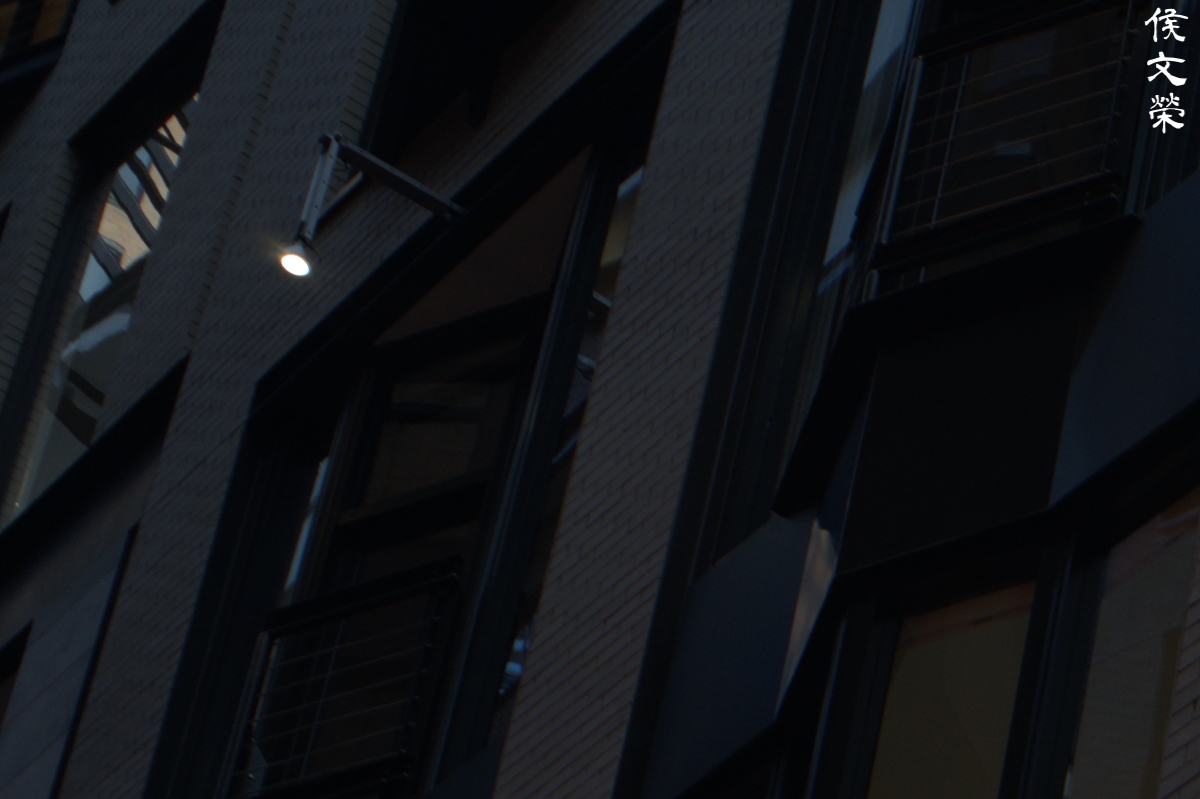
One thing that I do not like is hazy my photos look like when shooting on a bright and sunny day, specially at infinity. This is the only real issue I have with it as far as optical performance is concerned.
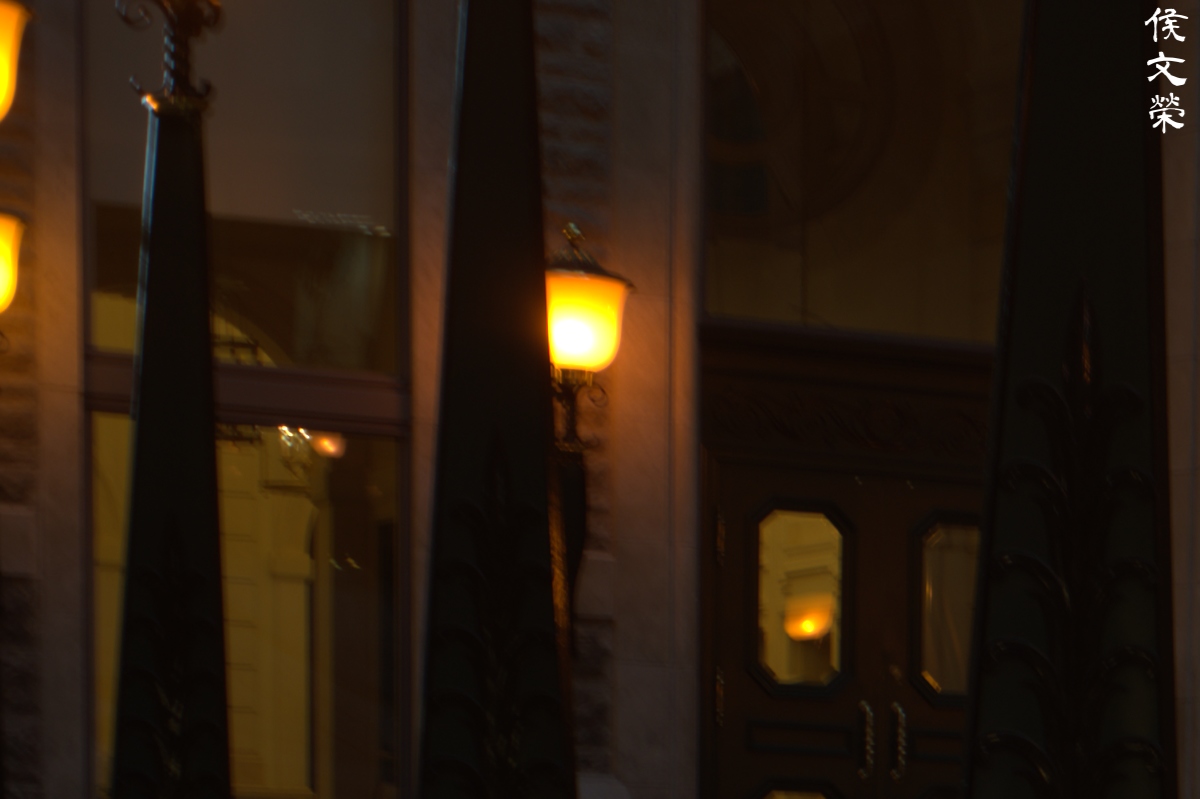
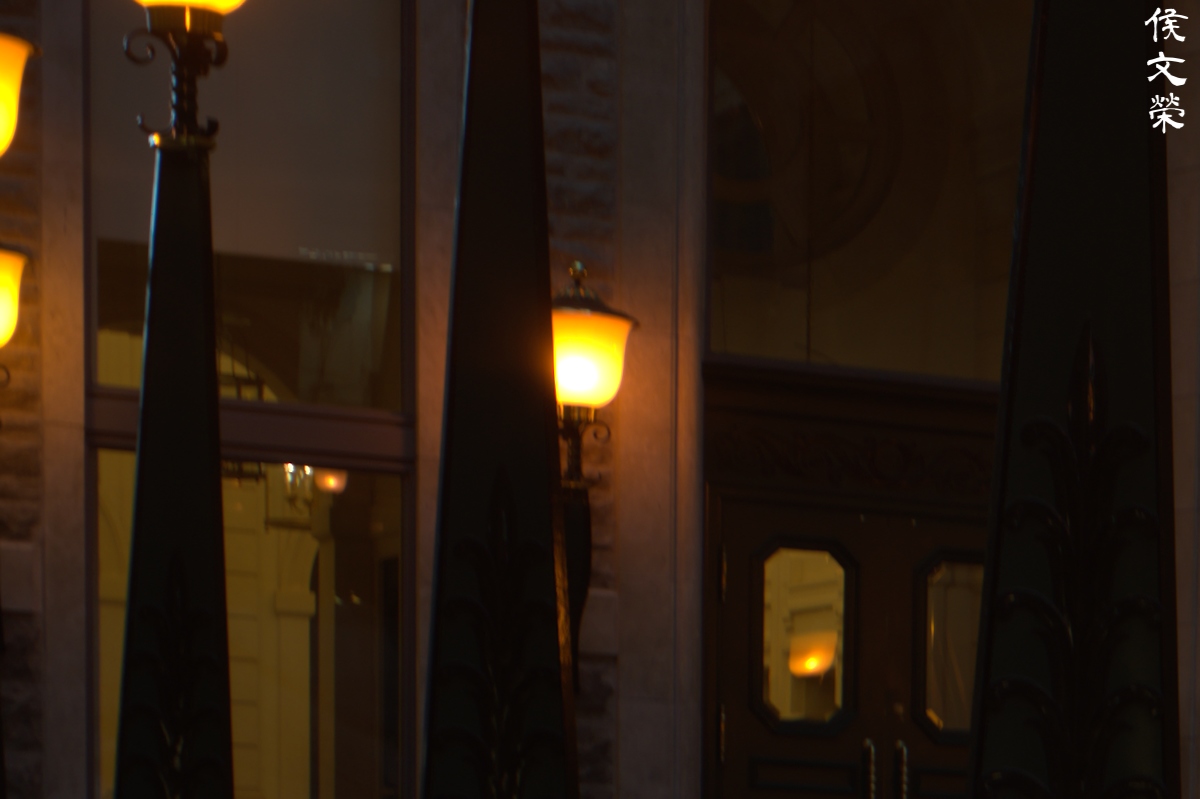
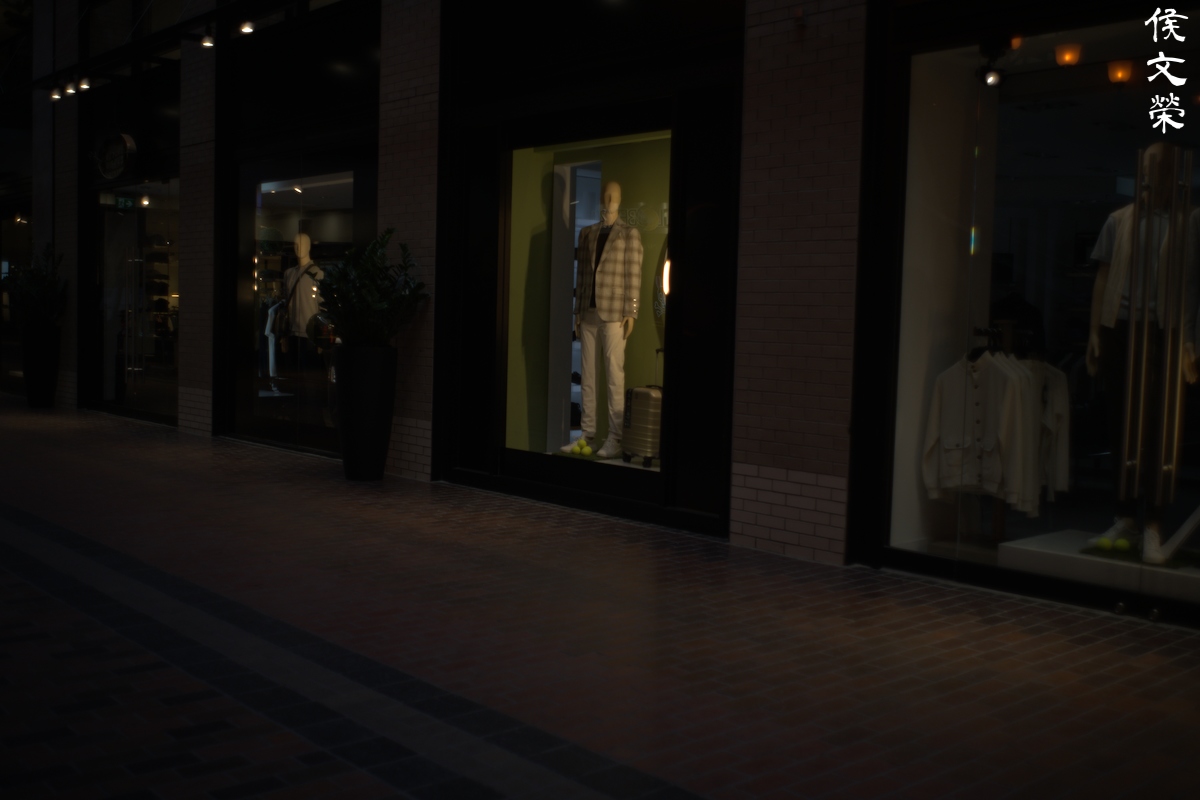
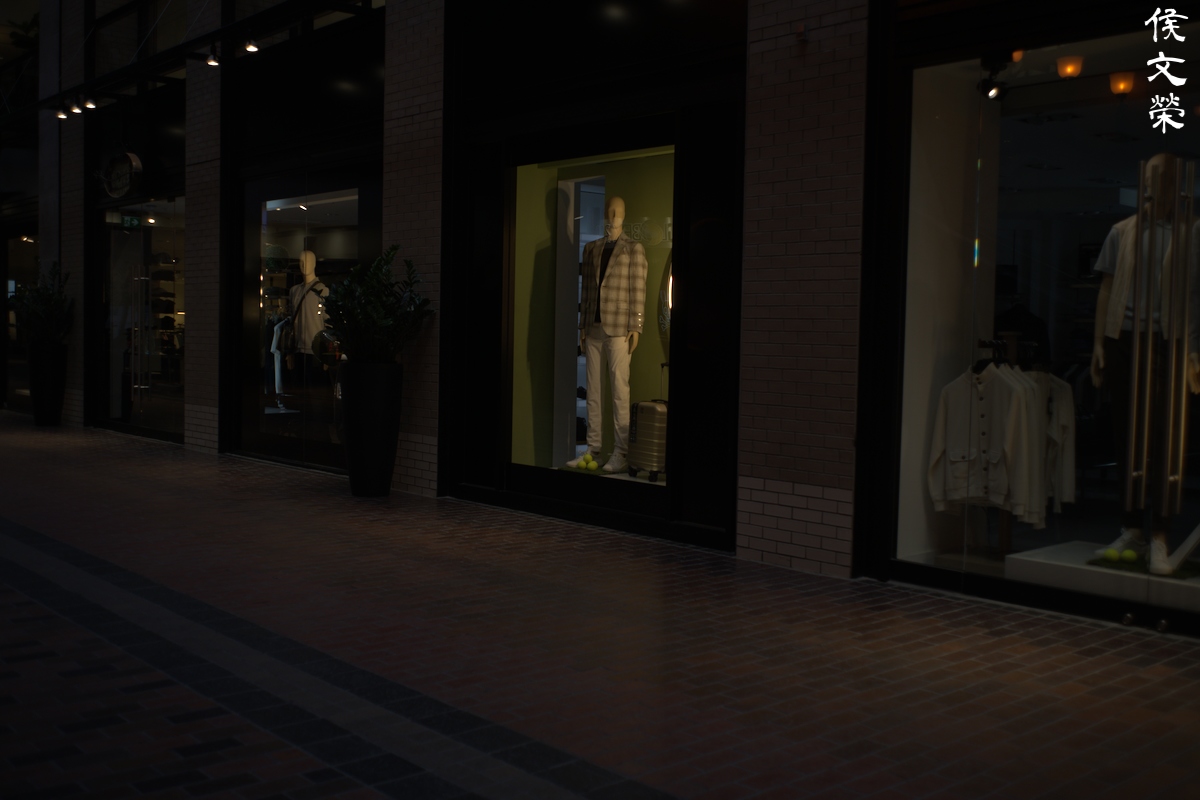
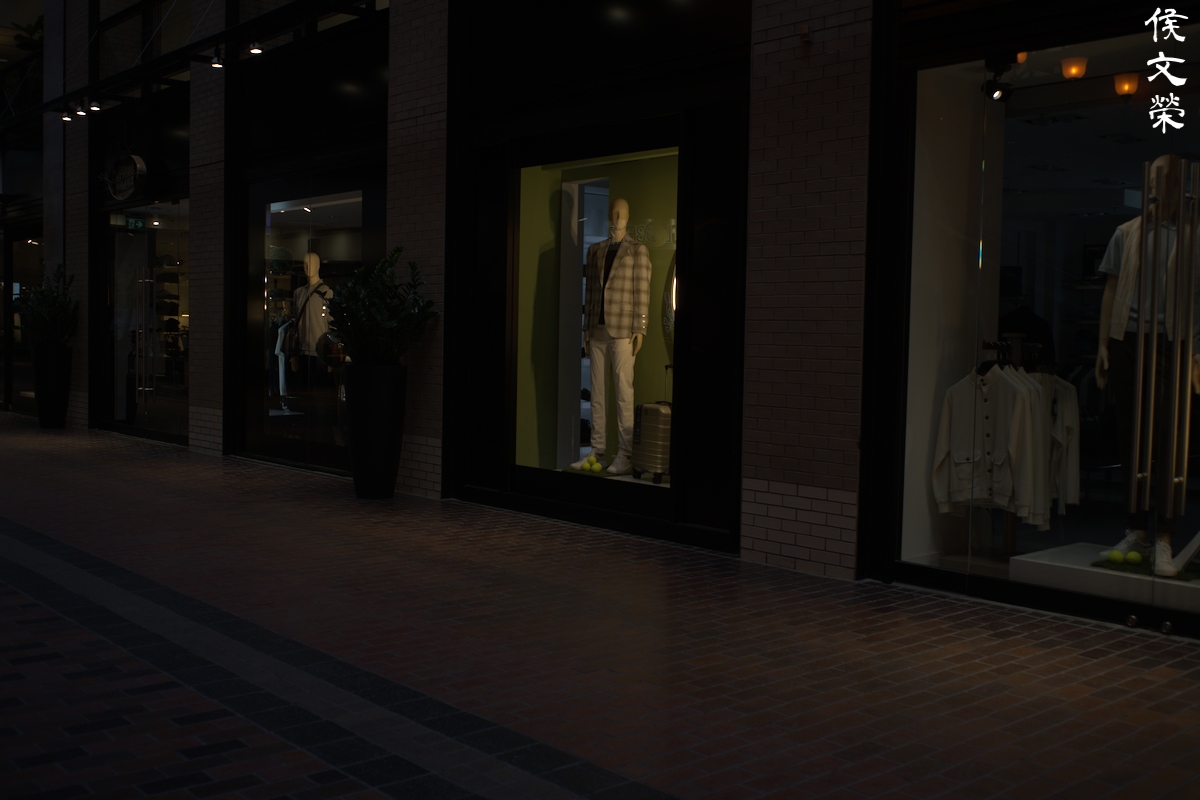
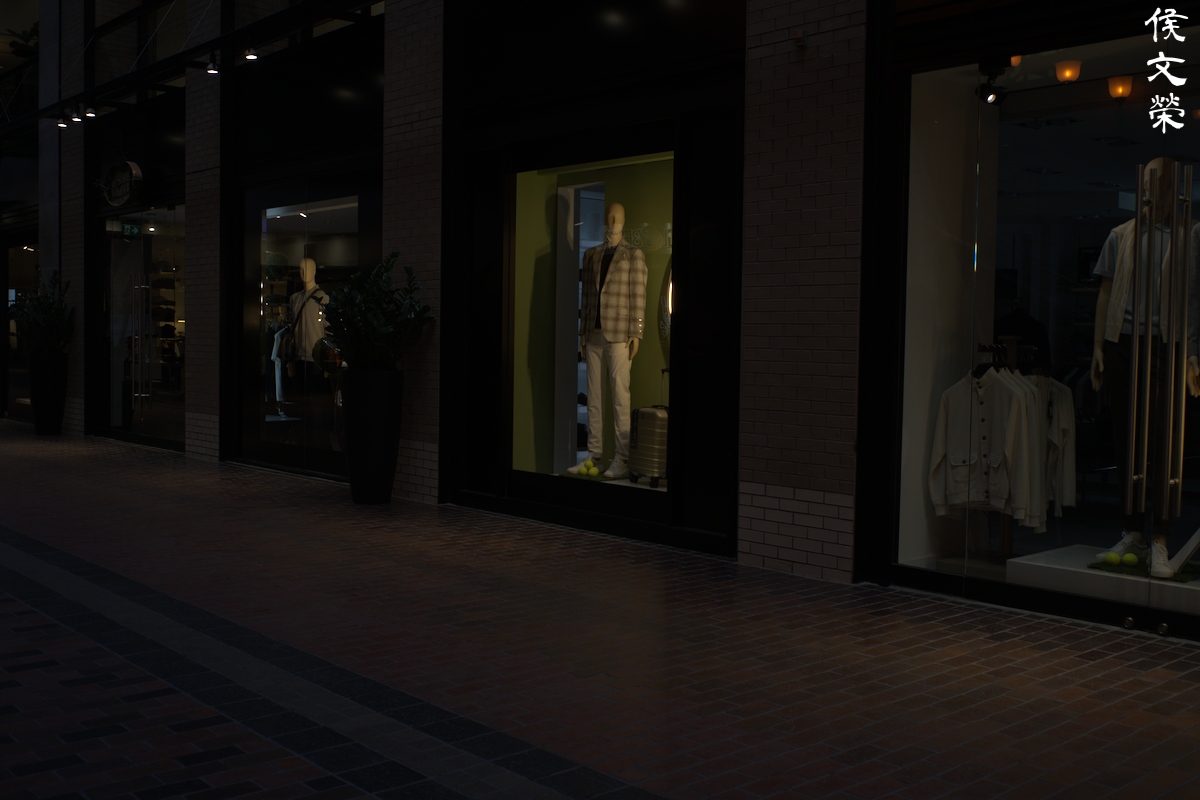
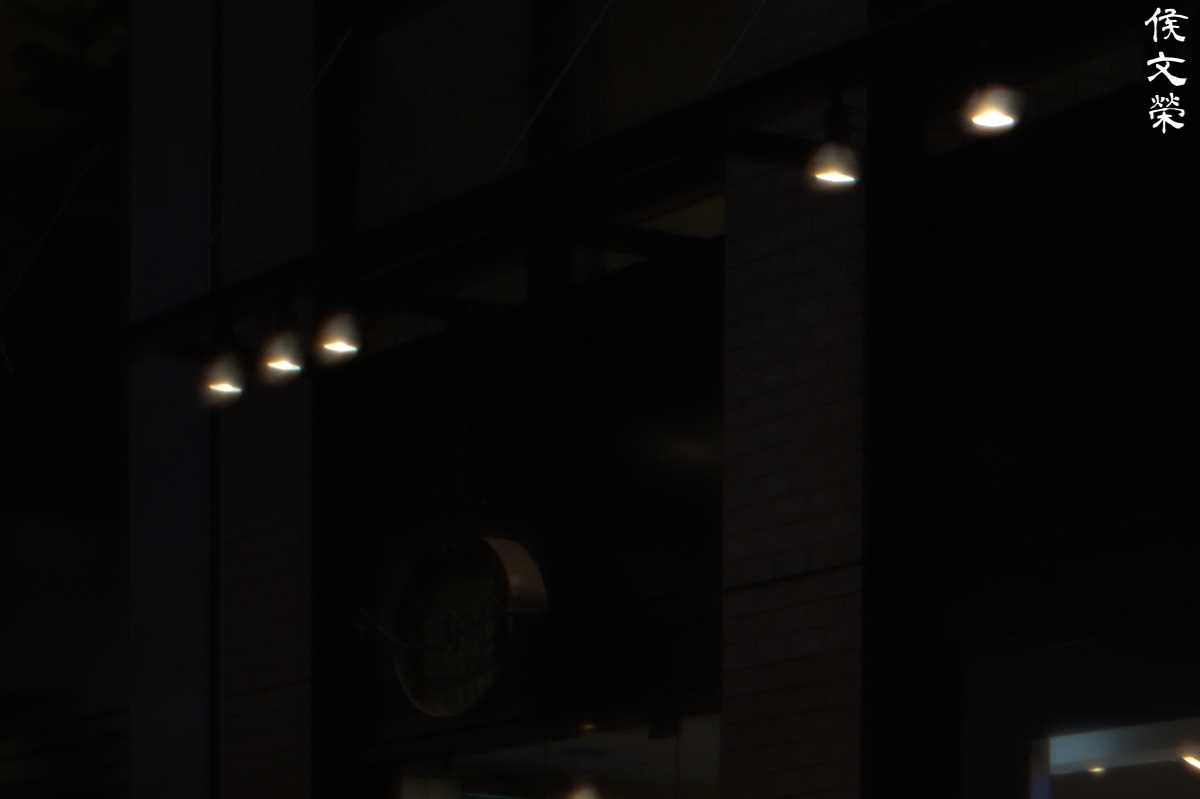
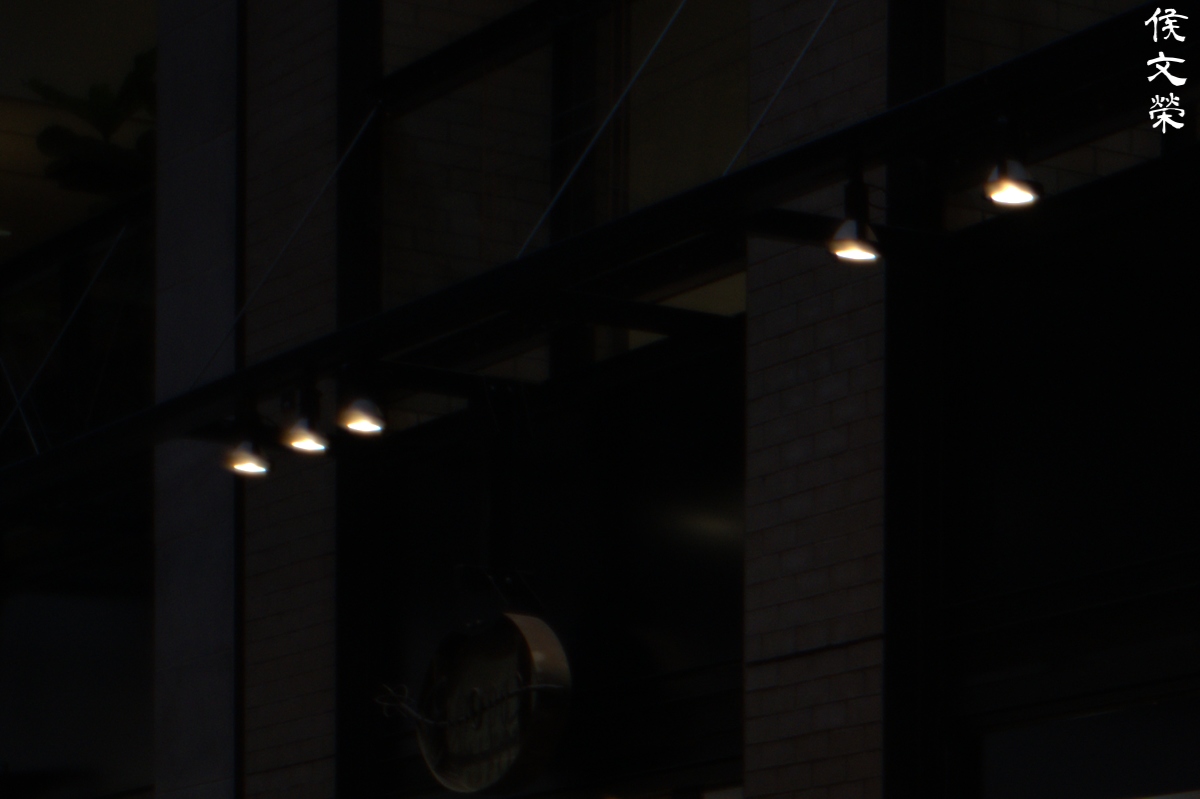
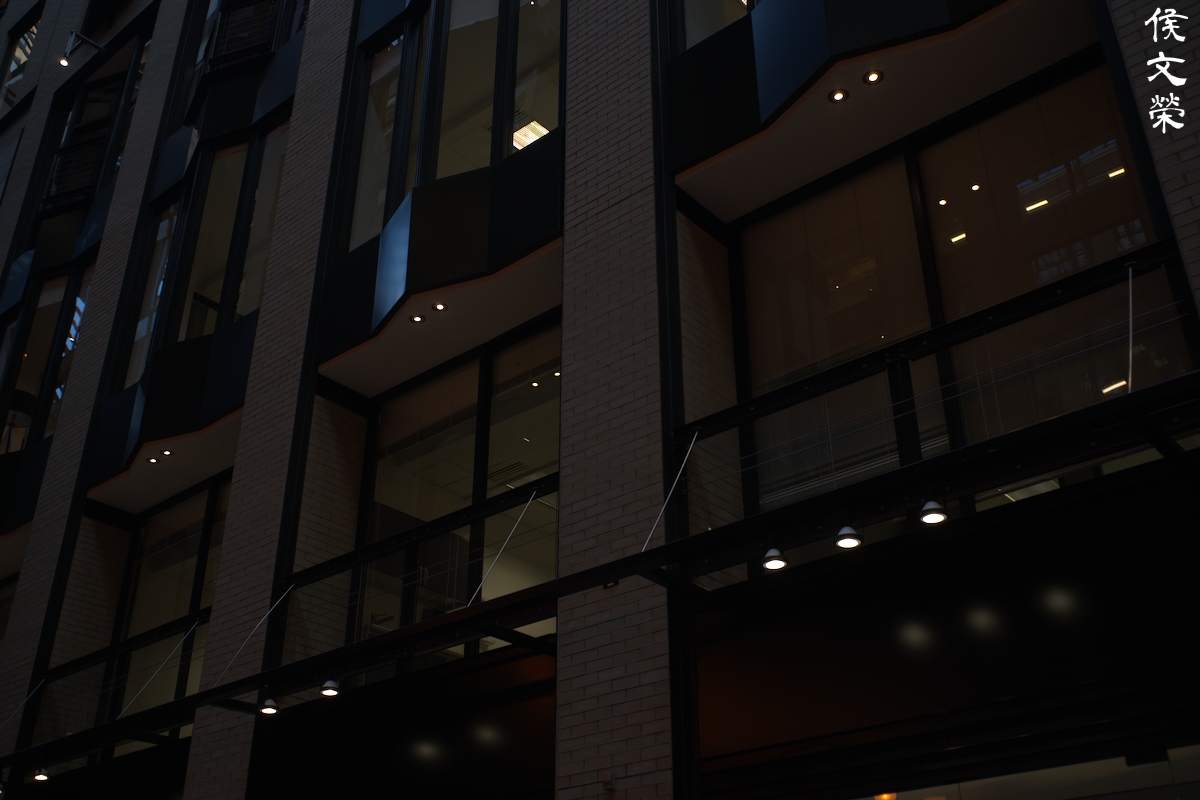
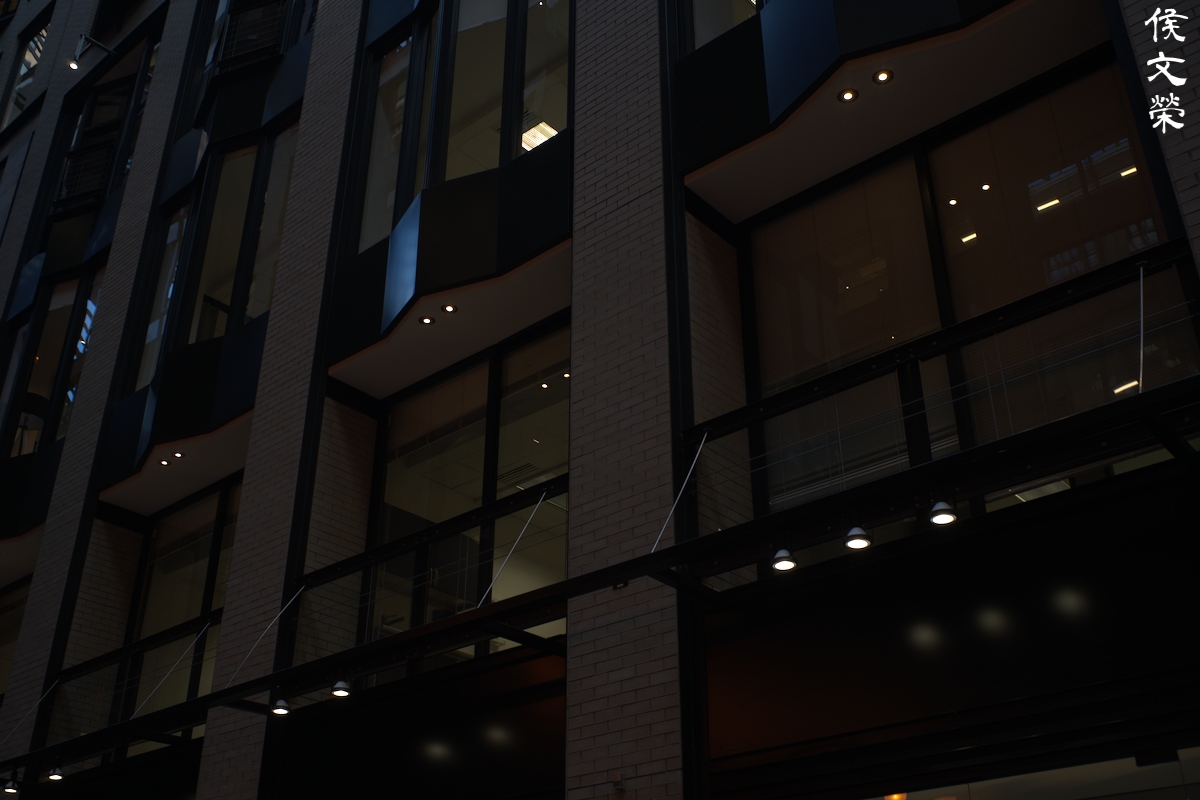
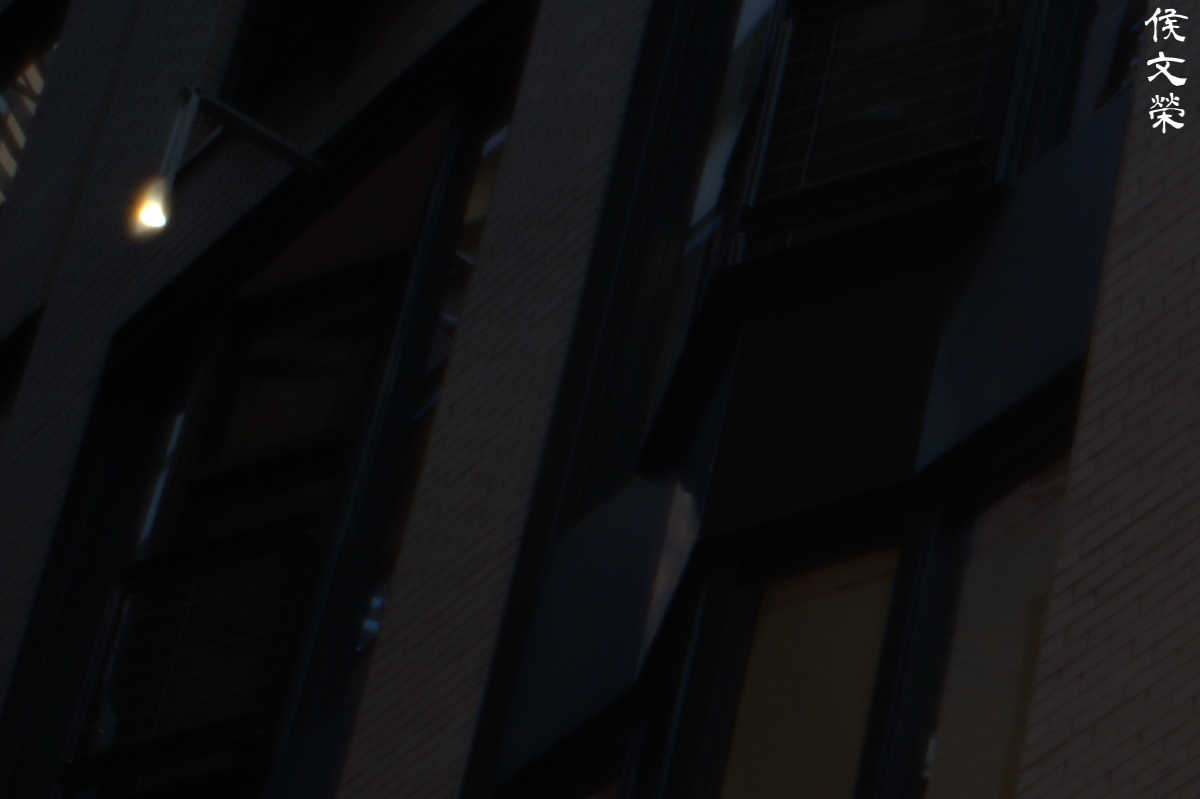
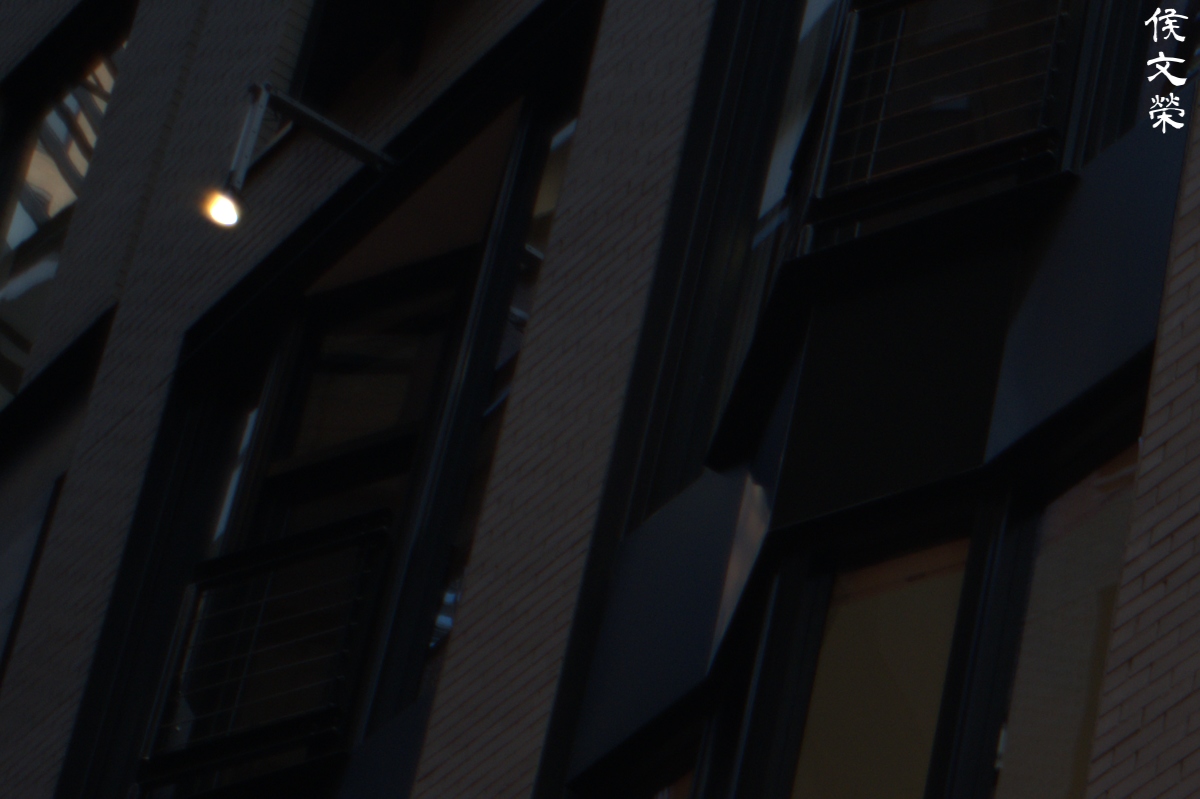
(Click to enlarge)
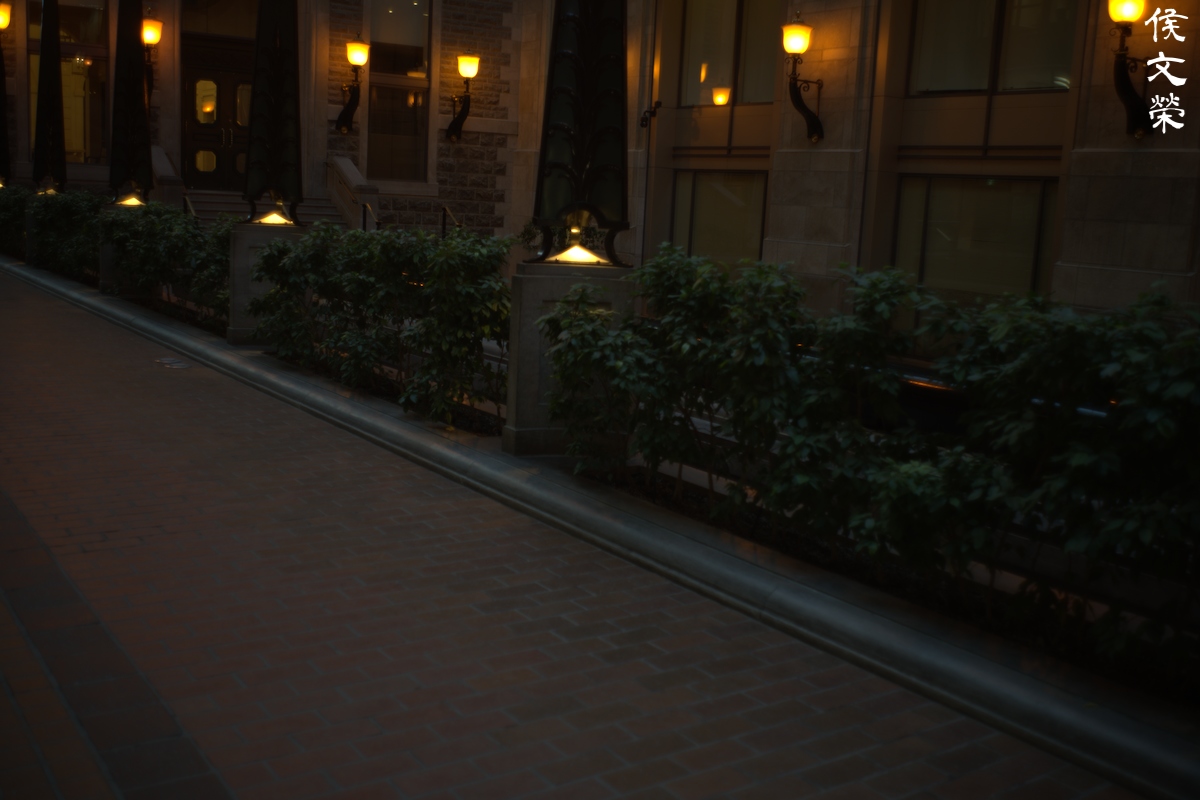
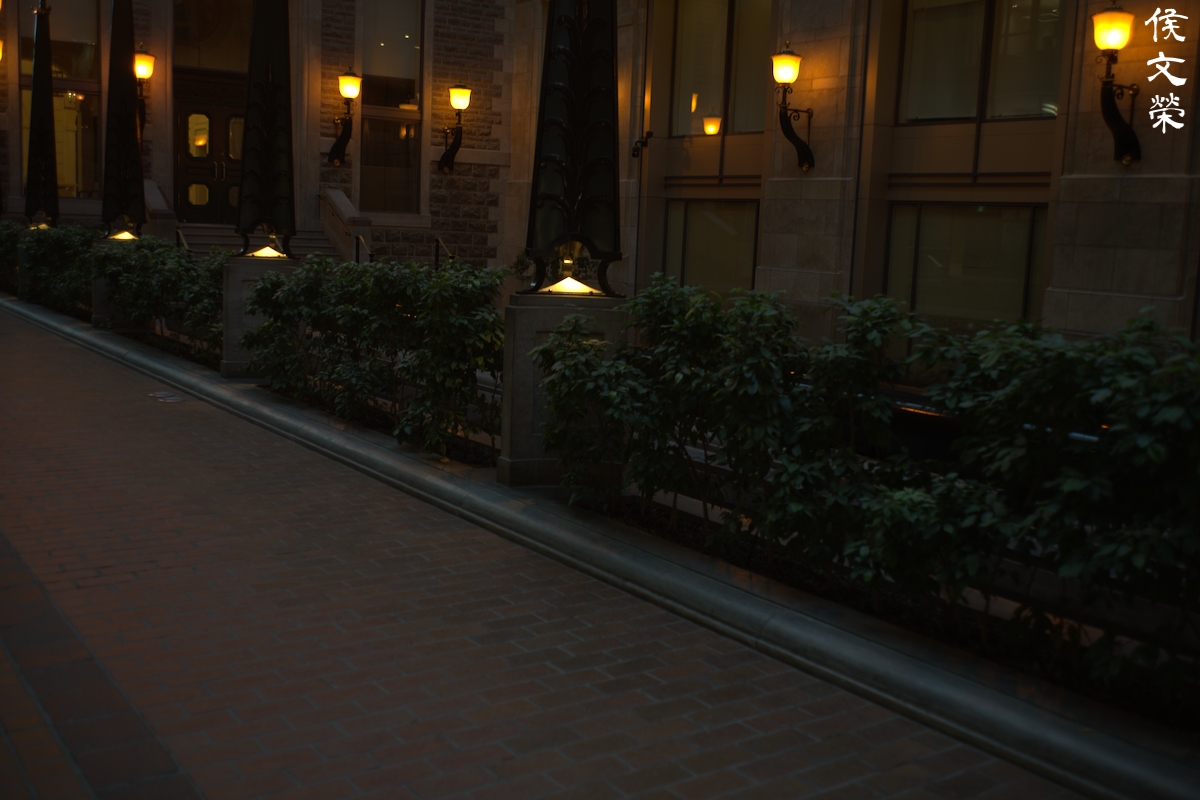
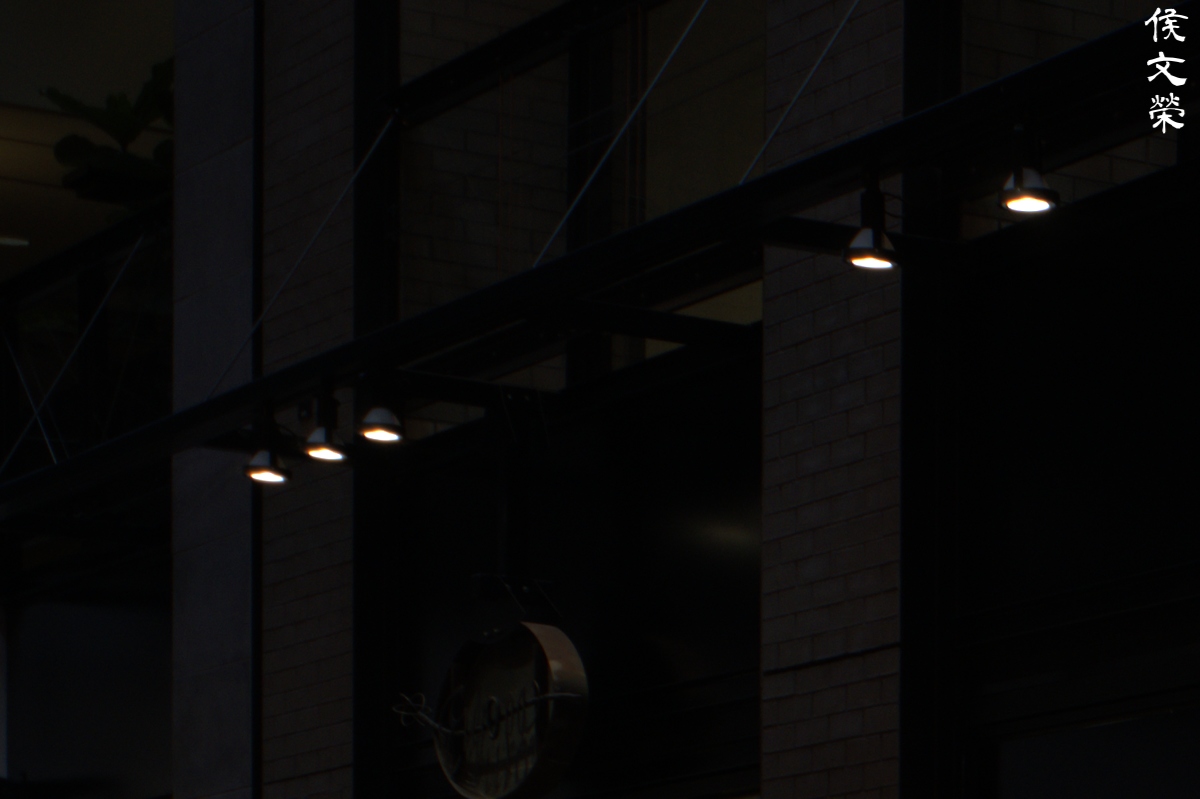
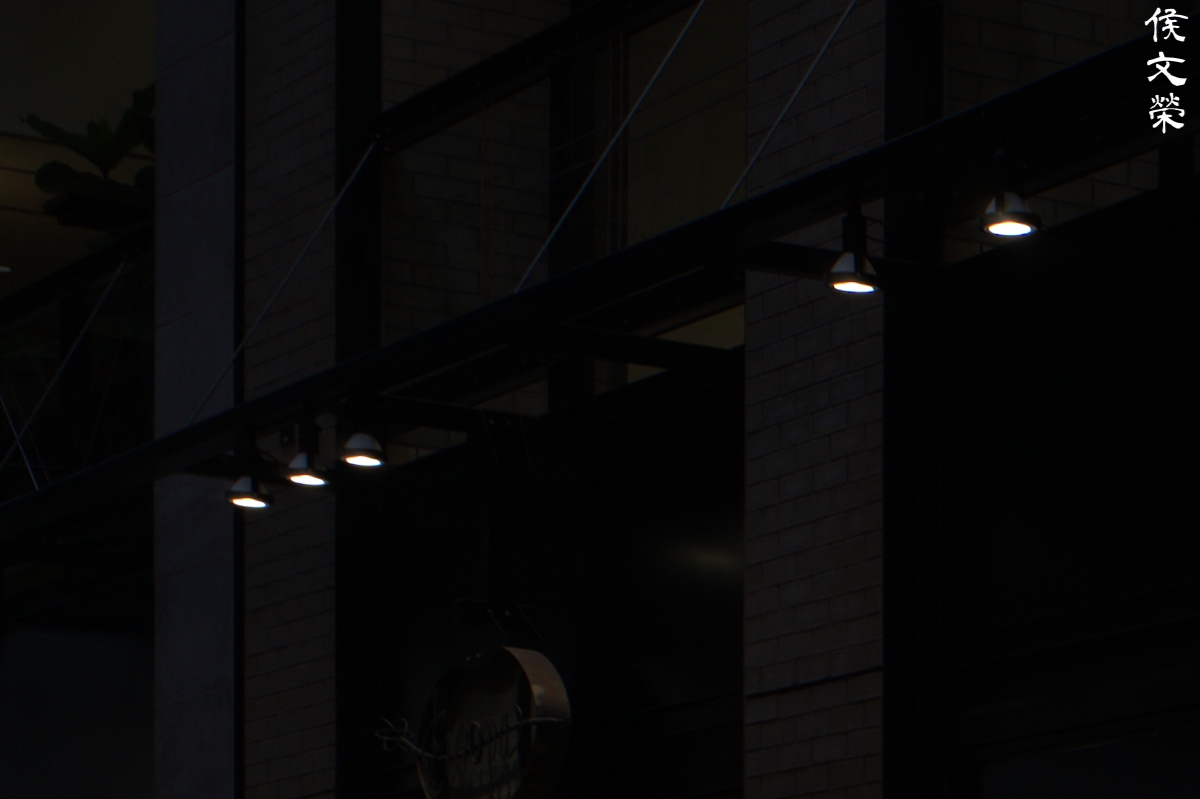
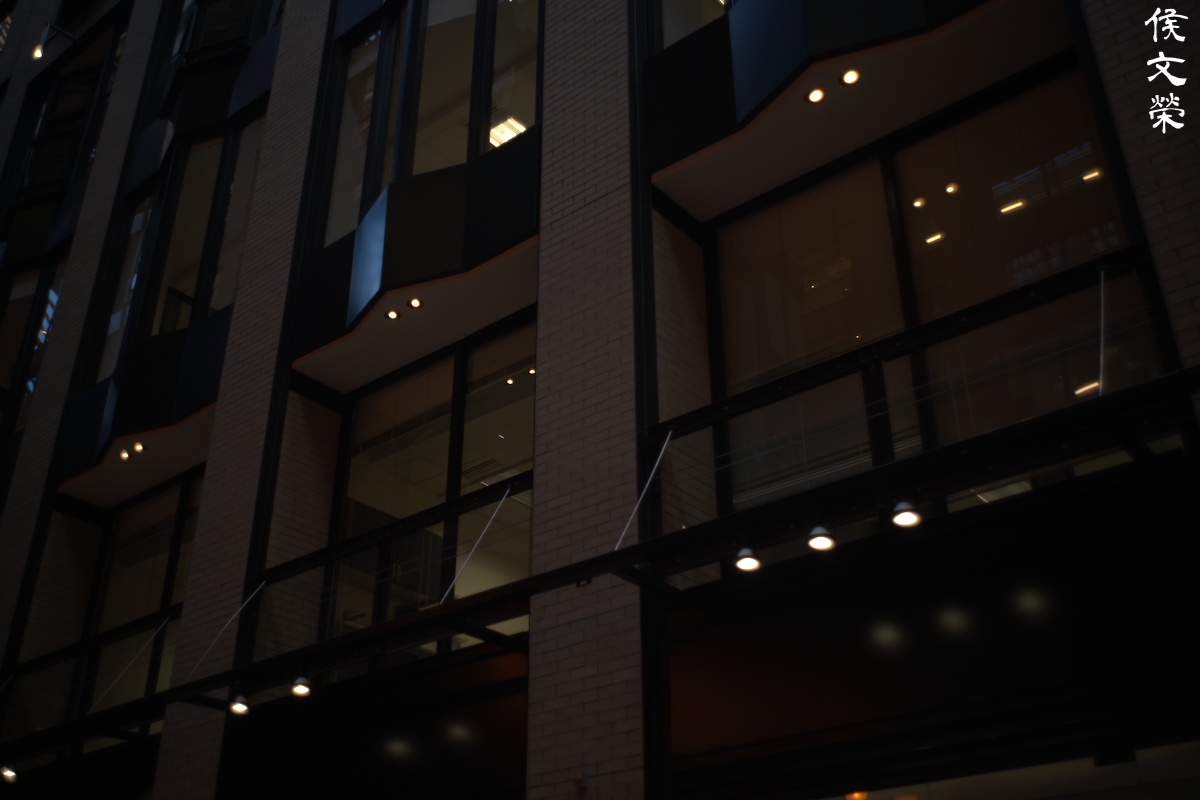
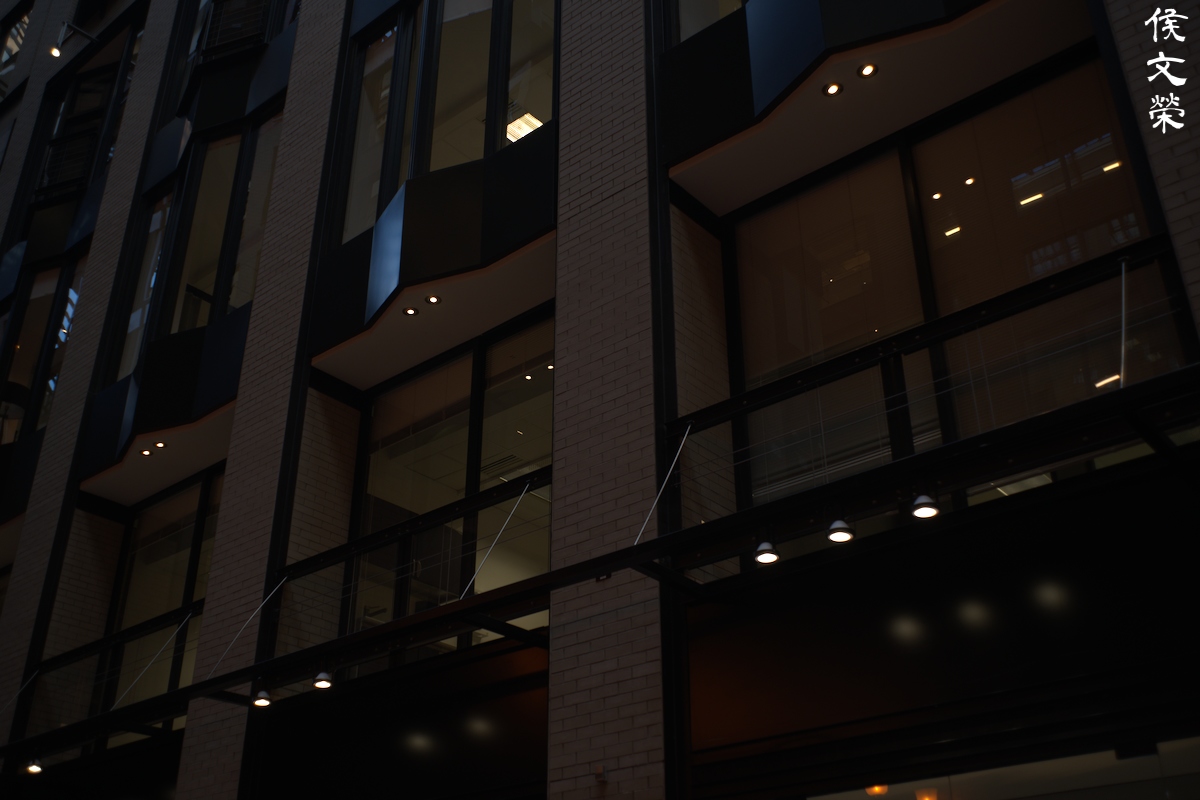
This isn’t what I would call a fast lens so coma won’t be an issue and I am correct in that assumption since what we see here won’t be an issue in real-world use. Nobody should be looking into this with this kind of lens but if you must, stop the aperture down to at least f/5.6 in order to get better results.




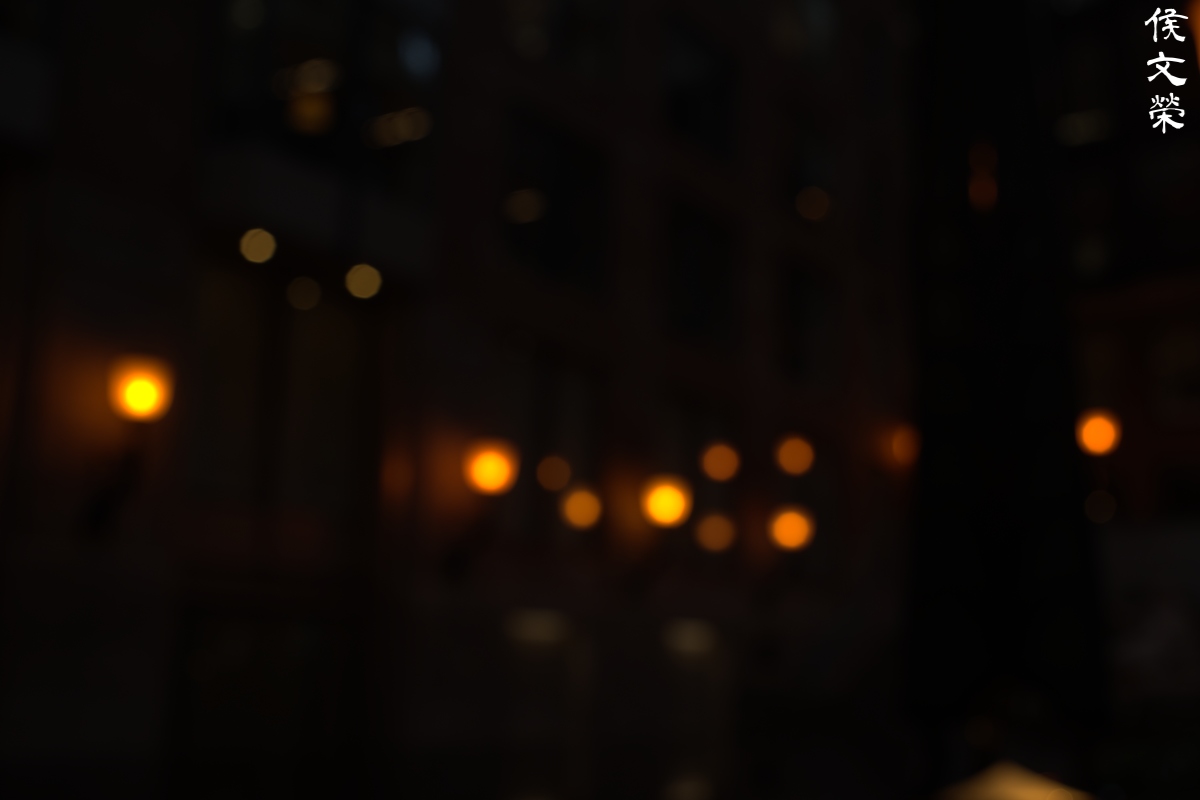
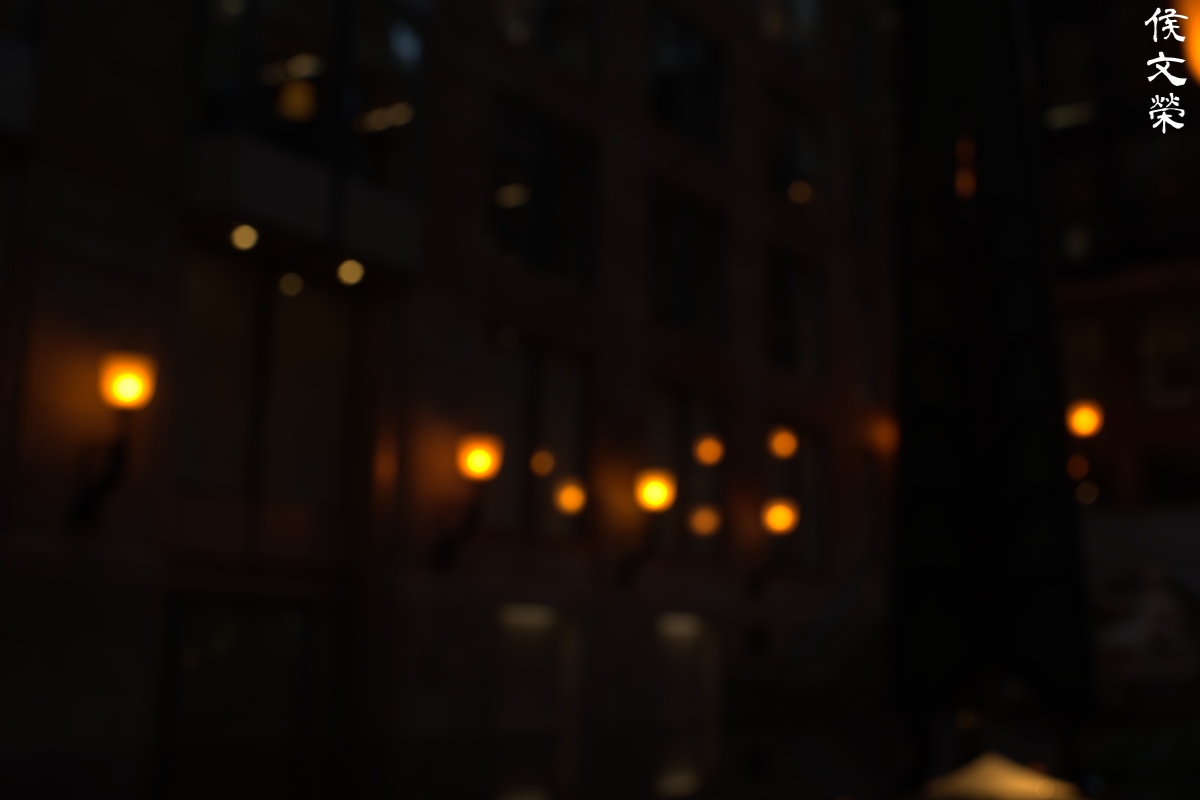
(Click to enlarge)
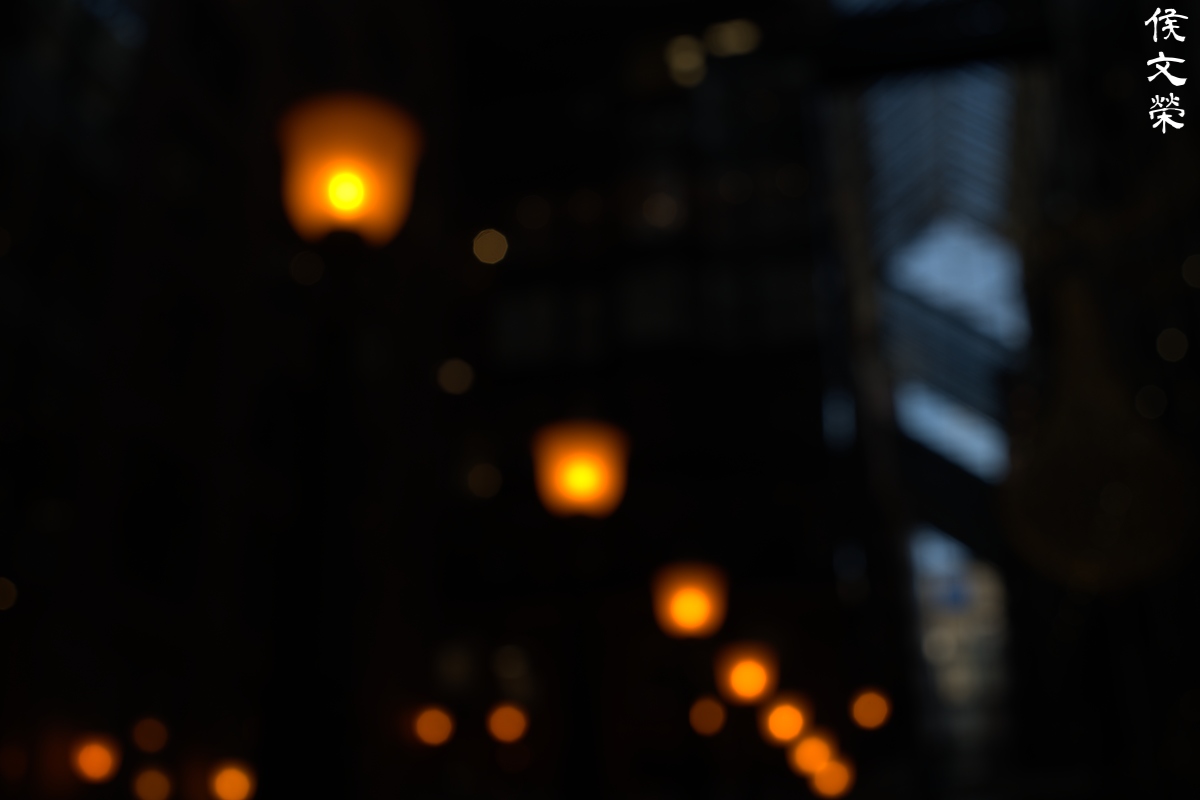
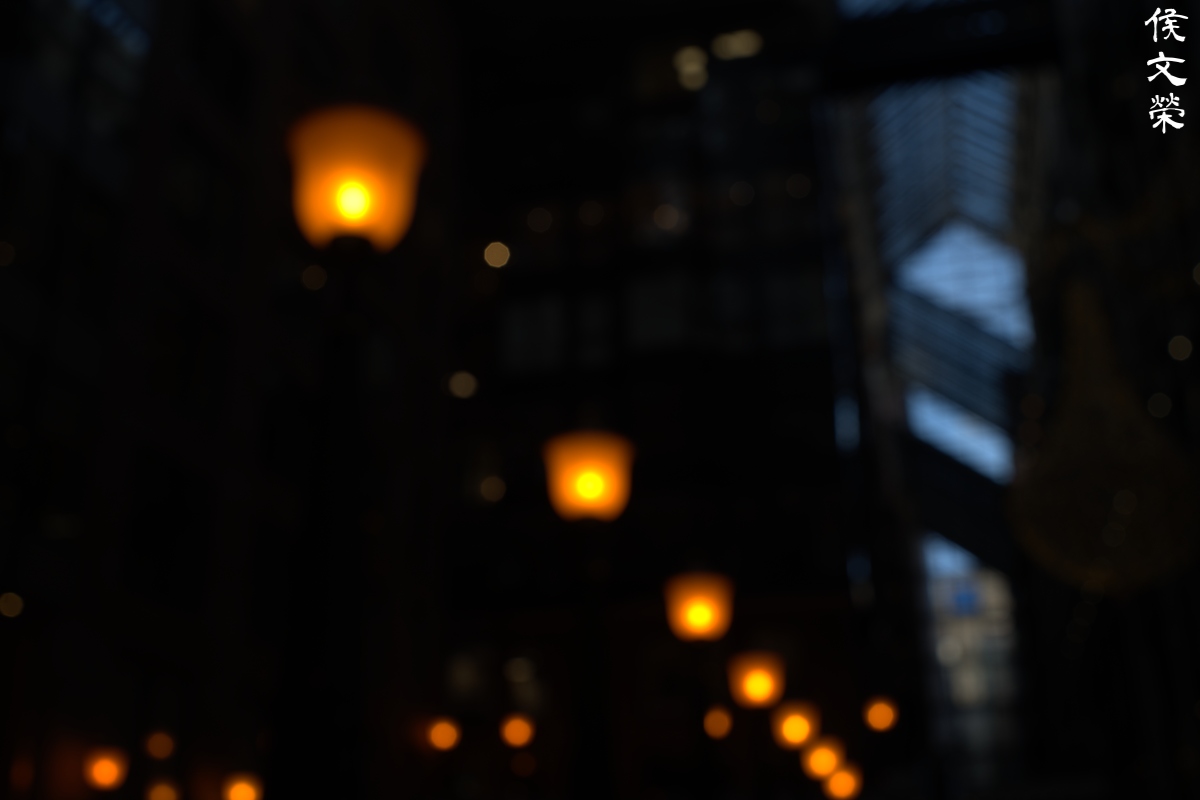
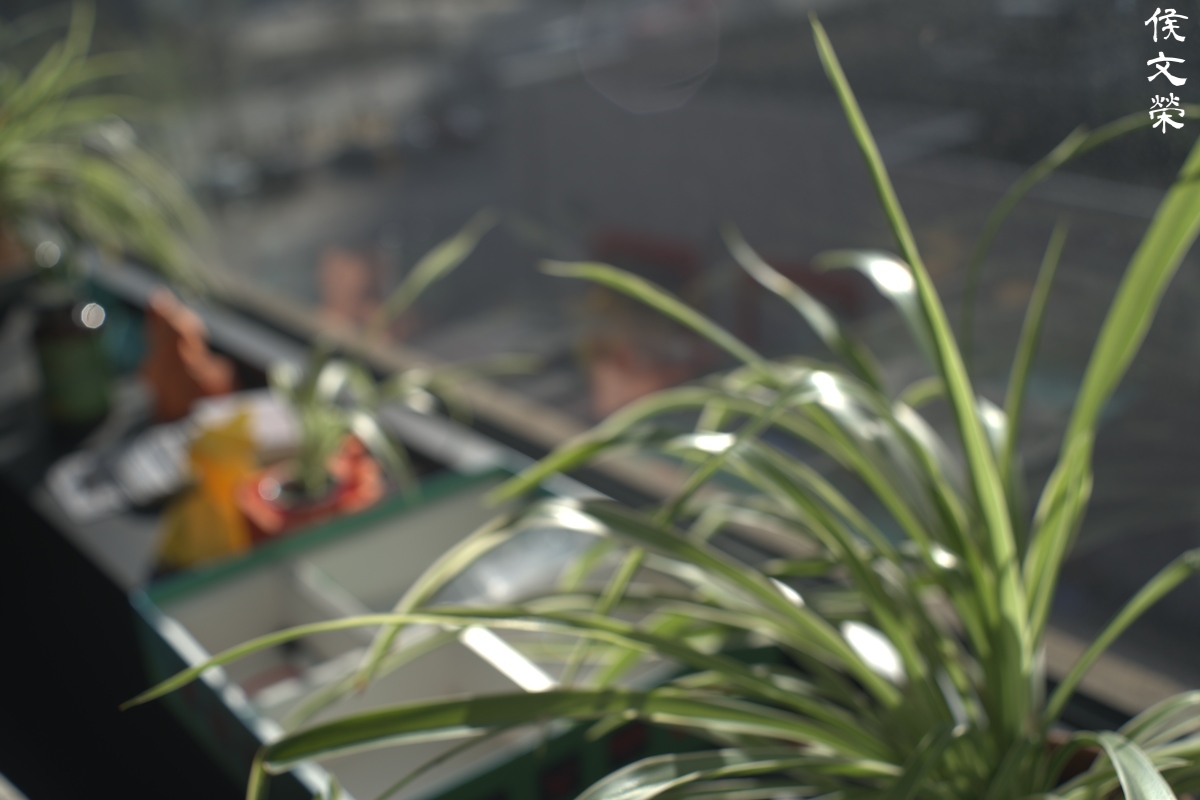
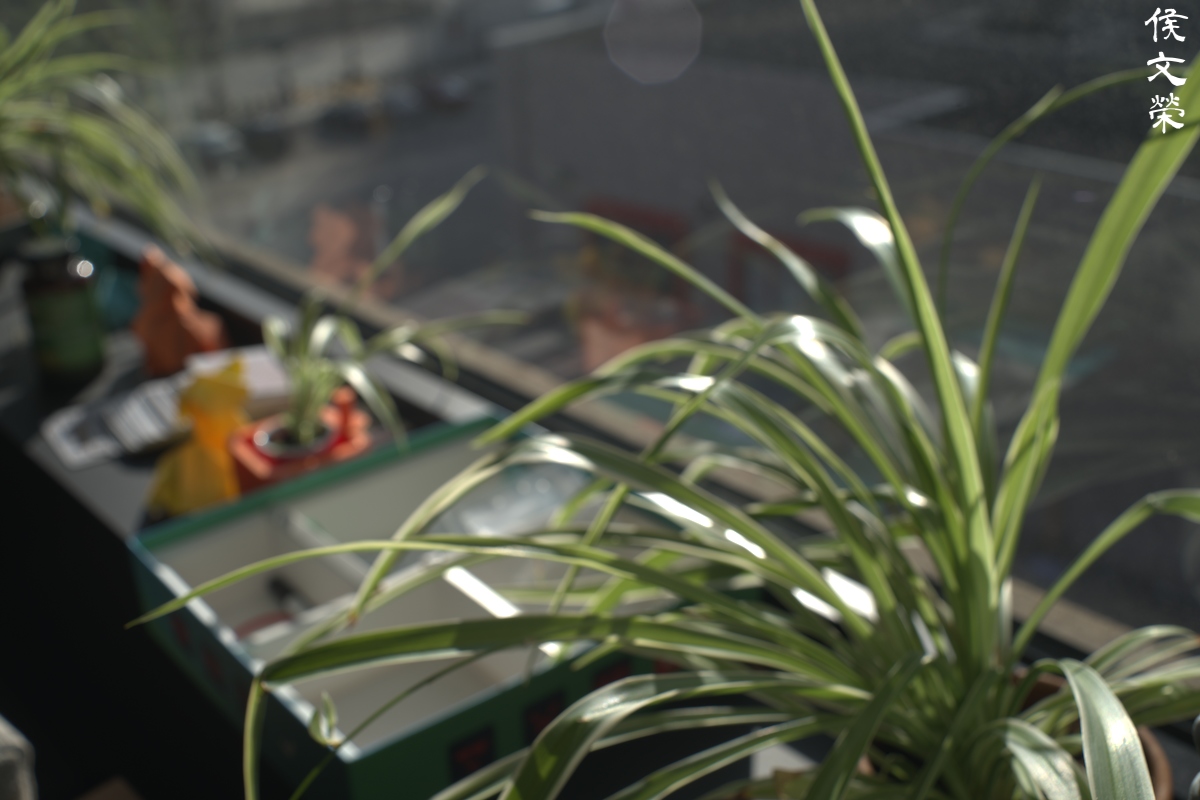
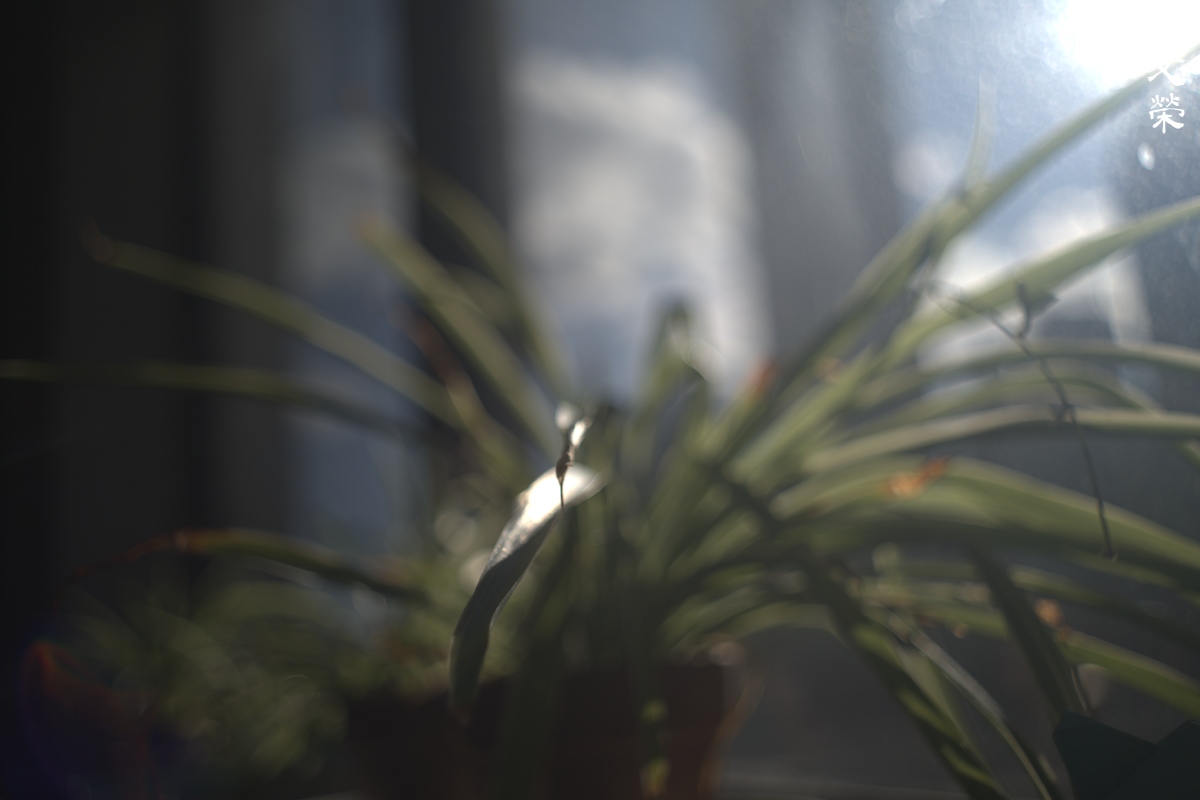
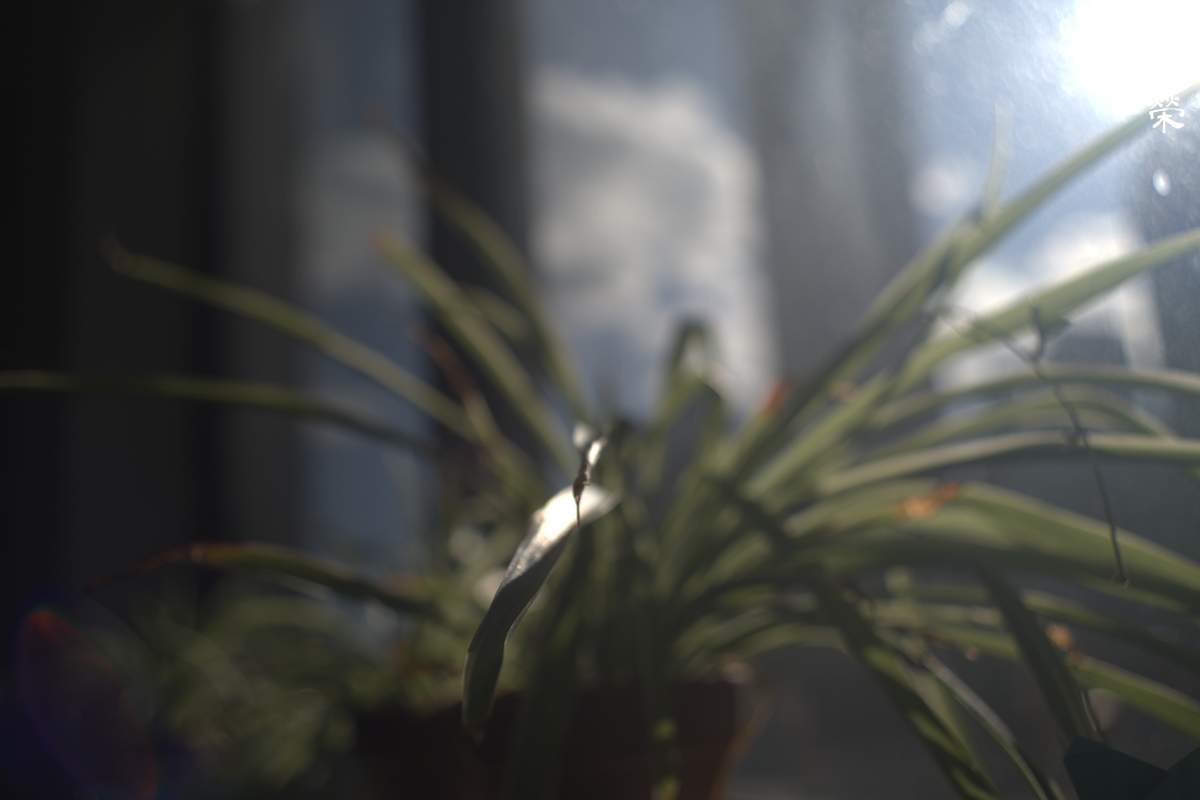
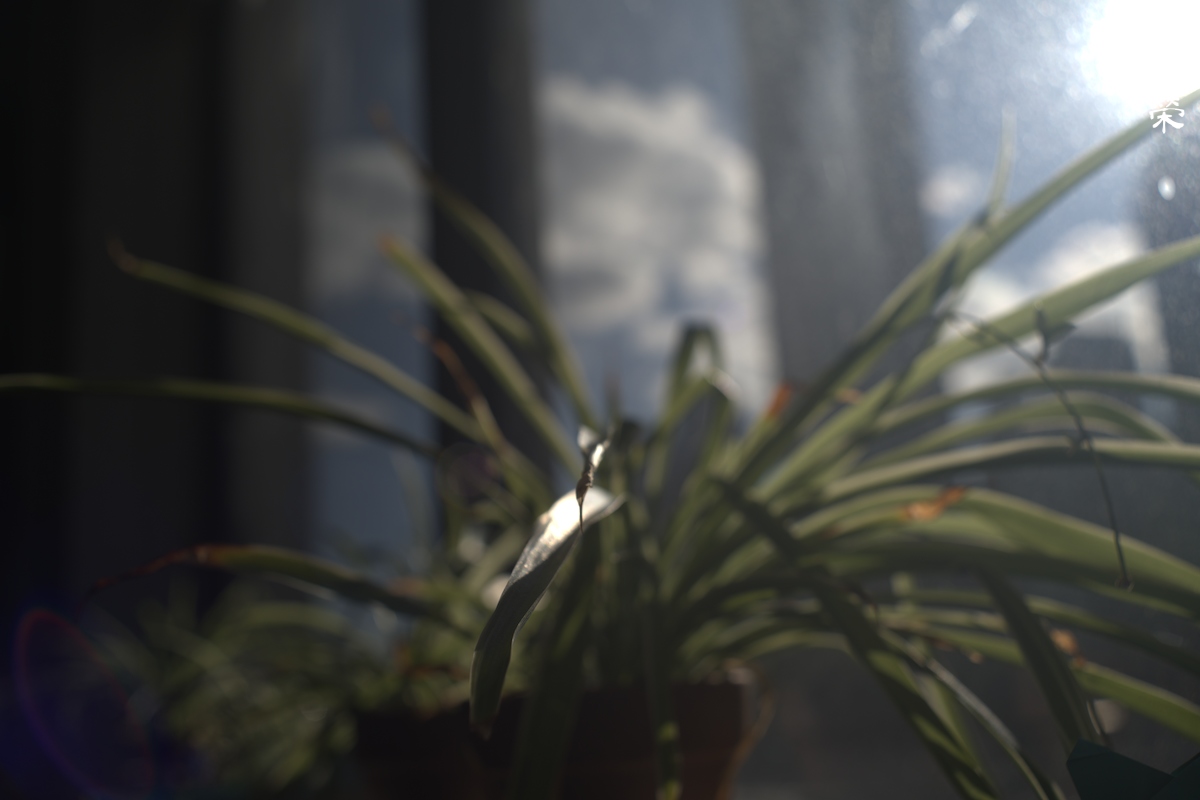
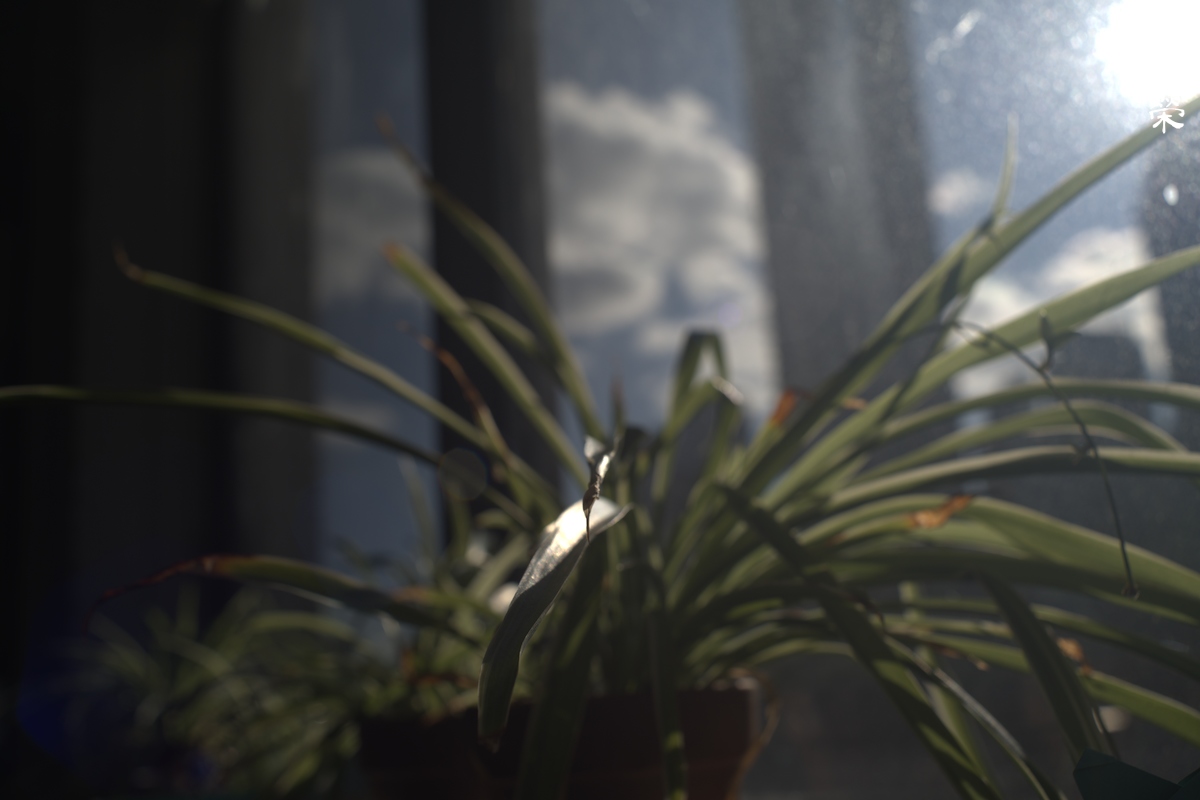
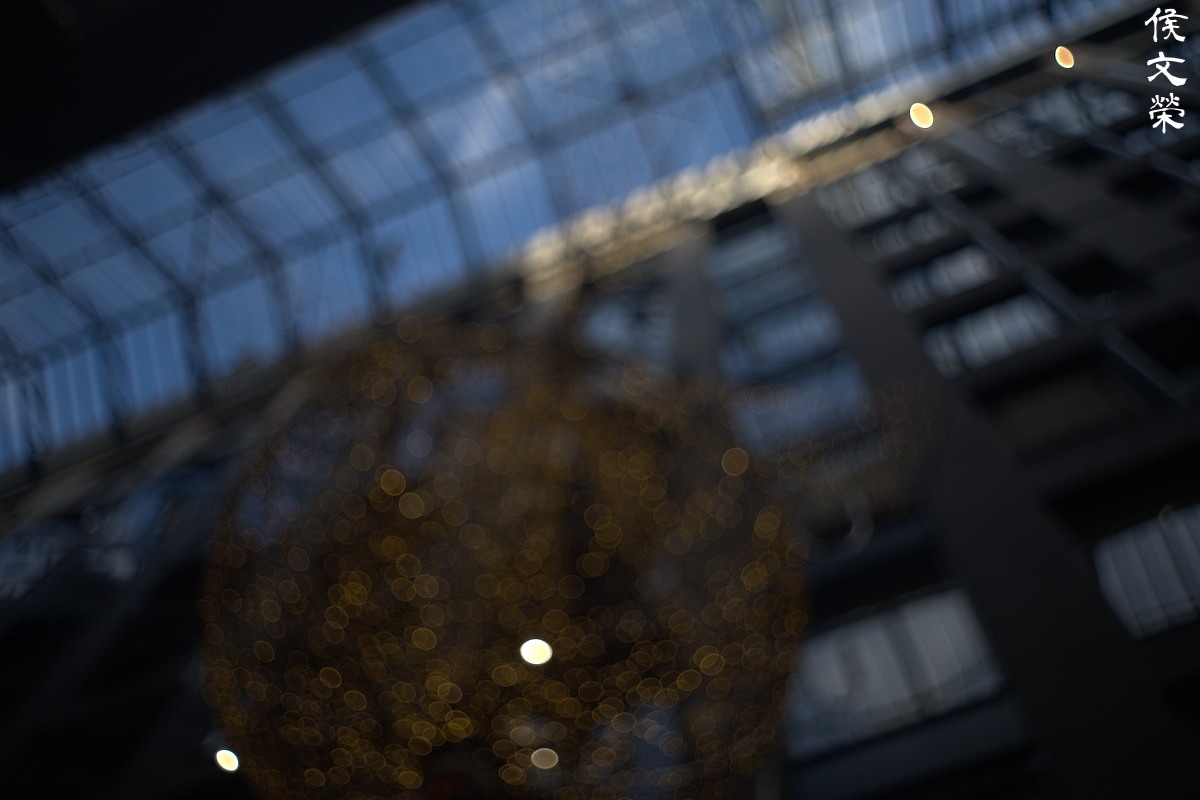
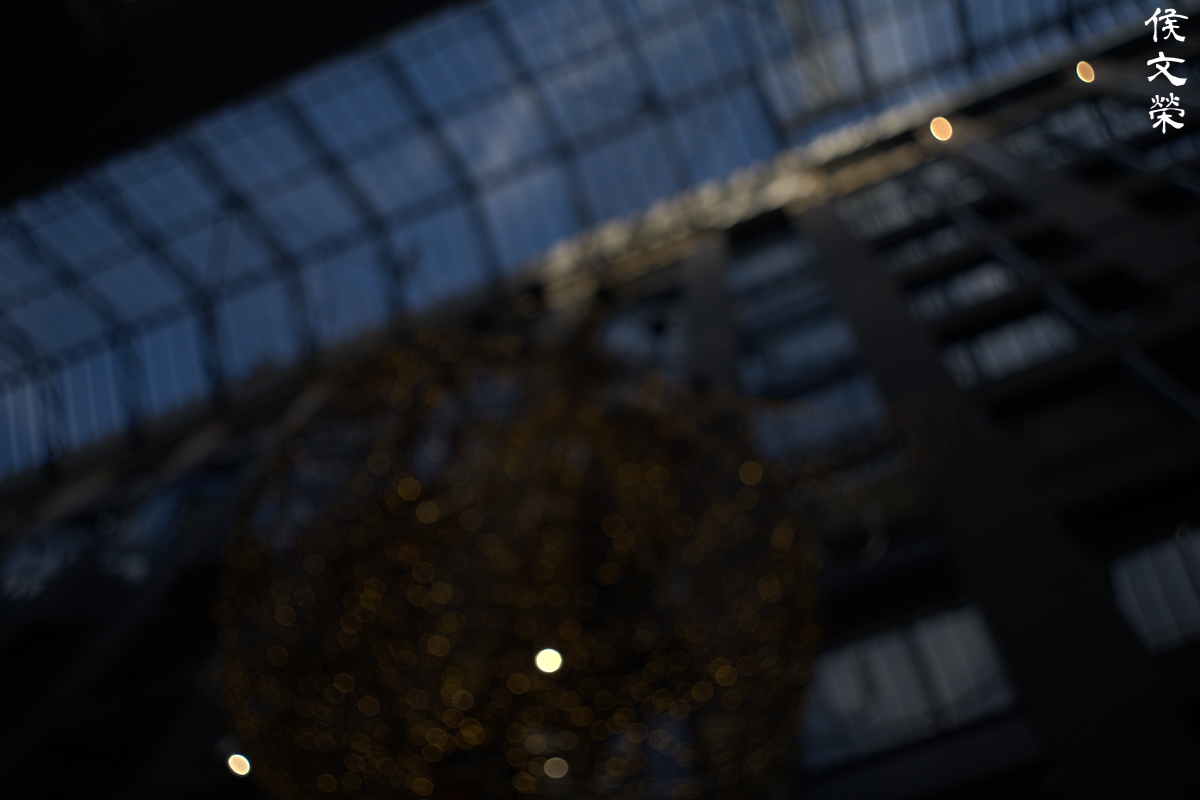
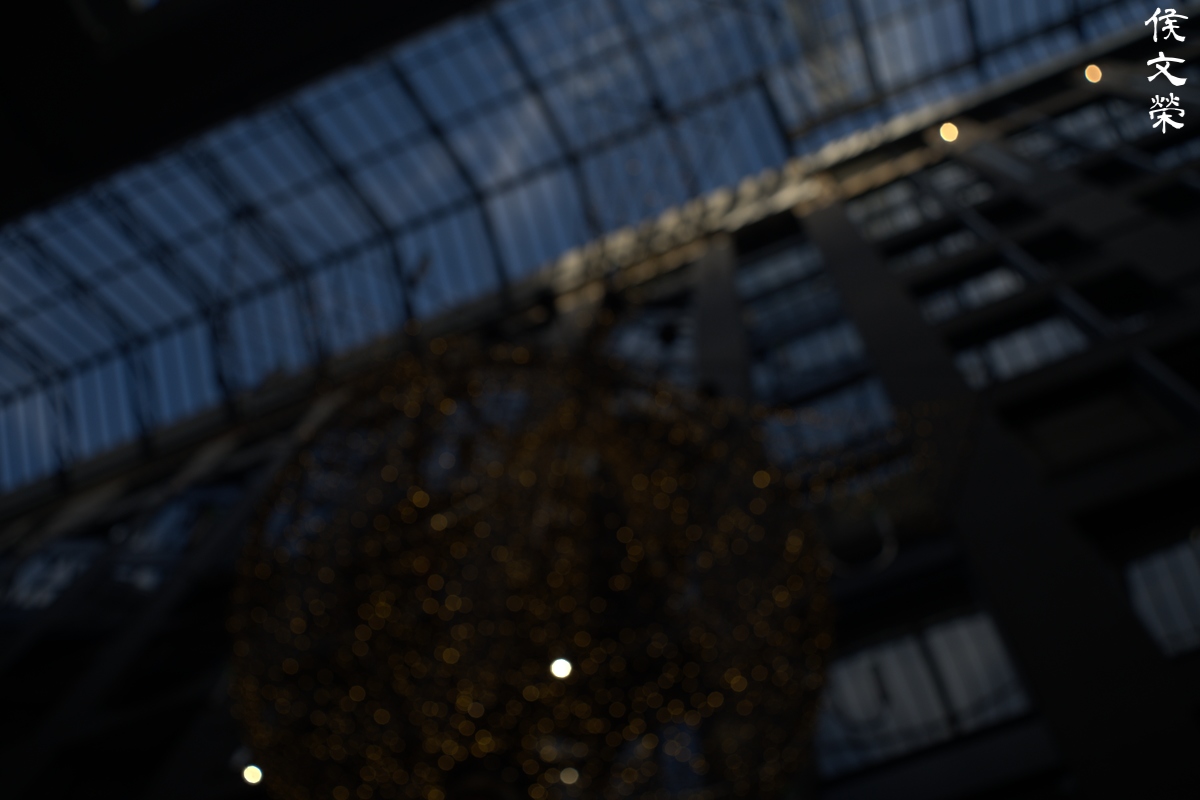
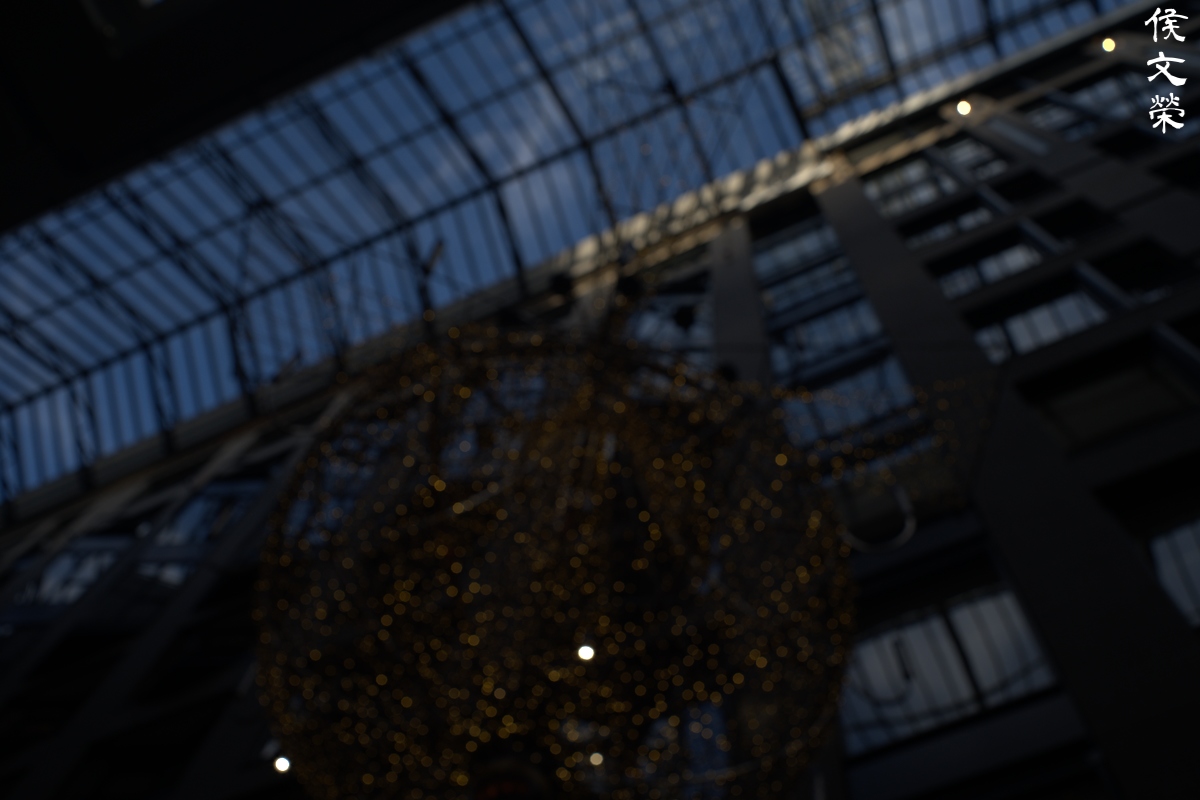
The orbs look clean and will remain round throughout the range because the iris is circular. Having that many blades ensures that it will never look polygonal even if you tried as the blades themselves are curved and not straight.
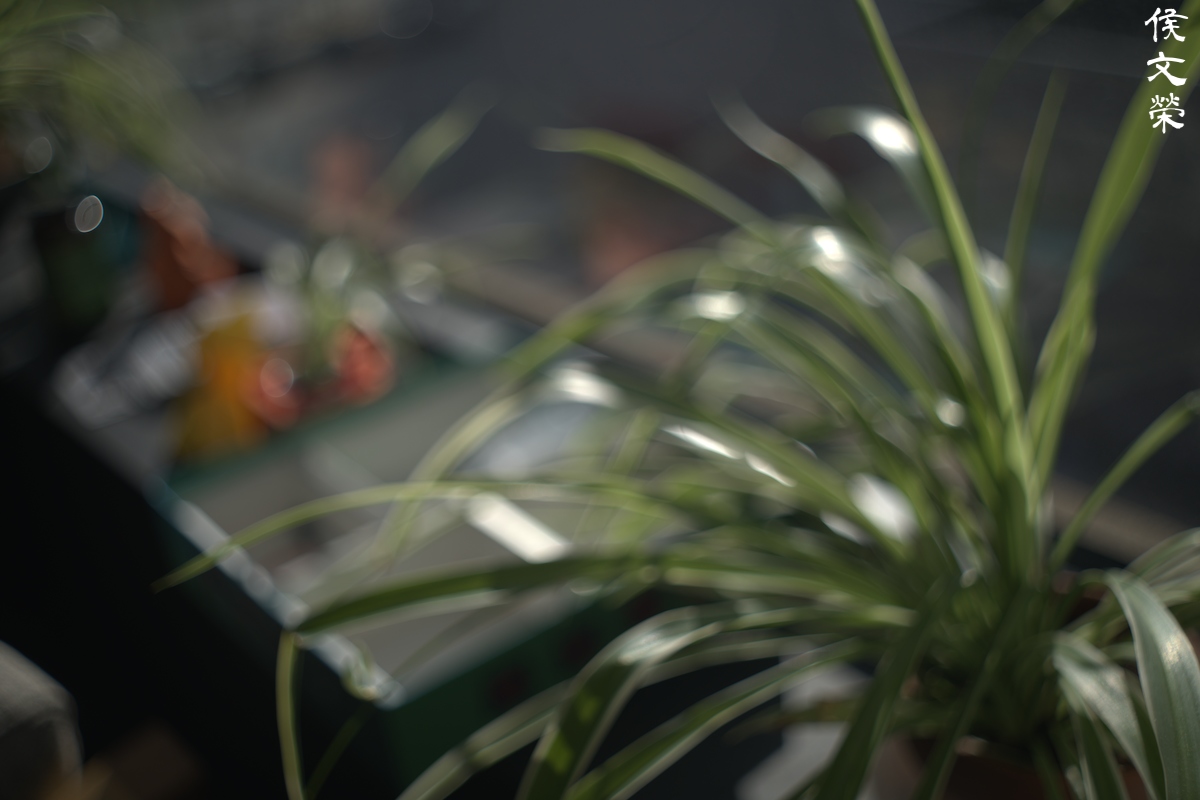
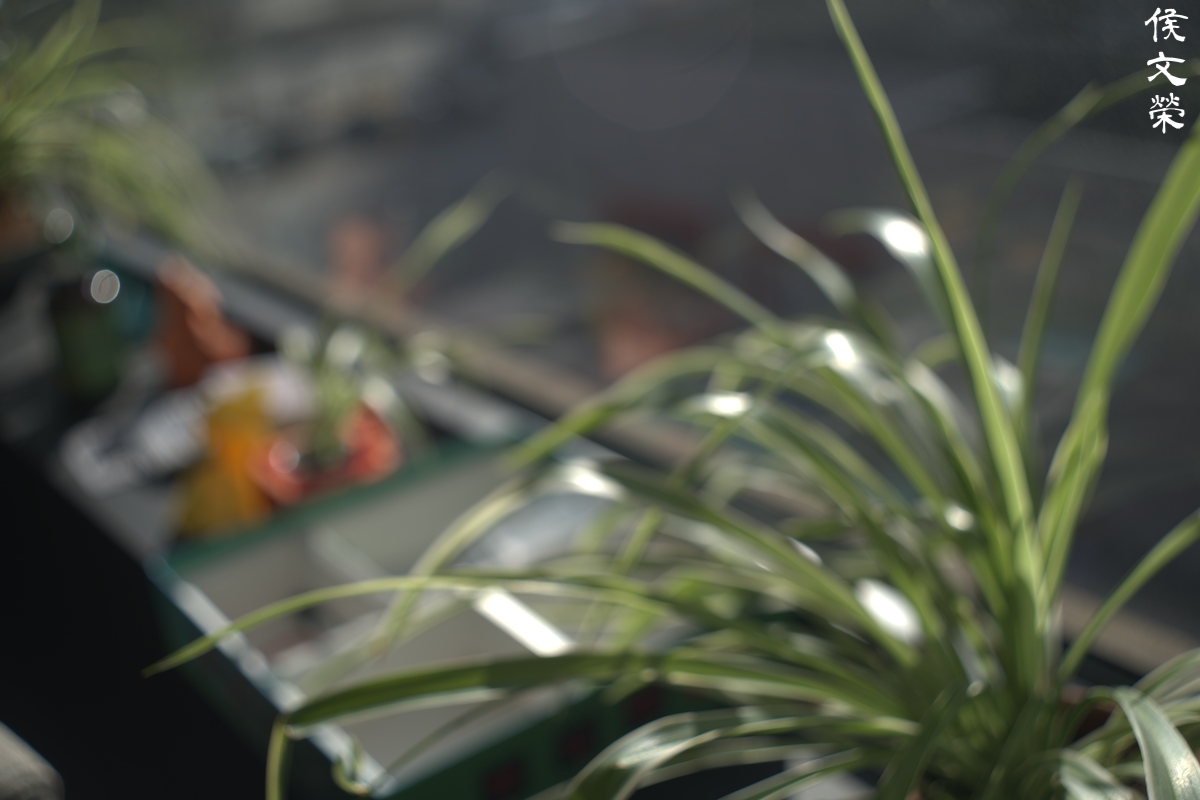
(Click to enlarge)
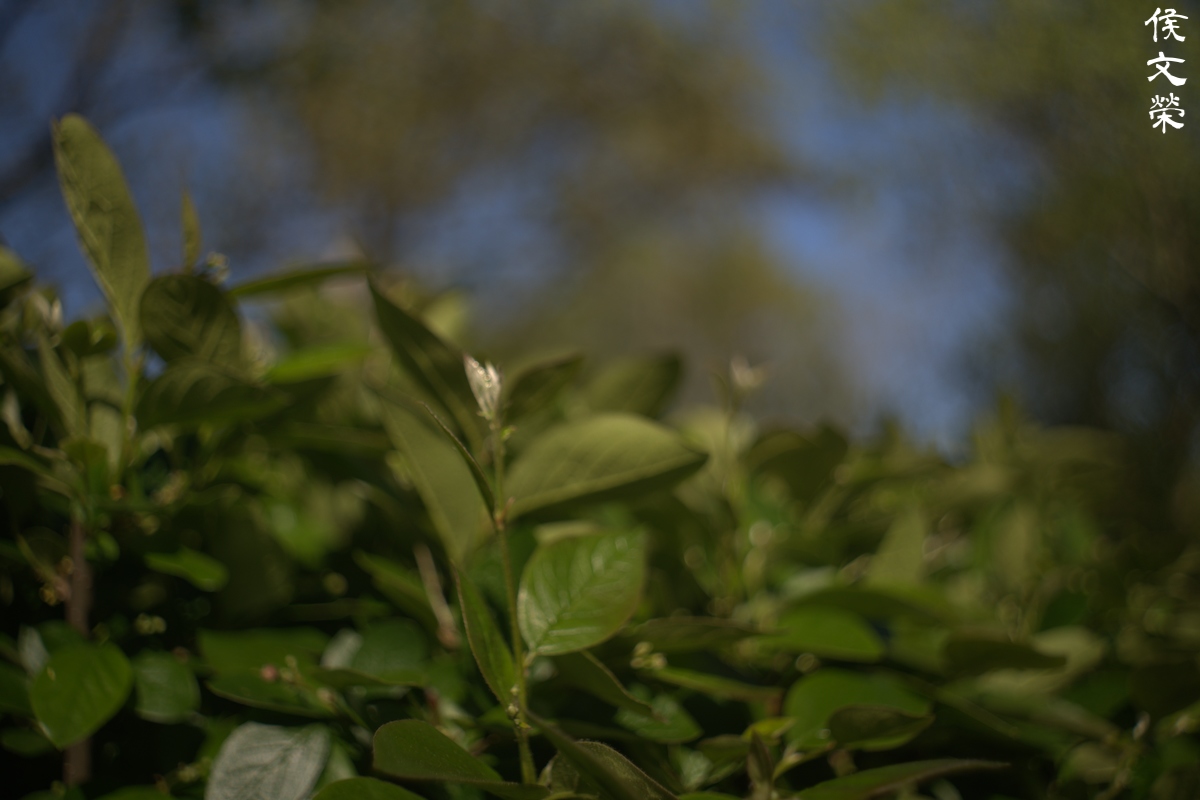
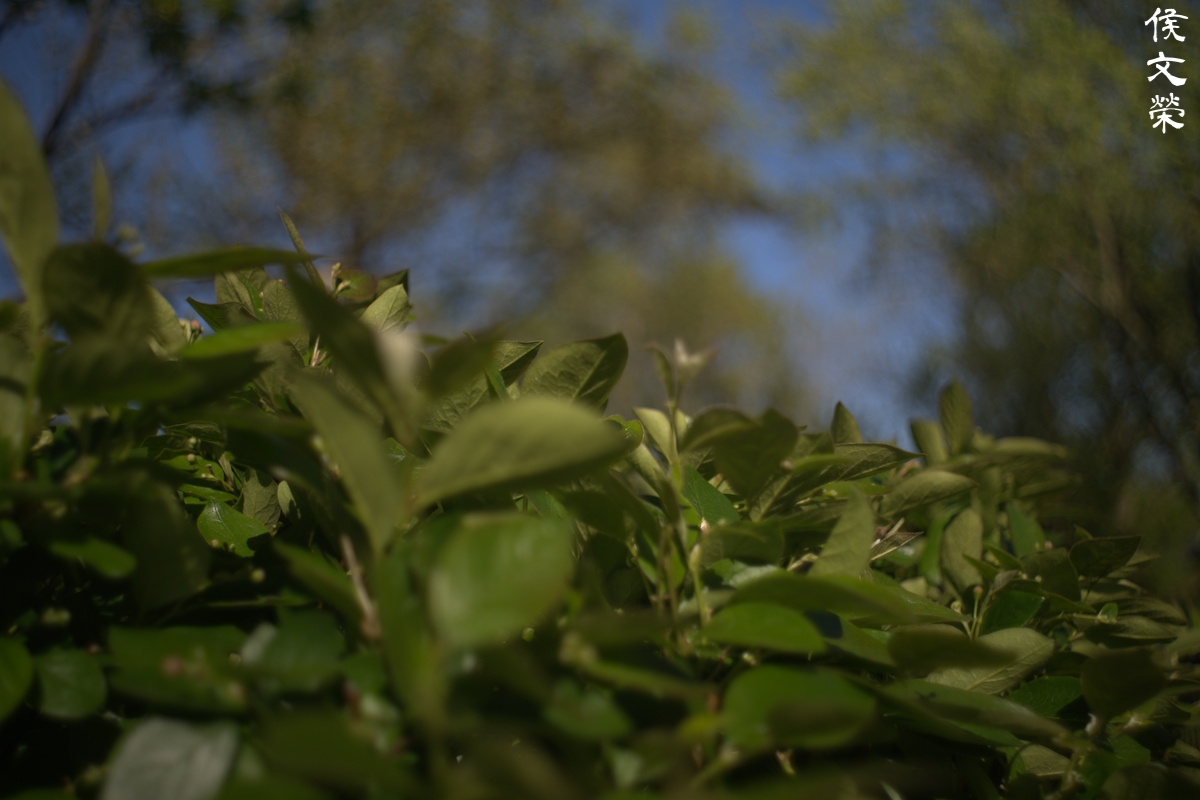
The character of the bokeh appears to be relatively pleasant considering its age and category, I was expecting to see something that looks a little bit more “crude” but I was surprised to see how well it handled the blurry parts throughout the aperture range. Sure, it shows some roughness occasionally but it’s generally pretty despite the outdated look. The circular iris has something to do with it, that’s the secret sauce.
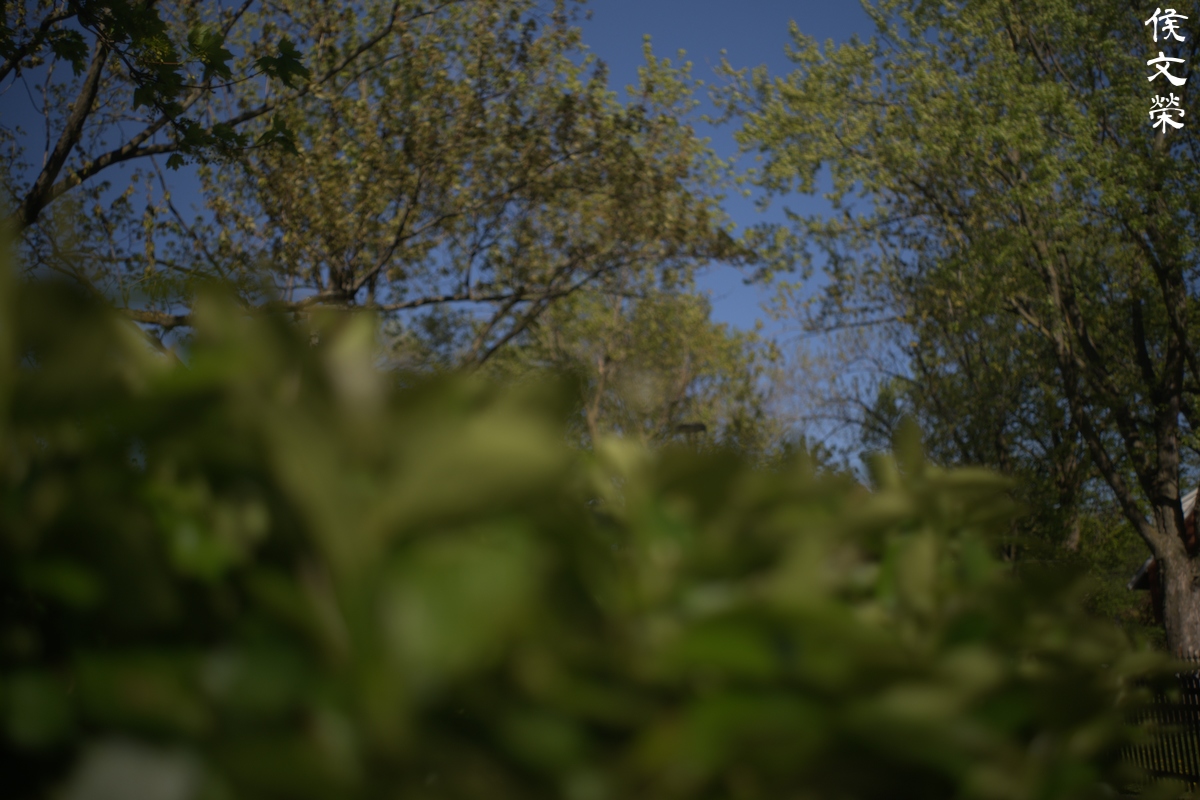
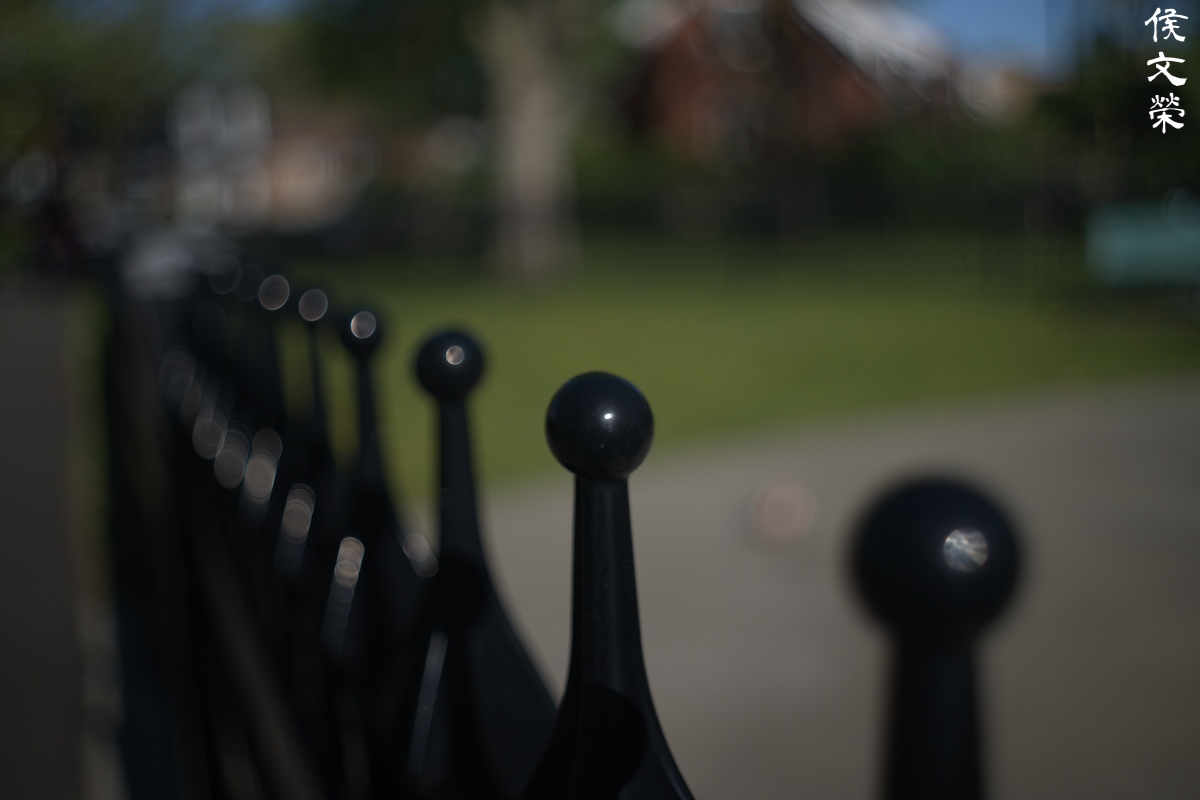
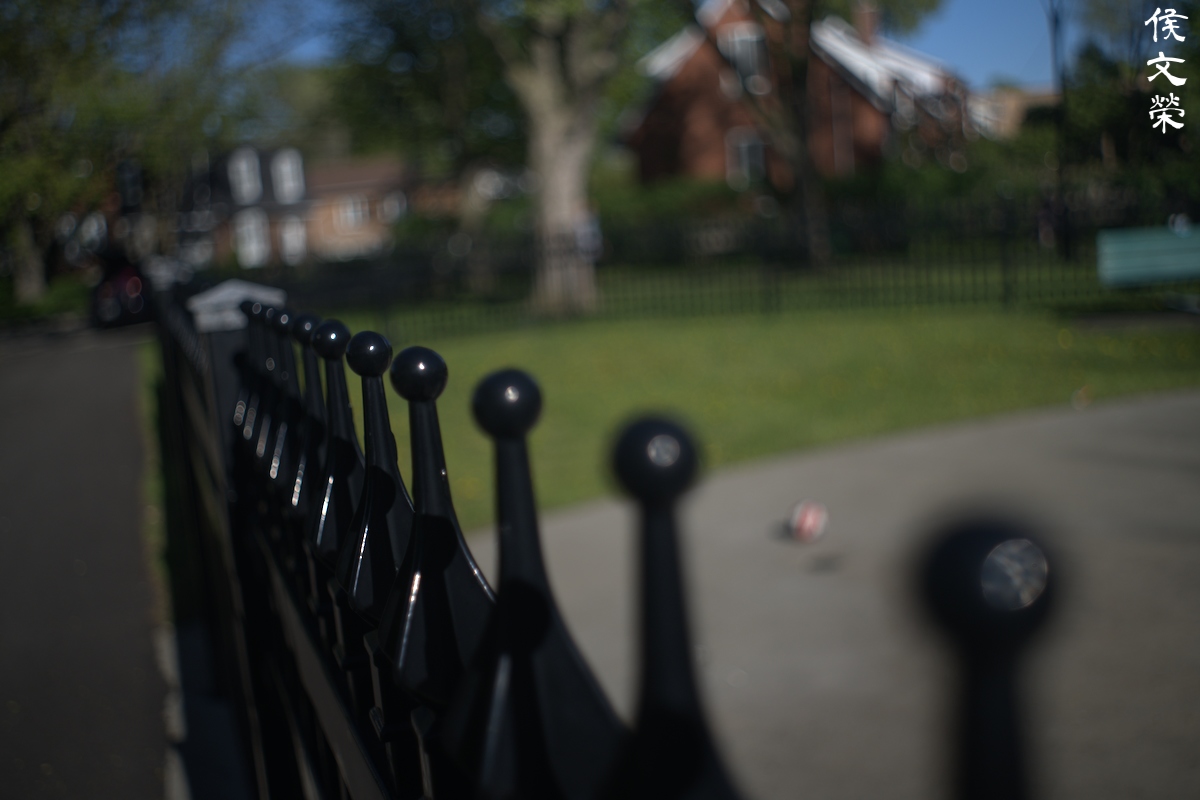
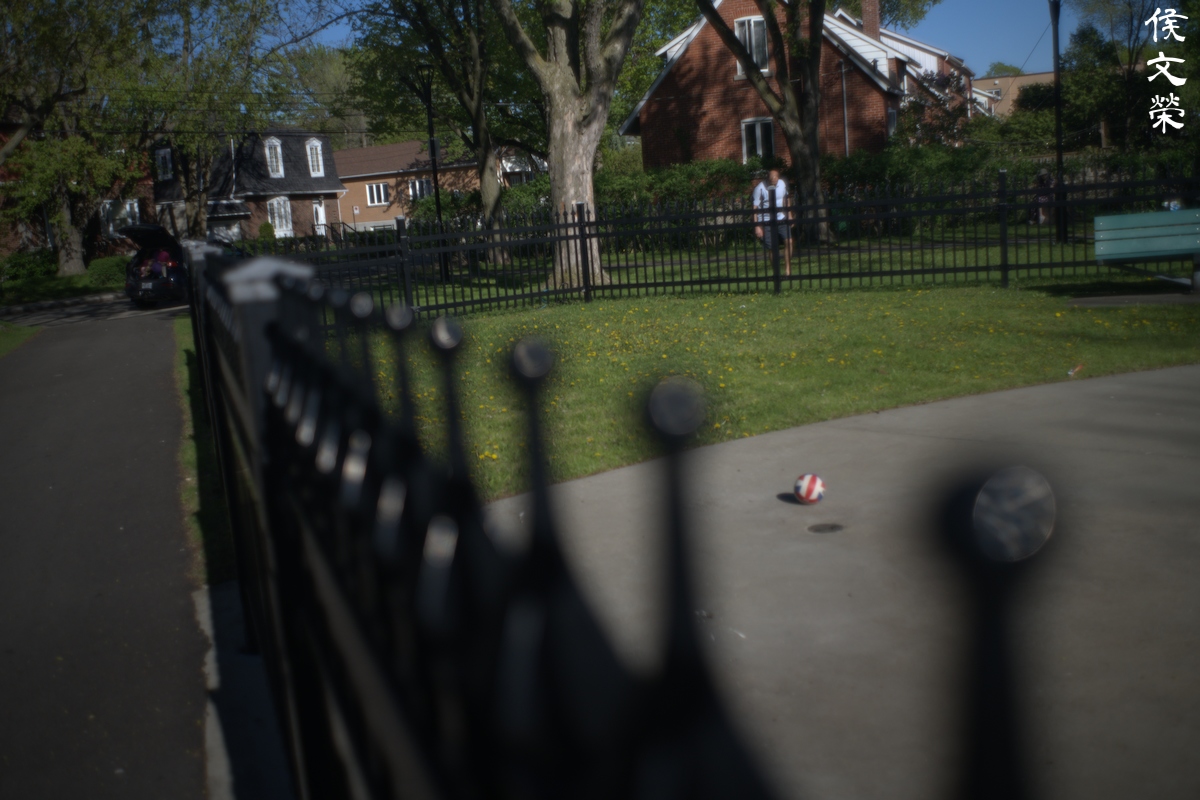
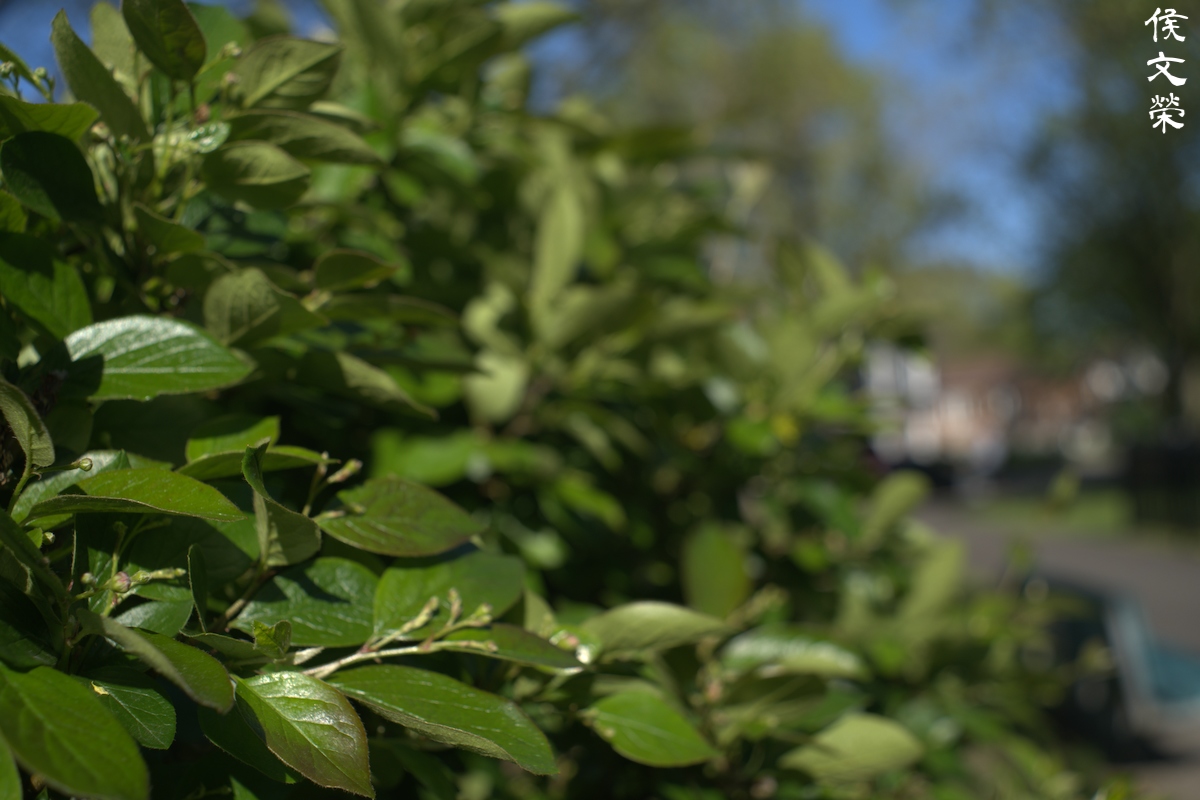
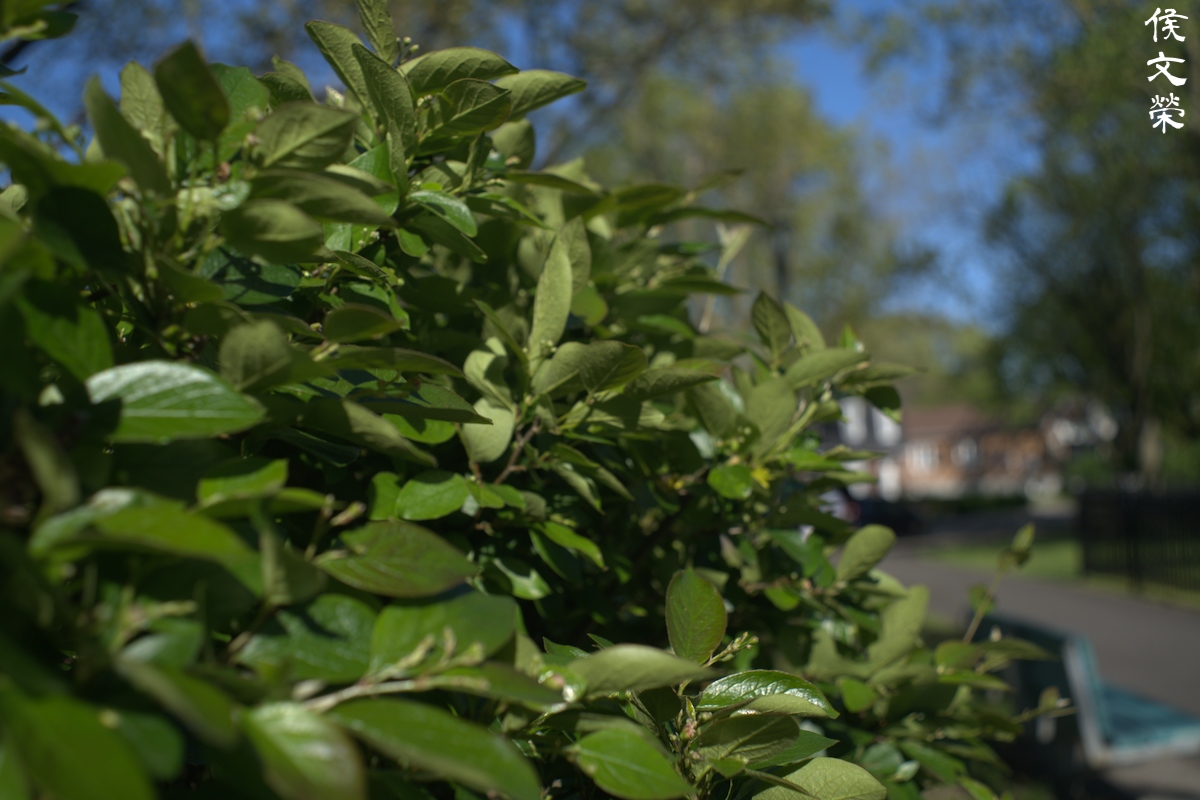
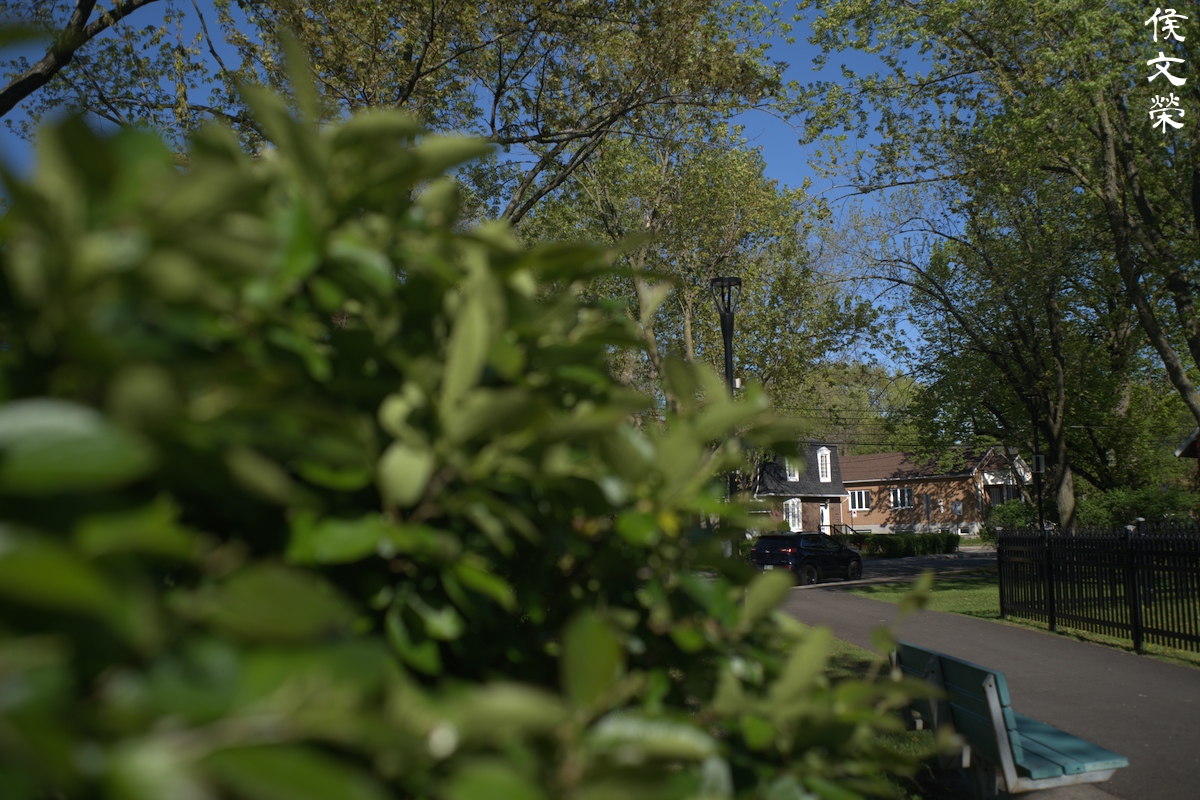
(Click to enlarge)
It blurs the background as smoothly as it does with the foreground, nothing surprising here after I saw how it renders bokeh in the previous section.
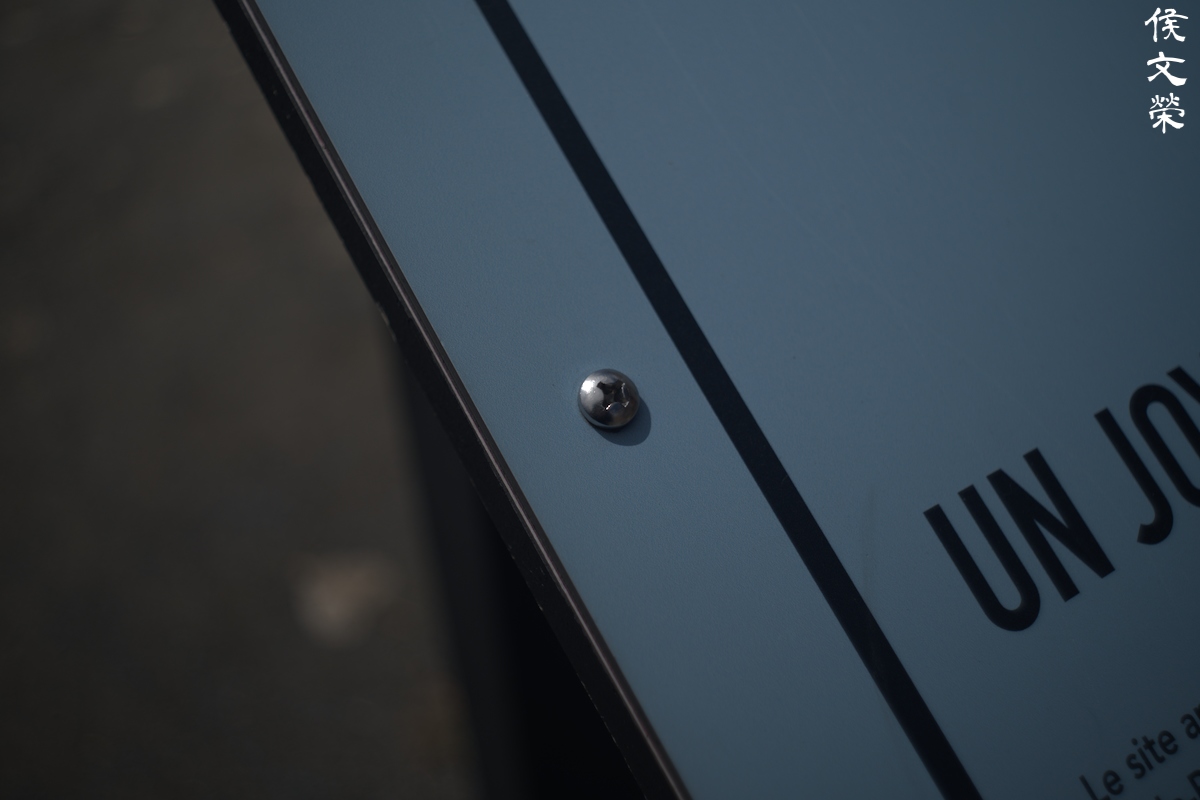
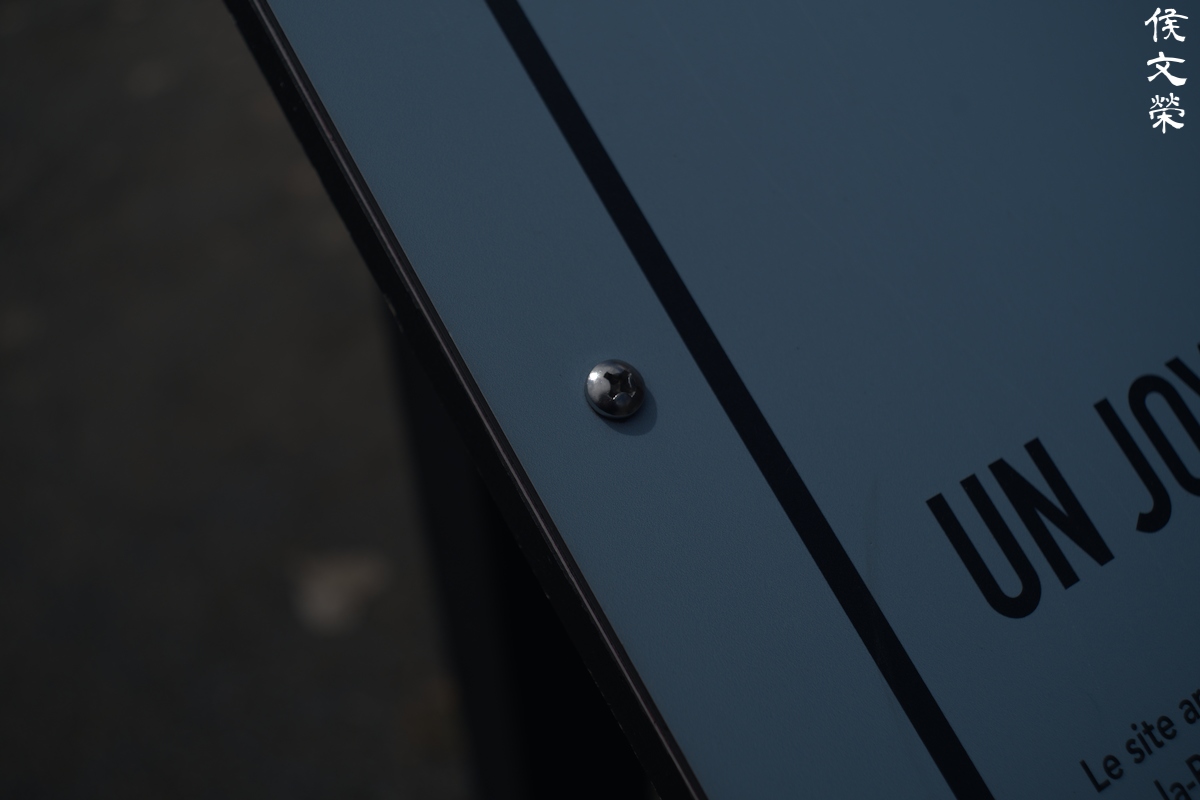
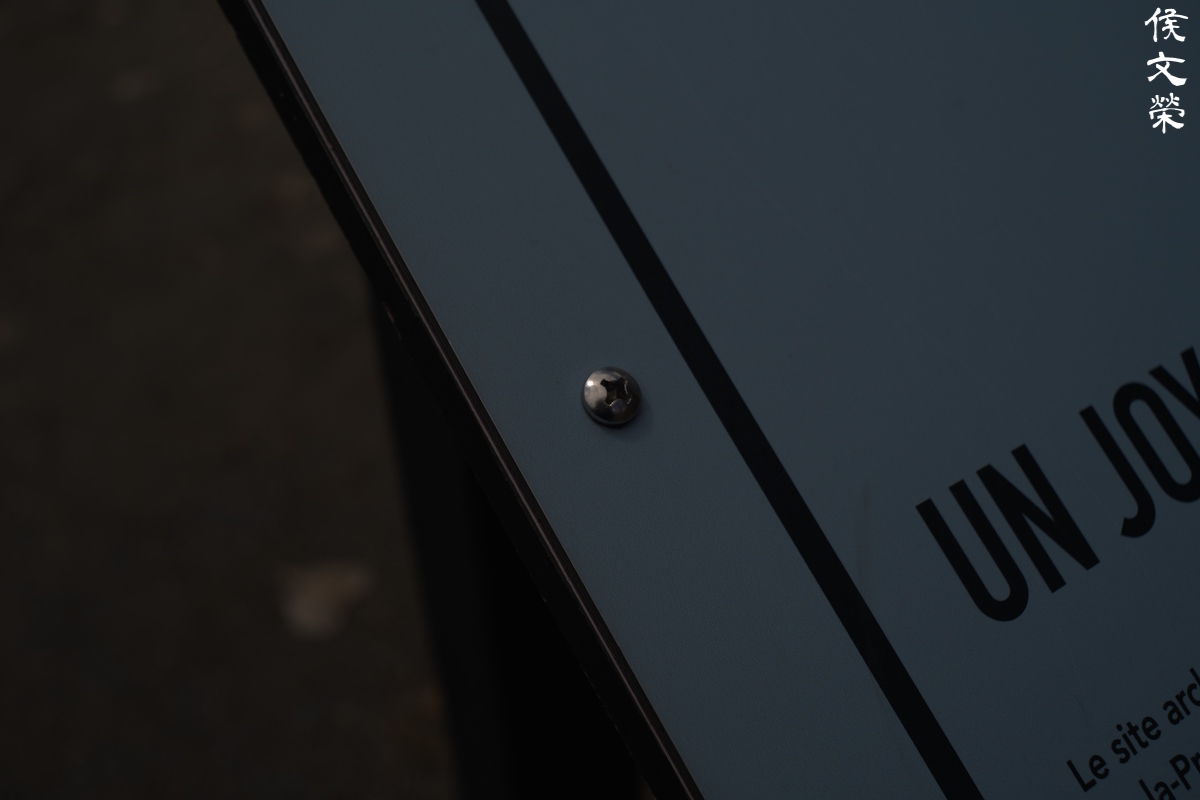
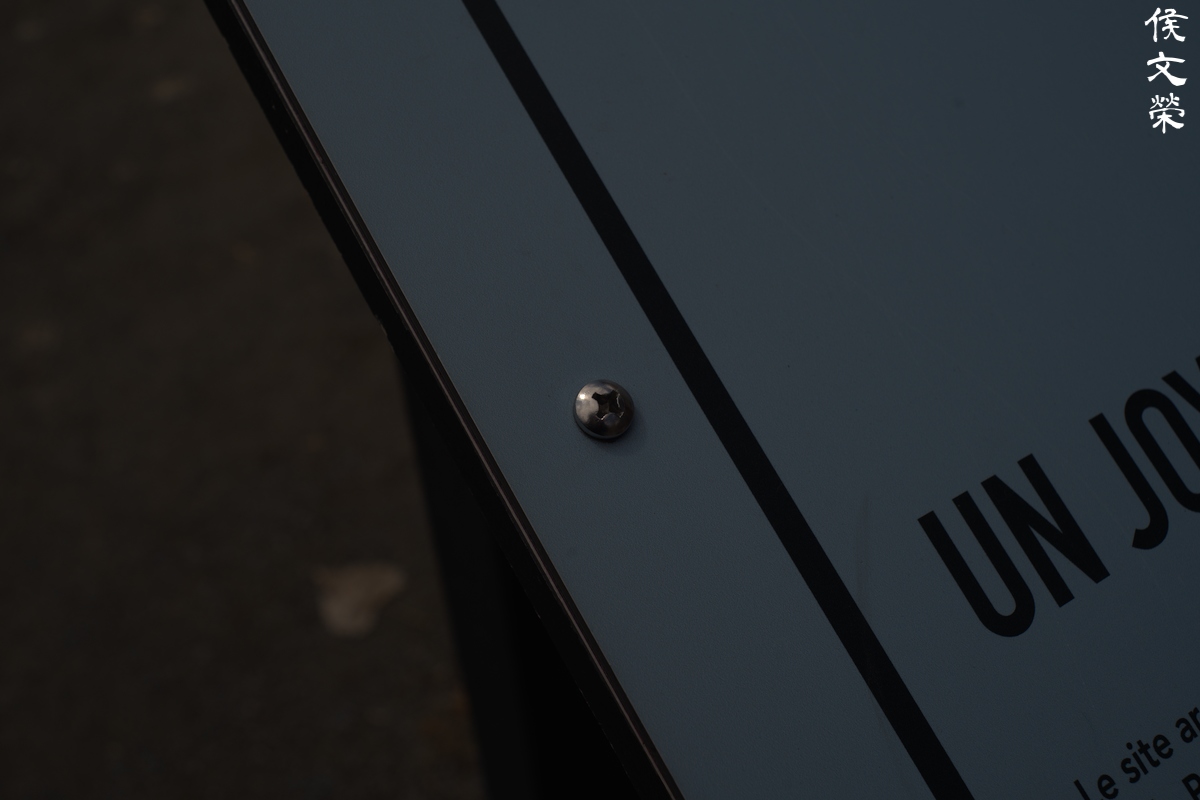
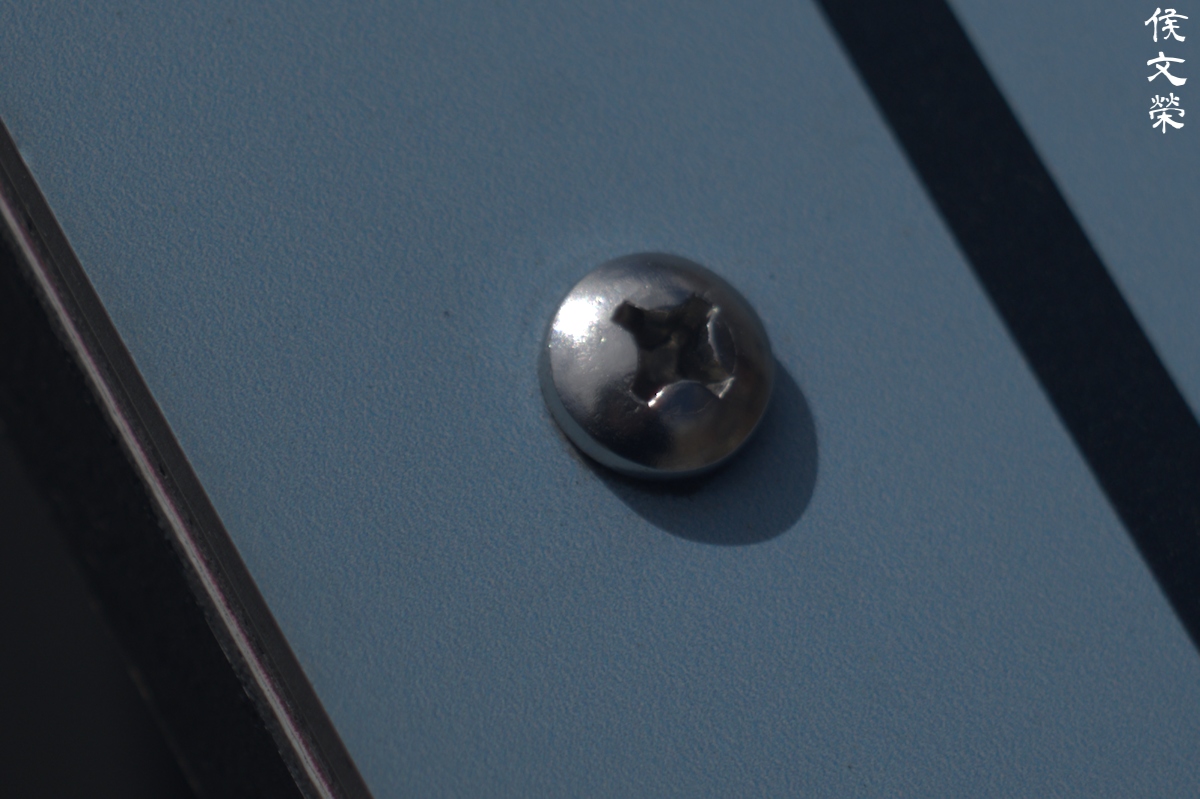
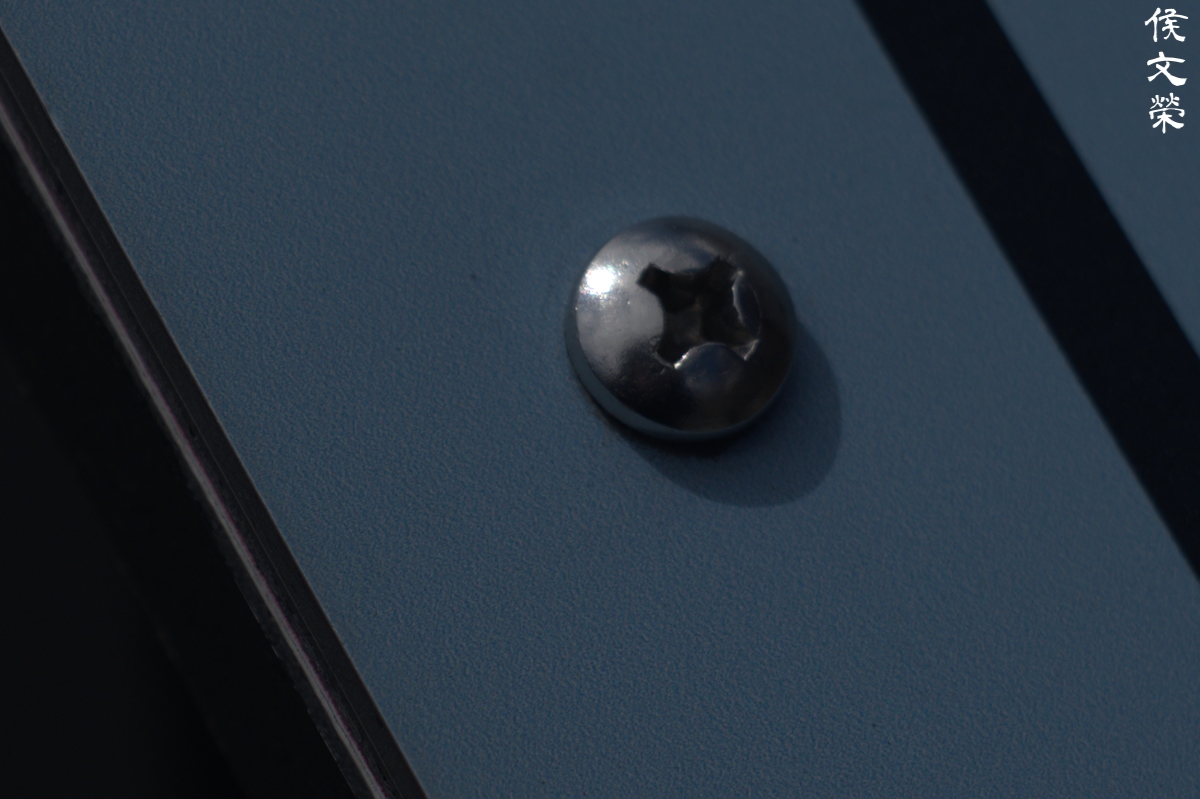
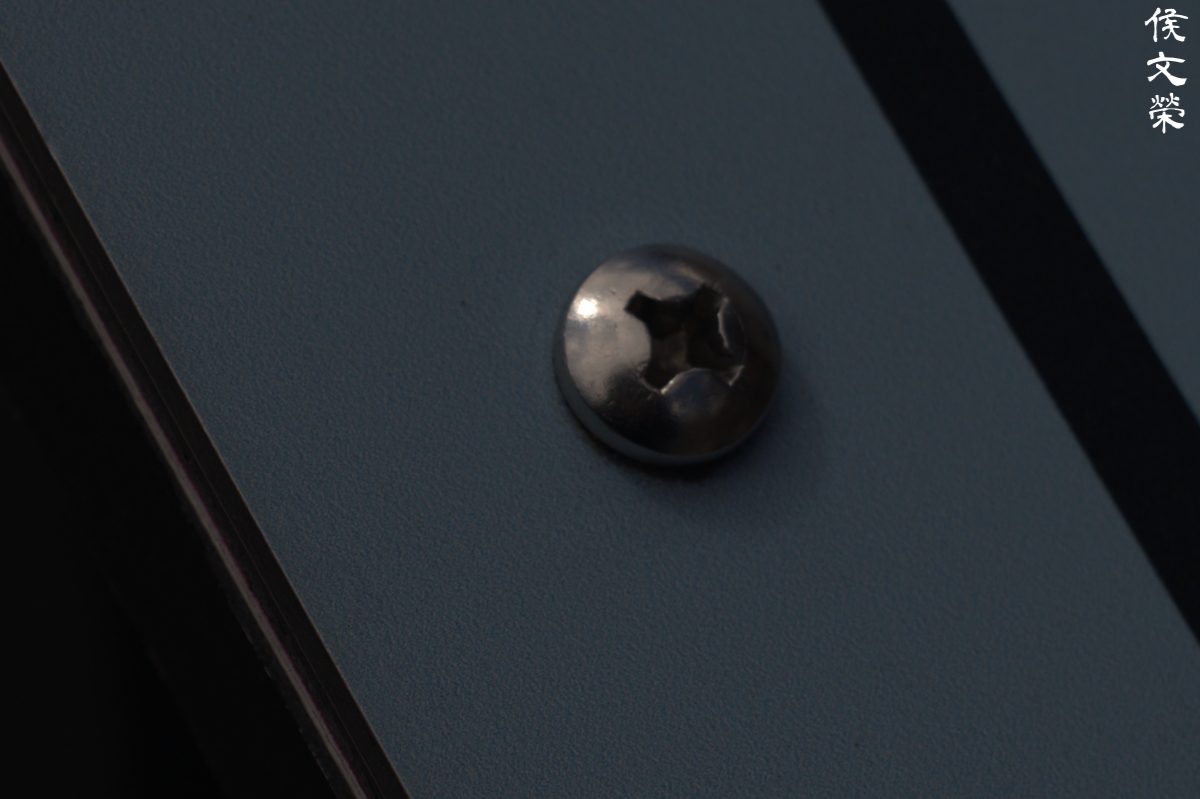
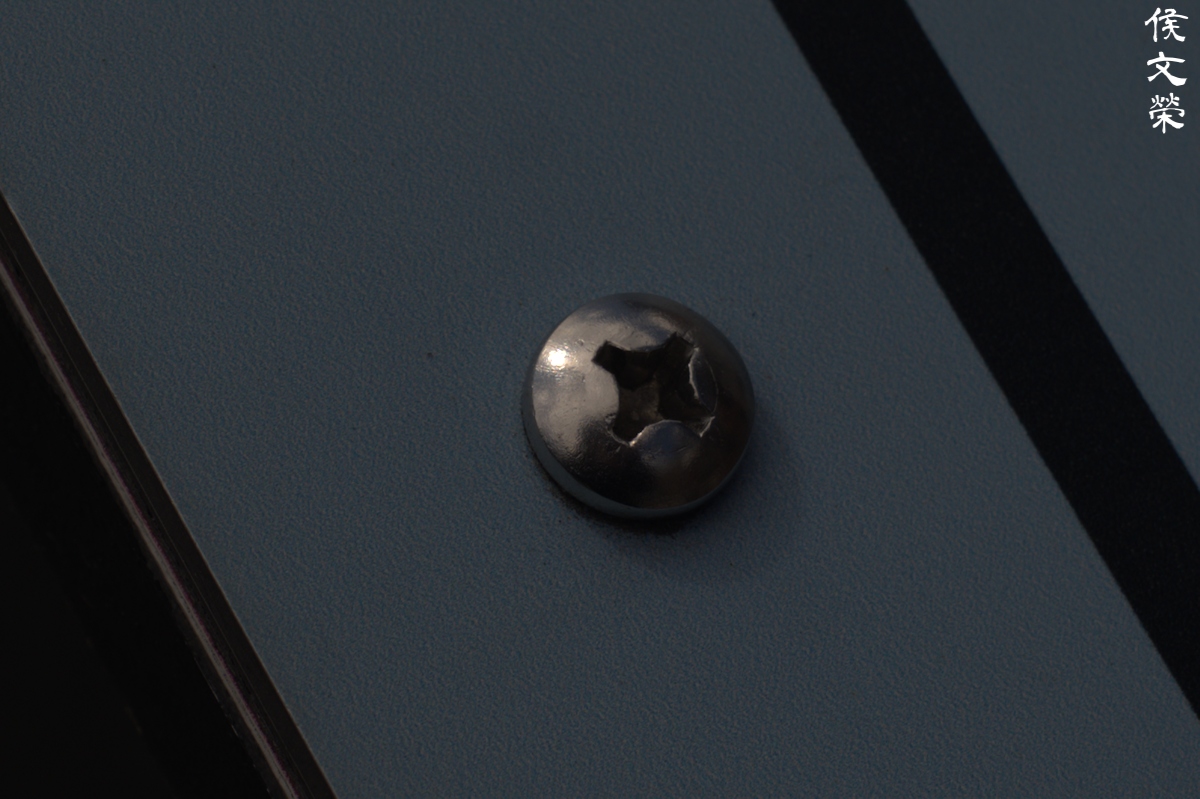
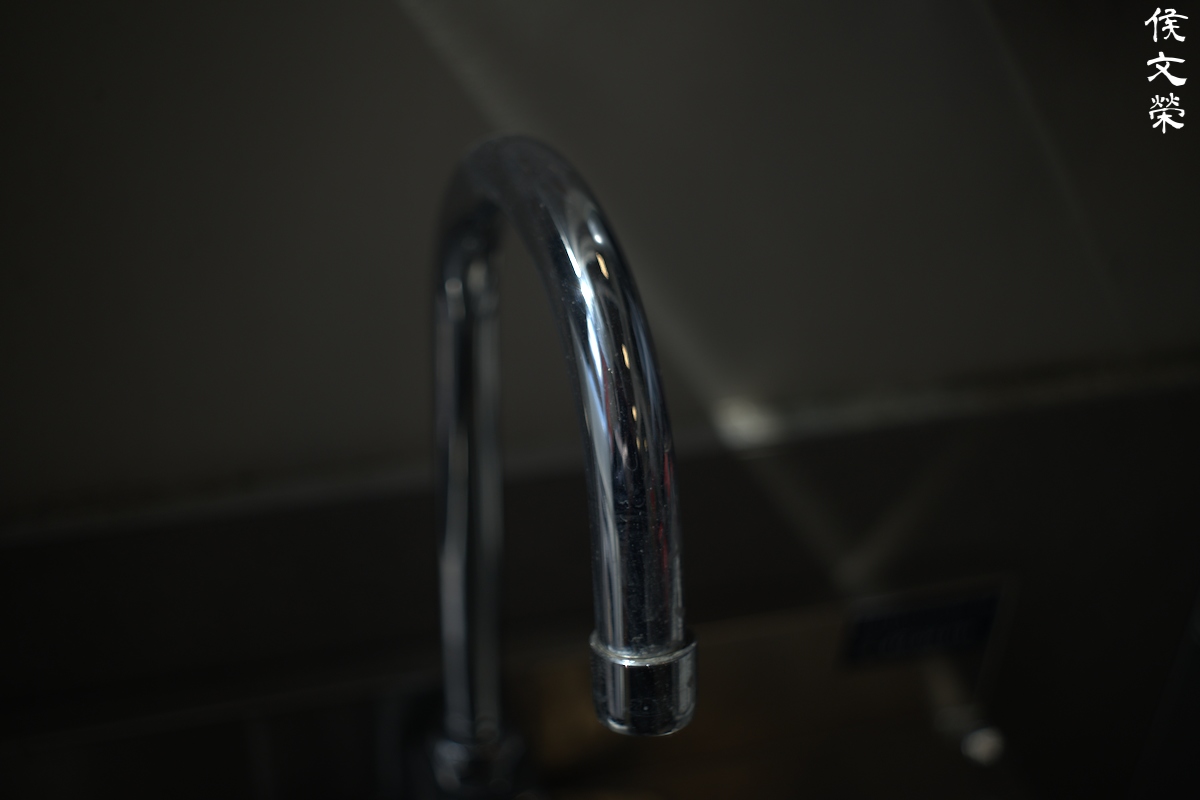
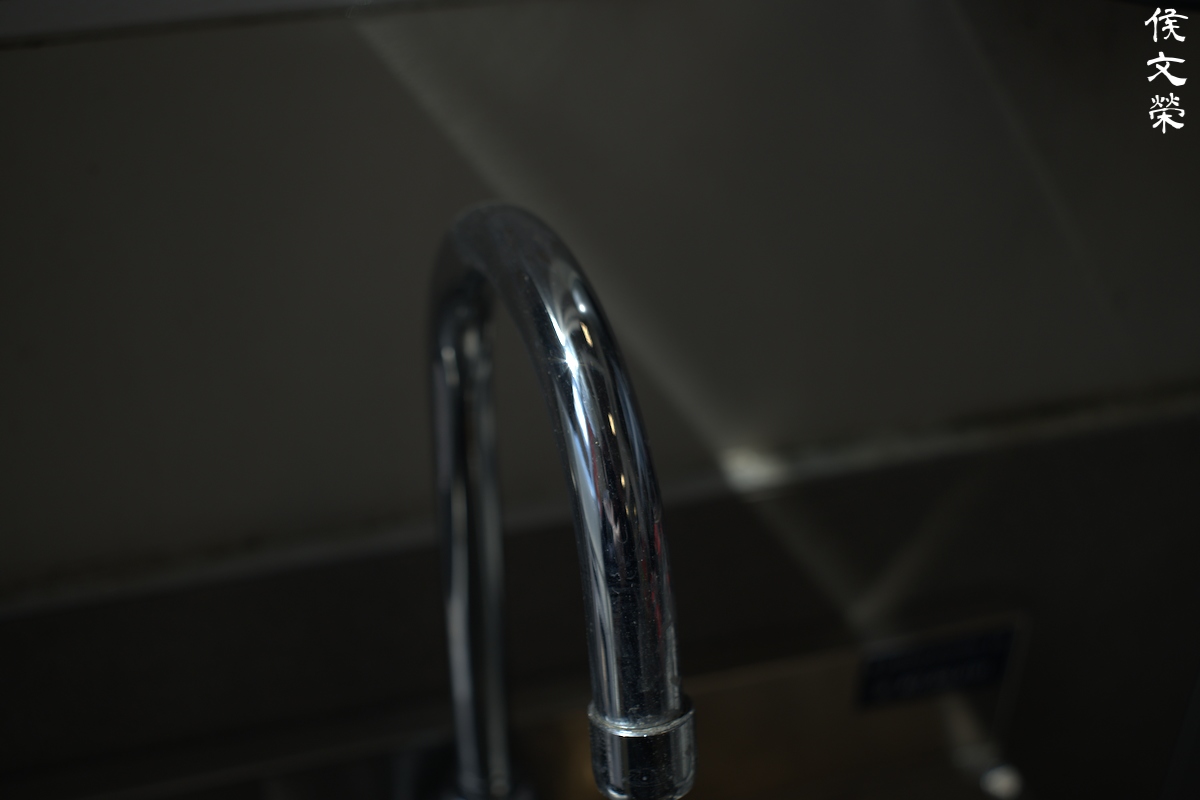
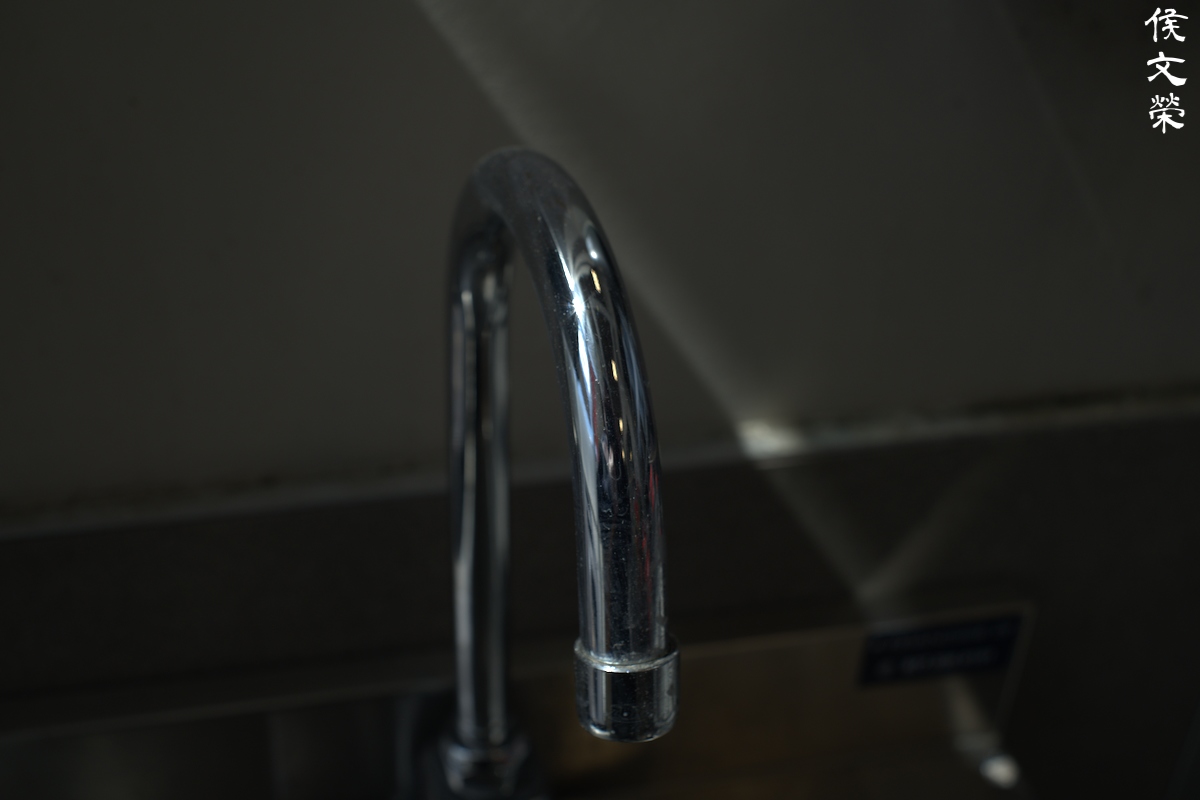
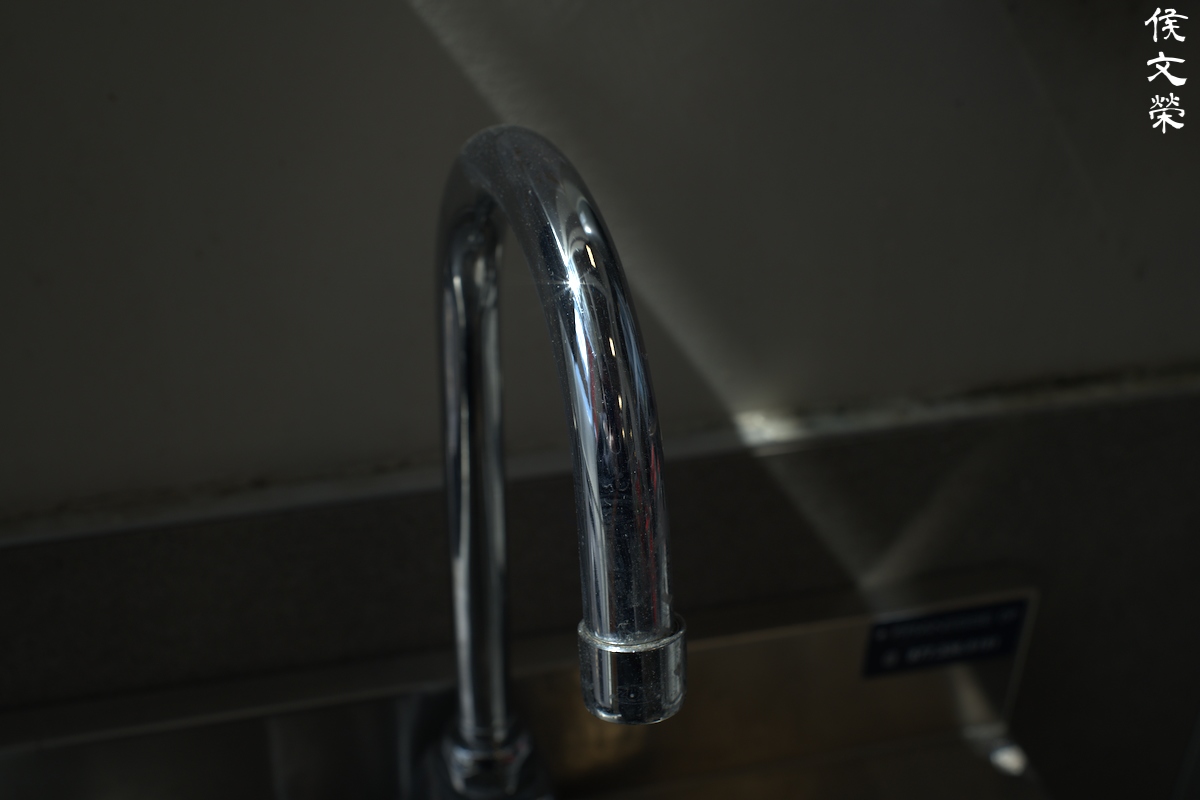
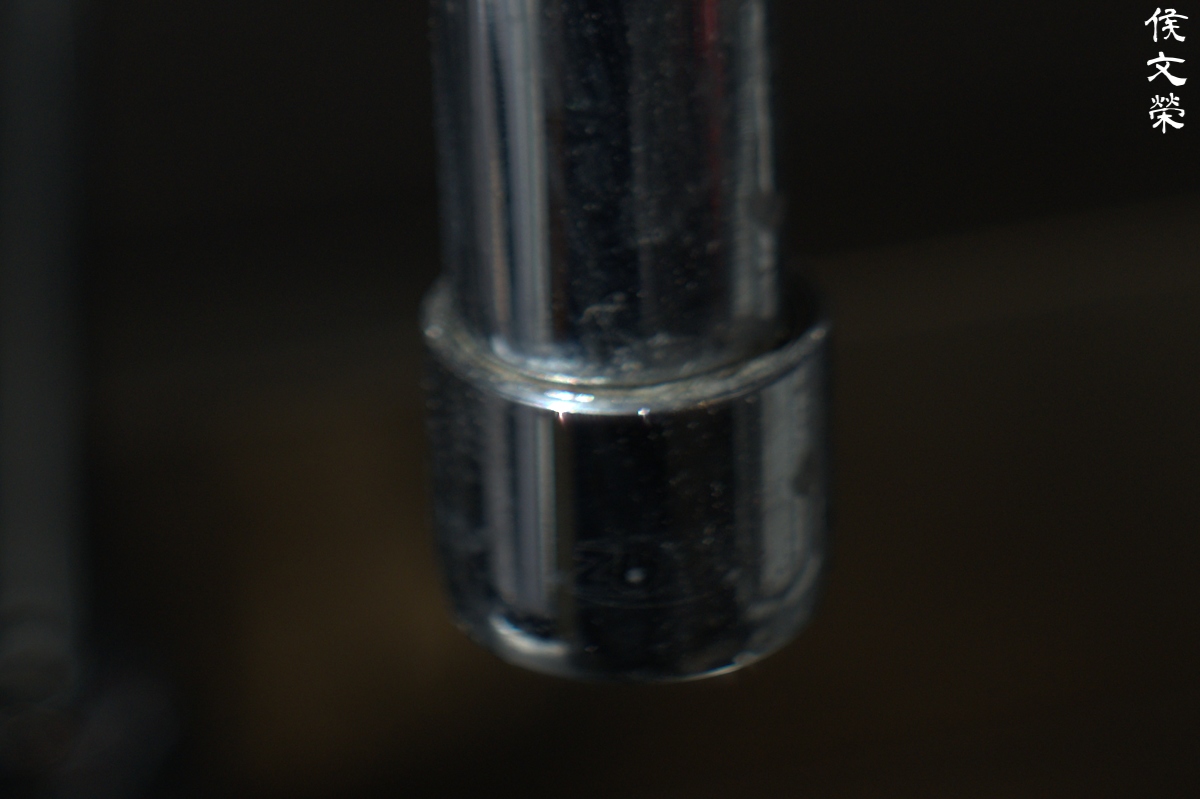

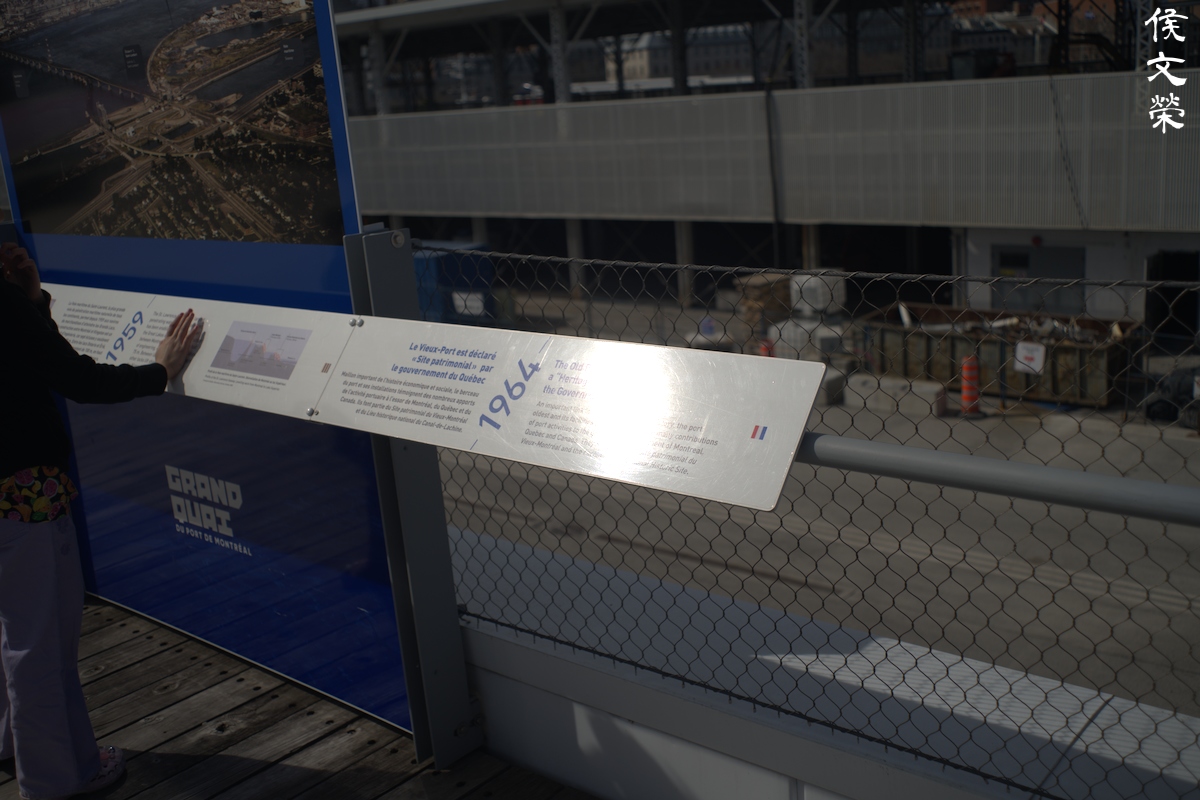
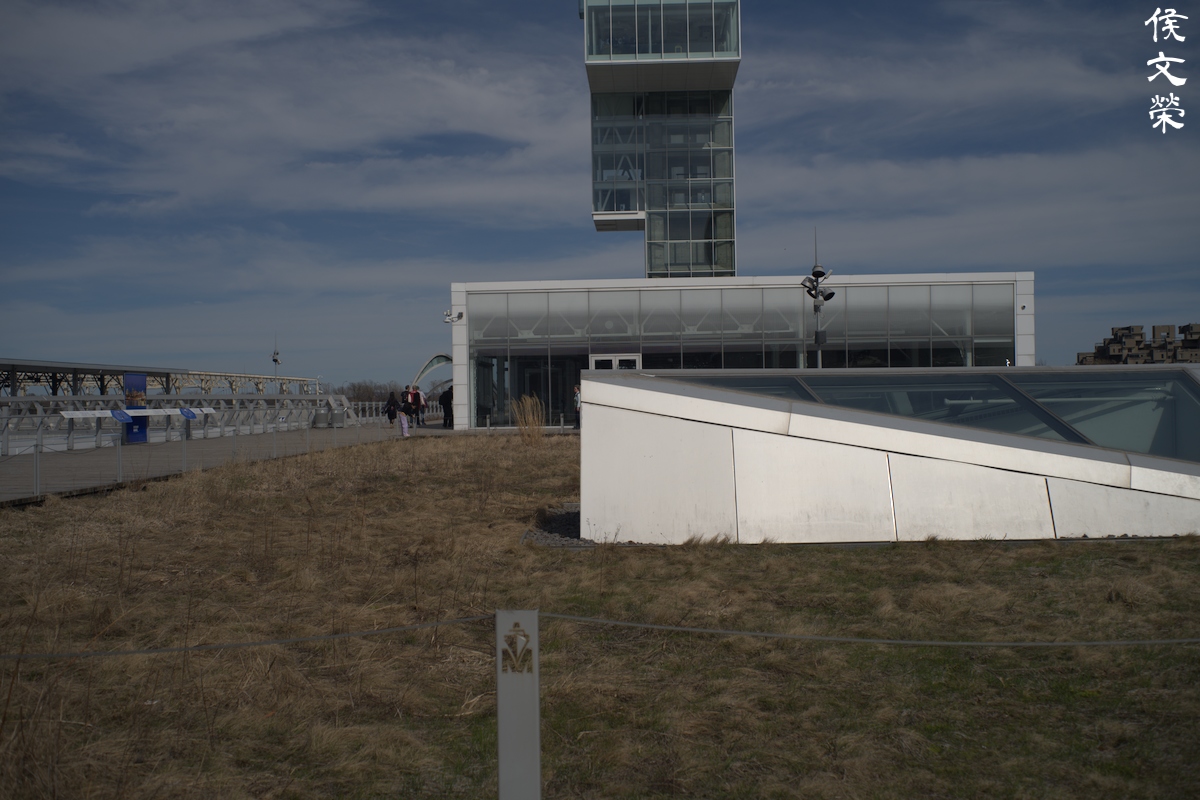
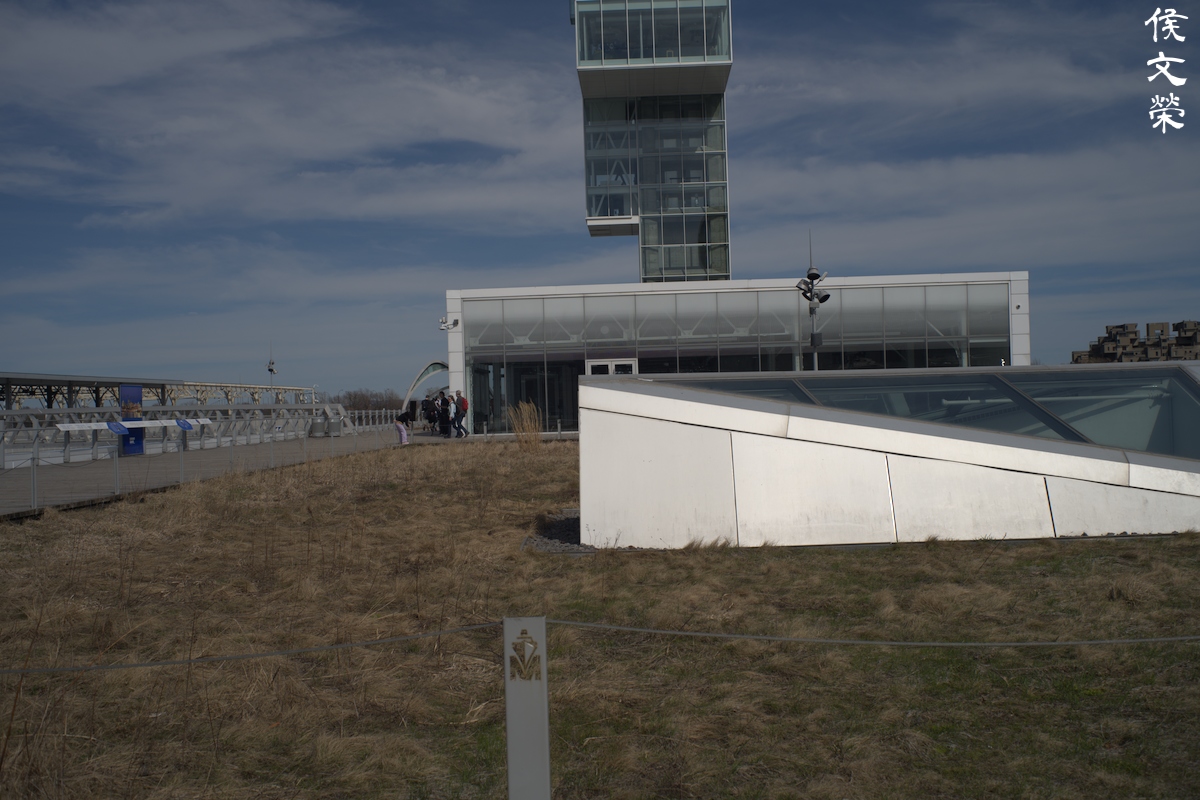
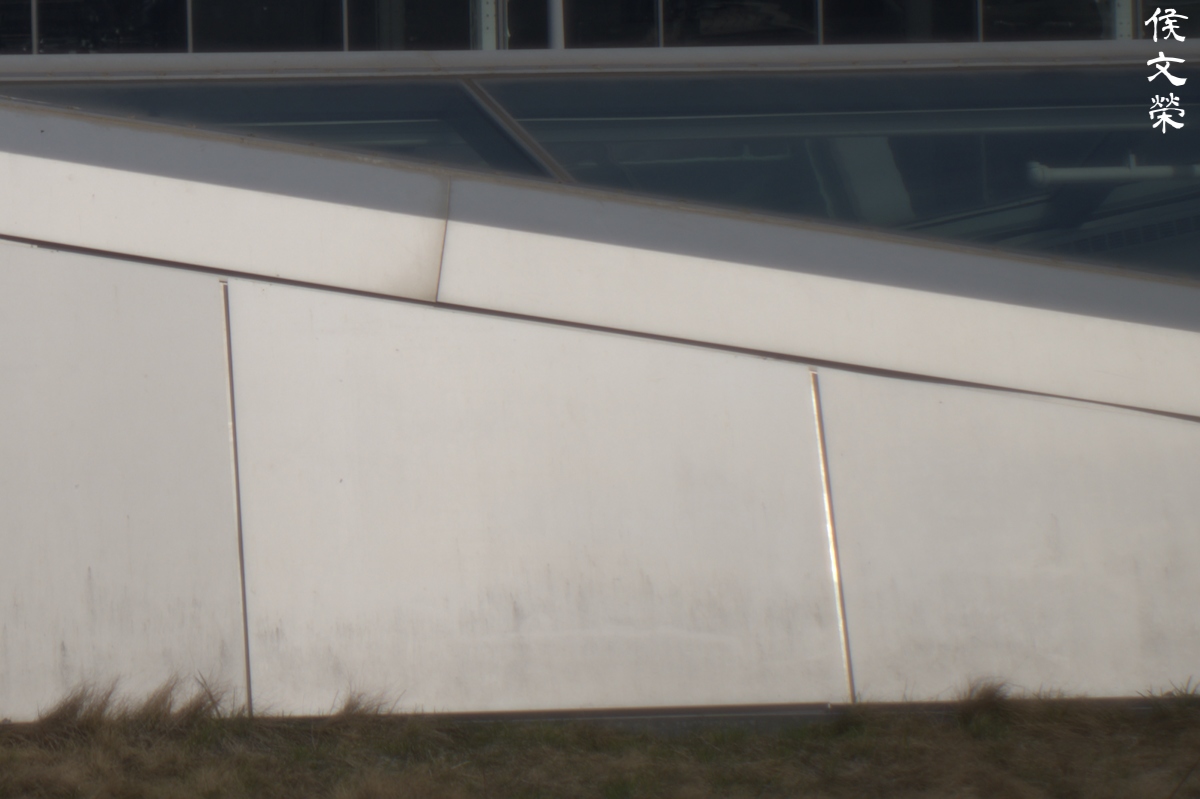
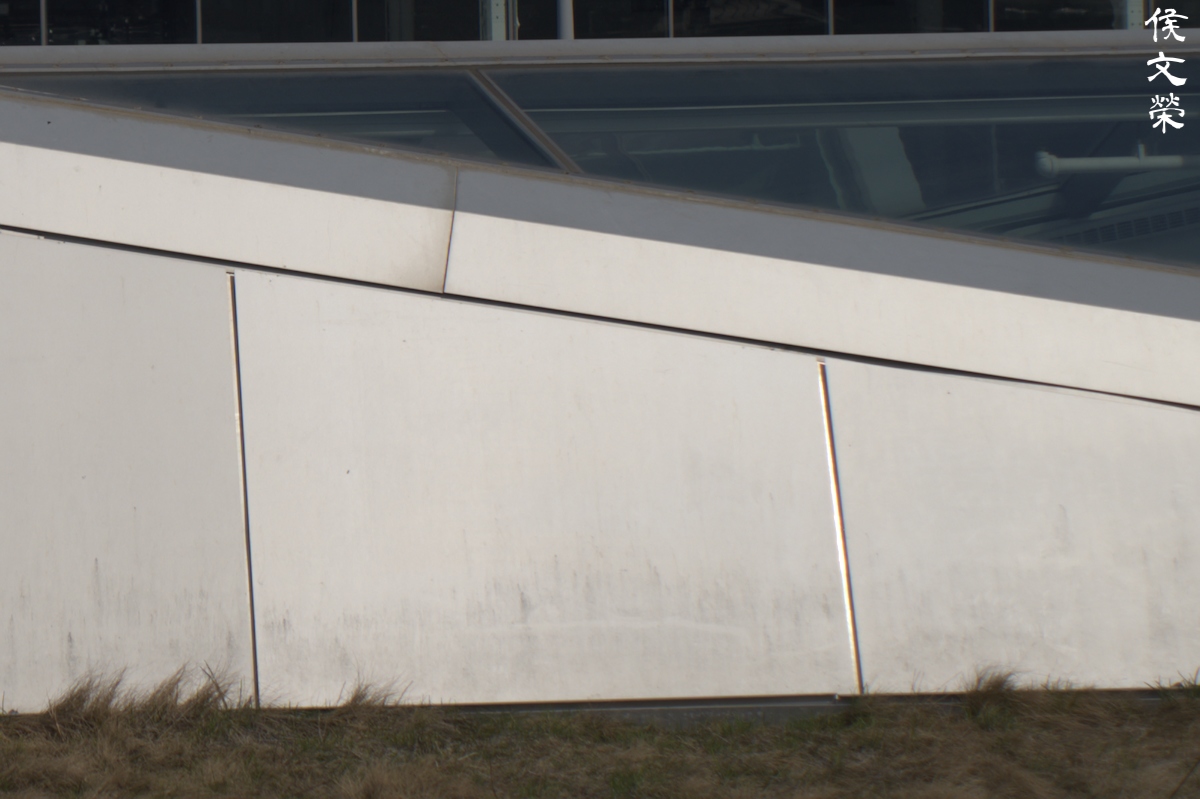
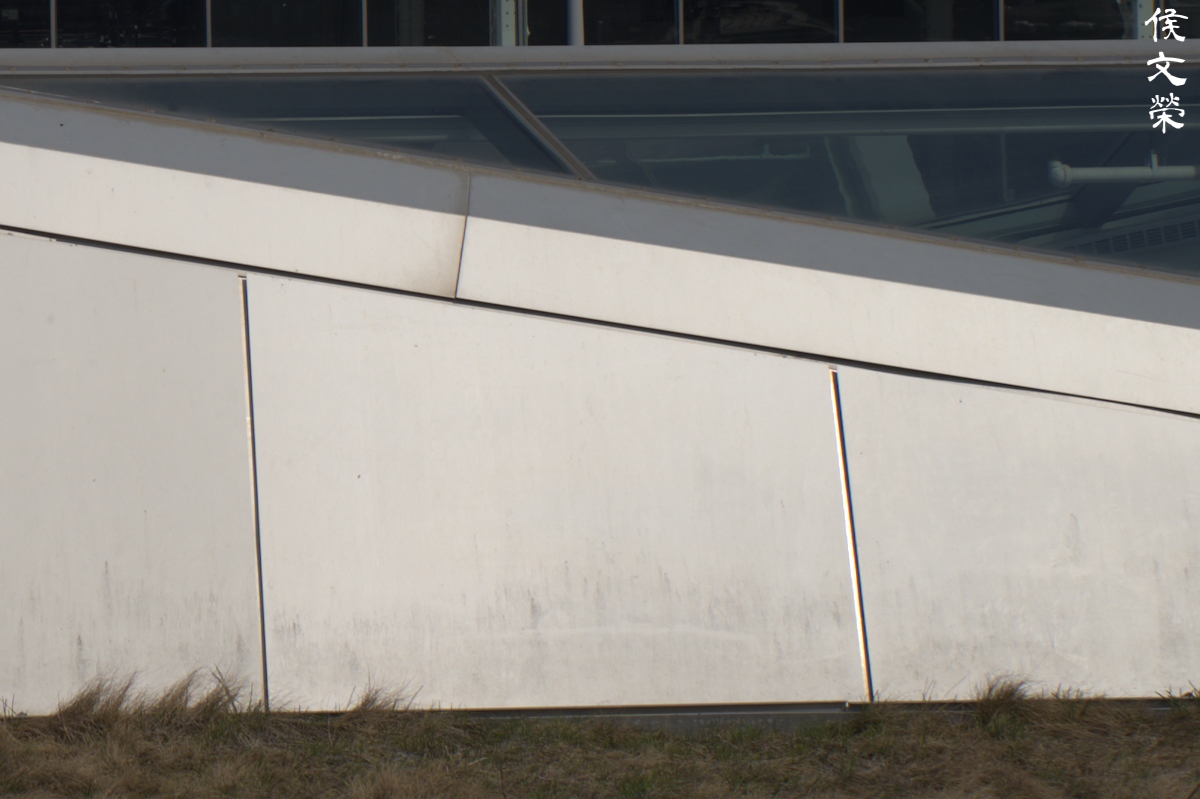
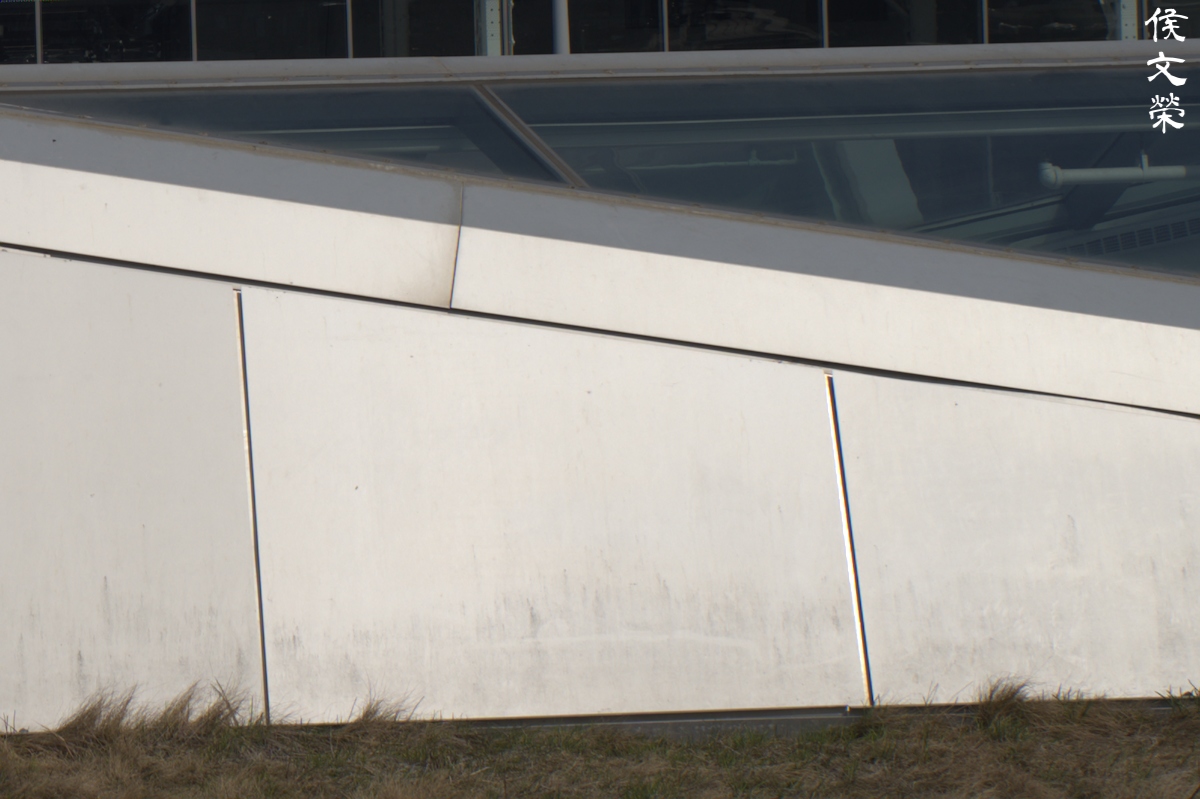
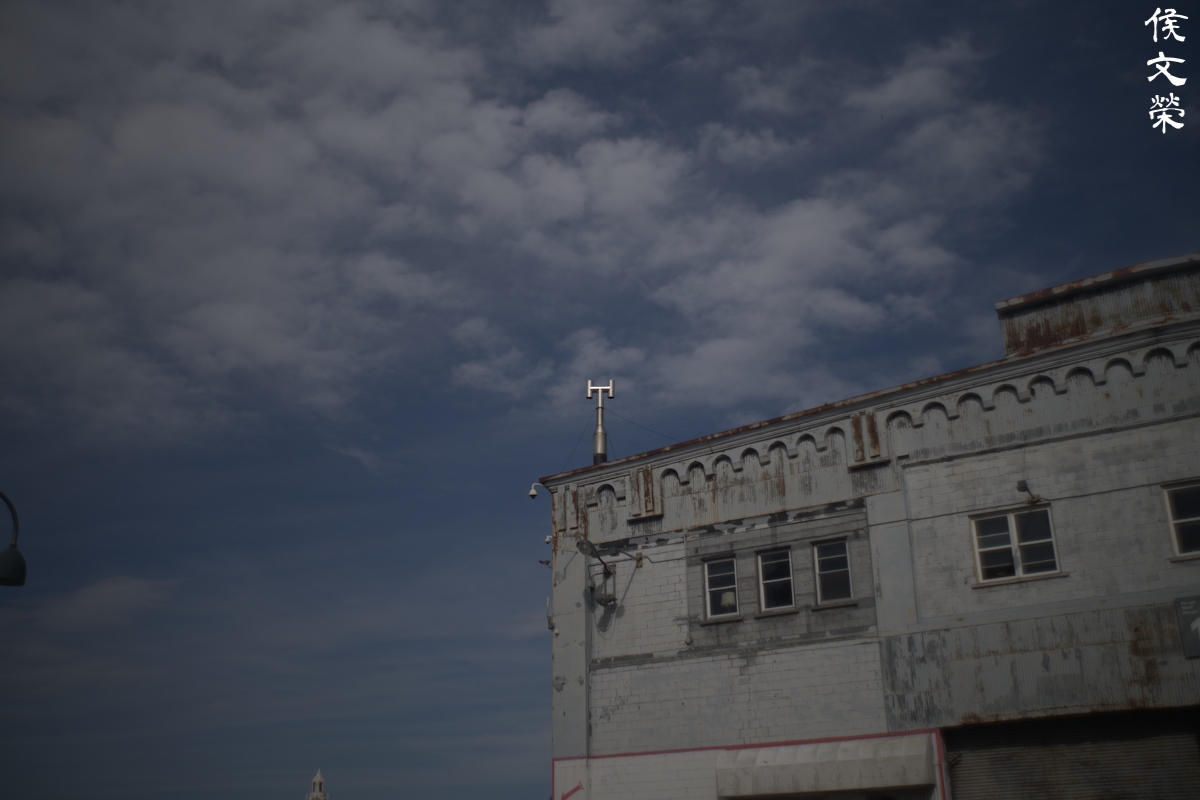
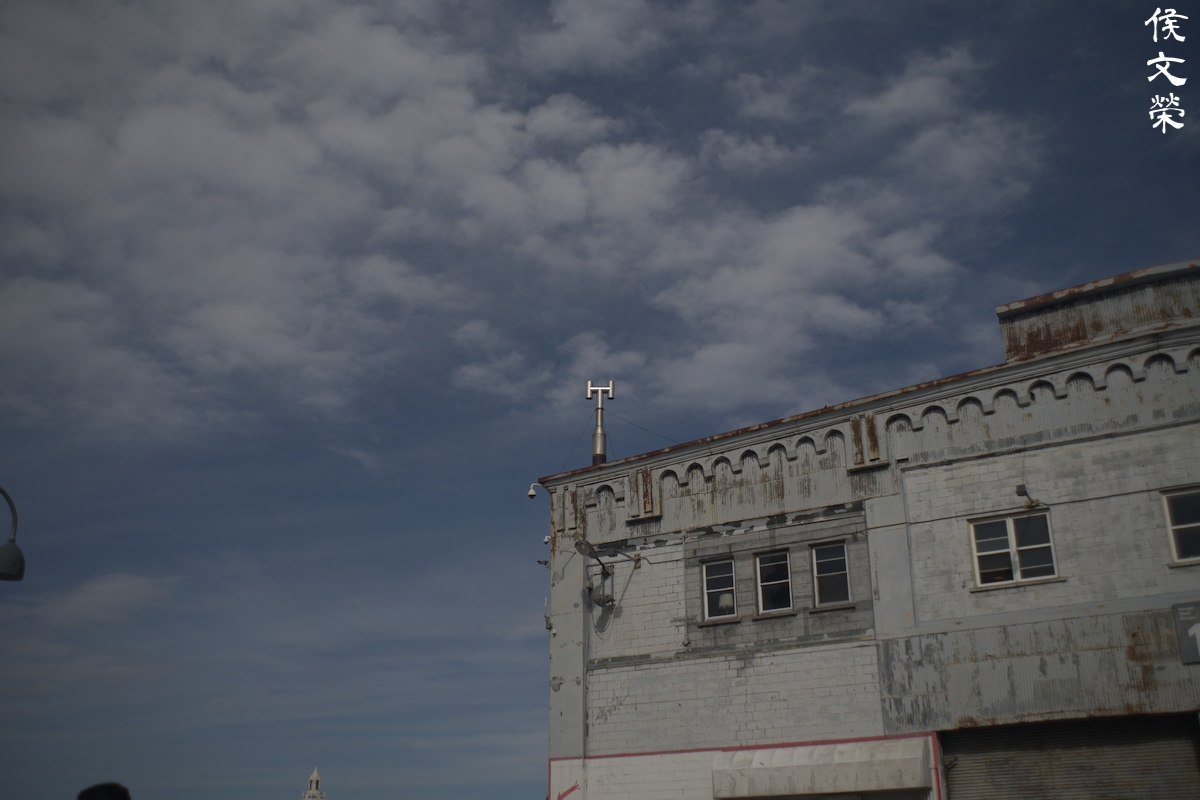
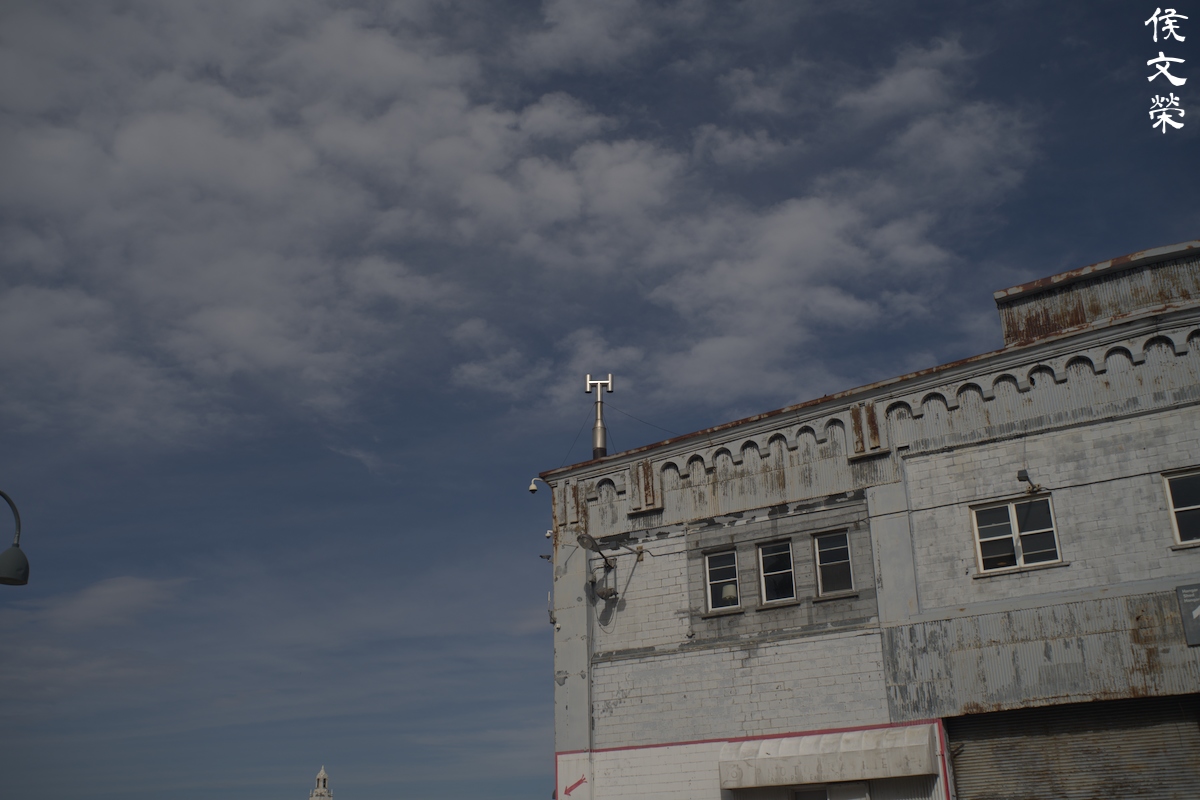
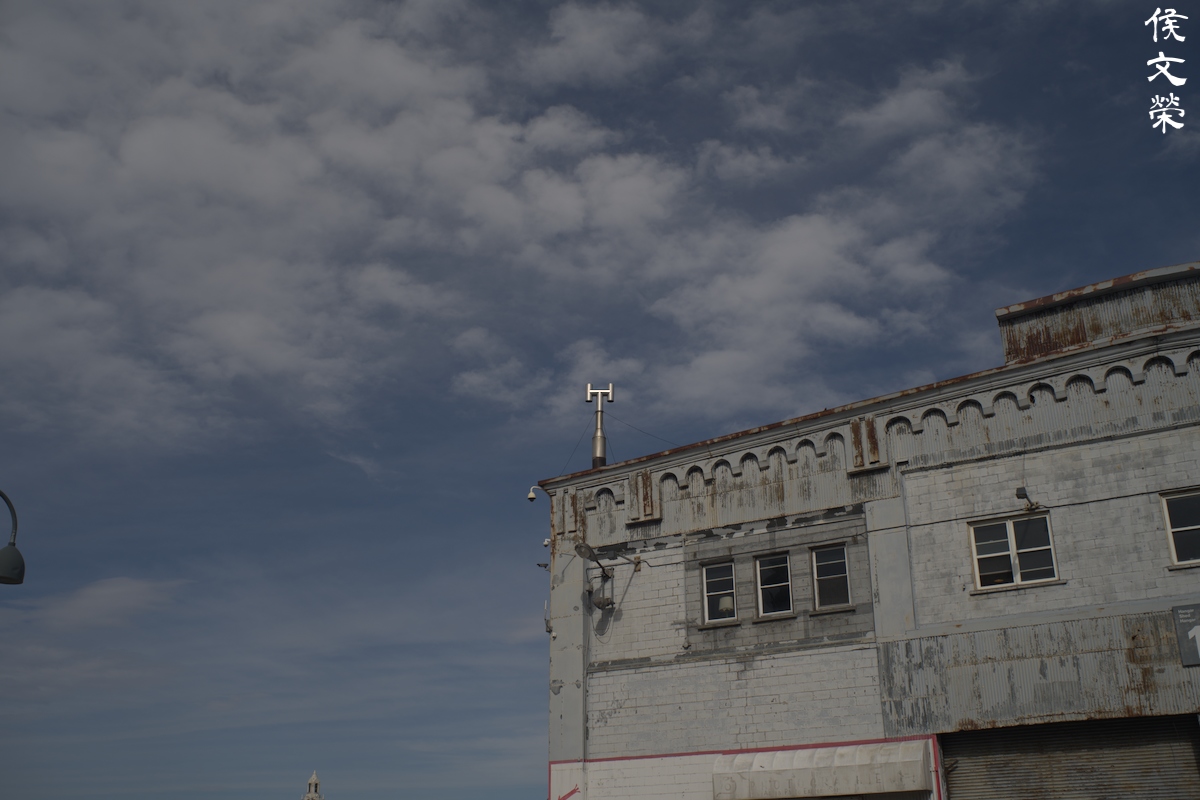
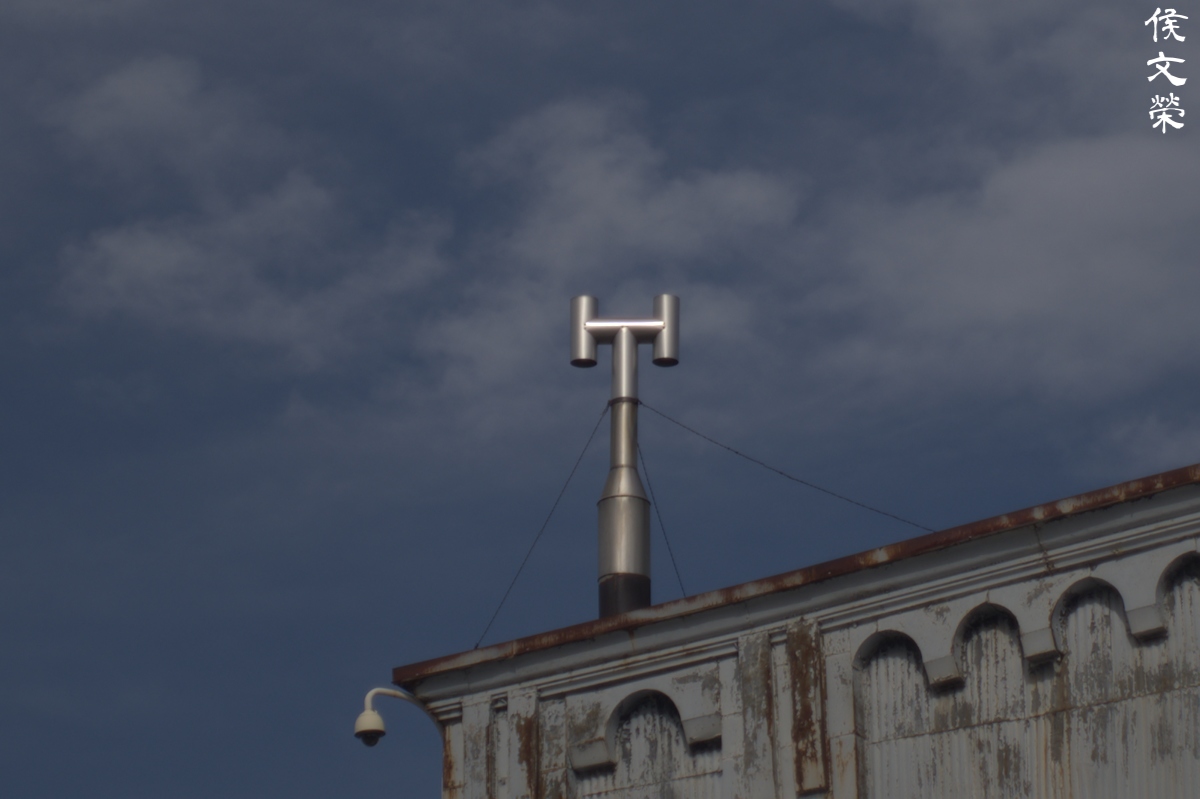
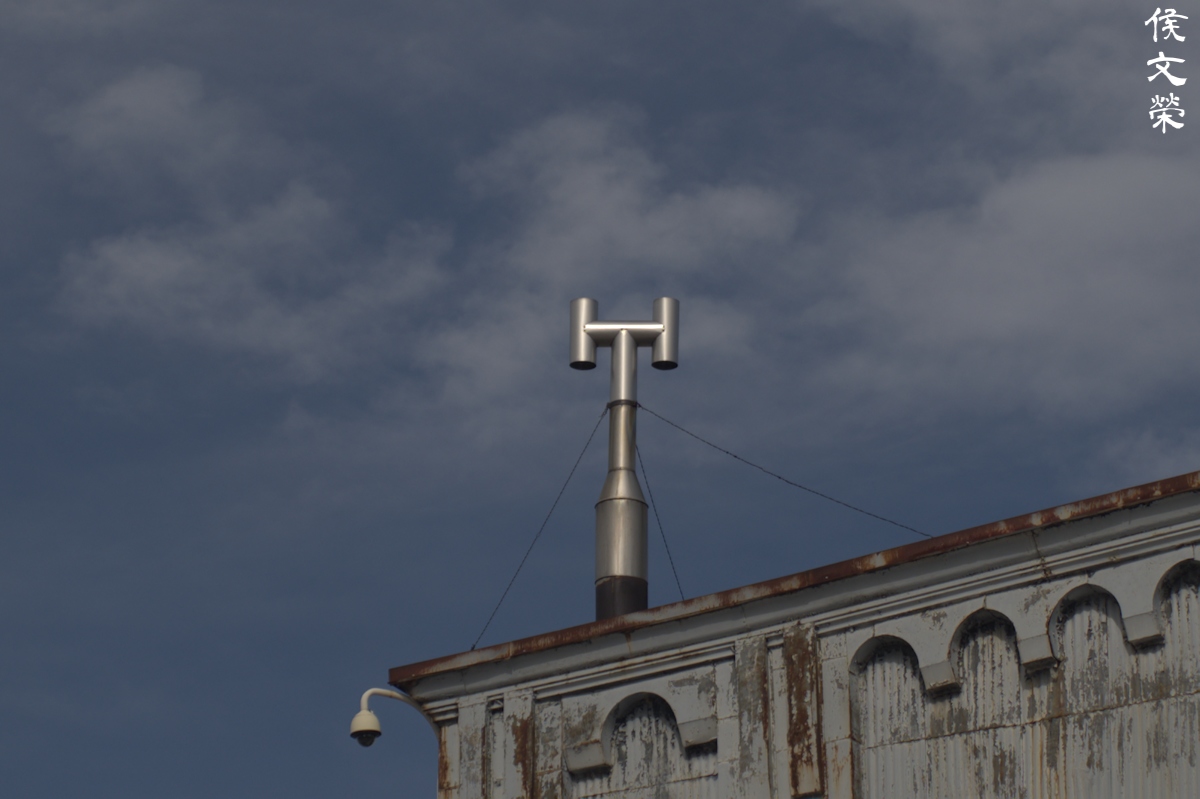
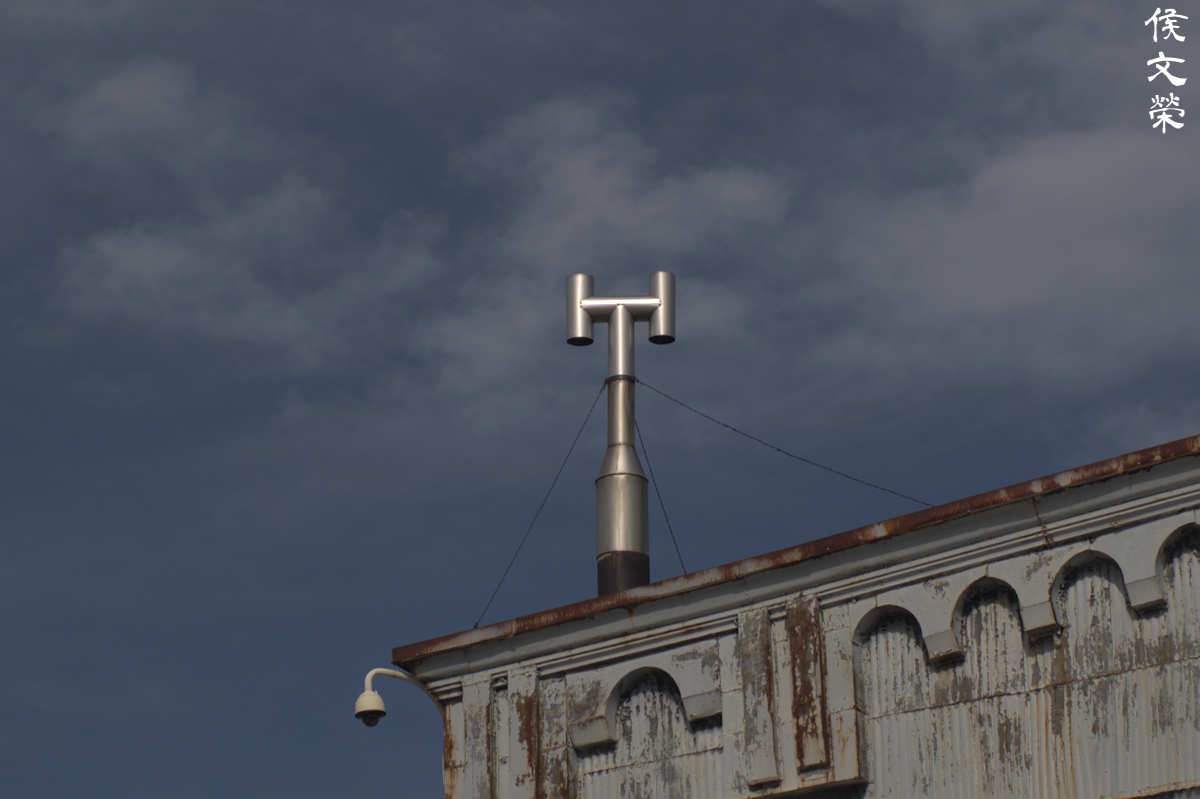
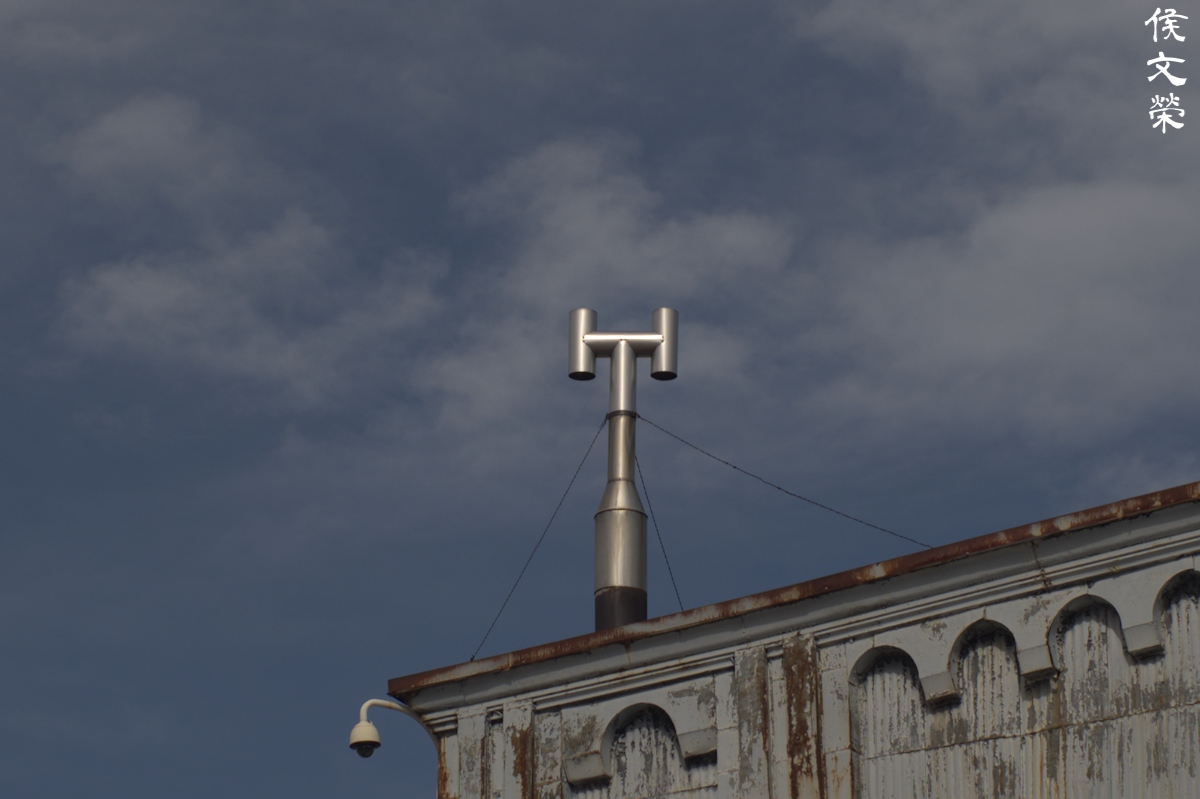
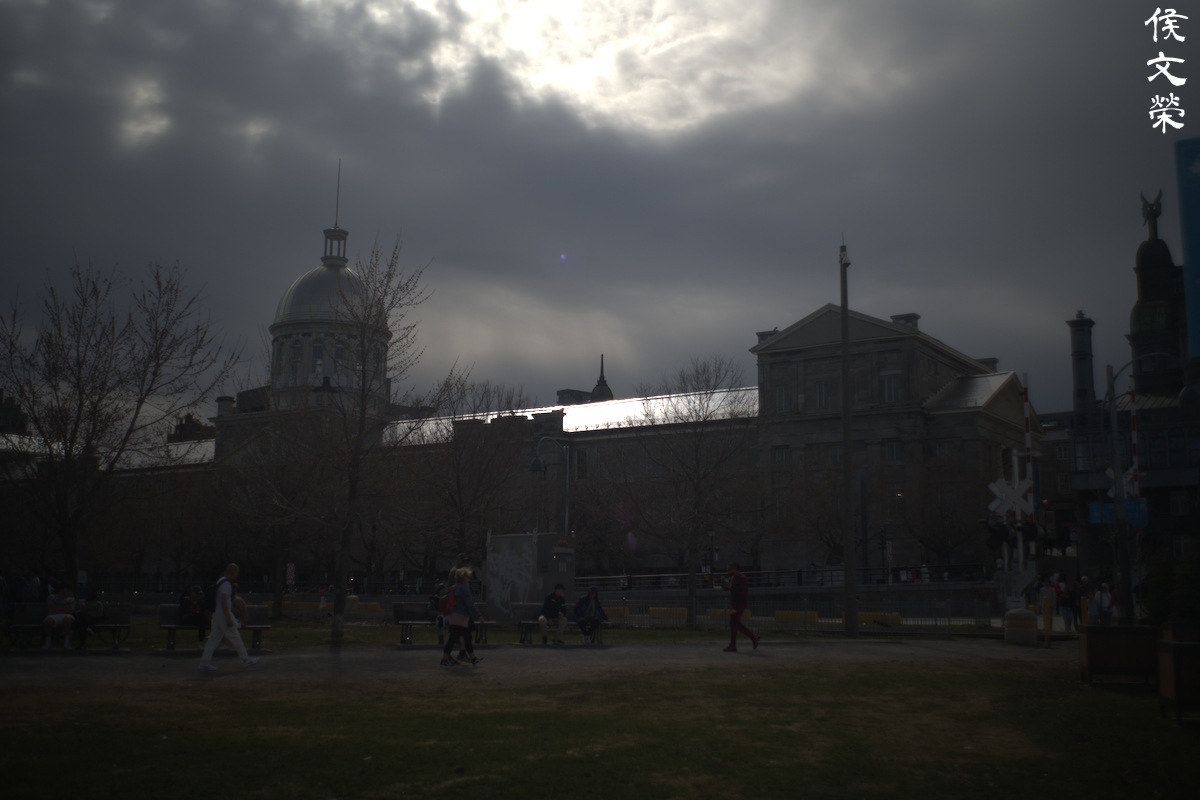
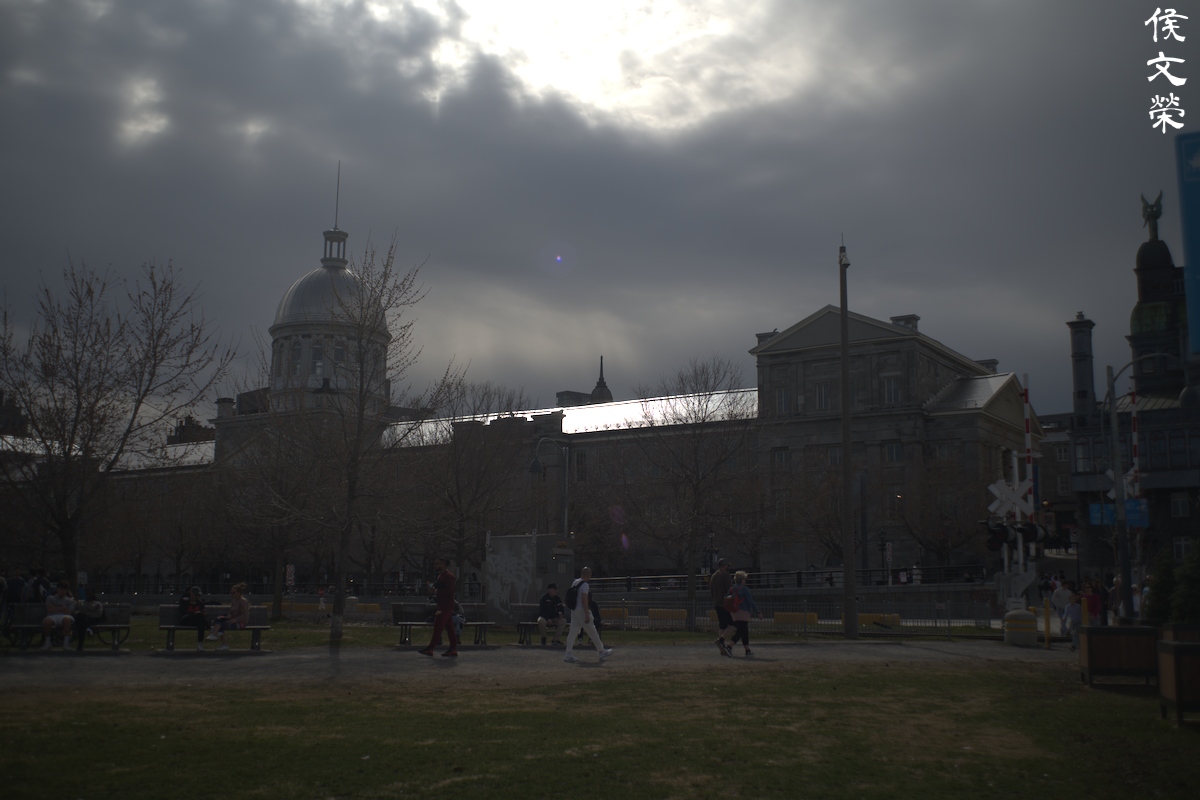
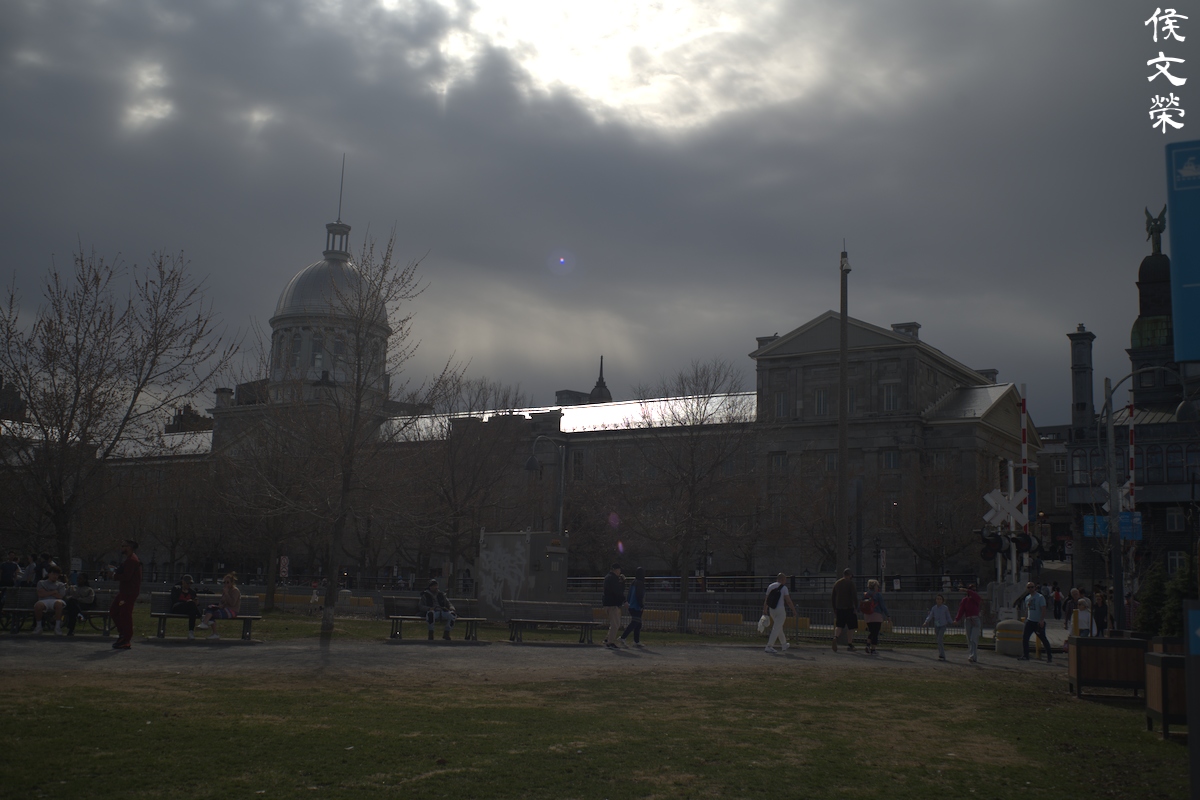
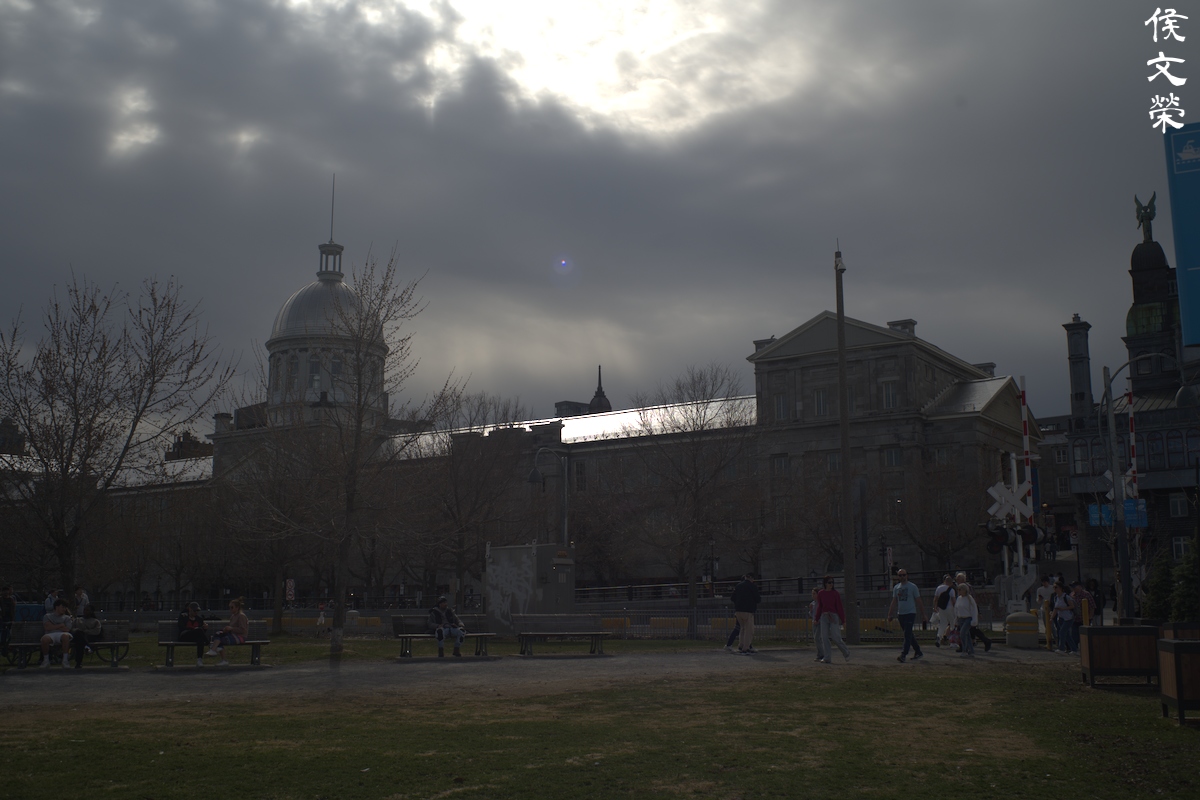
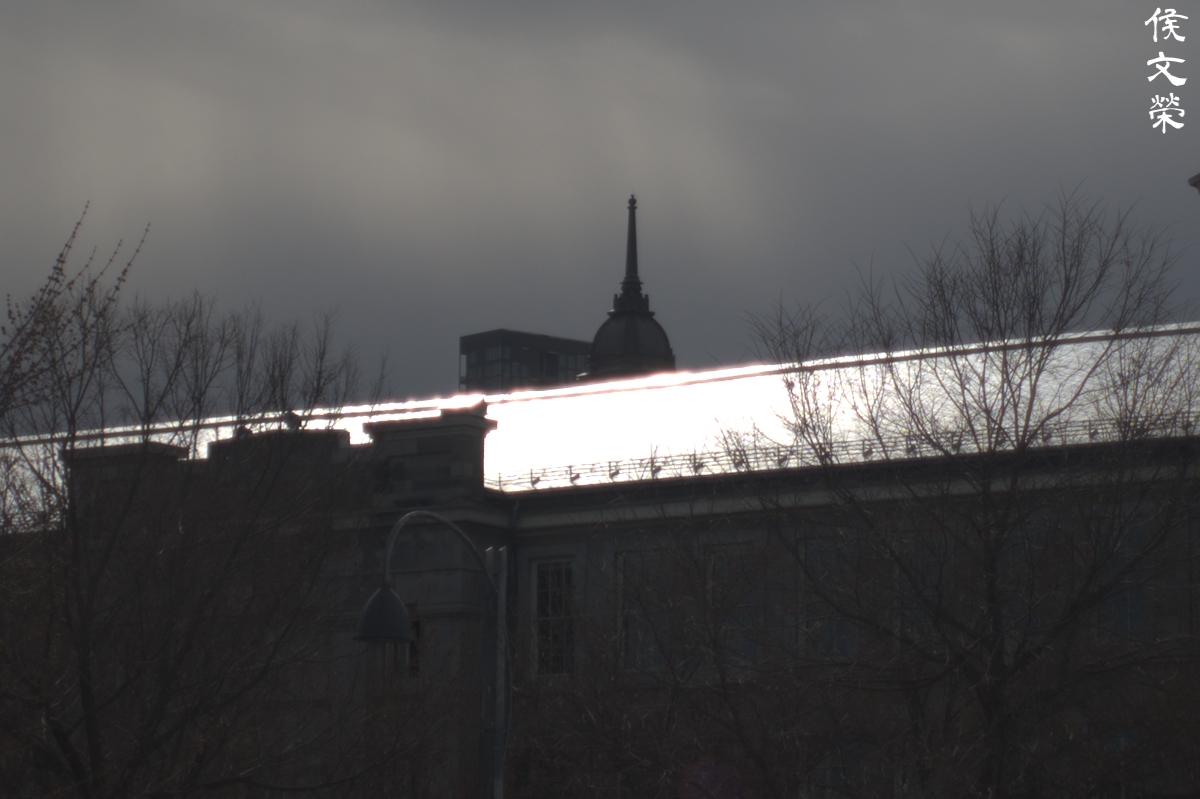
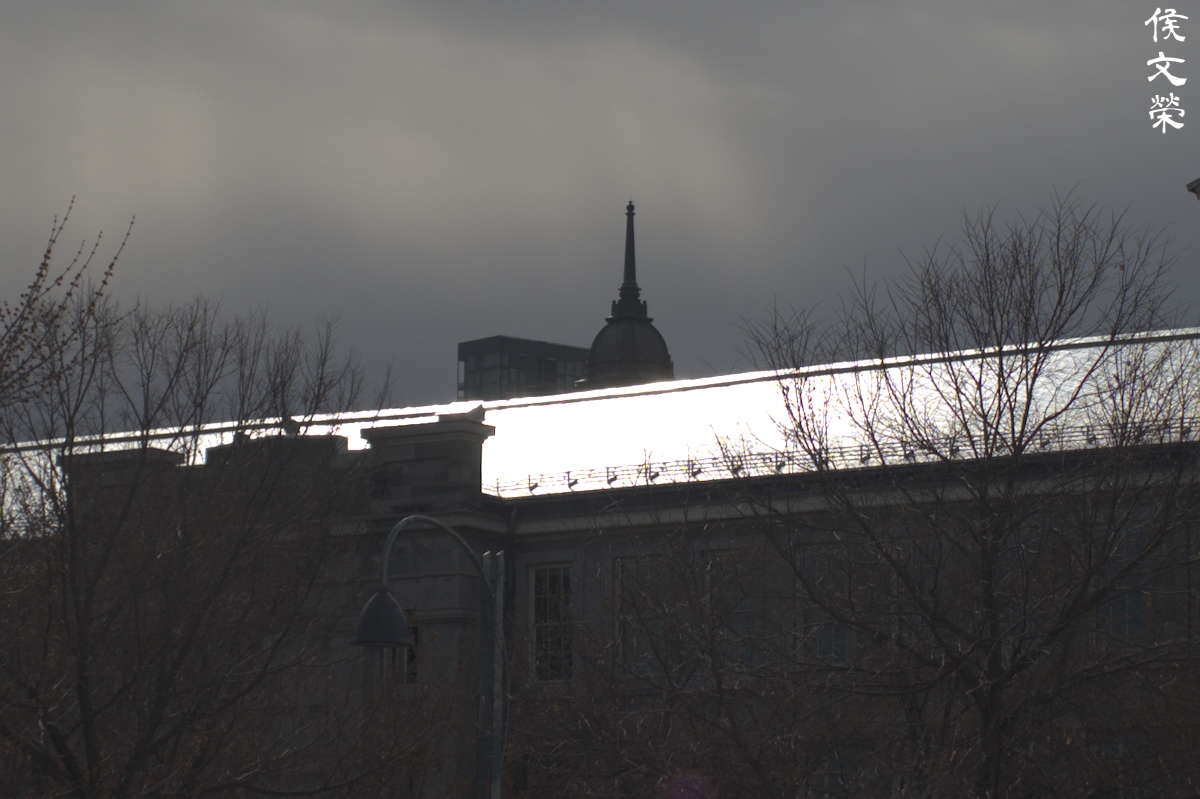
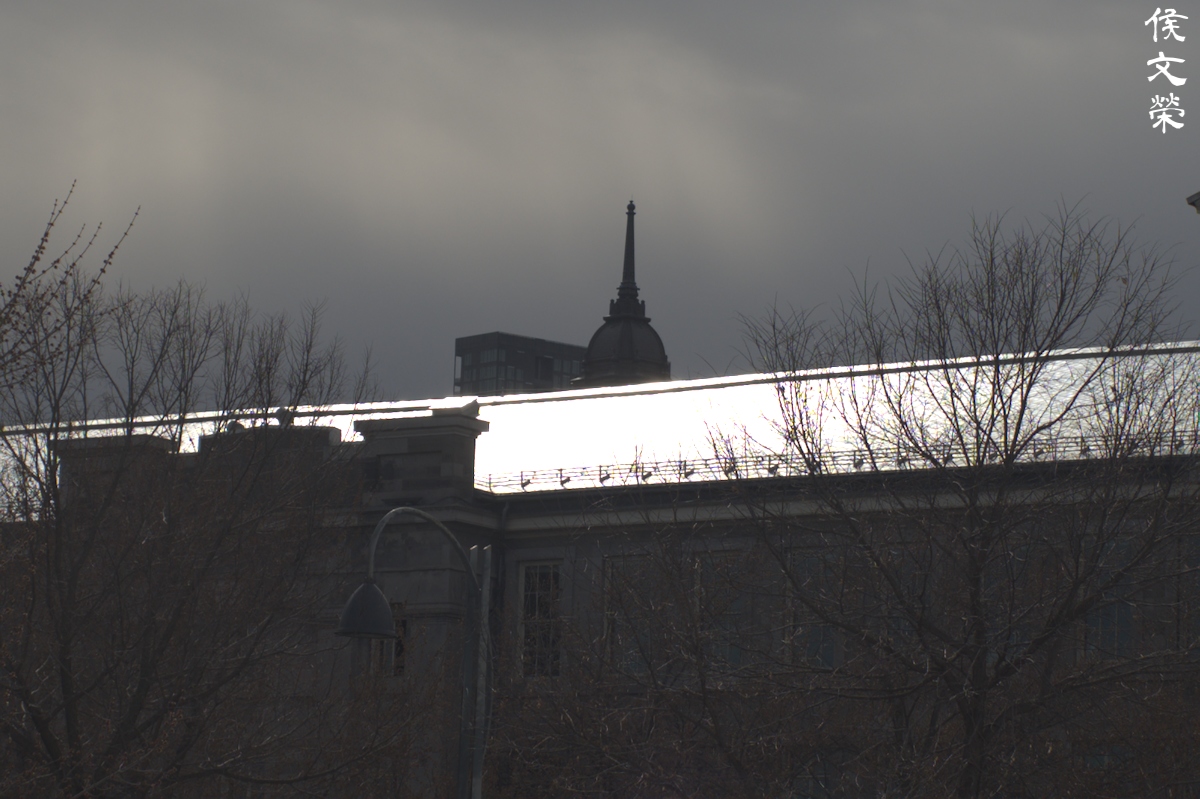
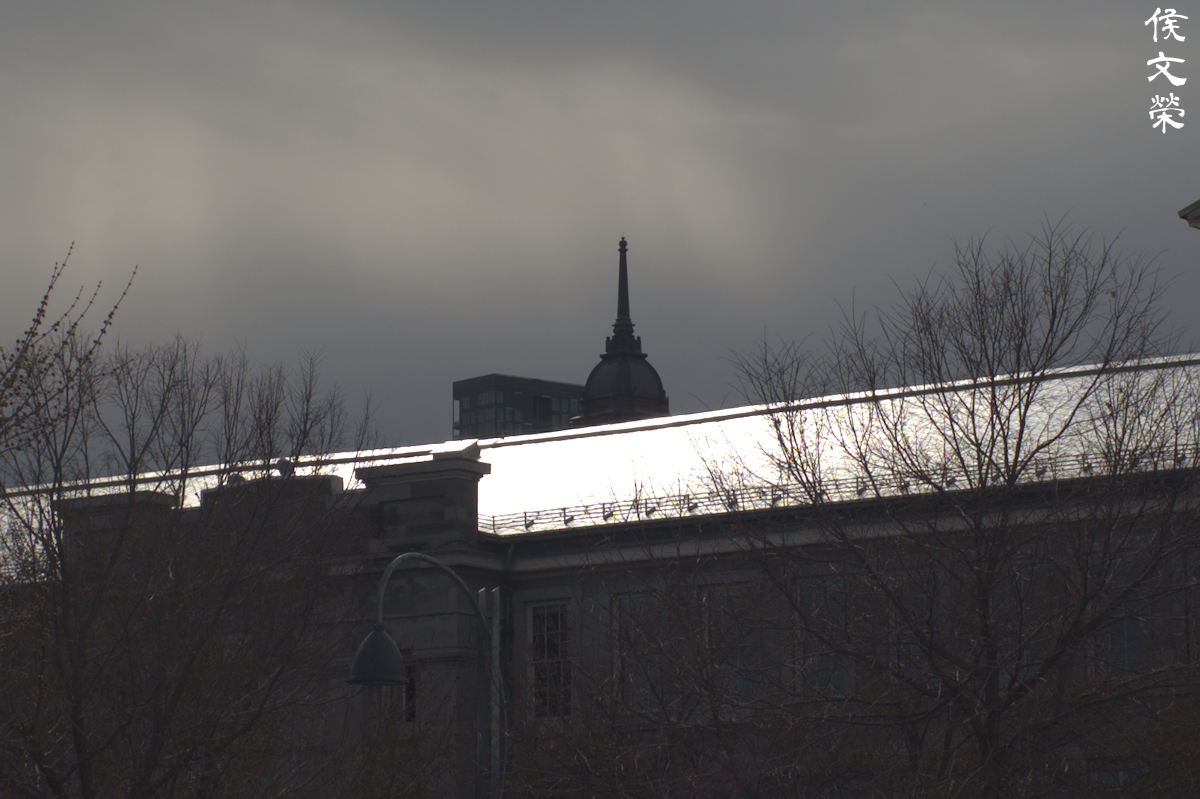





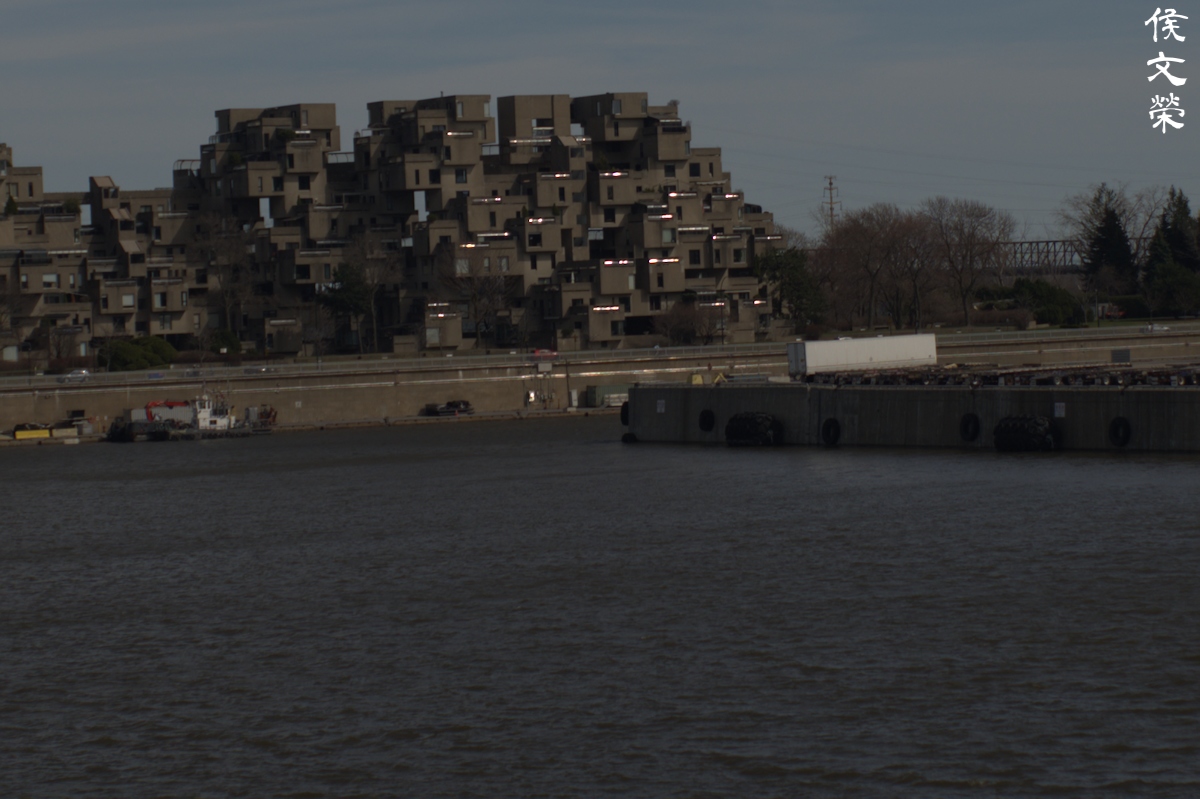

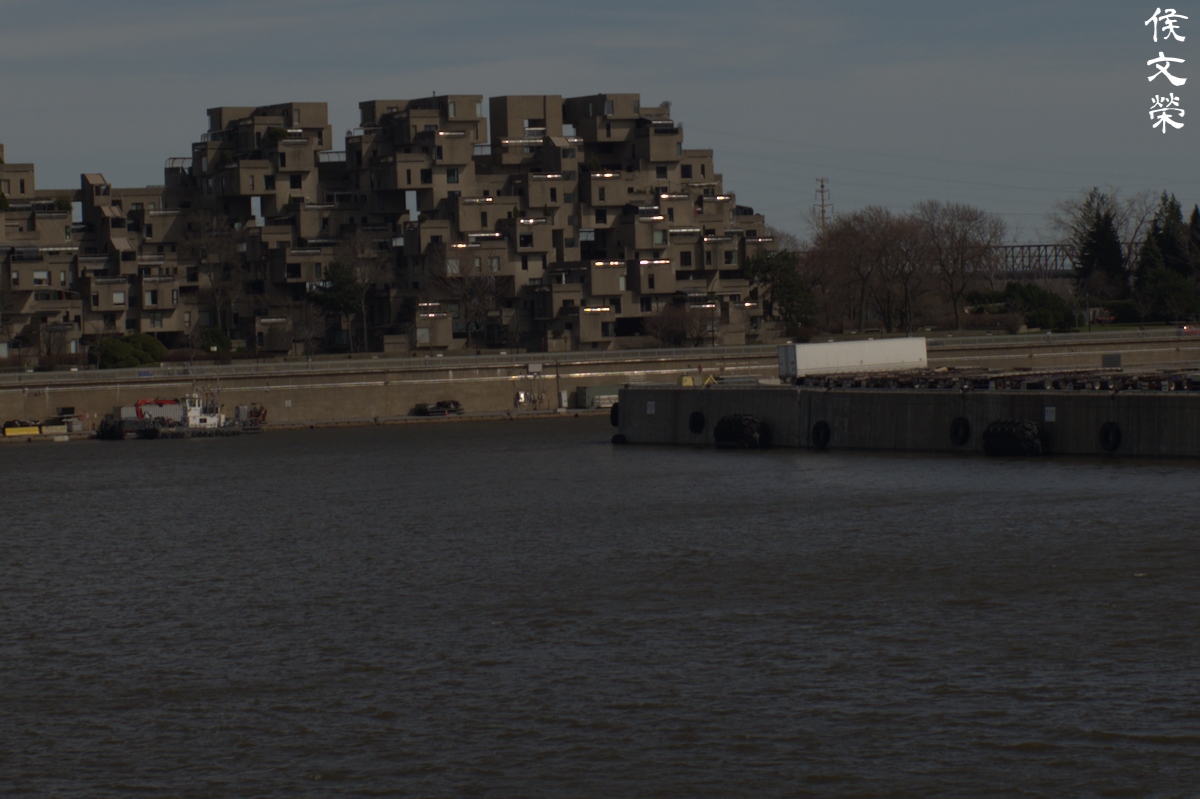
(Click to enlarge)
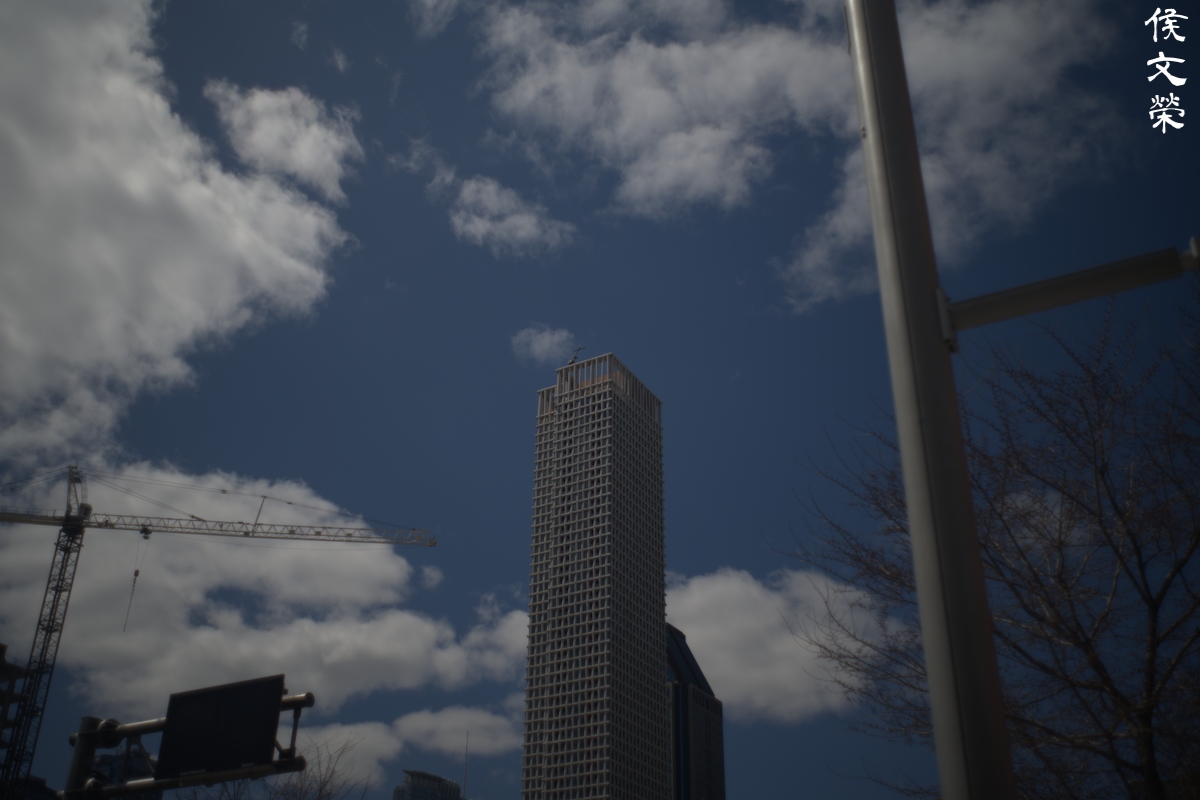
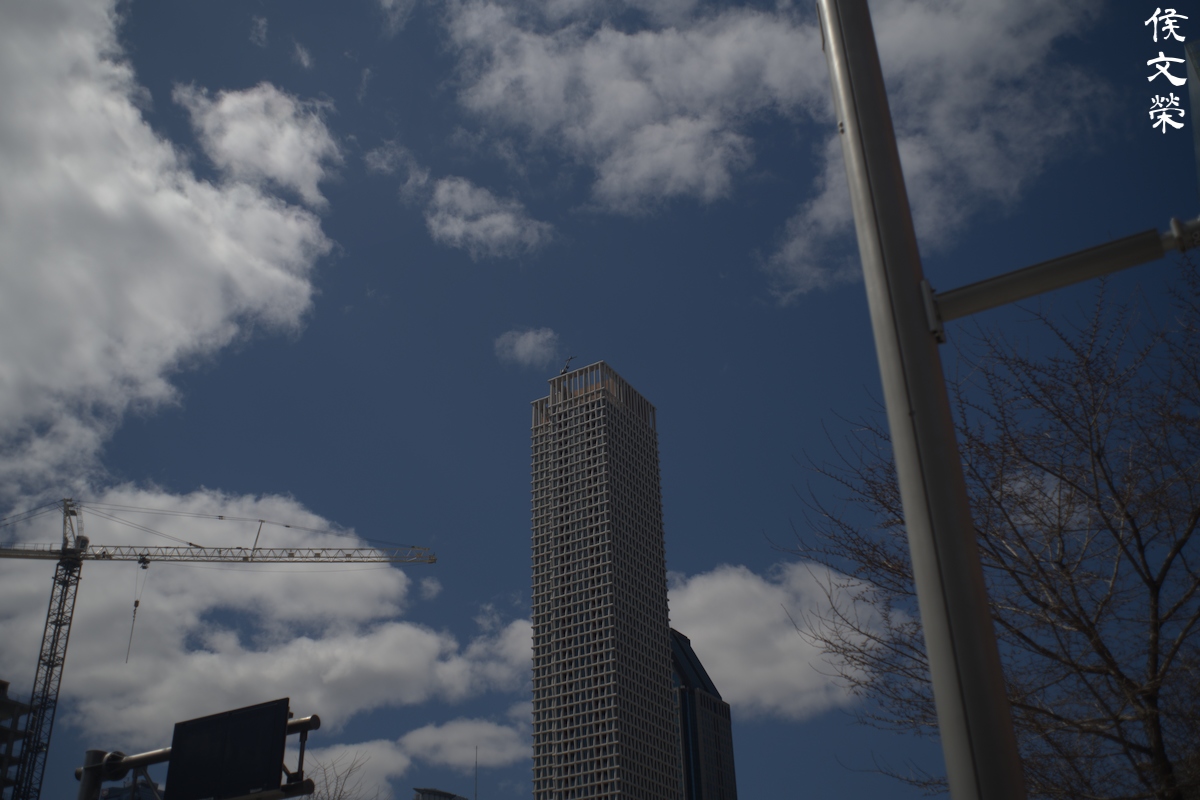
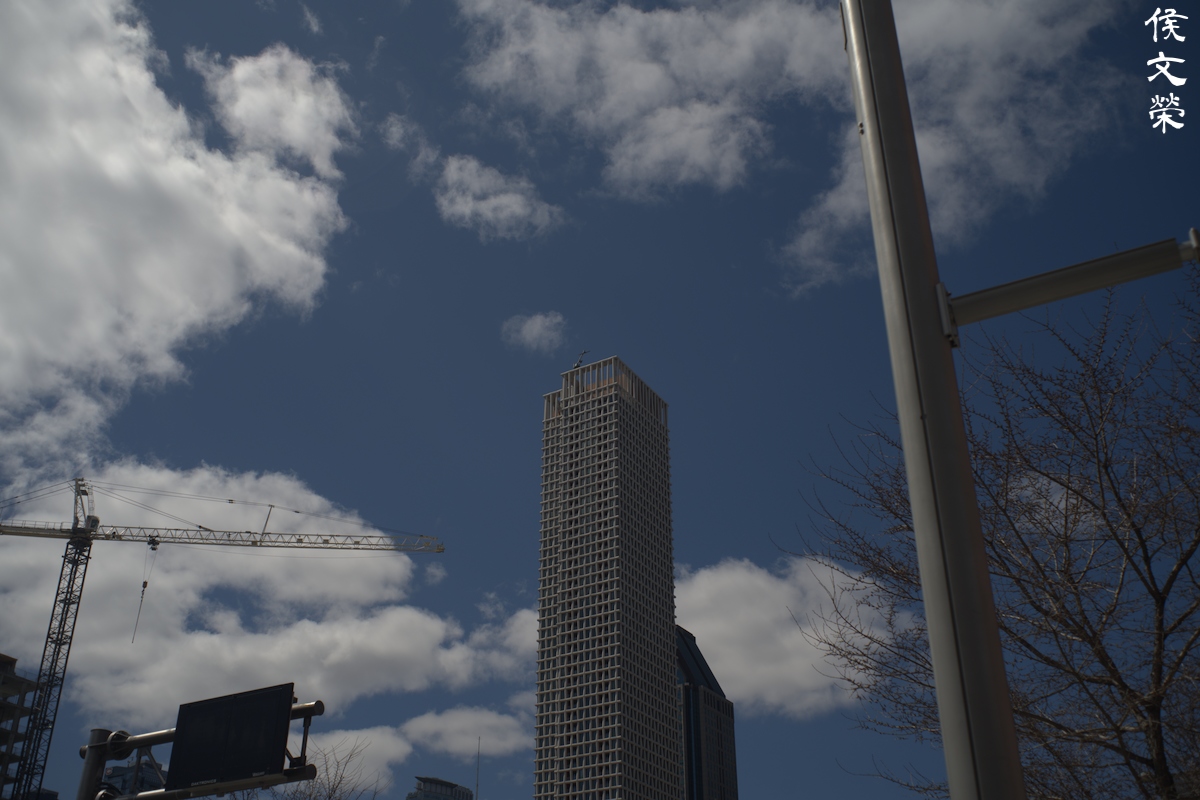
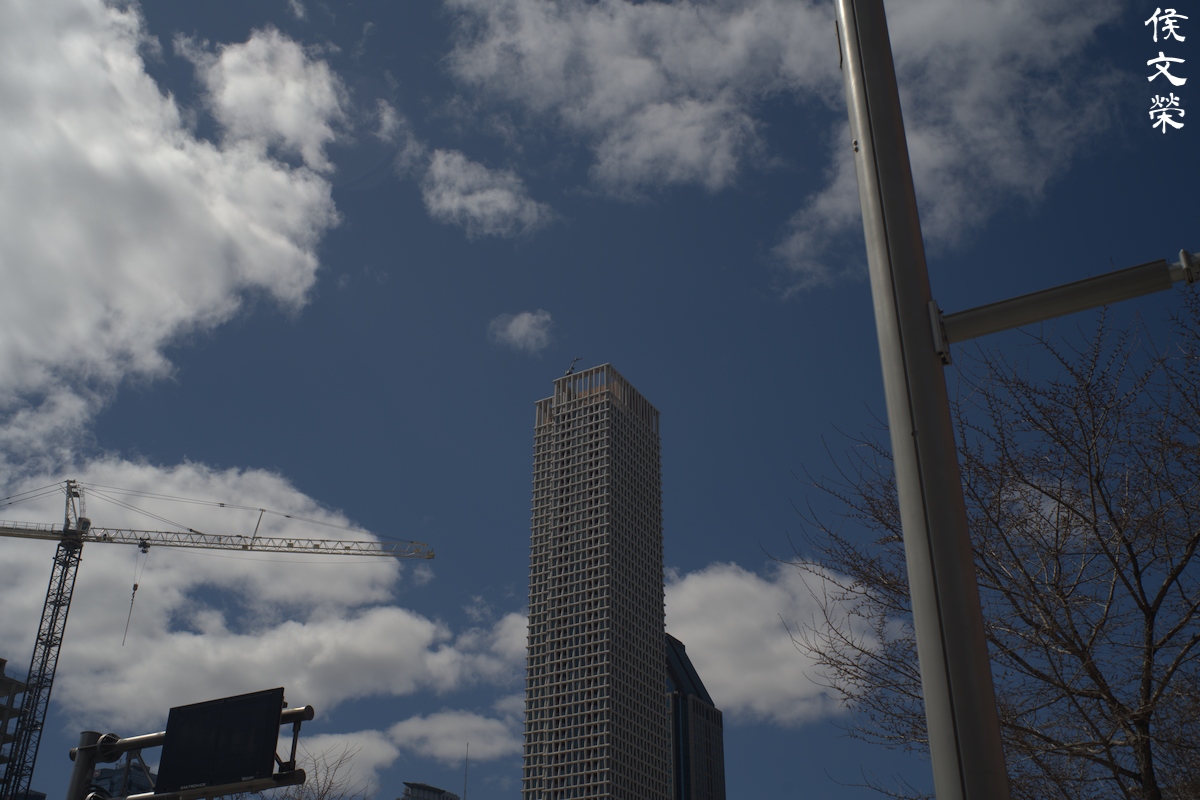
It’s able to handle optical aberrations beautifully except in cases where the focus is closer to infinity. I can’t say that it’s bad since I have seen worse from newer lenses that were made some decades later than this one. If you don’t want to see any of it just stop the iris down to at least f/5.6 and that should clean up most of it.




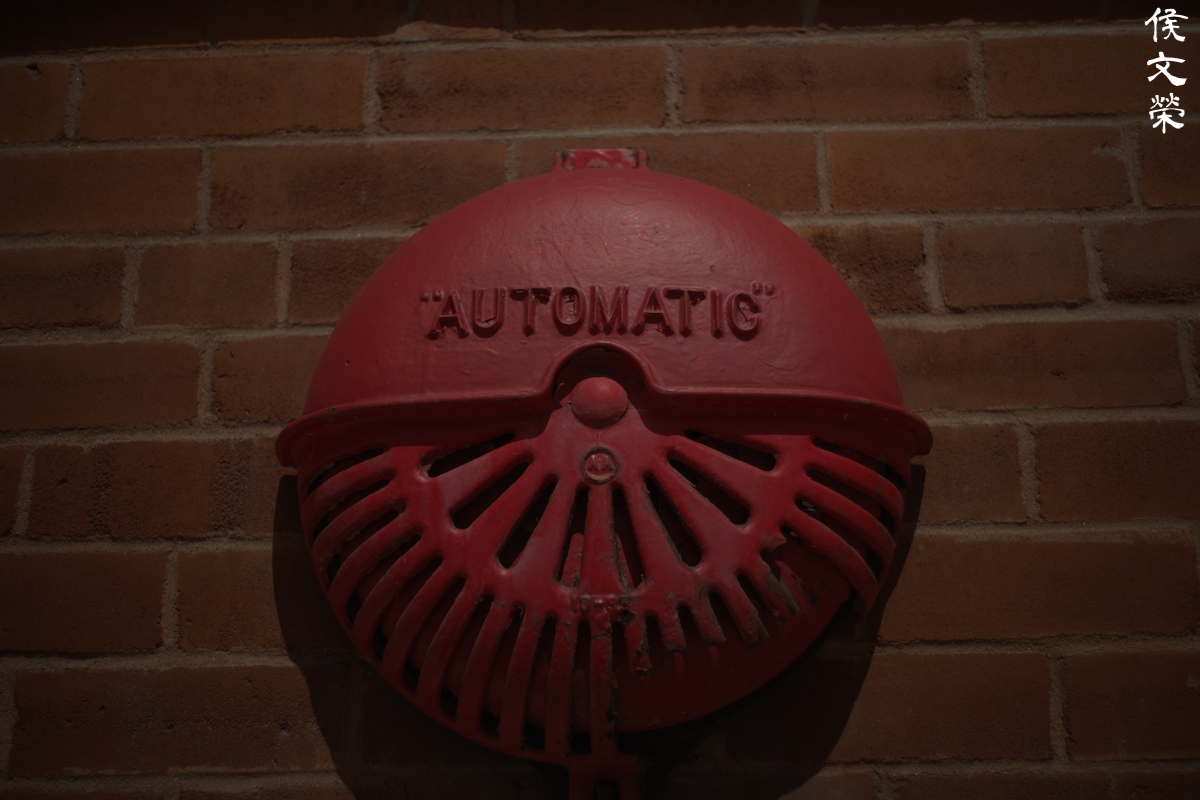
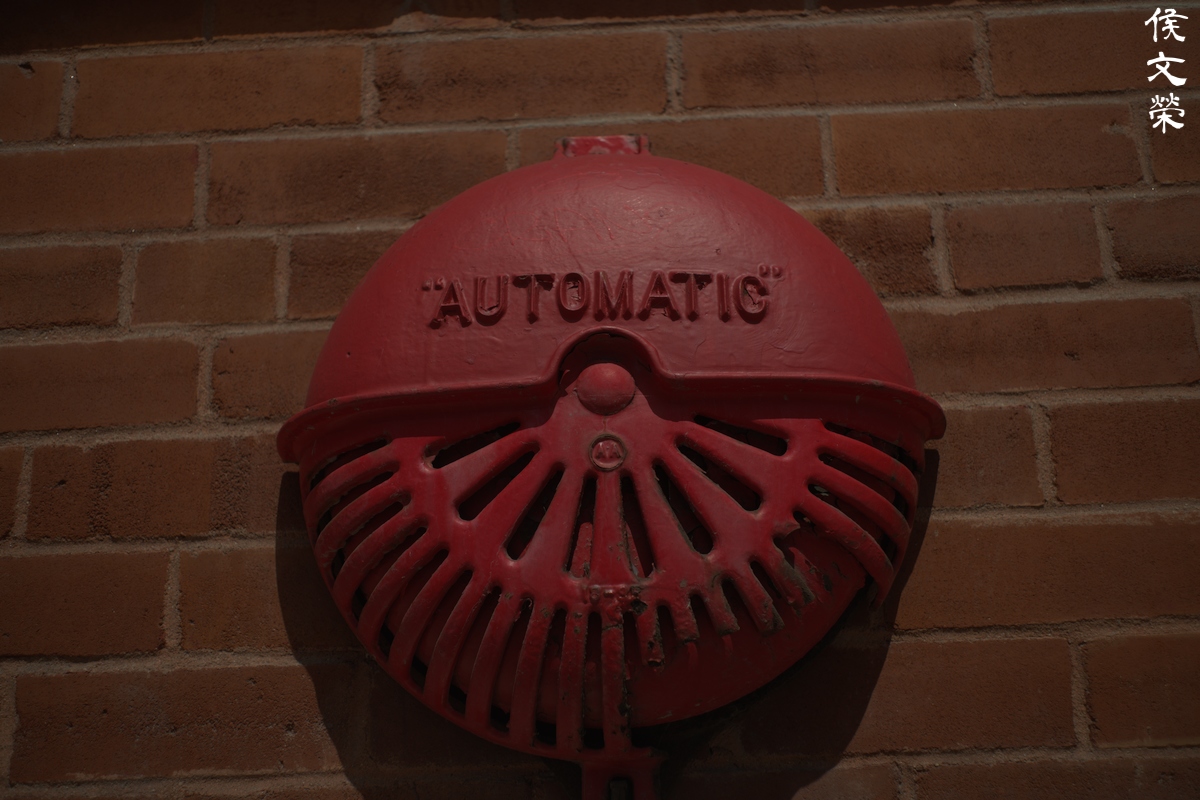
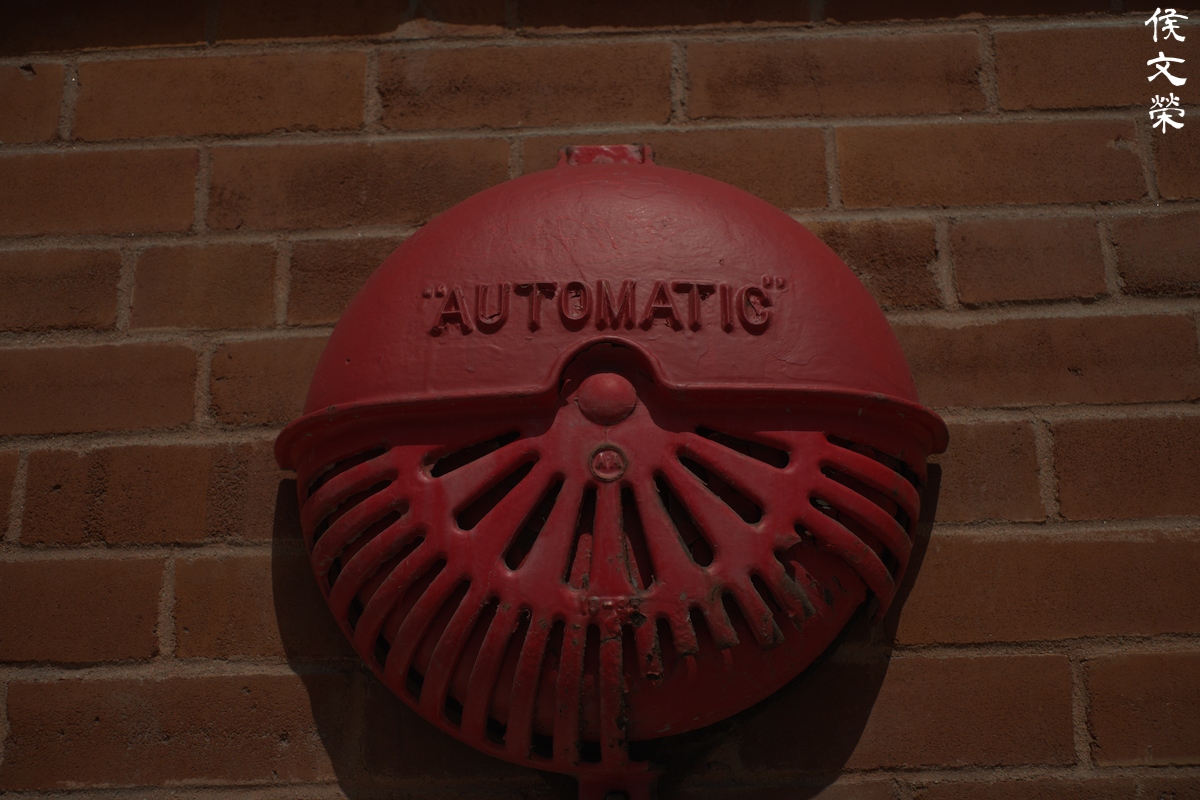
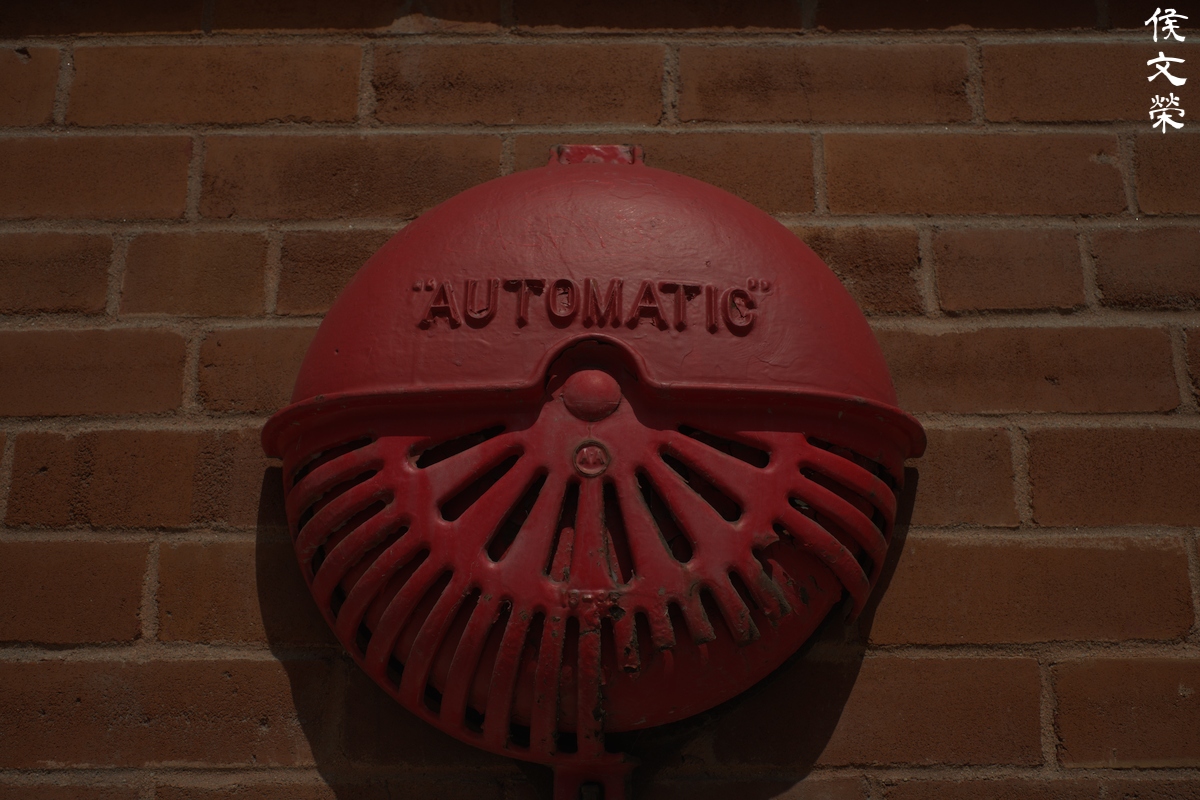
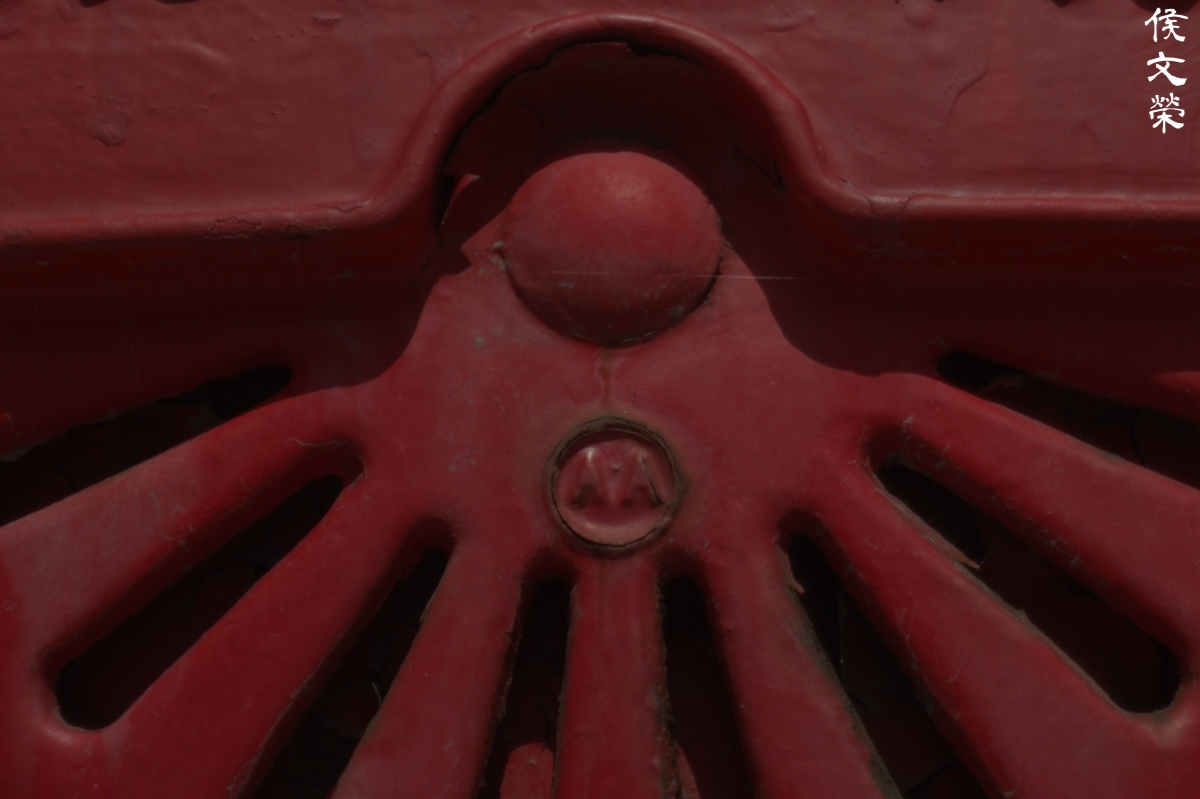
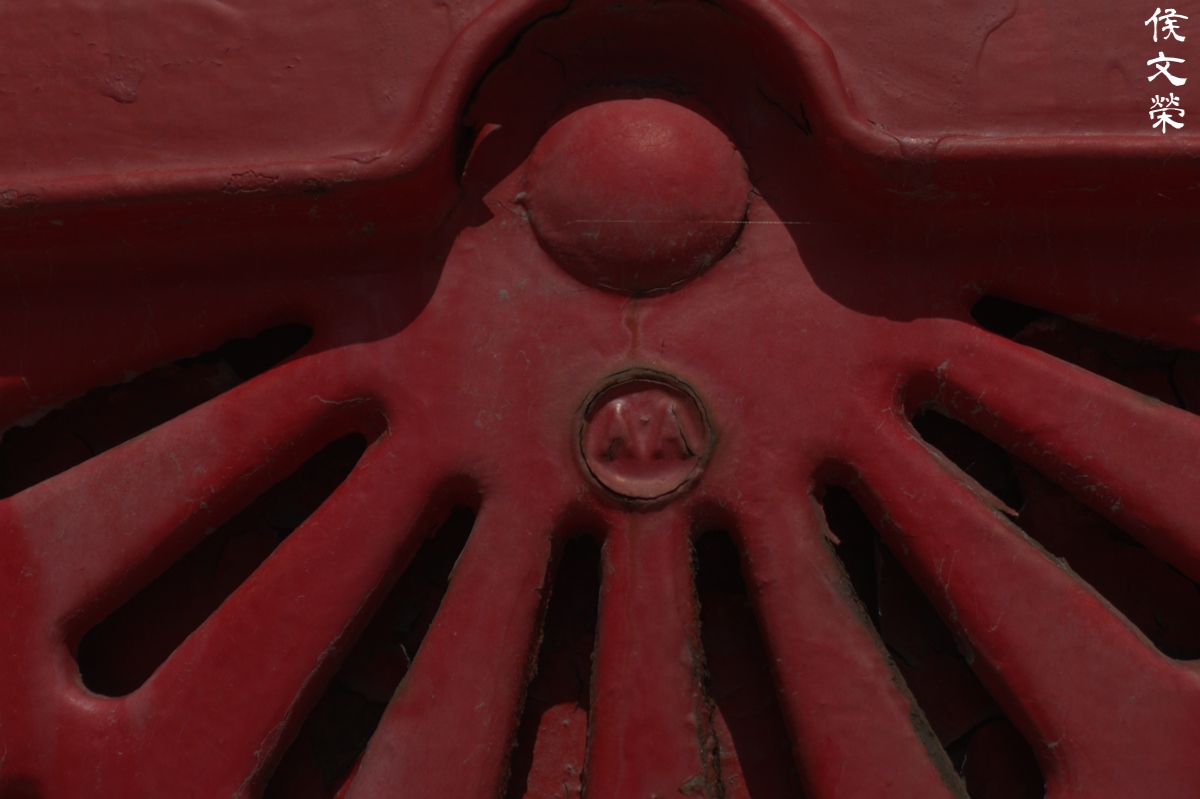
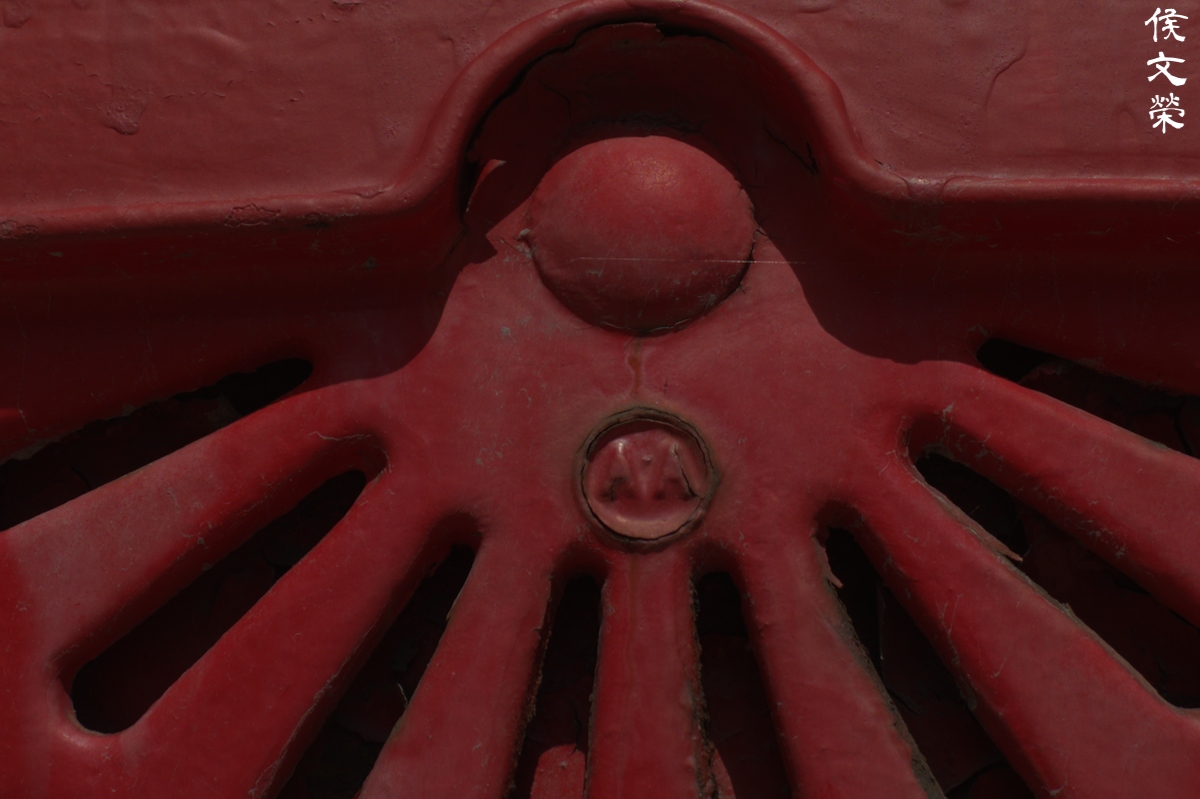
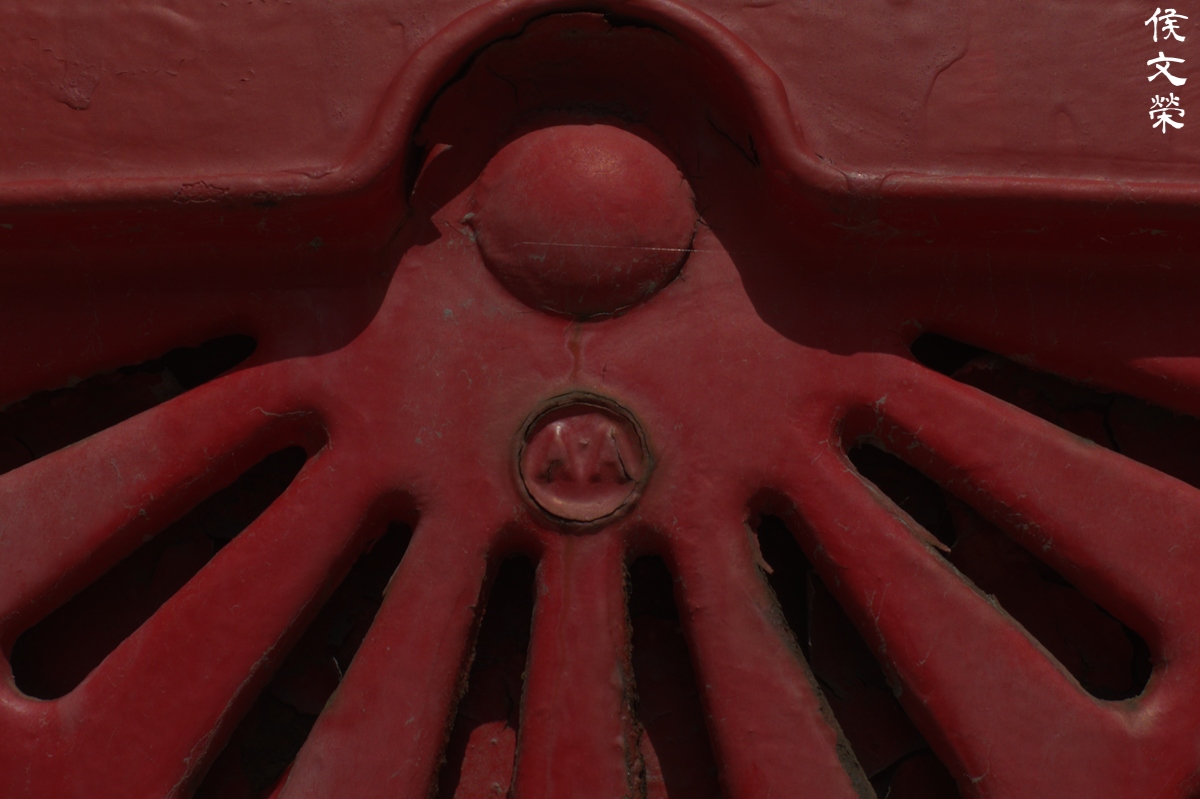








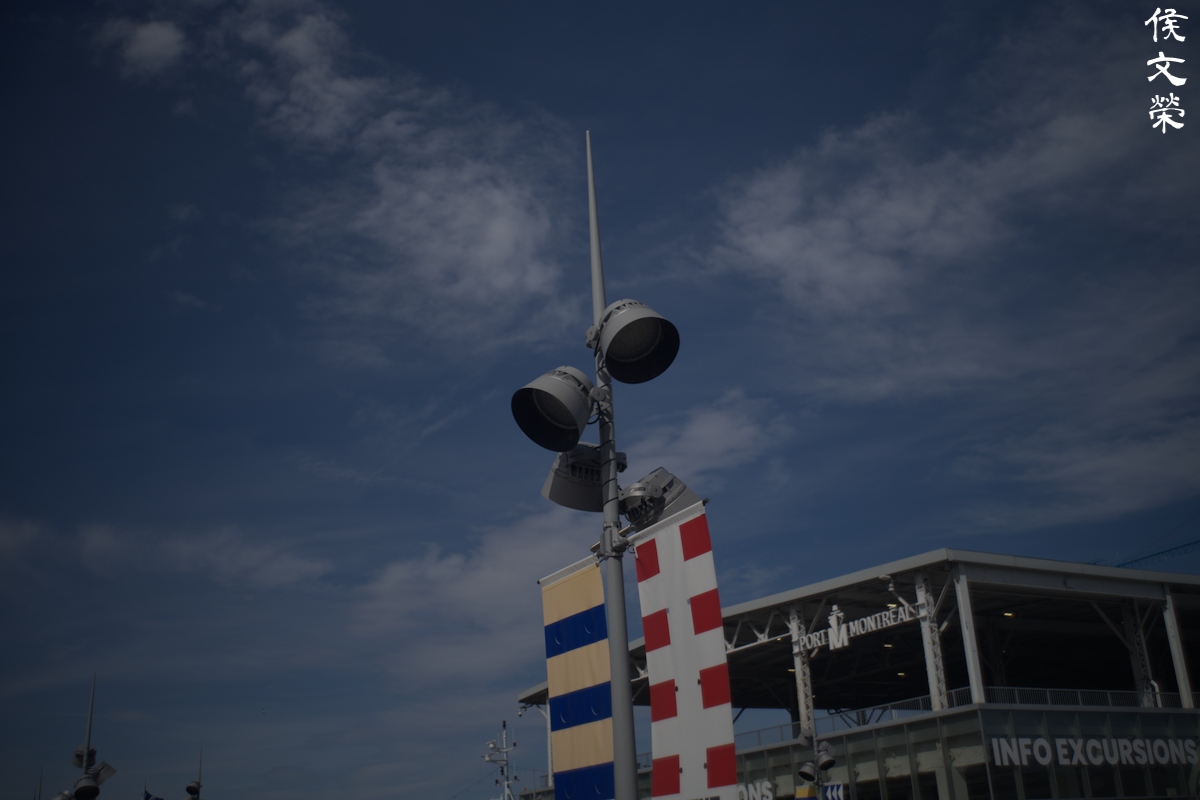
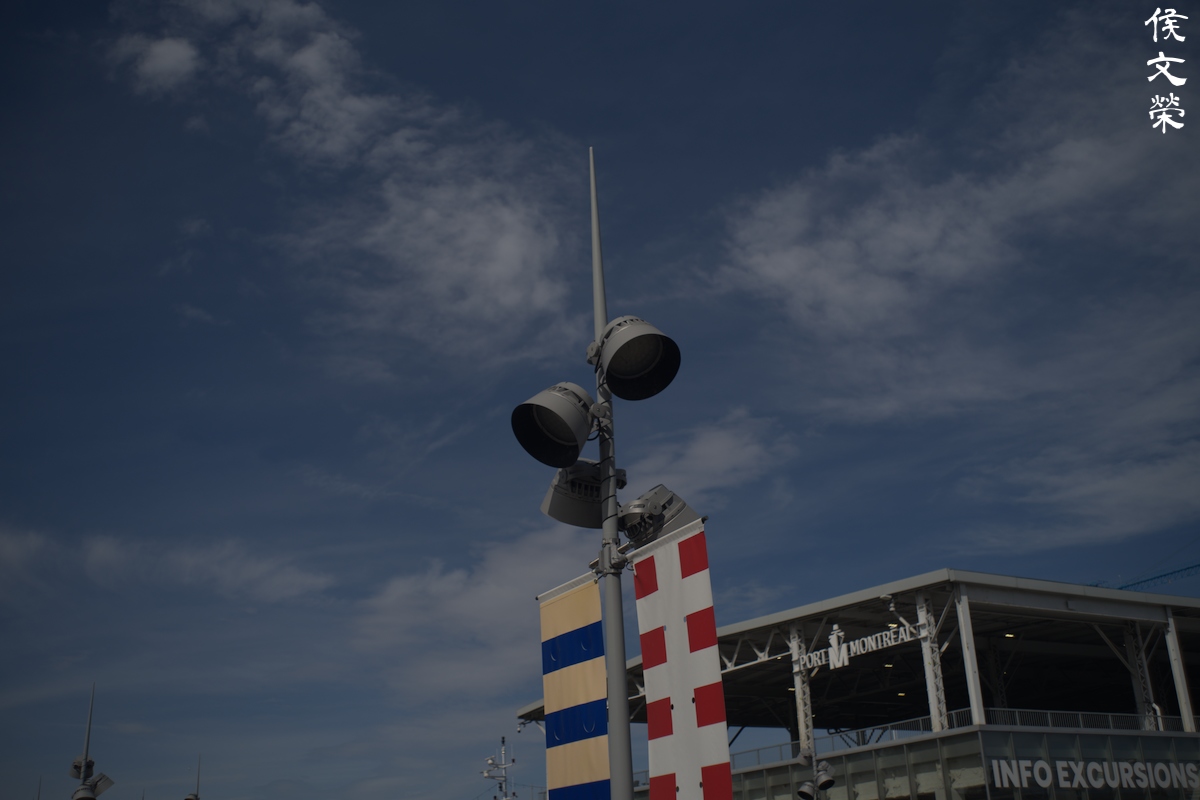
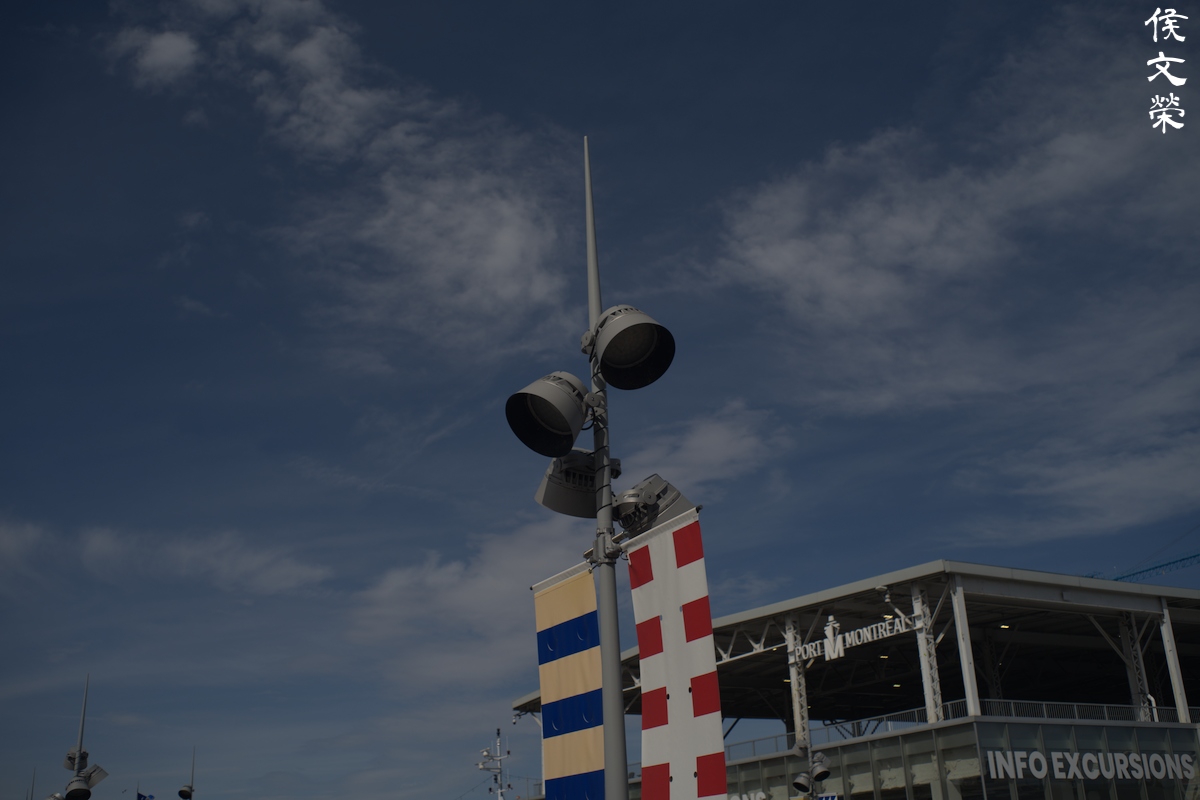
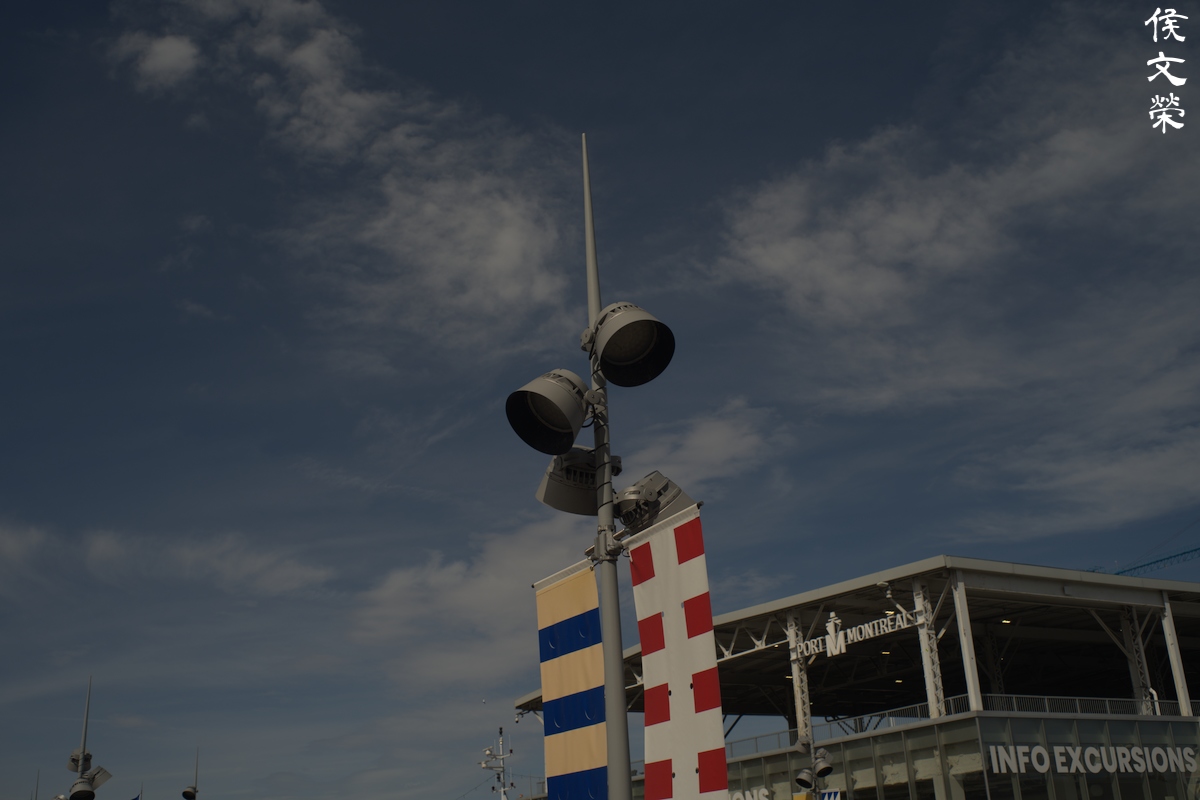


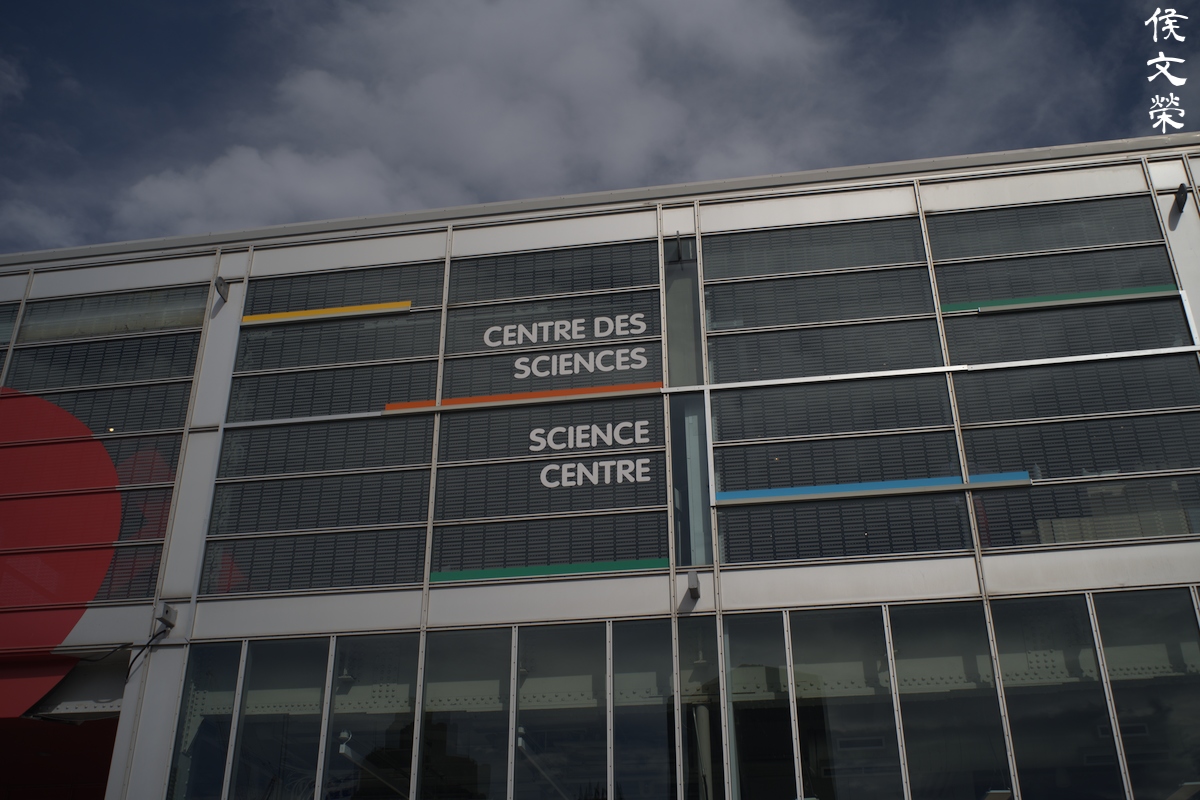





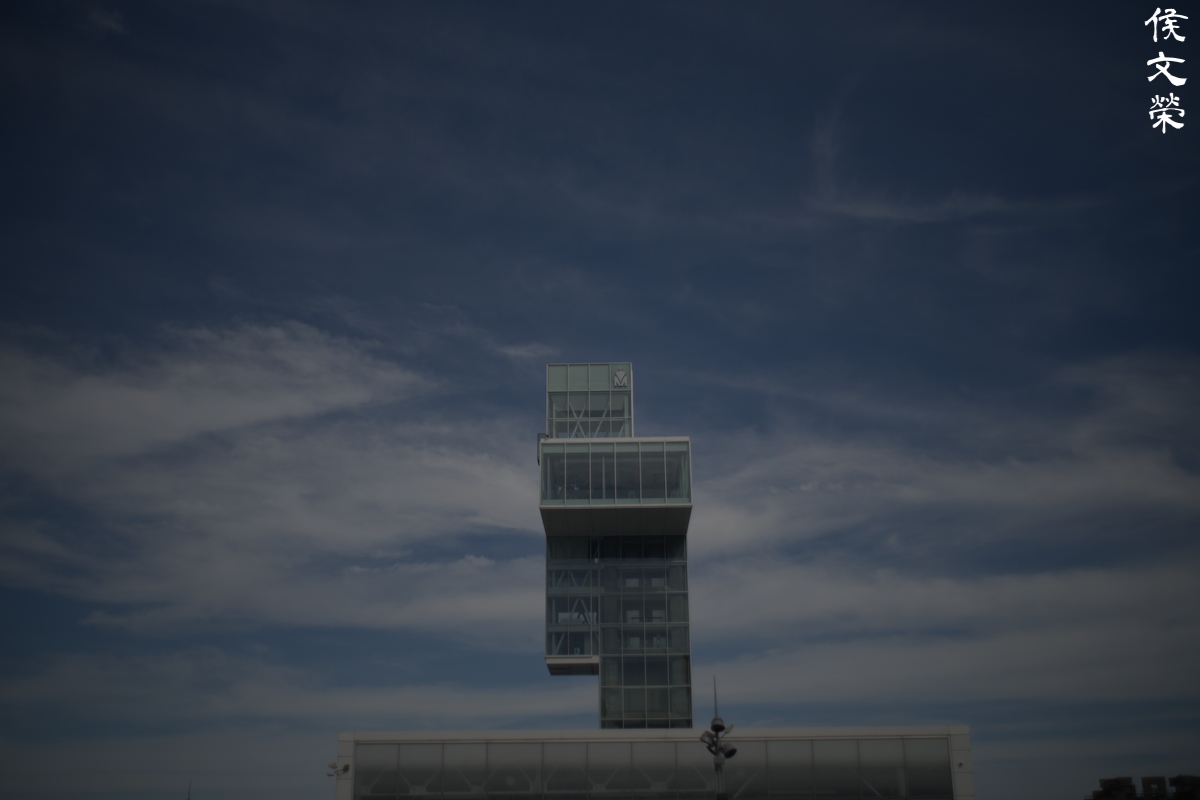
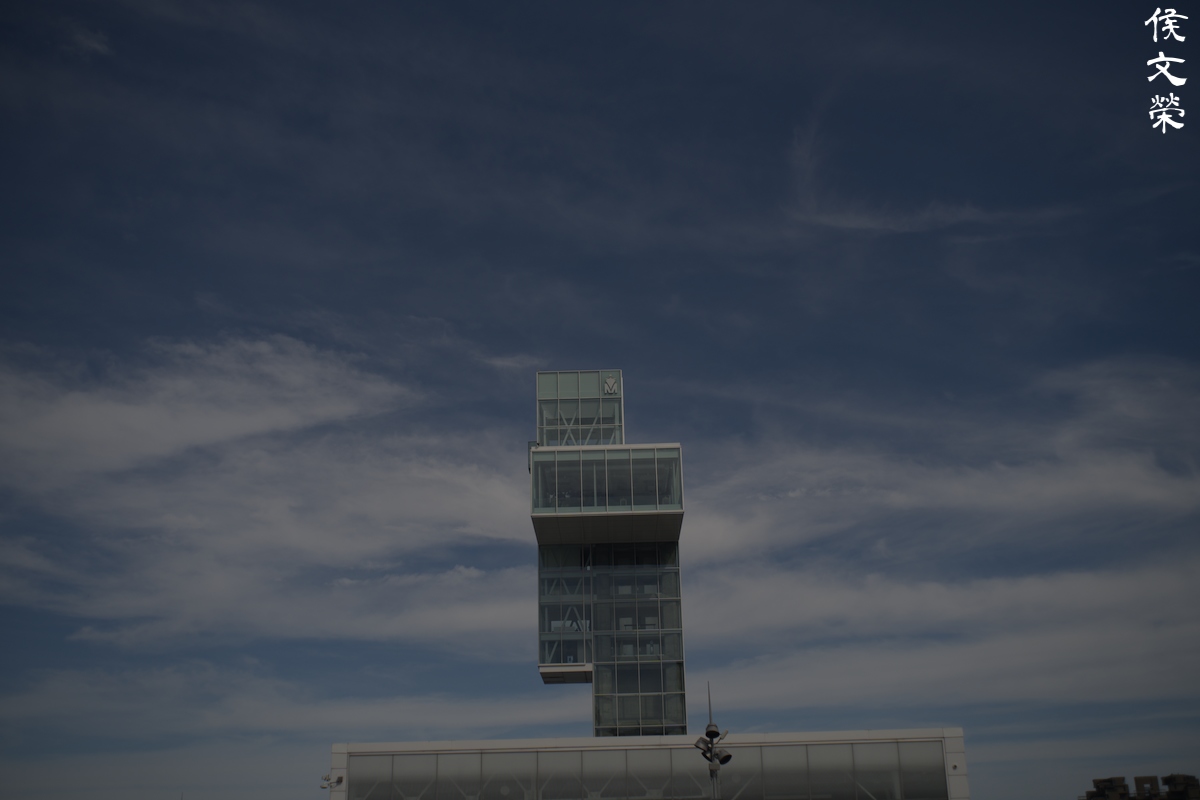
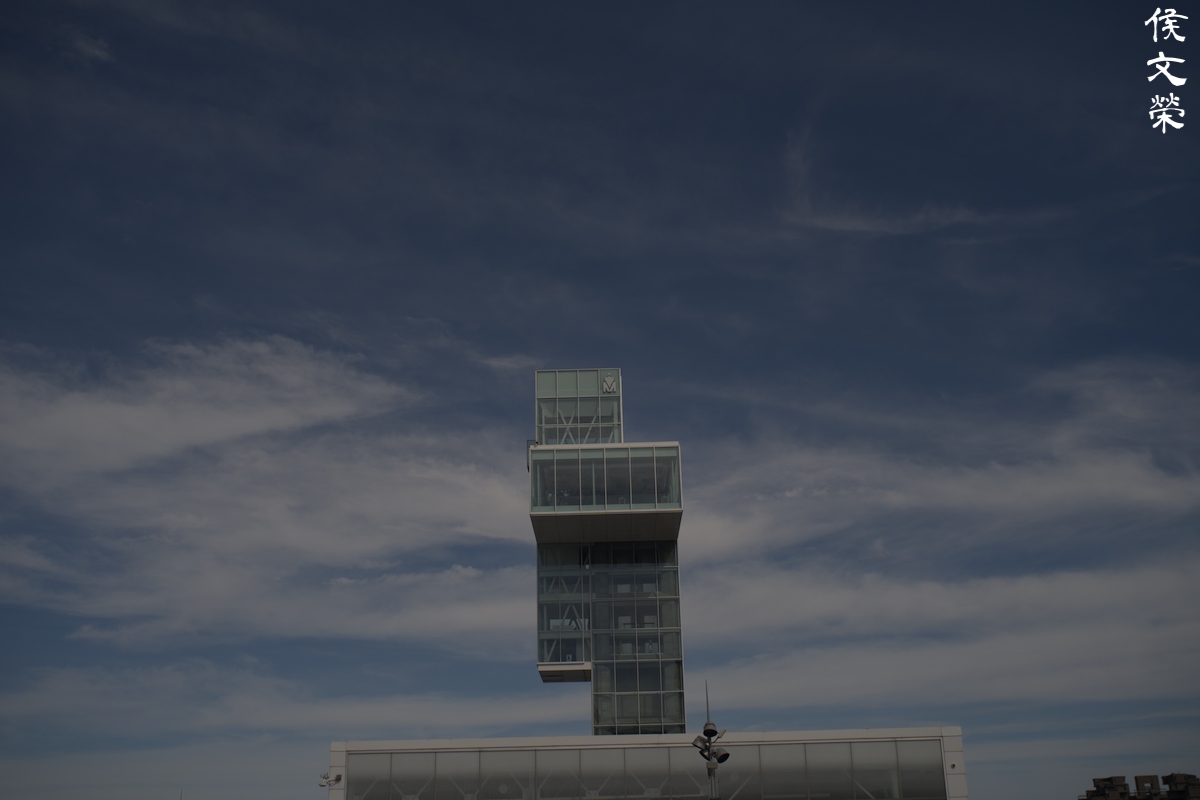
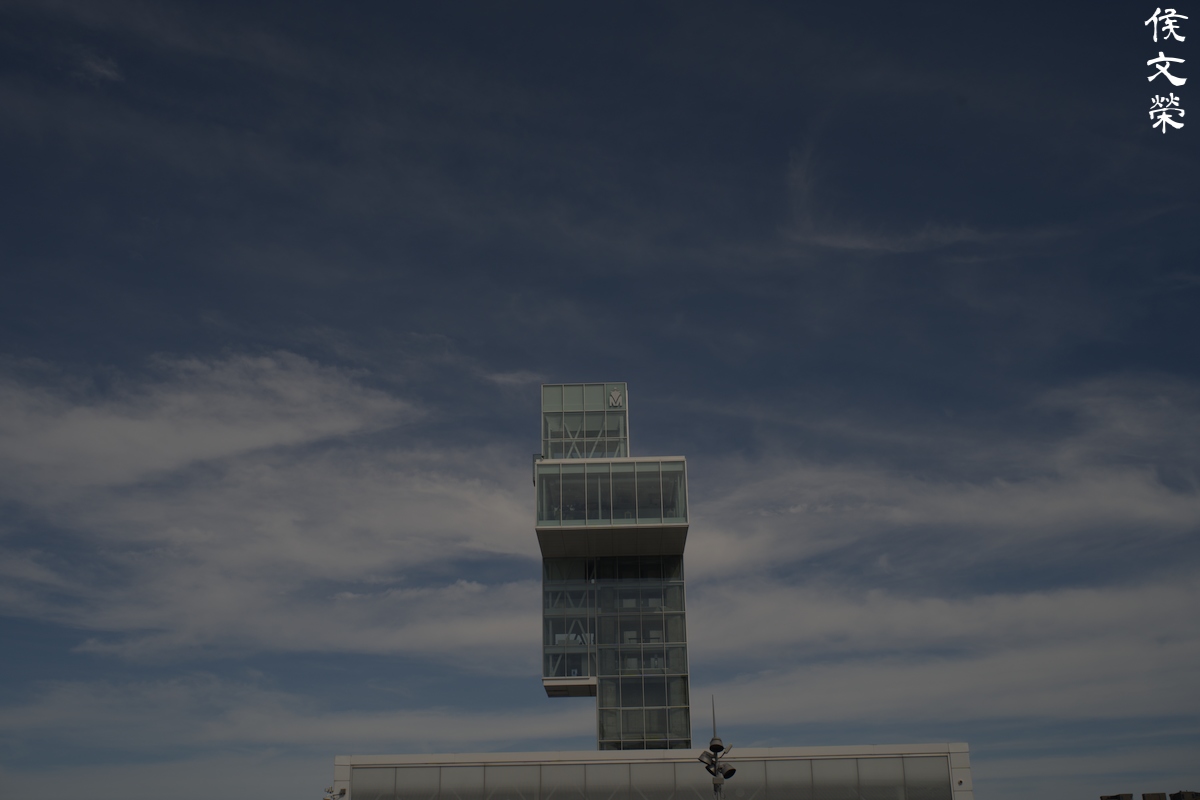
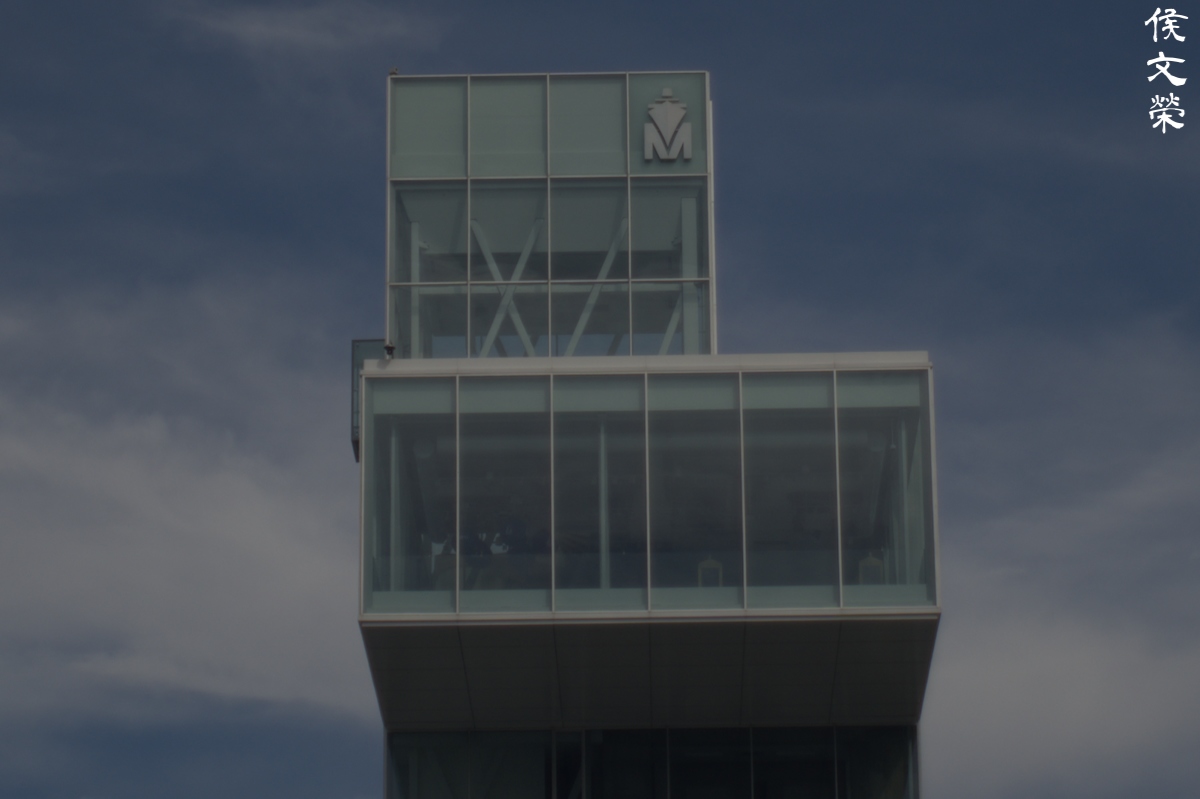
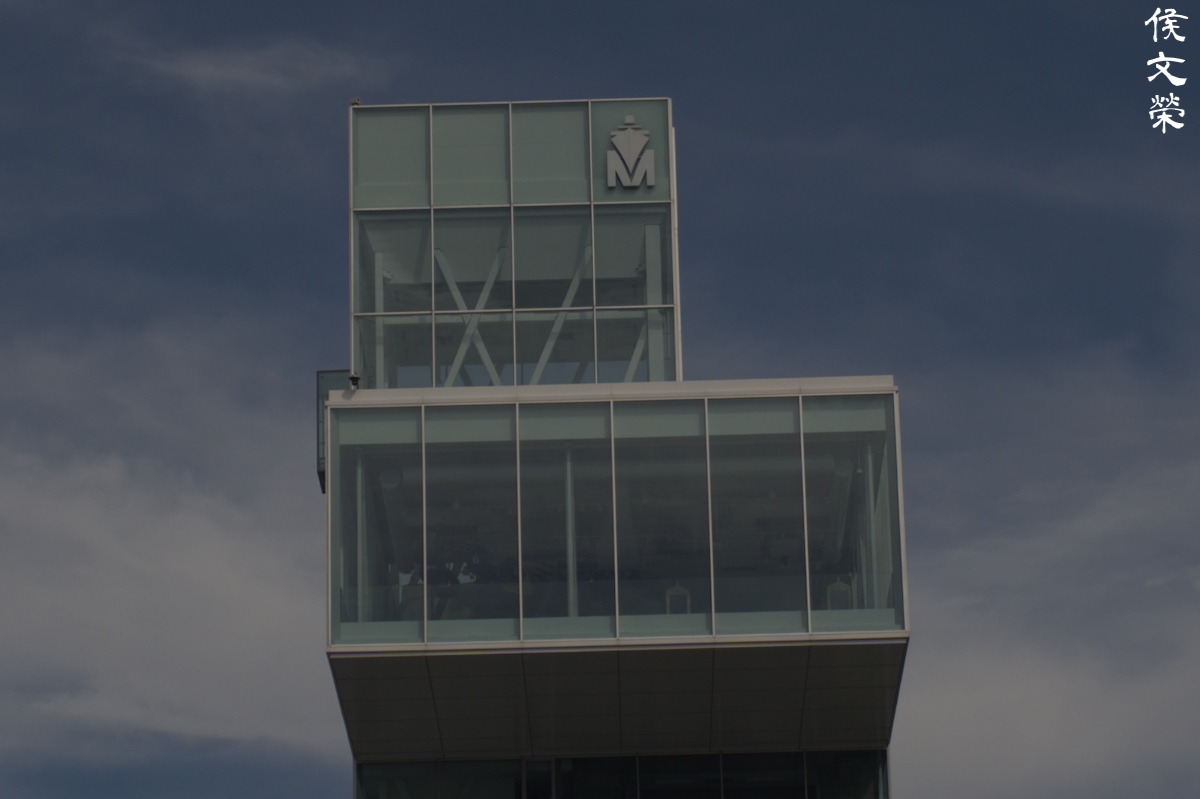
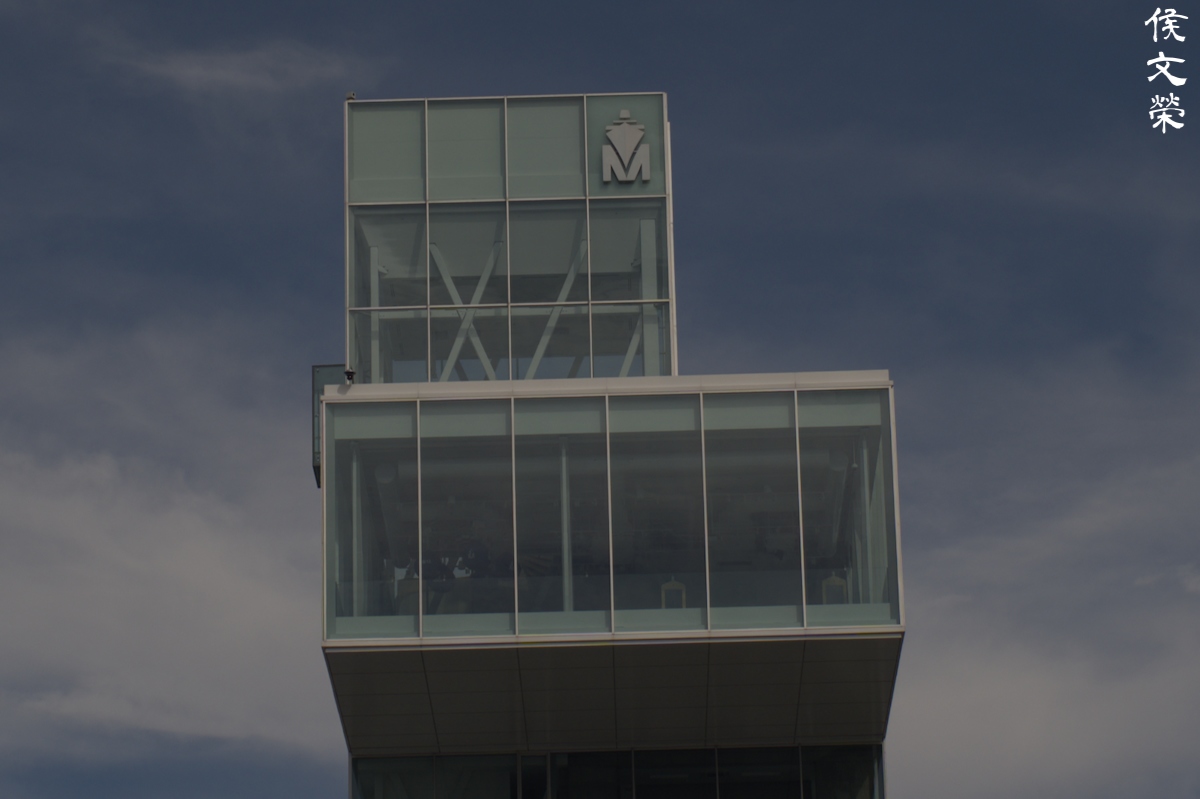
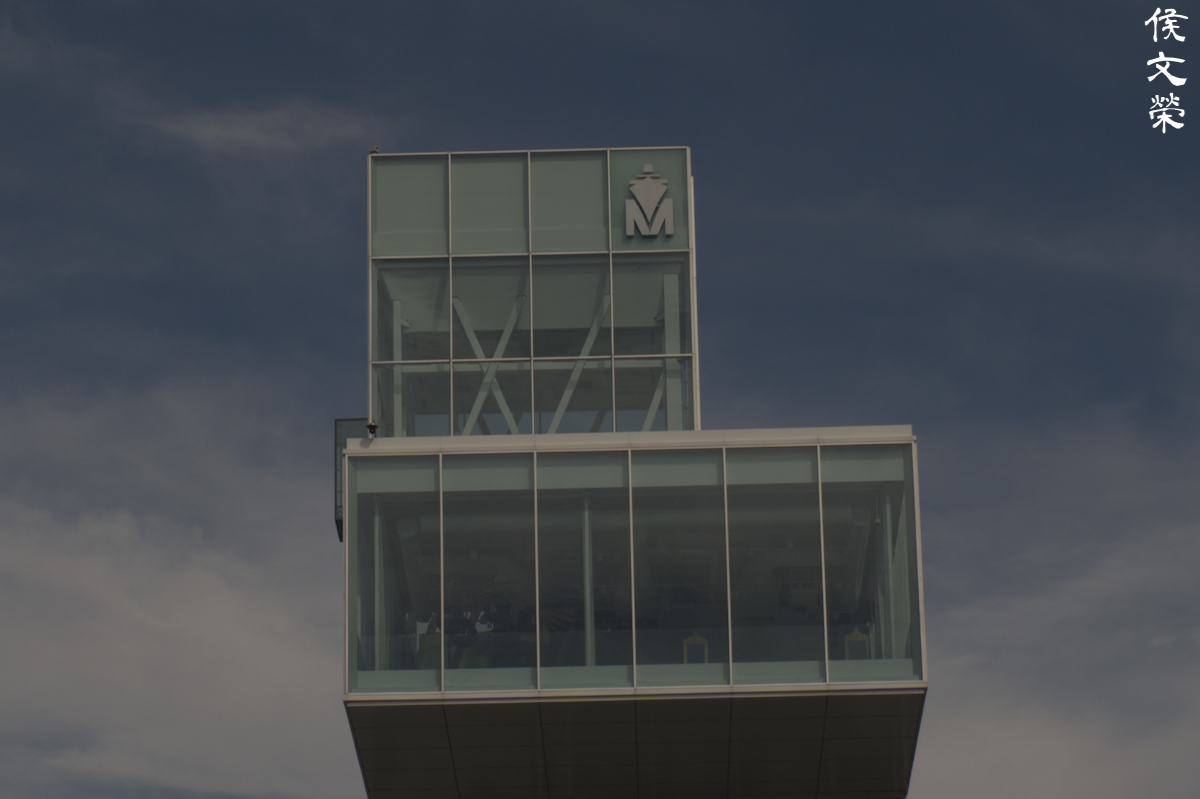
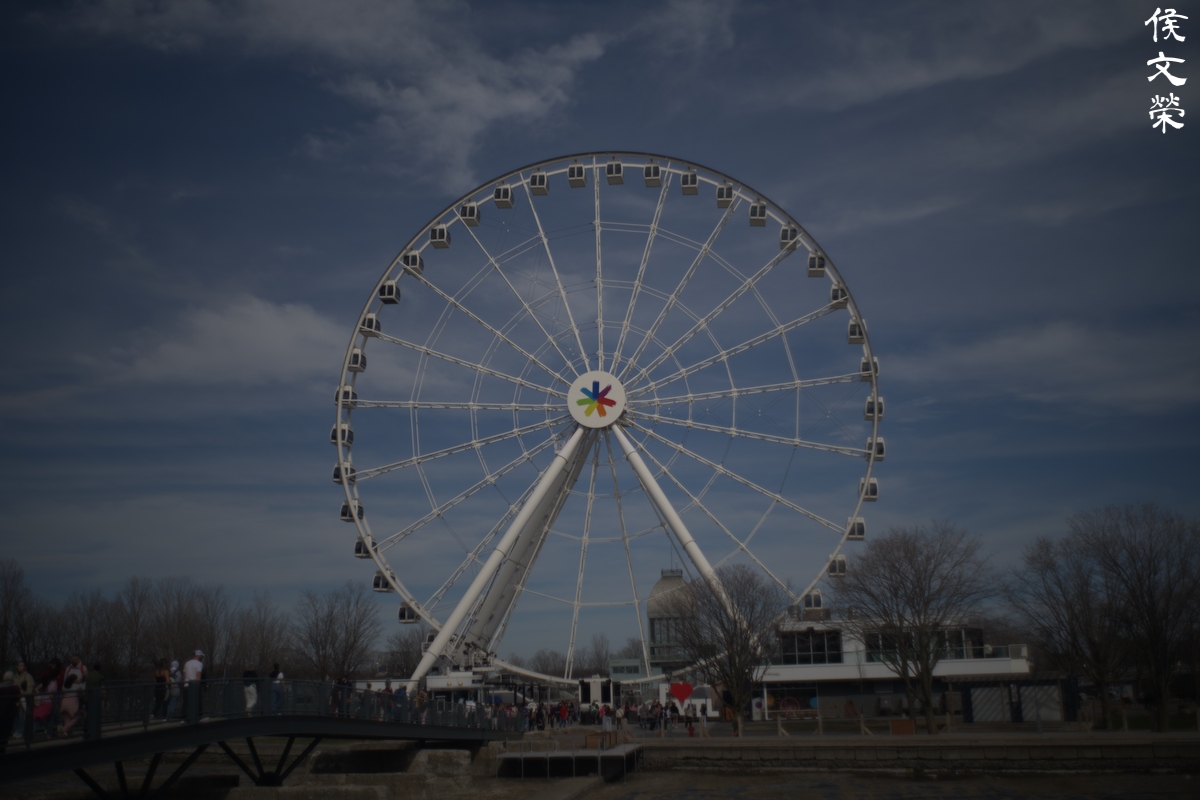
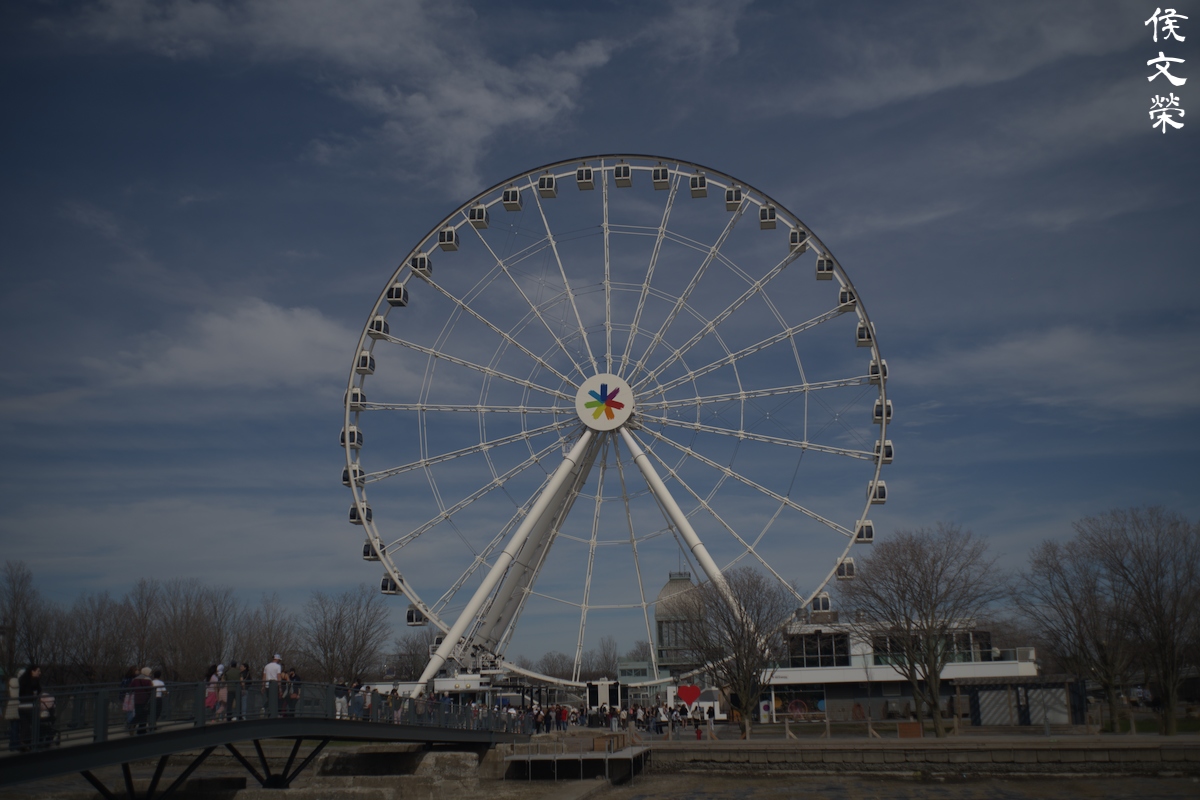
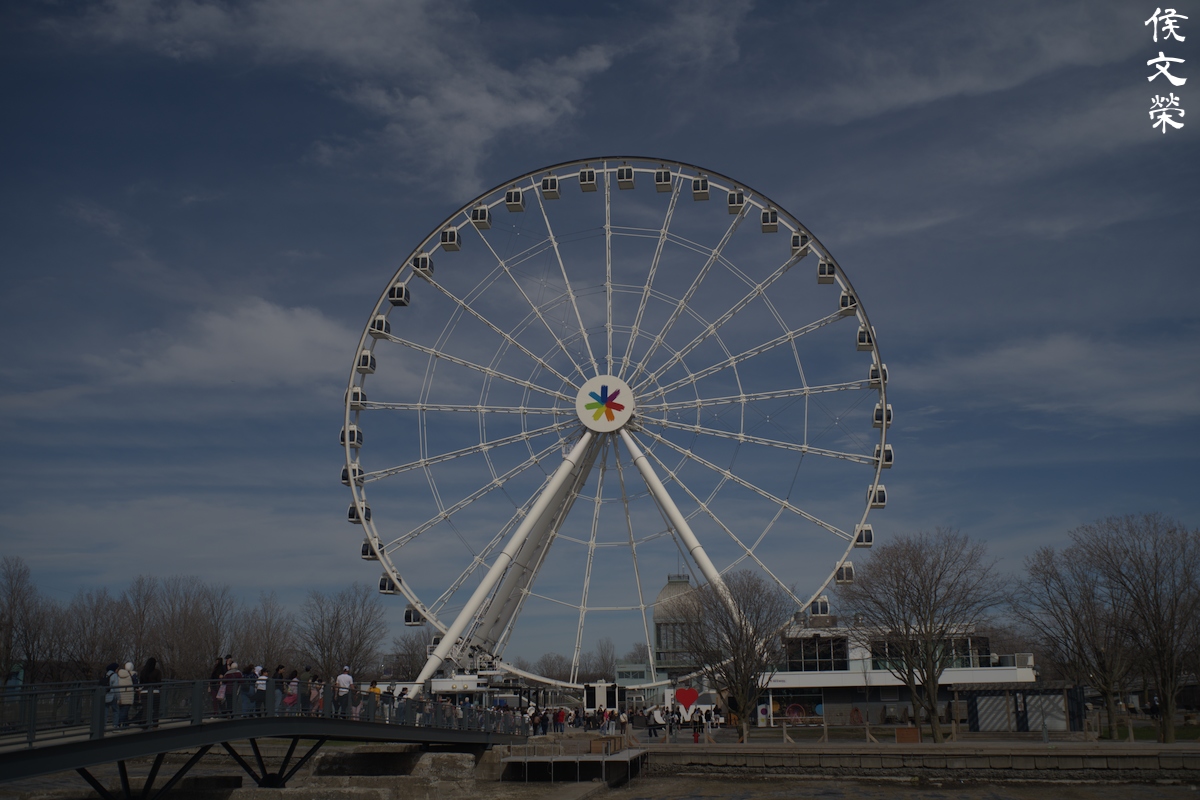

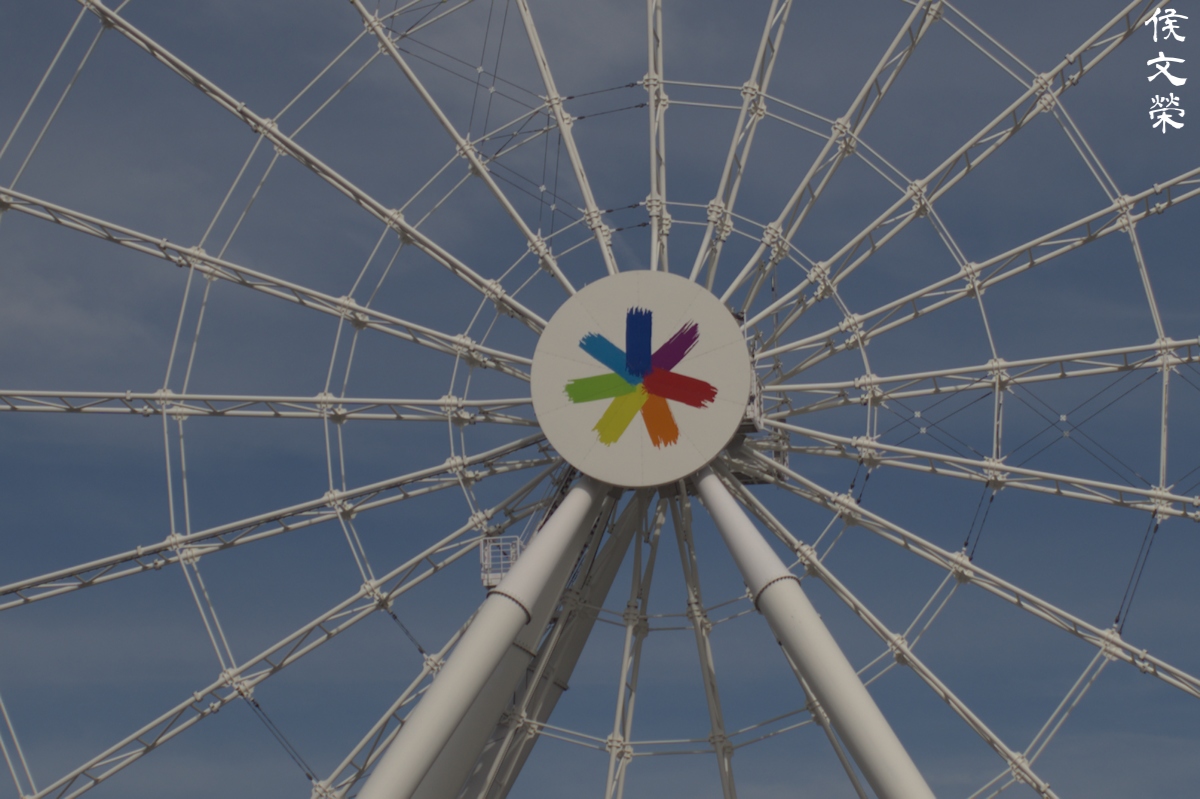
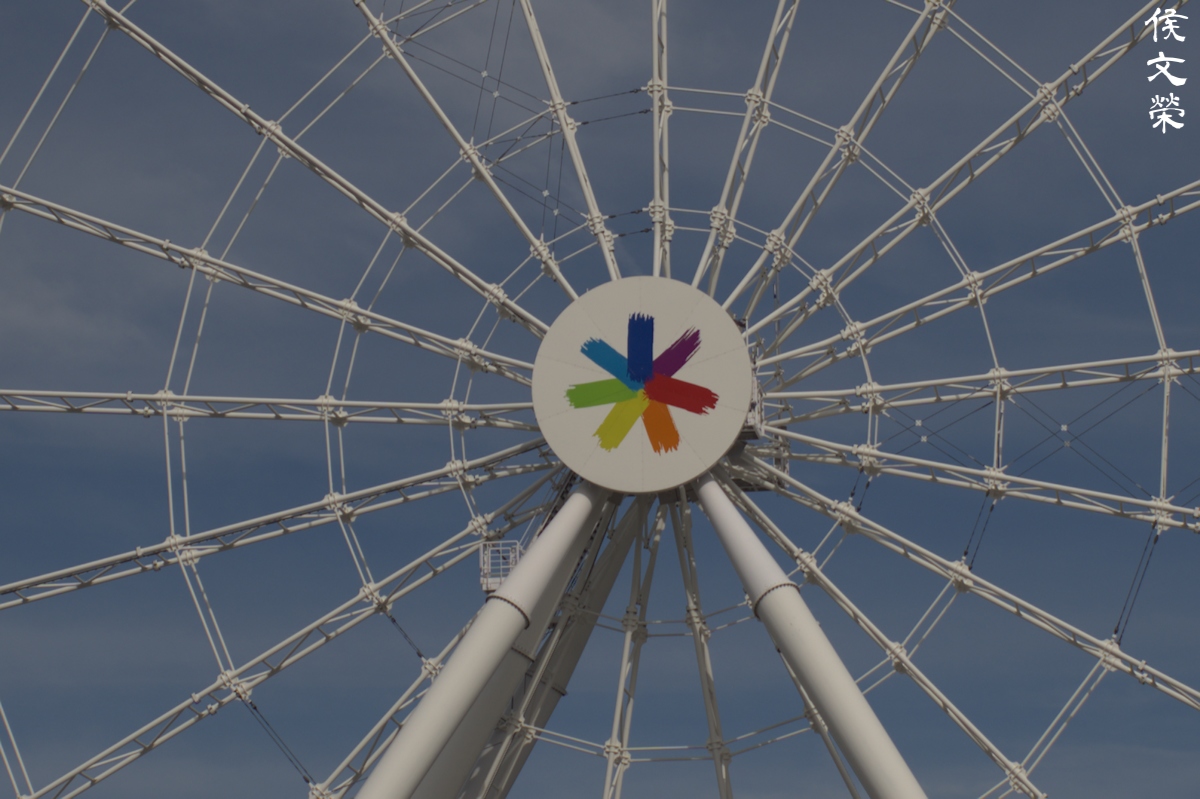
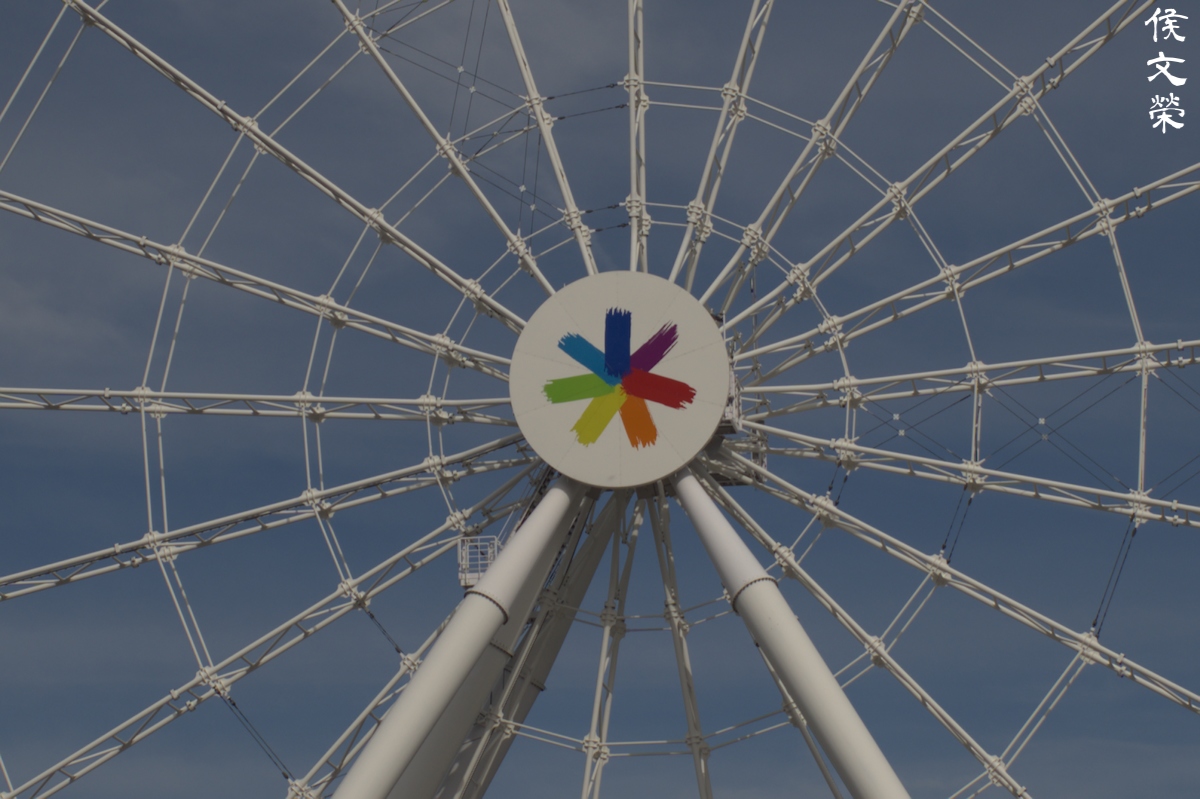
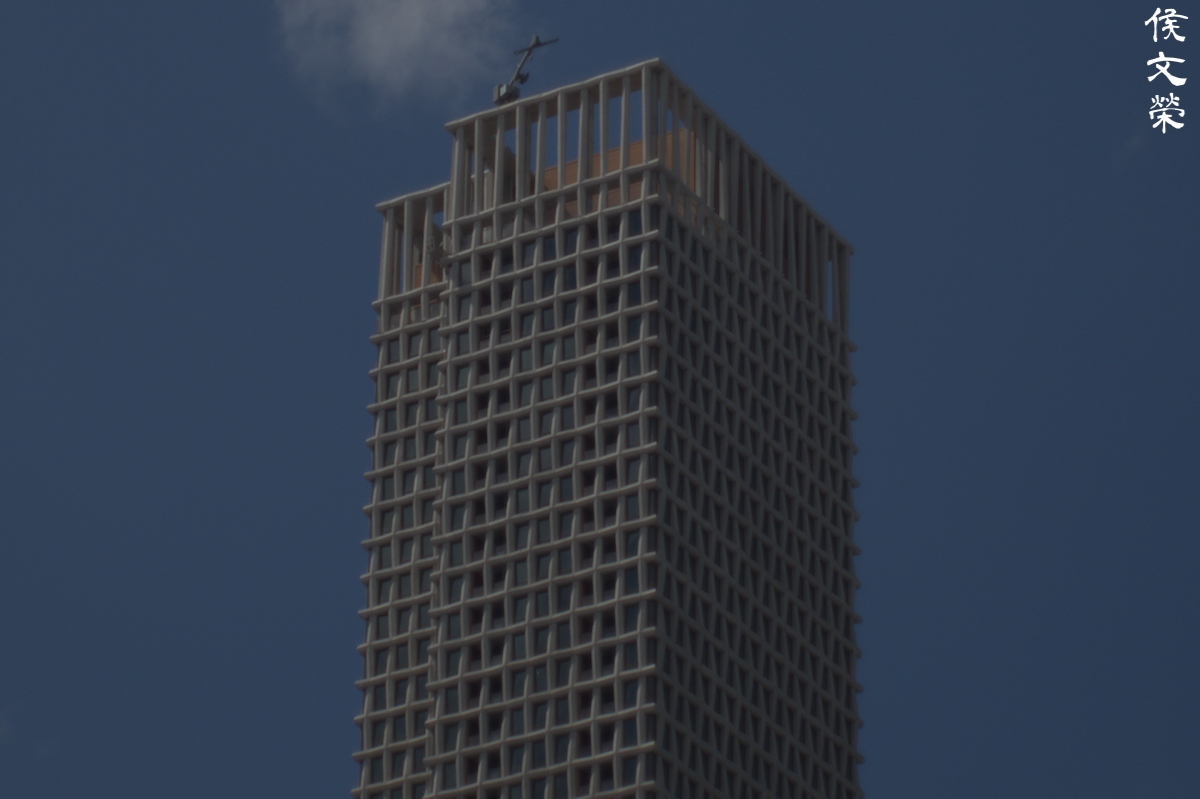
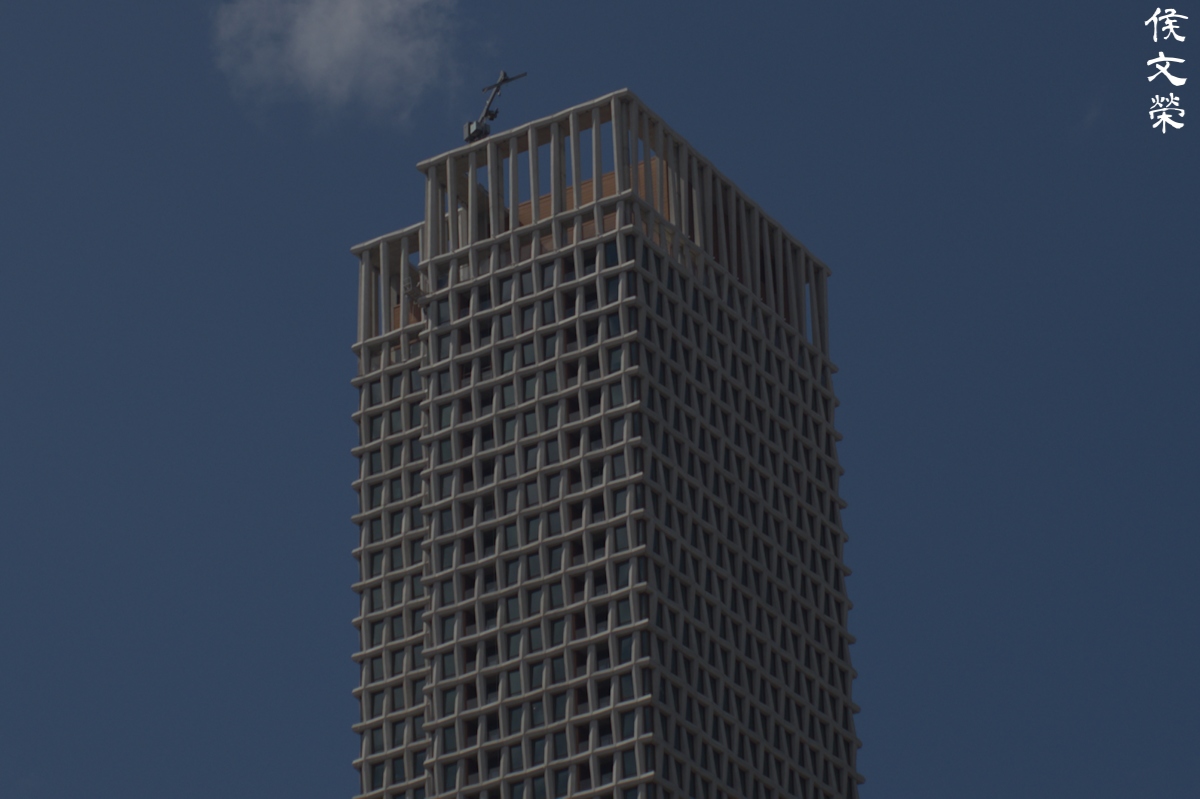
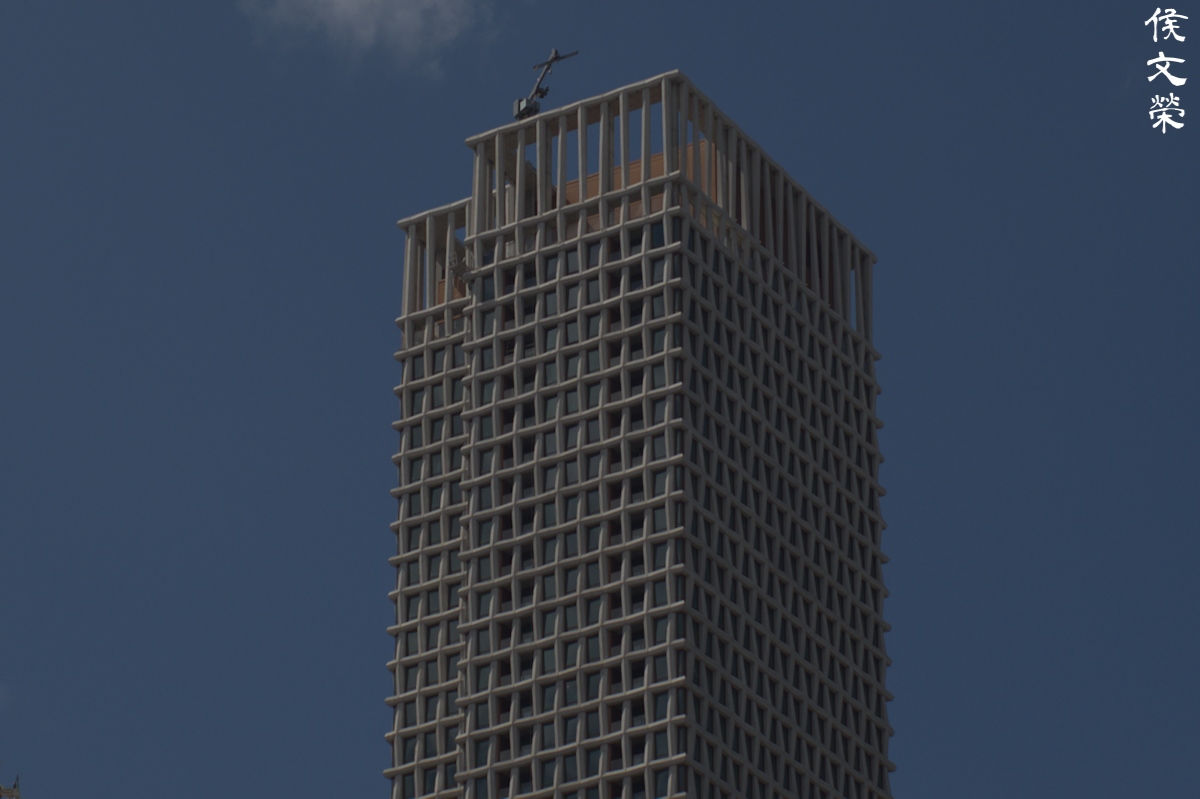
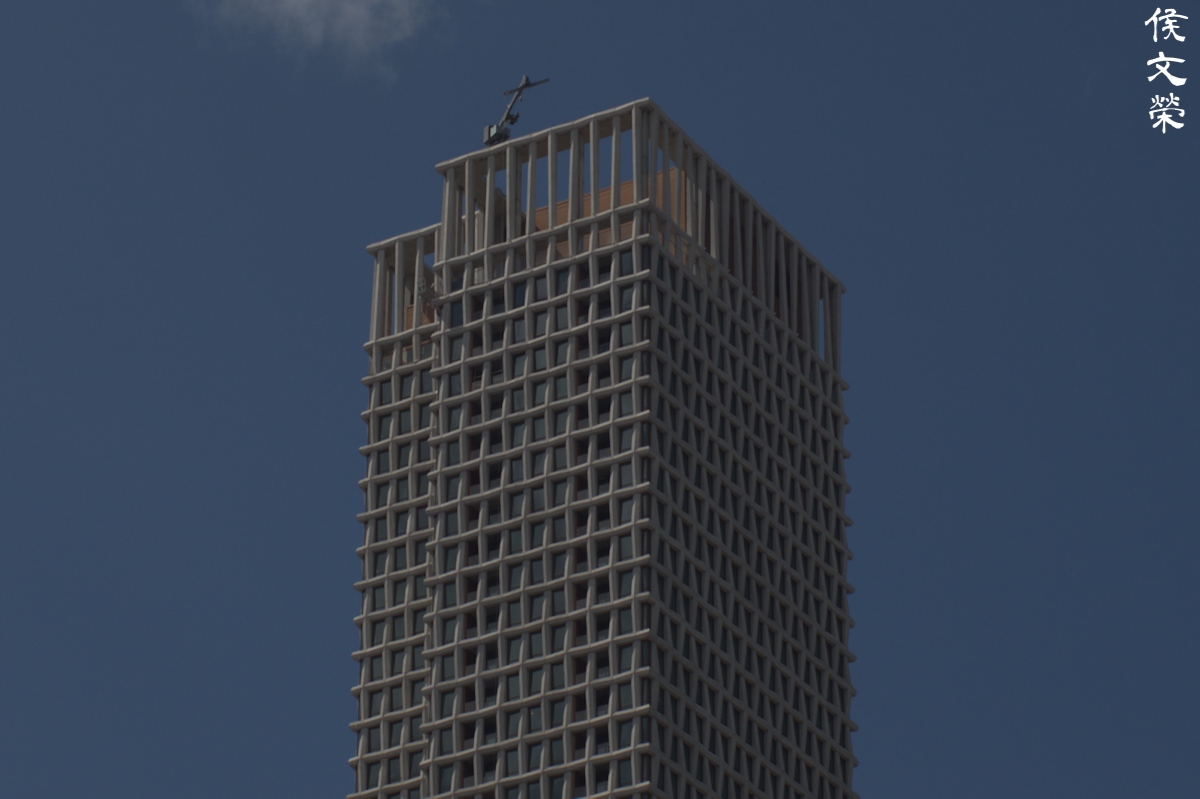

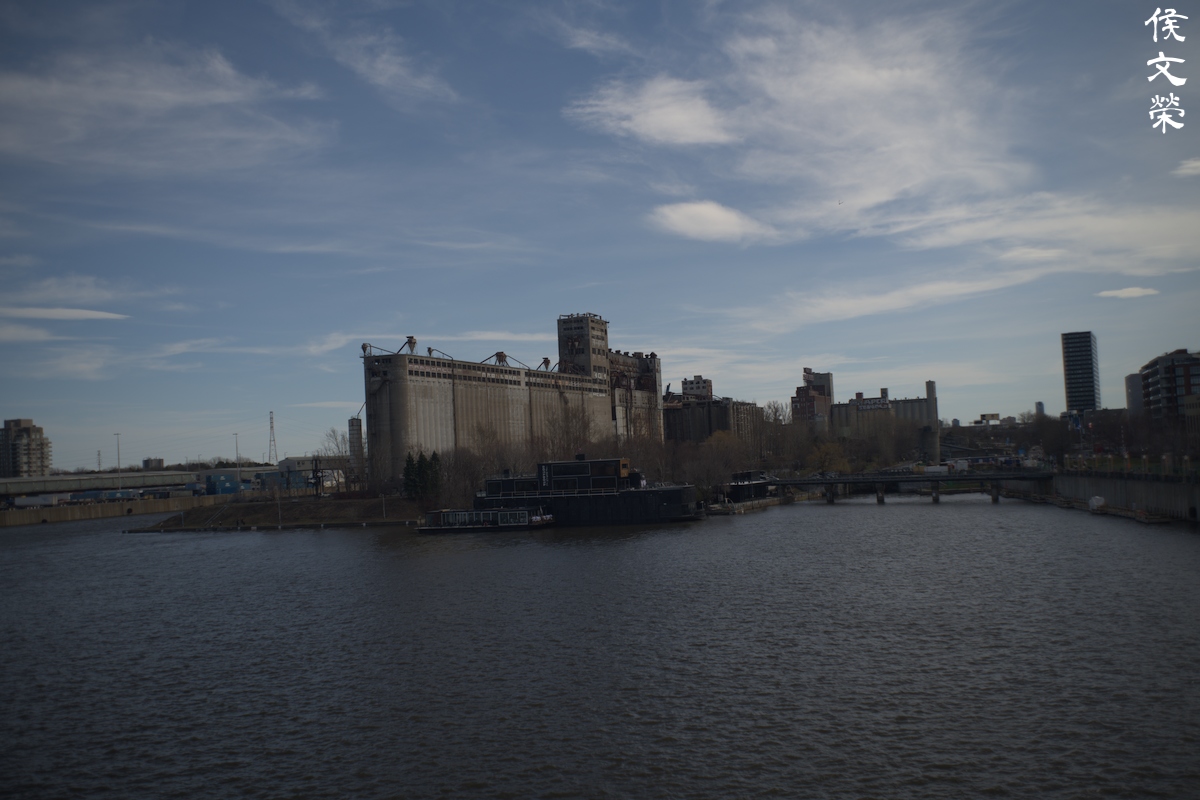

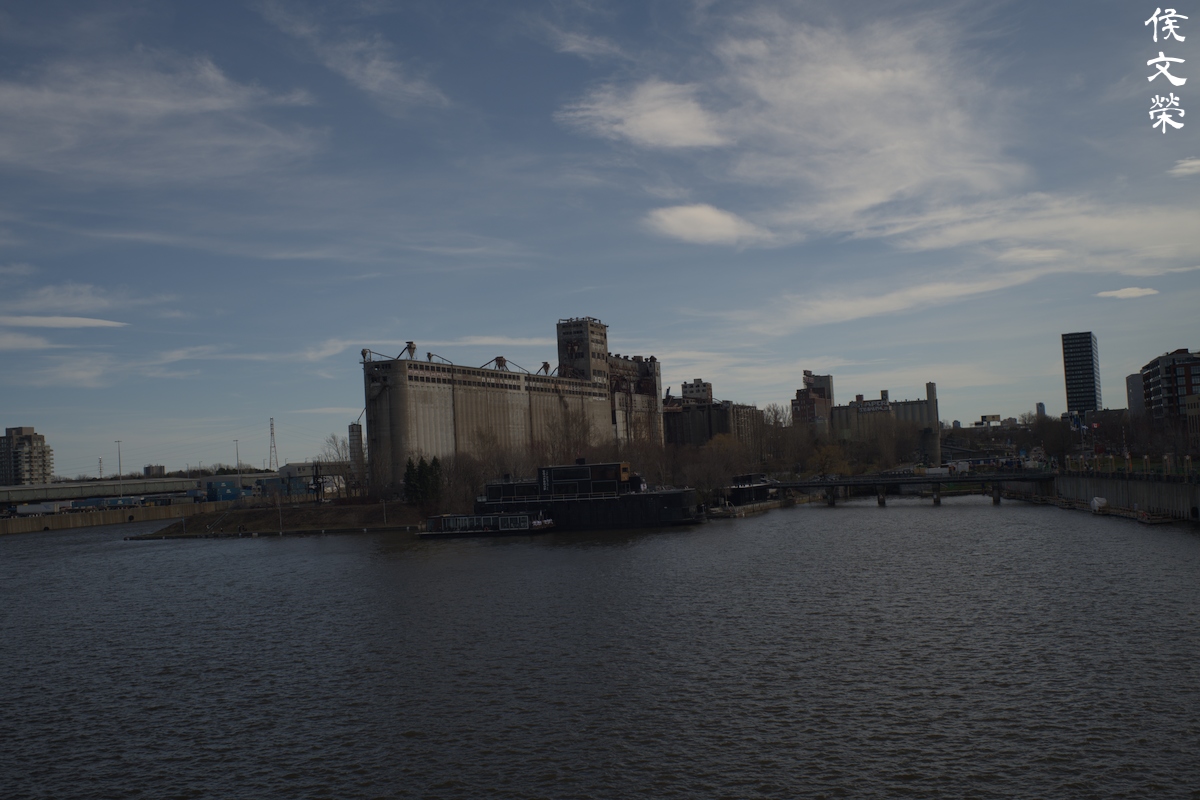
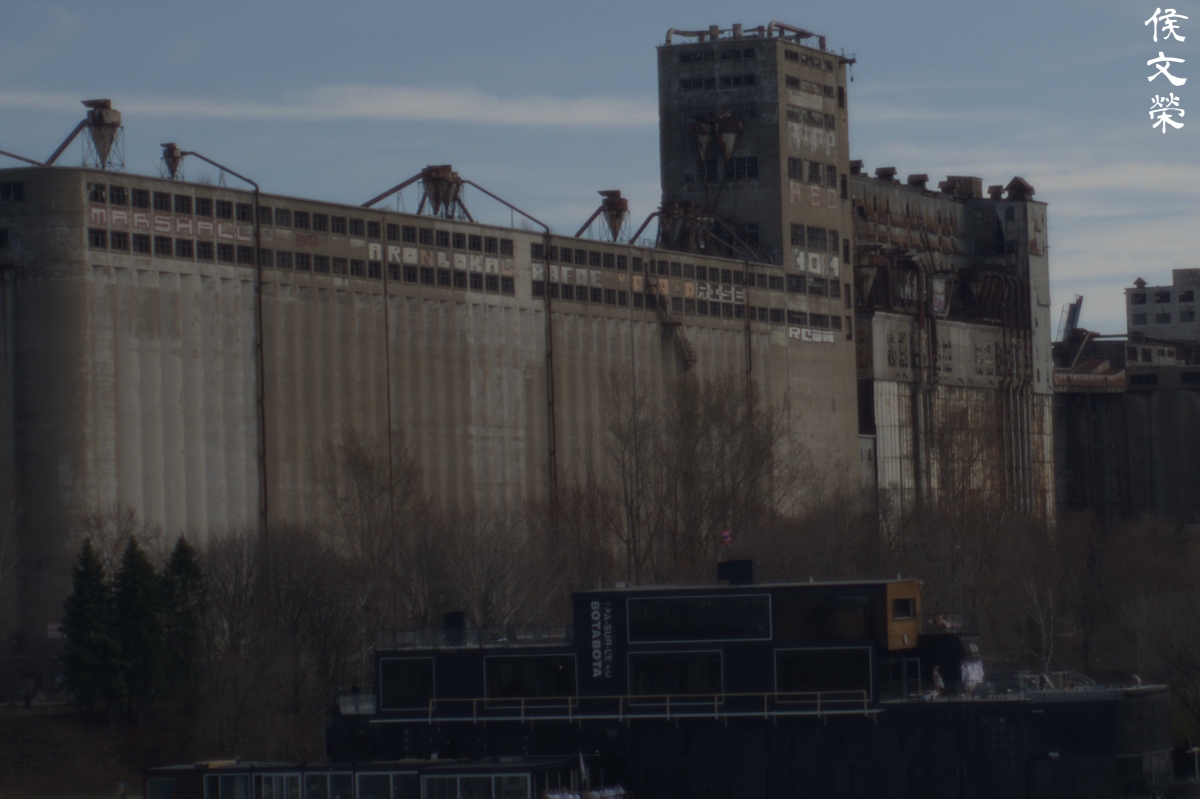
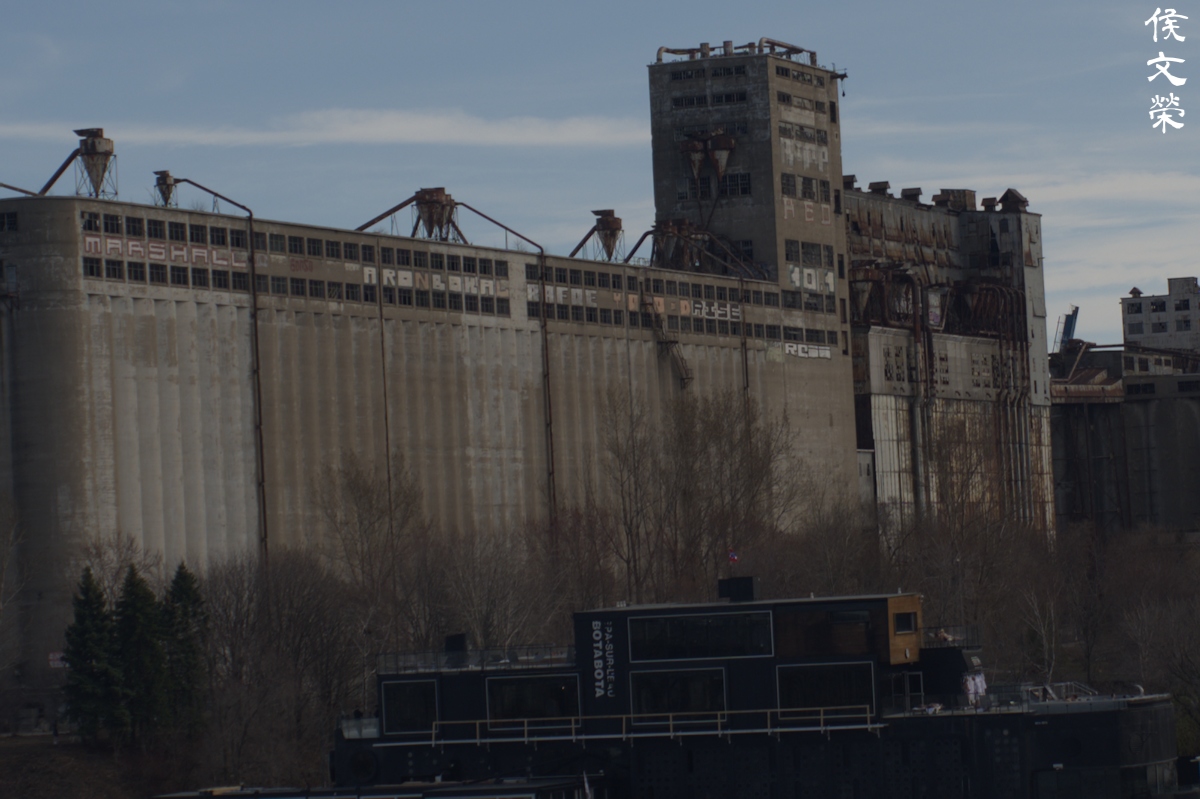
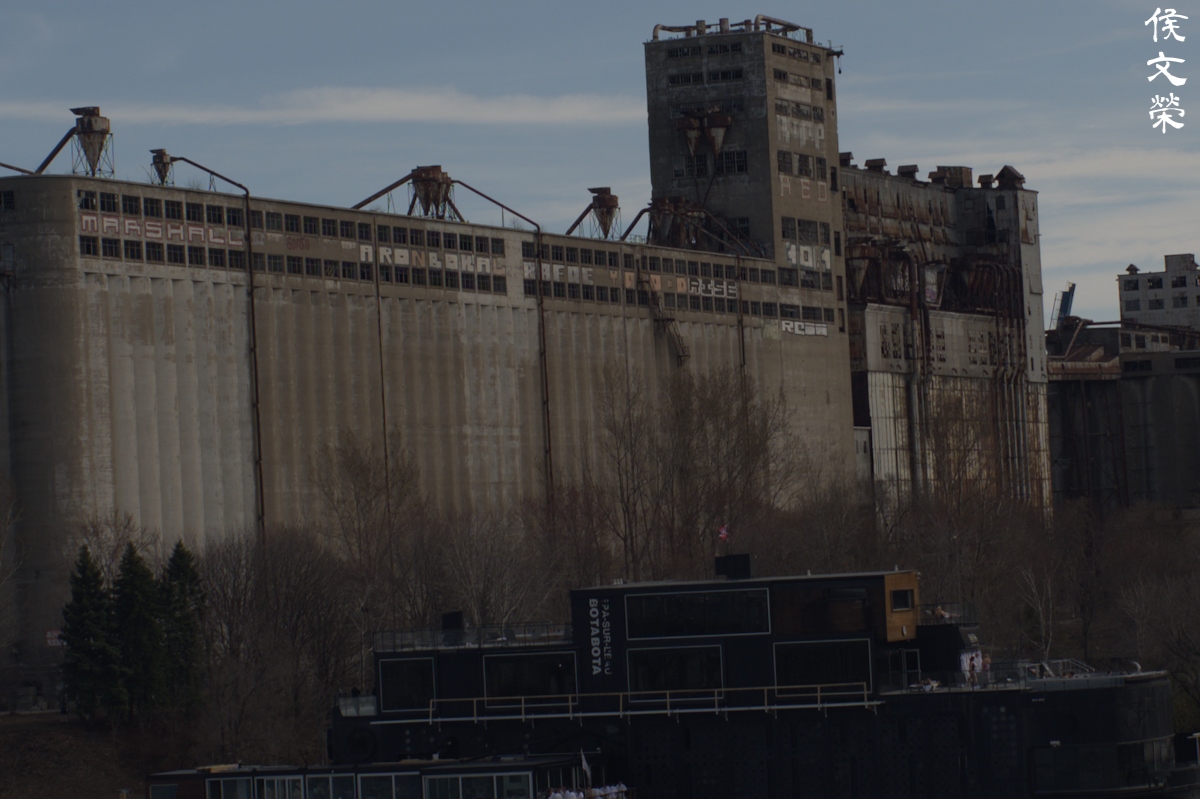
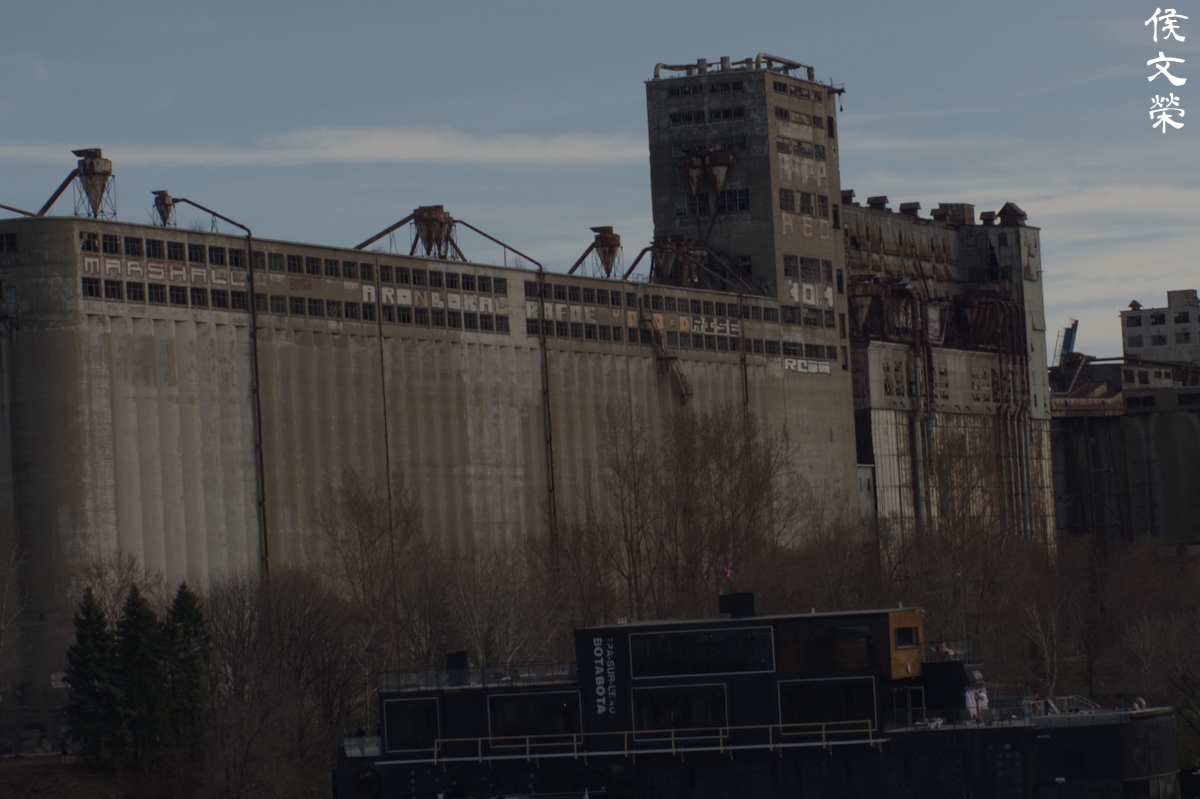
(Click to enlarge)
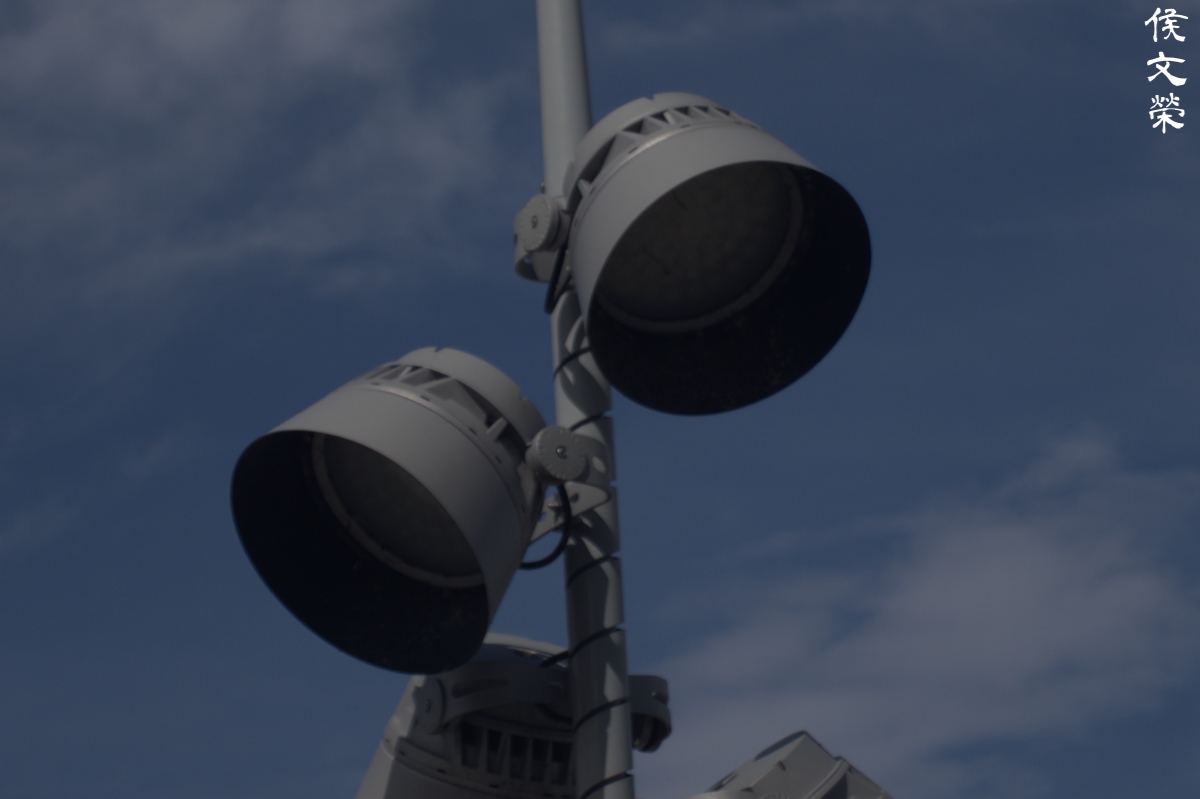
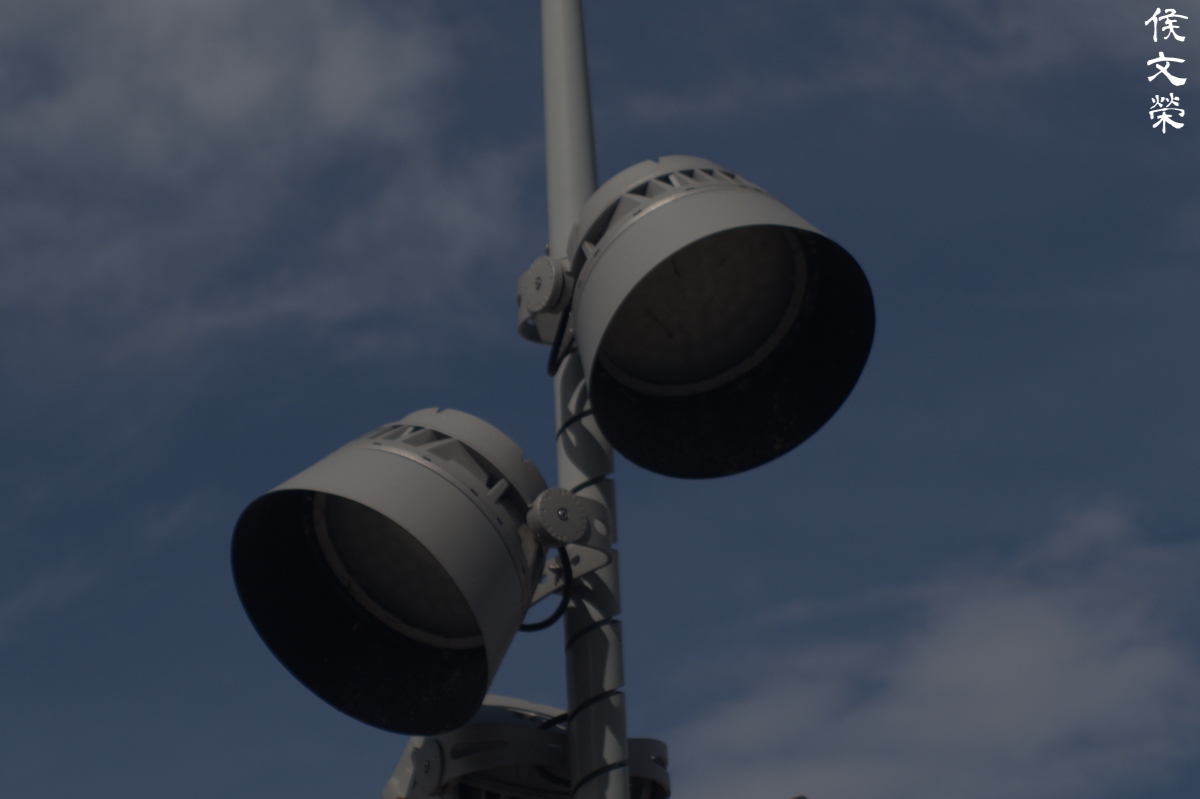
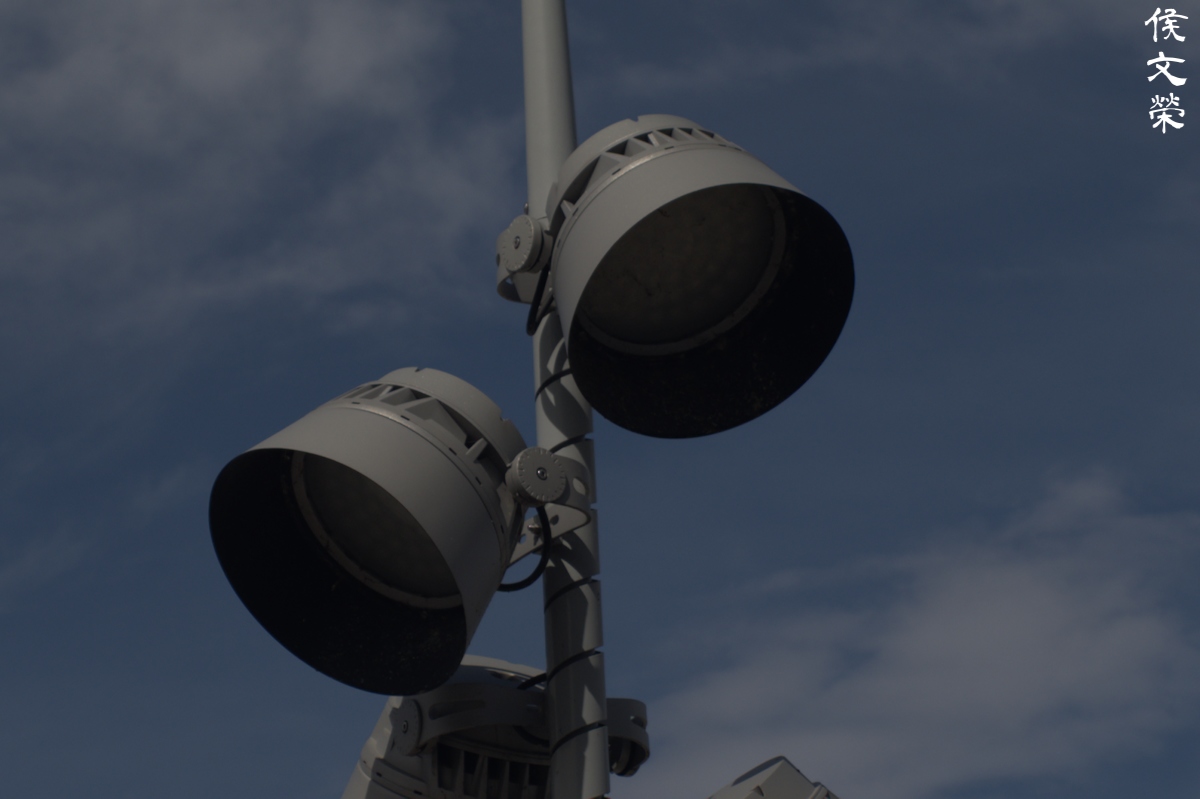
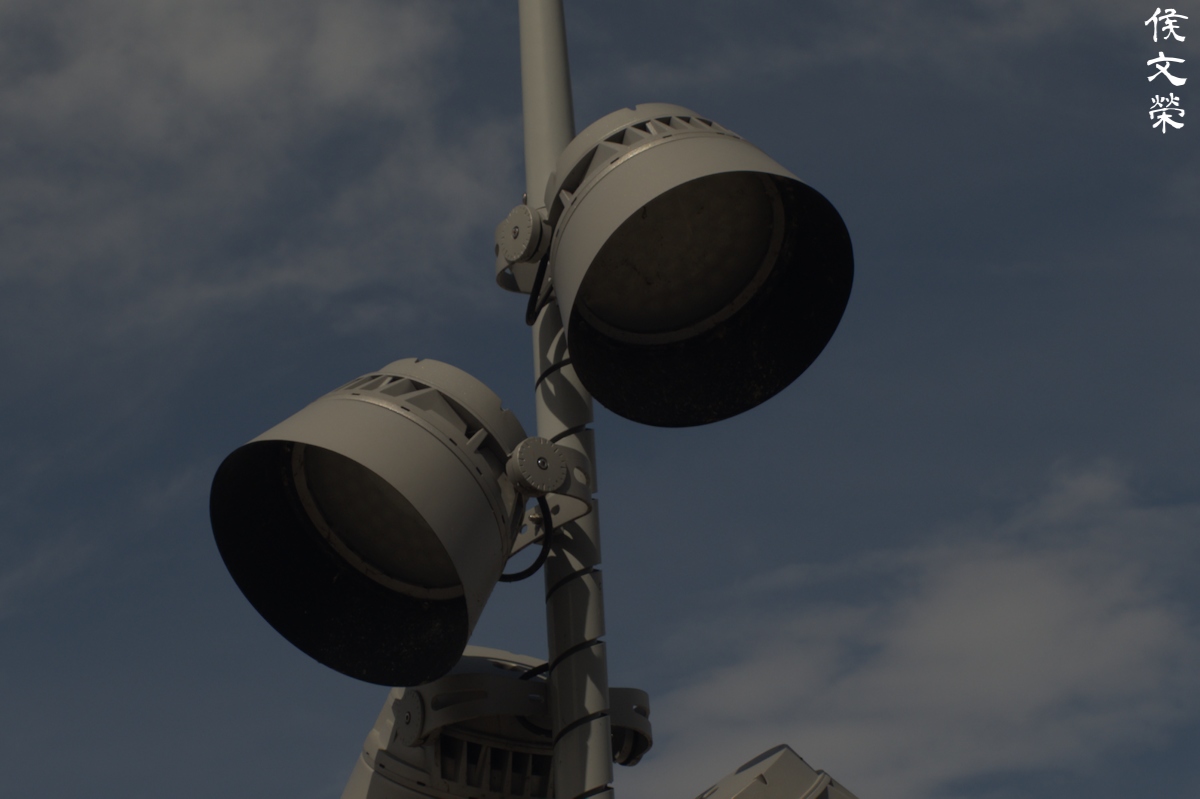
Sharpness is excellent for a very old lens specially when shooting up close until the moderate distances. It’s sharp at f/2.8 but you’ll notice that the resolution is lacking which prevent it from resolving finer details, though it’s more than enough for film. You’ll see that the corners are lacking in both sharpness and resolving power but it’s going to catch up really quick. Stopping the iris down to f/4 evens things out a bit as the corners look somewhat better. The center is starting to look really good thanks to the resolution, it’s now able to resolve small details with good clarity. The center peaks at f/5.6 or at least it looks to be that way while the corners are starting to look decent but still lagging behind by a stop or two. This is the best aperture to shoot this with if you ask me. You won’t be gaining much from stopping it down to f/8 as the center improves just a bit, it’s the corners that benefit the most and you can see that it’s starting to look much better but still not as good as the center (at f/2.8). This should be your default aperture when shooting on a sunny day.
While the lens is sharp and the contrast is remarkable it’s worth mentioning that the ugly haziness will affect the resulting photos. I do get amazing pictures when I am able to control it either by shooting away from the sun. I guess that a good daylight filter is the best solution for this but I wasn’t able to test with it since I don’t have one with the correct size.
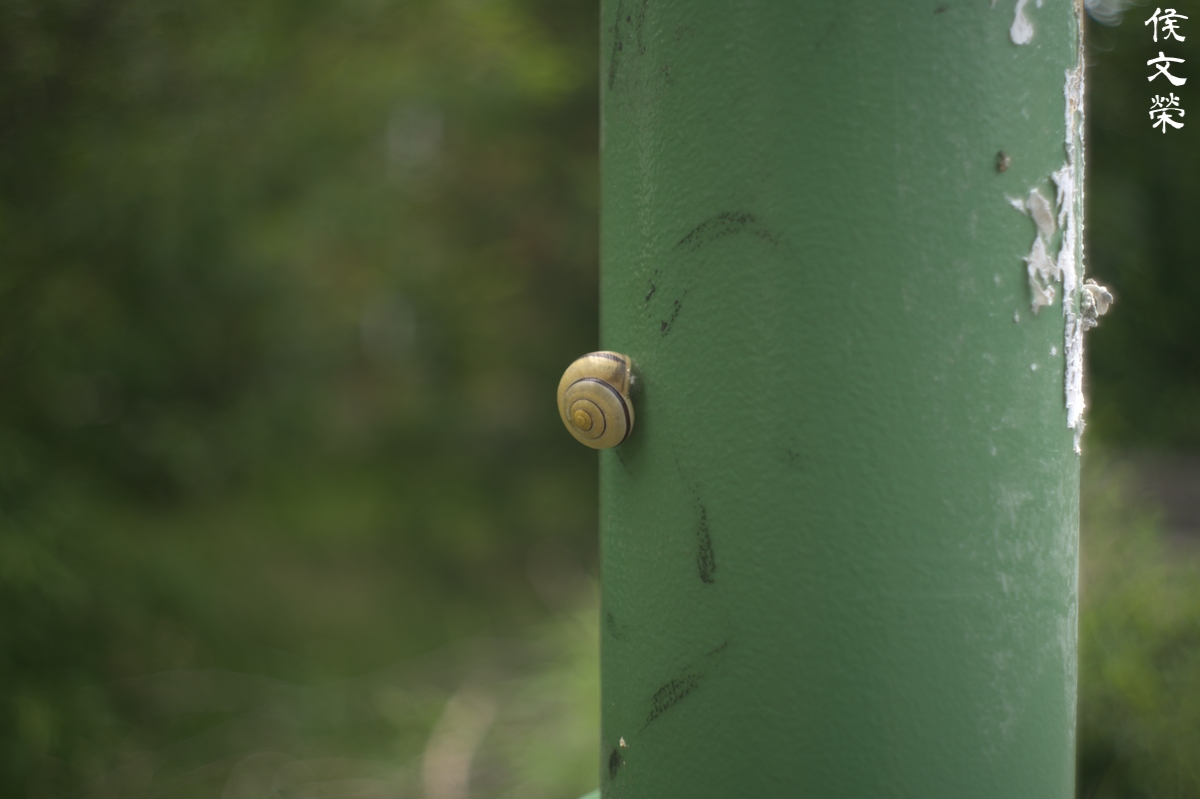
This is the closest you could ever get with this lens without the use of any extension rings. It’s not the best but it’s adequate. You’re going to want the ability to shoot really close with a wide-angle lens but this one is so old we can ignore that for now.
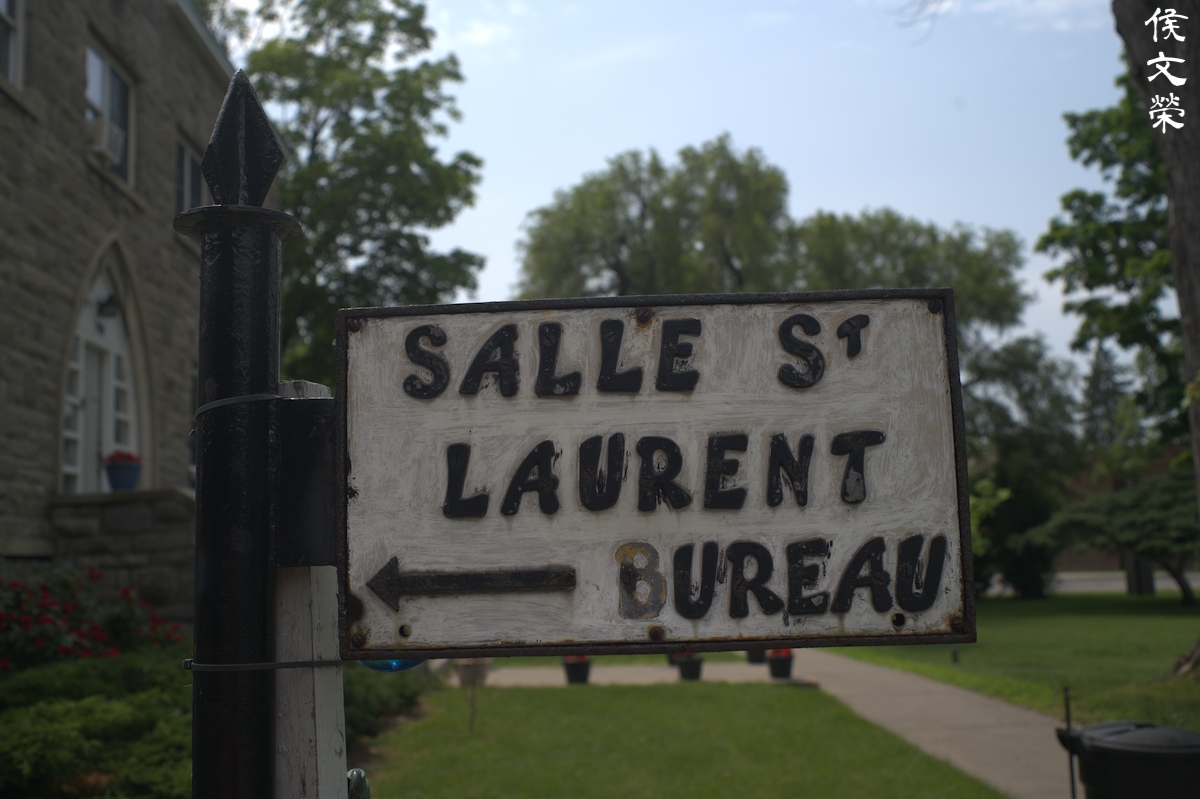
The character of the blurry parts don’t look ugly in my opinion but I have seen better ones. I am just happy that it’s not bad in any way and is actually pleasing when compared to what we see from many Japanese rangefinder lenses of the same vintage.
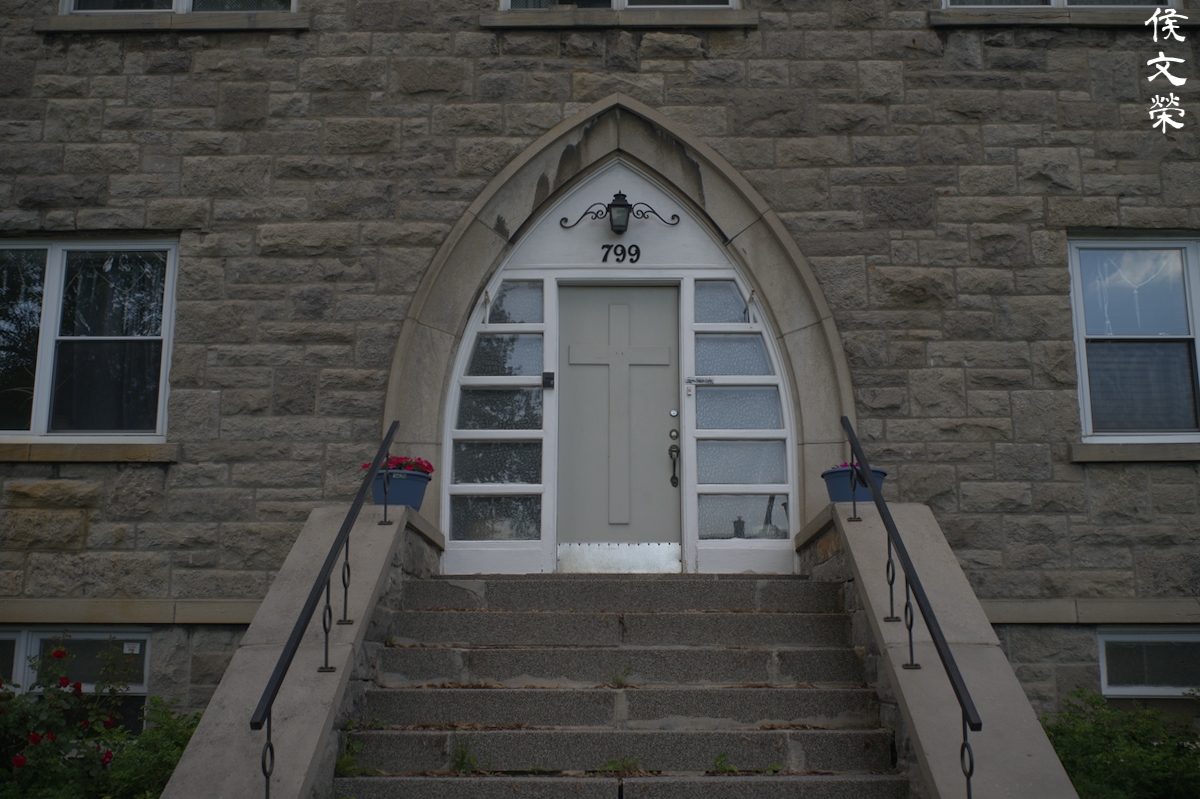
I guess you’re able to see the effects of distortion happen near the horizontal edges of this picture if you try hard enough. It’s not as bad as I was expecting. In fact, I have seen worse from many lenses that were made decades after this one was sold!

It’s even less obvious when you’re shooting a scene with a little bit more variation in detail even if it’s symmetrical. You’re able to get away with it easily most of the time.
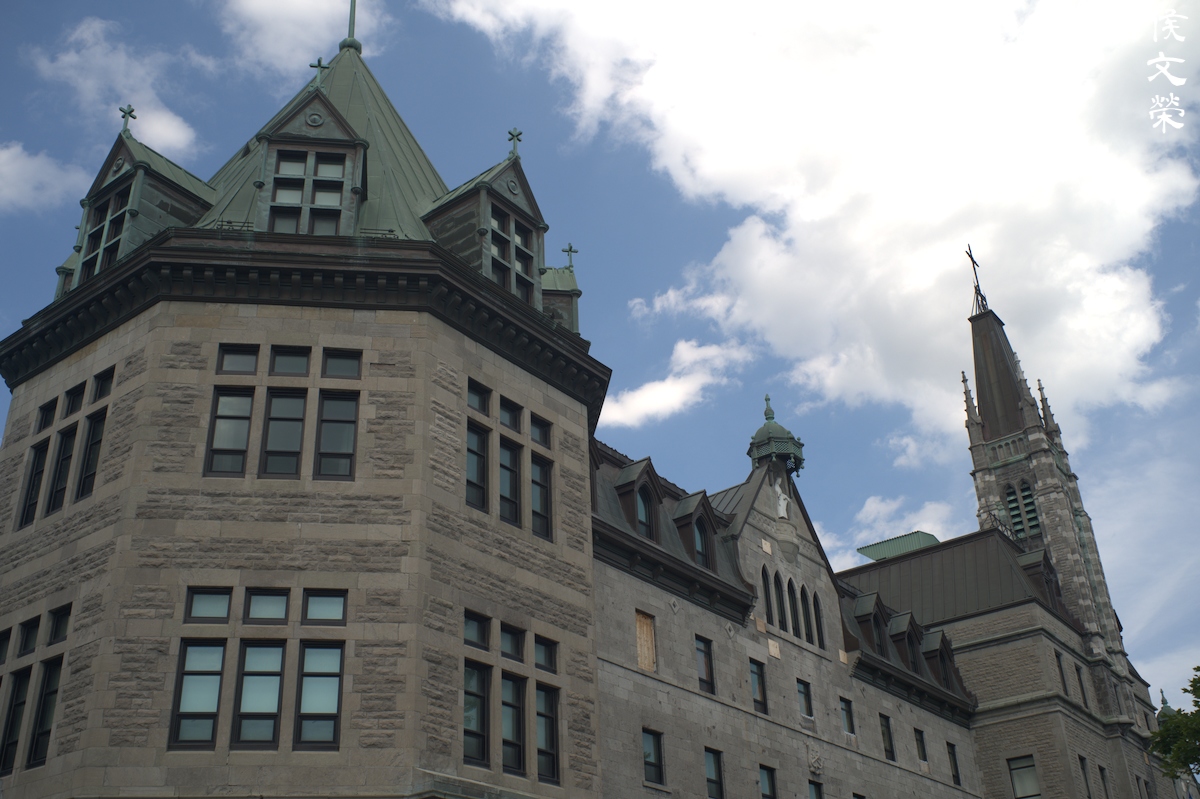
Of course, angling your shot in such a way so that your horizontal lines aren’t parallel to the edges of the frame will be great for avoiding that ugly curved look in your straight lines.
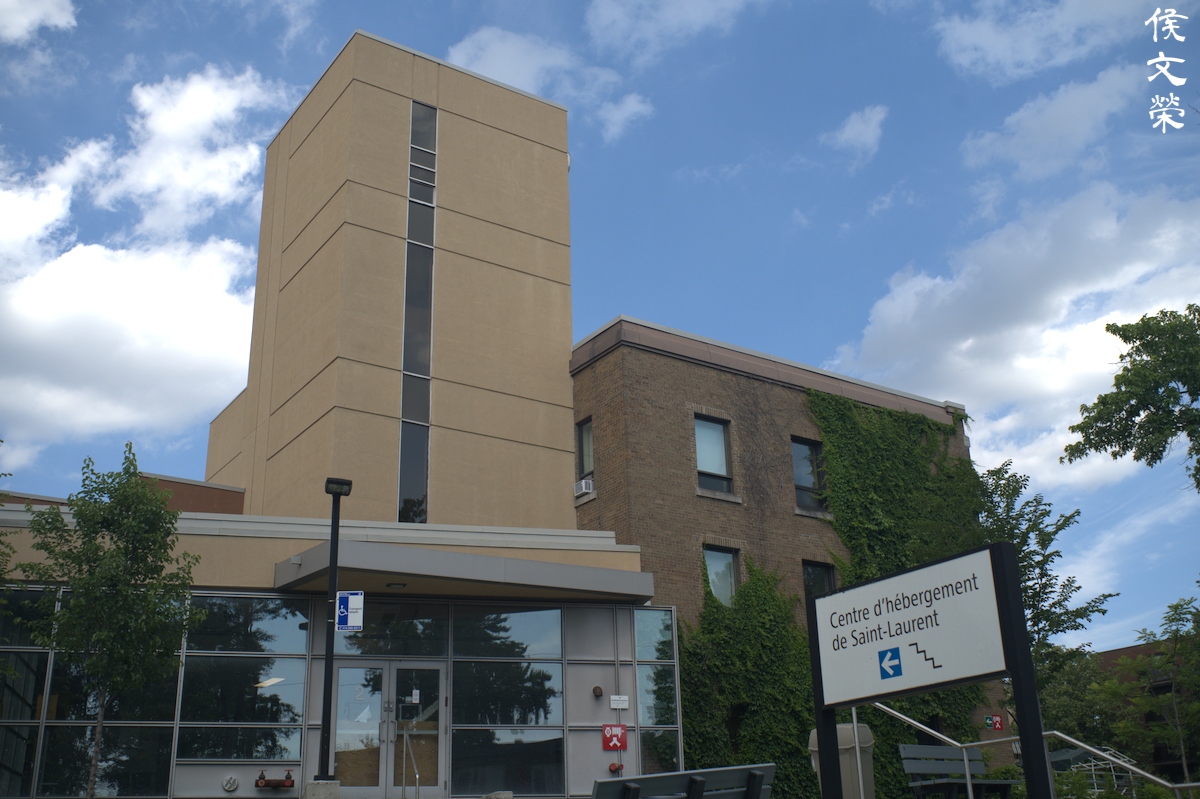
This building is typical of brutalist Communist architecture, with its oppressive lines and lack of delicate beauty. I was able to take a nice photo of it in the sense that the lines aren’t curved.

It’s not what I would call a fast lens. In fact, f/2.8 is considered “normal” or even “slow” by many people back then! However, you should not have any trouble with it for shooting indoors or in lowlight situations as modern cameras have superb high-ISO image quality unlike what we had to go through just over a decade ago.
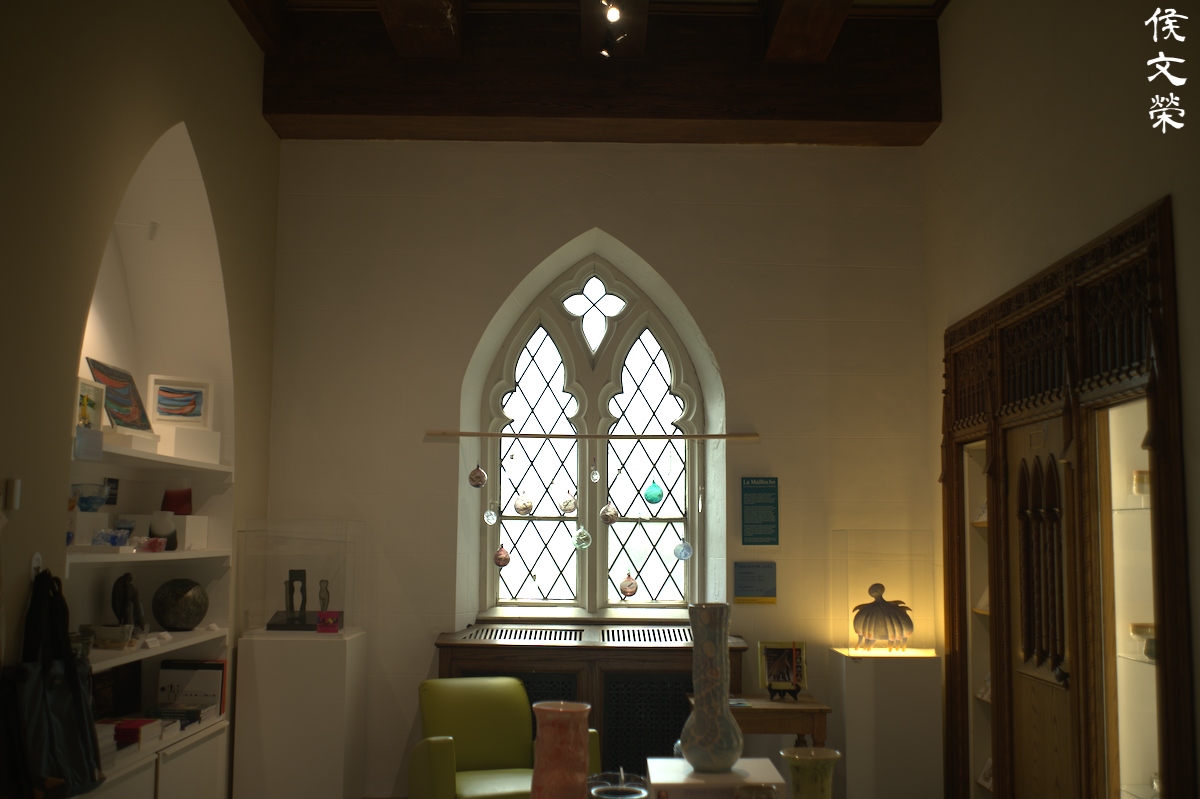

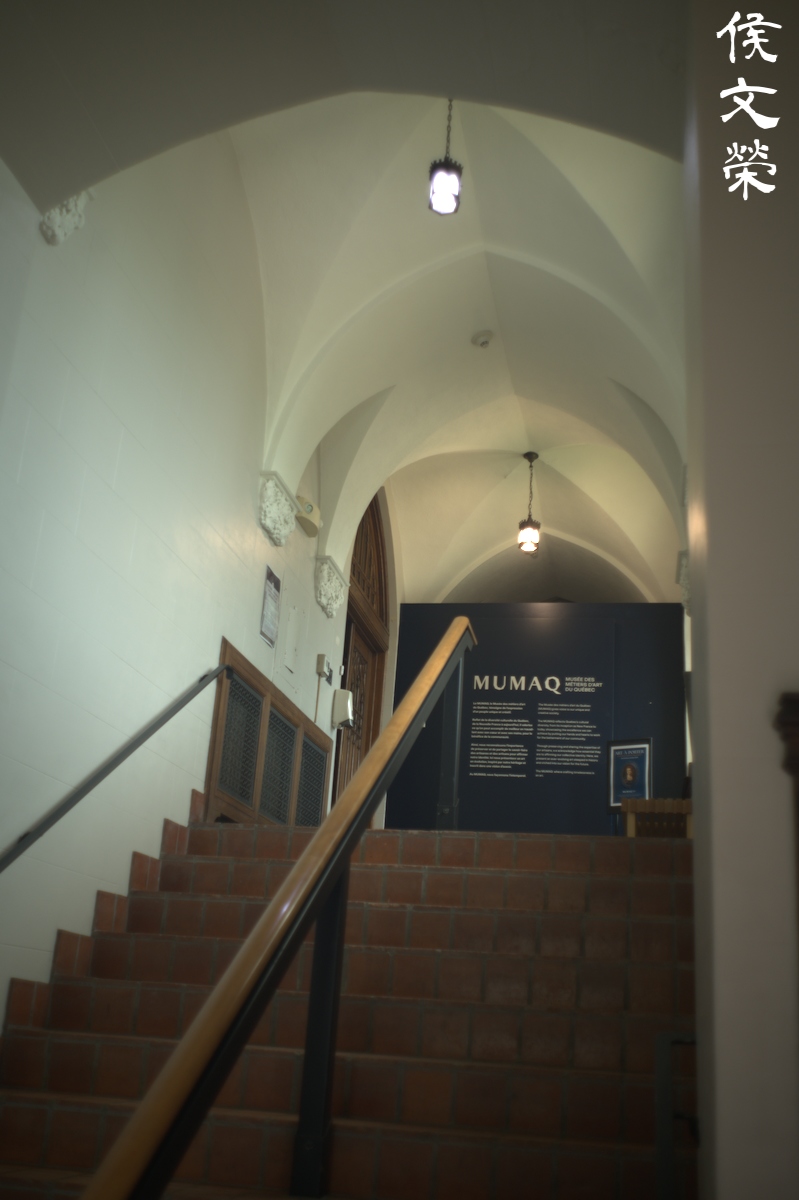
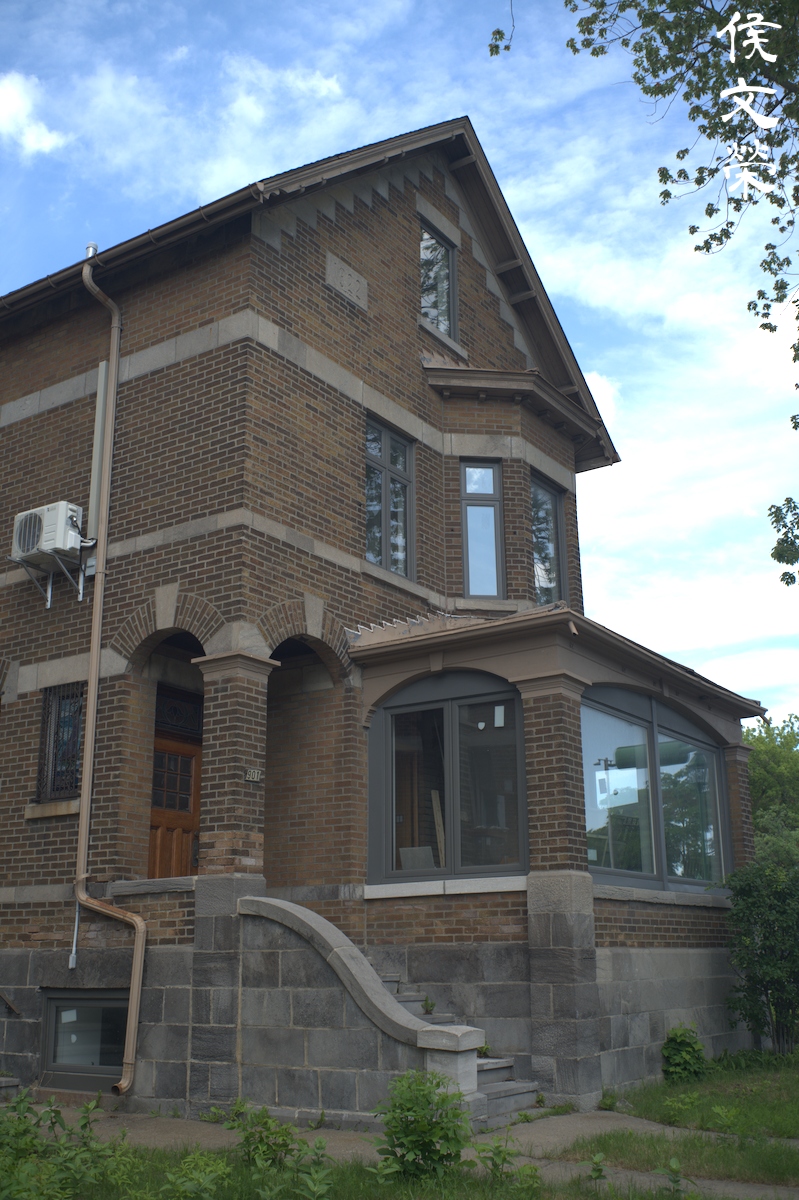

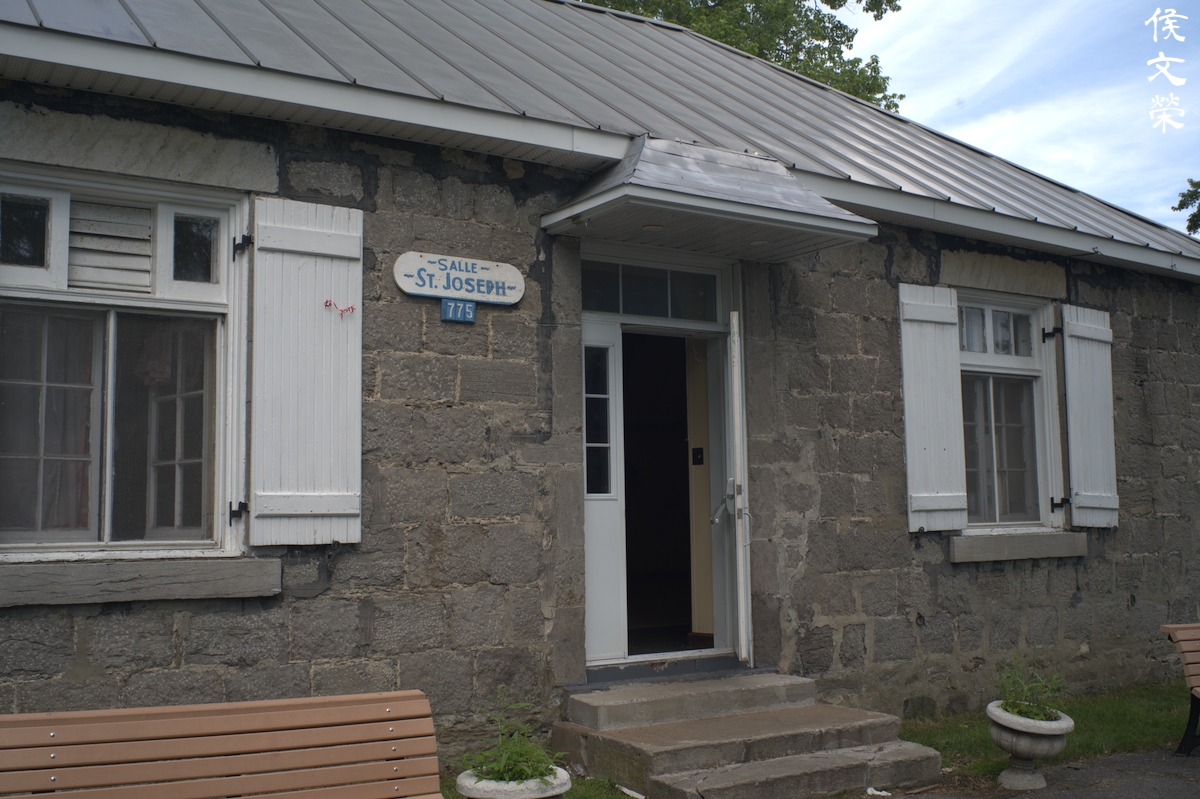


(Click to enlarge)
It’s a fun lens for shooting with a mirrorless camera, some people even managed to adapt it for shooting with a DSLR like what I did some years ago with my Nikon Df with a little bit of modification. I am sure you will have lots of fun with it.
This lens was made to be shot with film, so it’s best that we see how it performs with its intended media. I think it’s only fair that we do so. Film has a different quality because it has grain, with reacts differently to light. The grain structure can also help mask or amplify any flaws are artifacts that the lens may have. This is the reason why we should see how well it performs with film.

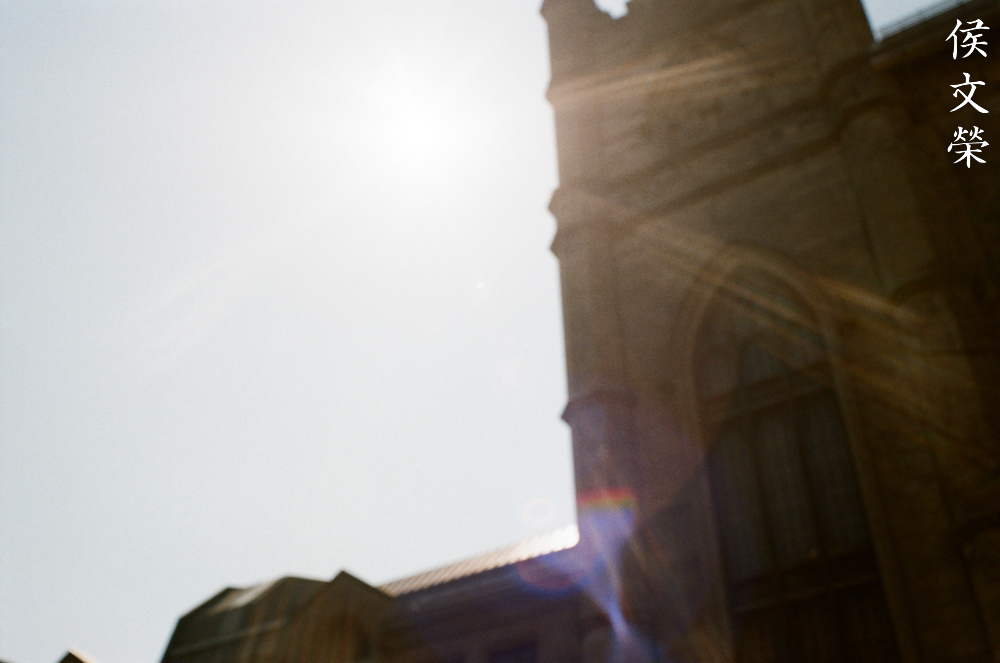


(Click to enlarge)
The coatings may have been busted that’s why it performs like this, Zeiss is known for having delicate but beautiful coatings. If I recall, they’re the ones that pioneered it. It’s not that much of a problem, it can even make your photos look more interesting, too.

This is how close you’re able to focus with this lens, it’s not exactly macro level. It will be useful when you are taking photos of details in a wedding such as the ring or the little statues in the cake, that’s about it.

The pictures that it take have a “polite” character to them, this means that it doesn’t look too harsh like a Tessar would do, nor is it too “feminine” like that of a Sonnar.
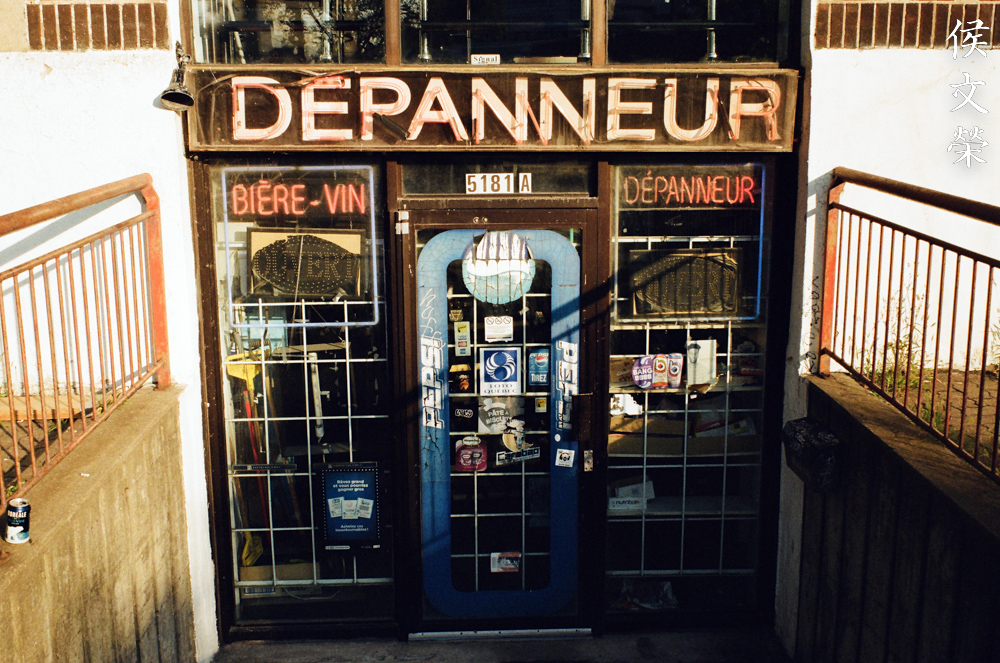
It has that characteristic contrast that’s typical of Zeiss glass, not as much as a Tessar do but close.

Resistance to flaring isn’t actually that bad if you just know how to counter it.

The character of the blurry parts isn’t exactly the best nor is it unacceptable, I think it’s okay. This is a wide lens anyway so it’s not that important in this context.

It looks gorgeous when you stop the iris down a bit and you’re guaranteed to get sharp photos.

It’s not what I would call fast but it’s adequate for indoor photography so long as there’s enough light. It’s mandatory to shoot with a fast film anyway when shooting indoors.

It’s an amazing lens for travel, if you’re a dedicated M42 shooter and you need to carry just one lens, this is the one to bring on a trip. It’s so versatile that’s why I like this lens so much.





(Click to enlarge)
It’s good for taking photos at events because it’s fast and wide enough, its focal length will also cover lots of use cases. Reportage is where this lens shows its true strengths.

This is how exquisite the photos look, notice how gentle the focus transition is. You won’t get something I call the “wall-of-focus”, an abrupt transition between what’s in focus and what’s blurry.

I’m posting this picture because this is a difficult photo for some lenses. Chromatic aberration can be seen easily if this were taken with a less capable lens even if you stop the iris down, this one looks mostly clean.

Urban photography is also a breeze with this lens.

This photo is a little bit overexposed, it would have been much better if I got it perfectly.
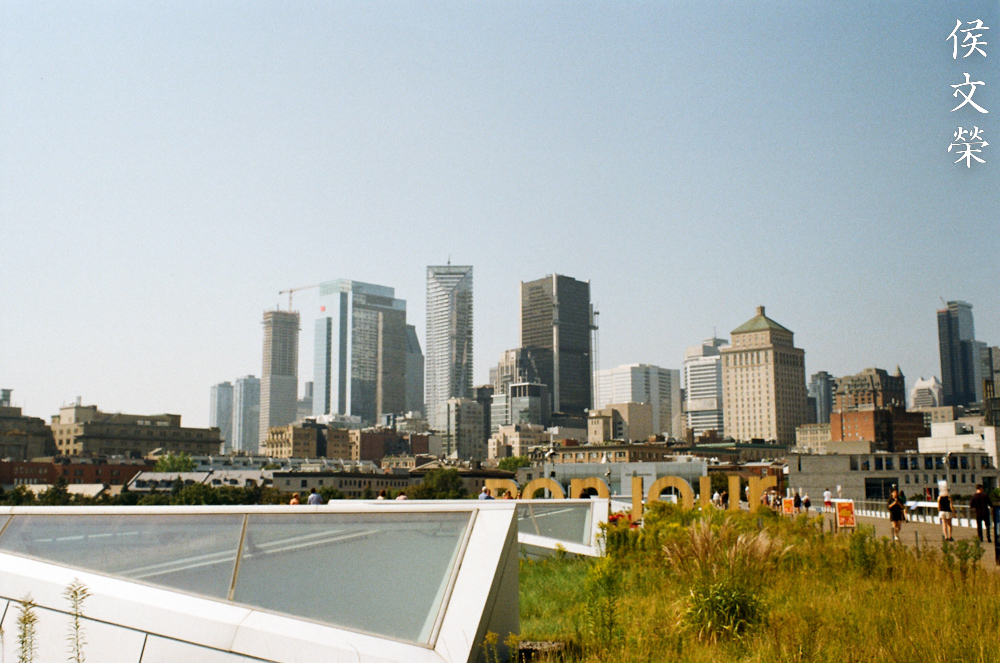
The hazy look of distant objects is something that many film photographers had to put up with. Attaching a polarizer will help a lot.
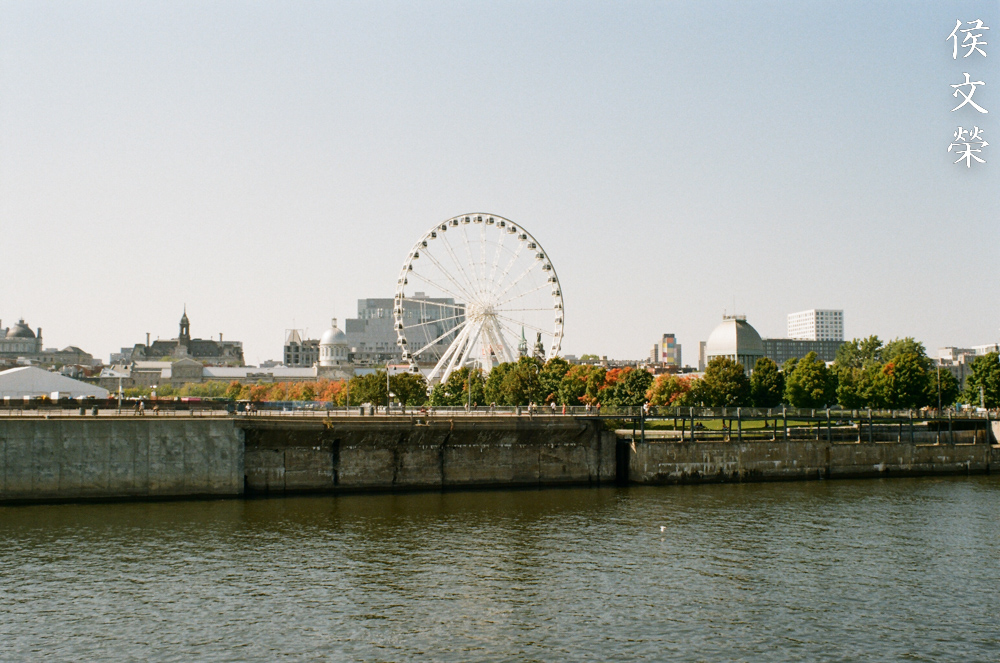



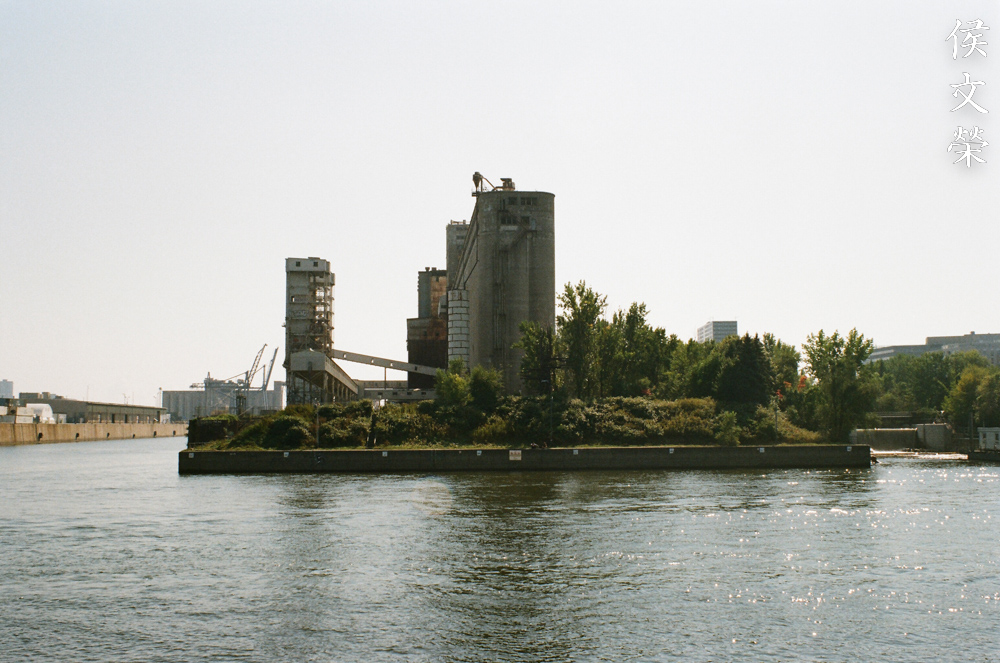
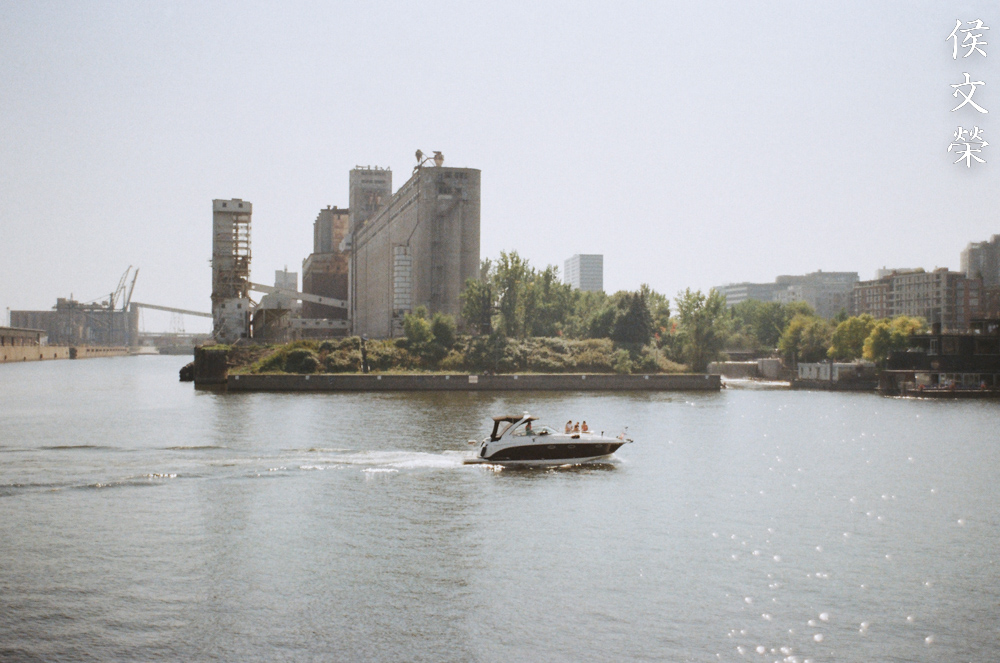
(Click to enlarge)
Here’s the rest of the roll. I enjoyed shooting this with my Pentax SP1000, it’s the perfect match. I had lots of fun with it especially when taking street photos. This is truly a classic in its own right and it’s something that will continue to be useful for decades to come.
I highly recommend this lens, it’s one of those things that you should own at least a copy of if you are an enthusiastic of screw-mount lenses. They have such a reputation so their value hasn’t really dropped for a long time. The prices of these lenses vary wildly, from just barely over $100.00 to a little bit under $300.00 for one in excellent condition. Of course, the rare version with more aperture blades costs a lot more. I usually buy the ones that look like beaters so I rarely pay more than I should, I got mine for $120.00 and a bit more. You should be careful when purchasing these because many of them are in poor shape, it is common to find them with scratched rear glass and bent front rings, possibly to falling off from the camera when they’re not screwed properly. Those are worthless and you should never pay $50.00 for the junk that they are. When buying one, be sure to check the coatings, they should have the familiar bluish tint, they can be easily be wiped away when they are cleaned. This is unavoidable especially if you need to clean fungus from the affected glass. Check the rear element, it shouldn’t be scratched or show some kind of scar that looks like fogging. That is caused by the rear element being scratched by the mirror of a camera that is too big and comes into light contact with the rear glass. That is why you should be careful when mounting these to just any camera. Check the iris, it’s not uncommon to find the blades in a very oily state. That problem can be corrected by an overhaul but the most important thing is the blades should not be damaged. They can get corroded, with the pins barely coming off, this is a more troubling issue that is almost impossible to correct without a donor lens. Operate the iris and check if the opening looks regular, if it doesn’t then it is missing a blade or two or some of the pins are broken. Check the turning of each ring, they should be smooth. It’s not uncommon to find these with heavy helicoids but that’s an easy issue to fix, all you need to do is overhaul them. Finally, you should take a few shots, it’s not uncommon to find them showing poor performance when shooting wide open. I don’t know why that is but I have came across several of these that showed this issue especially when you’re shooting in bright situations such as on a sunny day, the resulting photos look a bit “milky” or hazy, with poor contrast. You should be careful as a buyer, these are not rare lenses so they’re always available online. All you need is patience and you should find one in good condition for a good price. Happy hunting.
Before We Begin:
If this is your first attempt at repairing a lens, I suggest that you see my previous posts regarding screws & drivers, grease and other things. Read what I wrote about the tools that you’ll need to fix your Nikkors.
I suggest that you read these primers before you begin (for beginners):
- Essential tools
- Best practices 1
- Best practices 2
- Best practices 3
- Ai conversion
- Working with Helicoids
Reading these will lessen the chance of ruining your lens if you’re a novice. Before opening up anything, always look for other people who have done so in YouTube or the internet. Information is scarce, vague and scattered but you can still find some information if you search carefully.
I recommend that you read my working with helicoids post because this is very important and getting it wrong can ruin your day. If I can force you to read this, I would. It is that important!
For more advanced topics, you can read my fungus removal post as a start.
Disassembly (Main Barrel):
The construction of the barrel is typical of its era and brand, there’s nothing special about it especially if you’re familiar with Zeiss lenses as they mostly share a common design. I’ve written several articles of them so you should look at my lens repair page and look for similar looking designs for reference. It’s not difficult to overhaul, there’s not a lot of things here that require preparation. The only things I am always upset with are stuck or corroded parts because many of these things are so old and have never been serviced for decades. If your lens needs servicing, be sure to send it to an expert. They should know how to work on it safely, if they aren’t familiar with German lenses of this era show them this article. It is also worth mentioning that the internal coatings are very delicate and only experts know how to service them properly without losing much of the anti-reflective powder used to coat some of the internal glass. I myself have stripped them several times because there’s no other way around it especially when I need to remove fungus or oily deposits.
Like most of our projects here we will want to remove the optics as soon as possible in order to keep the glass safe while we work on the rest of the lens.
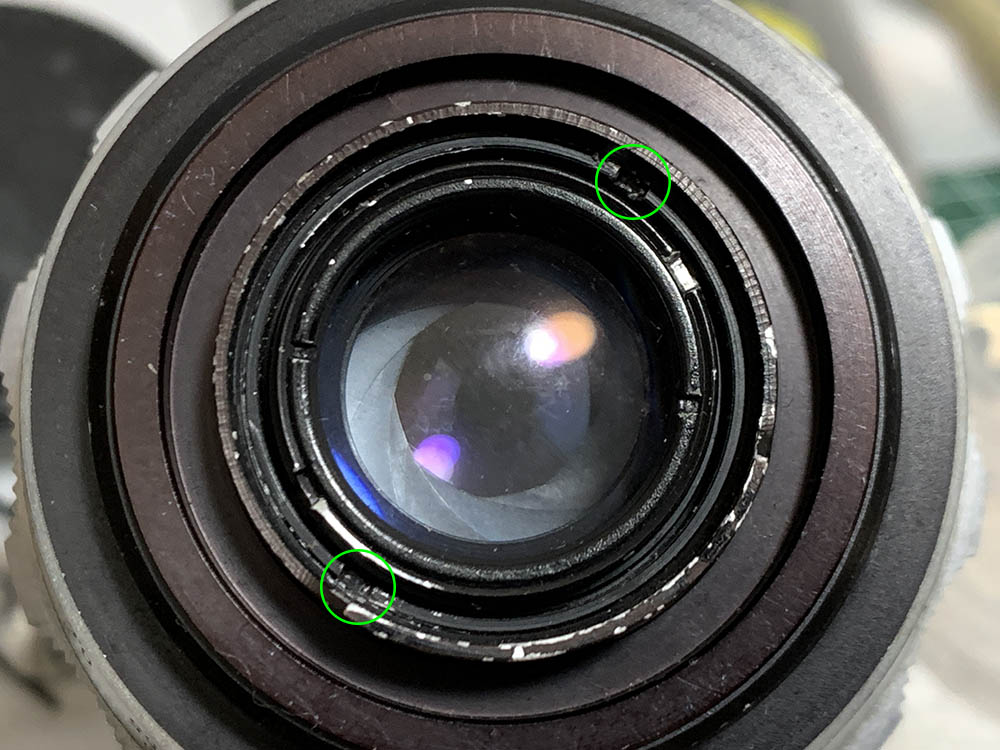
Get a lens spanner and unscrew the outermost ring.
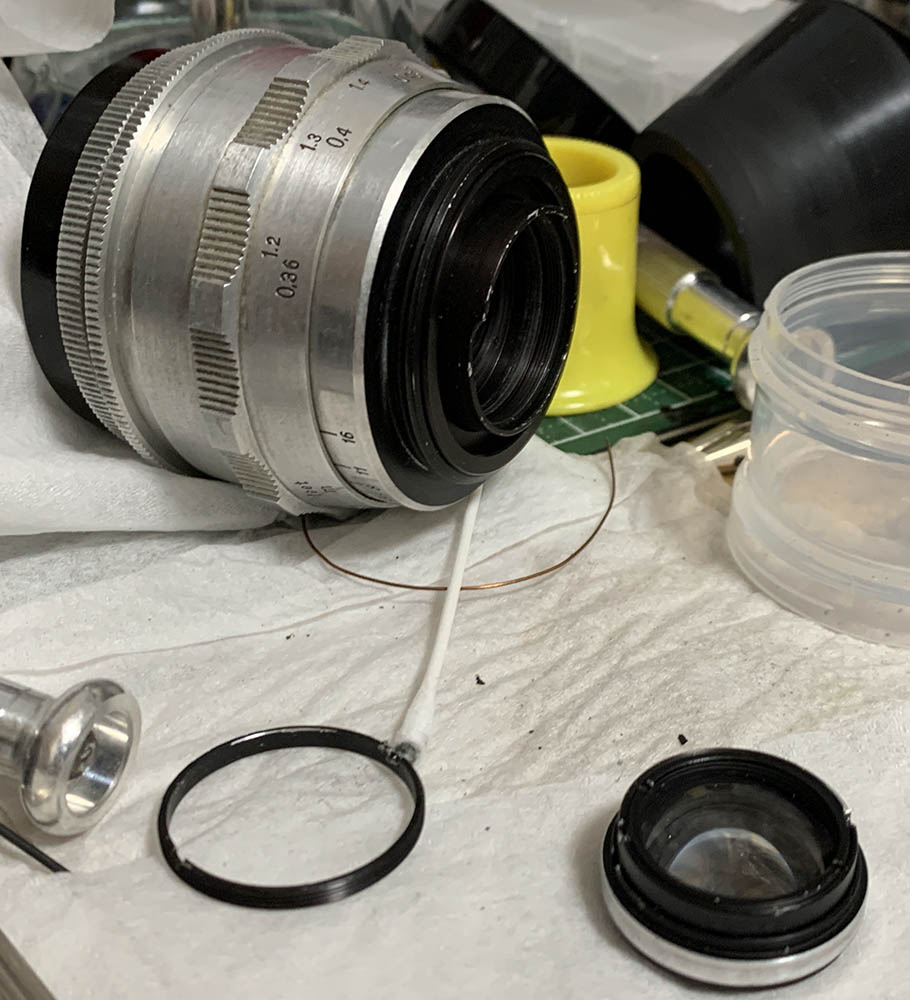
That will allow you to remove the rear optics assembly, keep it safe inside a clean box.
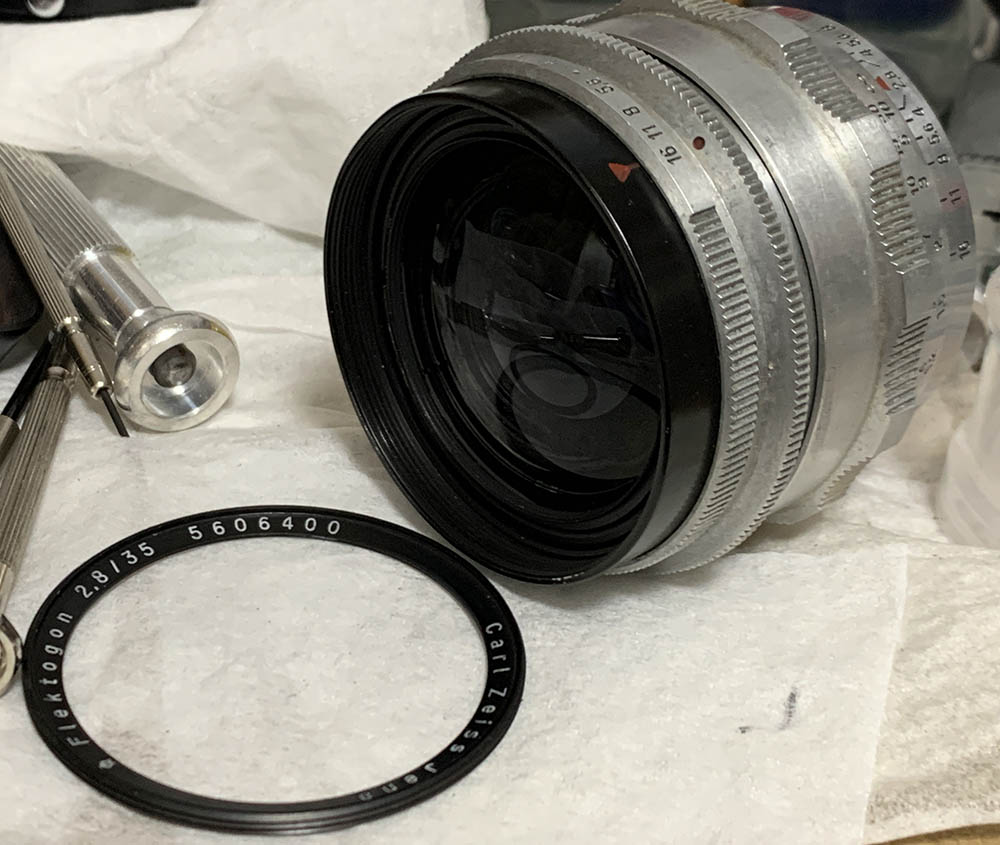
Use a rubber cup and then unscrew the bezel off.
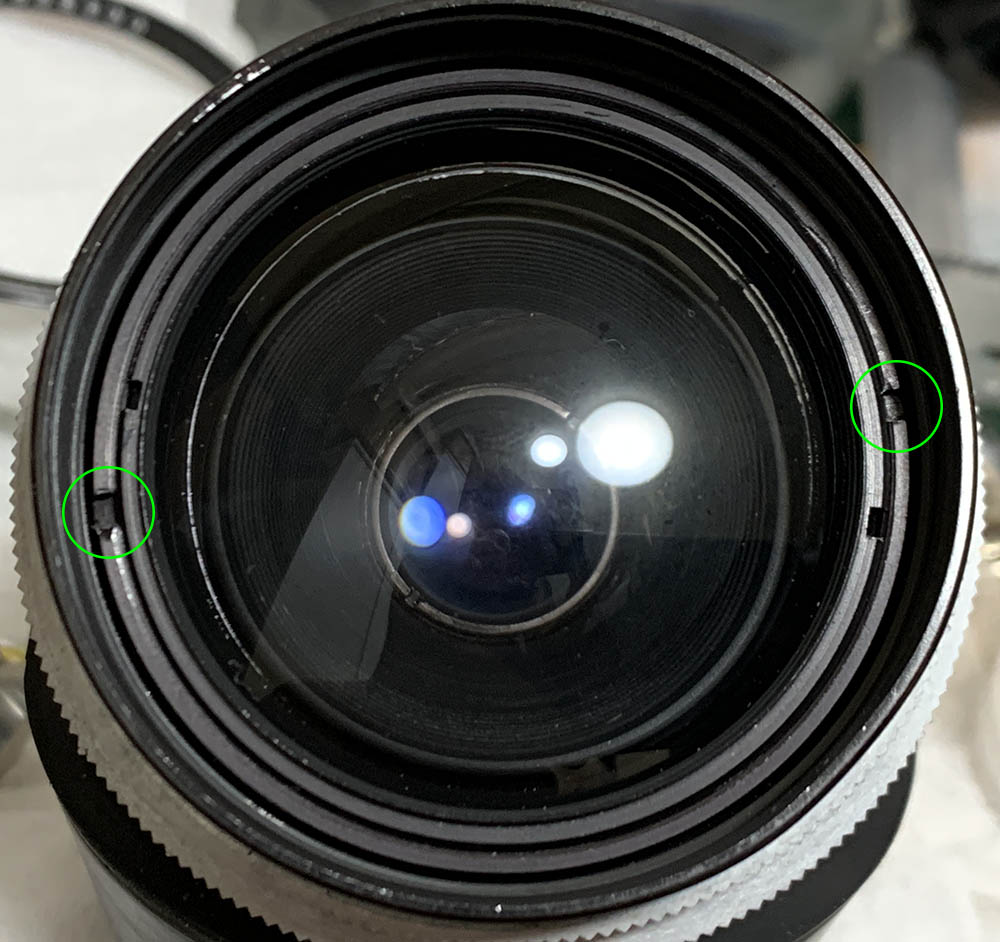
You’re now able to access these slots, use a lens spanner and unscrew this part.
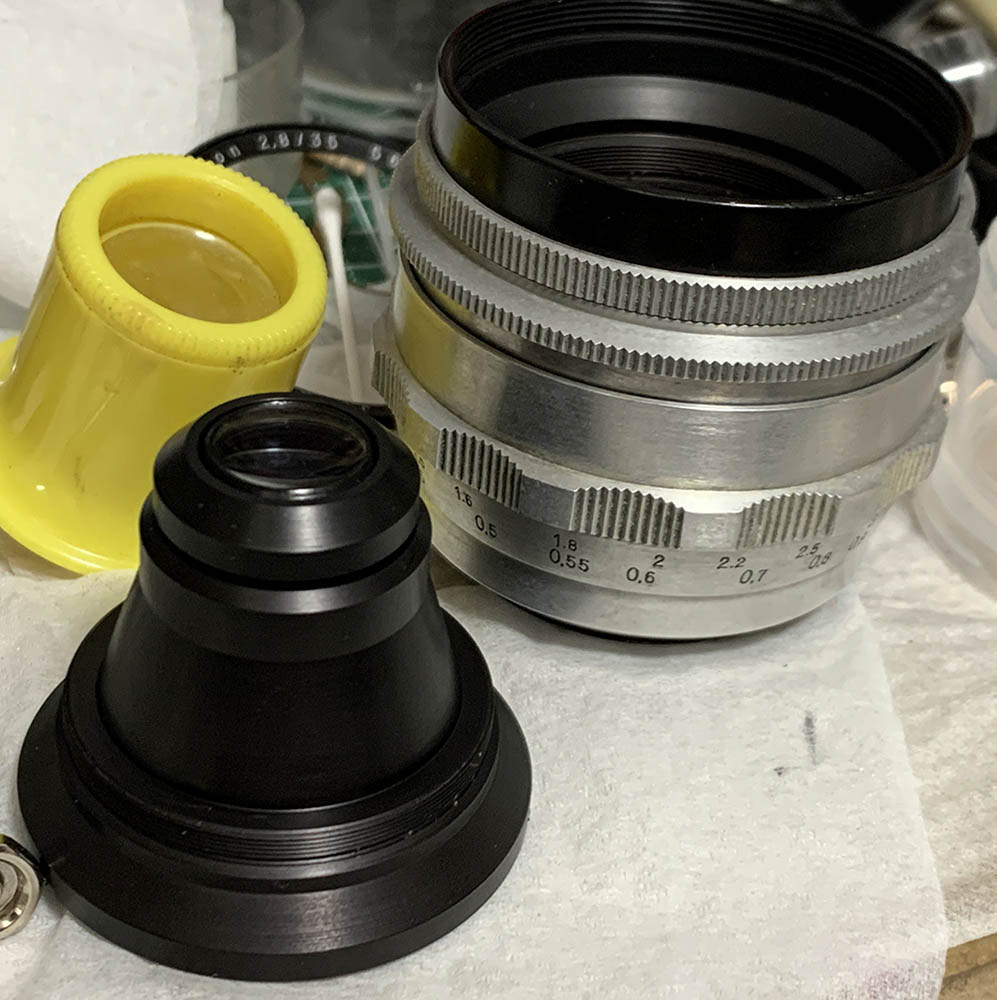
You’re now able to remove the front optics assembly. Put it in a safe place so you won’t scratch the glass.
Now that we’ve removed all of the major assemblies that has glass on it, it’s going to be easier for us to work with this lens without worrying too much about scratching anything by accident.
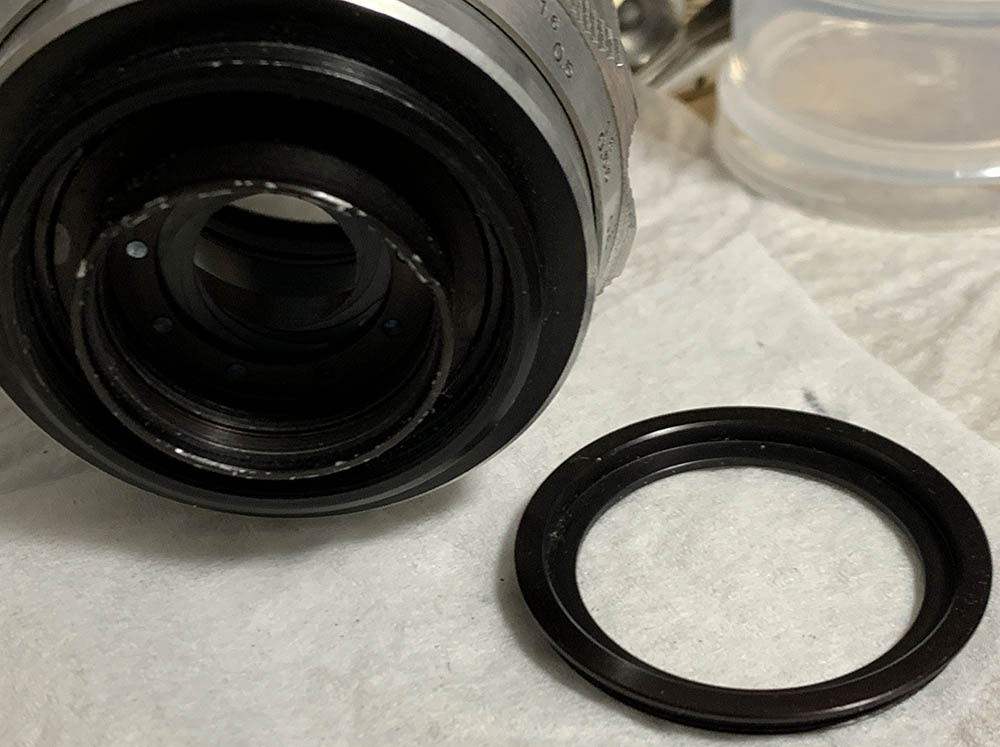
Go back to the rear and unscrew this. It may be difficult to remove so a few drops of solvent should dissolve whatever is keeping it stuck.
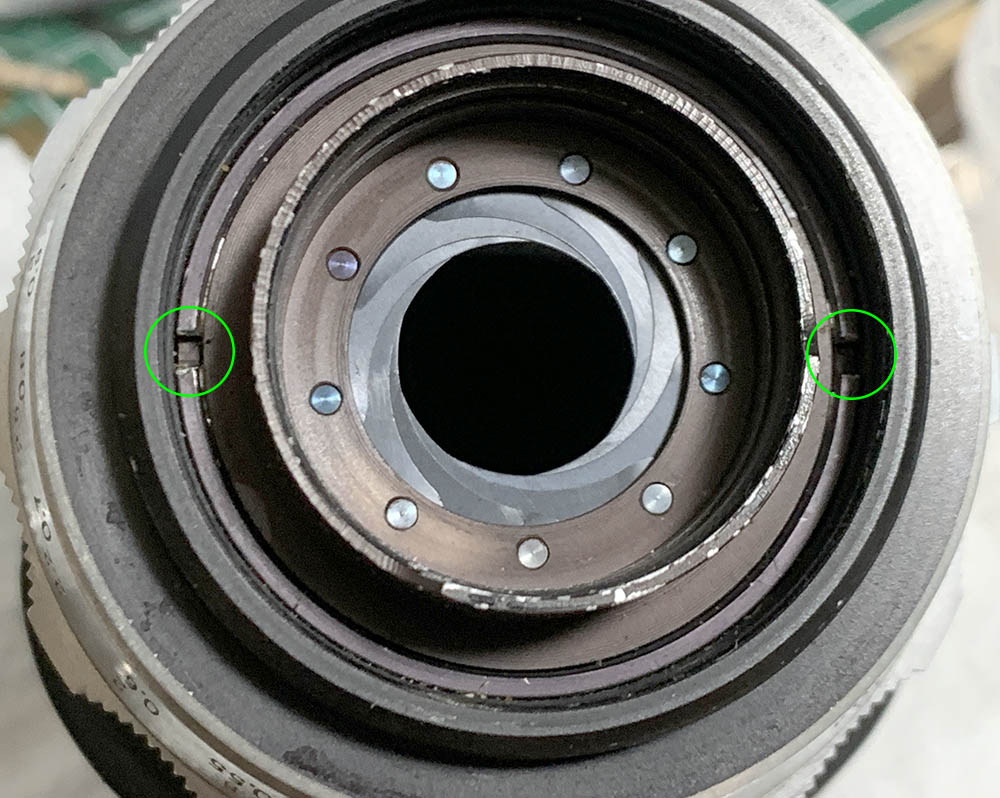
Get a lens spanner and unscrew this retainer.
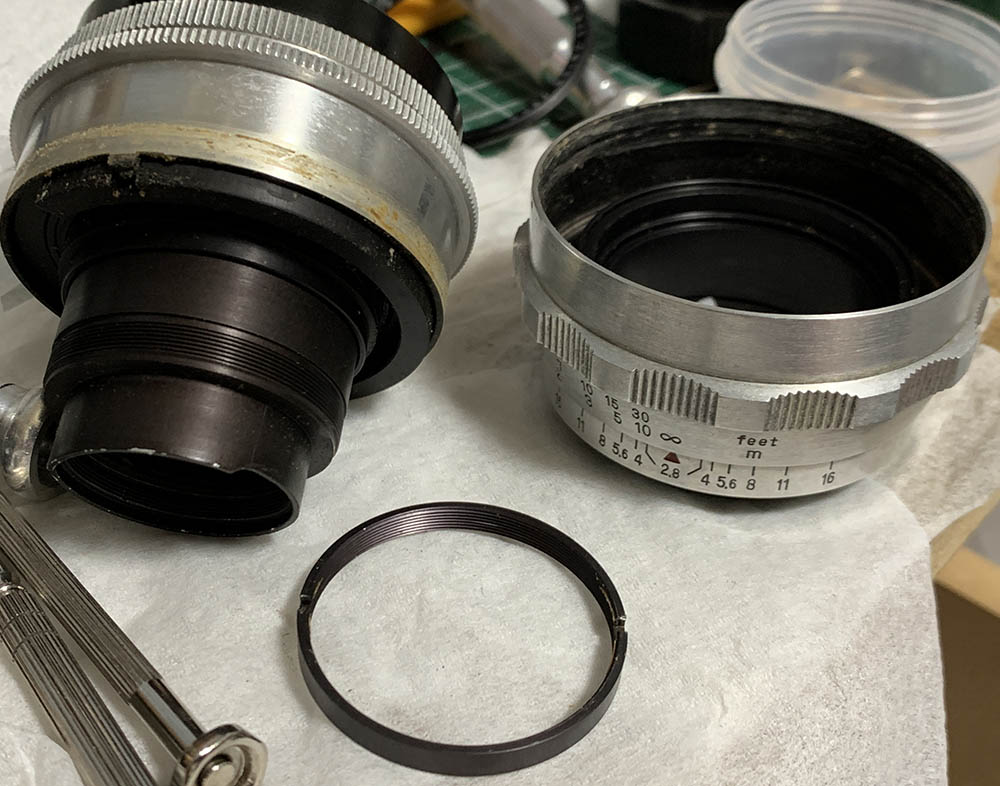
That retainer is in charge of keeping the whole barrel together, set everything aside so you can work with the main barrel/focusing unit. Look at all that filth, it looks like this thing has never been cleaned since the start of the Cold War. It’s also a good sign as we know that everything is within the factory’s specifications. It’s like a virgin – “touched for the 31st time”. Seeing all that crap made me happy that I got circumcised despite being a “Goyim“.
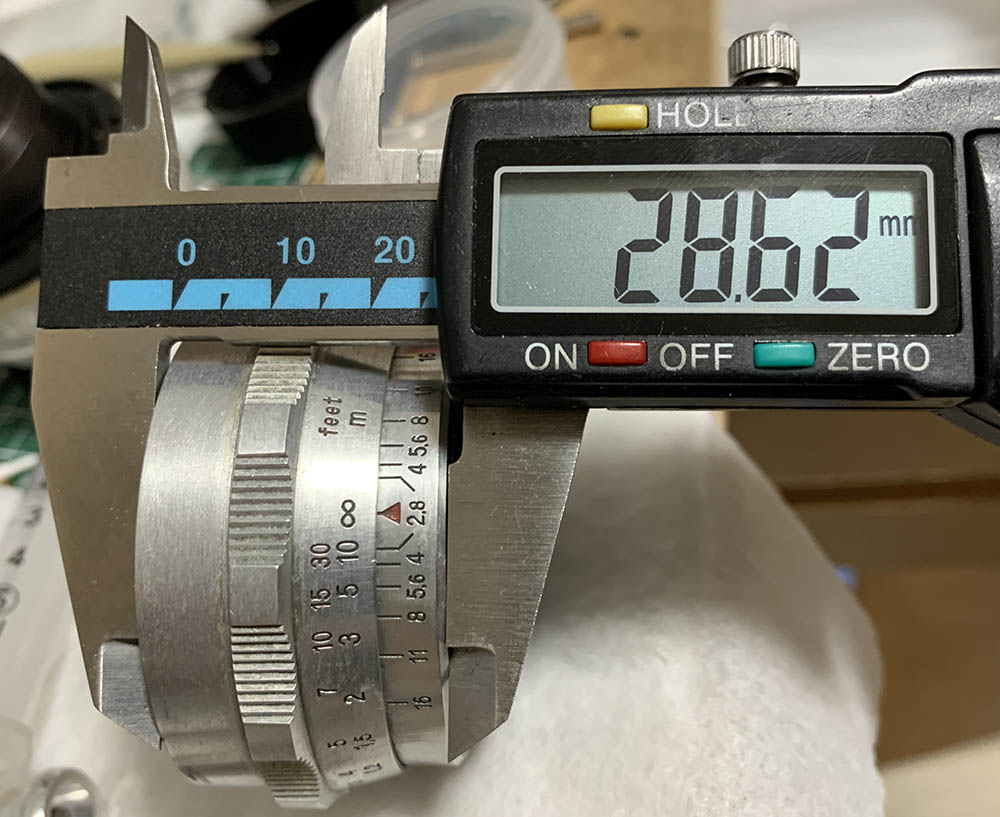
It’s a good idea to measure the height of the main barrel now. You should be able to recreate this when it is time to put everything back together, if it is off by a lot then you have put everything back incorrectly.
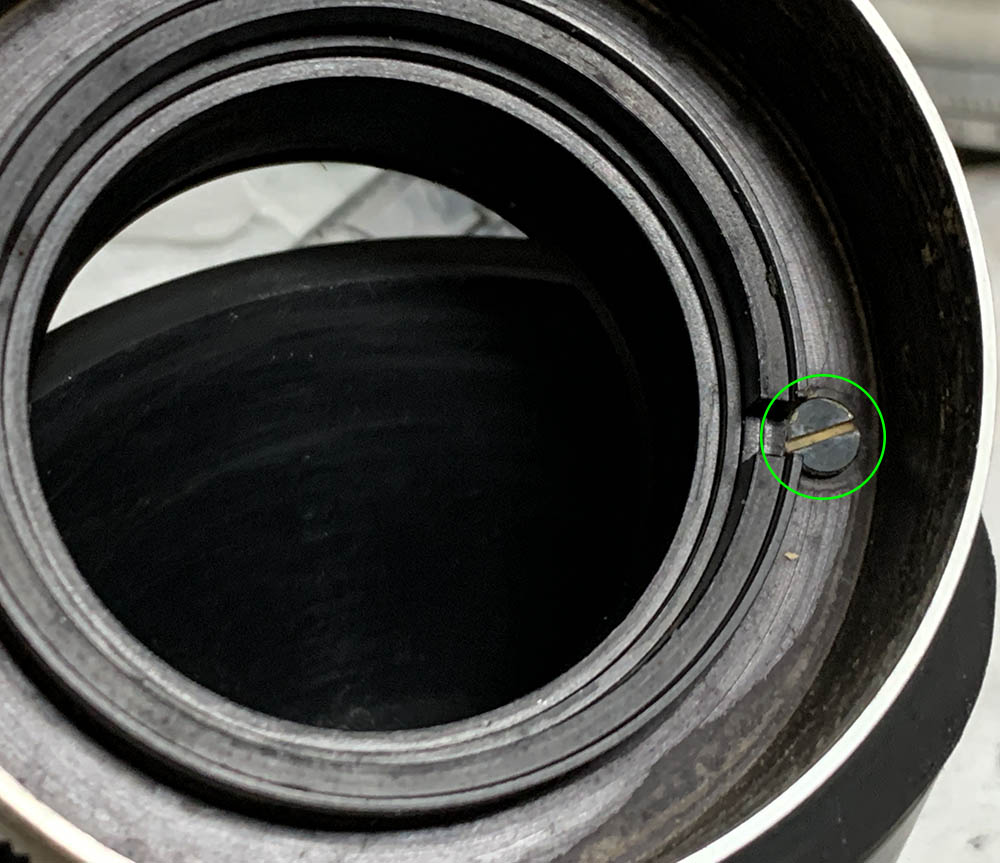
Carefully extract this screw, it constrains the focusing ring/helicoids so they won’t turn past the focusing range.
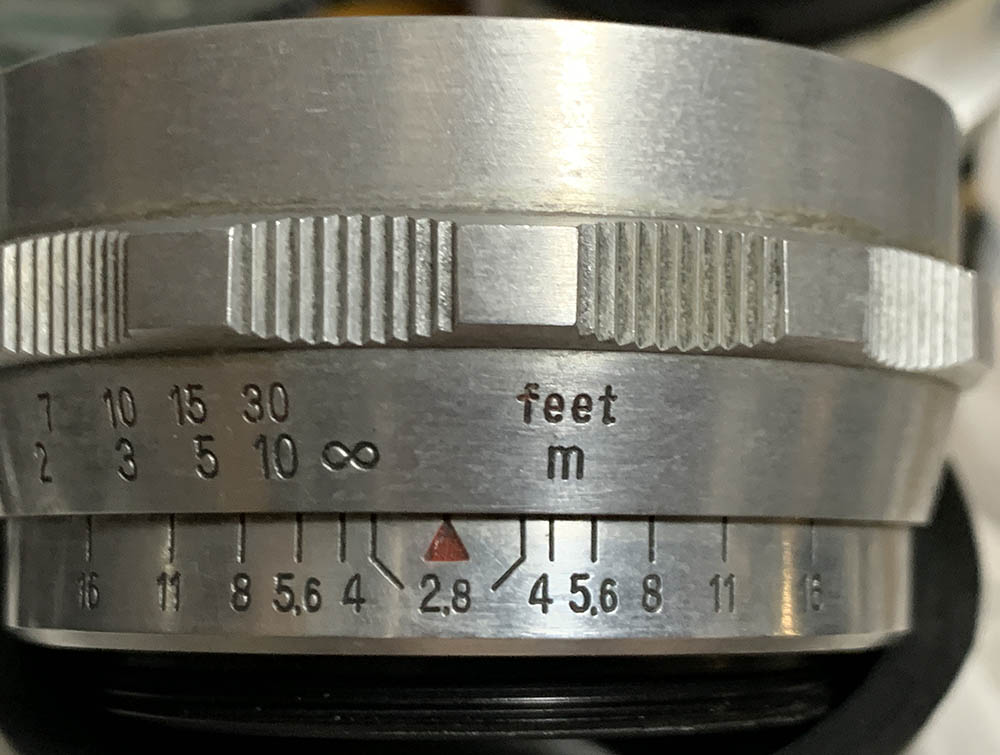
Once the screw is gone, collapse the central helicoid/focusing ring and note its position. It’s another point of reference for you to recreate later.
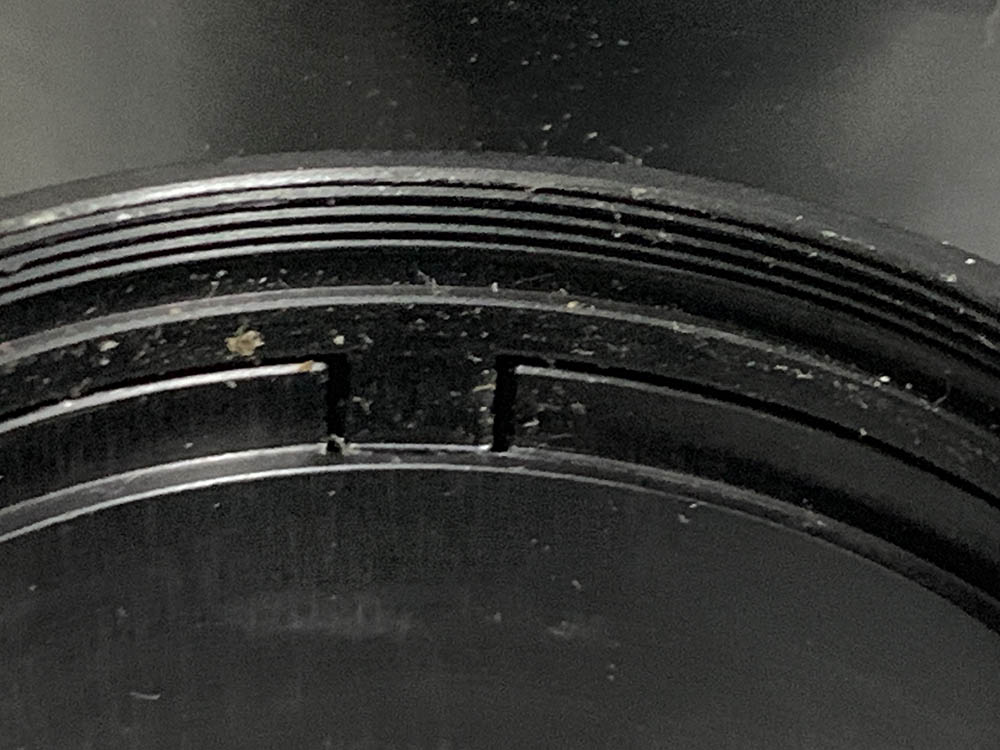
Also note how deep things go inside the barrel.
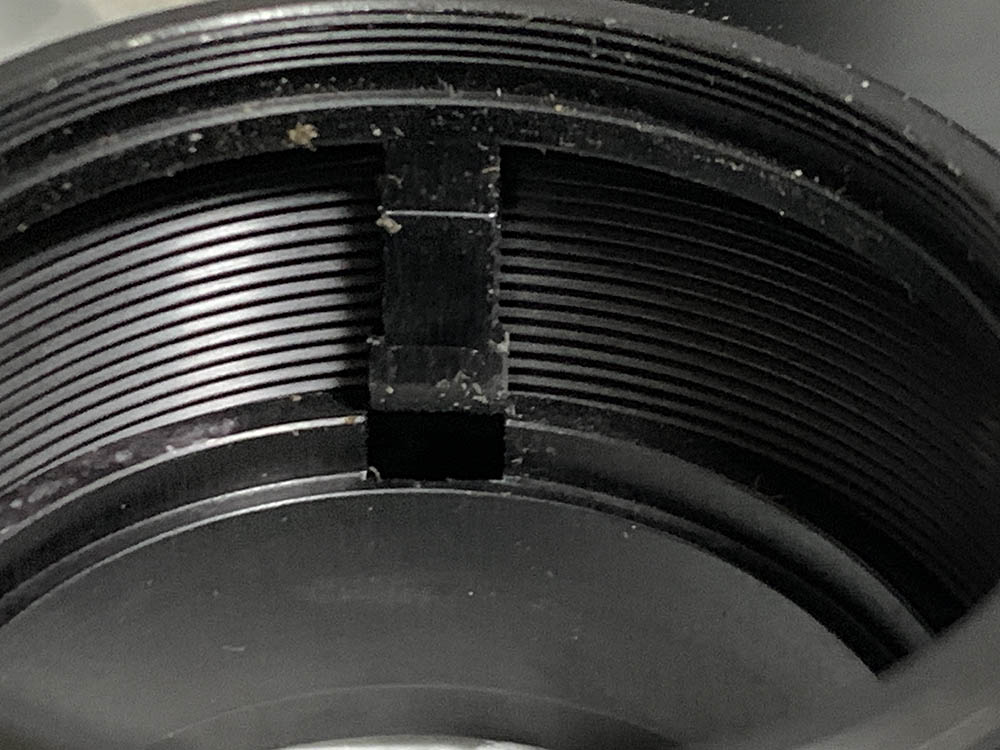
Turn the focusing ring until the guides disengage from the slots, this is very important so you should note this exact alignment, this is also how they should mate.
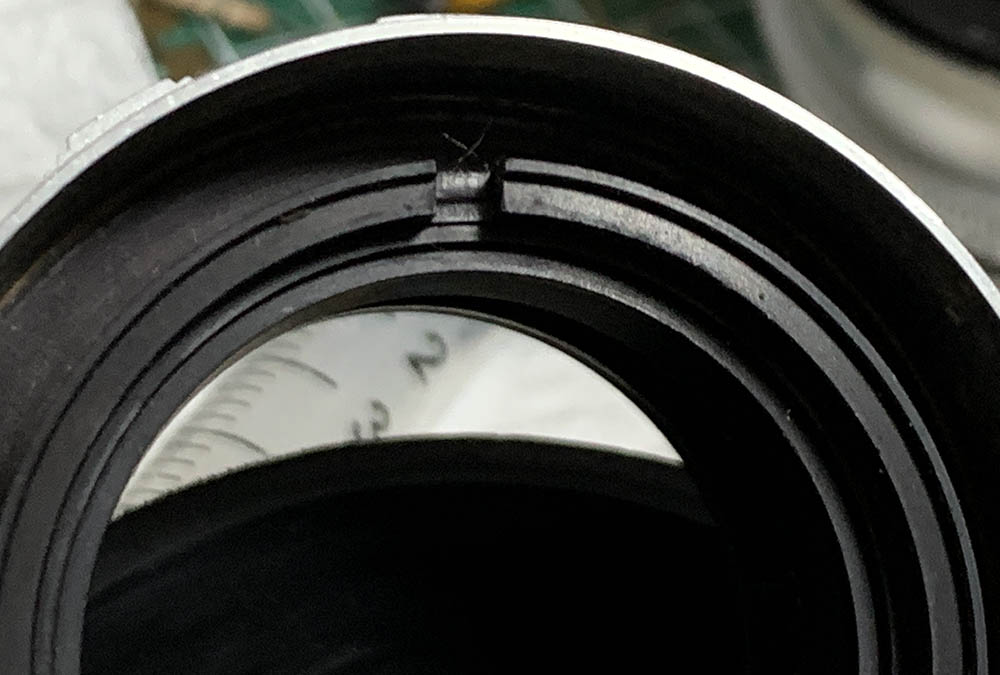
You can also make a small mark to note the orientation of the parts.
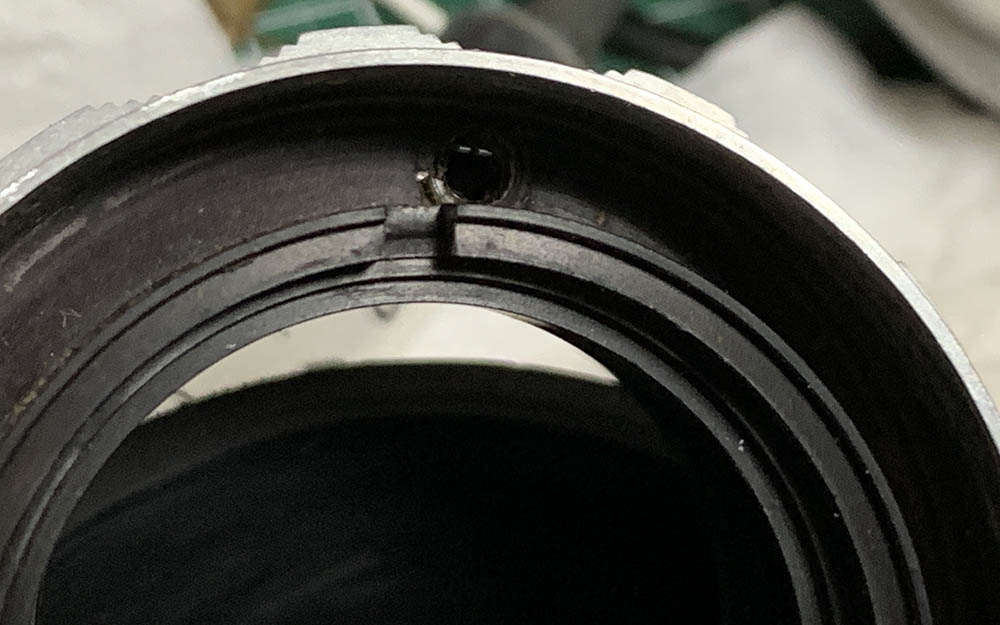
Unscrew the helicoids until they separate. Don’t forget to note where they parted since it’s also the same spot where these should mesh. Many people forget to do this and get stuck guessing where these should mate. To prevent this from happening, read my article about servicing helicoids and follow my guide really well.
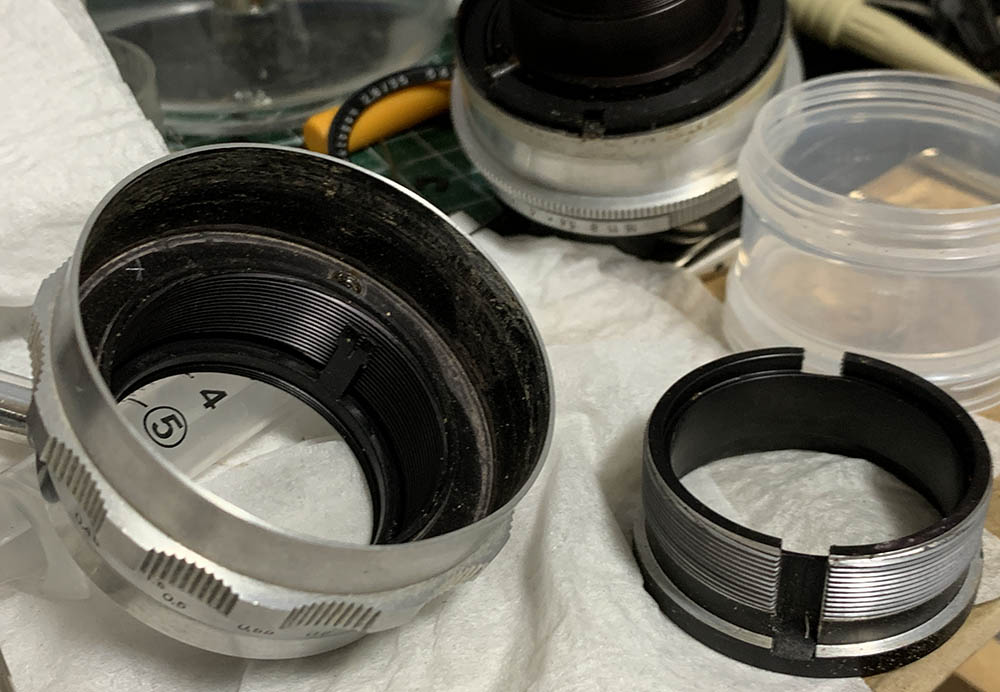
Separate everything and set them aside for cleaning later.
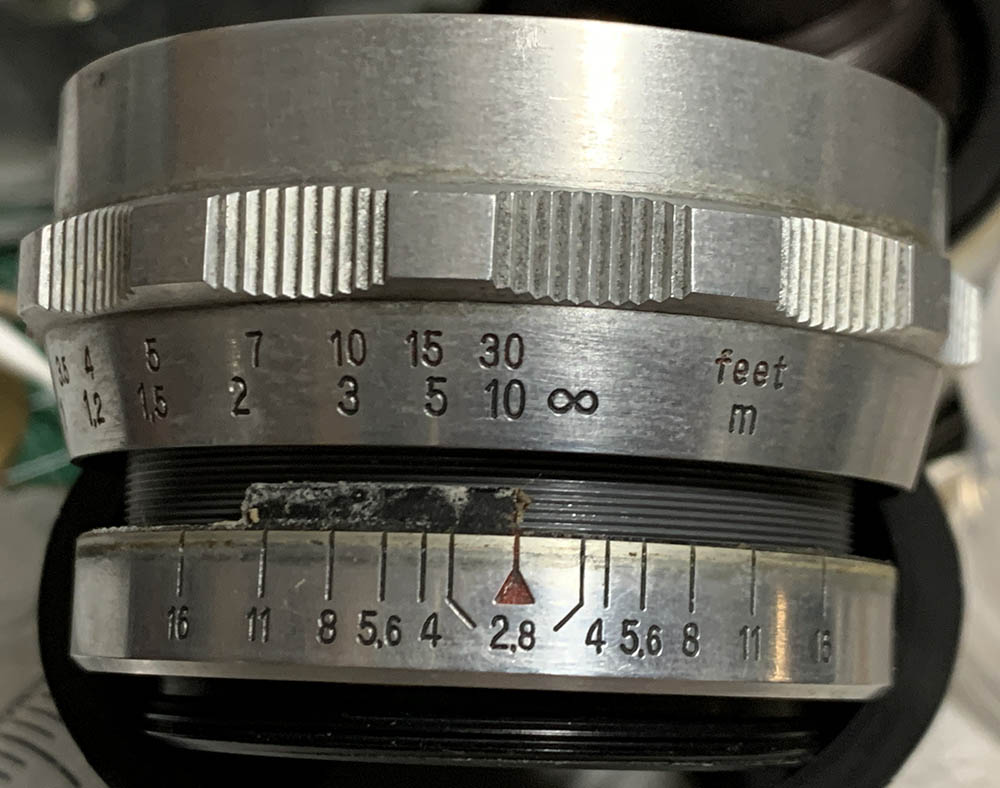
Do the same to these helicoids and never forget to note where they have parted.
I cleaned all of the big parts with a strong toilet cleanser – the grainier, the better. I scrubbed everything using a brush then rinsed them all very well with hot water before making a final rinse with pure alcohol to remove any remaining residue. Special care must be used when cleaning the helicoids, the threads are fine in some places and they can be caked with gunk, using a wooden toothpick helps here for stubborn deposits. Dry them well before you continue. When lubricating, be sure not to apply too much, all you will need is a thin film of fresh grease. Mate the helicoids then exercise them by turning several times, this will ensure that the grease is evenly distributed. Wipe away any excess. If you have applied too much grease it will settle in the iris mechanism eventually, necessitating the need to open it again, just to give everything another overhaul.
Disassembly (Front Barrel):
All of the more delicate components are housed inside the front barrel, it’s the most complicated part of this lens. Even with that, the design is still simple and you should not have any trouble cleaning this when you follow my article carefully.
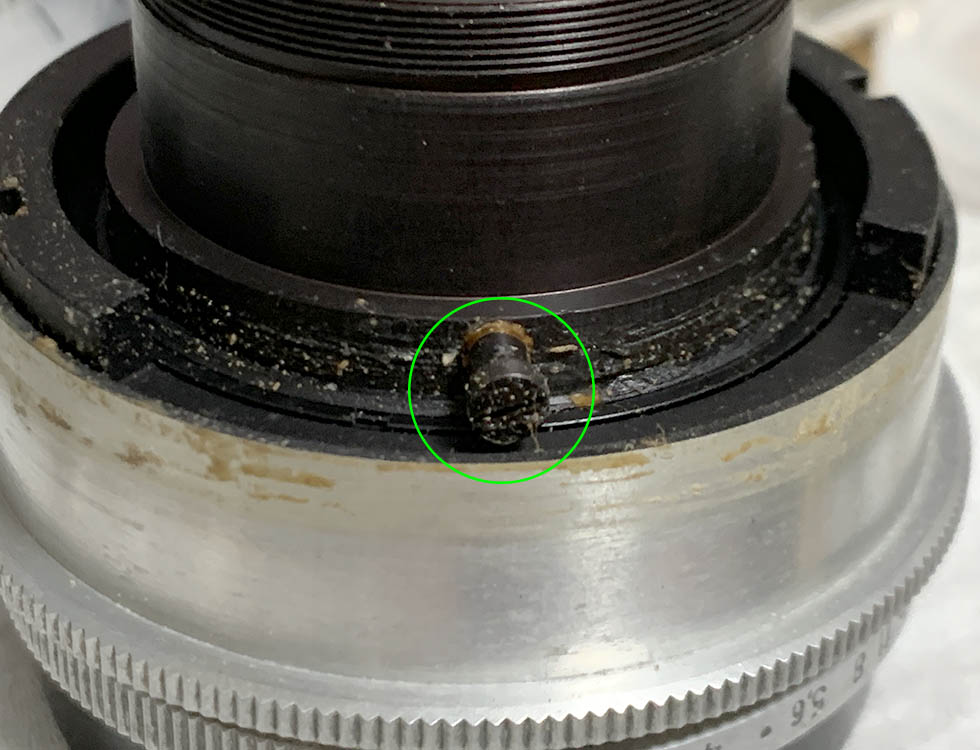
Carefully extract this screw so we can begin removing the aperture selector.
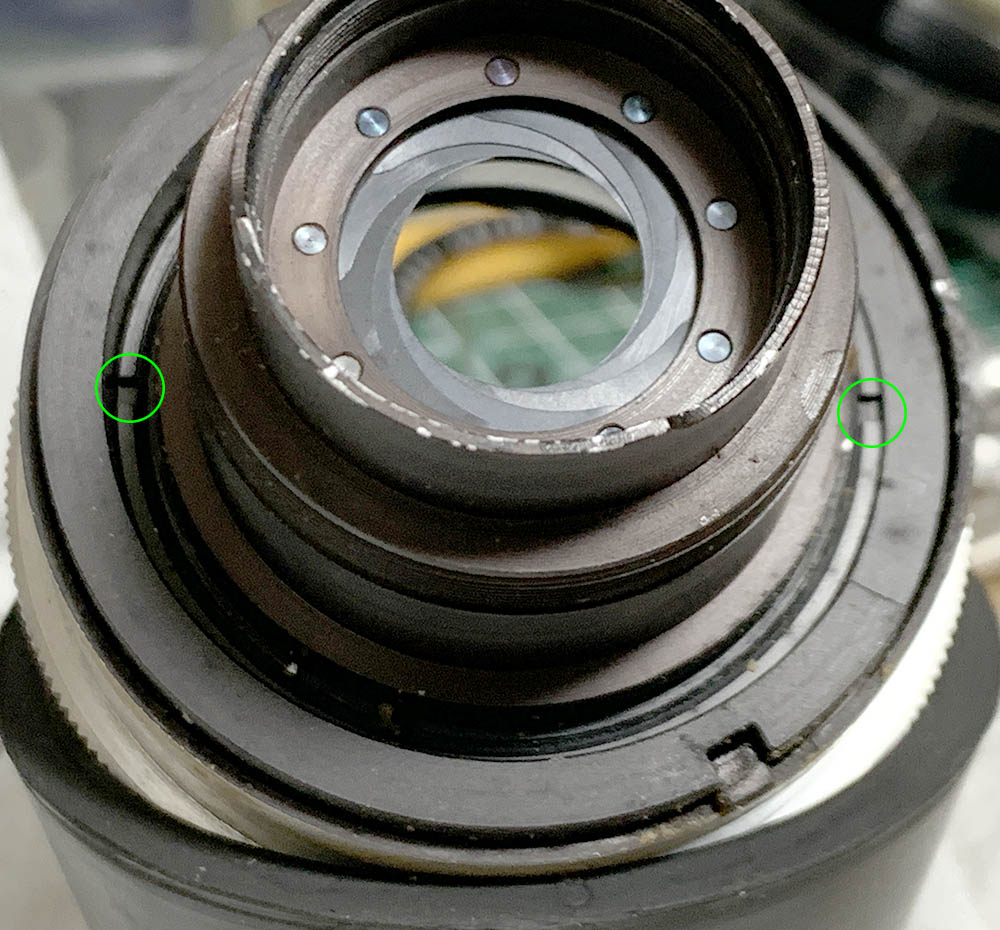
Get a lens spanner and unscrew this retainer.
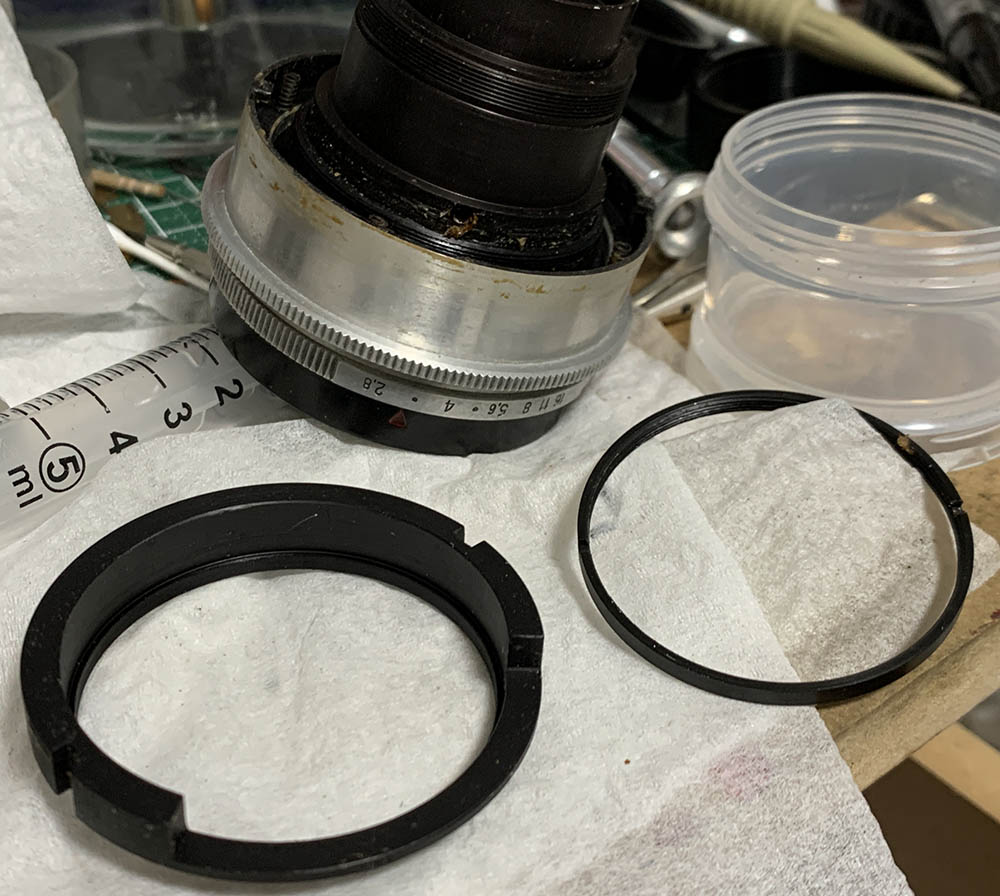
Carefully remove this ring, there are springs underneath it so be careful not to misplace them.
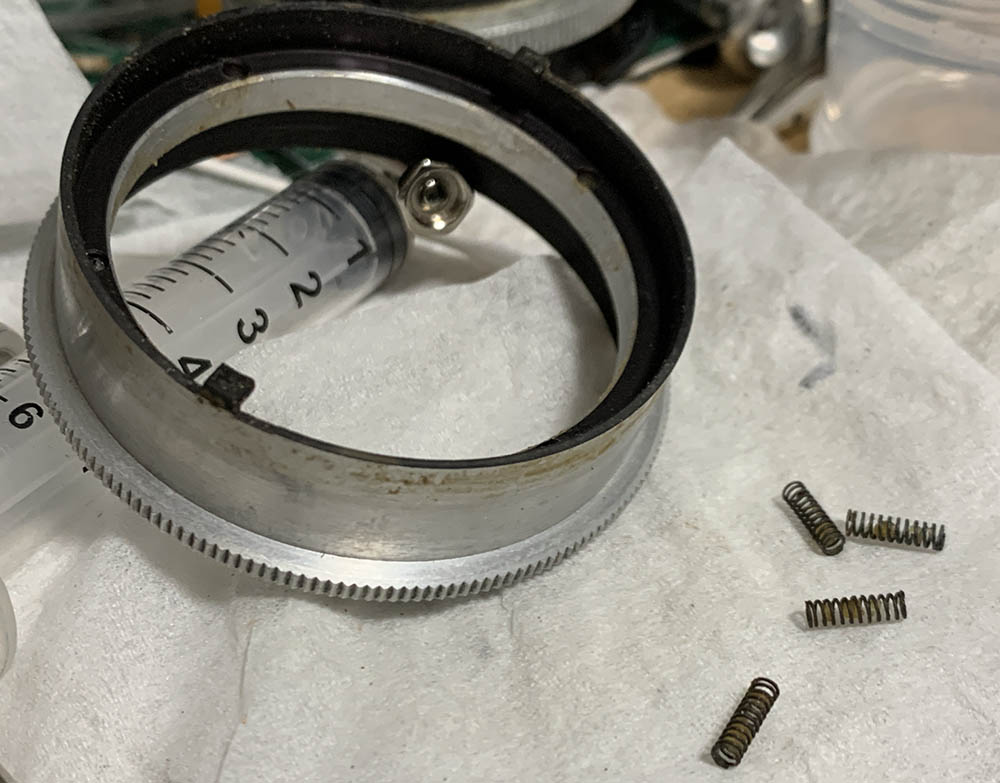
You can now remove the aperture selector. Seen here are the springs that I was referring to before.
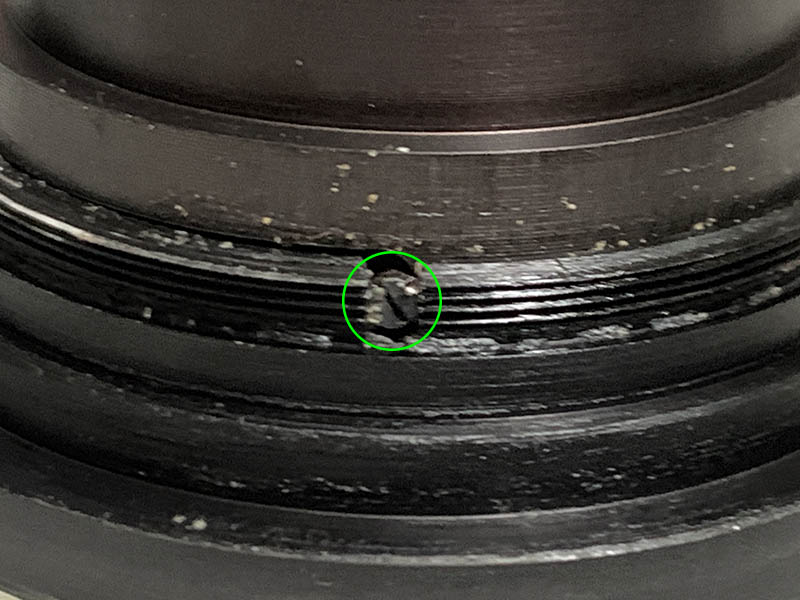
Carefully extract this screw to decouple the aperture ring from the iris mechanism.
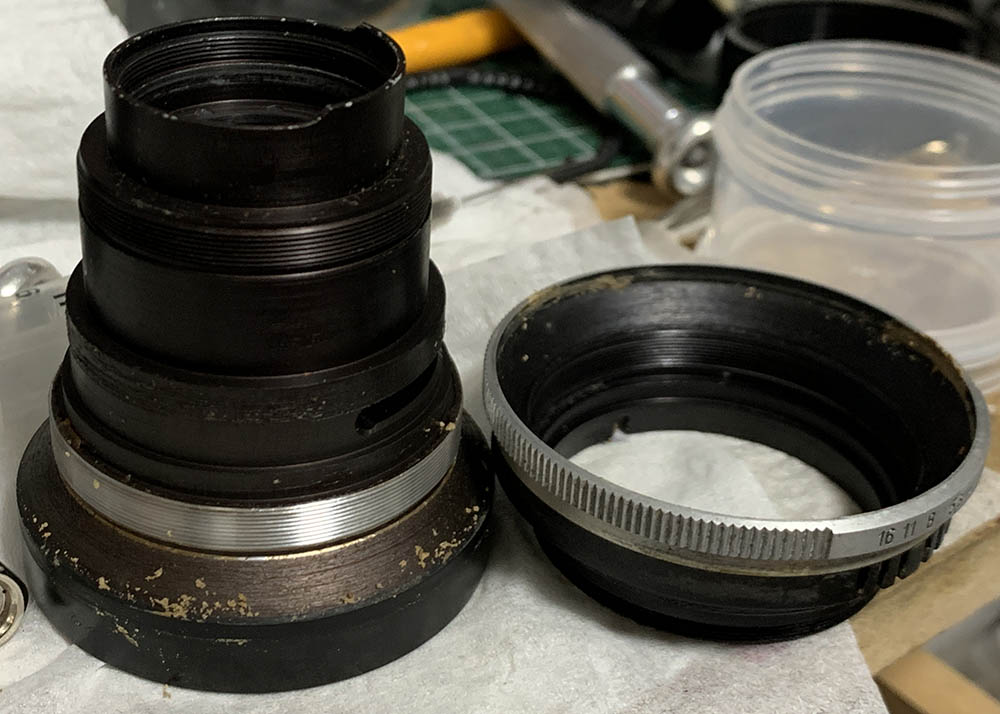
Carefully unscrew it off.
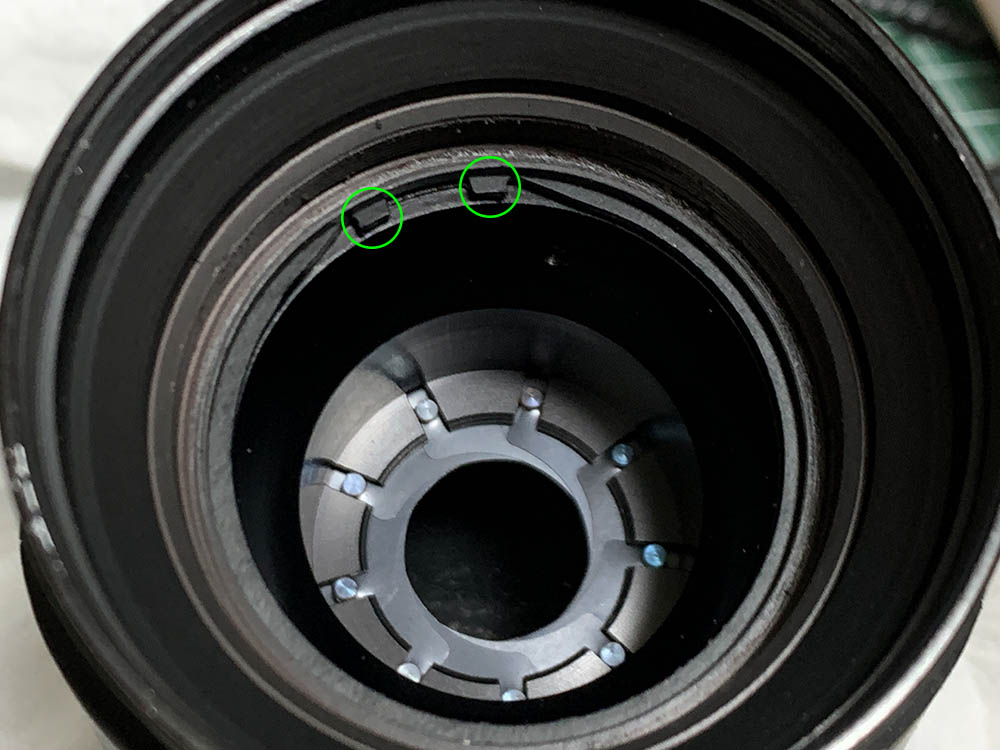
Use a pair of tweezers to remove the circlip so you can dismantle the iris mechanism.
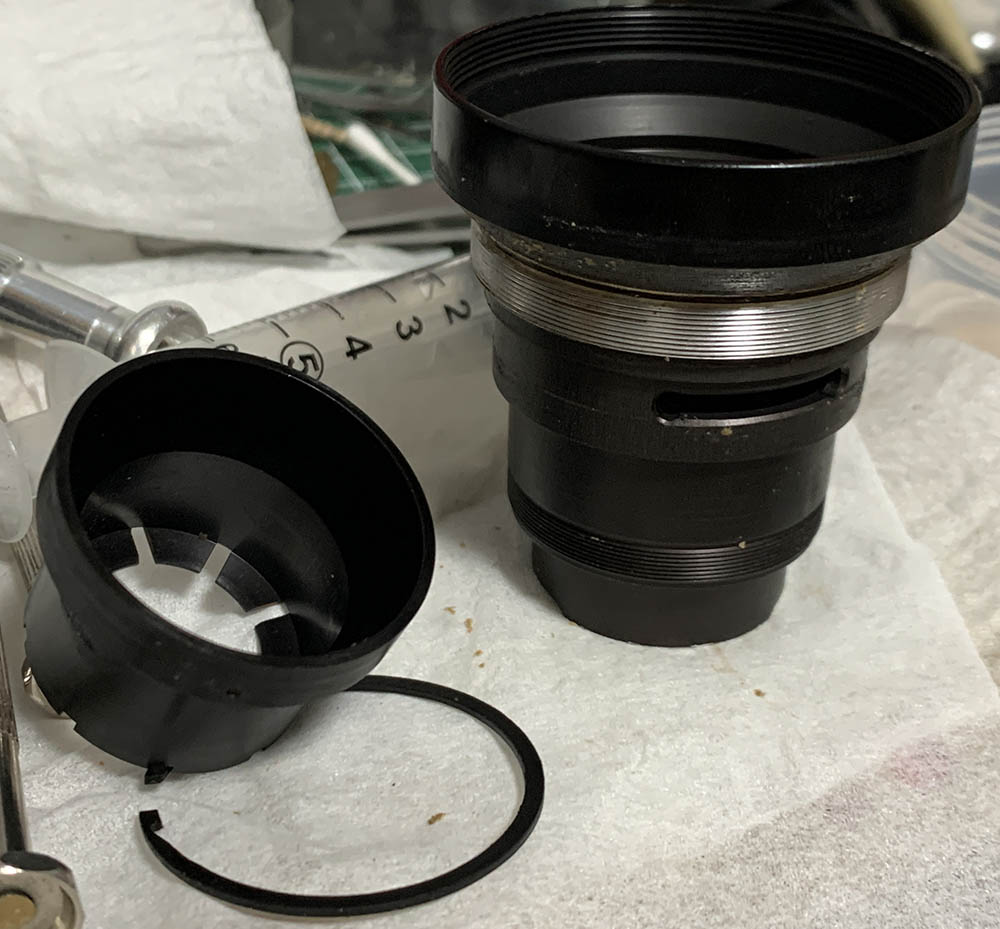
Pull the diaphragm cup out with your fingers.
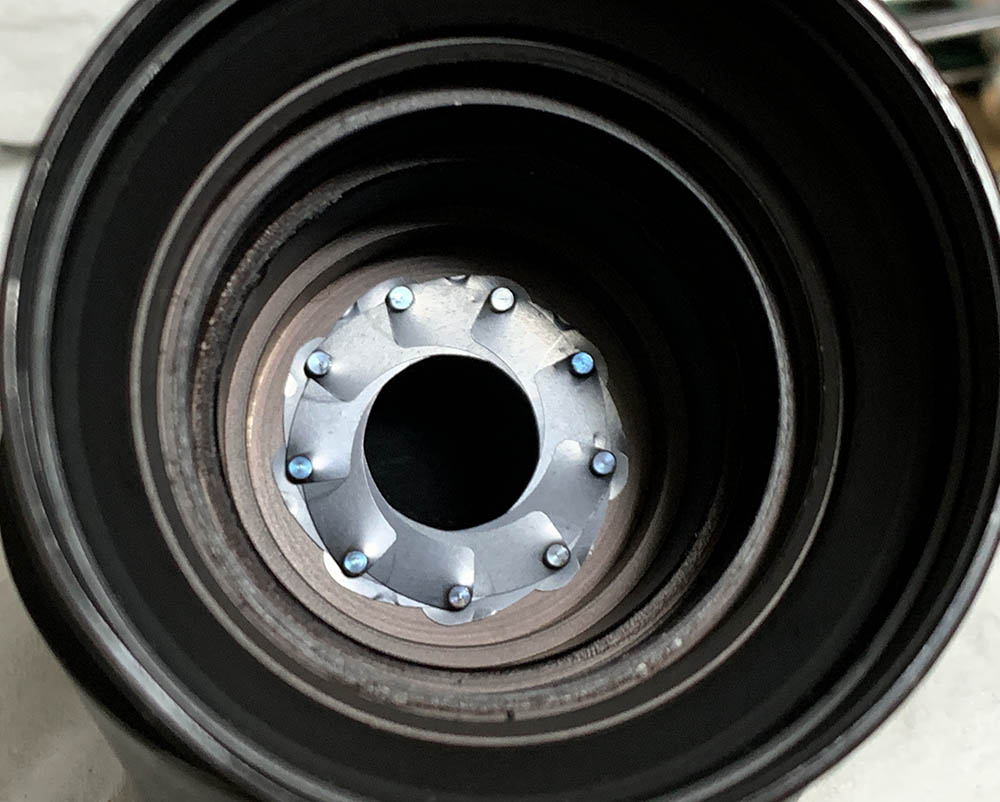
Inspect the aperture blades so you’ll know how they were put together, the round end of each blade is usually the side that pivots.
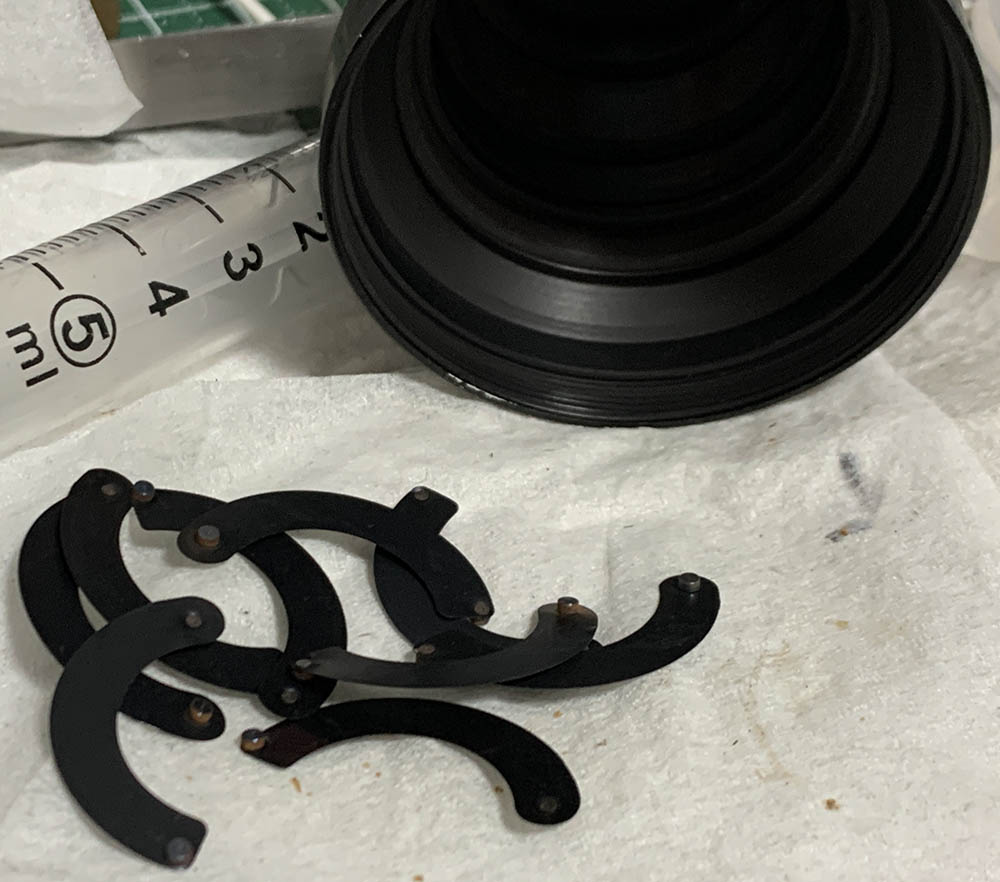
Carefully remove each blade by tapping the rear of the housing and allowing the blades to drop on top of a soft towel, cushioning their fall. Be very careful when handling these because they are old and corroded.
Clean the aperture blades individually with Q-tips and lighter fluid, that should be enough to dissolve any stubborn grime. Just be careful not to bend them or damage any of the delicate pins. If they are oily, just pickle them for a few days in lighter fluid and some machine oil before carefully cleaning them. Using an ultrasonic cleaner will also be good but I don’t own such an expensive apparatus.
Clean the bigger parts like you did with the main barrel by scrubbing them very well. Just be careful about the shiny surface of the aluminum, do not use a metal brush.
You don’t need to lubricate the iris mechanism but you should apply a very thin layer of heavy grease to the threads of the aperture selector. You don’t need to apply too much, a very small amount goes a long way. The springs will also benefit from a thin coat as well.
Disassembly (Optics):
This part isn’t difficult to work with, the only critical thing here is removing the second group because it sits deep within the cup, it is easy to scratch it if you are not careful. It’s also very difficult to put back and it’s easy to cross-thread it.
If you have been following this site for some time, you’ll know that it’s best to mark the walls of the glass with a marker or pencil so you will know which side should be facing where. Just follow this technique so you will not put anything back incorrectly.
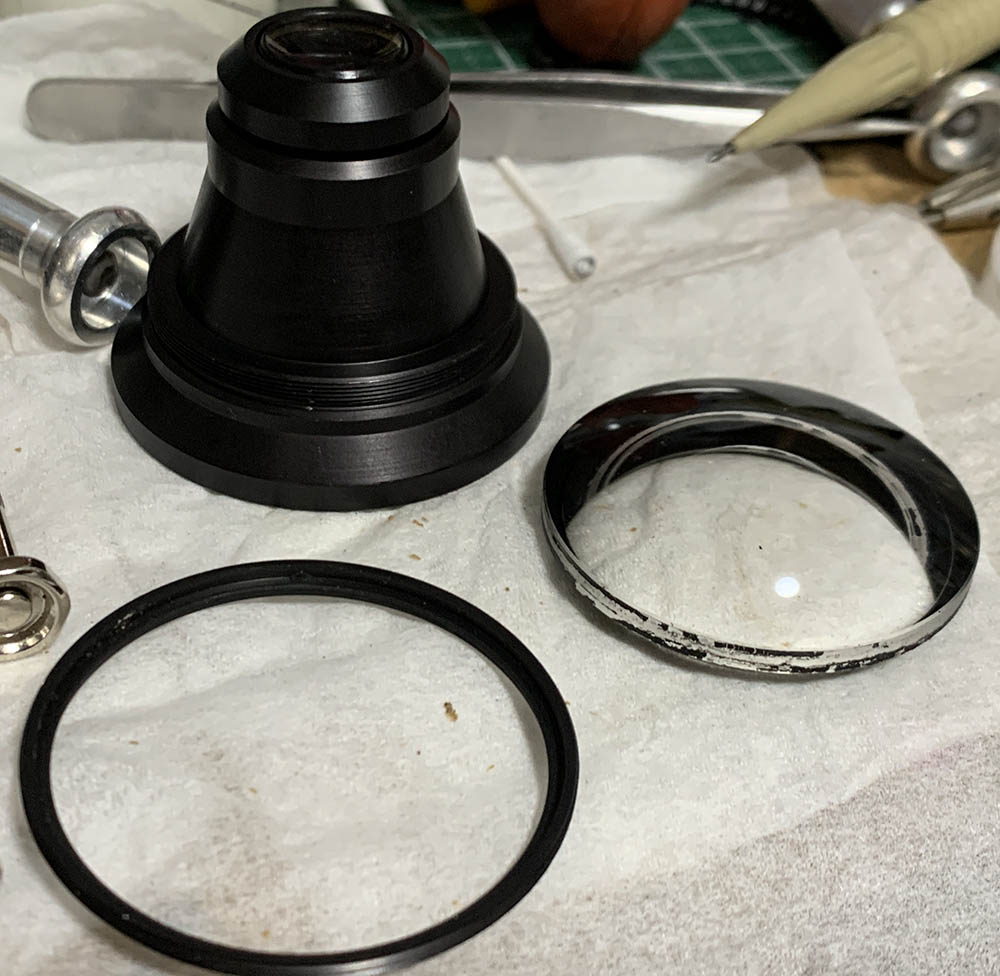
Unscrew the front retainer so you can remove the front element.
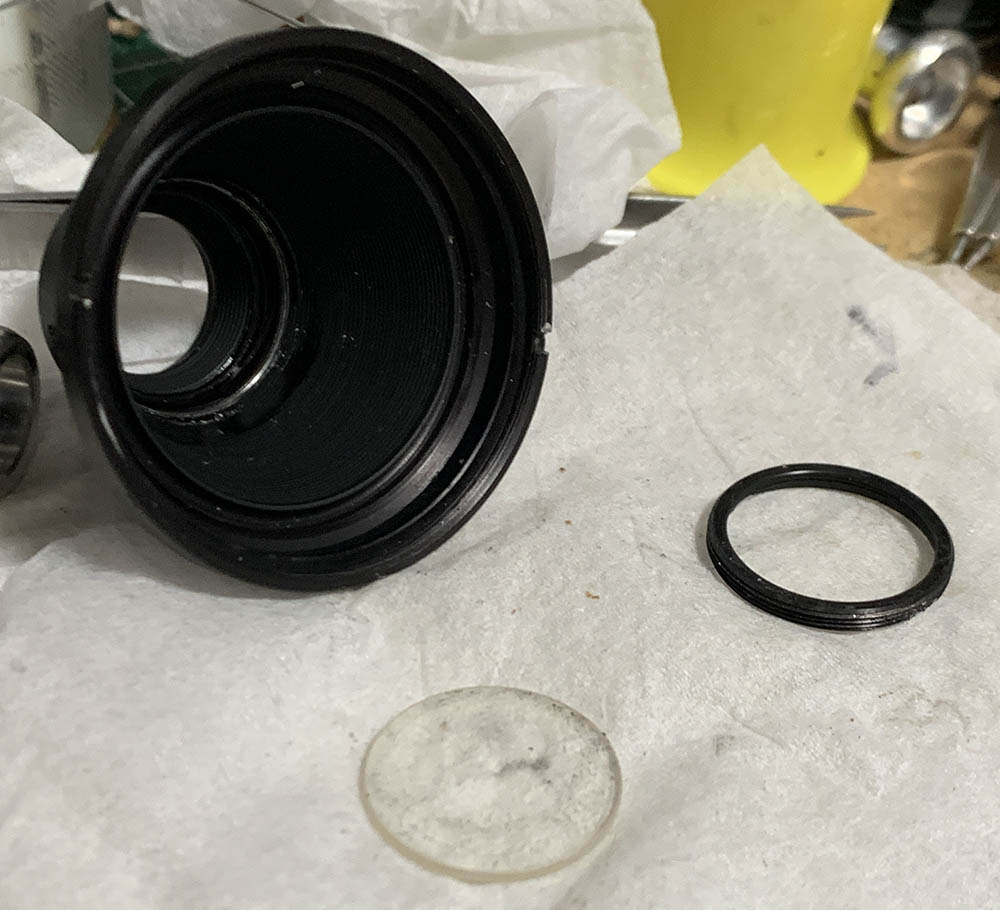
Use a lens spanner with long tips so you can reach and unscrew this retainer, this will allow you to pick up the second group with a lens sucker. Never forget to mark which side should be facing the front using an indelible pencil, this will prevent you from putting it back facing the wrong direction.
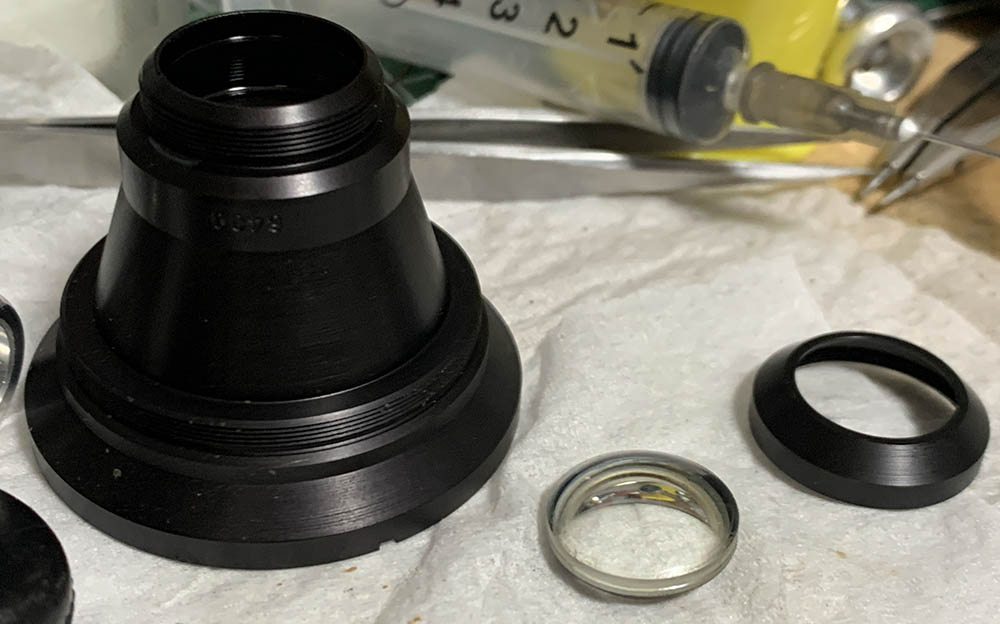
The third group can be removed once its collar is unscrewed.
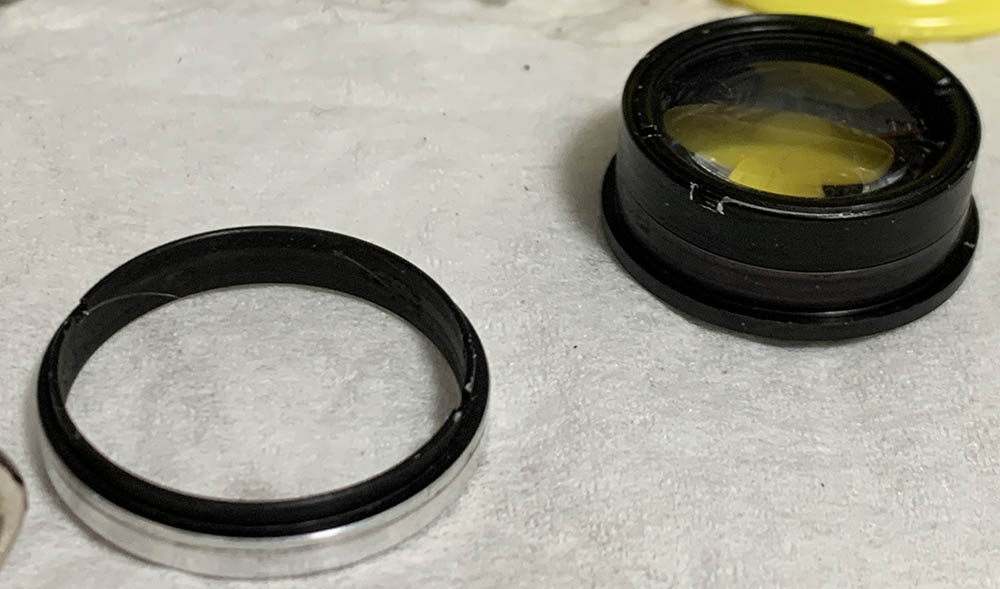
Carefully pull this collar off.
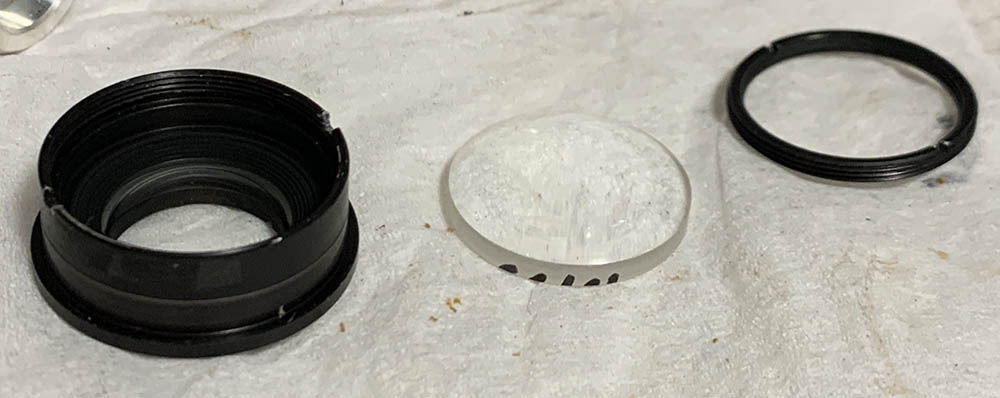
Carefully unscrew this retainer to remove the rear element from its housing. Note that I have marked the leading edge along with its group order. This mark will be erased later.
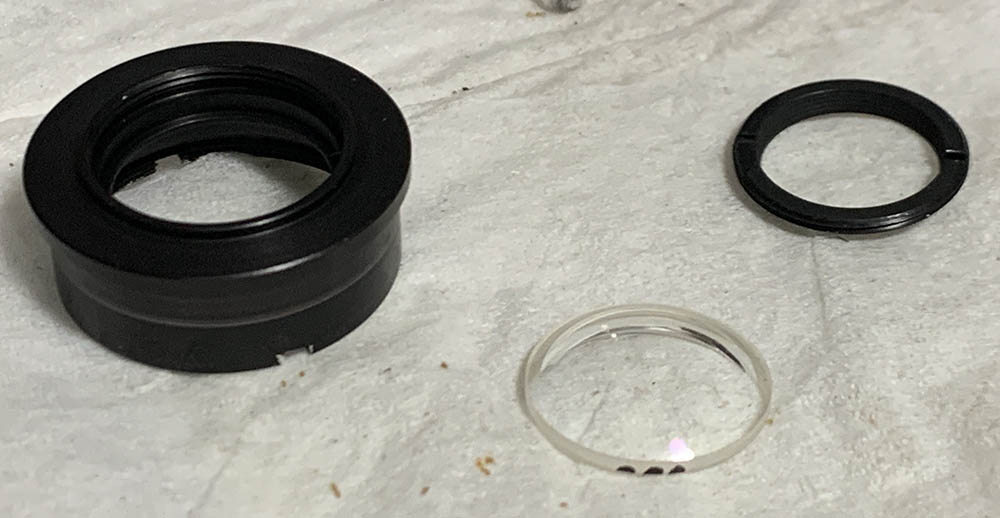
Do the same for this element and make sure never forget to mark it, too.
If your lens has fungus, read my article on how to clean lens fungus, just make sure that you dilute it with distilled water so it’s not going to be too strong as it may damage the coating.
Conclusion:
It took me about a night and a half to work on this with most of that time spent cleaning the parts. I polished the aluminum parts so they look shiny but not too shiny as to make them look like chrome, it is vital that it still looks like machined aluminum. At this point, the engravings would have lost their paint, it is important that you restore them. Read my article on restoring letterings so you will know how it’s done with readily available items from a hobby shop.
This article took me a few years to write not because it’s difficult, but I was always unlucky with this particular lens. I always get a copy with issues somehow, like the rear lens is foggy or in this case, one of the inner elements is scratched really deep. Not only that but I can’t do a lot of things during winters where it can get really cold here near the arctic. I am just glad to get this thing out of my pipe.
You should also adjust the centering of the rear lens, that is done by loosening its retainer and turning the housing of the rear element until you get a centered image. This is tedious and you’ll require something to serve as a guide. You can easily make one by poking several holes on a piece of cardboard and putting a lamp behind it. Look through the lens and turn the housing of the rear element until the lit holes looks solid, without any blurry or de-centered look. This is done by putting the camera in bulb mode and using a focusing screen to look through the film aperture. You can also do this with mirrorless cameras but you will need to remove the lens to turn the housing of the rear element, it’s a bit tedious work. Do not forget to focus to infinity while doing this and also do this with the aperture wide-open.
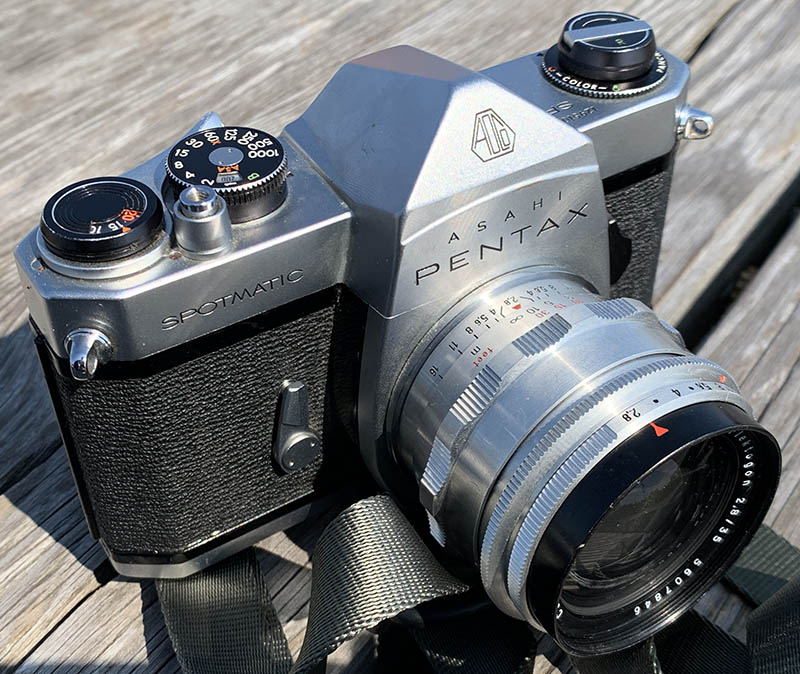
Such a beautiful lens, on an equally beautiful camera. This is the true meaning of bliss and simplicity. You don’t need the latest and greatest to enjoy photography.
That concludes our article, did you enjoy it? If you did, please share this with your friend. That’s going to help spread awareness of this site, it’s my life’s work so I would like to see more people benefit from it. Please do not download my content because I only rely on the meager earnings that I get from each visit. The site barely earns a few cents a day from traffic, hardly enough to buy a sheet of paper. Please help me by spreading awareness of this site, post articles to online forums and refer people who have issues with their camera gear here. I’m proud to say that I have helped inspire a whole new generation of enthusiasts and have helped a lot of people in appreciating older camera gear. Thank you all for your support and help throughout the years, I sometimes find it funny how a simple project turned into a database for everything related to restoring classic Nikon equipment. With your help, we can continue to make this site reach more people and to entertain/educate another generation of enthusiasts. Thanks a lot and see you guys again next time, Ric
Help Support this Blog:
Maintaining this site requires resources and time. If you think that it has helped you or you want to show your support by helping with the site’s upkeep, you can leave us a small donation to my paypal.com at richardHaw888@gmail.com. Money isn’t my prime motivation for this, I believe that I have enough to run this but you can help me make this site (and the companion facebook page) grow.
Leave me some tip?
Thank you very much for your continued support!
$2.00
Helping support this site will ensure that this will be kept going as long as I have the time and energy for this. I’d appreciate it if you leave out your name or details like your country’s name or other information so that the donations will totally be anonymous. This is a labor of love and I intend to keep it that way for as long as I can. Ric.

