
Hello, everybody. It was my first time to taste Kingfisher last night. I liked it a lot, it’s refreshing, light and it has no disgusting aftertaste. Before I had it I was content with Asahi’s Super-Dry but Kingfisher is now my new favorite. I won’t be drinking it regularly since it’s difficult to source locally and it’s not cheap either. Today, I’ll show you something that changed my opinion. I was happy with some of the older lenses from its class but this one is now a new favorite and I even prefer this over all of its successors.
Introduction:
The Nikkor 50mm f/1.8 Ai debuted in 1978 and it replaced the Nikkor 50mm f/2 Ai as Nikon’s “standard-lens”. It was made for only about 4 years which is quite short in my opinion so not a lot of people know about this, that’ why I call this the “forgotten Nikkor“. It was apparent that Nikon needed a lens in the 50/1.8 class in the mid-1970s since f/1.8 is starting to become the norm as far as maximum aperture goes for standard-lenses. Why a “standard-lens”? That name was coined since lenses of this class tend to be sold together with the manufacturer’s cameras, they’re called “kit-lenses” today and nearly-all of them are zoom-lenses but back-in-the day 50mm lenses played the role of the cheap plastic zooms that we’re used to see these days. They were easier to design and manufacture, too.

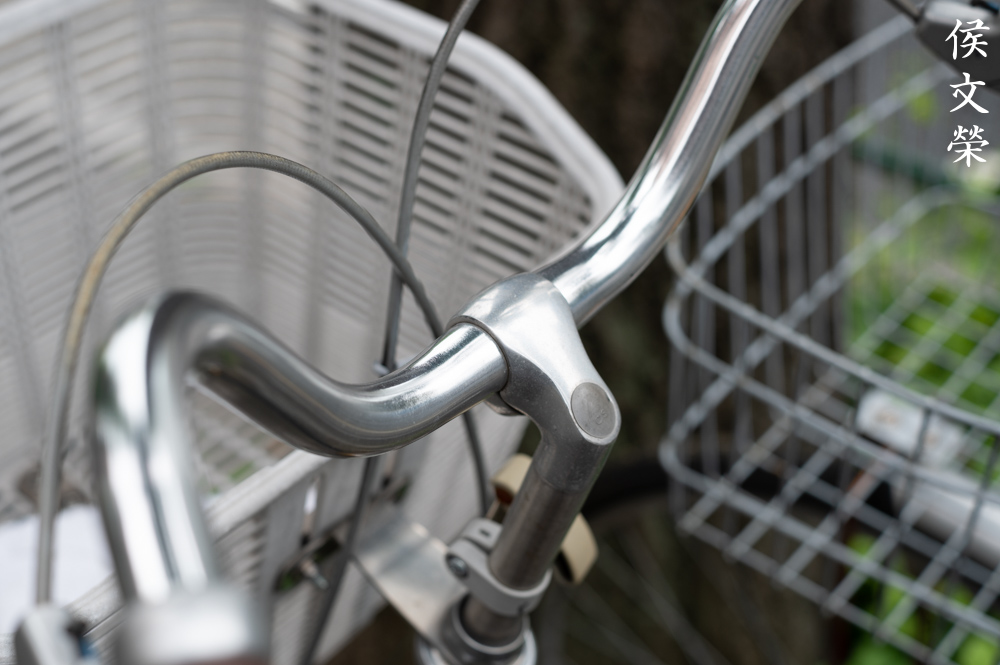
It handles pretty much the same as the older New-Nikkor 50mm f/2 so it will be familiar to your hands if you’re used to the older lens. I like this lens a lot because of its practical specs and build, it feels solid in your hands, you will definitely feel the legendary New-Nikkor build quality. The front lens is a bit recessed which helps in protecting the front element from fingers and light. That’s not an excuse for not using a hood and you should definitely get one.
This is the first time we see a 50/1.8 Nikkor, it’s of the Gauss-type comprising of 6-elements-in-5-groups. Many people consider this to be Nikon’s best and the later, short-lived Nikkor 50mm f/1.8 Ai-S (long-nose) inherited the optical design but it has a different barrel. The compact and popular version of the Nikkor 50mm f/1.8 Ai-S has a different optical design which some think of as an inferior one in terms of rendering and sharpness. I personally could not see a huge difference but it’s safe to say that I like the version shown here a lot more.
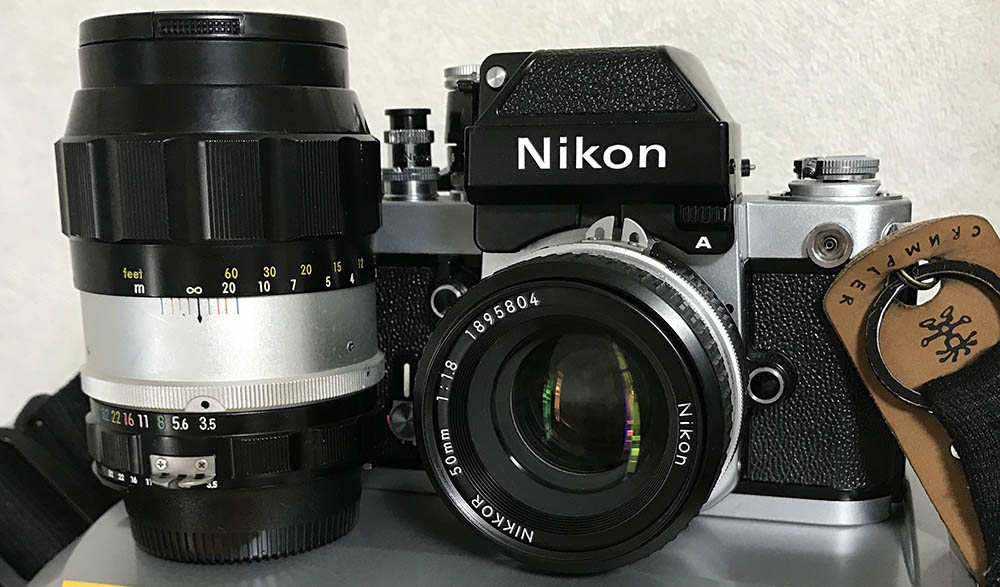
It is the perfect partner for the Nikon F2, add a Nikkor-Q.C 135mm f/3.5 Auto to the mix and it becomes a good travel kit. It balances really well with all of Nikon’s cameras from the smaller ones to the bigger, professional models. It is a very practical lens with modest specs but there is nothing modest about its performance.
It was a favorite of many people but the later Nikkor 50mm f/1.8 Ai-S is even more popular. Some people swear by the former because its build-quality is better compared to the Ai-S versions but that’s something that’s debatable. I don’t think the Ai-S versions are dinky, it’s just that these are just tougher. It can handle a lot of abuse, it’s the perfect partner for a rough trip.
It’s important to know how a lens performs, that knowledge is useful, you’ll know when to use it and for what. I don’t do “scientific tests”, I simply shoot a series of photos and share my impressions. I judge a lens by the pictures it take in real-world scenarios more than anything and how it handles. This is better in my opinion since you’re not going to shoot brick walls and toys all-day with it. I took these from f/1.8, f/2.8, f/4 and f/5.6 from left-to-right in that order. These are the most common aperture values that I think that this will be used and we’ll see the most changes in its rendering characteristics. This set and the pictures that follow were shot with my Nikon Z6.


(Click to enlarge)
Vignetting isn’t bad at all, it’s there when you shoot wide-open but stopping it down to f/2.8 helps a lot. You won’t see much of it from this point on. This lens has more distortion compared to some 50mm lenses, it’s not bad but it is something that you should be aware of.

You’ll notice its effect if you have lines that are parallel to the edges. Avoid it if you can, angle the shot a bit and you won’t see much of it.

Positioning your straight lines away from the edges will help a lot. You’ll see the effects of distortion in this photo but not as strong as it was if I have the roof near the top-edge. You’ll notice that the foundation is a bit curved, that is unavoidable.


(Click to enlarge)
Coma is terrible wide-open. It improves as you stop it down to f/2.8 but it is still noticeable. If you want to avoid this you should stop the iris down to f/4 or f.5.6 if that’s possible. The sunstars look great, they’re clearly-defined and pleasing to look at.


(Click to enlarge)
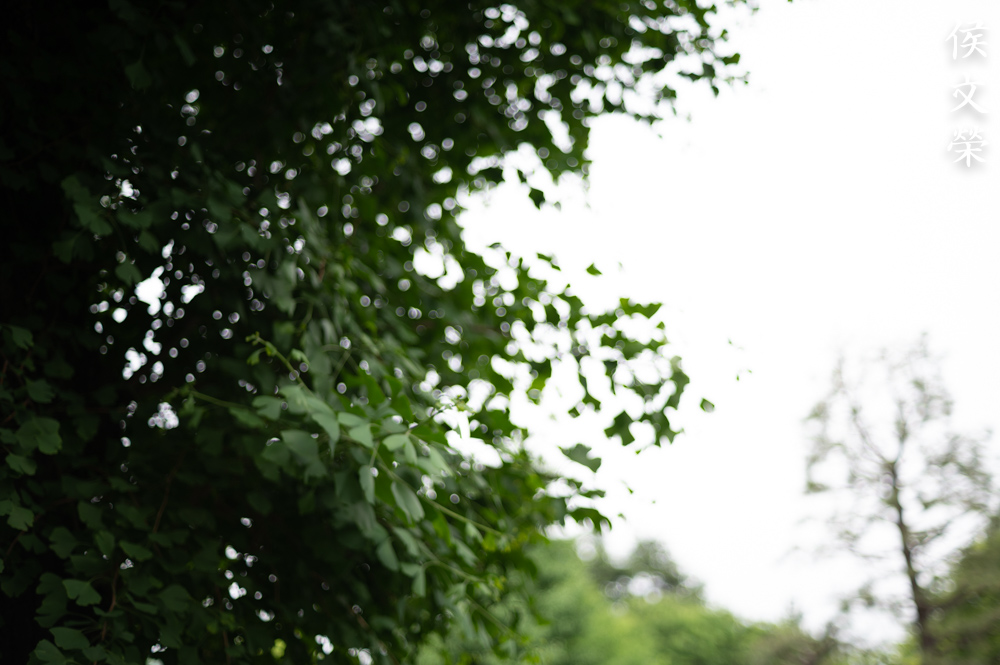
In general, the bokeh quality is quite good. It is smooth, the focus transition isn’t abrupt and it’s consistent whether you’re focusing close or far. This is a good lens in this regard but there are instances when you can trigger some unwanted artifacts and I will show you some examples in the next photos.

This was shot at f/5.6, an aperture value which I dislike if you’re using a fast lens because the background isn’t blurry but not-quite-focused. This present a challenge to many lenses since the background can render in an ugly way as you can see from this picture. It’s not that this lens has terrible bokeh it’s just that this is a challenging scene since foliage is difficult to render at this distance and aperture. If a lens performs great at this parameter then that’s an exceptional lens when it comes to its bokeh quality. This is just my test, it isn’t scientific but it will easily show you how much you push your lens.
Here’s another scenario. You’ll get clumpy-looking details in the background if you’re not careful. Preventing this is easy, you either shoot wide-open and move closer to your subject or simply stop the iris further so you’ll get more depth-of-field, preventing that half-focused-half-blurry look.


(Click to enlarge)
It’s sharp wide-open, resolution is adequate but it could be better. You’ll see some chromatic aberration on overblown areas but they’re not bad at all, it is well-controlled if you ask me. Spherical aberration is present as well but I don’t think it’s an issue, this lens performs closer to modern lenses than to a vintage lens in this regard. The bokeh balls look quite nice, they’re even and clean and you won’t find outlines even when shooting wide-open. Stopping it down to f/2.8 helps make the center look much better since the resolution can now support the sharpness of the lens. Sphero-chromatic aberration is also controlled better, you won’t see much of it from this point. This is what I would normally shoot this lens with, I think this is its best aperture. Stop it down to f/4 and the corners begin to look better, they are not bad at f/2.8 but the center is around a stop better which is as expected. You can say that the center is performing at its peak at f/4. Once you stop the iris down to f/5.6 it begins to render the corners much better. I think the only reasons for doing this is to get more depth-of-field and to get sharper corners. That’s just me, I would rarely want to shoot with this beyond f/4 unless it’s a sunny day and I have to keep my aperture small to get reasonable shutter-speeds. While this performs quite evenly across its focus range I did observe that it’s better at far-end of the range. This is quite surprising since I expect that it would be better at closer distances. The difference isn’t huge but you can notice it. It’s refreshing to see this since a lot of the earlier 50mm Nikkors are a lot better at closer distances. This can also be caused by sample variations, too.

This is a sharp lens even when shot wide-open. Center resolution is good, it isn’t perfect but this is a a great lens for its time.

The corners don’t look bad at all but it’s lagging-behind the center. Stop the iris down a bit and it starts to pick-up. The focus transition is smooth, you’ll get good subject-isolation with it.

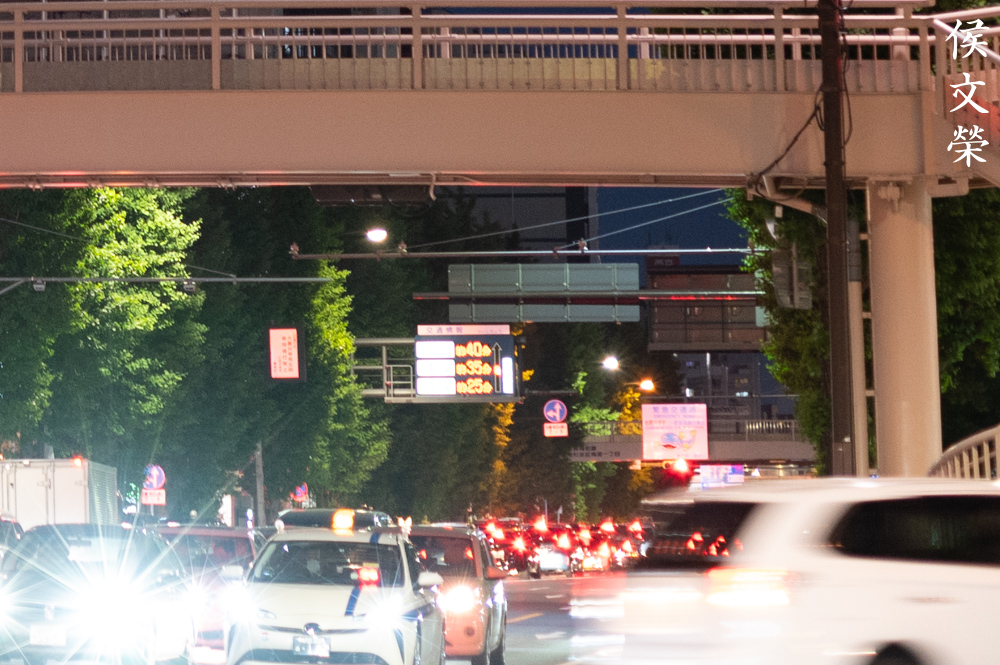
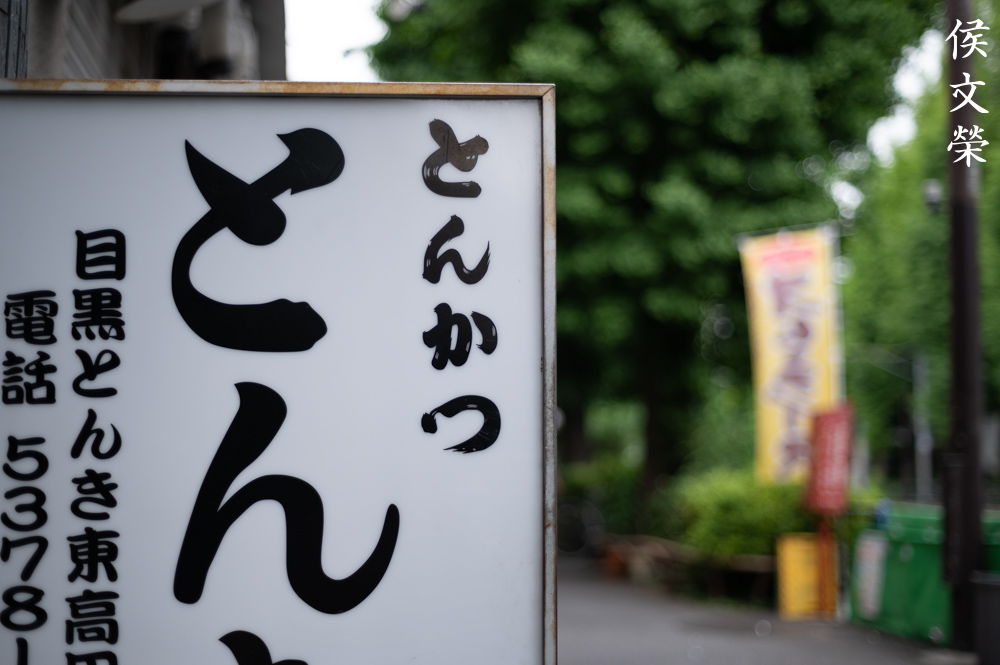
The 50mm focal length is not as popular as 35mm for street photography, it is a bit long but it has its use. Some people actually prefer it.

It would be more difficult to take this shot if I were using a 35mm lens since foreshortening will make the background look smaller. Choosing your focal length is important since foreshortening is such a powerful tool for telling a story.

I think I took this at f/8. This is an amazing lens when stopped-down to f/5.6 or f/8. If sharpness and details matter to you then shoot this from f/4 on.
This is a good lens for travel photography, you can pair it with a 28mm lens such as the Nikkor 28mm f/2.8 Ai and you now have a good travel kit. If you need a longer lens, a Nikkor 135mm f/2.8 Ai will be a good 3rd lens.


(Click to enlarge)
Here are more photos that were taken with this lens. It’s a nice lens overall, it’s well-balanced in terms of specs and performance. You can say that this is a boring lens because of its specs but you can’t deny its performance and utility when it came to real-world use.
Let us now see some photos that were taken with film. Film has a distinctive look that’s difficult to simulate with a digital camera, that’s because of grain. It looks different from digital noise since its structure looks organic and not well-structured like what you see from a digital camera. This lens was made for use with film so it’s only fair that we judge it with its intended medium. I shot these photos with a Nikon F4 loaded with Kodak Gold 200.

It’s a great lens when shooting things that are closer to you. It will be nice if it could focus a bit more closer, if that’s important to you, consider getting a late production model of the Nikkor 50mm f/1.8 Ai-S.

It’s a great lens for shooting with film. I actually prefer using it with film, it has great, organic-looking characteristics that jive well with grain.

Its subject-isolation properties isn’t as good as a longer lens but it’s capable of leading the eyes of your viewers to your subject.

Grain helps mask some unwanted bokeh-related artifacts. I guess this would look worse when shot with digital.

This is a sharp lens when shot with film, even a cheap stock looks premium with this lens. It has that nice “vintage-feel” to its photos and shooting film will help make your photo look more “authentic”, as if it was shot some 40 years ago.


(Click to enlarge)
Check these photos out to see how it performs with film. Like I said, this is a great lens when paired with film. The photos feel nostalgic, they remind me of the photos that I grew-up looking at a couple of decades ago. Some people will add filters to their digital photos to make them look like they were shot with film but nothing beats the real thing.
I can recommend this to everyone, it’s cheap and it’s well-built. If you don’t want to spend a lot of money for the later versions then this will be a great alternative. The only reasons for me to get the Nikkor 50mm f/1.8 Ai-S are its ability to work in all automatic modes which I rarely use, the shorter focus-throw which I find useful and their weight. I will skip the Nikon 50mm f/1.8 Series-E and get this instead since the build quality is a lot better and you’re going to get better images due to the better coatings, these are cheaper, too. It’s silly how much people pay for those when you can get one of these. The size difference is not a lot and I am sure you’re going to enjoy using this one better because it’s easier to handle. This is a great lens for people who don’t have much money to spend and you can take great photos with these if you know what you’re doing.
Before We Begin:
If this is your first attempt at repairing a lens then I suggest that you check my previous posts regarding screws & drivers, grease and other things. Also read what I wrote about the tools that you’ll need to fix your Nikkors.
I suggest that you read these primers before you begin (for beginners):
Reading these primers should lessen the chance of ruining your lens if you are a novice. Before opening up any lens, always look for other people who have done so in Youtube or the internet. Information is scarce, vague and scattered (that is why I started this) but you can still find some information if you search carefully.
I highly recommend that you read my working with helicoids post because this is very important and getting it wrong can ruin your day. If I can force you to read this, I would. It is that important!
For more advanced topics, you can read my fungus removal post as a start. This post has a lot of useful information and it will be beneficial for you to read this.
Disassembly (Main Barrel):
The main barrel is relatively easy to service if you’re familiar with Nikkors, there’s nothing difficult about it except that most of the parts were sealed. I remember having to wait for the solvent to soften the lacquer seals before I could remove some of the rings and screws here. Some of the bigger screws will require heat to soften them, the smaller ones will require them at times but you should try using alcohol first. This is a nice lens for a novice to fix, I cannot recommend this to a beginner, it’s best to practice on cheaper Canon or Soviet lenses first to get a hang of the techniques before you touch this.
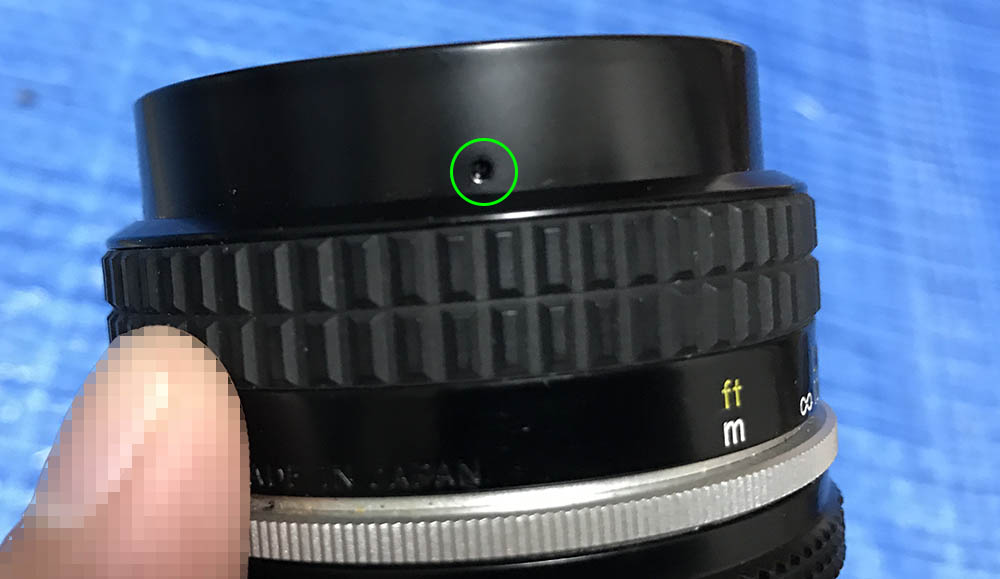
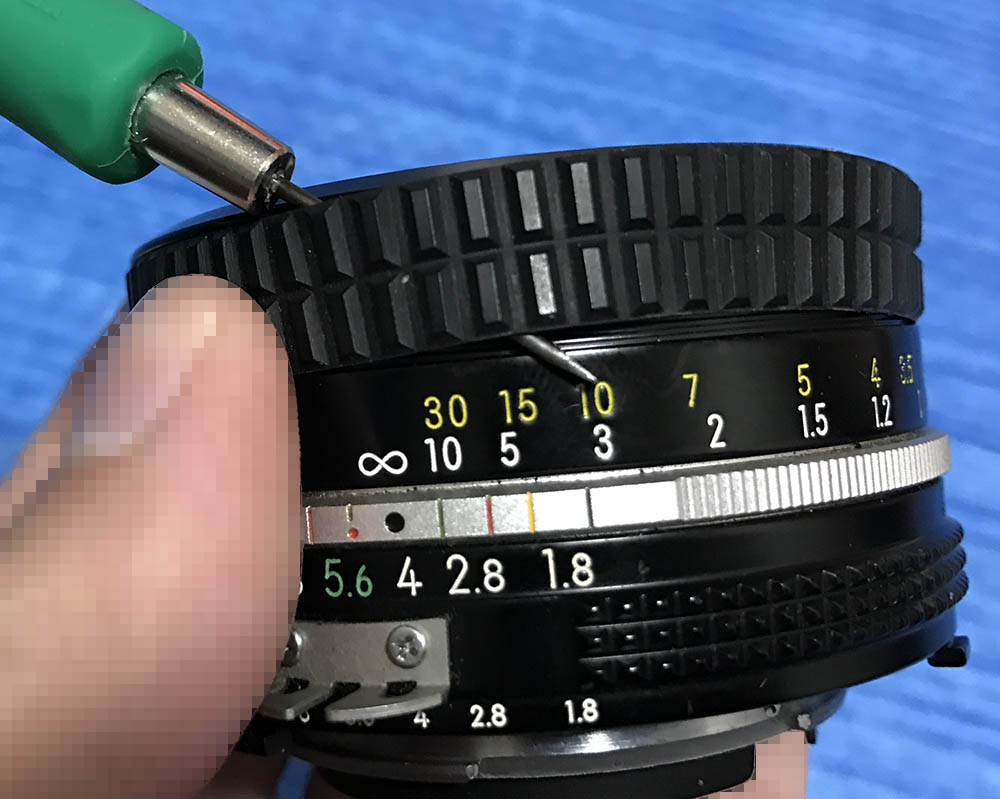
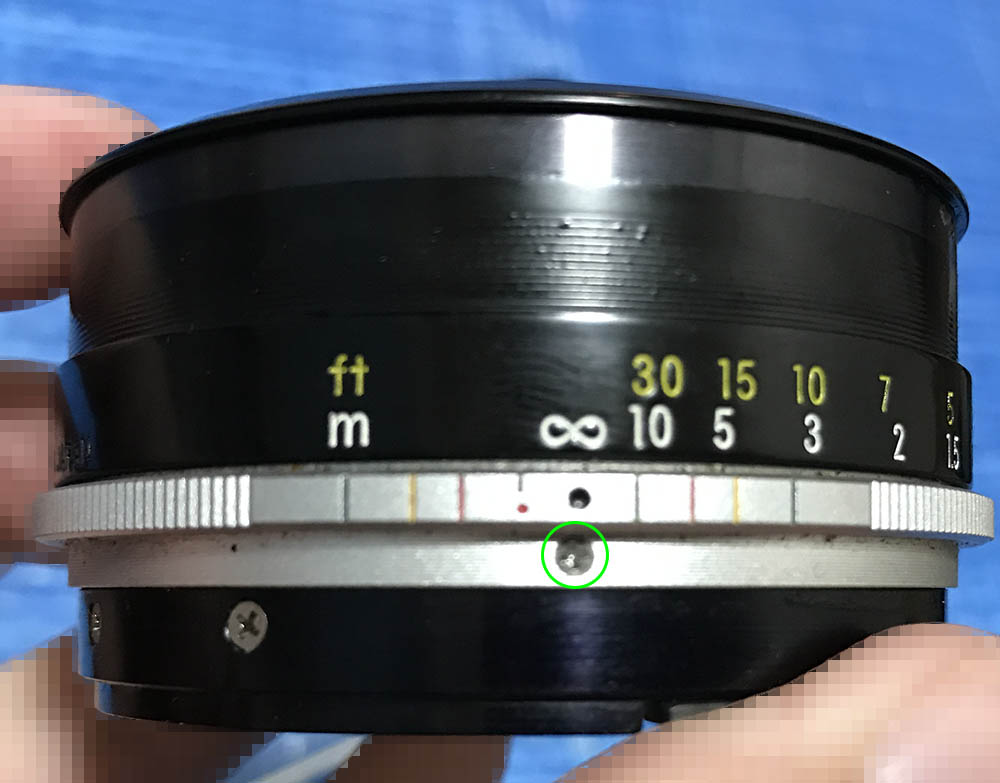
Locate and extract this set screw. These are usually sealed with lacquer, do not remove these unless you have dissolved the lacquer or paint sealing it.

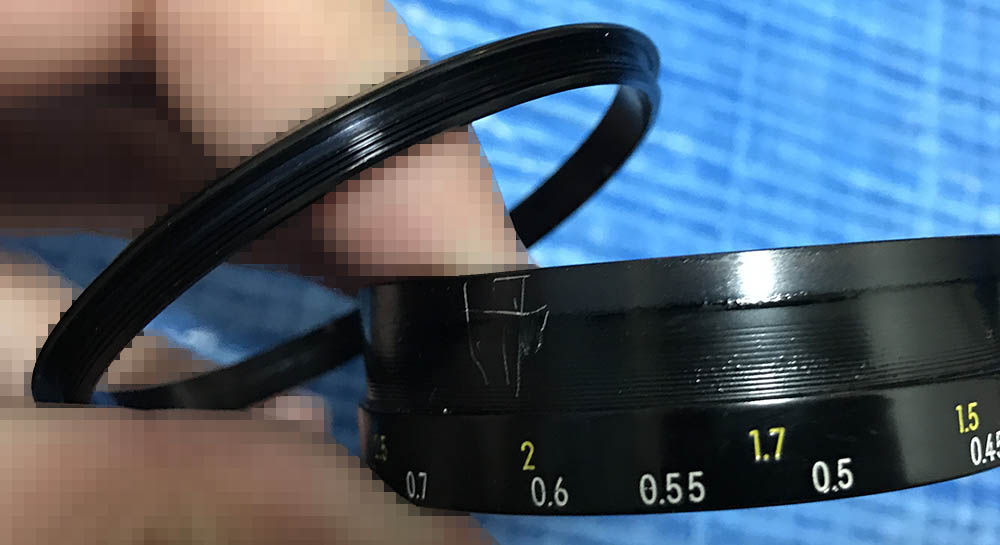
Unscrew the front barrel once its screw is gone.

The bezel can be removed from the front barrel. This thing is usually sealed and pickling it in an alcohol bath overnight helps soften it up.

Once the front barrel is gone you can pull the objective off. Store it in a safe place while you work on the main barrel.
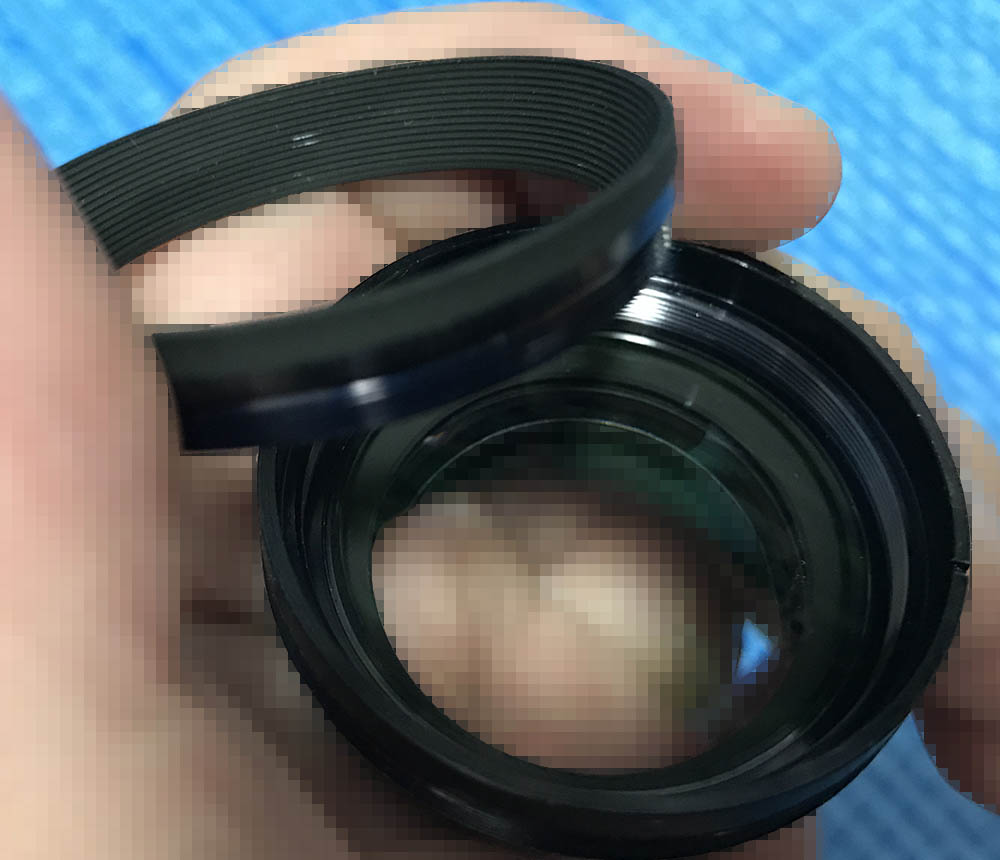
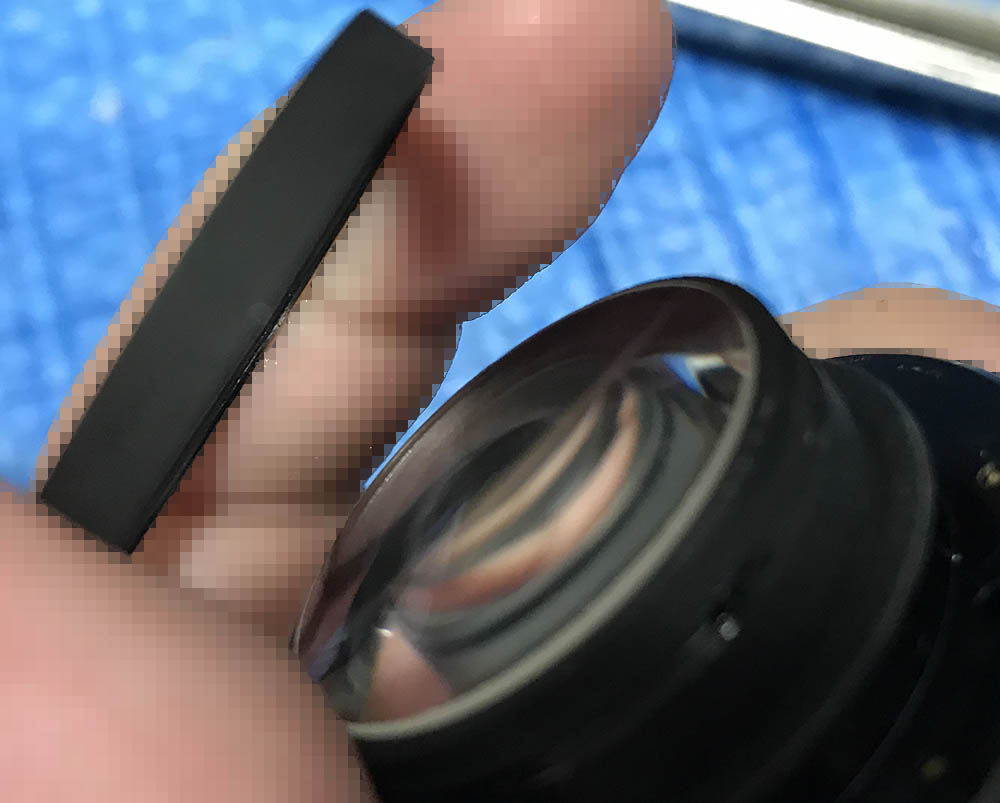
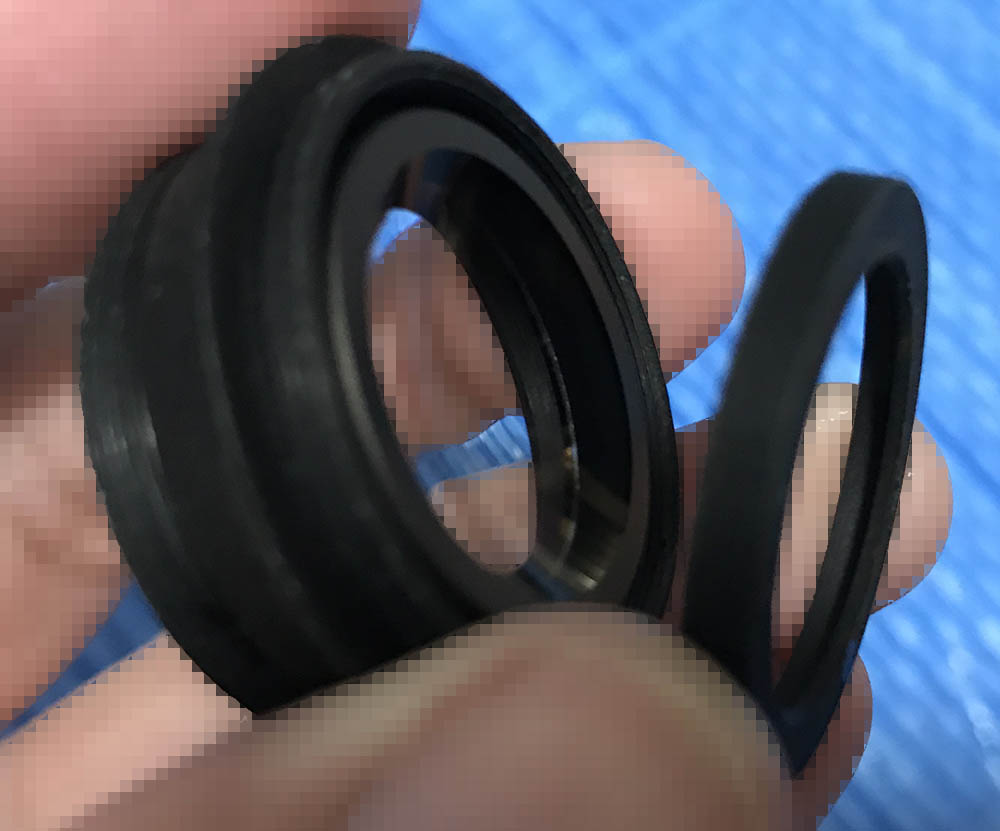
The rubber grip can be removed by running a thin, narrow object under it. Run through its whole circumference to lift it from its glue and then pick on the rubber grip until you remove it. Be careful with this process, you can do a bad job of it and tear it apart.

Saturate this hole using alcohol to dissolve the seal on the front part of the focusing ring. Leave it for now and work on the rest of the lens while you’re waiting for the solvent to do its job.
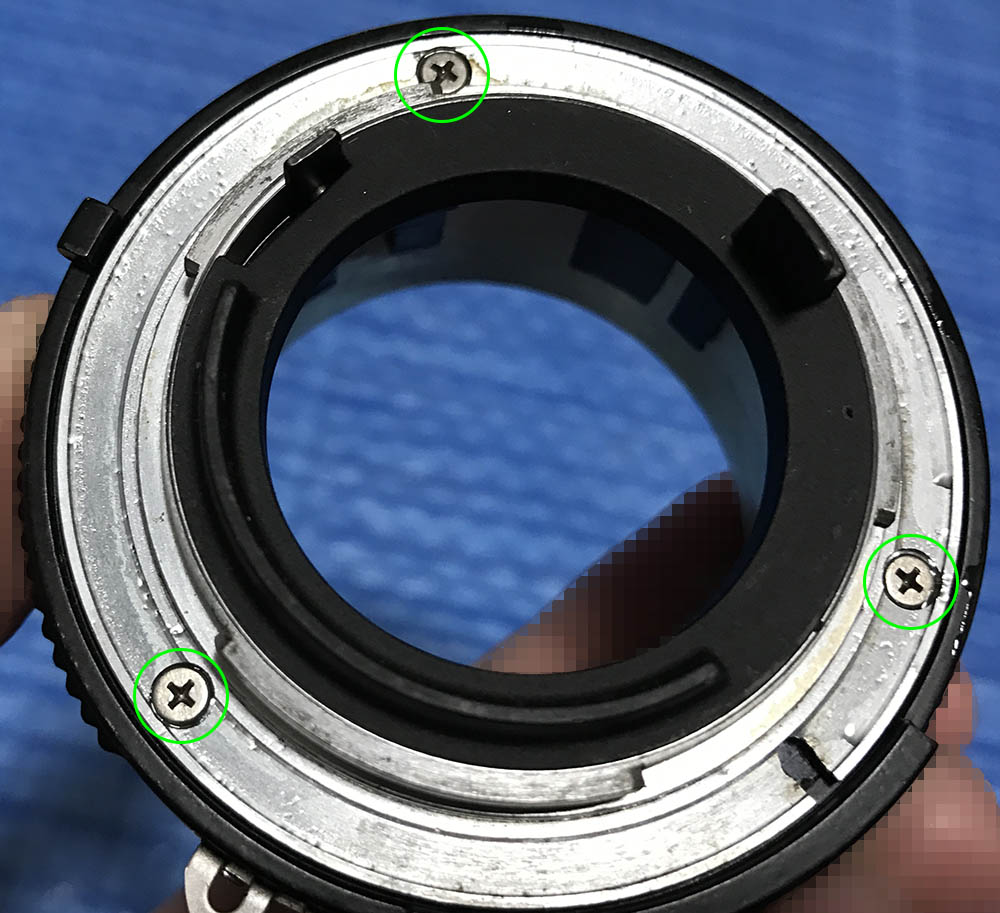
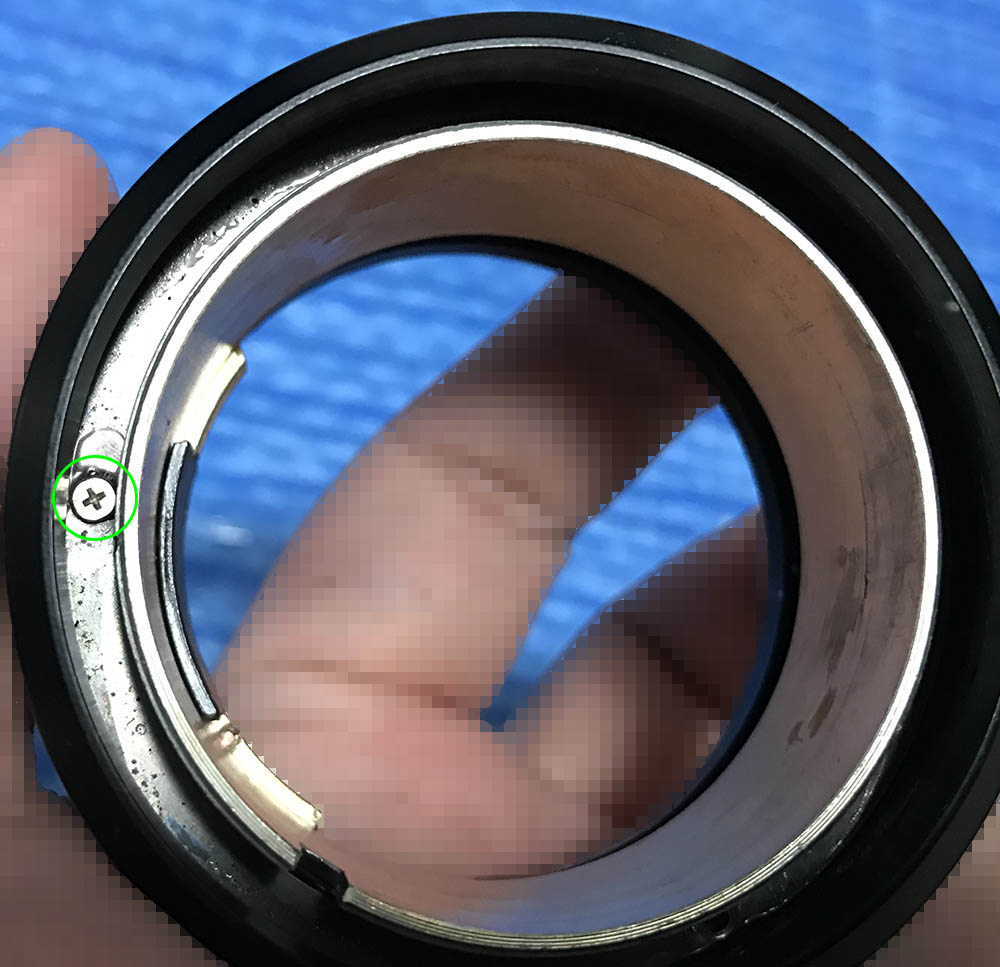
Extract these to remove the bayonet mount. You should only use JIS drivers for these, many people get stuck here because they were using the incorrect drivers for these or they don’t have the correct technique. To help prevent it from happening to you, read my article on how to extract bayonet screws. It is important that you follow my article carefully to prevent stripping these.
Remove the bayonet mount and set it aside. You can dismantle this further if it’s necessary. If you look at it closely you will see lacquer applied to it. It’s for securing the ring and also to indicate if somebody messed with it. Nikon won’t service it under-warranty if the seal was broken.
Extract these screws to remove the aperture ring. These can be stuck, I use a torch to heat these from behind before I extract these. These usually have a tough adhesive applied to them, extracting the screws using brute-force will either strip or snap them. Of course, you should never heat these while the objective is still attached to the barrel.

Carefully remove the aperture ring. The screws we extracted before secure the aperture fork to the aperture ring, it allows the aperture ring to control the iris mechanism when you turn it.

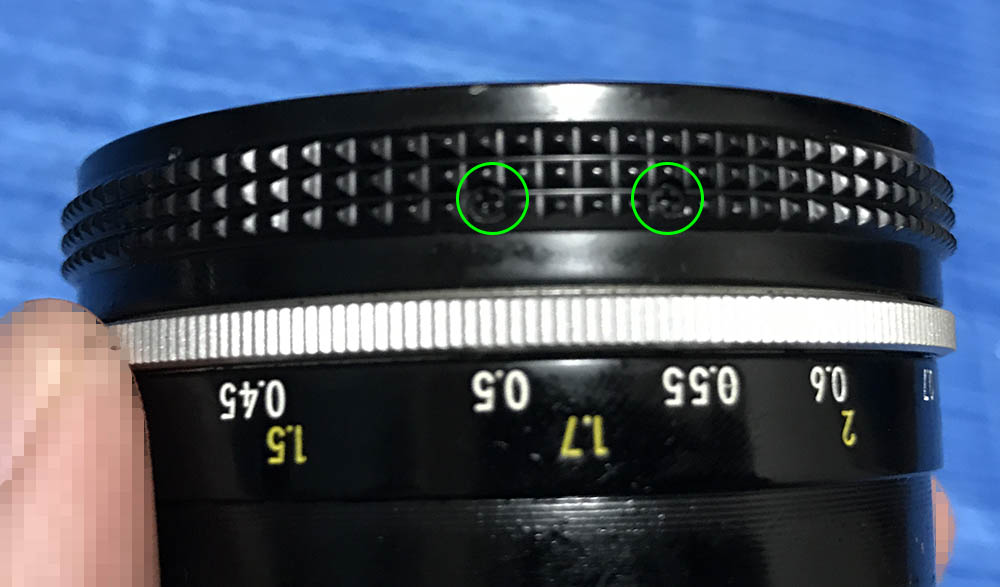
Extract these to remove the detent spring but mark its position first.
The grip can be removed by extracting these. Mine was stuck since glue was applied to it, I had to dissolve the glue first and that took me some time. You can work on the rest of the barrel while waiting for the alcohol to do its job.
The focusing ring is secured by these screws, extract these carefully.
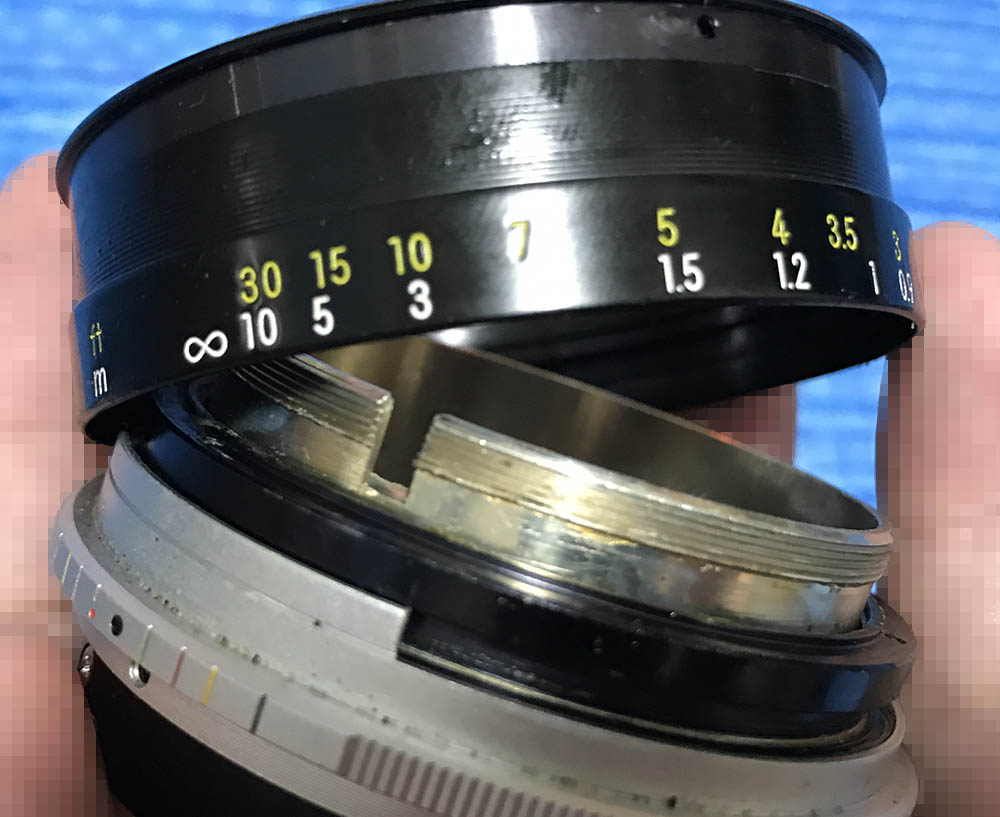
The focusing ring can be removed once its screws are gone.
By this time the alcohol has dissolved the seal on the threads of the focusing ring’s front part. If this won’t turn, soak the whole thing in an alcohol bath, that should soften this thing up after an hour.

The grip can now be removed. I don’t think you can remove this thing while the focusing ring is still installed since it’s in the way.

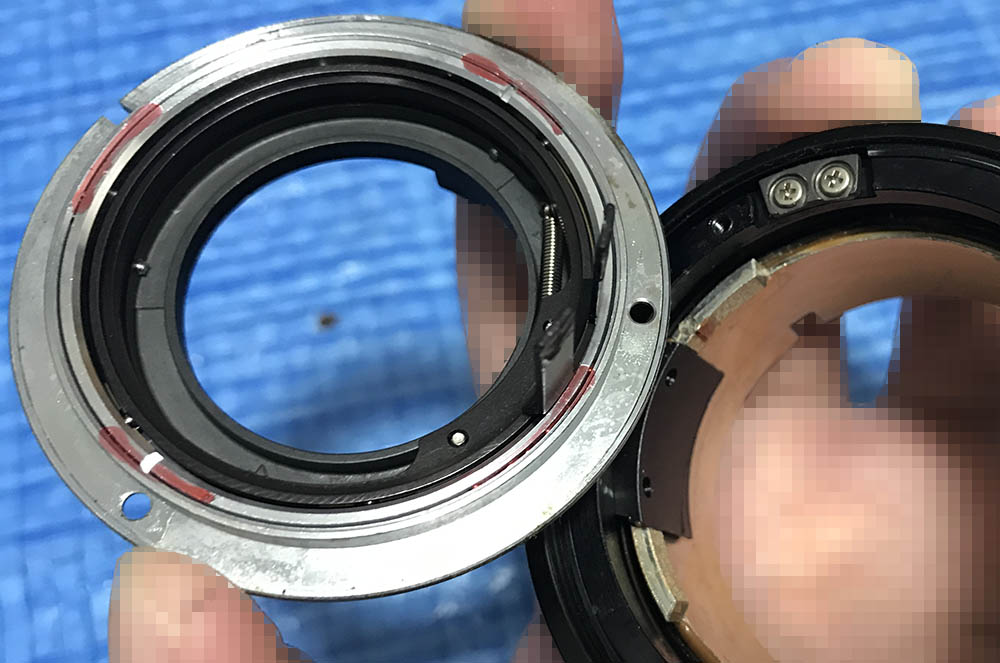
This is the helicoid key, it syncs the rotation of the helicoids. Heat it using a torch to soften the seal. Epoxy is sometimes used on these and you can only soften that with heat, I can tell that it’s epoxy due to the smell it gives when you heat them.

Extract these while they’re still hot. Be careful when you extract these, they can still be tough to remove despite heating them.
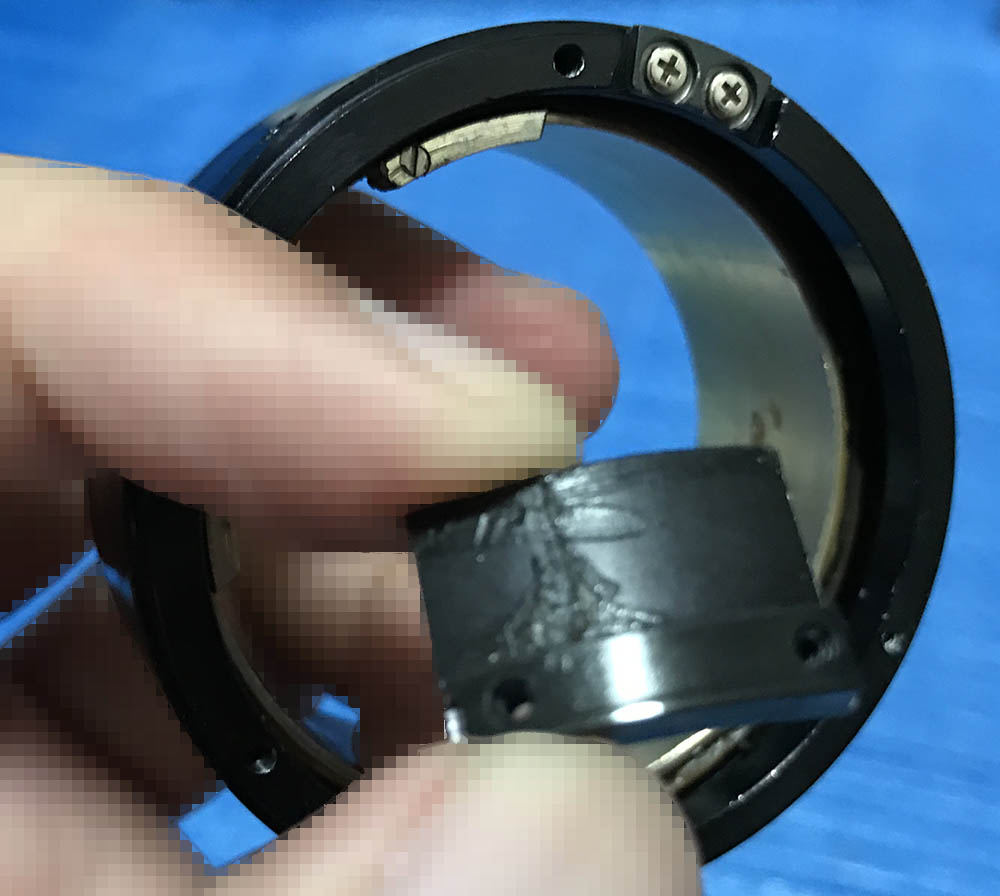
Carefully remove the helicoid key.
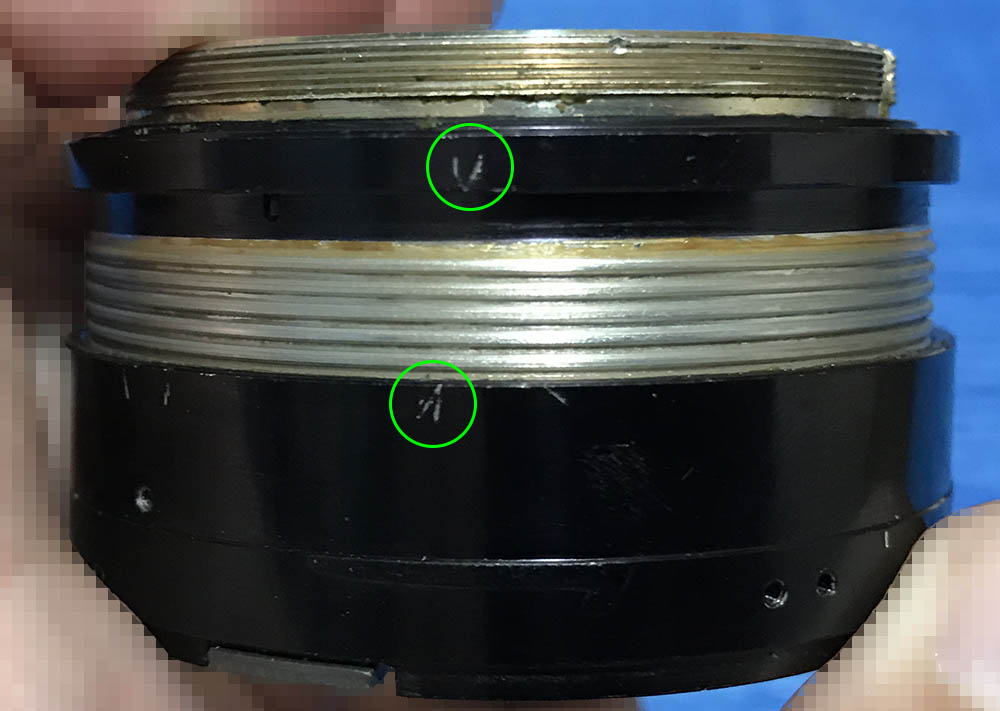
You can now separate the helicoids. Begin with the outer one, do not forget to mark where they separated since this is also where they should mate. It’s important so you’ll know how to put these back. If you don’t know how this is done, read my article on how to service helicoids. Many people don’t know how to work on these and they get stuck.
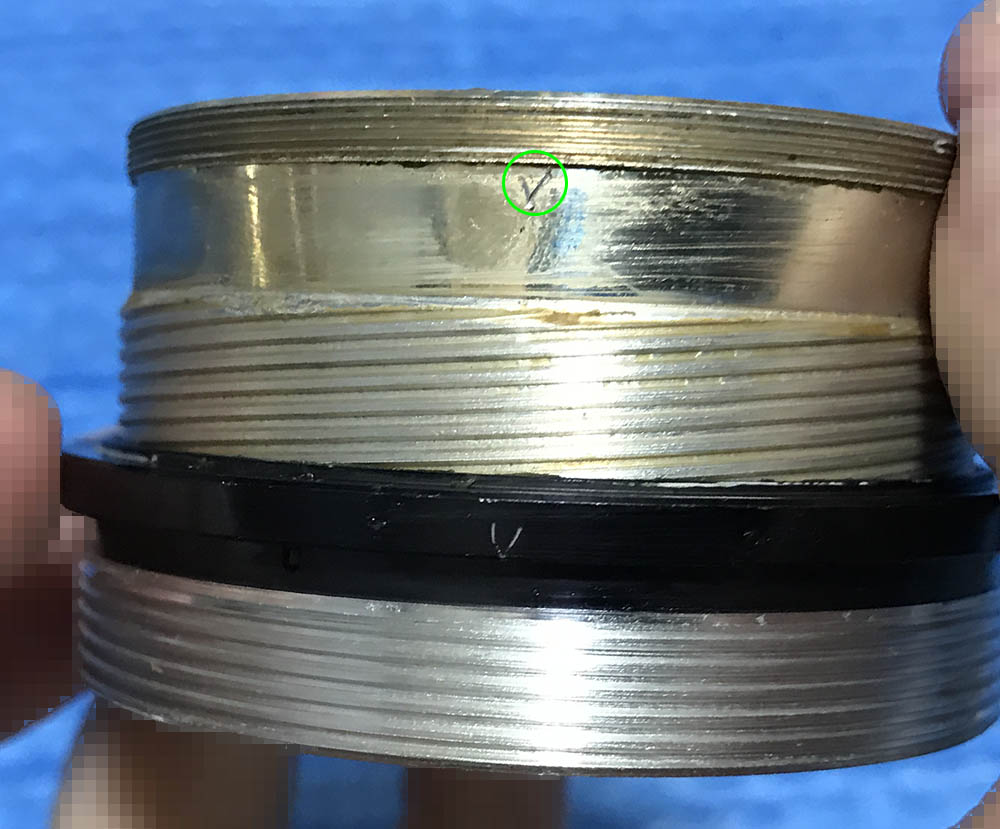
Do the same for the inner helicoid. Your marks shouldn’t be as deep as mine and place them far from the threads of the helicoid.
Clean everything and never leave residues. Scrub the helicoids using strong detergents and pickle them in alcohol overnight to remove any residual oils. Polish them with cloth and brush them clean before you reinstall them. The helicoids will benefit from a lighter-type of grease, using a thick one isn’t an option since that will make the helicoids difficult to turn.
Disassembly (Objective):
The objective’s design is conventional, an experienced repairer shouldn’t be concerned with it. You’ll find that many of the threads here were sealed. It’s best to soften the seals first before you remove anything but be careful with using solvents and heat because you can damage the cemented groups. It is important not to heat the parts here with a torch while it still has glass in its parts, glass will expand when heated and it will crack when they cool down abruptly. Never flood anything here with solvents while the elements aren’t extracted yet, that’s a recipe for disaster.

The front optical assembly can be removed by unscrewing it.
You can extract the front element after unscrewing its retainer. This part is usually sealed so apply a drop of alcohol to its threads to help soften it up. I used a rubber cup to remove this retainer.

Extract the front element with a lens sucker. Be careful as the front element is heavy and the lens sucker may not have enough suction to hold it.

You can remove the rest of the elements after unscrewing the rear. You can use a lens spanner for this task but be careful so you won’t scratch the glass.
The rear element can be removed by extracting its retainer.

Carefully extract the rear element with a lens sucker. Mark the leading edge with a permanent so you’ll know which edge should be front-facing.

The rear optical assembly’s housing can be removed by twisting it-off. This can be tough to remove because it’s usually sealed at the factory.
The rear-doublet can be removed once its retainer is gone.

Carefully extract the doublet. Solvents will damage the cement used on this, never saturate anything here with solvents.
Clean everything very well before you put things back. The iris mechanism is clean on my lens so I didn’t have the need to clean it. If you need to clean the iris mechanism, read my other articles to find out how it’s done. This is of a conventional design, you can read my other articles to get ideas to do it properly. If your lens has fungus, read my article on how to clean fungus. It’s important that you don’t over-do it because the chemicals I use are potent. I usually dissolve the solution with distilled water just to be safe.
Conclusion:
I didn’t expect to enjoy this since I though that this lens was boring. It was a good project since I learned a lot about this lens, I thought that Nikon would use a more traditional design for the main barrel but it turned-out that this was made with some ideas that are common with Ai-S lenses but it retained the legendary tough-build of earlier lenses, it’s transitional in that sense. It’s a really nice lens and I’m glad that I got one for cheap. This is a simple lens, a novice won’t have any problems with this but complete beginners should never touch this lens since you’ll require special tools for this and there are many parts that were sealed and they require a lot of attention. If your lens needs repairing, send it to a competent repairer. If they aren’t familiar with Nikkors then show them this article.

Reassemble your lens up to this point so you can adjust the focus. Loosen its screws so you can turn the focusing ring freely. If you do not know how this is done, read my article on how to adjust a lens’ focus. It shows you how this is done in a DIY setting. Tighten the screws once you’re satisfied and install the other parts and you’re done.
Thank you very much for following my work. If you enjoyed this, share this with your friends. You can also support this blog, it helps me offset the cost of maintaining it. You’re also helping me purchase, develop and scan film. I promote film photography and that’s all thanks to you. This site wouldn’t be a success without you, I’m getting a lot of feedback this is the becoming the go-to site for classic Nikkors and their repair. This is all thanks to you, Ric.
Help Support this Blog:
Maintaining this blog requires money to operate. If you think that this site has helped you or you want to show your support by helping with the site’s upkeep, you can make a small donation to my paypal.com (richardHaw888@gmail.com). Money is not my prime motivation for this blog and I believe that I have enough to run this but you can help me make this site (and the companion facebook page) grow.
Leave me some tip?
Thank you very much for your continued support!
$2.00
Helping support this site will ensure that this will be kept going as long as I have the time and energy for this. I would appreciate it if you just leave out your name or details like your country’s name or other information so that the donations will totally be anonymous. This is a labor of love and I intend to keep it that way for as long as I can. Ric.

1 Comment (+add yours?)