Hello, everybody! I’m craving for some doughnuts today. I like them a lot, it can be eaten with breakfast, lunch or dinner. They can also be served from the simplest of settings up to the fancier presentations that can be found at the expensive restaurants. They also come in many different flavors, too. If you don’t prefer sweets like me, you can just enjoy the plain and un-glazed version which I consider to be the best because it’s the most versatile. I love that version a lot and I judge a shop by how delicious their plane version is. If you can’t make one the right way then there’s no point masking the taste with other flavors. Speaking about the basics and versatility, I’ll show you a lens today that’s the pinnacle of simplicity and and it does the basics right. It’s so good at the latter that it was used as the lens to judge other lenses in terms of sharpness. Its versatility cannot be denied and it does everything really well. Let me present to you one of the best Nikkors ever made.
Introduction:
The Micro-Nikkor-P 55mm f/3.5 Auto is one of the most influential Nikkors. It was so successful that it influenced a lot of copy-cats from other brands and its legacy still lasts to this day in the AF-S Micro NIKKOR 60mm f/2.8G ED. It’s one of Nikon’s best contributions to the photography world since it turned a specialized lens into something that you can use regularly for taking almost everything thanks to its practical design. Its predecessor is the Micro-Nikkor 5.5cm f/3.5 which is exceptional in its own right but its use is limited due to its quirky handling. It does not have an automatic iris but it can focus down to 1:1 magnification but it’s tricky to use outside of its own field and you’ll have to make a lot of compromises. It can’t be coupled to a camera’s meter, too. These were addressed by the Micro-Nikkor-P 55mm f/3.5 Auto. It turned it into a more useful lens but it lost the ability to focus down to 1:1. This was remedied by the included M-ring that’s sold with it as a kit. It’s just a simple extension tube but it allows the lens to be coupled to the camera’s meter. Its length is enough to get you down to 1:1 so you don’t lose anything with this new setup so long as you have the M-ring with you.
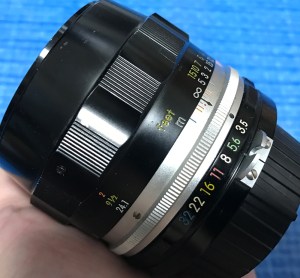
The build is perfect, it can withstand the tortures of professional use. It can last for generations so long as you maintain it properly. It’s so simple that it can’t get broken in the field so long as you keep it clean. Its core design did not change much from its debut in 1963 to its last version that came out in 1979. Even the Micro-Nikkor 55mm f/2.8 Ai-S which is still being made today didn’t deviate much from this design. The design lasted the test of time and I don’t see any point in changing it because simplicity akin reliability. More
Hello, everybody! I am getting kind of addicted to boba tea or tapioca as the thing is called here. It’s refreshing and it reminds me of home. It’s also kind of expensive at about $5 a cup. This makes it profitable for the vendors and even the mobsters are into this according to news, which isn’t a bad thing at all because it’s an honest way to make money. It’s not cheap at all but there is a way for you to save money and that’s to make them yourself. They won’t need any special equipment at all and all you have to do is buy the required ingredients and follow a recipe. This will save you roughly $4 a cup because the ingredients are quite cheap. Today, I’m going to show you a way to save money on lenses so long as you’re fine with a little bit of hassle. It’s not the best when it comes to comfort but its performance-to-price ratio is going to make a lot of cheap photographers happy.
Introduction:
The Nikkor-Q 20cm f/4 Auto is a historically-significant lens. It made the SLR the best system to use for shooting with telephoto lenses because of its size which for its time was considered to be really compact for such a long lens. It gave the F-mount a big boost in prestige because of its performance. This lens can be seen being used by newsmen during the Vietnam War due to its ruggedness and sharp pictures. These were also favorites of sports shooters and nature photographers alike because they’re compact and you can shoot with it without the need for a tripod.
The earliest version of this lens debuted in 1961 to compliment the Nikon F and its growing collection of telephoto lenses. It’s a very old design but it’s a good one because it’s still quite nice today despite the fact that better lenses are available to us now and they have the advantage of using better coating technologies, autofocus and other refinements.
Hello, everybody! I often see people talk about how blemishes on a lens won’t affect the resulting photos. This is often mentioned by sellers as a pitch in order to sell something for a better price or assure the buyer that the item works. It’s not totally true that these won’t affect your photos, it may seem like it but there are certain conditions that will trigger any artifacts resulting from a lens having a single or multiple elements having less-than-perfect condition. Let’s study a few photos that I have here so you’ll know these blemishes will affect your phots and from what means.
Dirty Bokeh:
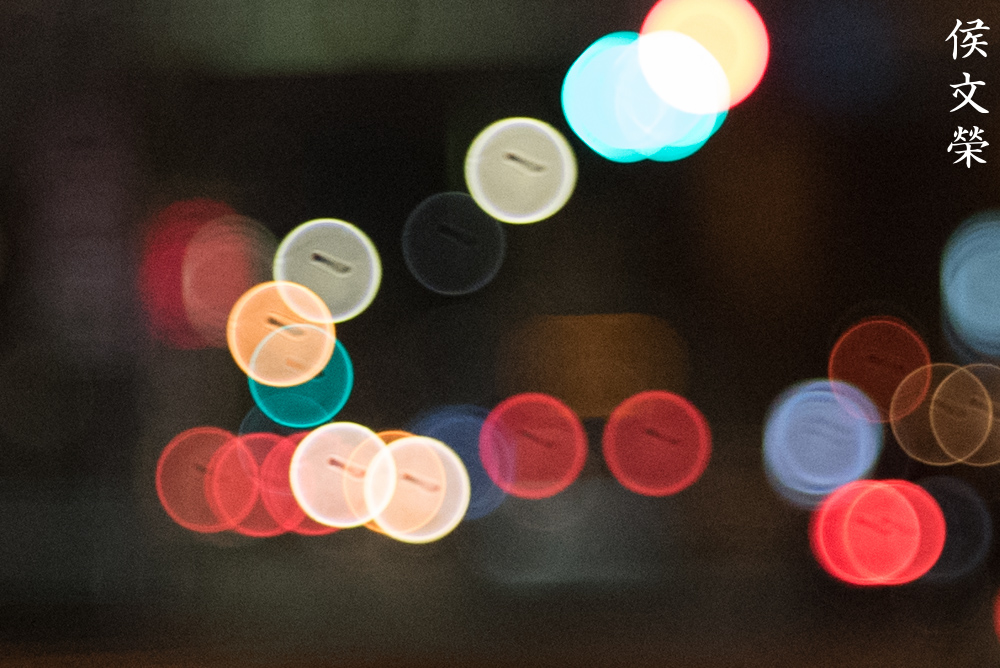
Some damages that are too feint to see with the naked eye without using the help of a light source such as a torch can fool you into thinking that nothing is wrong with a lens but this simple bokeh test can help you determine if the lens is still fine or not. This test only works in the dark so I do this at night or inside a dark room.
First, focus your lens to it’s minimum focusing distance, stand 1.5m-2m away from some point lights or any bright light sources. This also works on light sources that are distant like street lamps 60m meters away from you. So long as you could produce clean and clear bokeh discs you are on the right track.
Second, set the iris wide-open then set your exposure settings so that you’ll get a nice picture with clear bokeh discs, ISO400 at 1/250s usually works for me. The key to this is to underexpose the bokeh discs a bit so that things will show up.
Examine your pictures and zoom into the discs to look for artifacts. The following images show a few examples of bad bokeh from some of the lenses that I’ve encountered.
Dirt or a bad scratch can cause these to appear. Depending on the cause, this can easily be corrected with cleaning in case of dirt or having a professional re-polish the problem element for you and recoat it after. This particular lens looks immaculately clean but as you can see from the picture above, it produces these lines. It may be caused by the cement deteriorating, this is known as balsam separation.
Hello, everybody! It is the middle of autumn but the trees here in have not reached their peak autumn colors yet. This is starting to get frustrating for me because this is the only time of the year that I can justify shooting with FujifilmVelvia. Autumn is about the time I use my wide lenses for landscape photography and I will show you one of my favorite lenses for shooting the gorgeous colors of autumn.
Introduction:
The Nikkor 28mm f/3.5 Ai-S is one of Nikon’s cheaper but better-performing wide-angle lenses, you’ll want to shoot with it as soon as you see what this little thing could do. It was made from 1981 up until 1989 and it’s the last of the beloved 28/3.5 family that started in 1960 with the Nikkor-H•C 28m f/3.5 Auto. For many, these represent a time when lens speed isn’t the only thing that mattered but what a lens could do despite not having a fast maximum aperture value. People back then were less-concerned with the charts than they are today so these sold really well. These were loved for their value, a good ratio of price-over-performance that’s hard to beat. These aren’t really dirt-cheap when they were new but they’re certainly cheaper compared to their faster siblings and that meant a lot for some people.
The 28mm focal length is one of my favorites and I own many 28mm lenses. Here’s the Nikkor 28mm f/3.5 Ai-S with a Micro-Nikkor 55mm f/2.8 Ai-S. They make for a good setup for general photography since they compliment each other well in terms of focal length and use. You can take plenty of beautiful pictures with just these lenses and make a whole career out of them.
Hello, my friends and readers! It is getting really cold these days and I am getting lazier to do even the most basic of tasks and prefer to just hide under the thick blanket. I was really thinking of skipping this week’s post but I saw people clicking on my site just to see if any posts got published and this gave me the strength to write this. My readers usually come from Indonesia, Philippines and the EU and for you, I will dedicate this week’s post.
Introduction:
Last time, we talked about the marvellous Nikkor-O 35mm f/2 lens. I also mentioned that I got the lens from the junker and that the middle element had some cosmetic problems but since it was being sold for an agreeable price and the problem doesn’t affect the images it makes then it was a fair purchase for me.
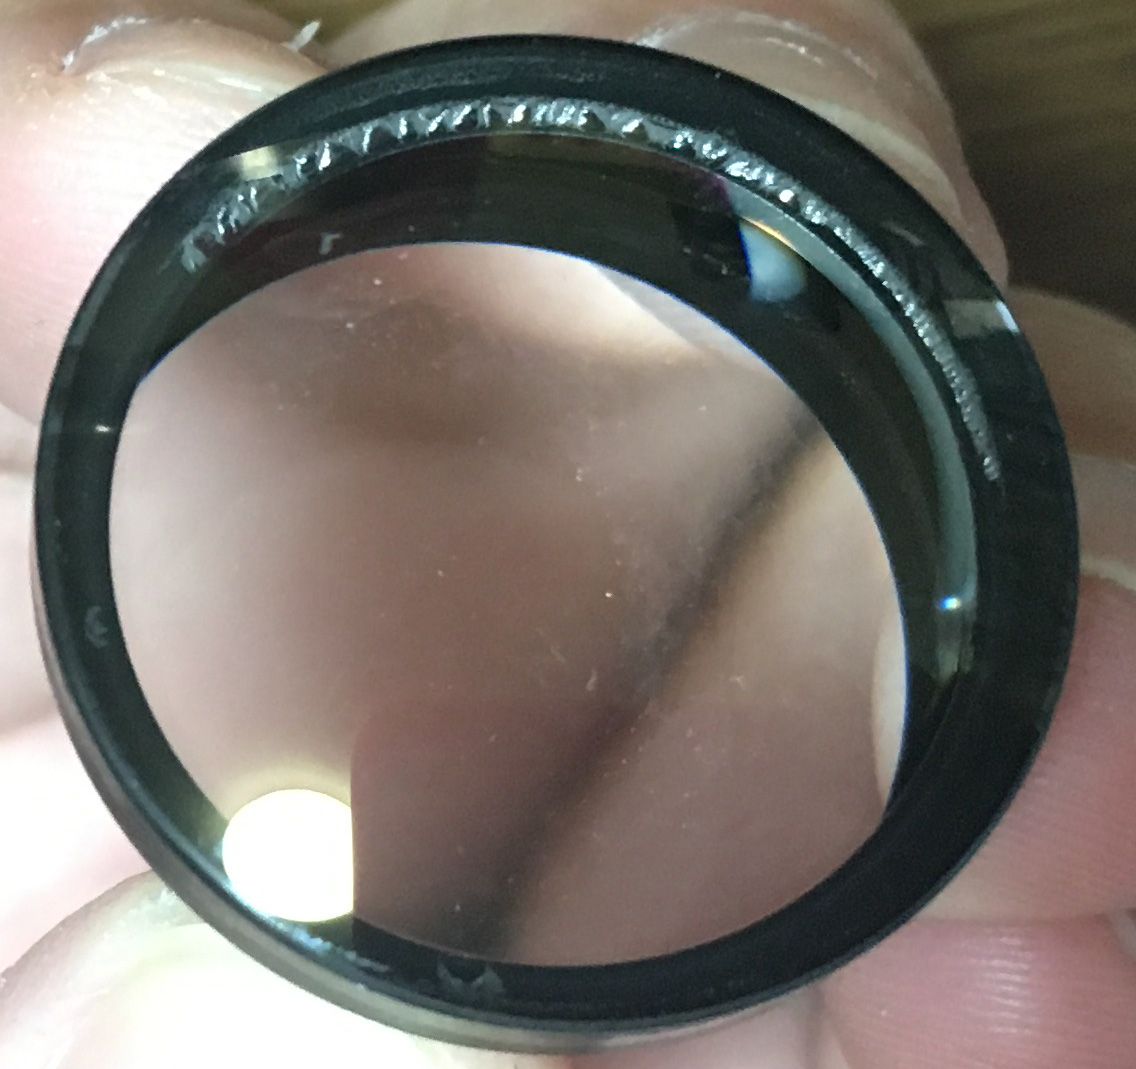
Here is a closer look of the lens element that is going to be the topic of this week’s article. I am sure that some of you guys have seen this and wonder what this is and how do these affect the lens and the images it captures.
The PN-11 extension tube is a companion accessory to the amazing, popular and very long-lived Micro-Nikkor 105mm f/2.8 Ai-S lens. This lens was introduced in the early ’80s but it’s still in production up to this day. Having said that, the PN-11 is obviously in-production as well. You have to buy the PN-11 separately which doesn’t make sense since it is so vital to the Micro-Nikkor 105mm f/2.8 Ai-S’s performance and it is needed for the lens to achieve a 1:1 (almost) reproductive ratio. Why Nikon sold these separately, I don’t know.
Hello, everybody! I haven’t updated anything for a weeks now and it looks like it’s going to be that way for the rest of this month. I am currently very busy with visiting family and a friend who also happens to be my dog food supplier. I will resume our normal schedule on November when things slow down a bit, until then please enjoy this little article.
Introduction:
Some earlier Nikkors have a thin aperture enough ring that doesn’t even touch the aperture coupling tab of modern Nikon cameras. Converting these to Ai is much easier compared to the ones that have a thicker aperture ring wherein you need to grind off any material that is in the way of the tab.
Today, I will show you how I make these lenses work with any Ai interface so that you can enjoy these old lenses with your modern Nikon cameras and get aperture priority metering with it.
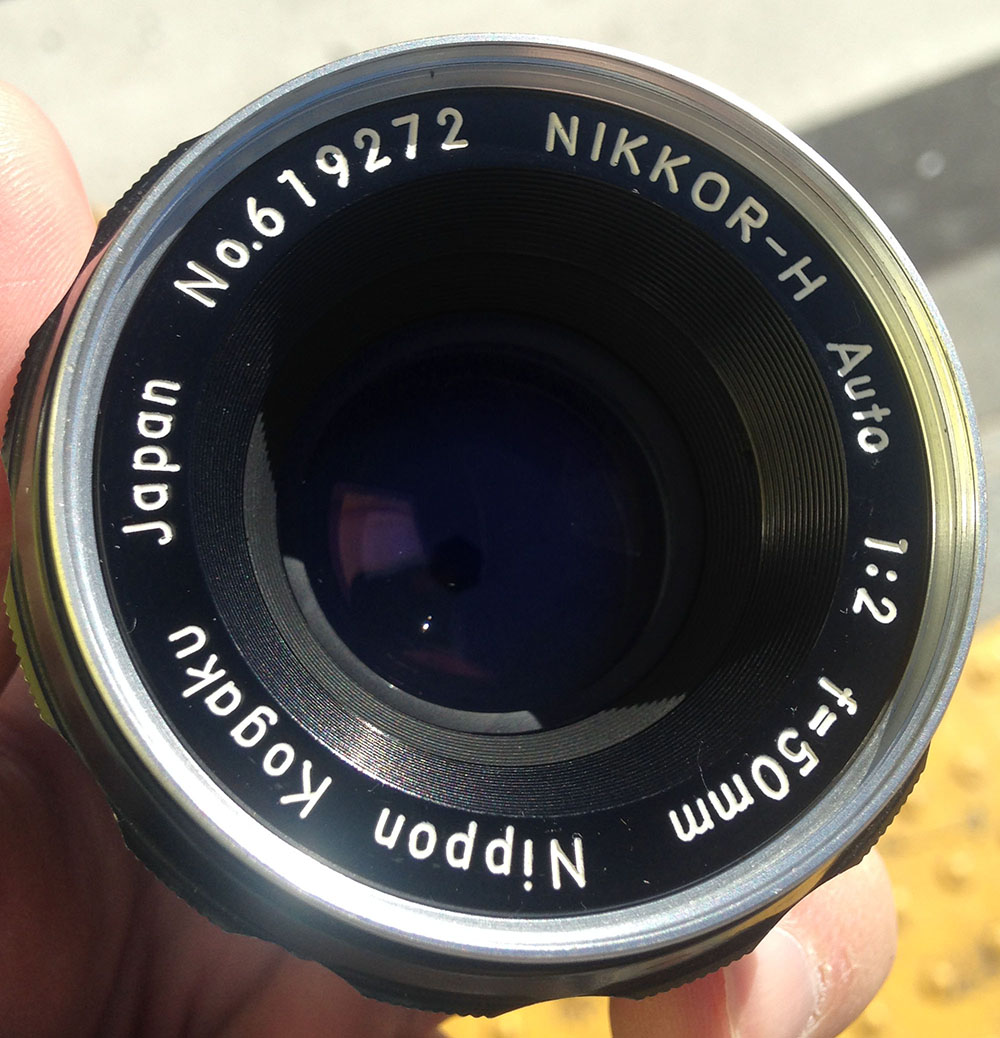
The Nikkor-H 50mm f/2 is one such lens. This is an easy mod since the tab needed for this is not as big as the ones needed for slower lenses. More
Hello, friends! This week was just a pain for me – literally! I had a new gout attack and my left foot was super painful! I haven’t gotten anything like this for 2 or so years now and as my doctor told me, it might be an indication that my uric acid level is going down. My foot is feeling much better now and I should be OK by Monday. The pain associated with gout is just as painful as manually focusing a fast prime on modern DSLRs like the Nikon Df and I will show you how I made my experience a lot better in this blog post, making me hate this camera a little less.
Introduction:
Today, I am going to show you how I replaced the original matte screen that came with my Nikon Df with the FM3A’s K3 screen for better focus confirmation with faster manual focus lenses (f/2 and faster)!
This is all we need for this project. Be sure to work in a clean place! More
Hello, everybody! I was at a Samba festival and it was a good change in my daily routine. I am often busy with work that I neglect so many things and this gave me a little bit of time to charge my mental energy. We sometimes need a change in perspective when in comes to life, doing the same routine day-in-day-out can really burn you out. You won’t notice it until it’s too late so it’s nice to take a break occasionally. While we’re on the topic of changing perspectives, I’d like to introduce to you a Nikkor that does the same thing, I love this lens as it helps me see things through an altered perspective. Read the whole article to find out what this is.
Introduction:
Let me introduce to you the PC-Nikkor 35mm f/3.5! This is both unusual and historically important. I say unusual because this is a specialist Nikkor that was specifically designed for architectural photography so it has gimmicks to help it do that. This amazing lens was also ground-breaking when it came out because it was the first lens for the 35mm format that can give you any control over your picture’s perspective by modifying the vanishing point of your frame and hence – “PC” (for Perspective Control). It’s the first of its kind and it helped take the small format into the realm of technical photography where it was once dominated by larger formats such as 120mm.
Such a lovely lens. This thing is heavy so do not let its small size fool you. It is a gem of a lens that was made with precision in mind. The lens is dirty in this picture but you are going to see it cleaned before your very eyes. It has plenty of knobs and rings to help you operate the lens and that’s part of the appeal of using this thing.
Hello, everybody. It’s a rainy day today here in Tokyo, it’s actually very bad timing since it is the annual Asakusa Samba Carnival today! I was hoping for good weather last night but it seems that nature listens to nobody. Oh,well…maybe it’s going to be sunny next time.
Introduction:
Today, we are going to talk about how I fixed the locking mechanism of my Nikon FE’s film door. My Nikon FE is supposed to be sold but I accidentally soiled the camera so it’s going to stay with me for now. I also fixed some other things on this camera and I will show you what I did next time. This is going to be a series like the one I did for my Nikon F.
Here is the Nikon FE along with the Nikon F. Notice how small it is but I assure you that this camera is very capable. In fact, I would say that it has most of what the legendary Nikon F3 has when it comes to features. More
Help support this site by donating to richardHaw888@gmail.com over at Paypal! If you want to buy me a beer or a roll of film then that would be great,too!

 The build is perfect, it can withstand the tortures of professional use. It can last for generations so long as you maintain it properly. It’s so simple that it can’t get broken in the field so long as you keep it clean. Its core design did not change much from its debut in 1963 to its last version that came out in 1979. Even the Micro-Nikkor 55mm f/2.8 Ai-S which is still being made today didn’t deviate much from this design. The design lasted the test of time and I don’t see any point in changing it because simplicity akin reliability. More

 Here is a closer look of the lens element that is going to be the topic of this week’s article. I am sure that some of you guys have seen this and wonder what this is and how do these affect the lens and the images it captures.


 The Nikkor-H 50mm f/2 is one such lens. This is an easy mod since the tab needed for this is not as big as the ones needed for slower lenses.
  This is all we need for this project. Be sure to work in a clean place!
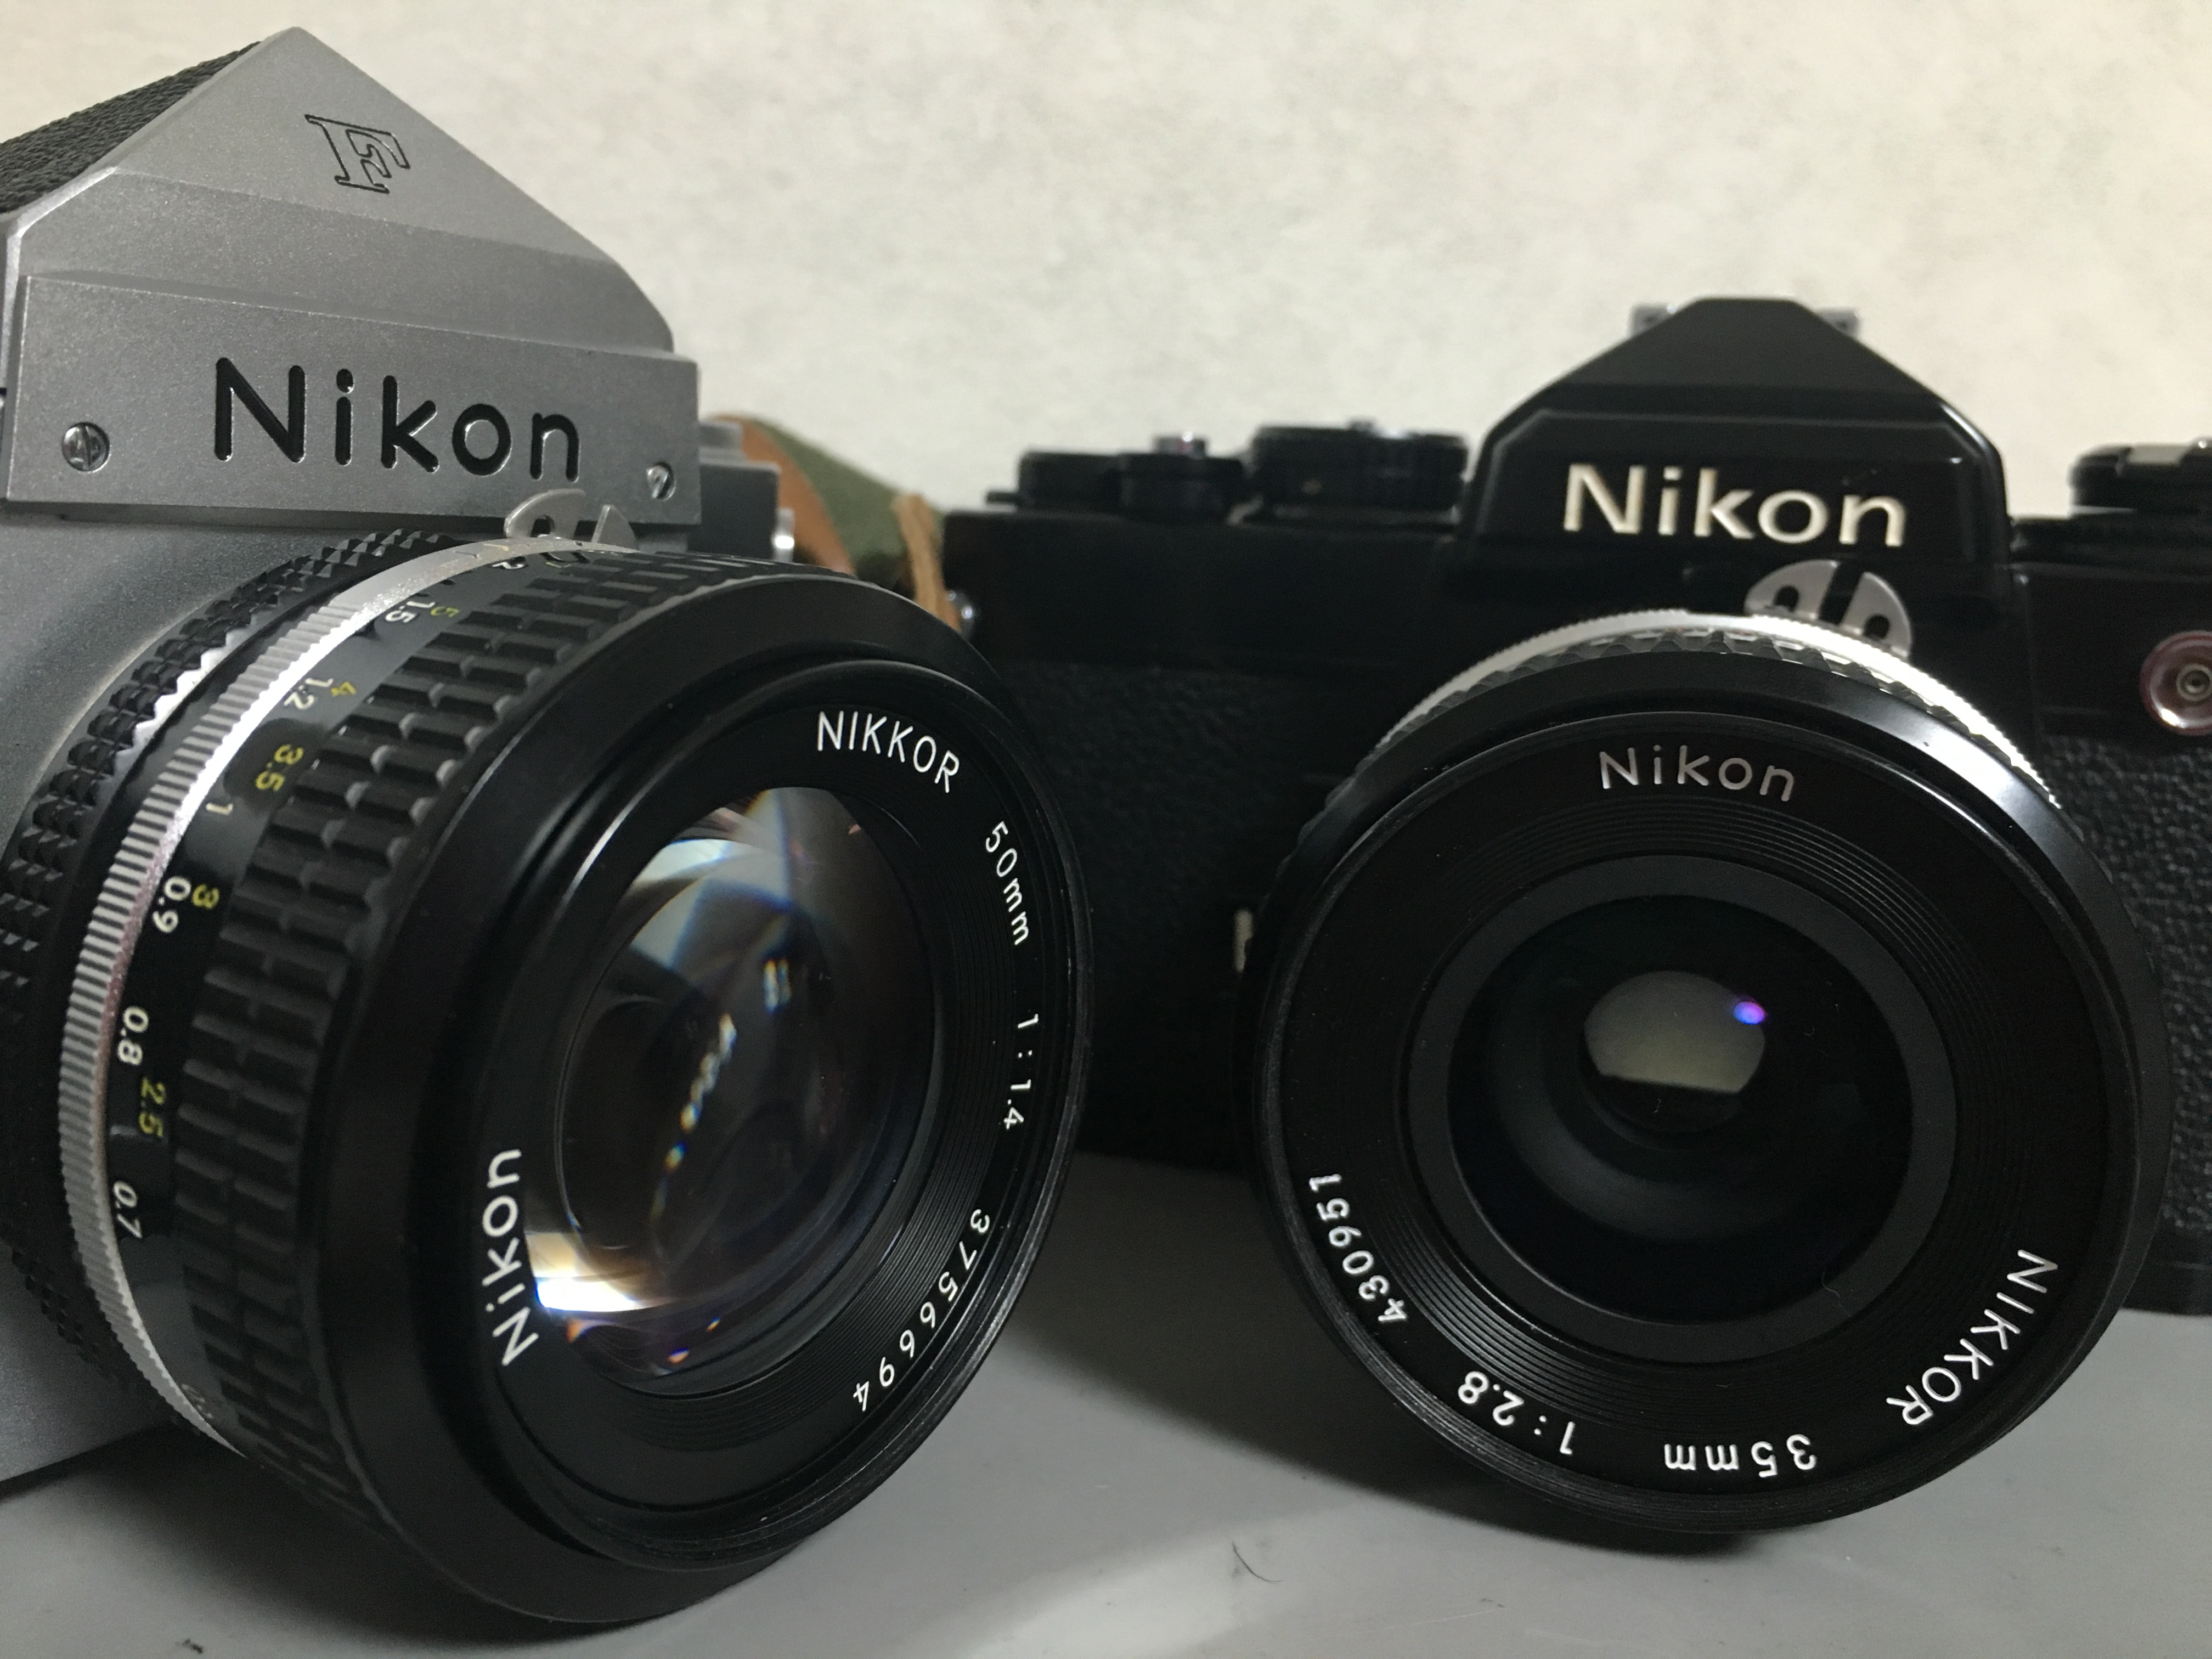 Here is the Nikon FE along with the Nikon F. Notice how small it is but I assure you that this camera is very capable. In fact, I would say that it has most of what the legendary Nikon F3 has when it comes to features.
