
Hello, Everybody! Spring is here! It is definitely getting warmer and while that is definitely good news, the bad news is hay fever is also rampant! I suffer from it just like many people living here in Japan. While we are on the topic of suffering and agony, I would I am going to discuss something today that affects many, if not all people who try to work with Japanese lenses when they started and many get frustrated by this and simply quit.
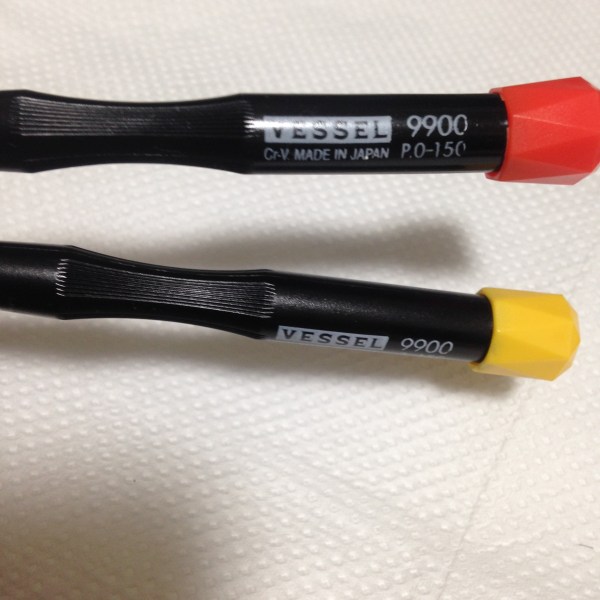
Invest on a pair of really good JIS screwdrivers! I always mention this but people keep on forgetting. You won’t need anything fancy, just buy the right screwdrivers! VESSEL only!
I made this blog and maintain it continuously despite my busy schedule so that nobody will ever have to experience this sad and frustrating stage. My goal is to make this blog ever so popular that eventually no more Nikkors will be harmed by people who want to start getting into this.
I have written many important articles on the fundamentals of lens repair to help educate people on what I think is best to help prevent a beginner from ruining his first project but it seems that people just do not read them and just ignore my warnings and get into my teardown articles thinking that it’s some easy DIY adventure – that cannot be further from the truth!
Please read these carefully:
- Essential tools
- Best practices 1
- Best practices 2
- Best practices 3
- Ai conversion
- Working with Helicoids
I also thought that people will also understand the fundamentals better if there is a video because it can help demonstrate the whole process.
Note that I burnt part of the paint of the aperture ring while I was heating it. I was in an awkward position and I can’t see very well without my glasses. This is the sort of thing that can easily happen when you are not careful so I hope that this will serve as a warning to you. Botching up a repair is easy.

Stripped screws can be removed safely with a screw extractor but you should find something that is small enough to take out a 2mm screw (or even smaller). This is the safest way that I know of, please do not try what other people say about grinding the head and other outlandish ways. You can also see the video in the next panel for an alternative way.
In this, our dear fried Kenneth shares his technique for removing screws. You may want to try this is you’re not able to purchase a small extractor like the one I have. Please subscribe to his channel.
Again, please read my articles on the fundamentals again. I will have to revise them one day because they were written many years ago but they are still relevant.
Some people actually find my blog entertaining, I am not sure what they meant by that but at least one person messaged me on facebook that he found me funny and witty. Please share this so that it will reach more people and hopefully prevent a disaster from occurring when the screw’s head is stripped.
Help Support this Blog:
Maintaining this site requires resources and a lot of time. If you think that it has helped you or you want to show your support by helping with the site’s upkeep, you can make a small donation to my paypal.com at richardHaw888@gmail.com. Money isn’t my prime motivation for this blog, I believe I have enough to run this myself but you can help me make this site grow.
Leave me a tip?
$2.00
Helping support this site will ensure that it will be kept going as long as I have the time and energy for this. I’d appreciate it if you just leave out your name or details like your country’s name or other info so that the donations will totally be anonymous. This is a labor of love and I intend to keep it that way for as long as I can. Ric.

Aug 29, 2020 @ 09:20:38
Hi Richard, thanks for the informative tutorials, when heating bajonet screws prior to loosening, you might consider using a soldering iron and putting that on the head of the screw. It would prevent burning materials adjacent to the screws.
Best regards from the Netherlands,
Rob.